¿Qué es una landing page?
Una landing page (a veces denominada "página de captación de clientes potenciales" o "página de aterrizaje" o “página de destino”) es una página web independiente cuyo único objetivo es captar clientes potenciales y hacer crecer tu lista de suscriptores.
Por ejemplo, puedes utilizarla para ofrecer un regalo que anime a los visitantes a suscribirse a tu newsletter.
Consulta nuestra galería de landing pages para ver ejemplos reales.
Cómo crear una landing
Para crear tu primera página de aterrizaje:
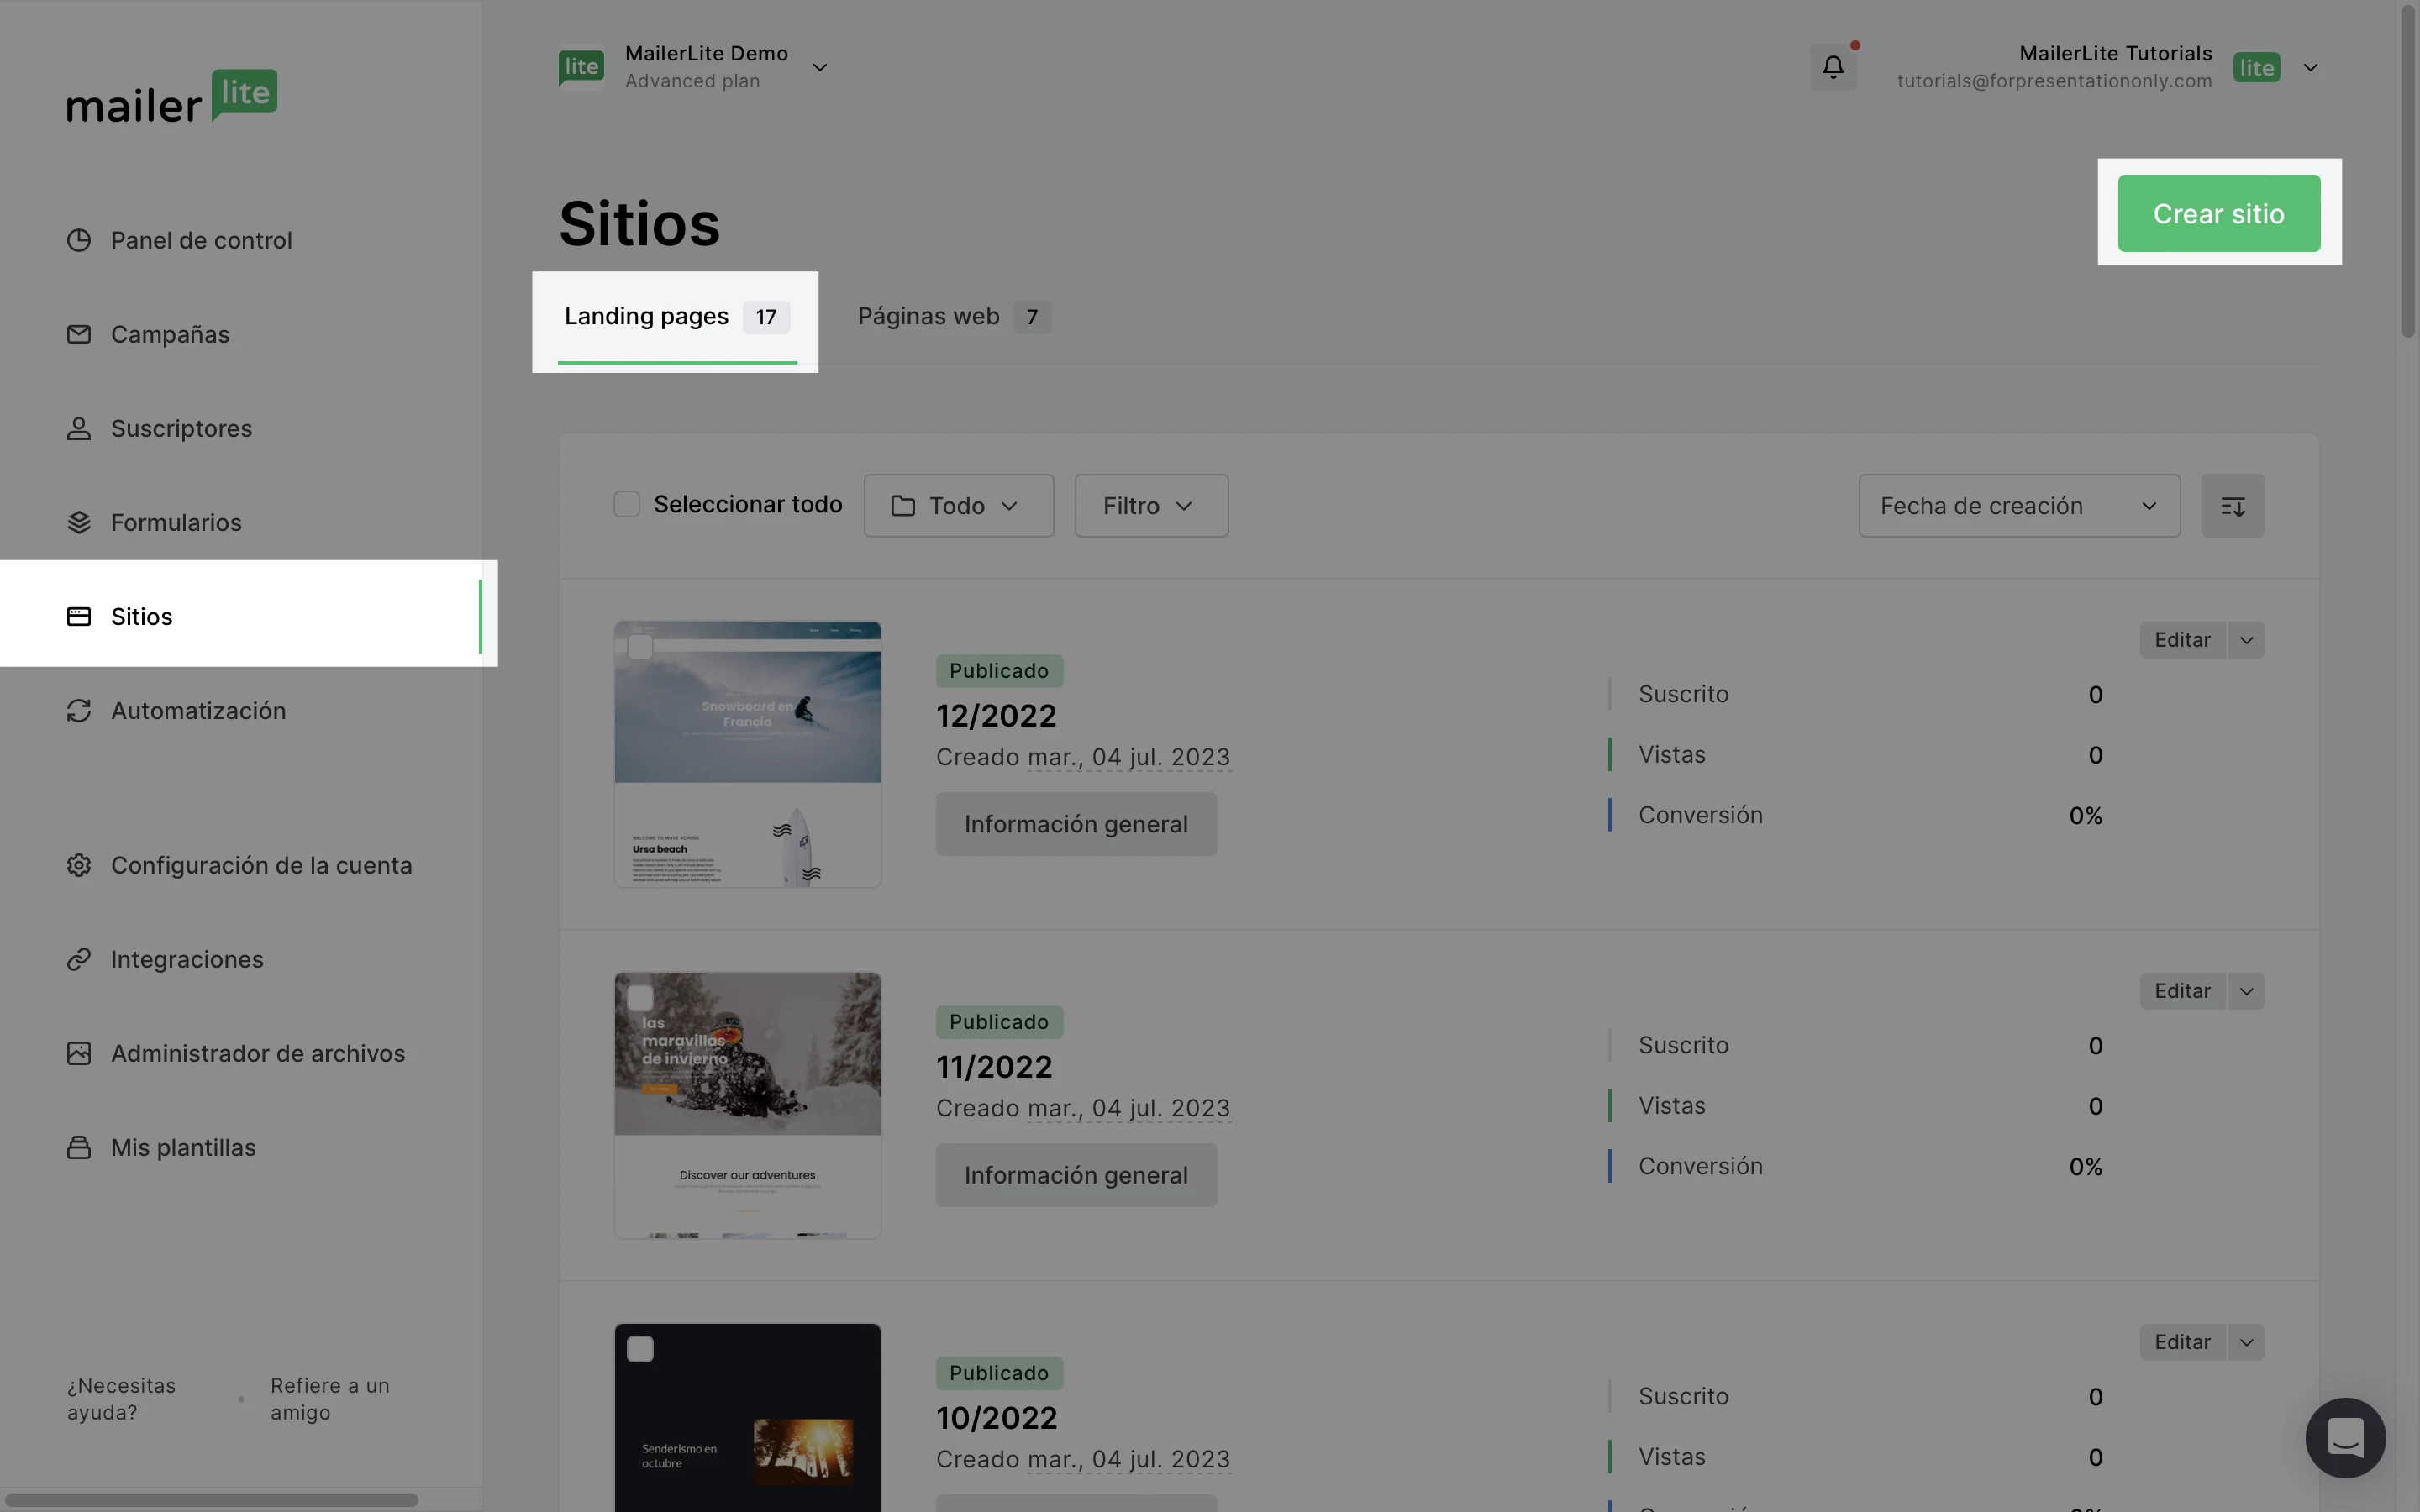
Ve a la página Sitios.
Haz clic en la pestaña Landing page.
Haz clic en Crear sitio.
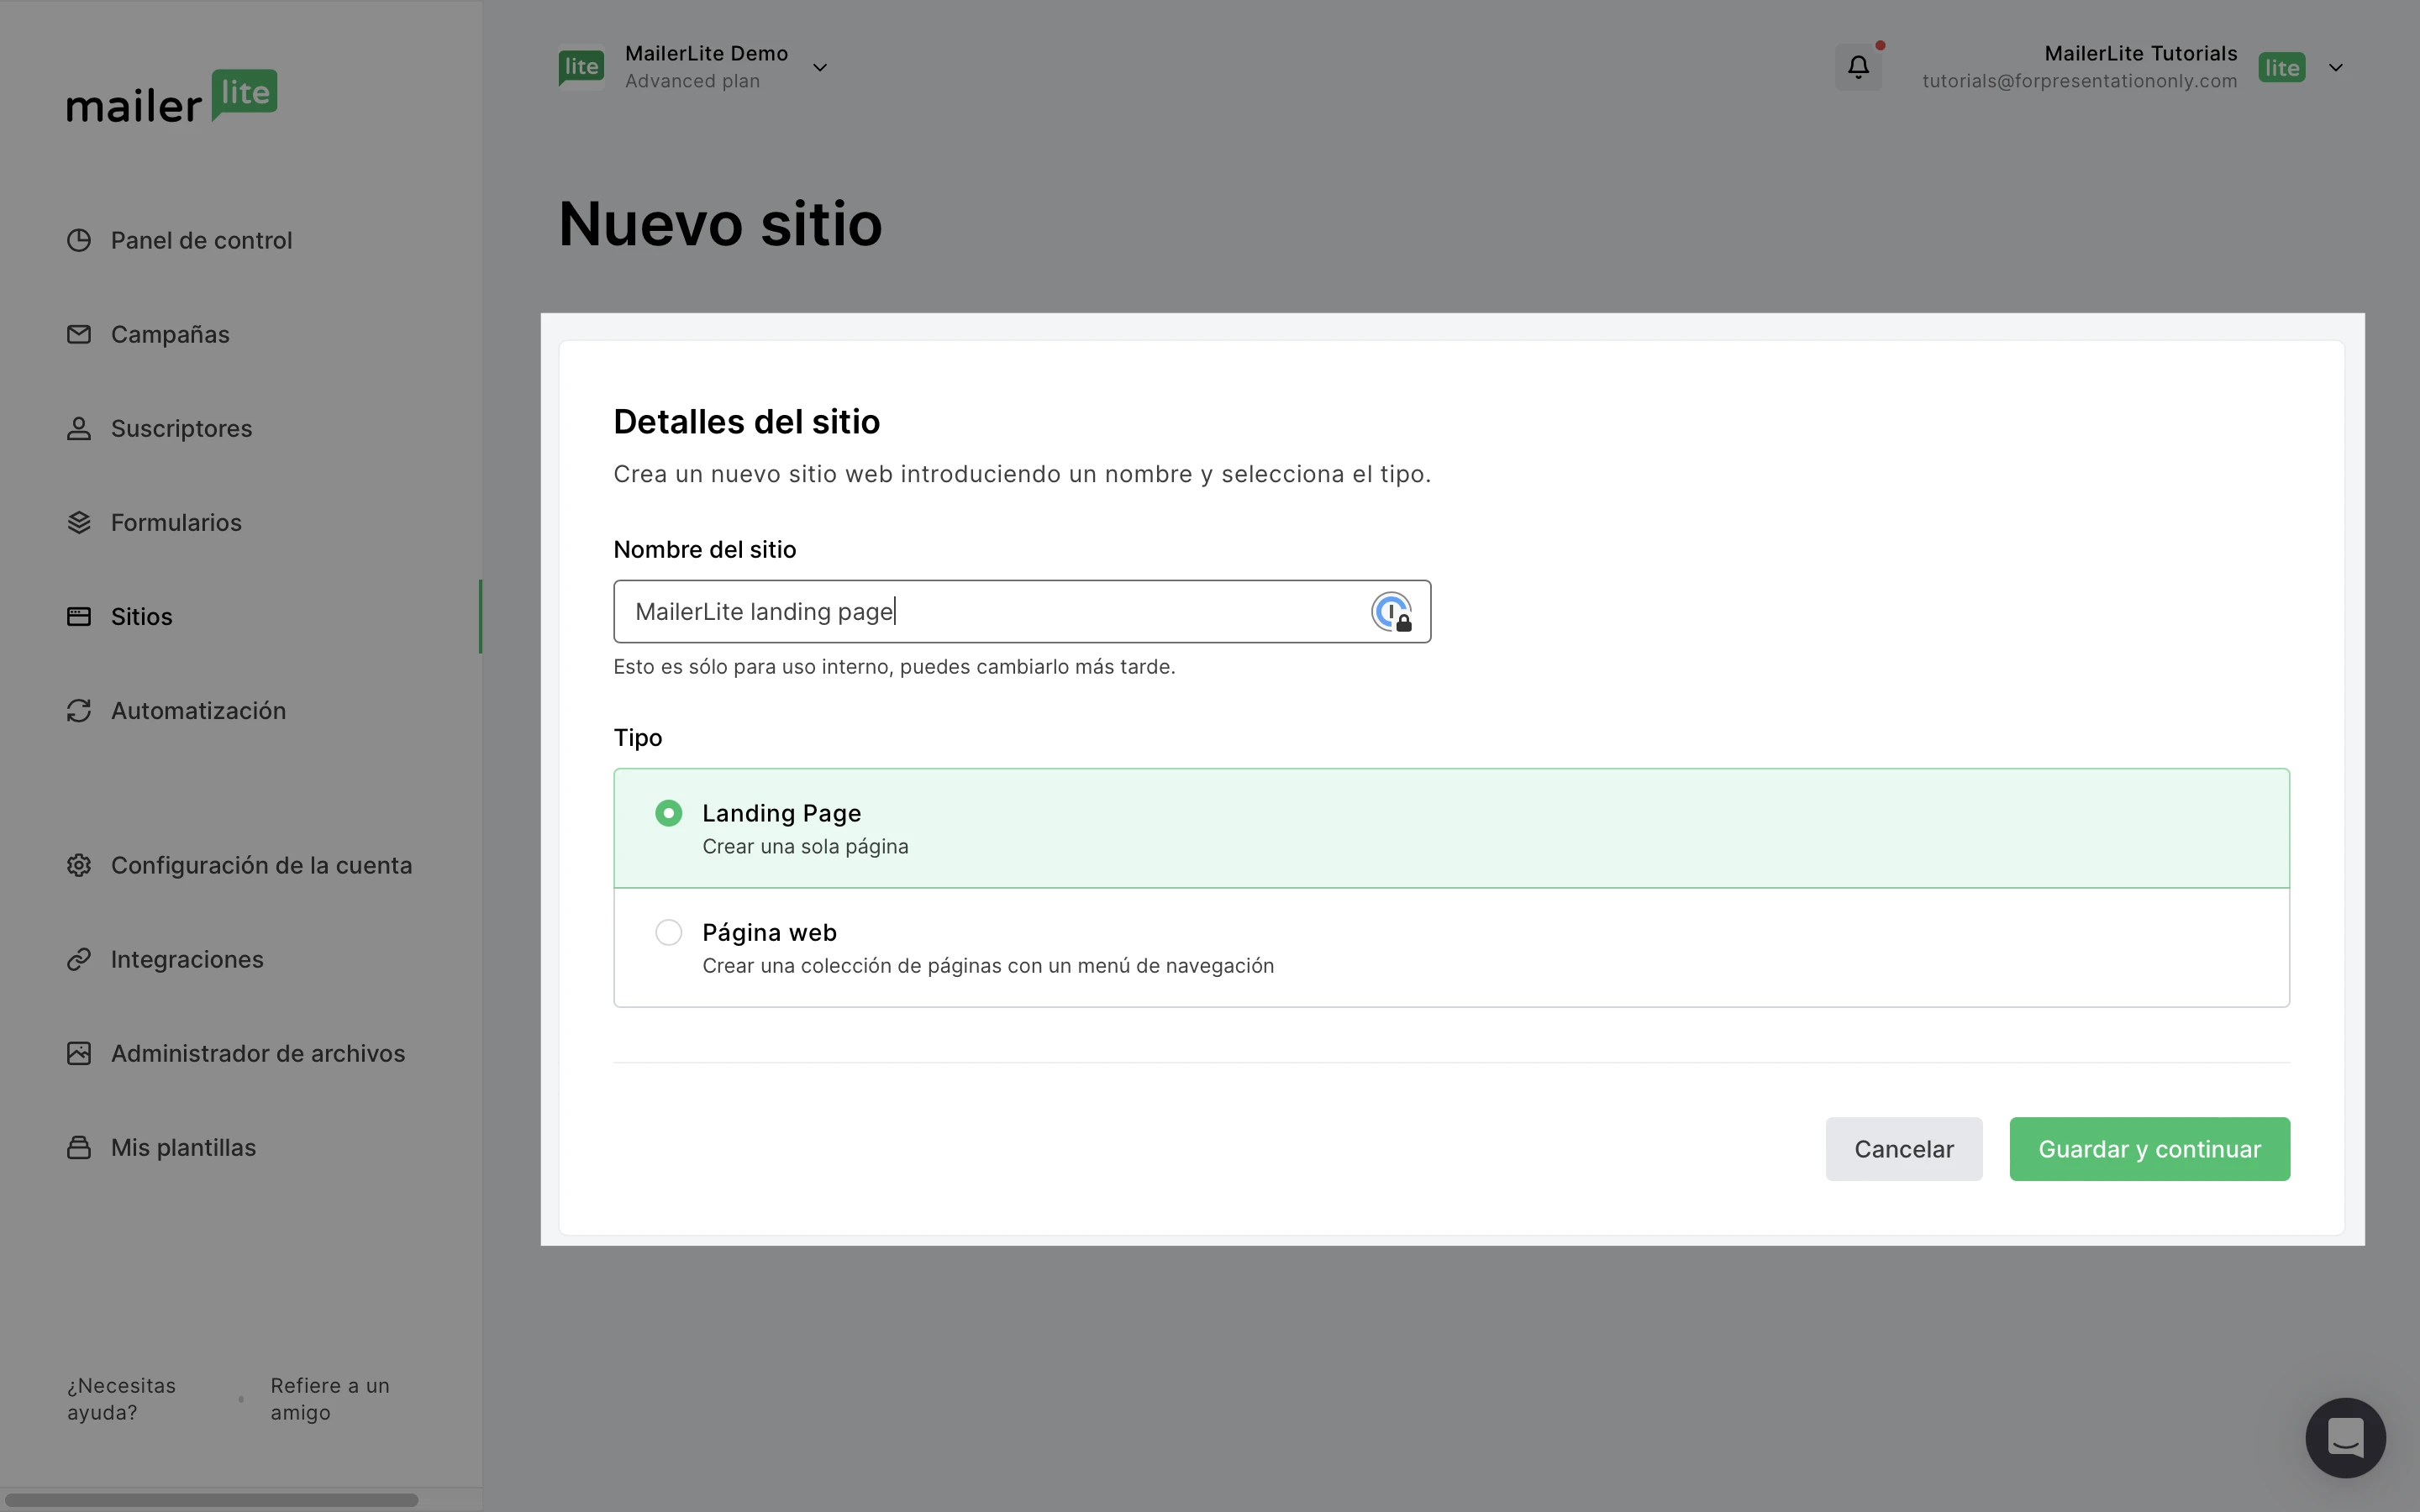
4. Asigna un nombre a tu página de aterrizaje y haz clic en Guardar y continuar.
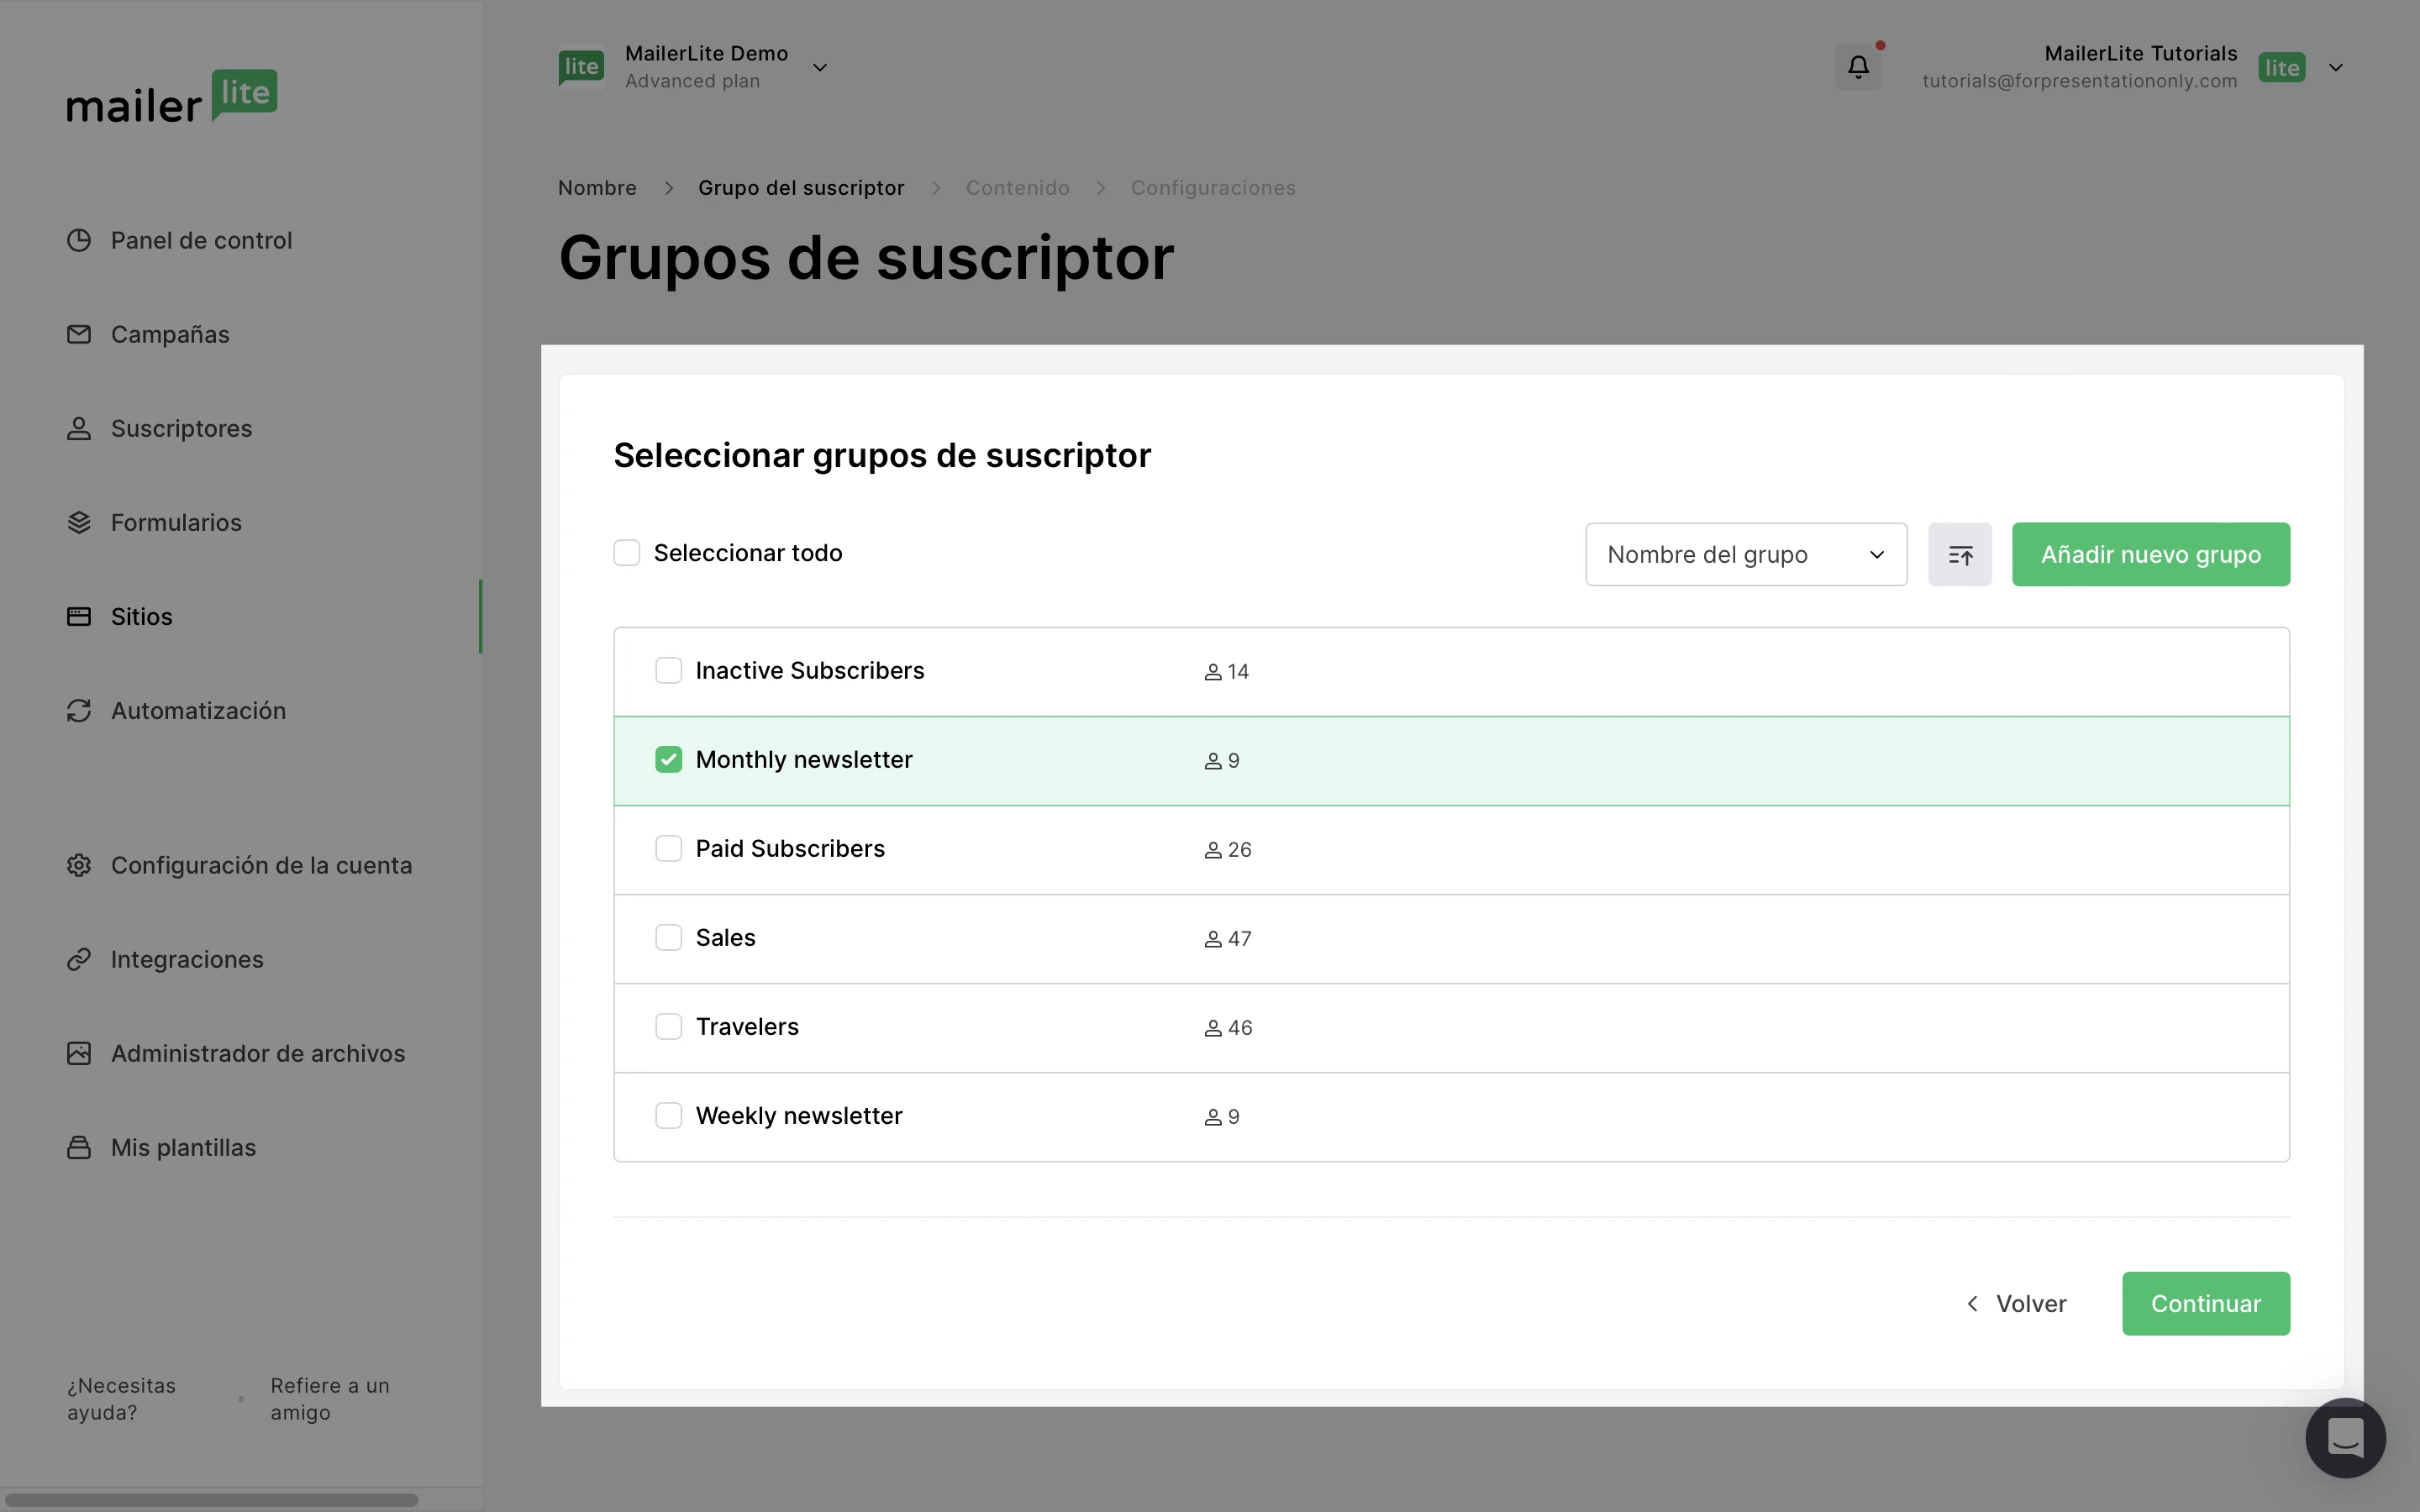
5. Elige un grupo para tu landing page. Este será el grupo donde se añadirán los suscriptores que se hayan registrado en tu página de destino. A continuación, haz clic en Continuar.
6. Elige una plantilla a partir de la cual construir tu página de destino. Puedes elegir entre Todas las plantillas o alternar para ver categorías específicas.

7. Haz clic en la pestaña Bloques para arrastrar y soltar bloques de contenido de la barra lateral en tu página de destino.
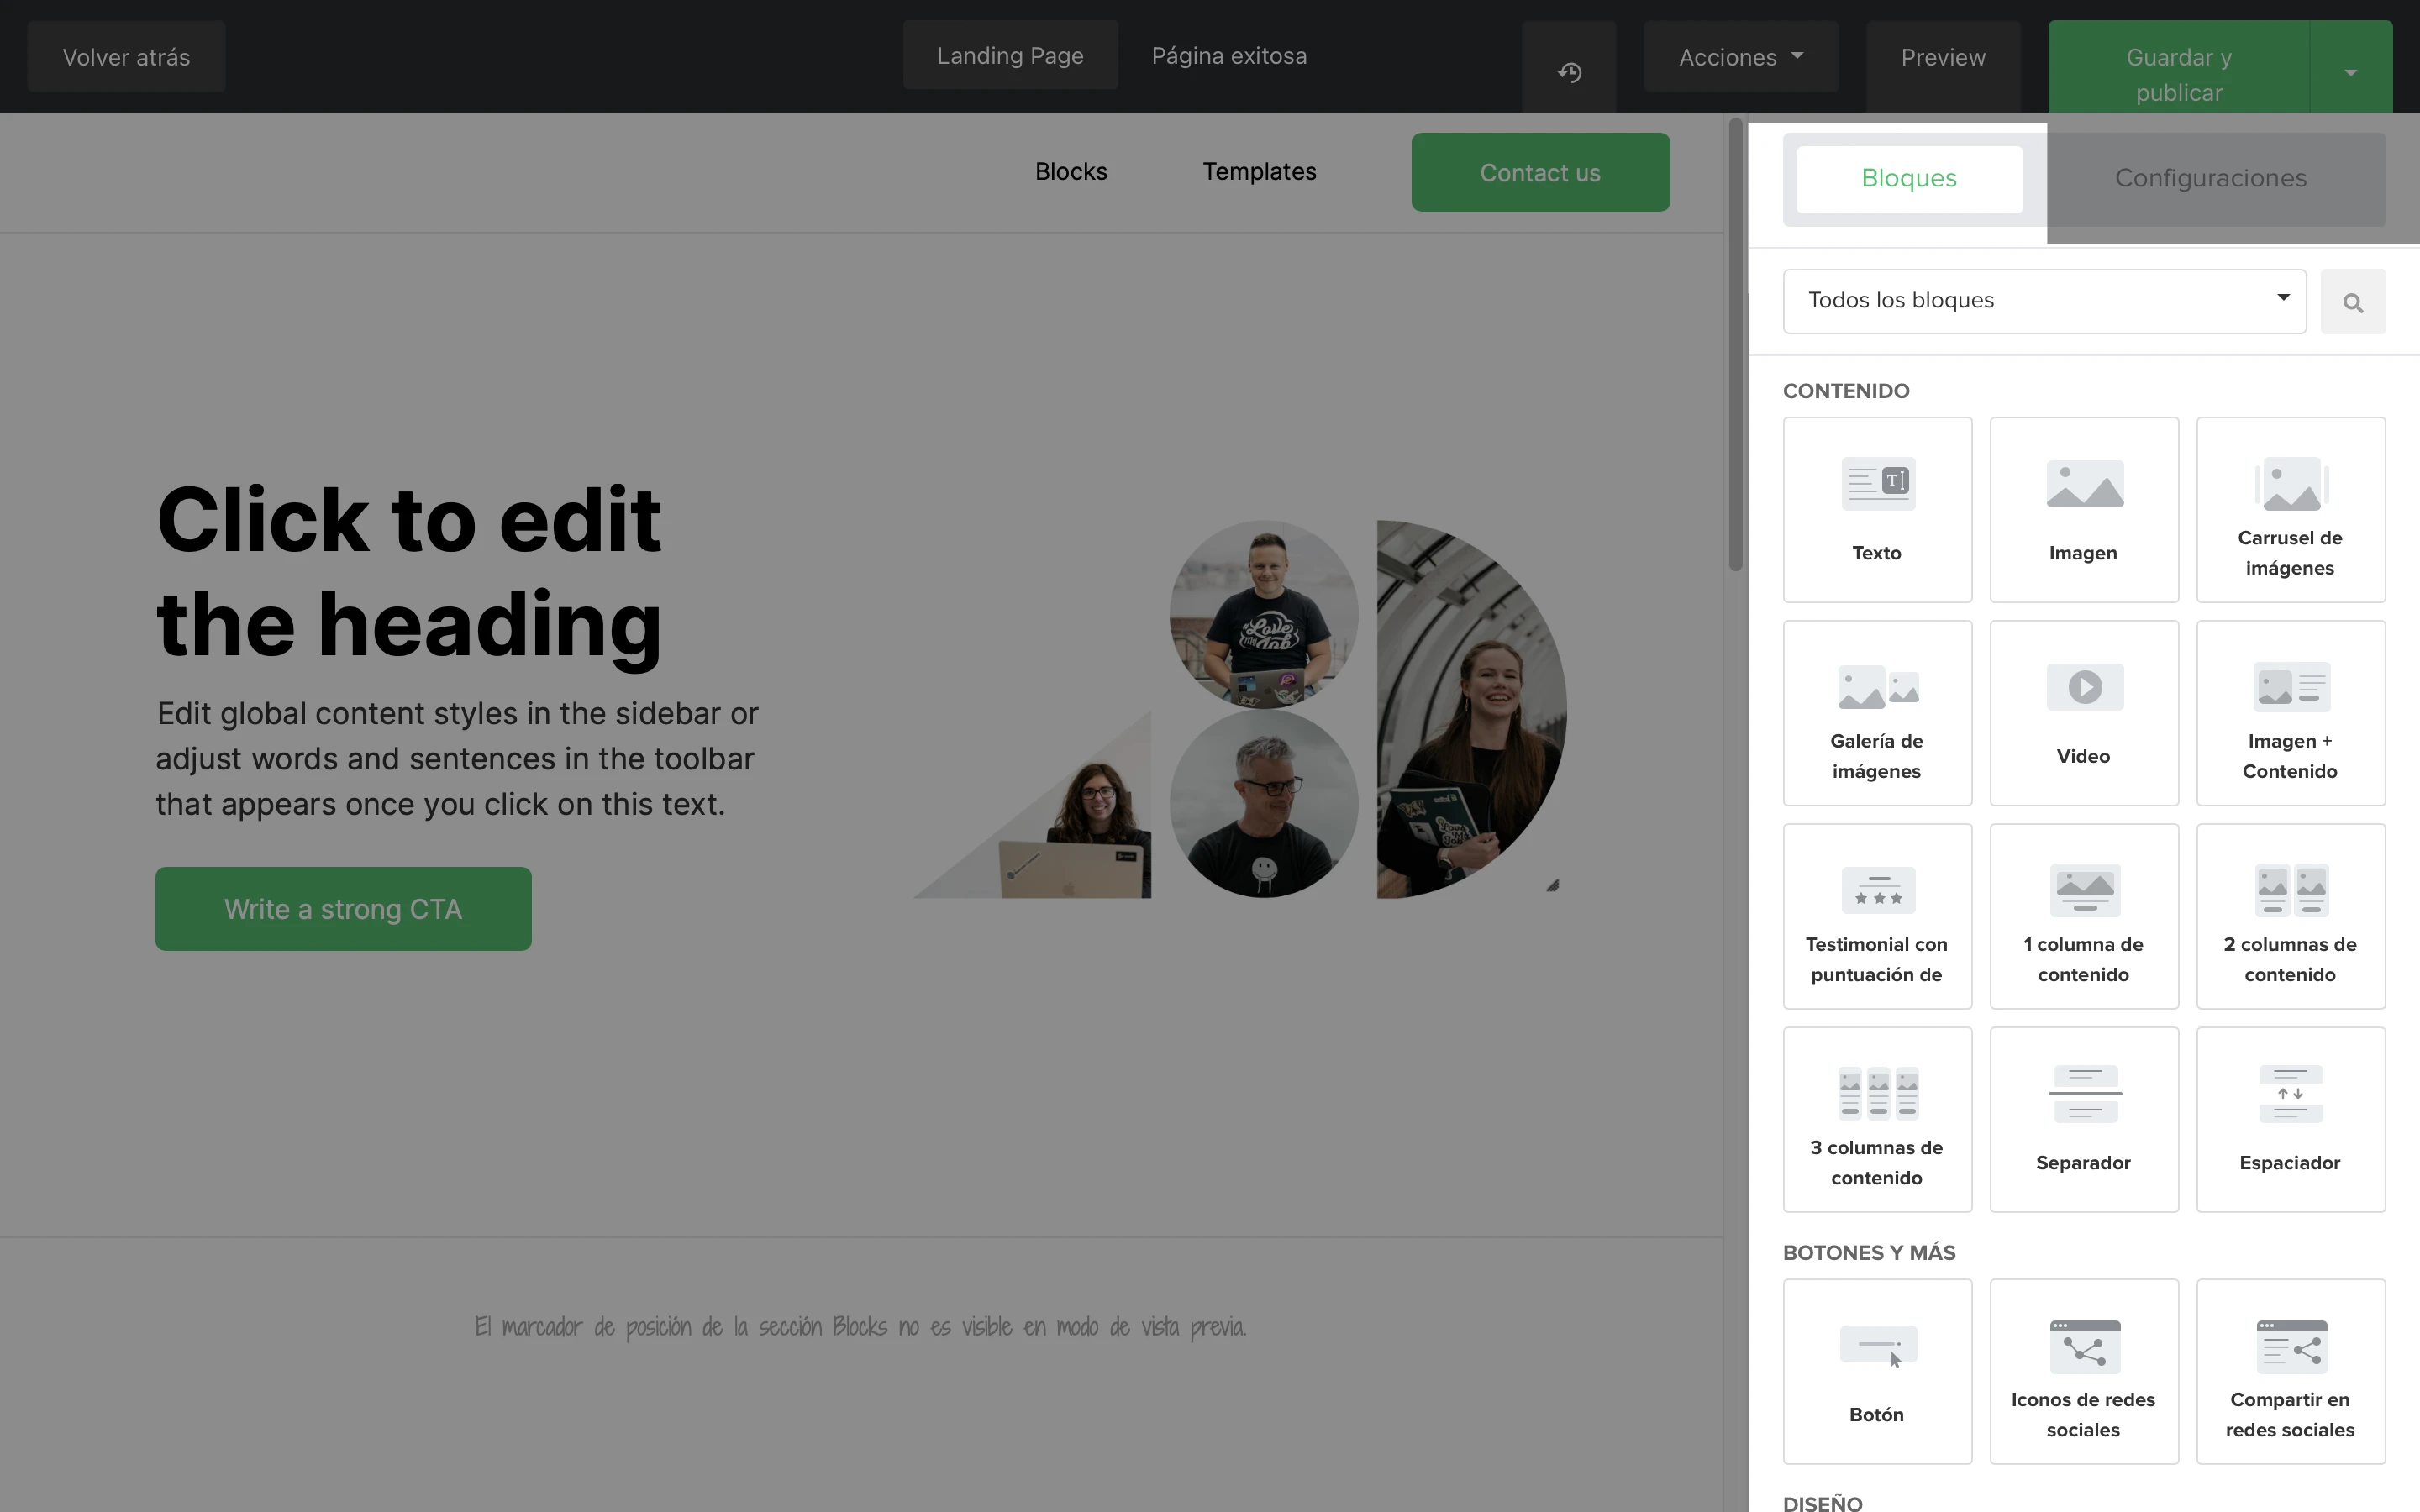
8. Para editar tus bloques de texto, simplemente haz clic en el bloque de texto que deseas editar y empieza a escribir.
Para establecer el formato del texto de todo el texto de tu landing page (tu configuración de diseño global):
Comienza sin seleccionar ningún bloque.
En la barra lateral, haz clic en la pestaña Configuración.
Busca el elemento de diseño que deseas editar y haz clic en la burbuja de diseño correspondiente.
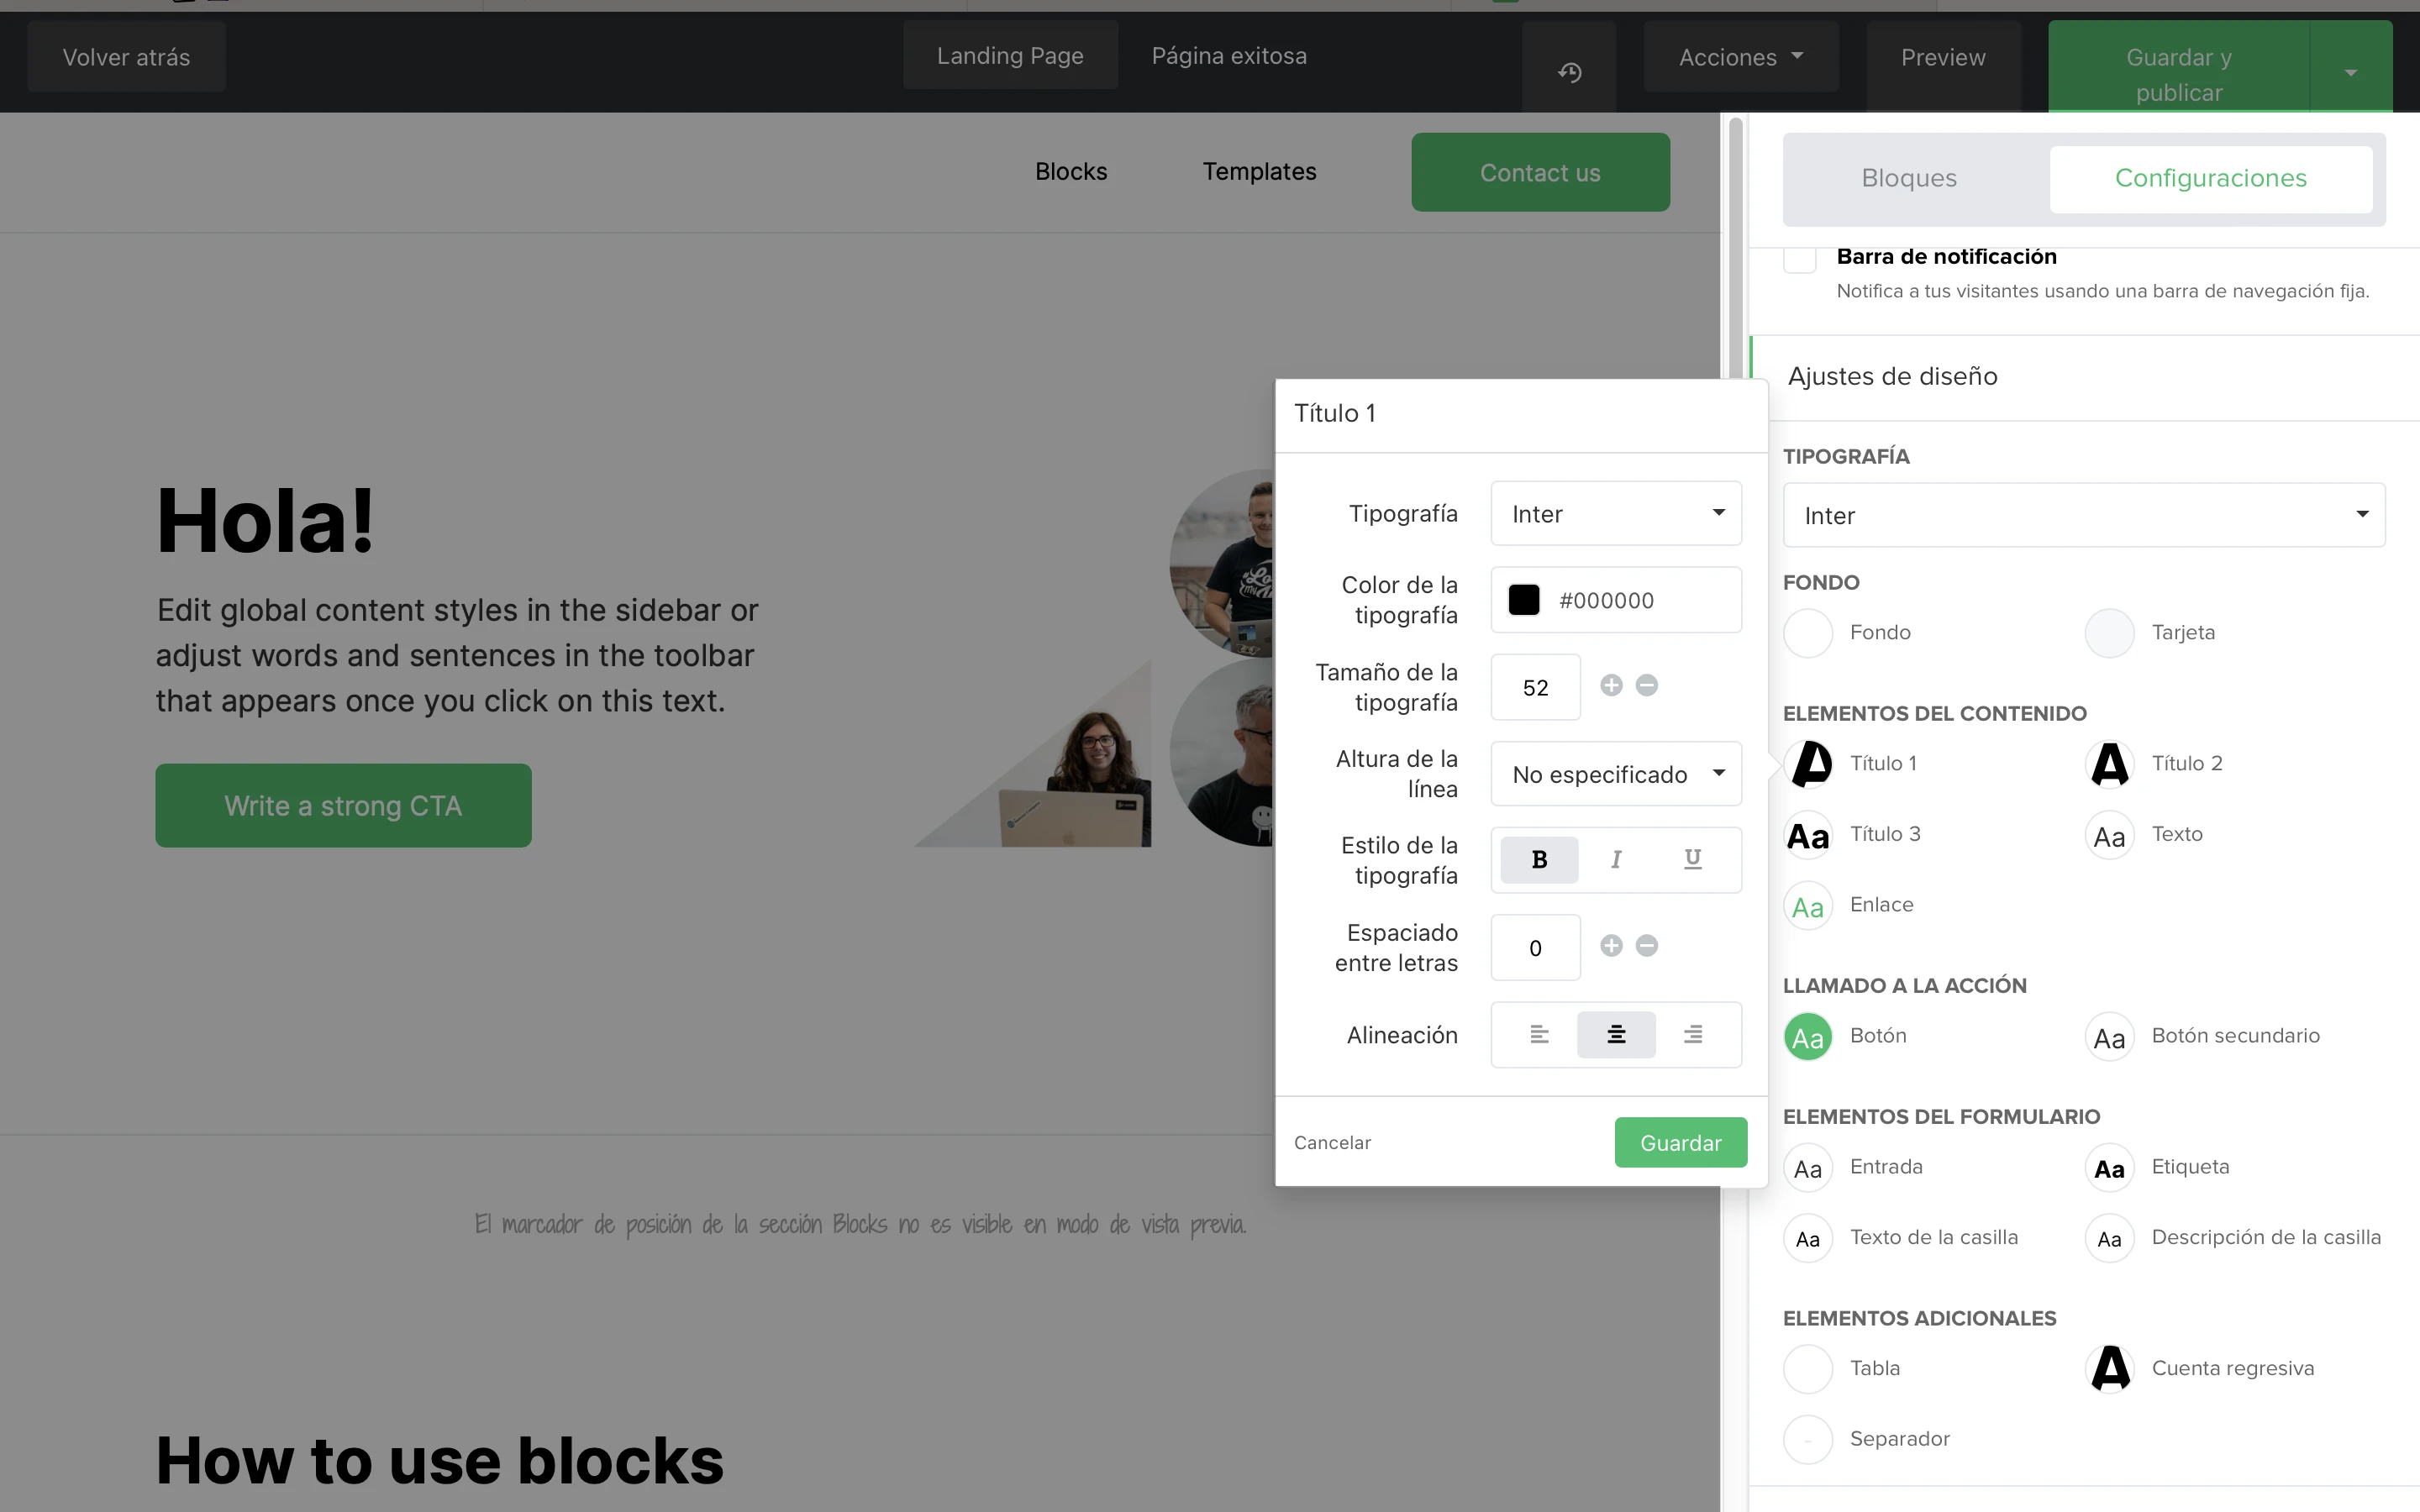
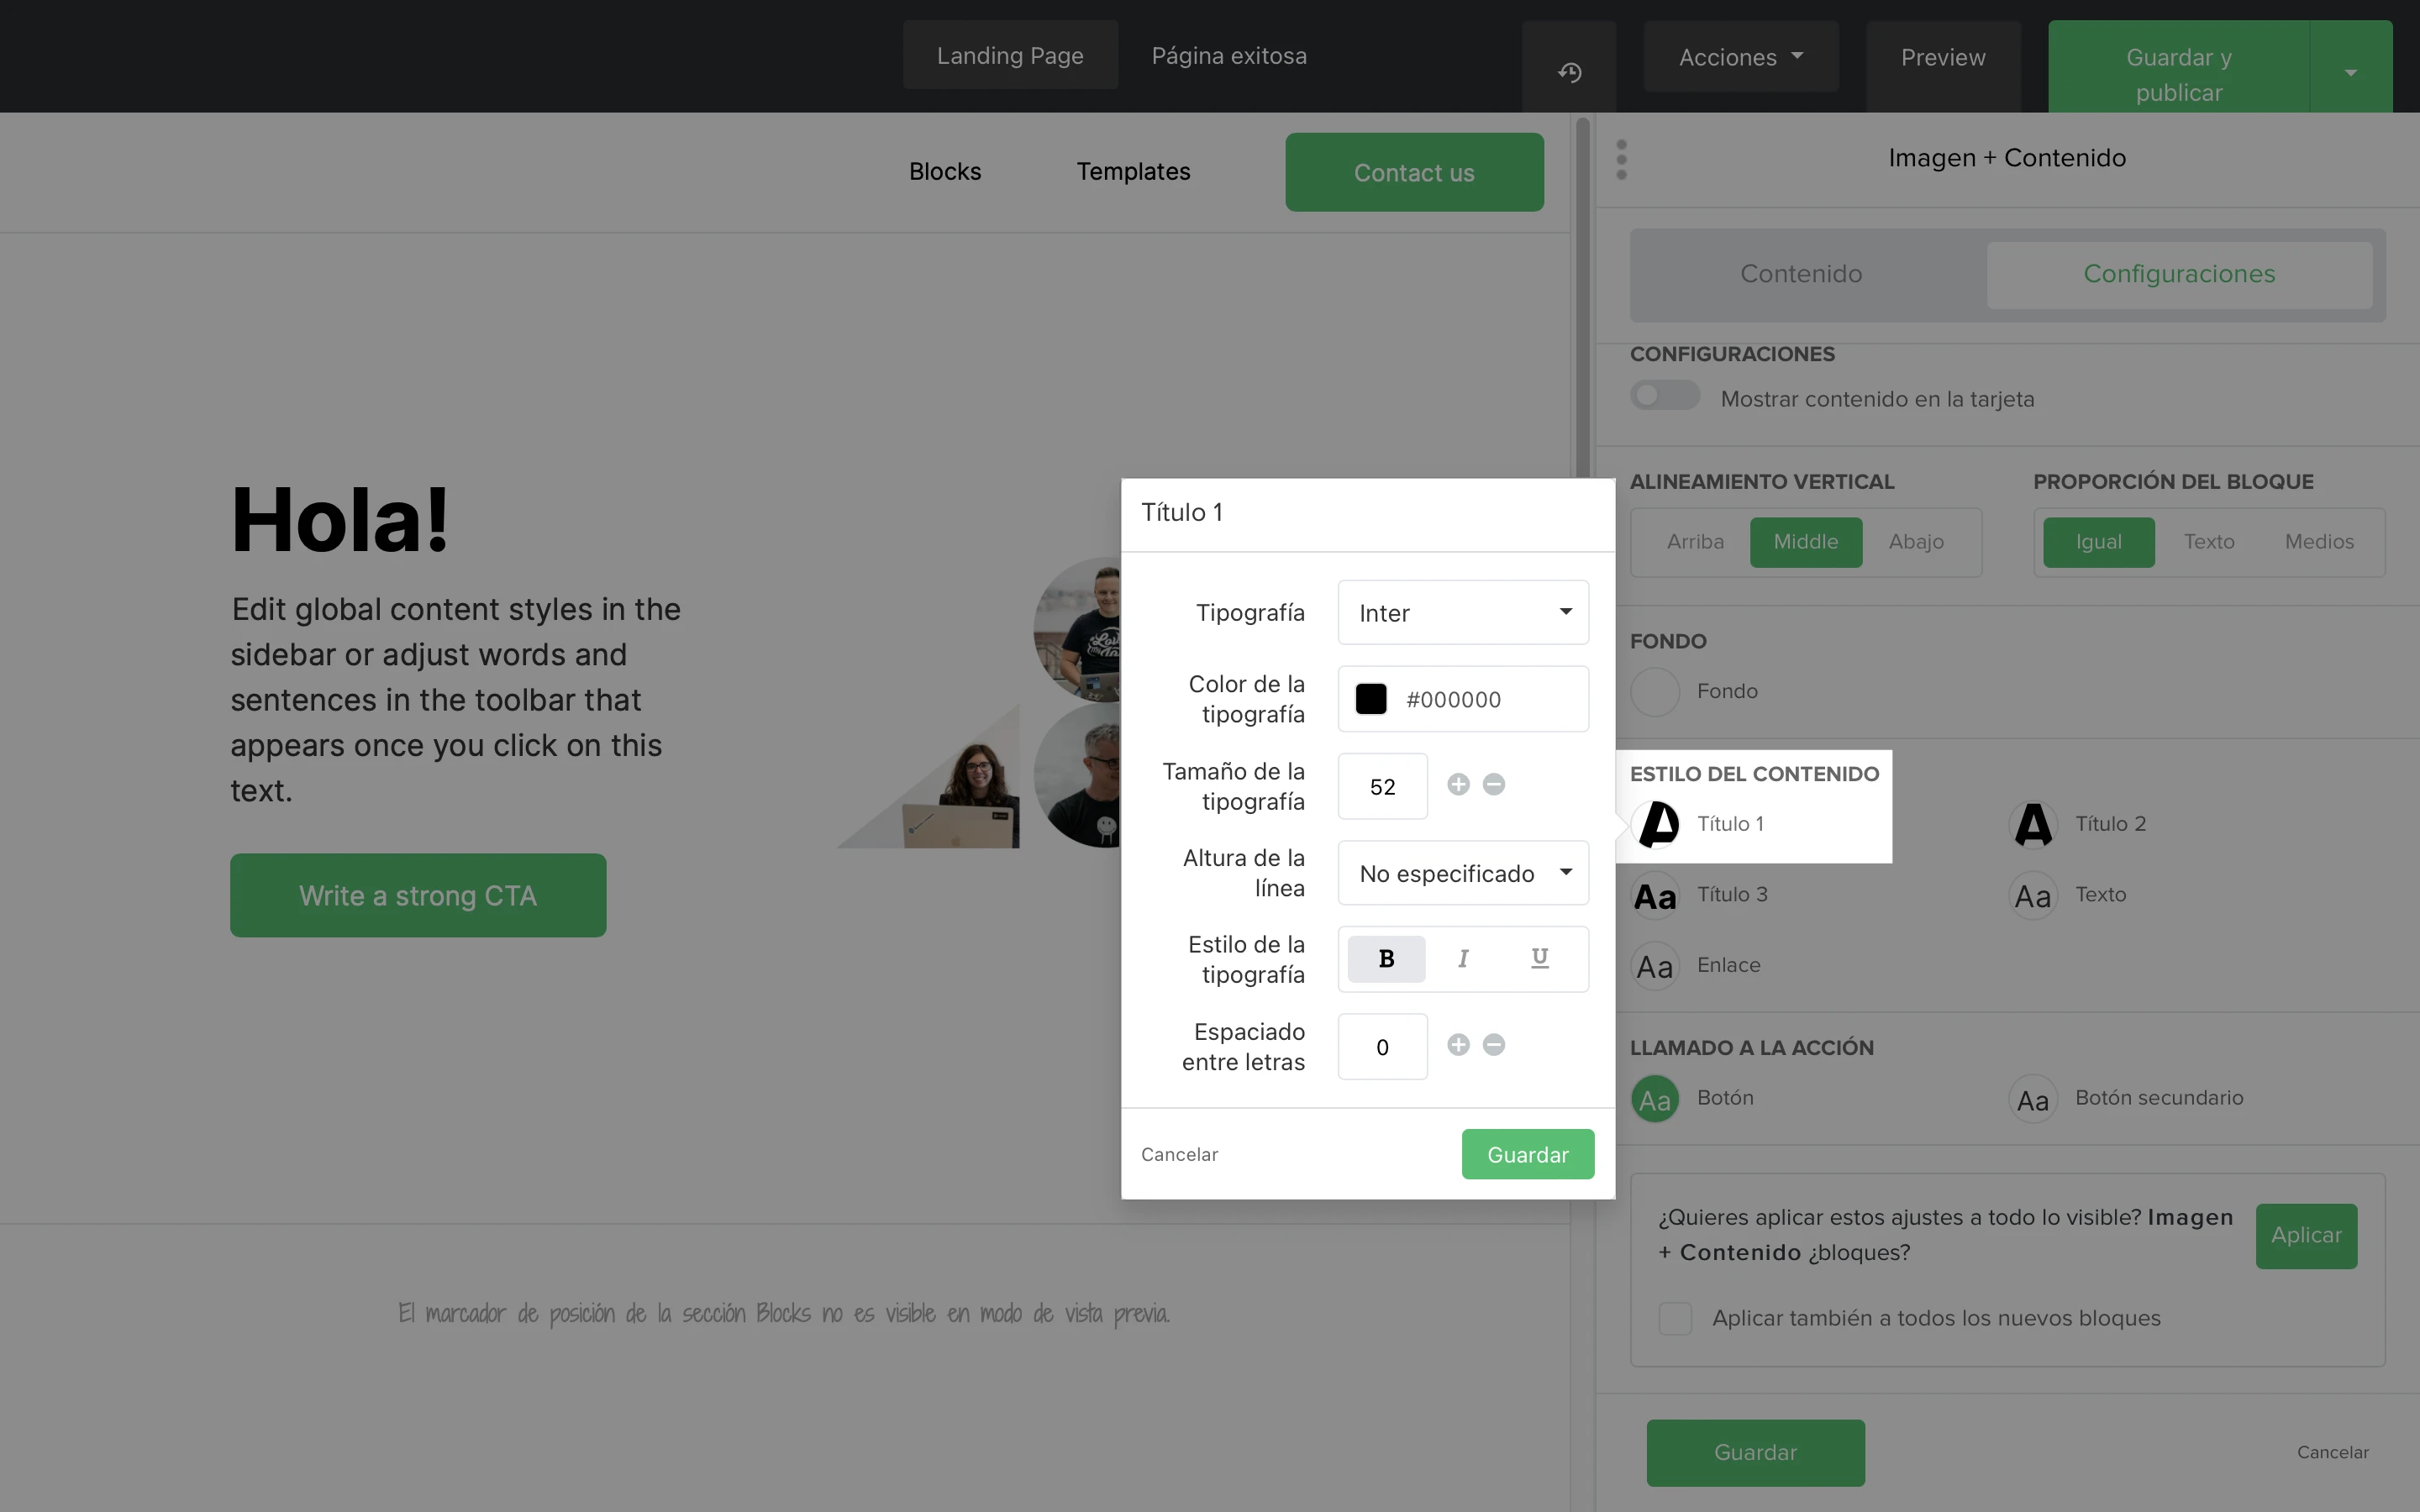
Para establecer el formato del texto en un solo bloque:
Selecciona el bloque que deseas editar.
Busca el elemento de diseño que deseas editar y haz clic en la burbuja de diseño correspondiente.
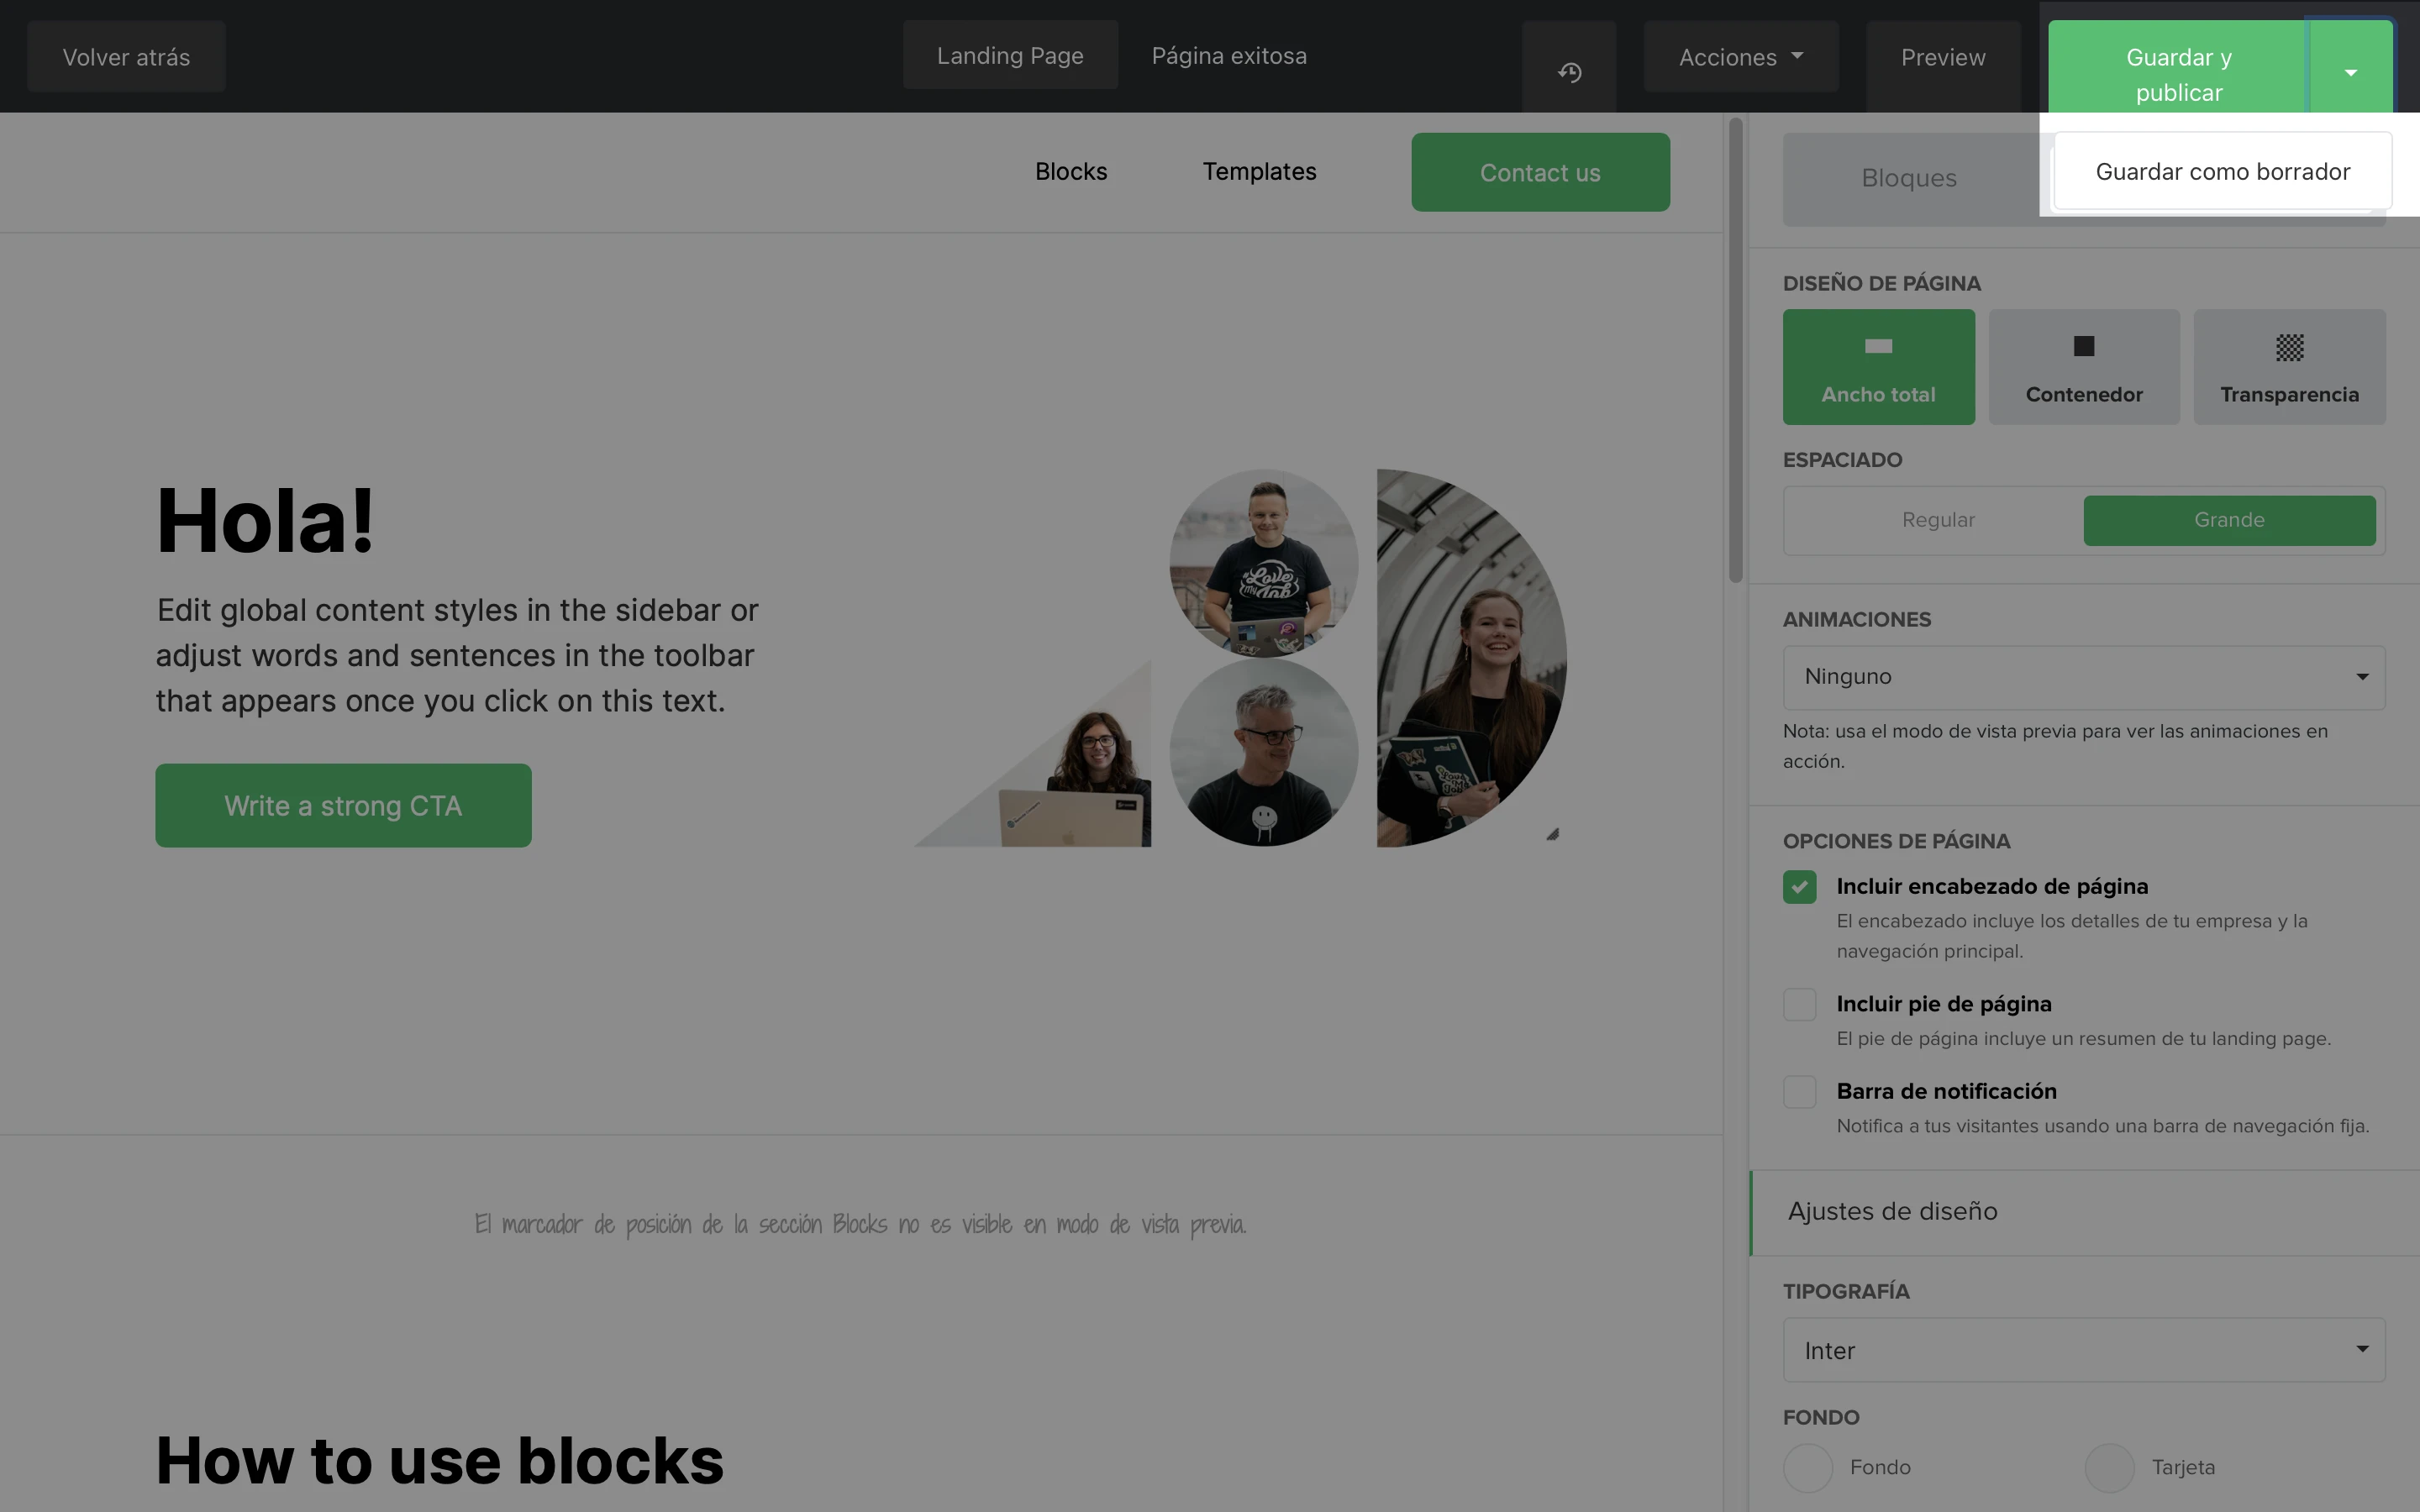
Una vez que hayas terminado de editar, haz clic en el botón Guardar y publicar; o haz clic en la flecha hacia abajo adyacente para guardar tu página de destino como borrador.
Se te dirigirá a la configuración de tu página. Aquí puedes elegir el dominio de tu landing page. Recomendamos utilizar tu propio dominio.
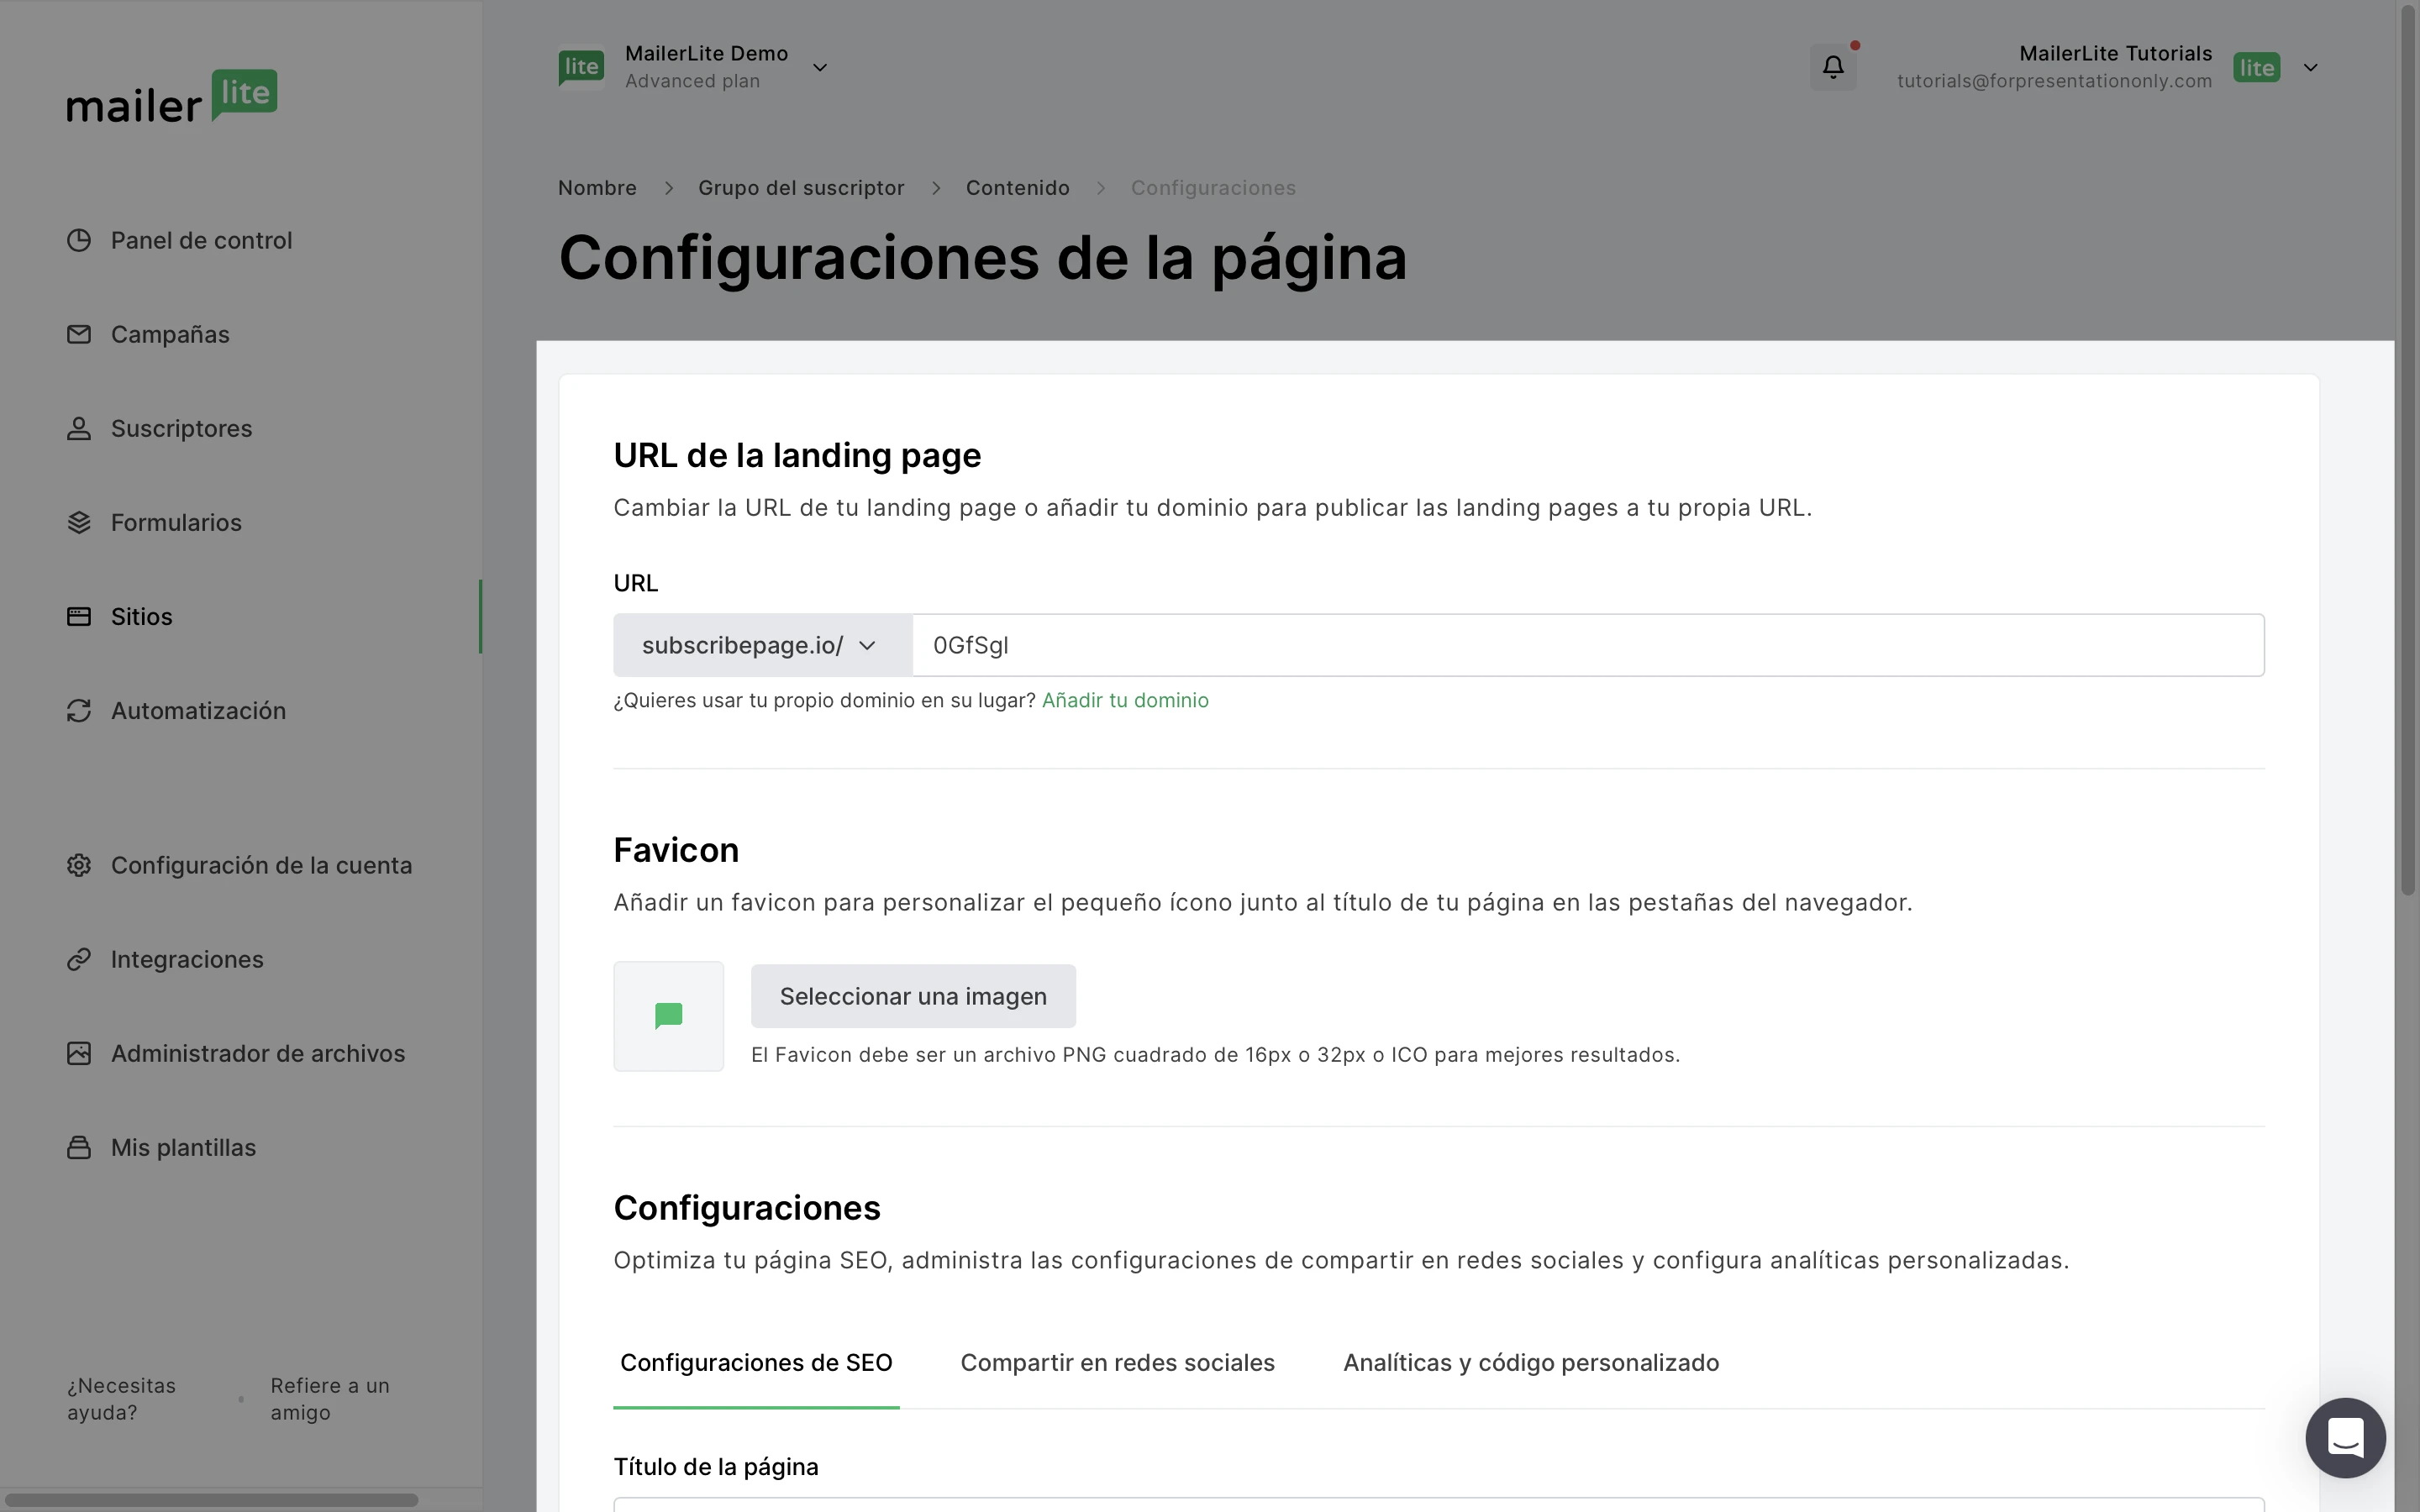
Otros ajustes que puedes aplicar en esta página son:
Favicon - El icono que aparece junto al título de tu página en las pestañas del navegador.
Ajustes SEO - Optimiza tu página de destino para los motores de búsqueda. Desplázate hacia abajo para saber cómo configurar tu SEO
Compartir en redes sociales: utiliza esta configuración para determinar cómo aparecerá tu página de destino cuando se comparta en las redes sociales.
Analíticas y código personalizado - Aquí es donde puedes inyectar código personalizado en tu landing page y aplicar tu píxel de seguimiento de Facebook.
Cómo funciona la publicación de landing pages
Las cuentas gratuitas pueden tener hasta diez landing pages publicadas al mismo tiempo. Si necesitas tener más de diez landing pages públicas, puedes pasar a un plan Comfort o Power para utilizar landing pages ilimitadas.
Nota: En agosto de 2026, comenzarán a aplicarse los límites de landing pages. Los usuarios del plan Gratis podrán tener 1 landing page; los usuarios del plan Comfort, hasta 10 landing pages; los usuarios del plan Power, landing pages ilimitadas.
Las landing pages sólo son visibles para el público después de publicadas. Si abres el editor de tu landing page y realizas un pequeño cambio, tendrás que volver a publicarla.
Puedes volver a publicar tu página de destino haciendo clic en el botón Guardar y publicar del editor de landing page.
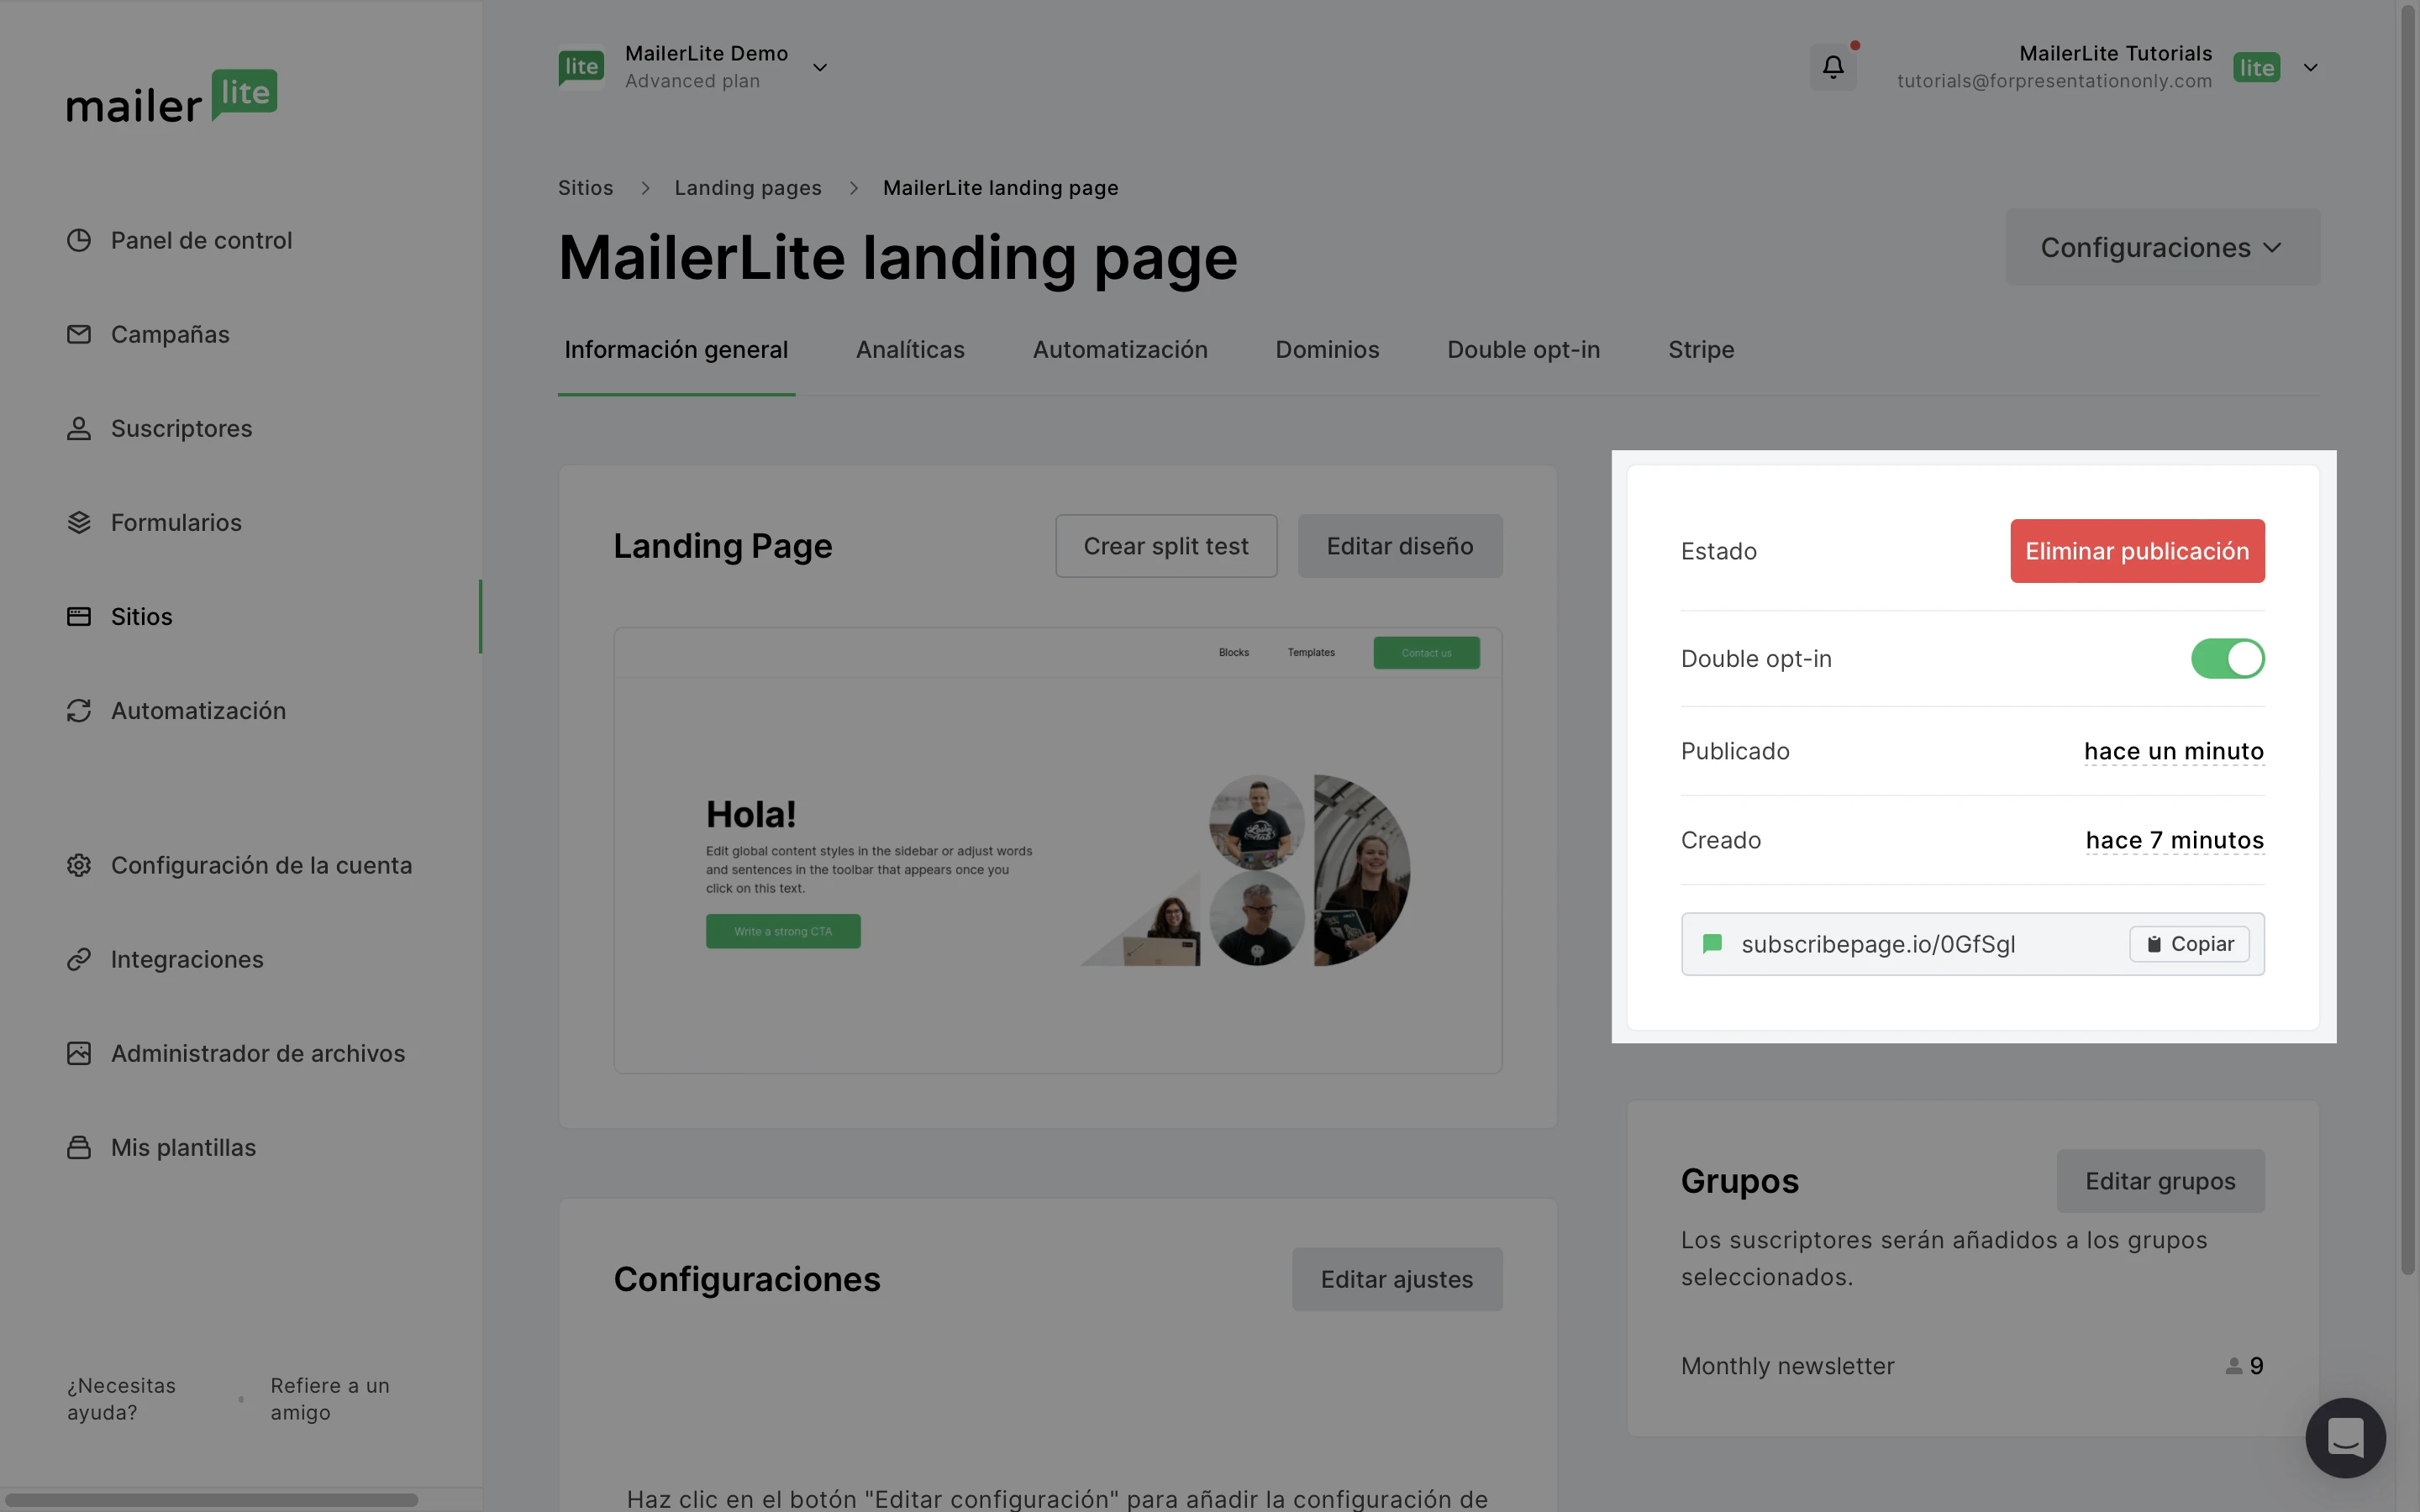
También puedes publicar la última versión de tu página de destino desde la vista general de la landing page:
Ve a la página Sitios.
Haz clic en la pestaña Landing page.
Haz clic en el botón Información general de tu página de destino.
Pulsa el botón Publicar nueva versión.

Si deseas anular la publicación de una landing page para que deje de ser visible, haz clic en el botón Anular publicación.
Cómo crear una plantilla de landing page
Puedes ahorrar tiempo diseñando varias landing pages creando su propia plantilla de página de destino, con su propio estilo y marca.
Para crear una plantilla de página de destino:
Ve a la página Mis plantillas.
Haz clic en Crear plantilla.
Dale un nombre a tu nueva plantilla.
Selecciona el Tipo: Landing page.
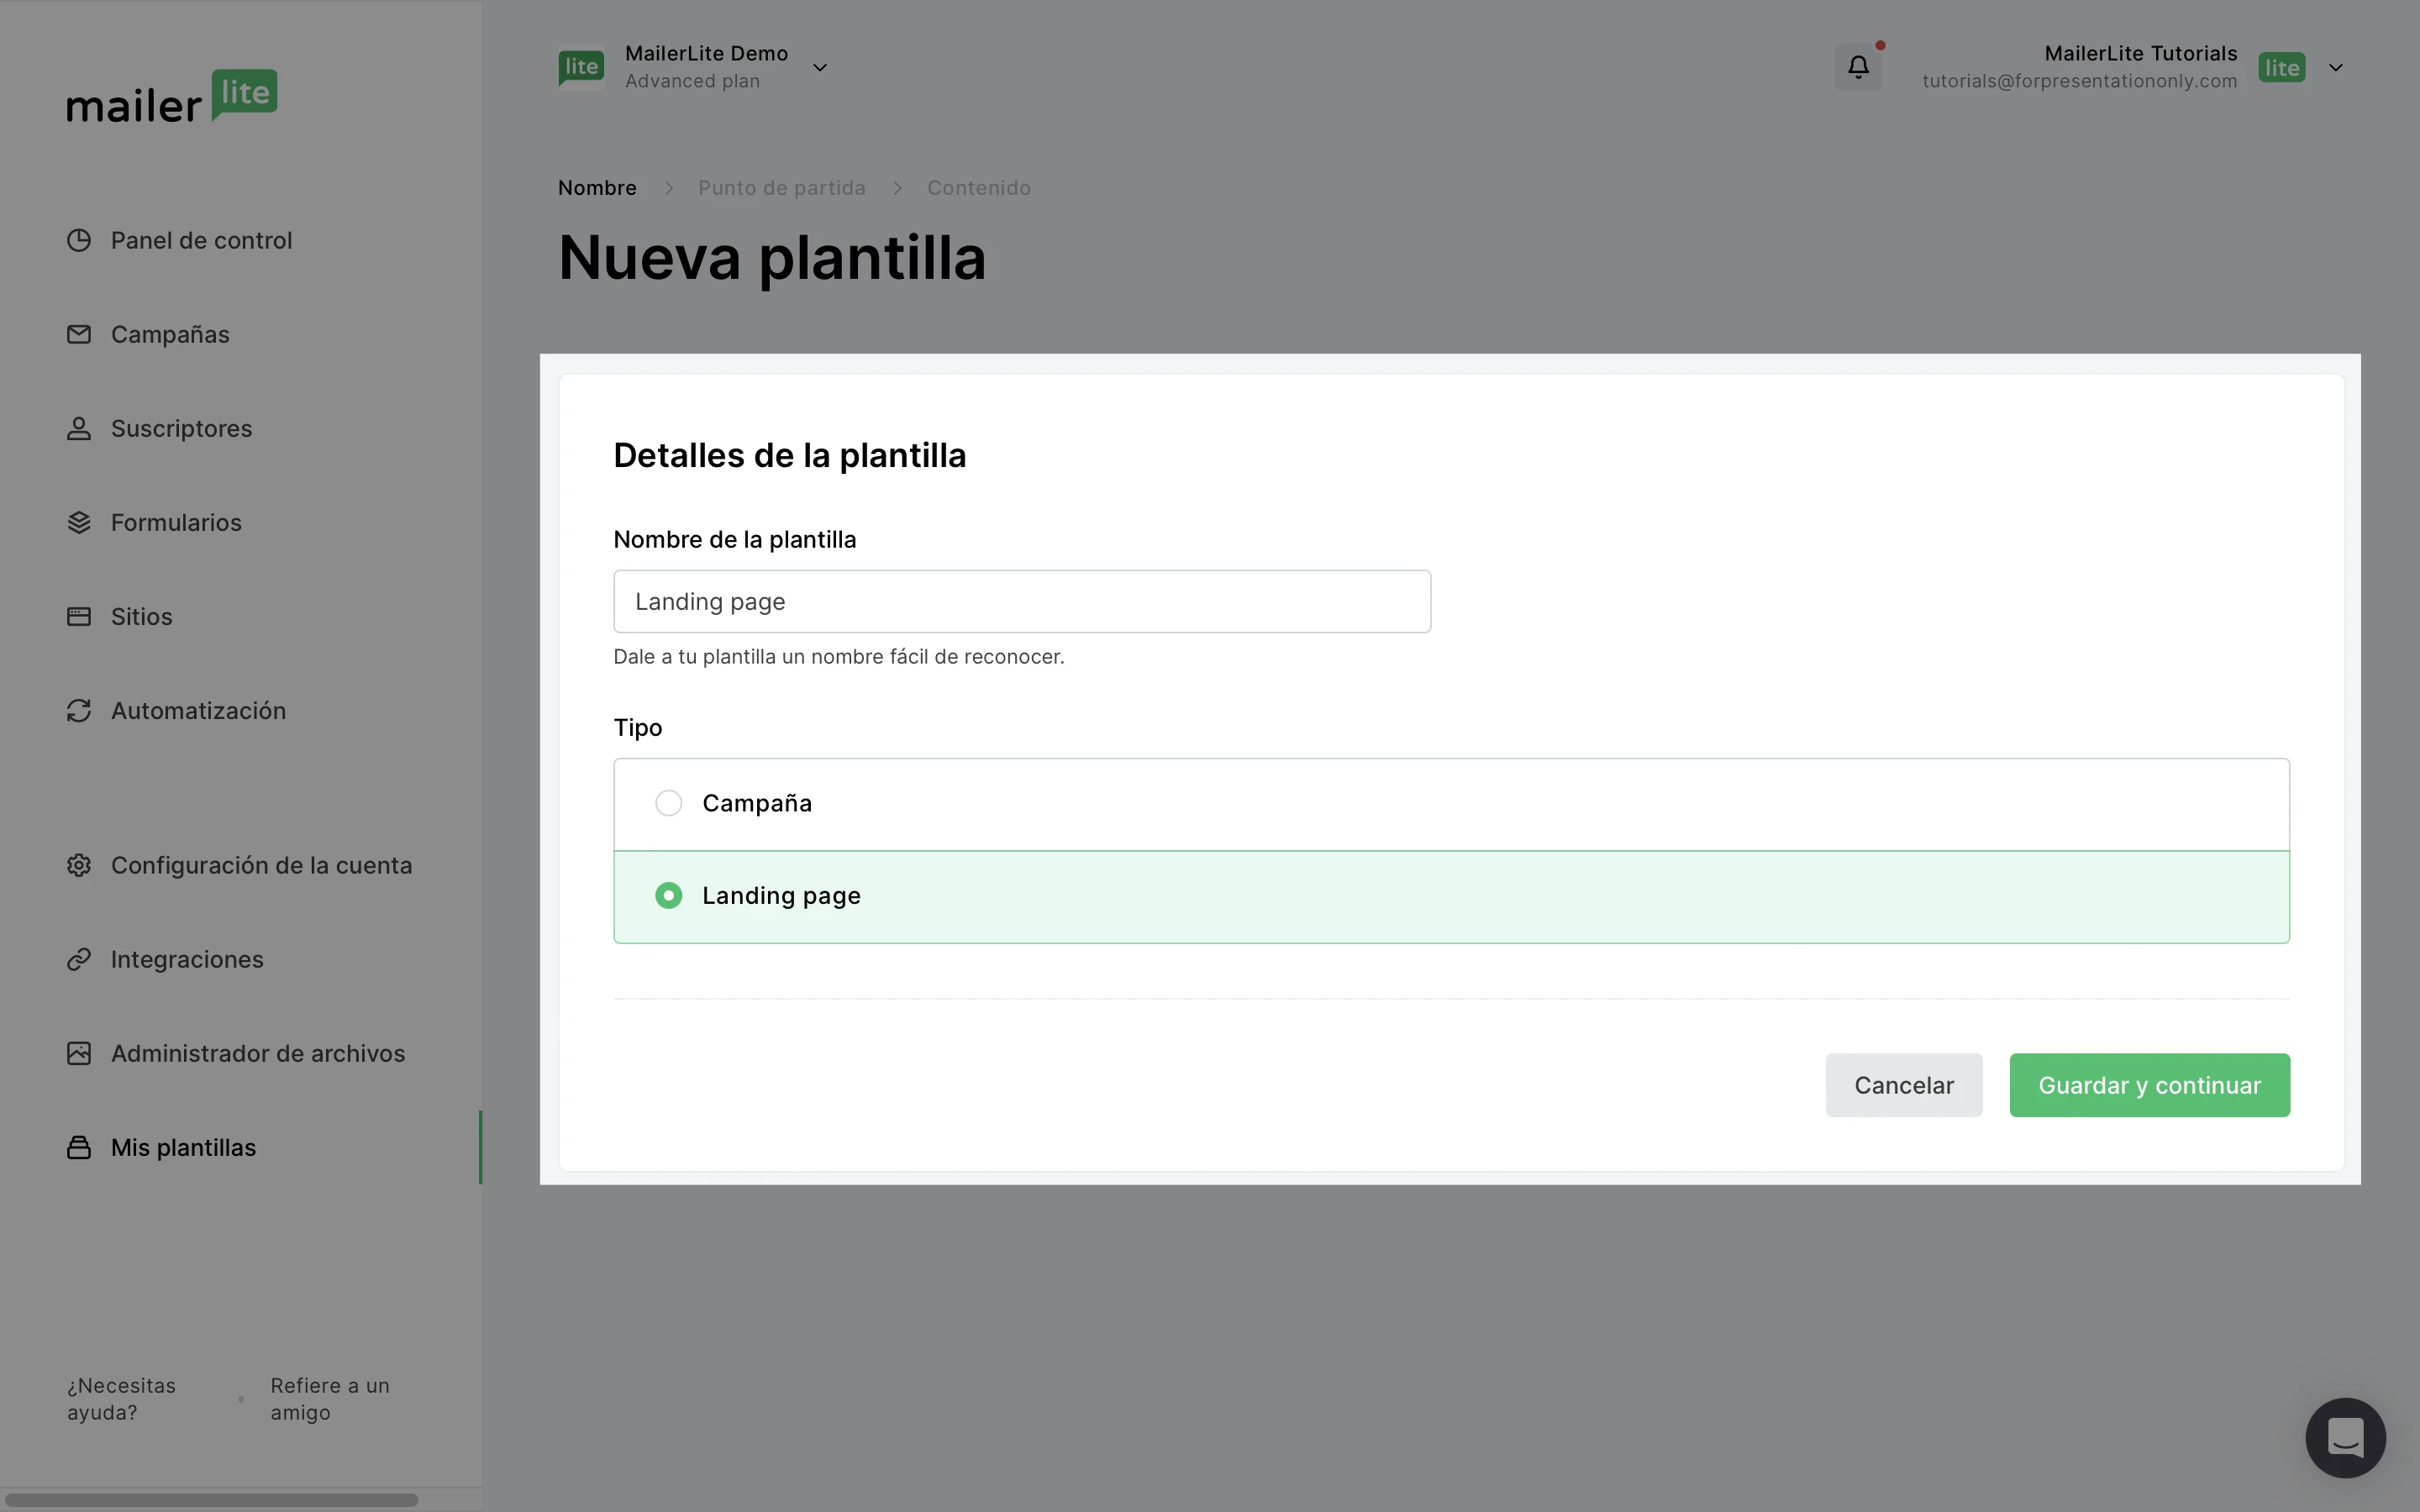
5. Haz clic en Siguiente.
6. Selecciona una plantilla predefinida a partir de la cual crear tu nueva plantilla de página de destino.
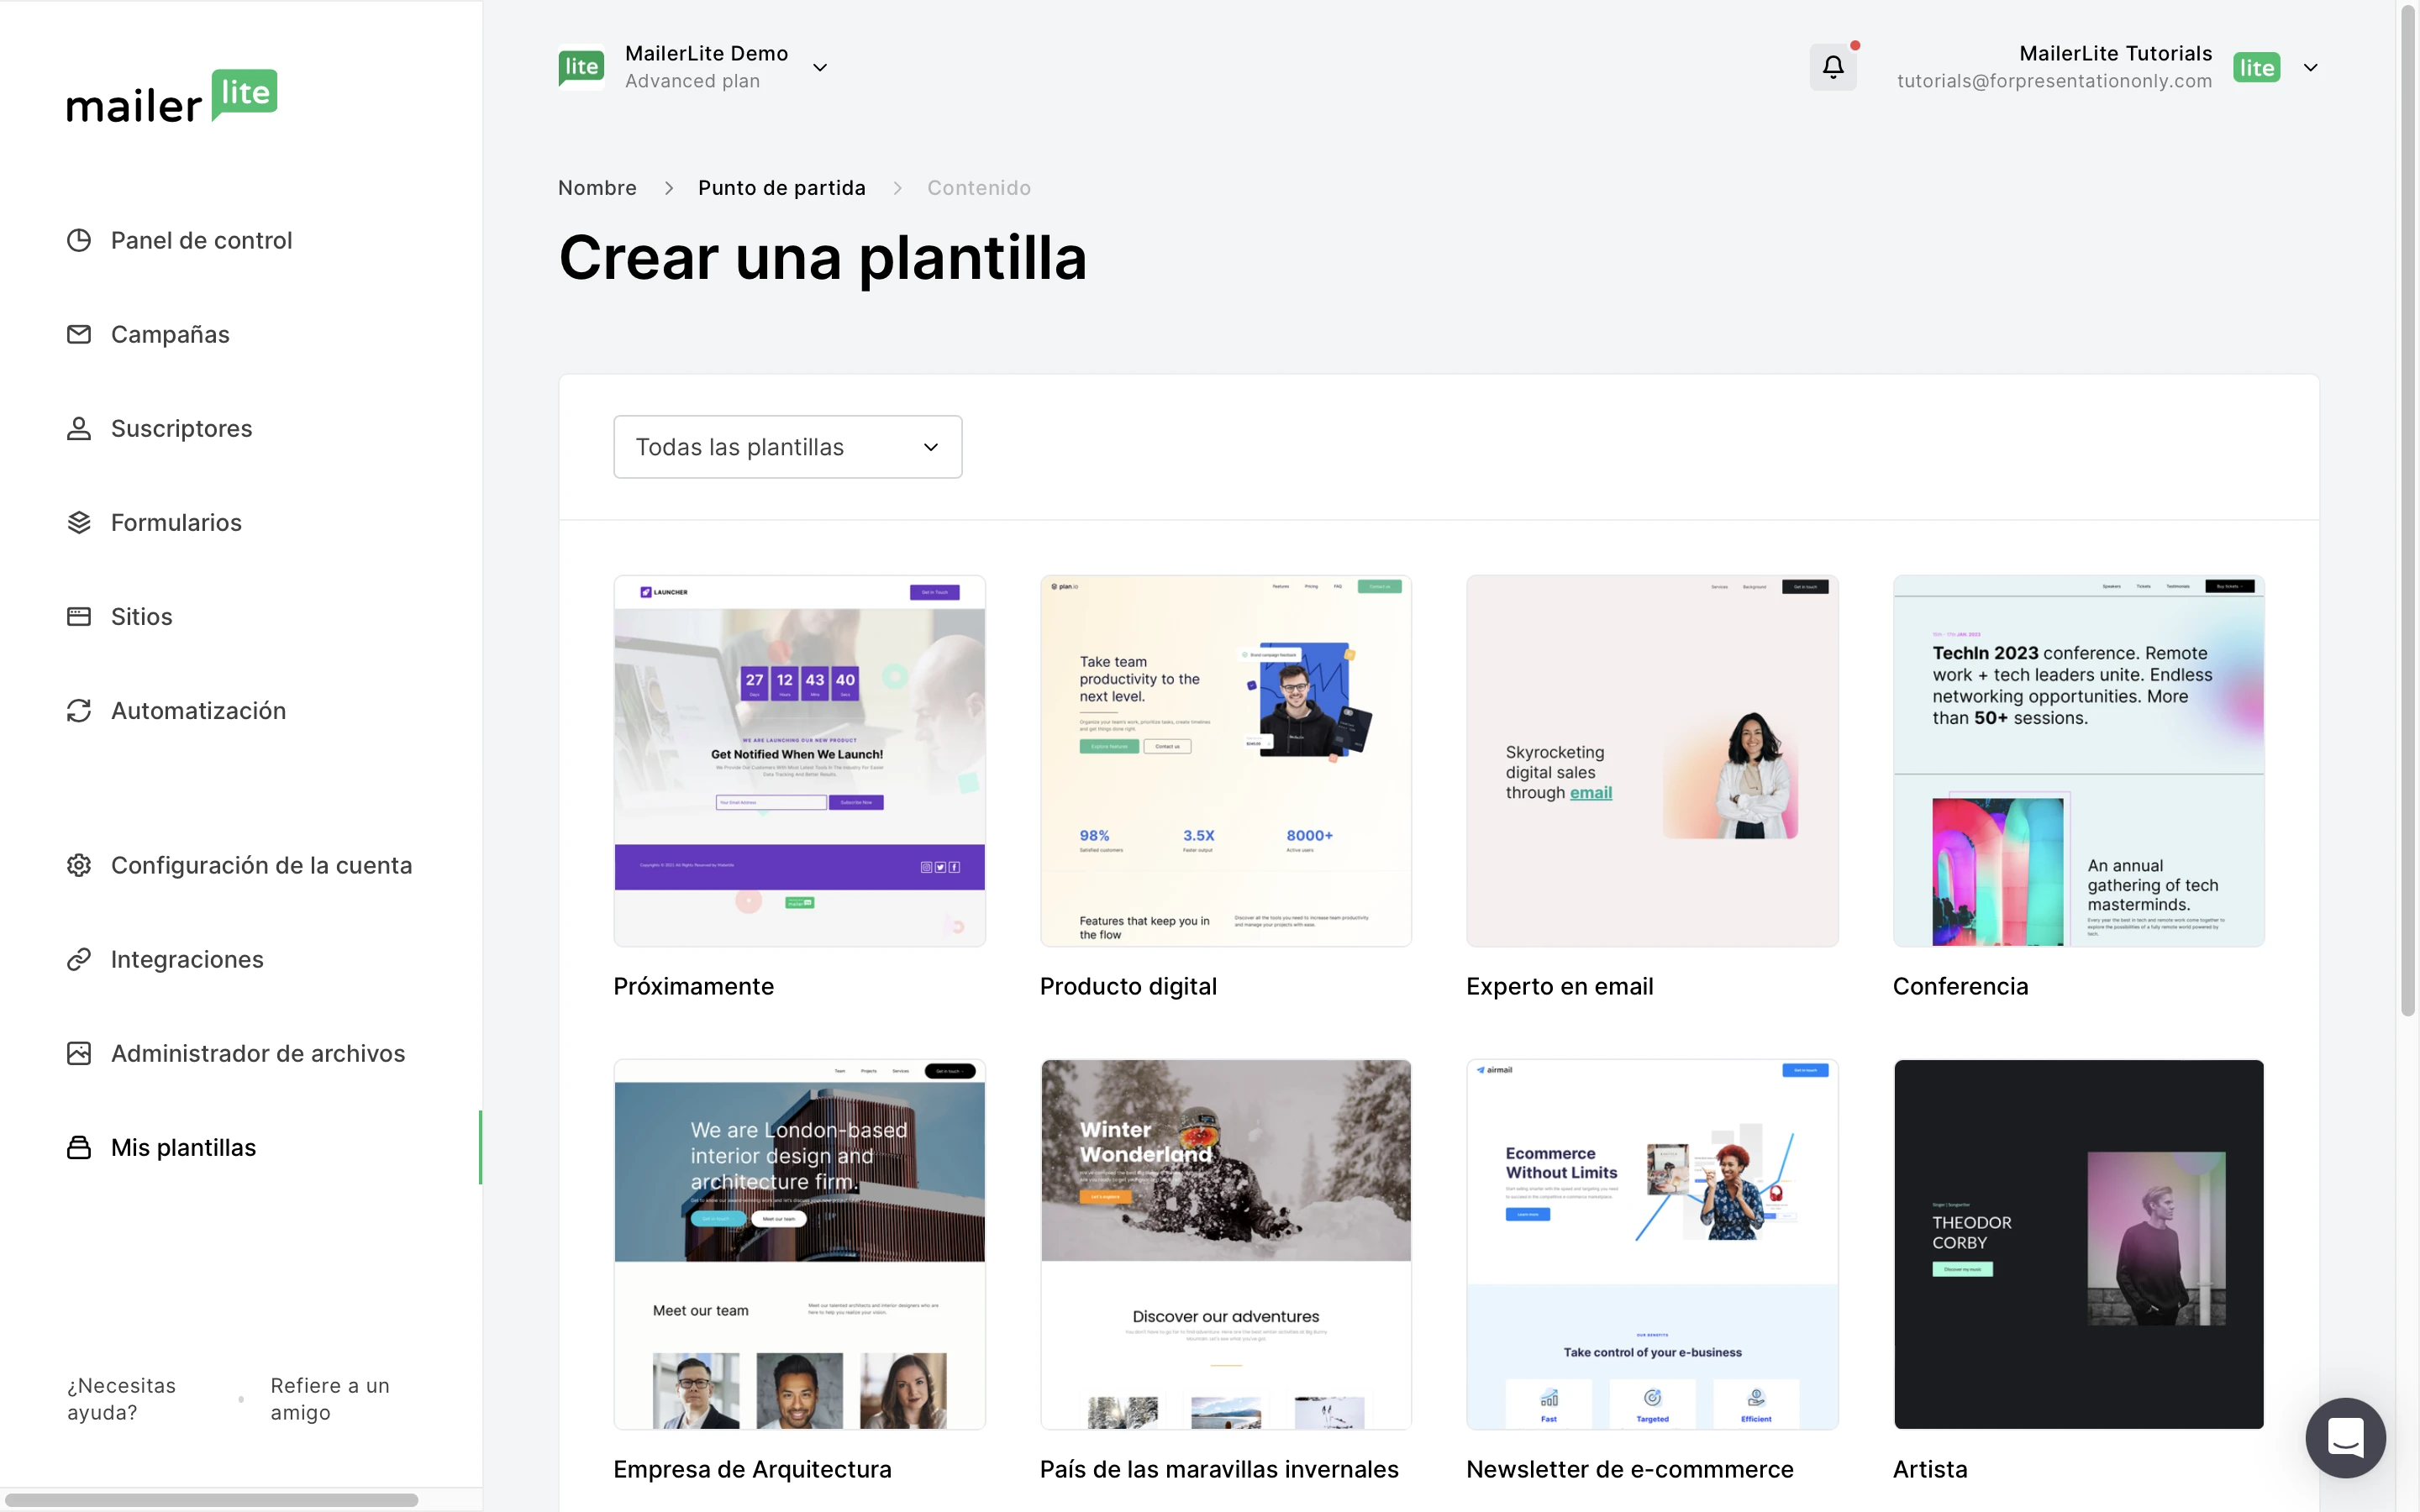
7. Cuando hayas terminado de diseñar tu plantilla, haz clic en Guardar plantilla.
¡Eso es todo! Ahora puedes elegir esta plantilla cada vez que crees una nueva landing page.
También puedes guardar cualquiera de tus landing pages existentes como plantilla con las siguientes instrucciones:
Abre tu landing page en el editor de landing page.
Haz clic en el botón Acciones.
Selecciona Guardar como plantilla.

Cómo configurar landing pages para SEO
En la configuración de tu página, encontrarás la configuración SEO. Aquí puedes optimizar tu página de destino para los motores de búsqueda. Para encontrar tu configuración SEO:
Ve a la página Sitios.
Haz clic en la pestaña Landing page.
Selecciona tu página de destino.
Desplázate hasta Configuración y haz clic en Editar configuración.
Desplázate hacia abajo hasta que veas la pestaña de configuración SEO.
Aquí encontrará tres campos:
Título de la página - El título de la página es visible en los resultados de búsqueda y aparecerá en la pestaña de tu navegador. Crea un título fácil de entender y que dé al visitante una idea de lo que trata la página. Intenta ser lo más informativo posible y añade tu frase principal de palabras clave en el título de la página.
Palabras clave de la página - Aquí puedes añadir palabras y frases que describan tu landing page. Las palabras clave de la página no son visibles para los visitantes de la página, y sólo serán vistas por los motores de búsqueda. No influye en Google a la hora de clasificar tu página, pero puede influir en otros motores de búsqueda. Separa las palabras clave con comas.
Descripción de la página - La descripción de la página es visible en los motores de búsqueda y aparece debajo del título de la página. Aquí puedes proporcionar información adicional que no figure en el título de la página. También es una oportunidad para atraer a visitantes potenciales y animarles a hacer clic en tu página. Recomendamos incluir la frase principal de la palabra clave en la descripción.
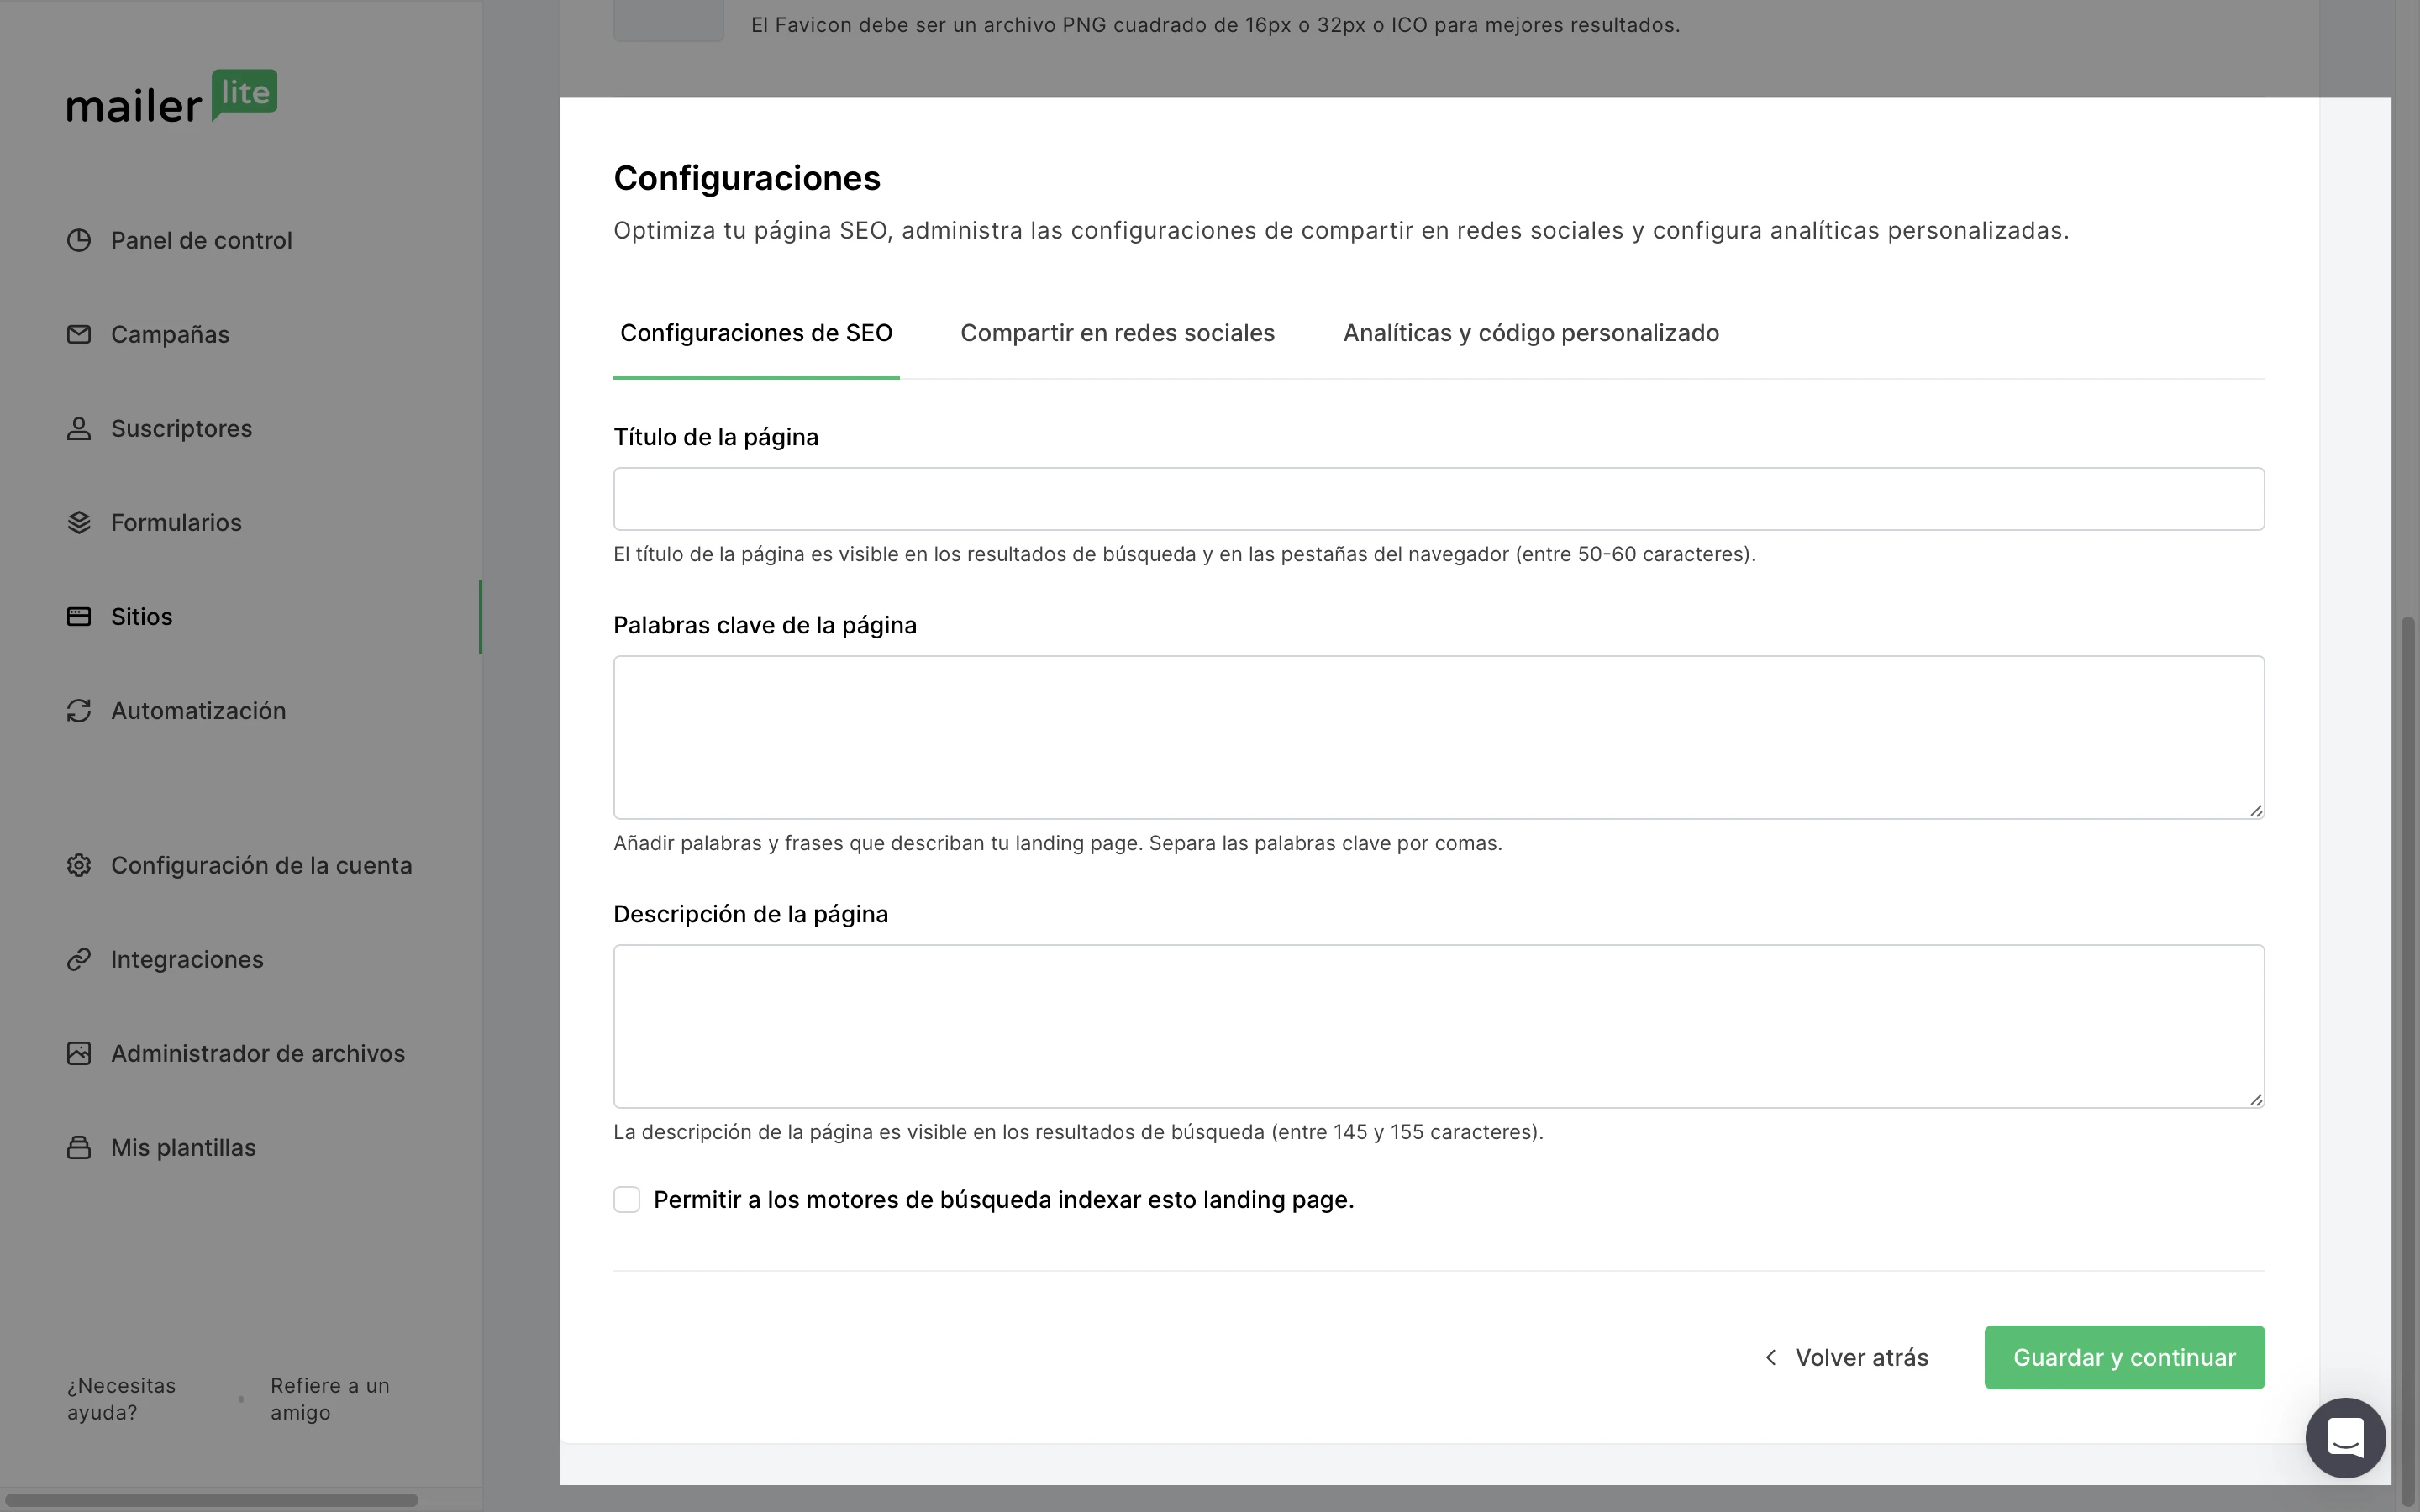
Marca la casilla Permitir que los motores de búsqueda indexen la landing page si deseas que ésta aparezca en los resultados de los motores de búsqueda.
Cumplimiento del RGPD por MailerLite
RGPD significa Reglamento General de Protección de Datos (GDPR por sus siglas en inglés). Se trata de un conjunto de directrices sobre cómo recopilar y procesar información personal obtenida de personas que viven en la Unión Europea.
Tiene siete principios clave:
Legalidad, imparcialidad y transparencia: informar plenamente al usuario sobre una base legal y mantener su palabra.
Limitación de la finalidad - especificar la finalidad de la recolección de datos
Minimización de datos: recopilar sólo los datos necesarios
Exactitud: los datos recopilados deben ser exactos y estar actualizados.
Limitación de almacenamiento: sólo conservar los datos recogidos durante un periodo de tiempo limitado.
Integridad y confidencialidad: mantener la seguridad y confidencialidad de los datos recogidos.
Responsabilidad: capacidad para garantizar el cumplimiento de los principios anteriores.
Puedes leer nuestro Acuerdo de procesamiento de datos para saber cómo nuestros servicios cumplen los requisitos del GDPR.
Si vas a añadir un formulario a tu landing page, te recomendamos que habilites los permisos de marketing para que cumpla con el RGPD.