Hay cinco formas de importar tus suscriptores a MailerLite, pero solo cubriremos las tres principales en este artículo:
Desde un archivo CSV o TXT
Copiar y pegar directamente desde un archivo de Excel
Adición manual de un solo suscriptor
Directamente desde Mailchimp (lee Cómo cambiar de Mailchimp a MailerLite)
A través de API (consulta nuestra documentación -solo disponible en inglés- para obtener más información).
Asegúrate de que todos los miembros de tu lista se hayan registrado y te hayan dado permiso para enviarles un correo electrónico. Consulta nuestra Política antispam y las Condiciones de uso para verificar que las cumples.
La importación no envía ningún correo electrónico de confirmación de suscripción doble a tus suscriptores porque confiamos en que ya hayas recibido sus permisos.
Nota: Eliminaremos automáticamente las instancias duplicadas de direcciones de correo electrónico de tu lista.
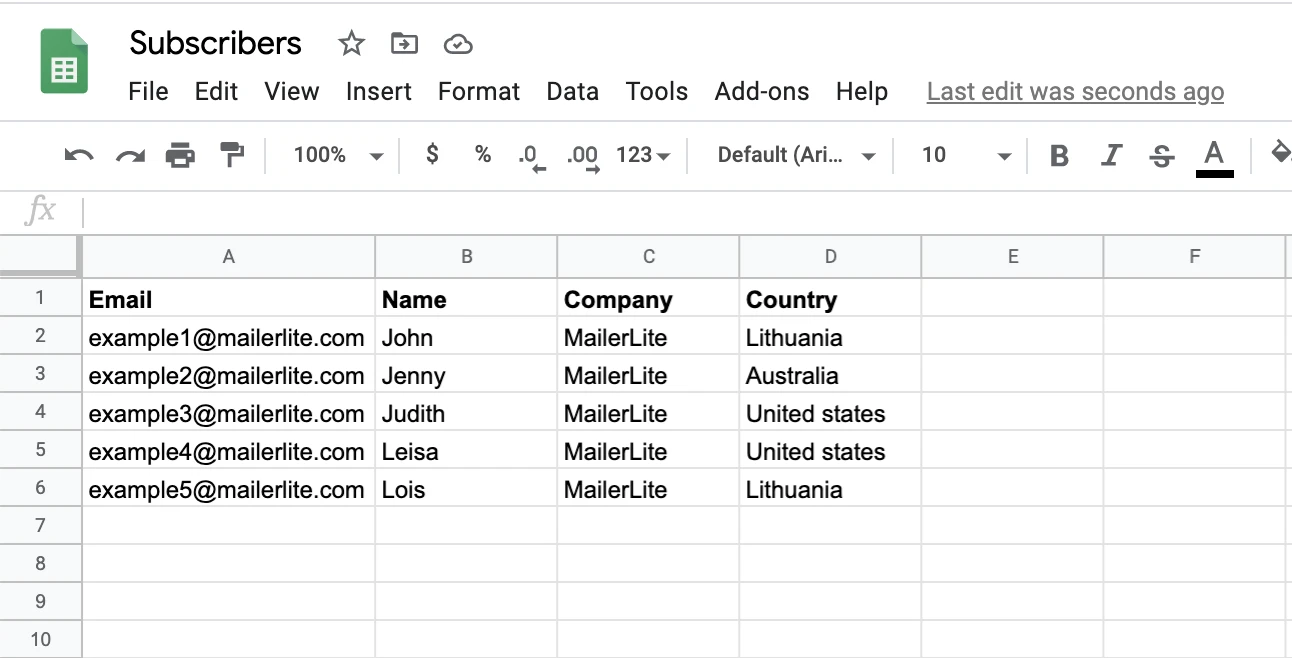
¿Qué son los archivos CSV, TXT y Excel?
Estos son tipos de archivos que se utilizan para almacenar datos en un formato específico. Un archivo TXT es un documento estándar de texto sin formato ni diseño. Los archivos CSV y Excel son hojas de cálculo en las que los datos se pueden registrar de forma ordenada y personalizada.
Cada columna de una hoja de cálculo representa un campo con los datos de los suscriptores. En esta hoja de cálculo de ejemplo, hay cuatro columnas diferentes. Representan los campos de Correo electrónico, Nombre, Empresa y País.
Antes de importar un archivo, ten en cuenta lo siguiente:
Si la lista de suscriptores contiene caracteres que no están en inglés, asegúrate de que el archivo se guarda con la codificación UTF-8 antes de importarlo. La mayoría de los editores de texto, como el Bloc de notas y TextEdit, ofrecen opciones de codificación al guardar el archivo.
Toda la información en un archivo de hoja de cálculo debe estar en una sola hoja.
No debe haber espacios antes o después del registro.
Cómo importar suscriptores
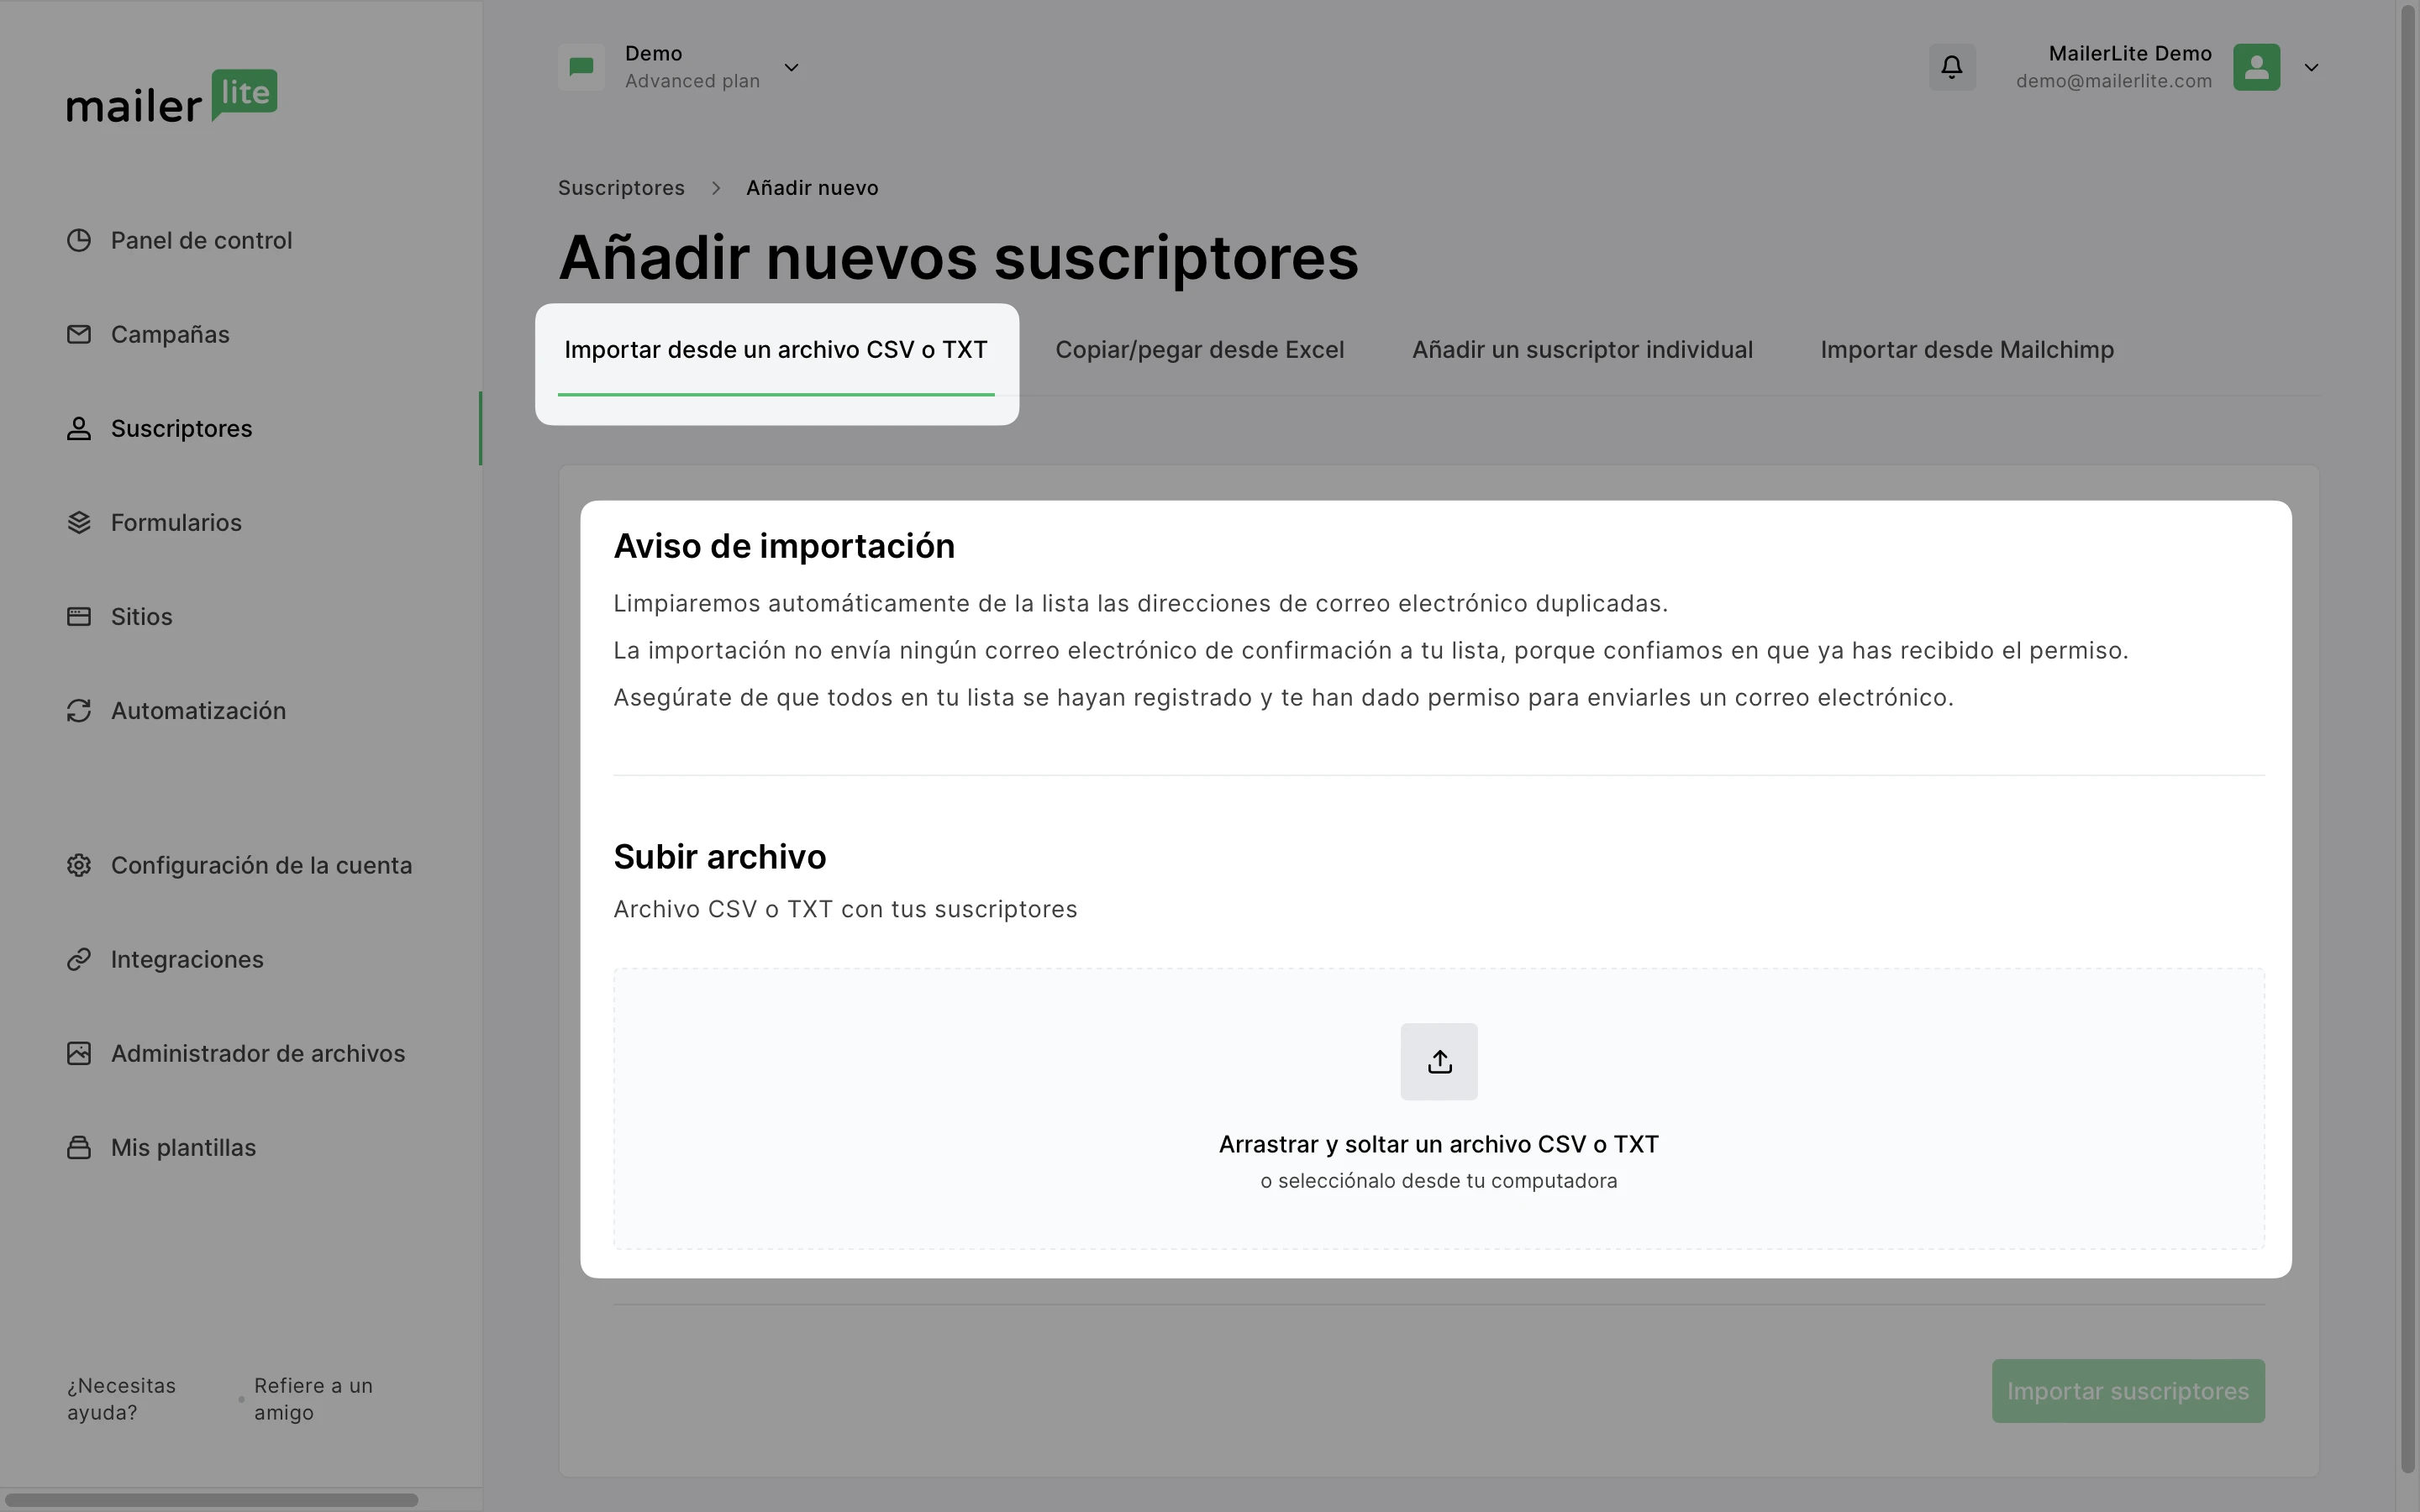
Ve a la página Suscriptores y haz clic en Agregar suscriptores.
Cómo importar suscriptores desde un archivo . CSV o TXT
Haz clic en la pestaña Importar desde un archivo CSV o TXT.
Arrastra y suelta el archivo con tus suscriptores en el cuadro, o selecciona el archivo de tu computadora. Se cargará automáticamente.
Haz clic en Importar suscriptores.
Se te redirigirá a la página Configuración de importación. Desplázate hasta la sección Configuración de importación de este artículo para obtener más instrucciones.
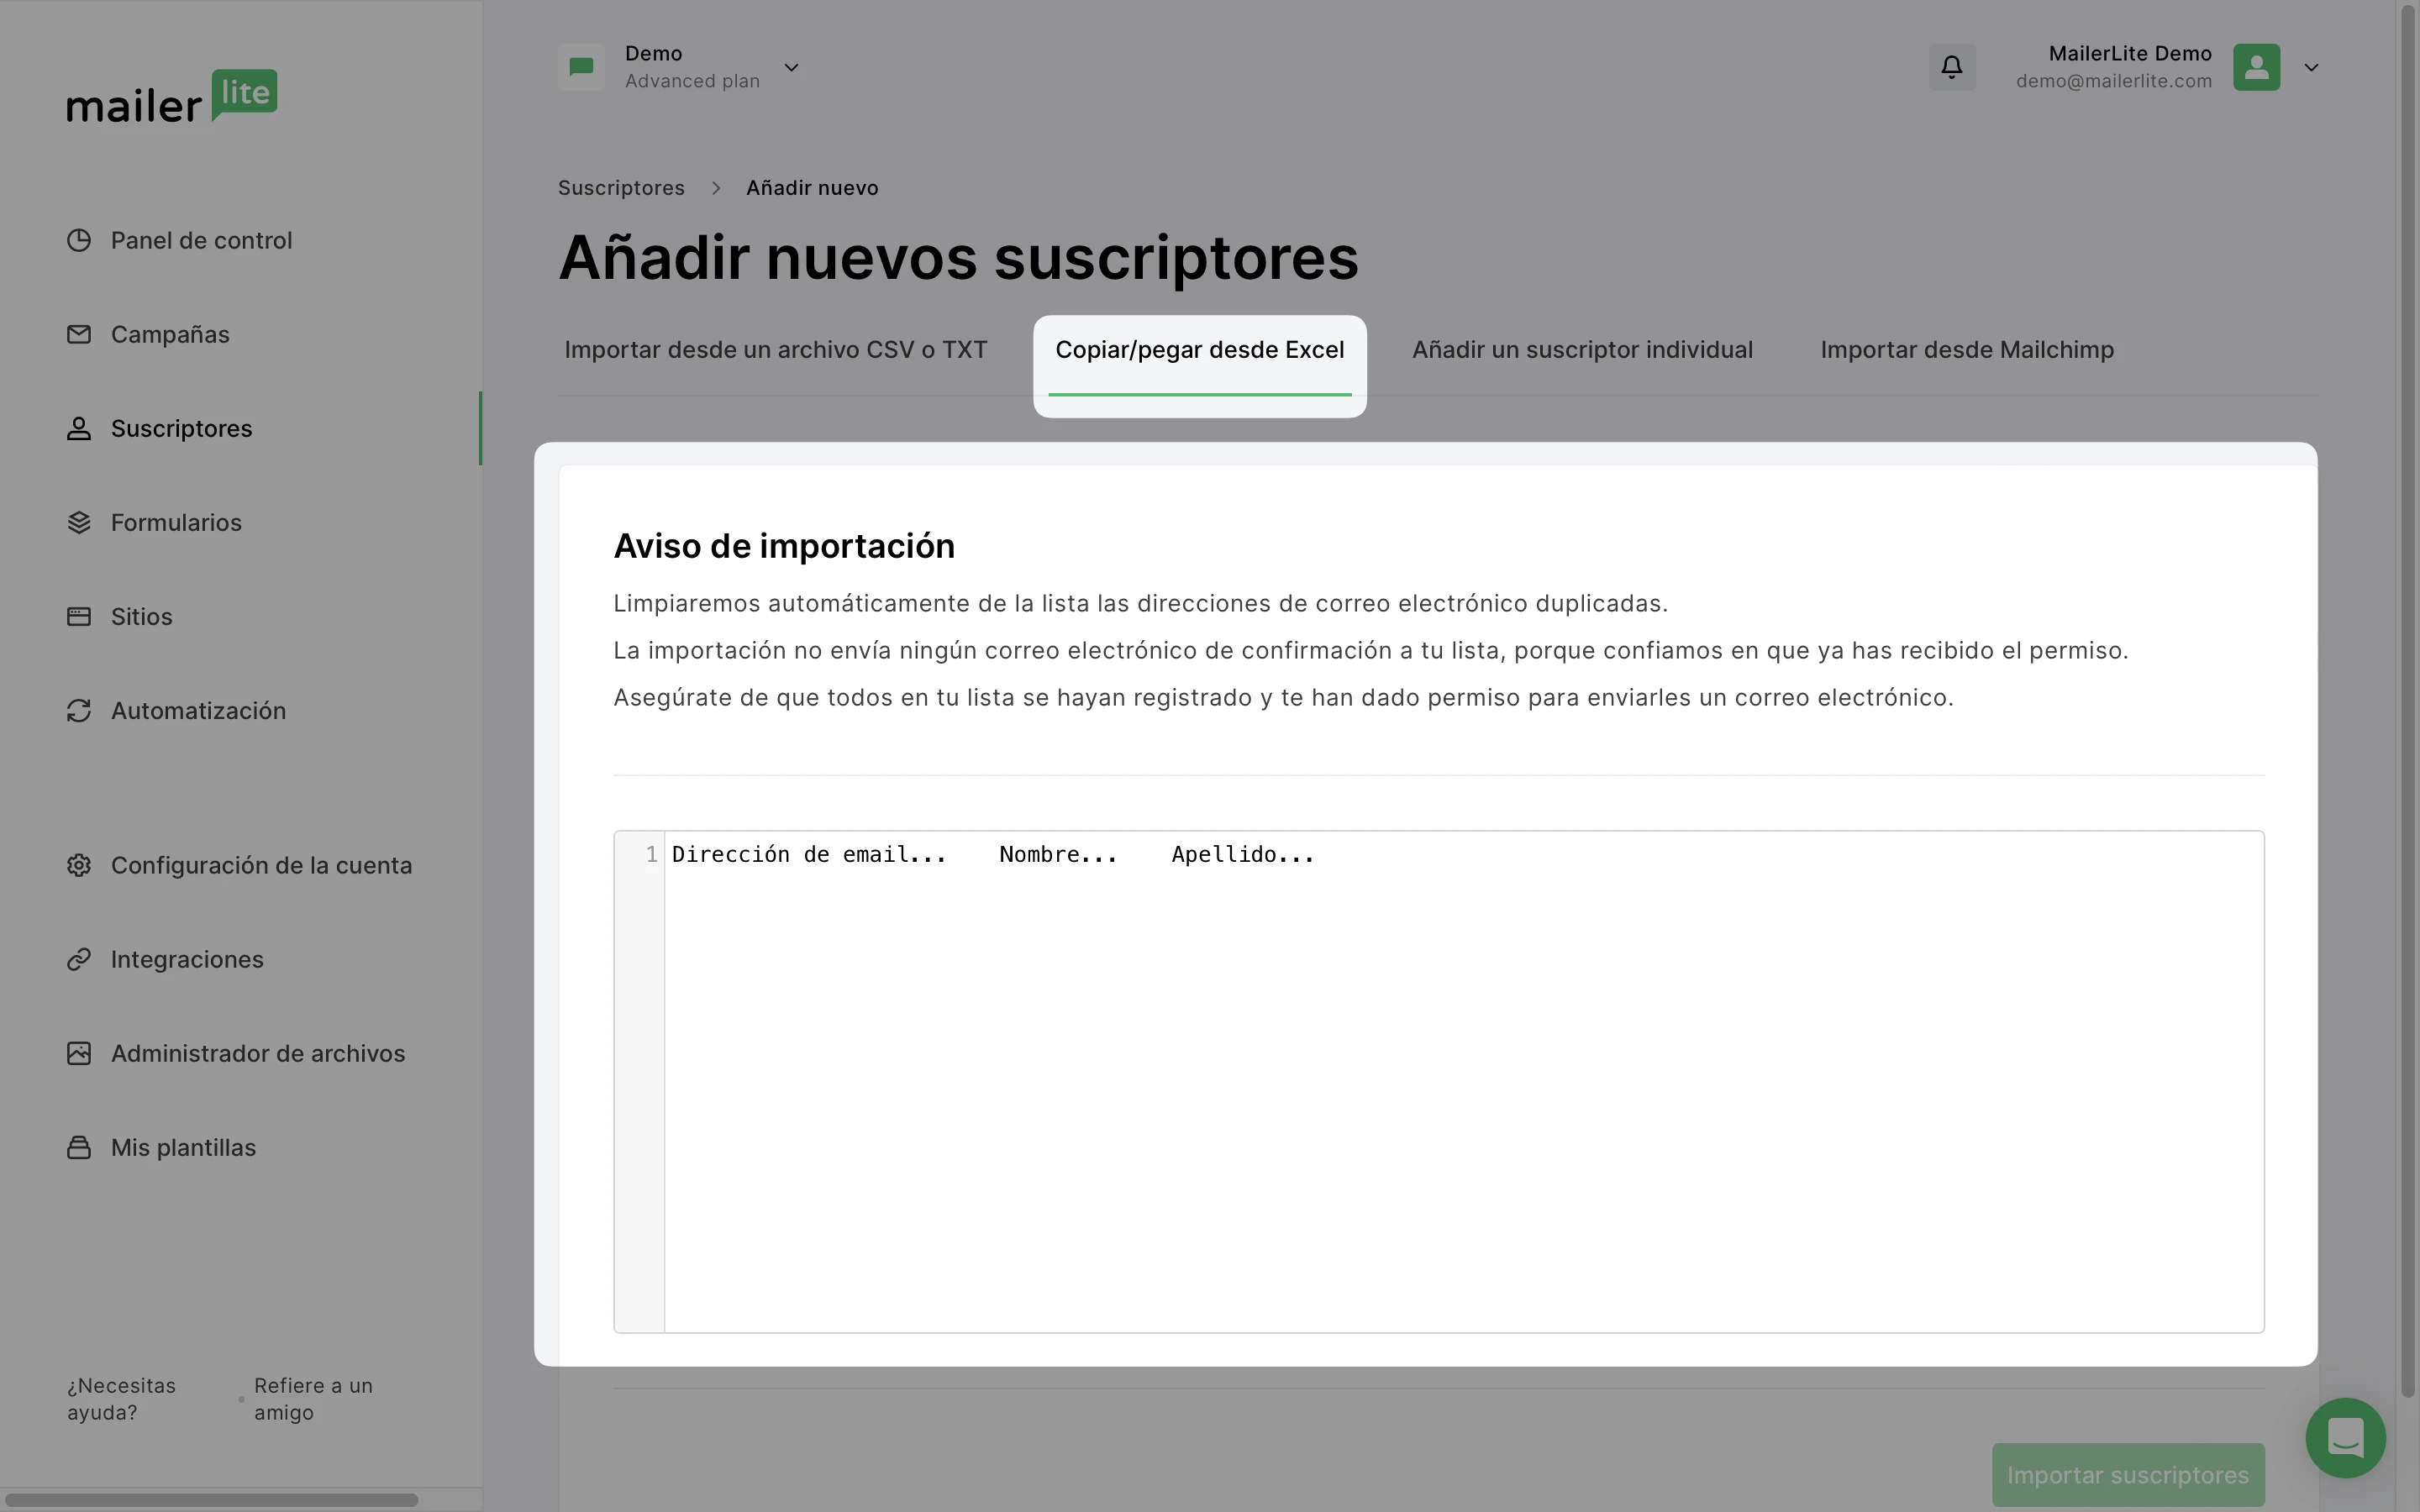
Cómo importar suscriptores copiando y pegando desde Excel
1. Selecciona la pestaña Copiar/pegar desde Excel.
2. Copia todas las filas y columnas de tu hoja de cálculo de Excel que desees cargar en tu lista de suscriptores de MailerList, luego pégalas en el cuadro de texto.
3. Haz clic en Importar suscriptores.
Se te redirigirá a la página Configuración de importación. Desplázate hasta la sección Configuración de importación de este artículo para obtener más instrucciones.
Cómo agregar un solo suscriptor
Si deseas agregar un solo suscriptor, debes enviar manualmente los datos del suscriptor.
Selecciona la pestaña Agregar suscriptor único.
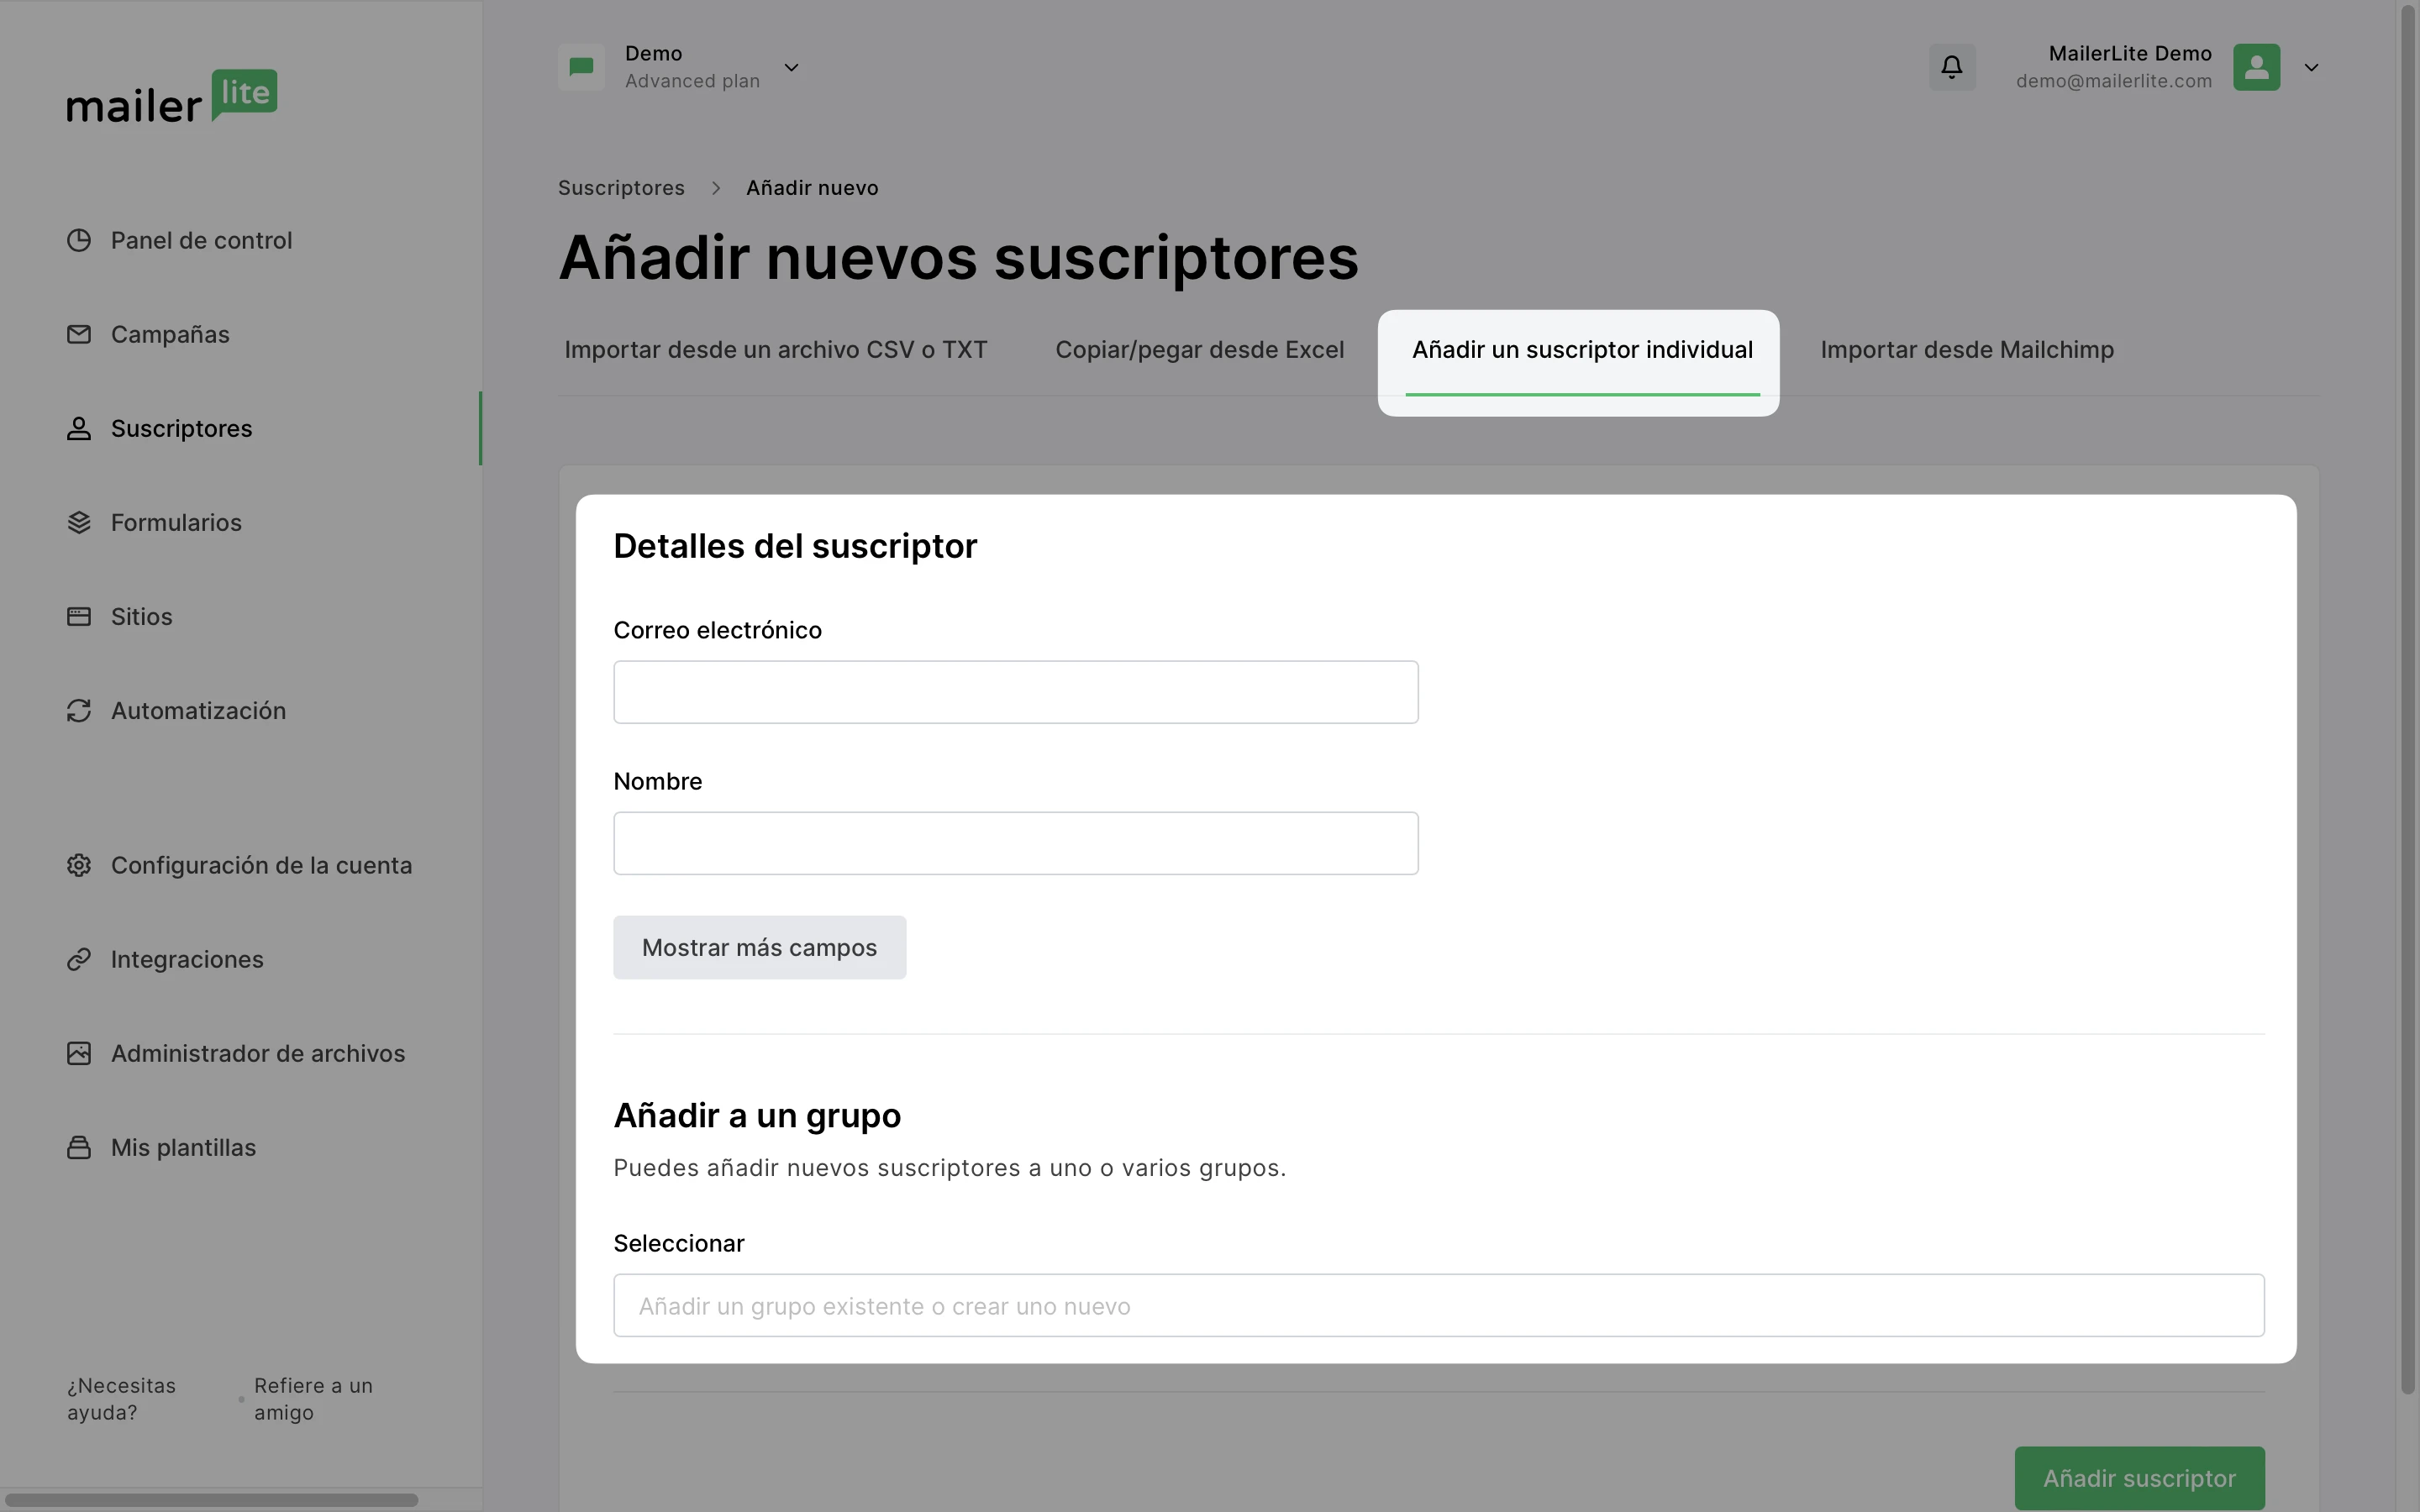
Completa los campos Correo electrónico y Nombre del suscriptor.
Para agregar más campos, haz clic en la opción Mostrar más campos.
Para agregar el suscriptor a uno o varios grupos, escribe los nombres de los grupos y elige entre las opciones desplegables de la sección Agregar al grupo.
Haz clic en el botón Agregar suscriptor para agregar tu suscriptor a la lista.
Configuración de importación
Después de cargar tu lista, se te pedirá que edites la configuración de la importación.
Procederás a elegir a qué grupo(s) añadir tus suscriptores, y a hacer coincidir las columnas de tu hoja de cálculo con los campos de tu lista de suscriptores de MailerLite, si es necesario.
Para importar suscriptores a un grupo:
Haz clic en el cuadro de texto y escribe el nombre del grupo. Selecciónalo de la(s) opción(es) proporcionada(s).
Para agregar suscriptores a un nuevo grupo, primero créalo haciendo clic en el cuadro de texto y escribe el nombre del nuevo grupo. Luego, haz clic en la opción Agregar nuevo grupo, justo debajo.
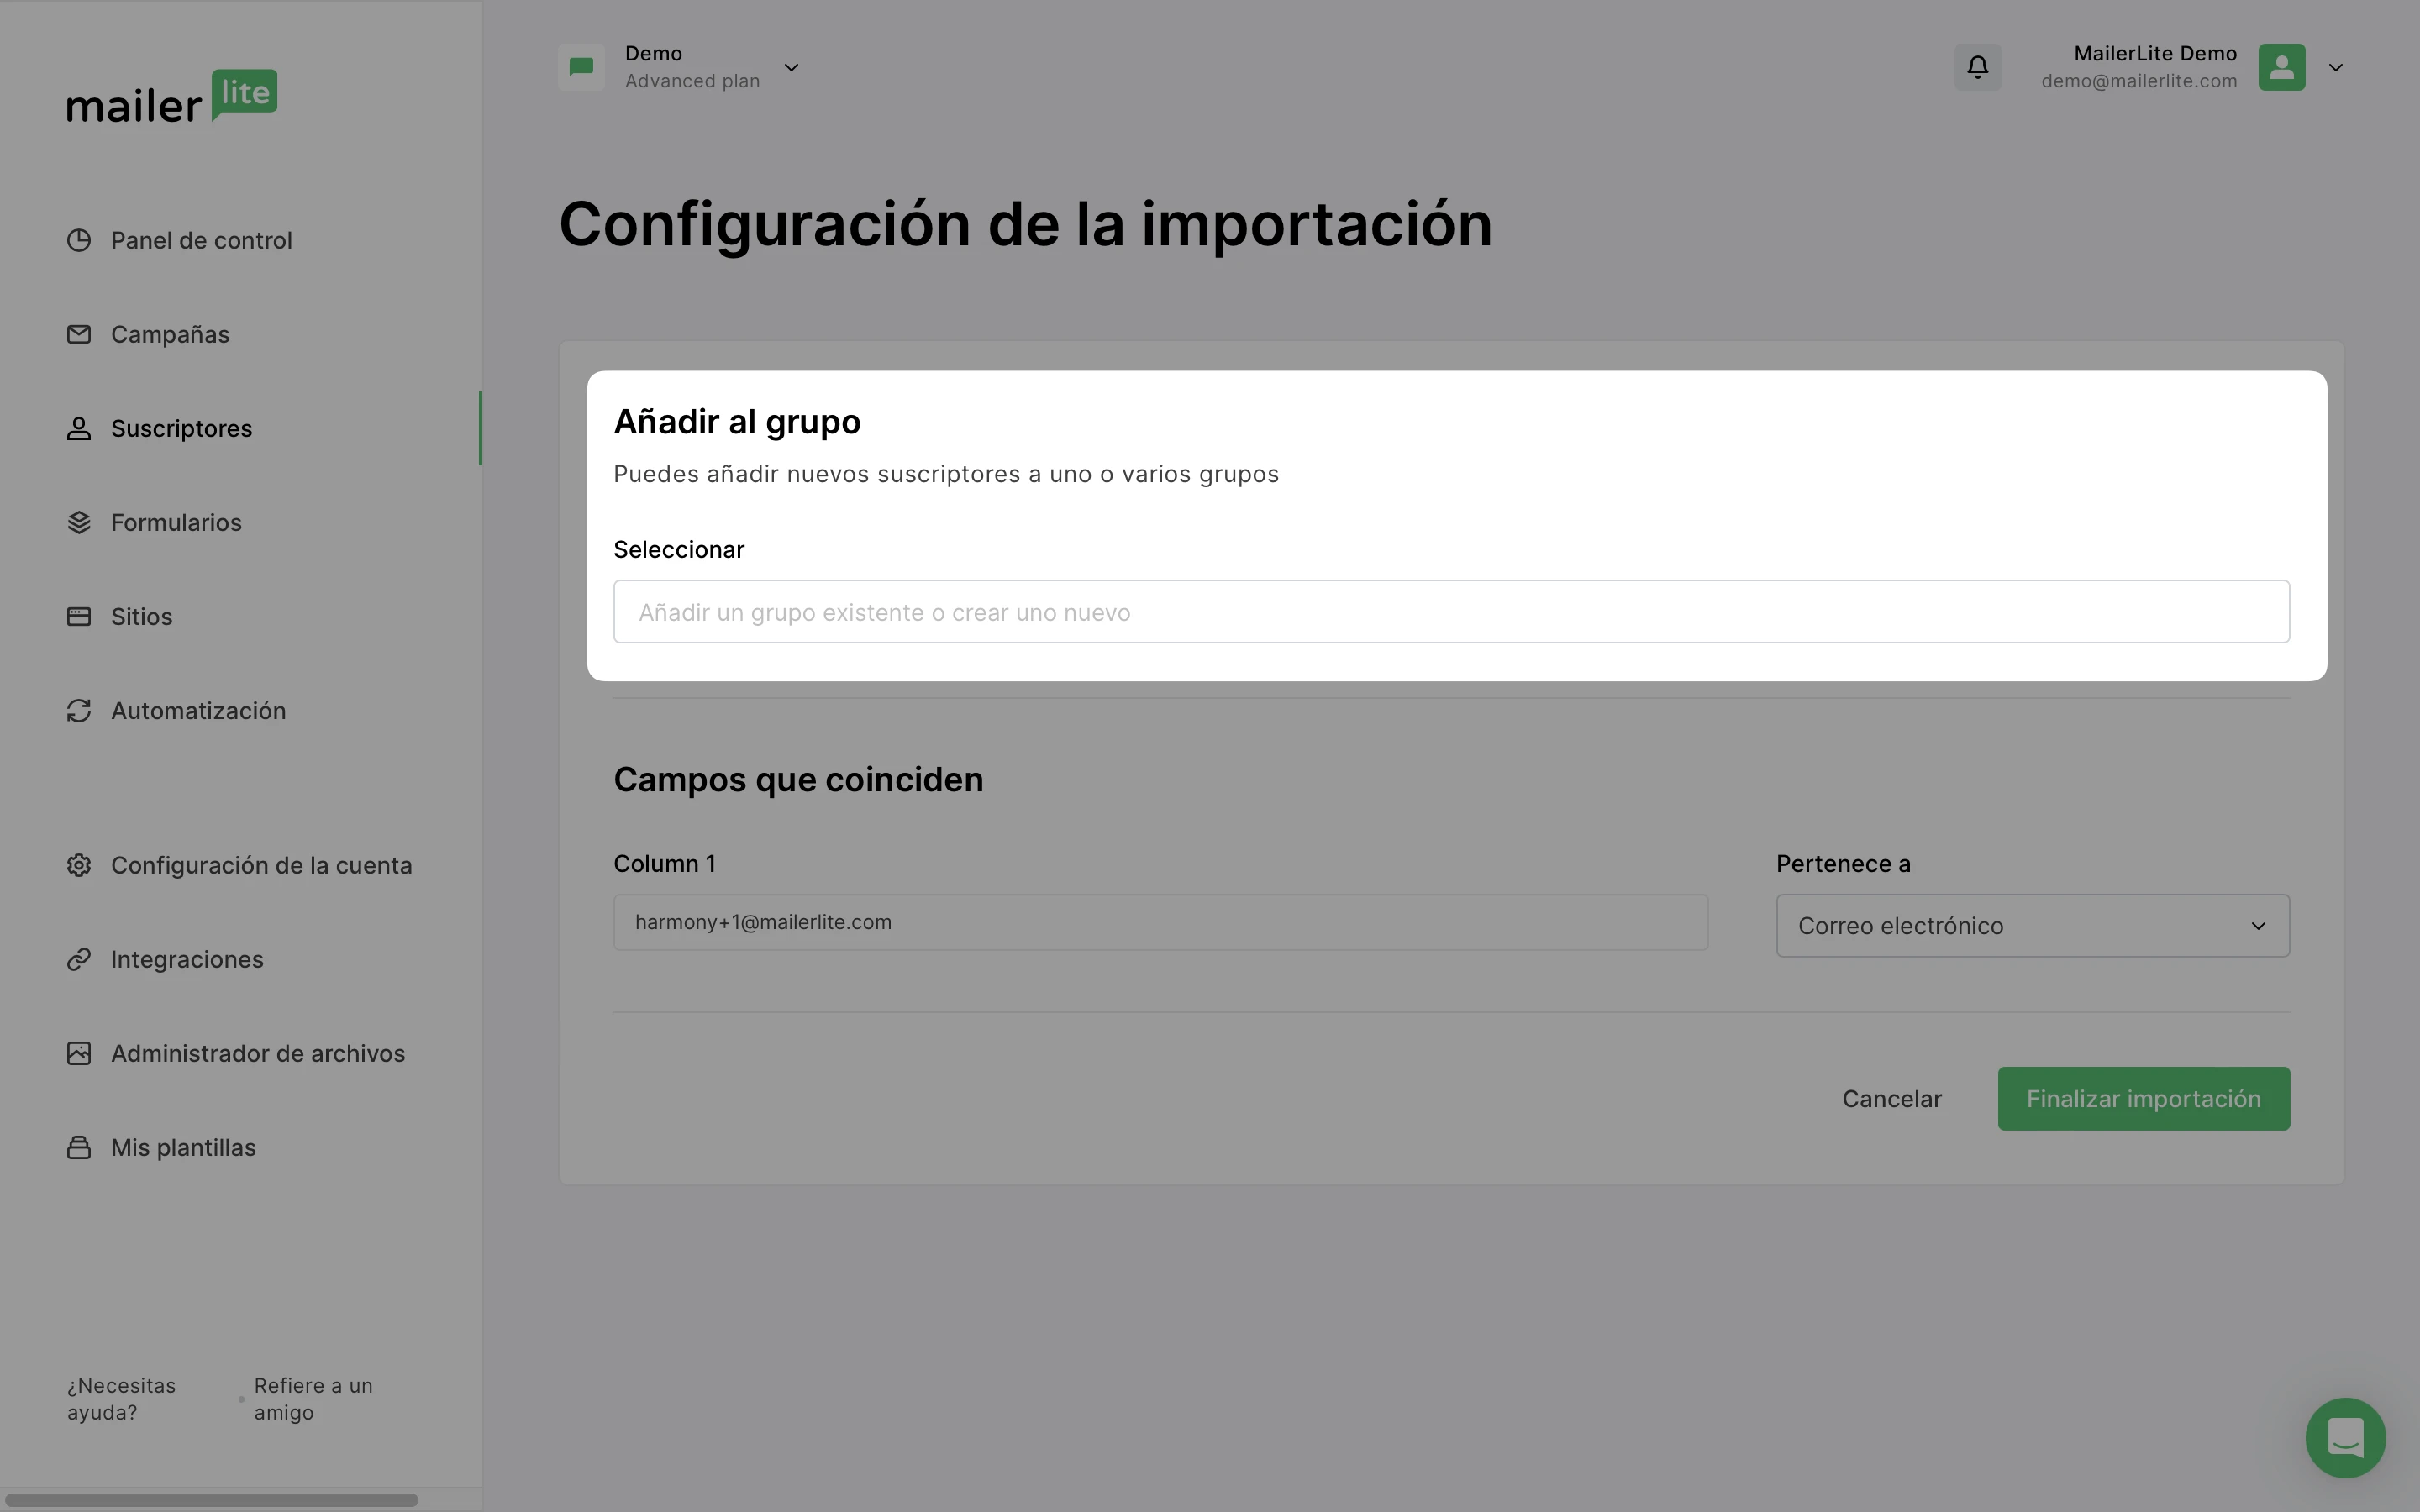
Para hacer coincidir un campo:
Aprende lo que representa cada columna con sus datos: Nombre, correo electrónico, número de teléfono, país, etc.
Asigna el campo correcto a la columna específica seleccionando el nombre del campo debajo del texto Pertenece a.
Elige si deseas que los nuevos suscriptores se activen automáticamente en cualquier flujo de trabajo de automatización asociado a un grupo.
Haz clic en Finalizar importación una vez que hayas terminado.
El archivo comenzará a importarse y, una vez finalizado el proceso, se te notificará cuántos suscriptores se agregaron correctamente y cuántos fallaron (si los hay).
En el siguiente ejemplo, se encontraron una dirección de correo electrónico no válida y una duplicada dentro de la lista cargada. Esto significa que las direcciones de correo electrónico no se agregaron a la lista.
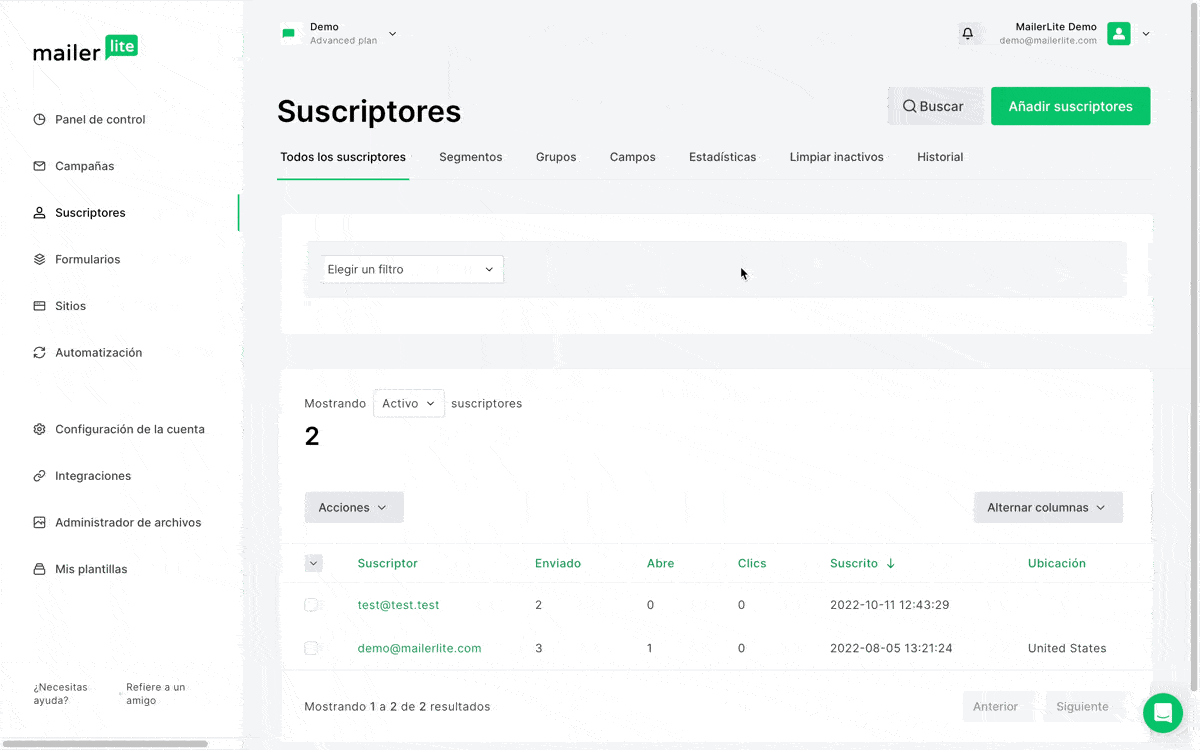
Una vez que hayas revisado tu importación, puedes dirigirte a la página Suscriptores y encontrar que los suscriptores se han agregado correctamente.
¿Por qué la importación de suscriptores podría fallar?
Las razones por las que algunas direcciones de correo electrónico pueden no importarse incluyen:
La dirección de correo electrónico no es válida (inexistente).
La dirección de correo electrónico ya se ha dado de baja de tu lista.
La dirección de correo electrónico está prohibida.
Algunos correos electrónicos basados en roles, como los que comienzan con "admin@", "support@", "billing@" están en una lista prohibida porque no suelen ser utilizados por suscriptores genuinos. Estos correos electrónicos rara vez se registran voluntariamente en las listas y se utilizan muy a menudo para el envío de correos en frío o spam.
Las direcciones de Gmail con cinco caracteres o menos también se incluyen en la lista prohibida porque también es muy probable que no sean válidas.
Si tienes una dirección de correo electrónico prohibida que crees que es legítima, puedes cargarla a través de la pestaña Agregar un solo suscriptor.