Note: If you're a Legacy (Classic) user, please log in to your account to access the dedicated Legacy (Classic) Help Center.
There are five ways you can import your subscribers to MailerLite:
Import from a CSV or TXT file
Copying and pasting directly from an Excel file
Manually adding a single subscriber
Directly from Mailchimp (read How to switch from Mailchimp to MailerLite)
Via API (check our documentation to learn more)
Be sure every subscriber added to your account has given their consent to receive marketing emails from you. Check our Anti-Spam policy and Terms of Use to verify you’re complying with them.
💡 Duplicate subscribers
We'll automatically clean duplicate instances of email addresses from your list.
What are CSV, TXT, and Excel files?
These are types of files that are used to store data in a specific format. A TXT file is a standard document of text with no formatting or design. CSV and Excel files are spreadsheets where data can be recorded in a custom orderly fashion.
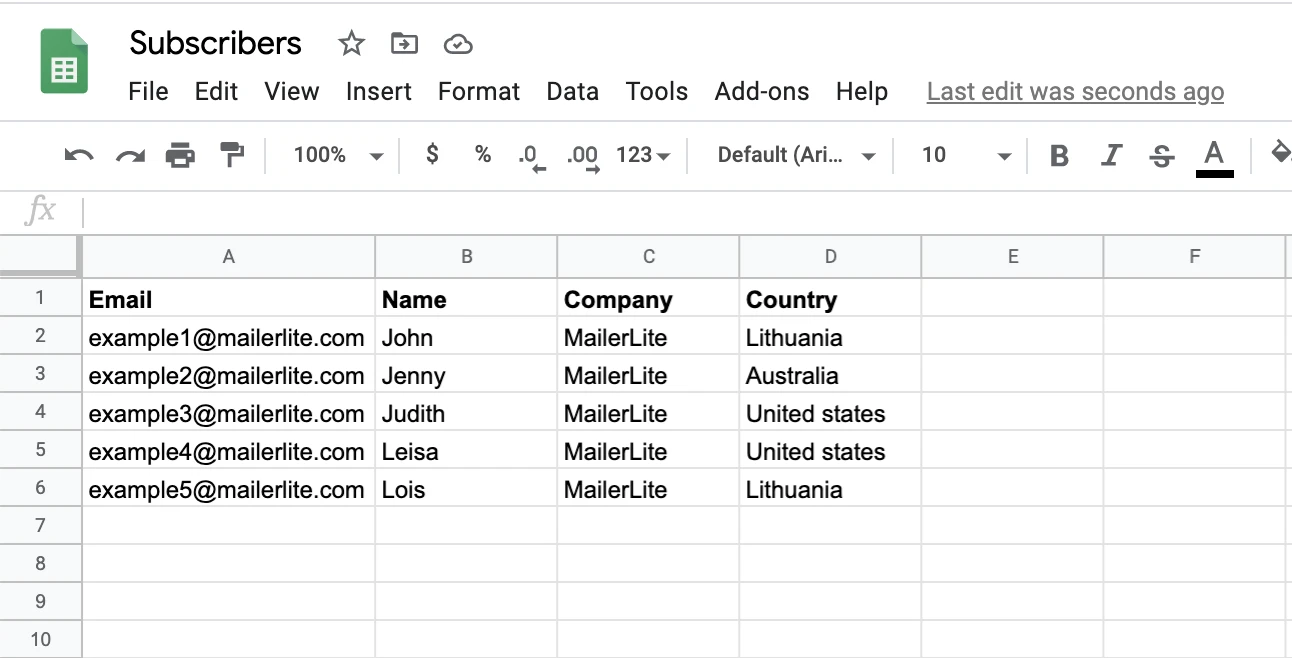
Each column in a spreadsheet represents a field with subscribers’ data. In this example spreadsheet, there are four different columns. They represent the fields for Email, Name, Company, and Country.
Before importing a file, keep the following in mind:
If your list of subscribers contains non-English characters, ensure the file is saved using UTF-8 encoding before you import it. Most text editors, such as Notepad and TextEdit, offer encoding options when you save the file.
All information on a spreadsheet file has to be in one sheet.
There should be no spaces before or after the record.
How to import subscribers
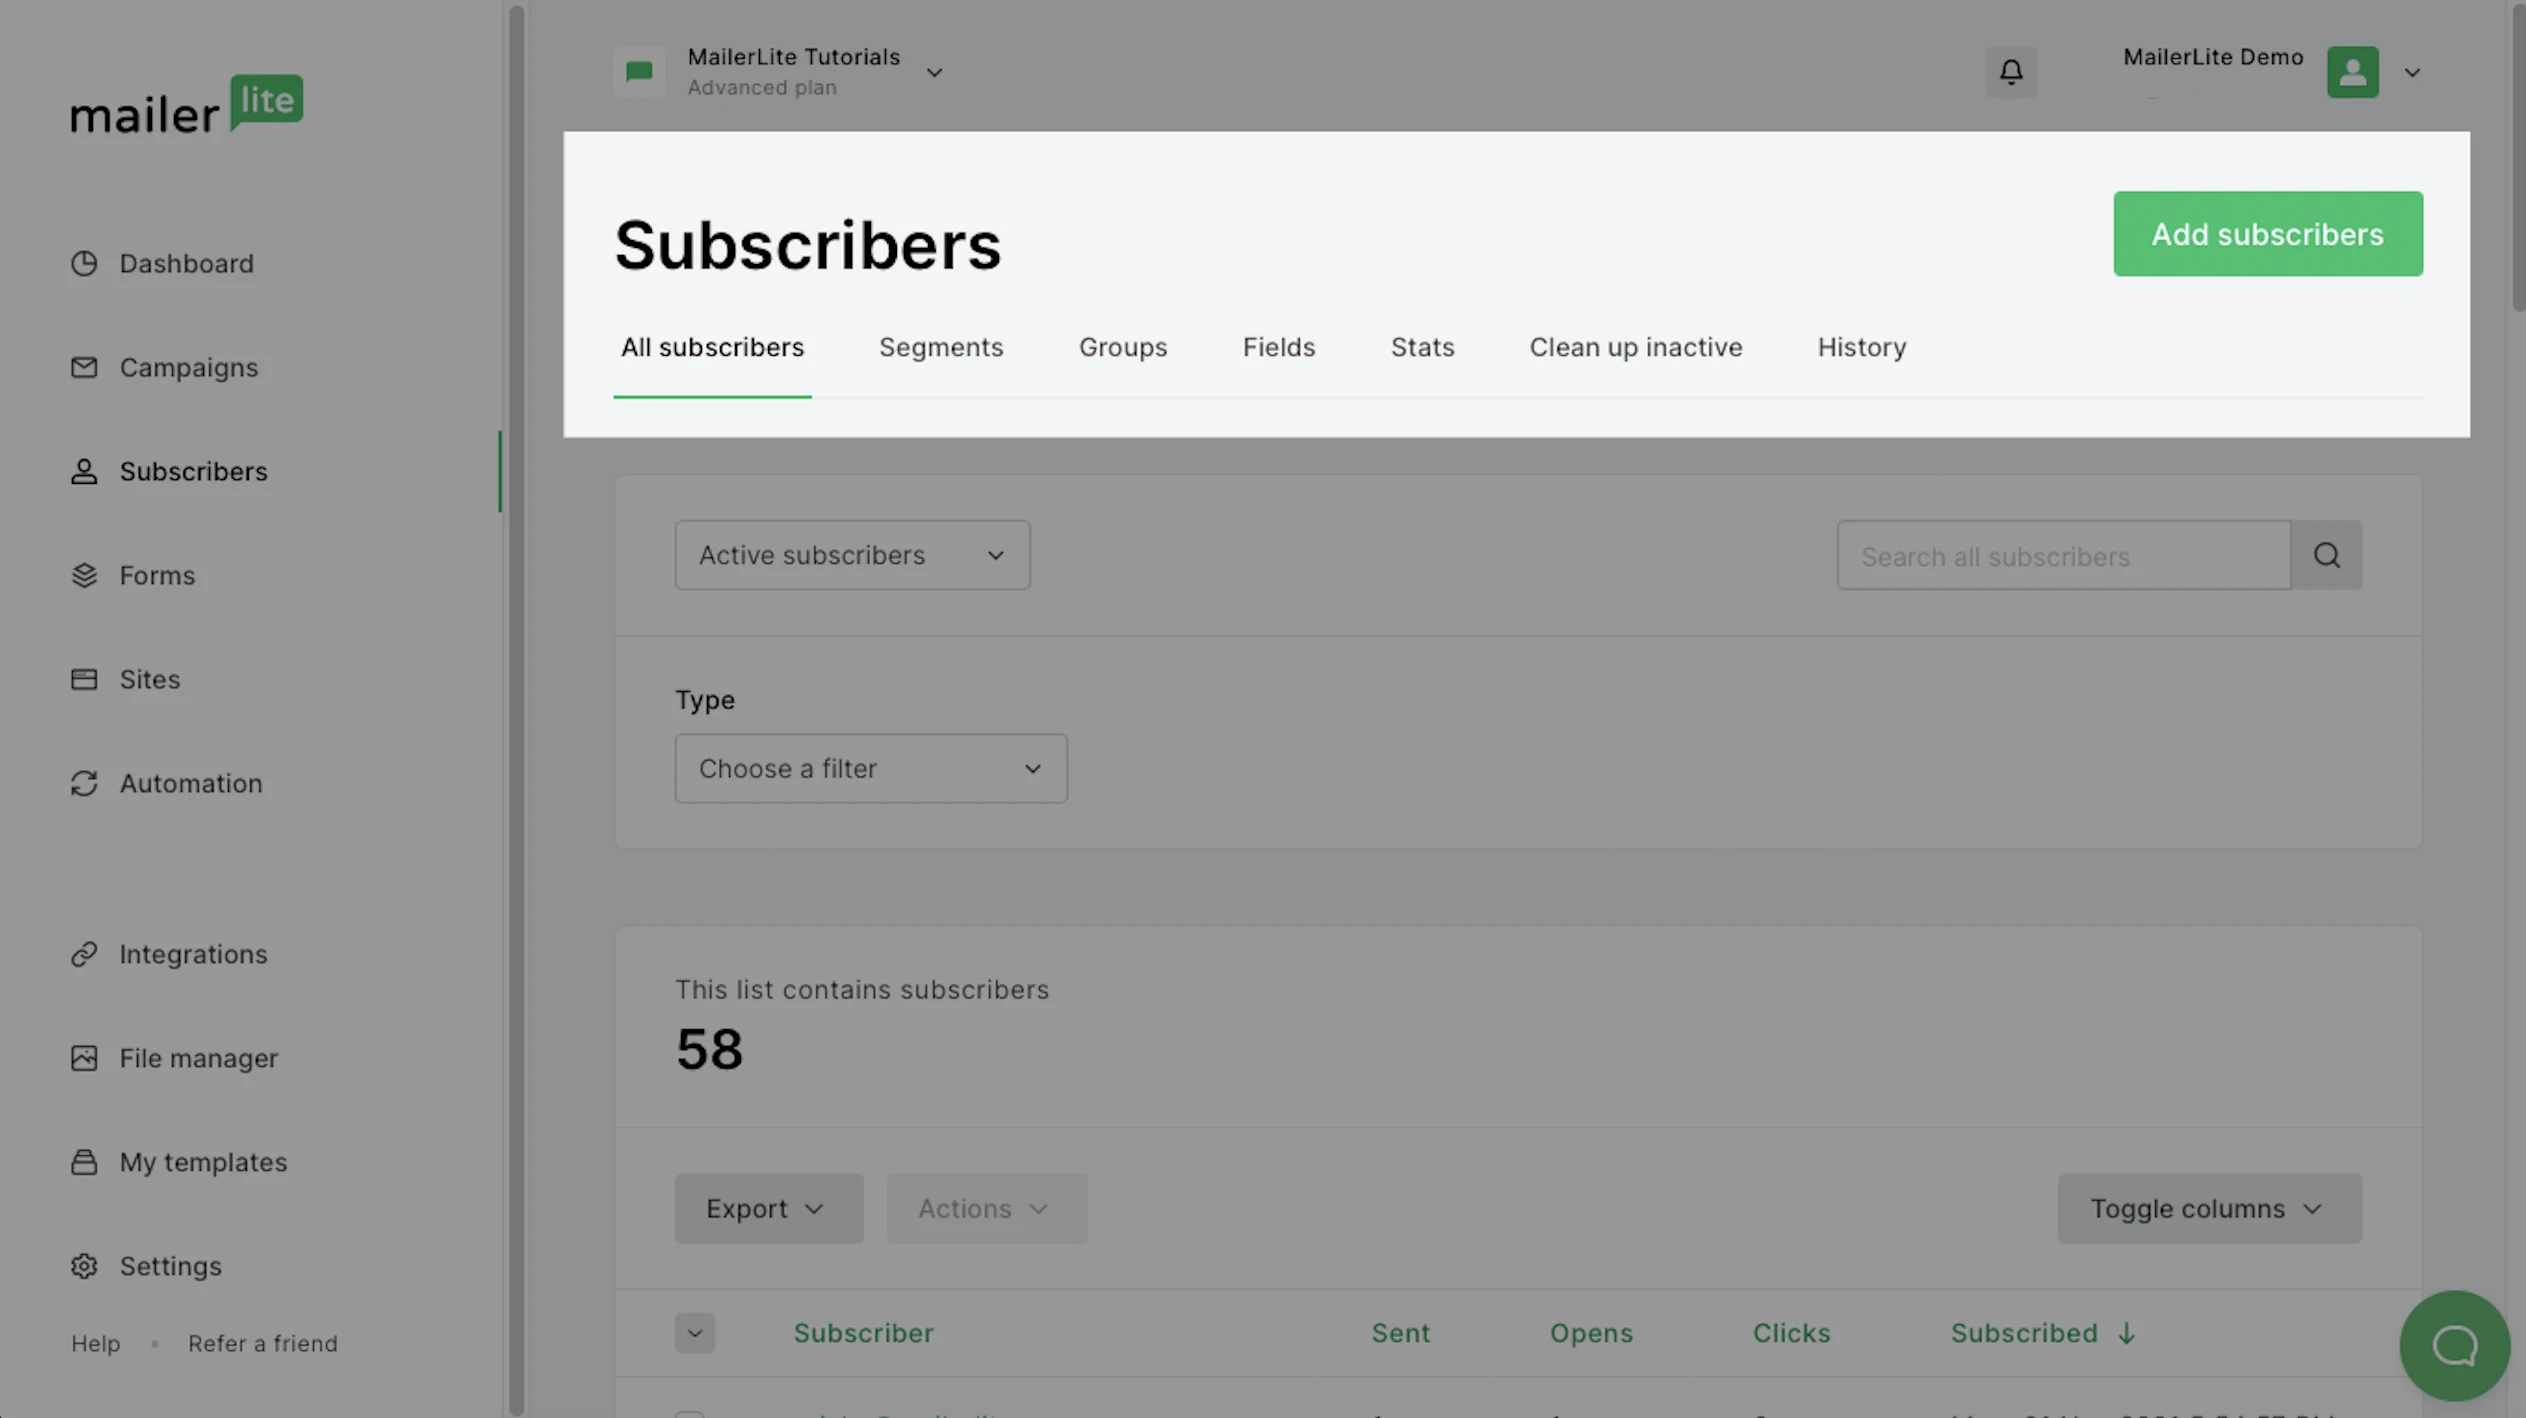
Navigate to the Subscribers page and click on Add subscribers.
How to import subscribers from a .CSV or TXT file
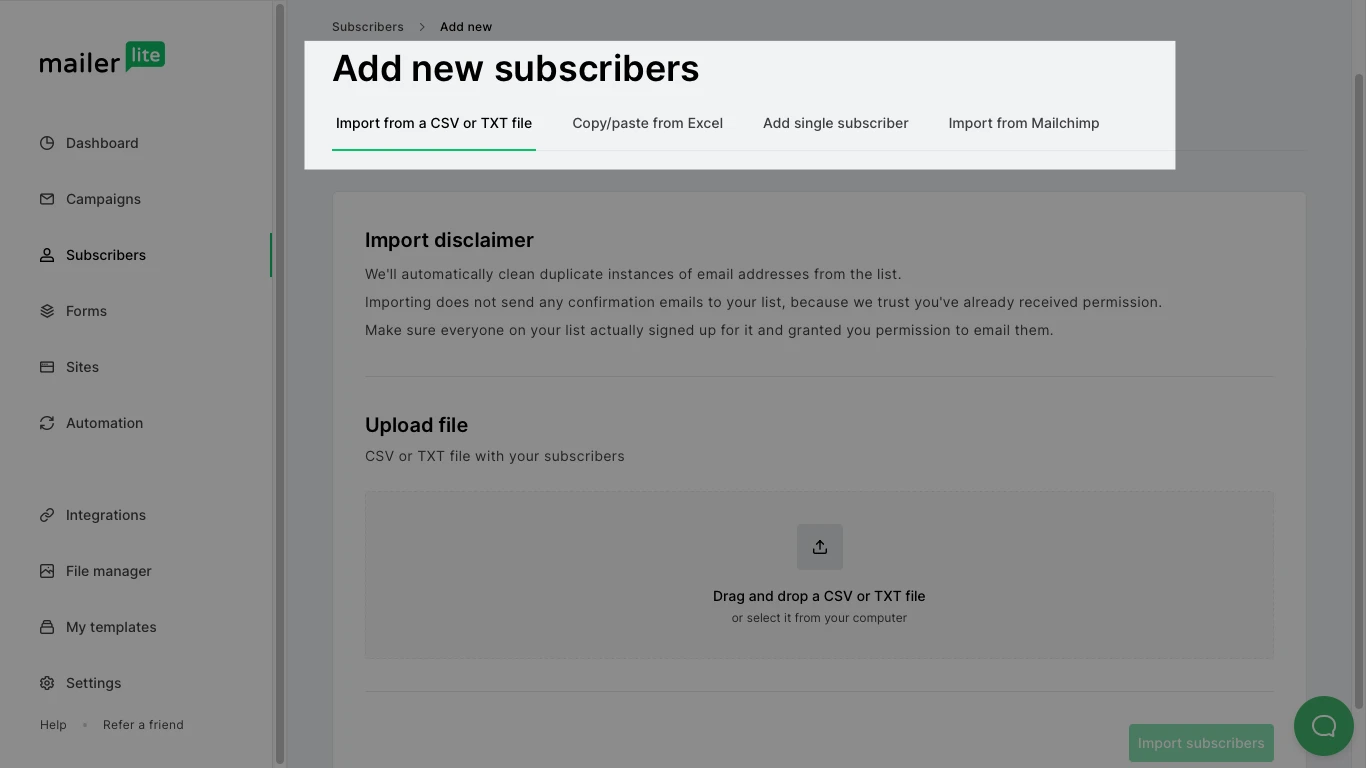
Click the Import from a CSV or TXT file tab.
Drag and drop the file with your subscribers to the box, or select the file from your computer. It will upload automatically.
Click Import subscribers.
You’ll be redirected to the Import settings page. Scroll to the Import settings section of this article for further instructions.
How to import subscribers by copying and pasting from Excel
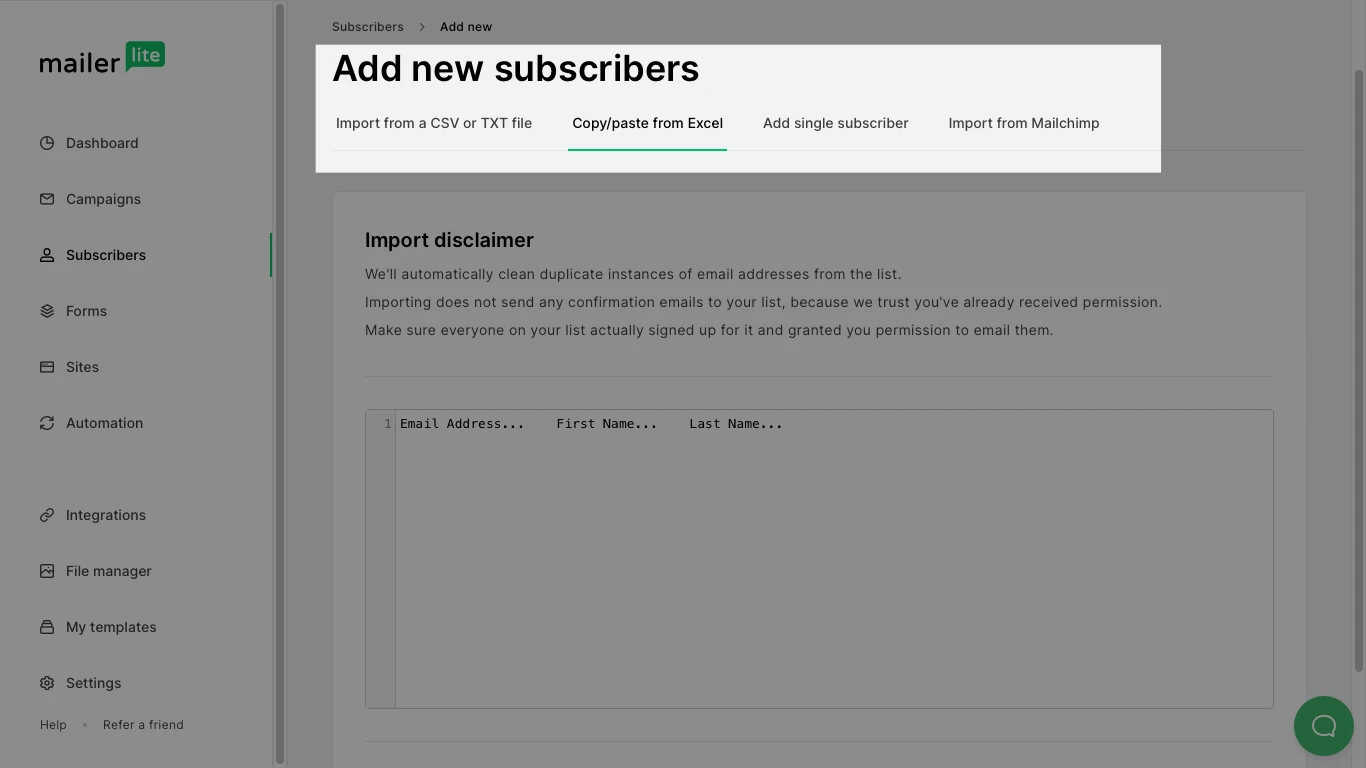
Select the Copy/paste from Excel tab.
Copy all of the rows and columns on your Excel spreadsheet that you want to upload to your MailerLite subscriber list, then paste them into the text box.
Click Import subscribers.
You’ll be redirected to the Import settings page. Scroll to the Import settings section of this article for further instructions.
How to add a single subscriber
If you wish to add a single subscriber, you must manually submit the subscriber’s data.
Select the Add single subscriber tab.

Fill out the Email and Name fields of the subscriber.
To add more fields, click on the Show more fields option.
To add the subscriber to one or multiple groups, type the name(s) of the group(s) and choose from the dropdown options in the Add to group section.
Click Add subscriber button to add your subscriber to the list.
Import settings
After uploading your list, you will be prompted to edit the settings of the import.
You’ll proceed to choose which group(s) to add your subscribers, and to match the columns in your spreadsheet to the fields in your MailerLite subscriber list.
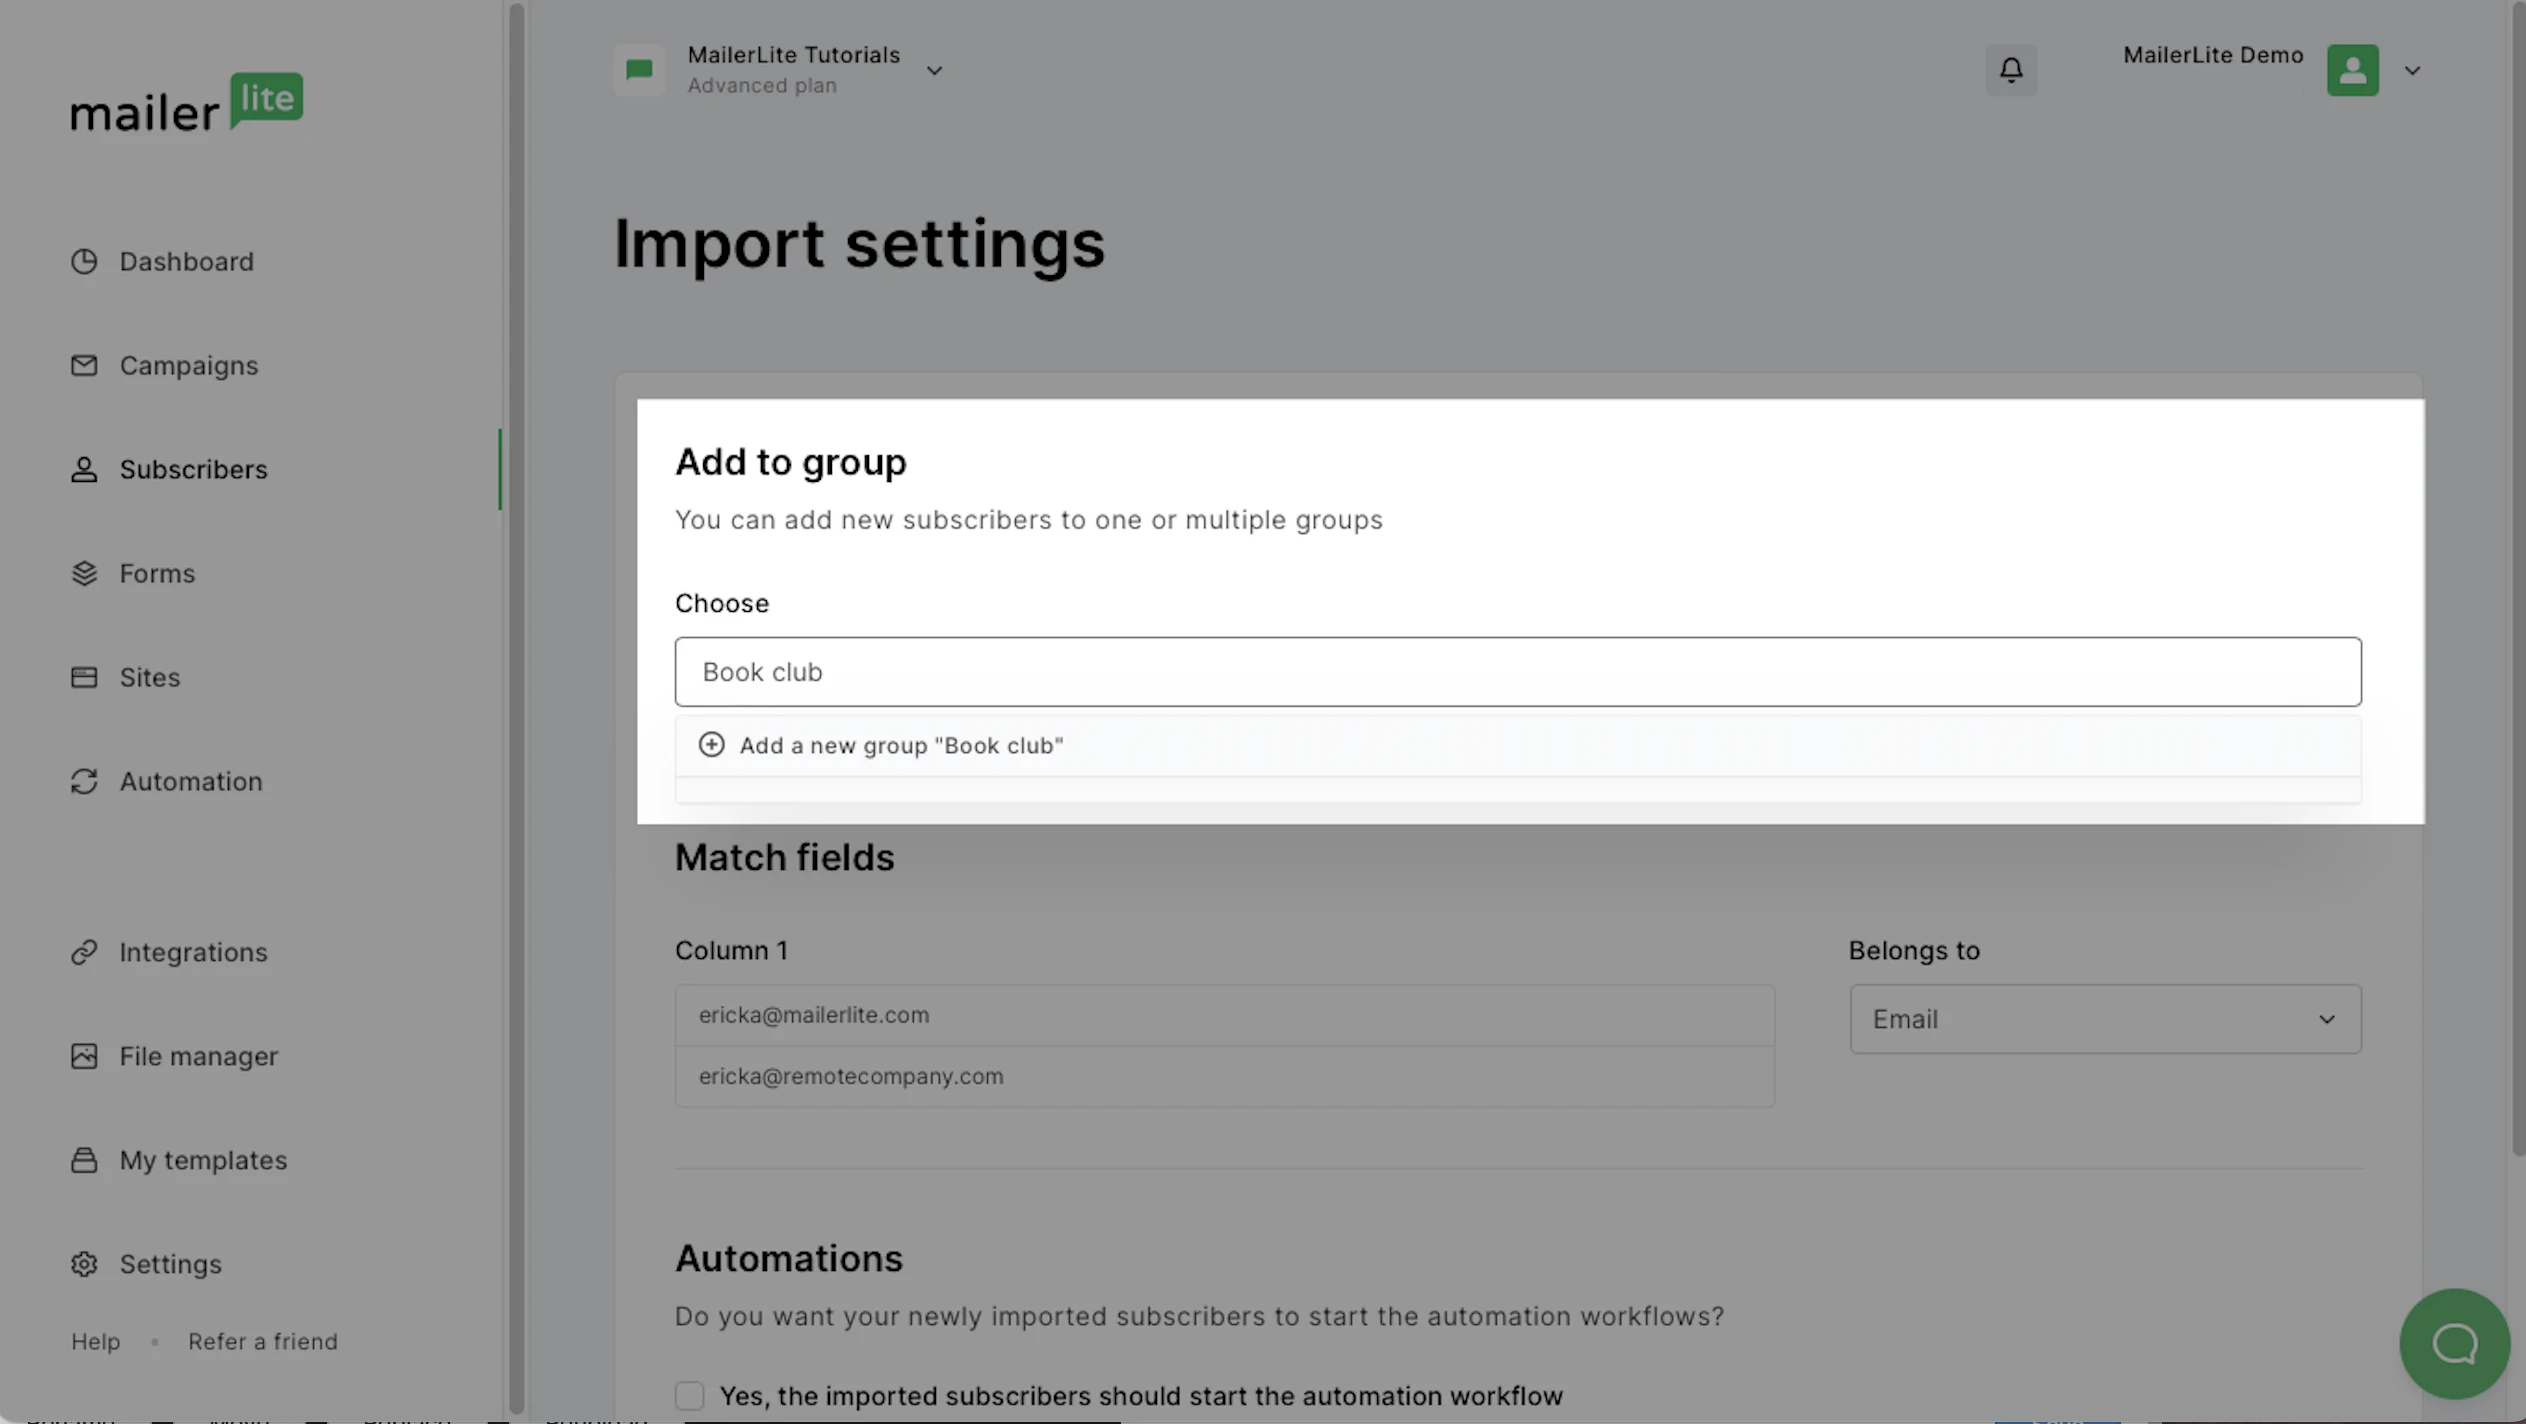
To import subscribers to a group:
Click on the text box and type out the name of the group. Select it from the choice(s) provided.
To add subscribers to a new group, first create it by clicking on the text box and type out the name of the new group. Then, click Add new group.
To match a field:
Know what each column represents with its data: Name, Email, Phone number, Country, etc.
Assign the correct field to the specific column by selecting the Field name below the Belongs to text.
Choose whether you want the new subscribers to automatically be triggered in any automation workflow associated with a group.
Click Finish import once you are done.
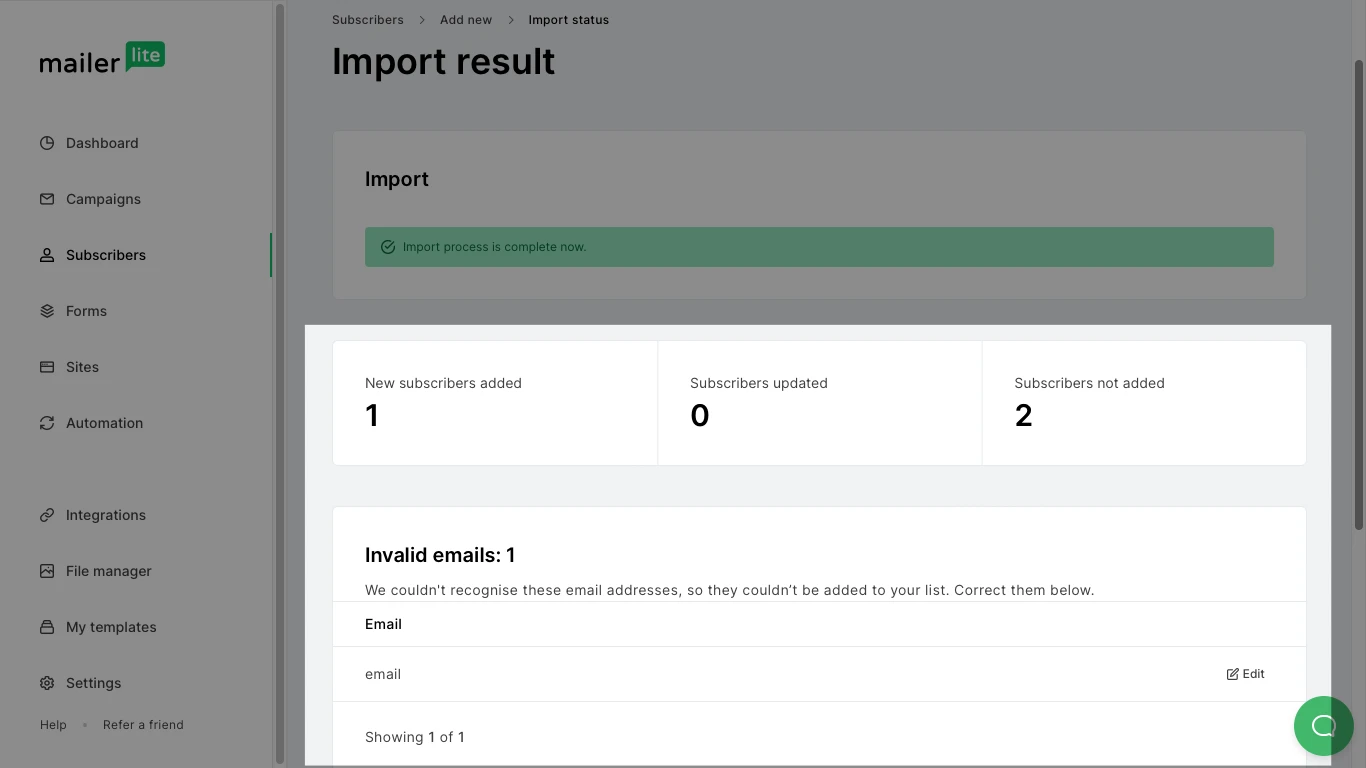
The file will start to import and once the process is done you’ll be notified how many subscribers were added successfully and how many failed (if any).
In the example below, one invalid and one duplicate email address were found within the uploaded list. This means that the email addresses were not added to the list.
Once you have reviewed your import, you can head to the Subscribers page and find that the subscribers have been successfully added.
Why subscribers may fail to import
Reasons some email addresses may fail to import include:
The email address is invalid (non-existent).
The email address is already unsubscribed from your list.
The email address is already labeled as Bounced, Unconfirmed, or Spam complaint in your account.
The email address is banned.
Some role-based emails, such as those starting with "admin@", "support@", "billing@" are on a banned list because they are not usually used by genuine subscribers. Such emails rarely sign up to lists voluntarily and are very often used for cold-mailing or spam.
Gmail addresses with five characters or less are also included on the banned list because they are also very likely invalid.
If you have a banned email address that you believe is legitimate, you may upload it via the Add a single subscriber tab.