Este artículo está dirigido a aquellos que ya han registrado con éxito un dominio con GoDaddy. Necesitarás este registro siempre y cuando utilices el nombre de dominio, incluso cuando lo autentiques con MailerLite.
Para más información acerca de qué es un dominion, te invitamos a leer nuestro artículo Qué es un dominio y qué ventajas tiene contar con uno propio.
Cómo añadir un dominio a tu cuenta
Ve a la página Configuración de la cuenta y haz clic en la pestaña Dominios.
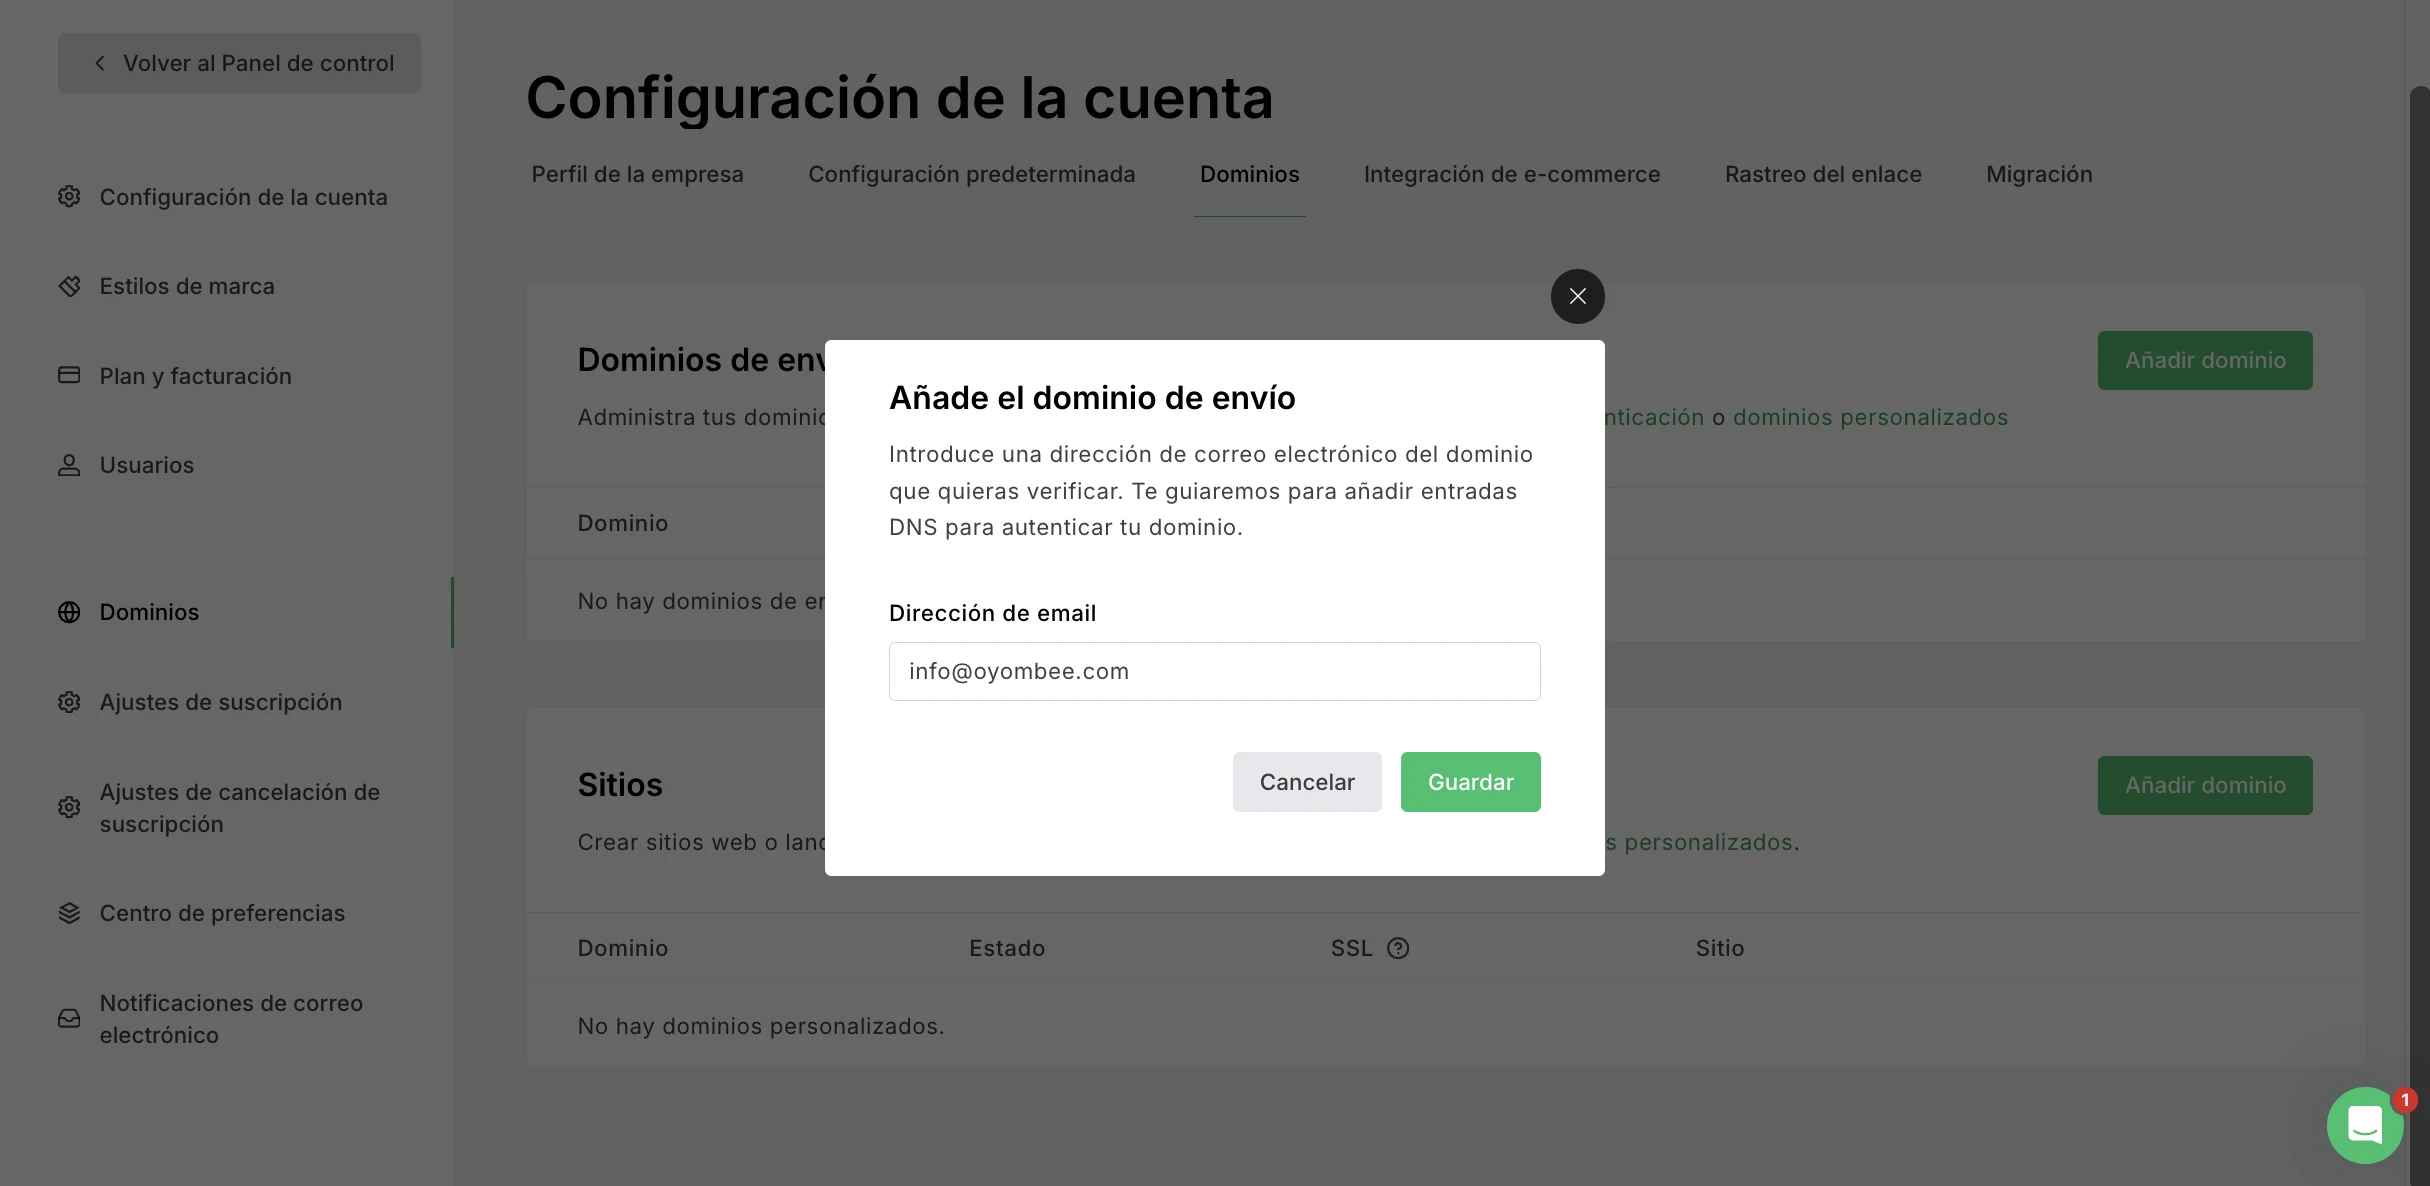
En Dominios de envío, haz clic en Añadir dominio.
Introduce la dirección de correo electrónico desde la que deseas enviar emails y haz clic en Guardar.
Una vez añadido el dominio, haz clic en el botón Autenticar.
Cómo usar la configuración automática de autenticación de dominio de GoDaddy
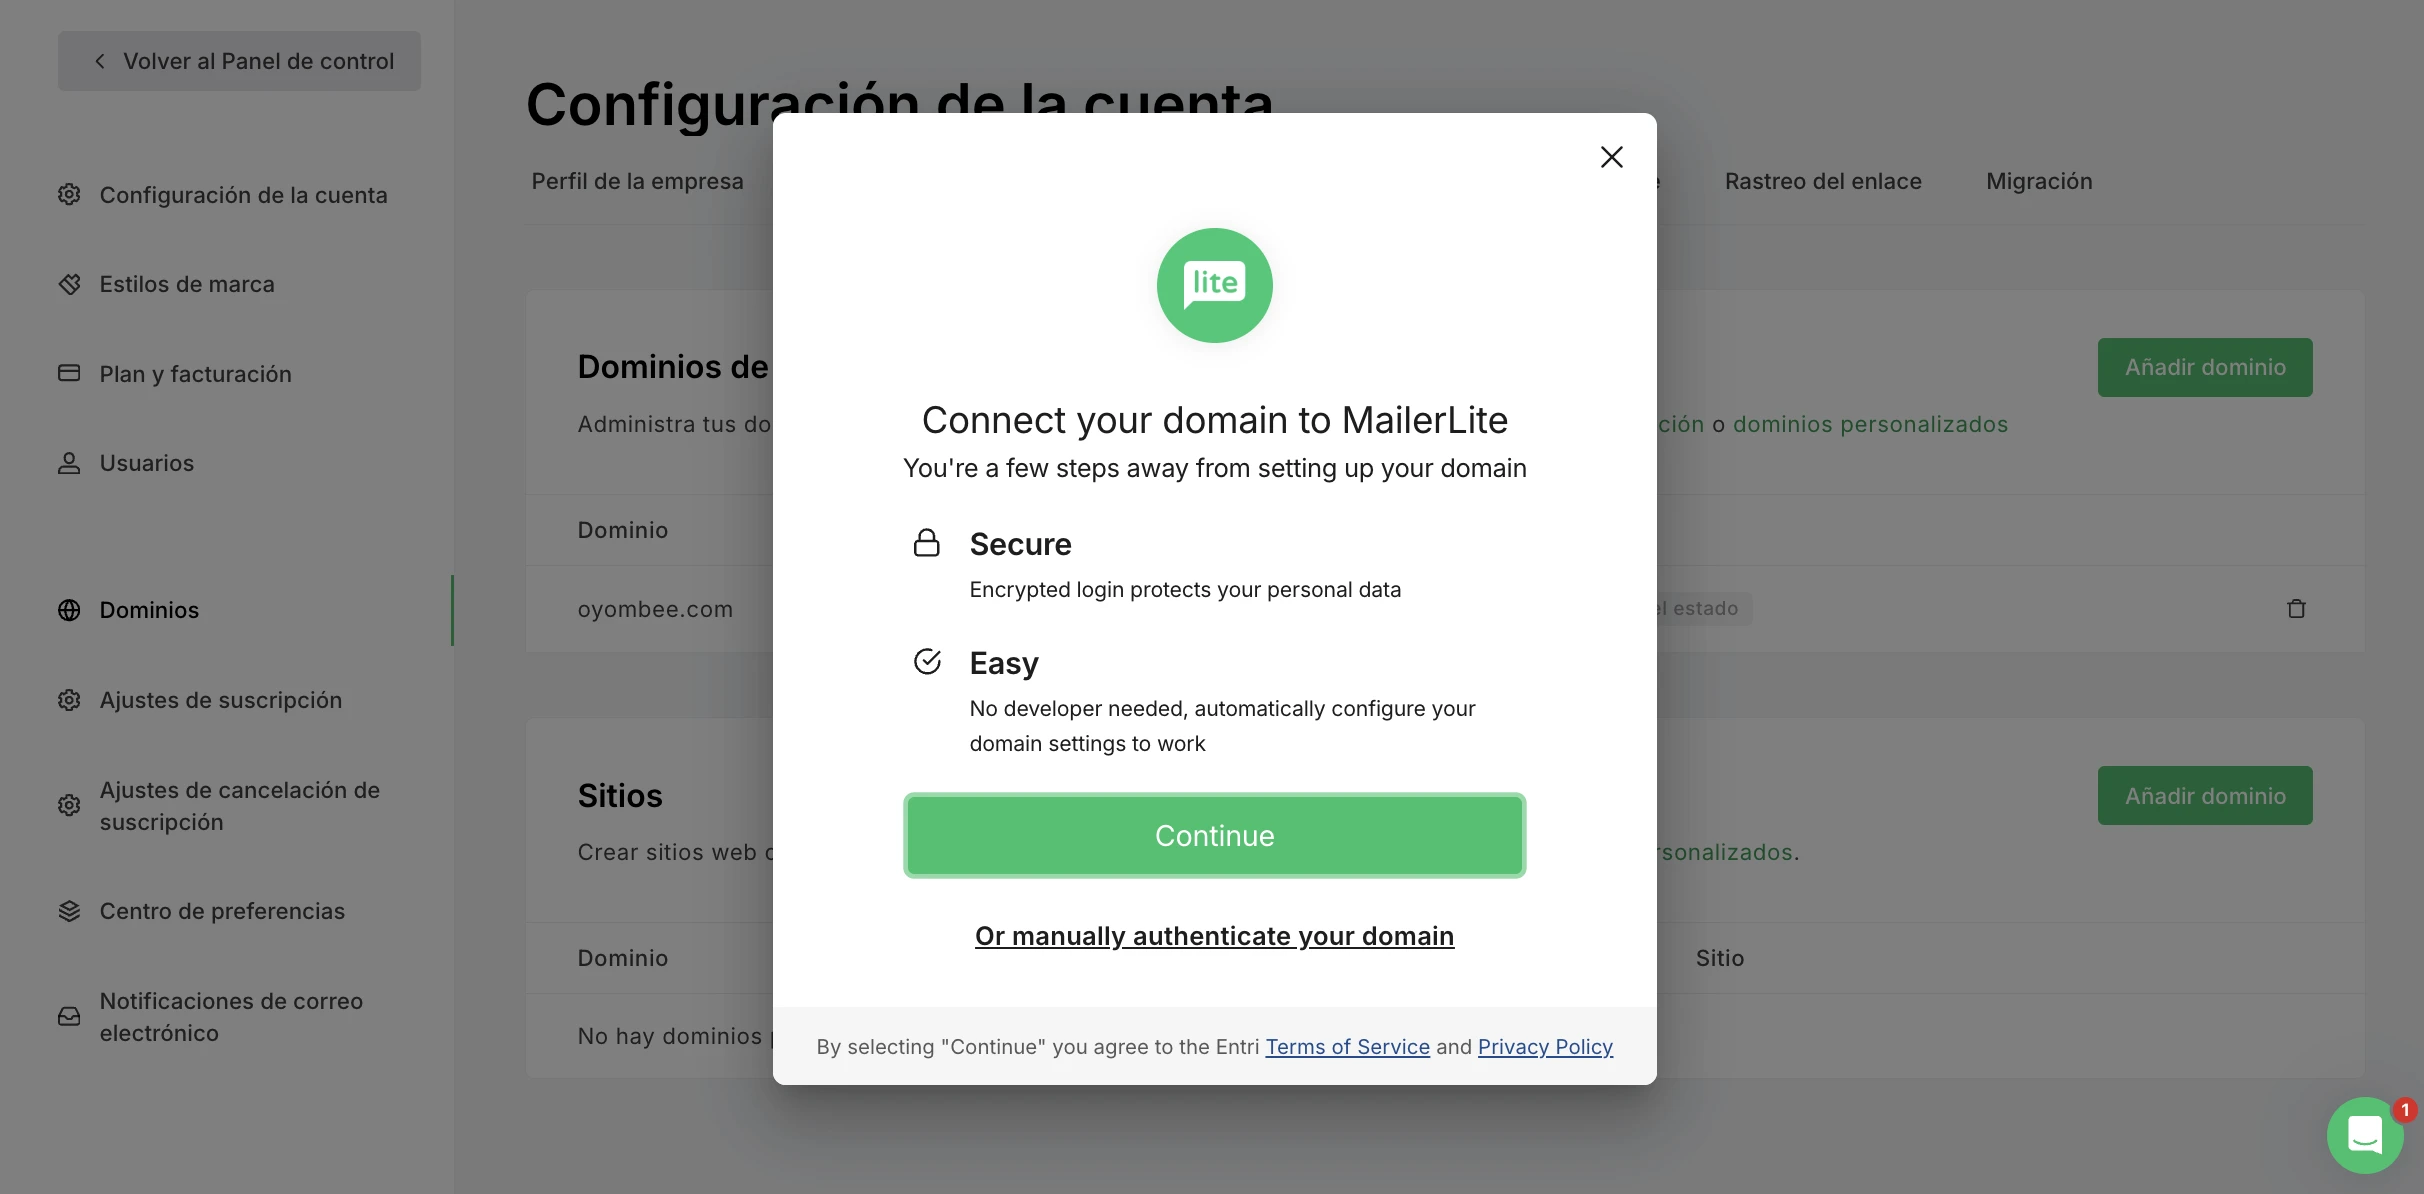
1. Aparecerá una ventana popup solicitándote que inicies el proceso de autenticación. Haz clic en Continuar. Esta herramienta escaneará tu dominio a fin de detectar cuál es tu proveedor de alojamiento.
2. Una vez el proveedor haya sido detectado, sigue las instrucciones para conectar tu cuenta. Deberás autorizar la conexión e iniciar sesión en tu proveedor de alojamiento con tus credenciales de acceso.
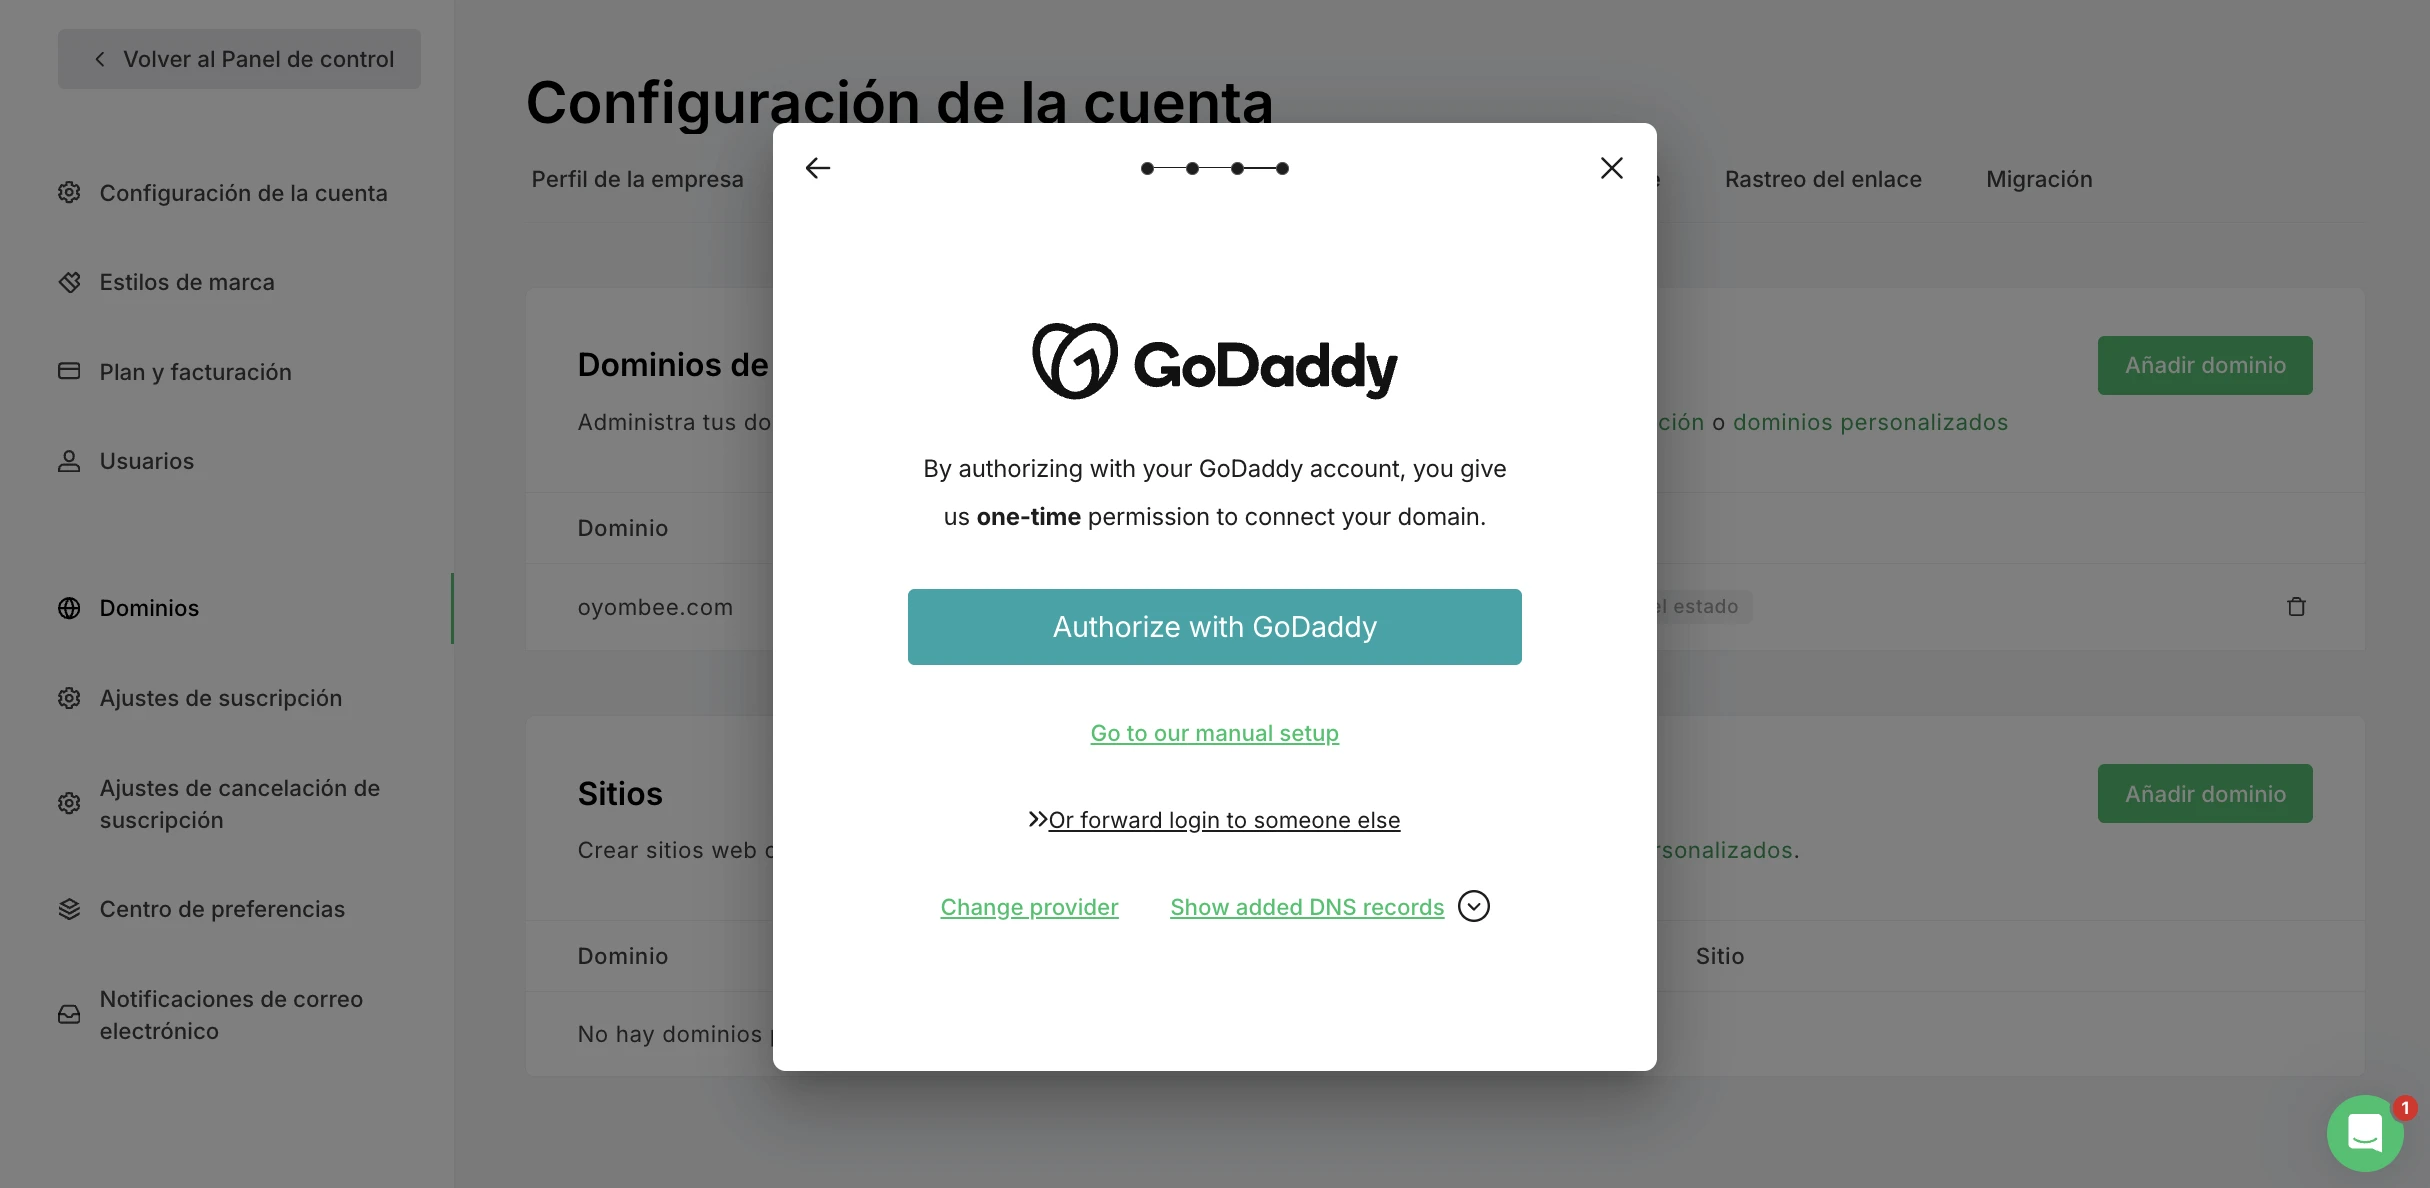
¿Qué ocurre si no tengo mis credenciales de acceso?
Si eliges la opción Reenviar el inicio de sesión a otra persona, podrás compartir un enlace con alguien que tenga los datos para iniciar sesión, de modo que pueda completar esta parte del proceso.
A continuación, sigue los pasos para autorizar a MailerLite a configurar tu DNS y añadir los registros necesarios.
Una vez completada la configuración del DNS, serás redirigido/a de vuelta a MailerLite. Actualiza la página para ver el estado actualizado de tu dominio.
La propagación de los nuevos registros DNS y la autenticación del dominio pueden tardar hasta 24 horas. Primero verás el estado Esperando activación, que cambiará a Autenticado una vez completado el proceso.
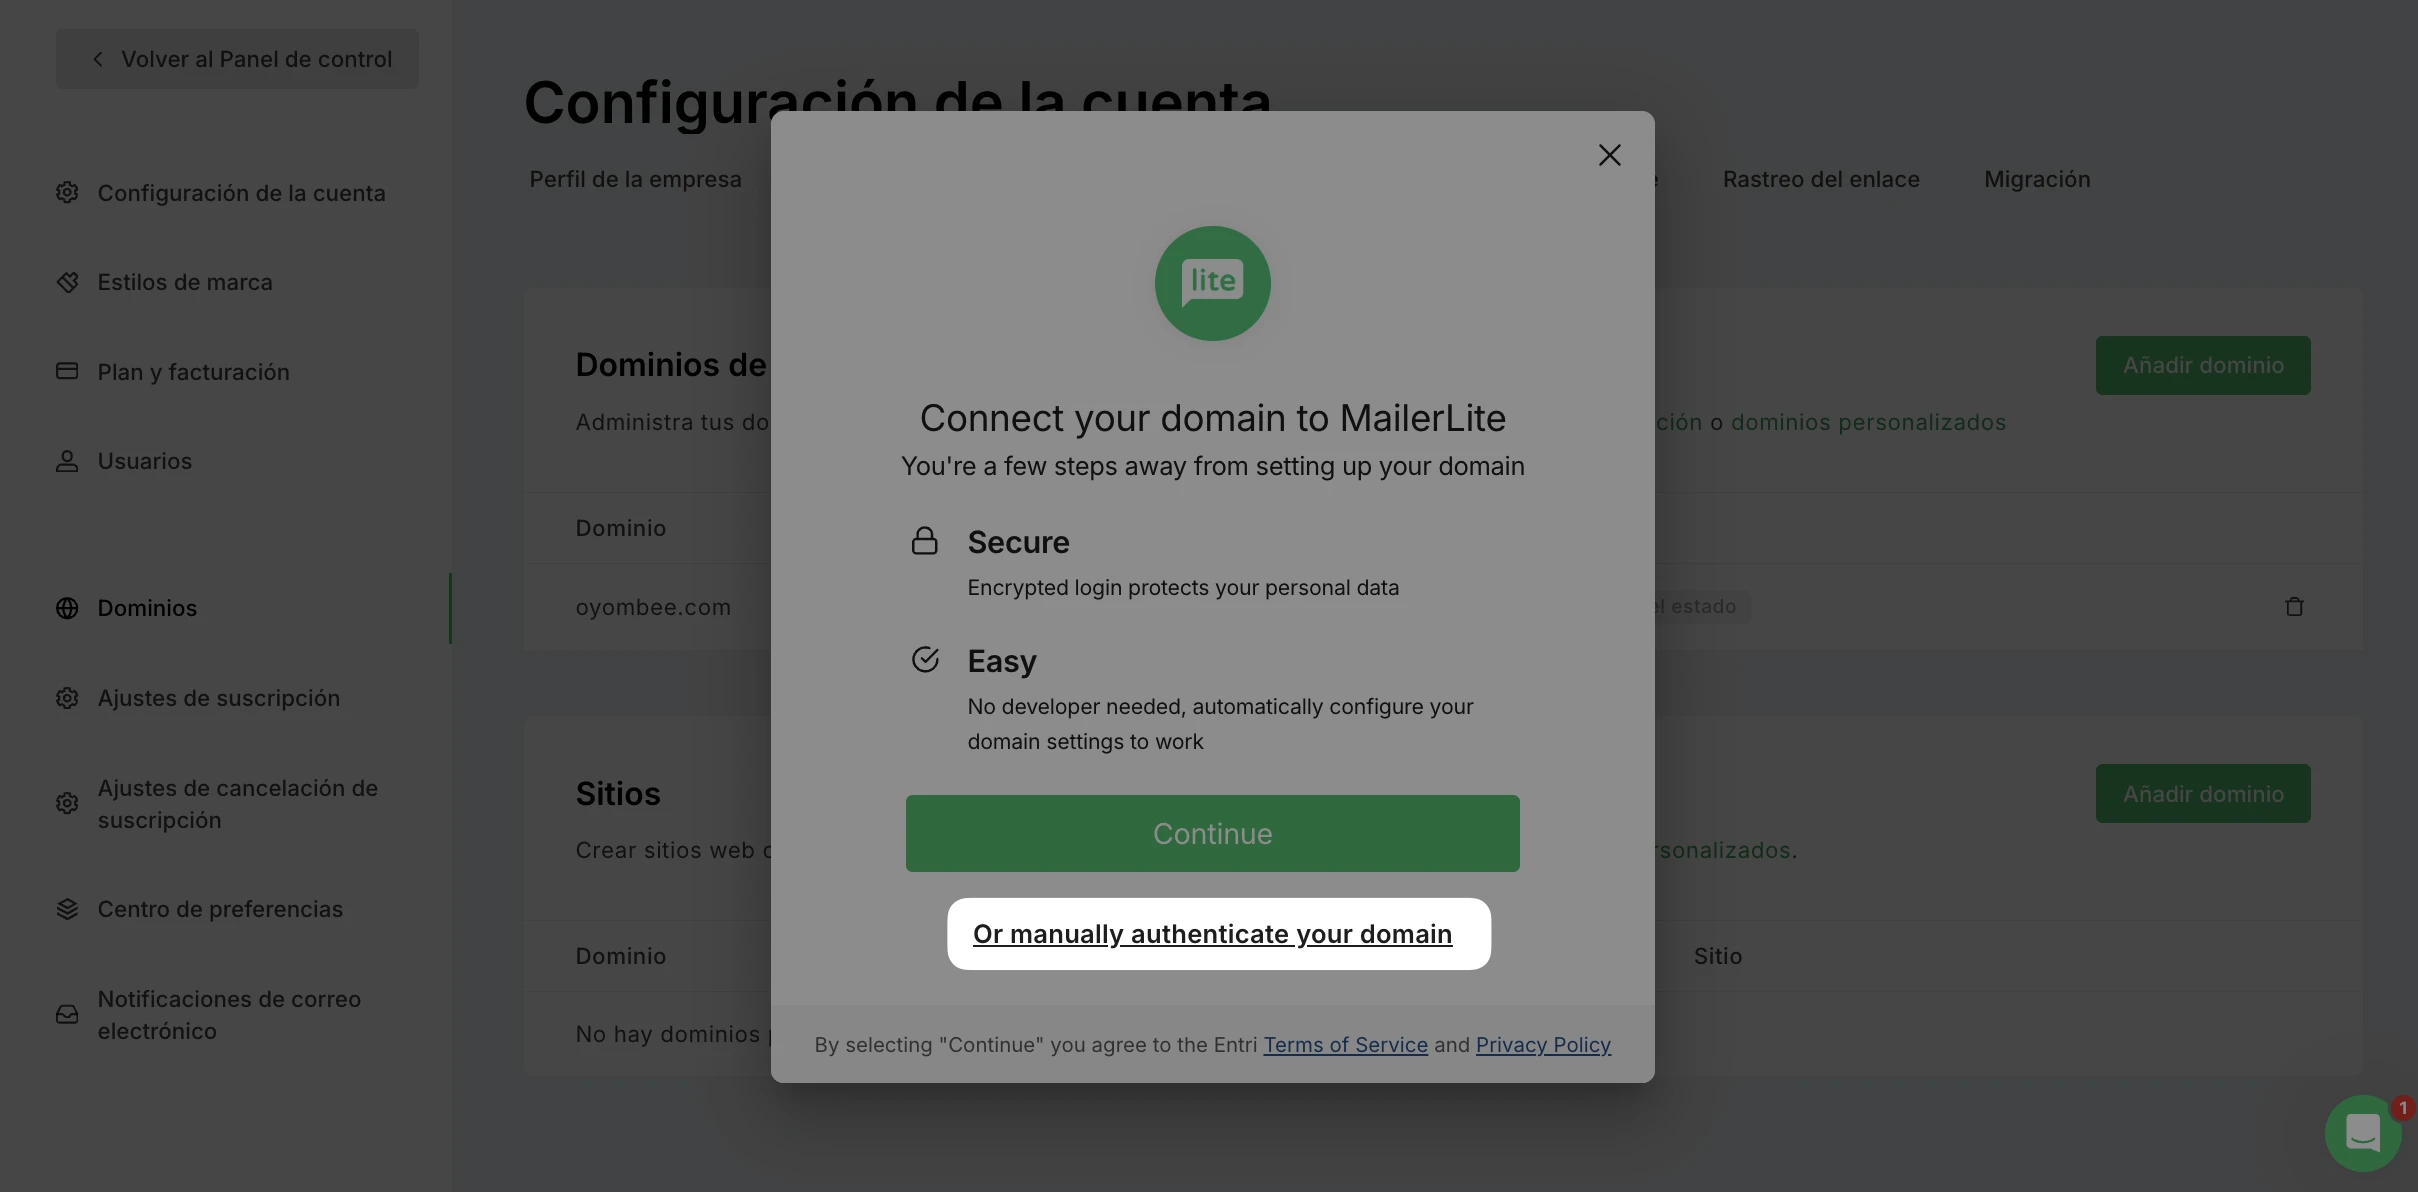
Autenticación manual
Si prefieres acceder a los registros DNS y autenticar el dominio manualmente, cambia a la pestaña Manual.
Ve a GoDaddy e inicia sesión en tu cuenta. Para acceder a la página de la zona DNS:
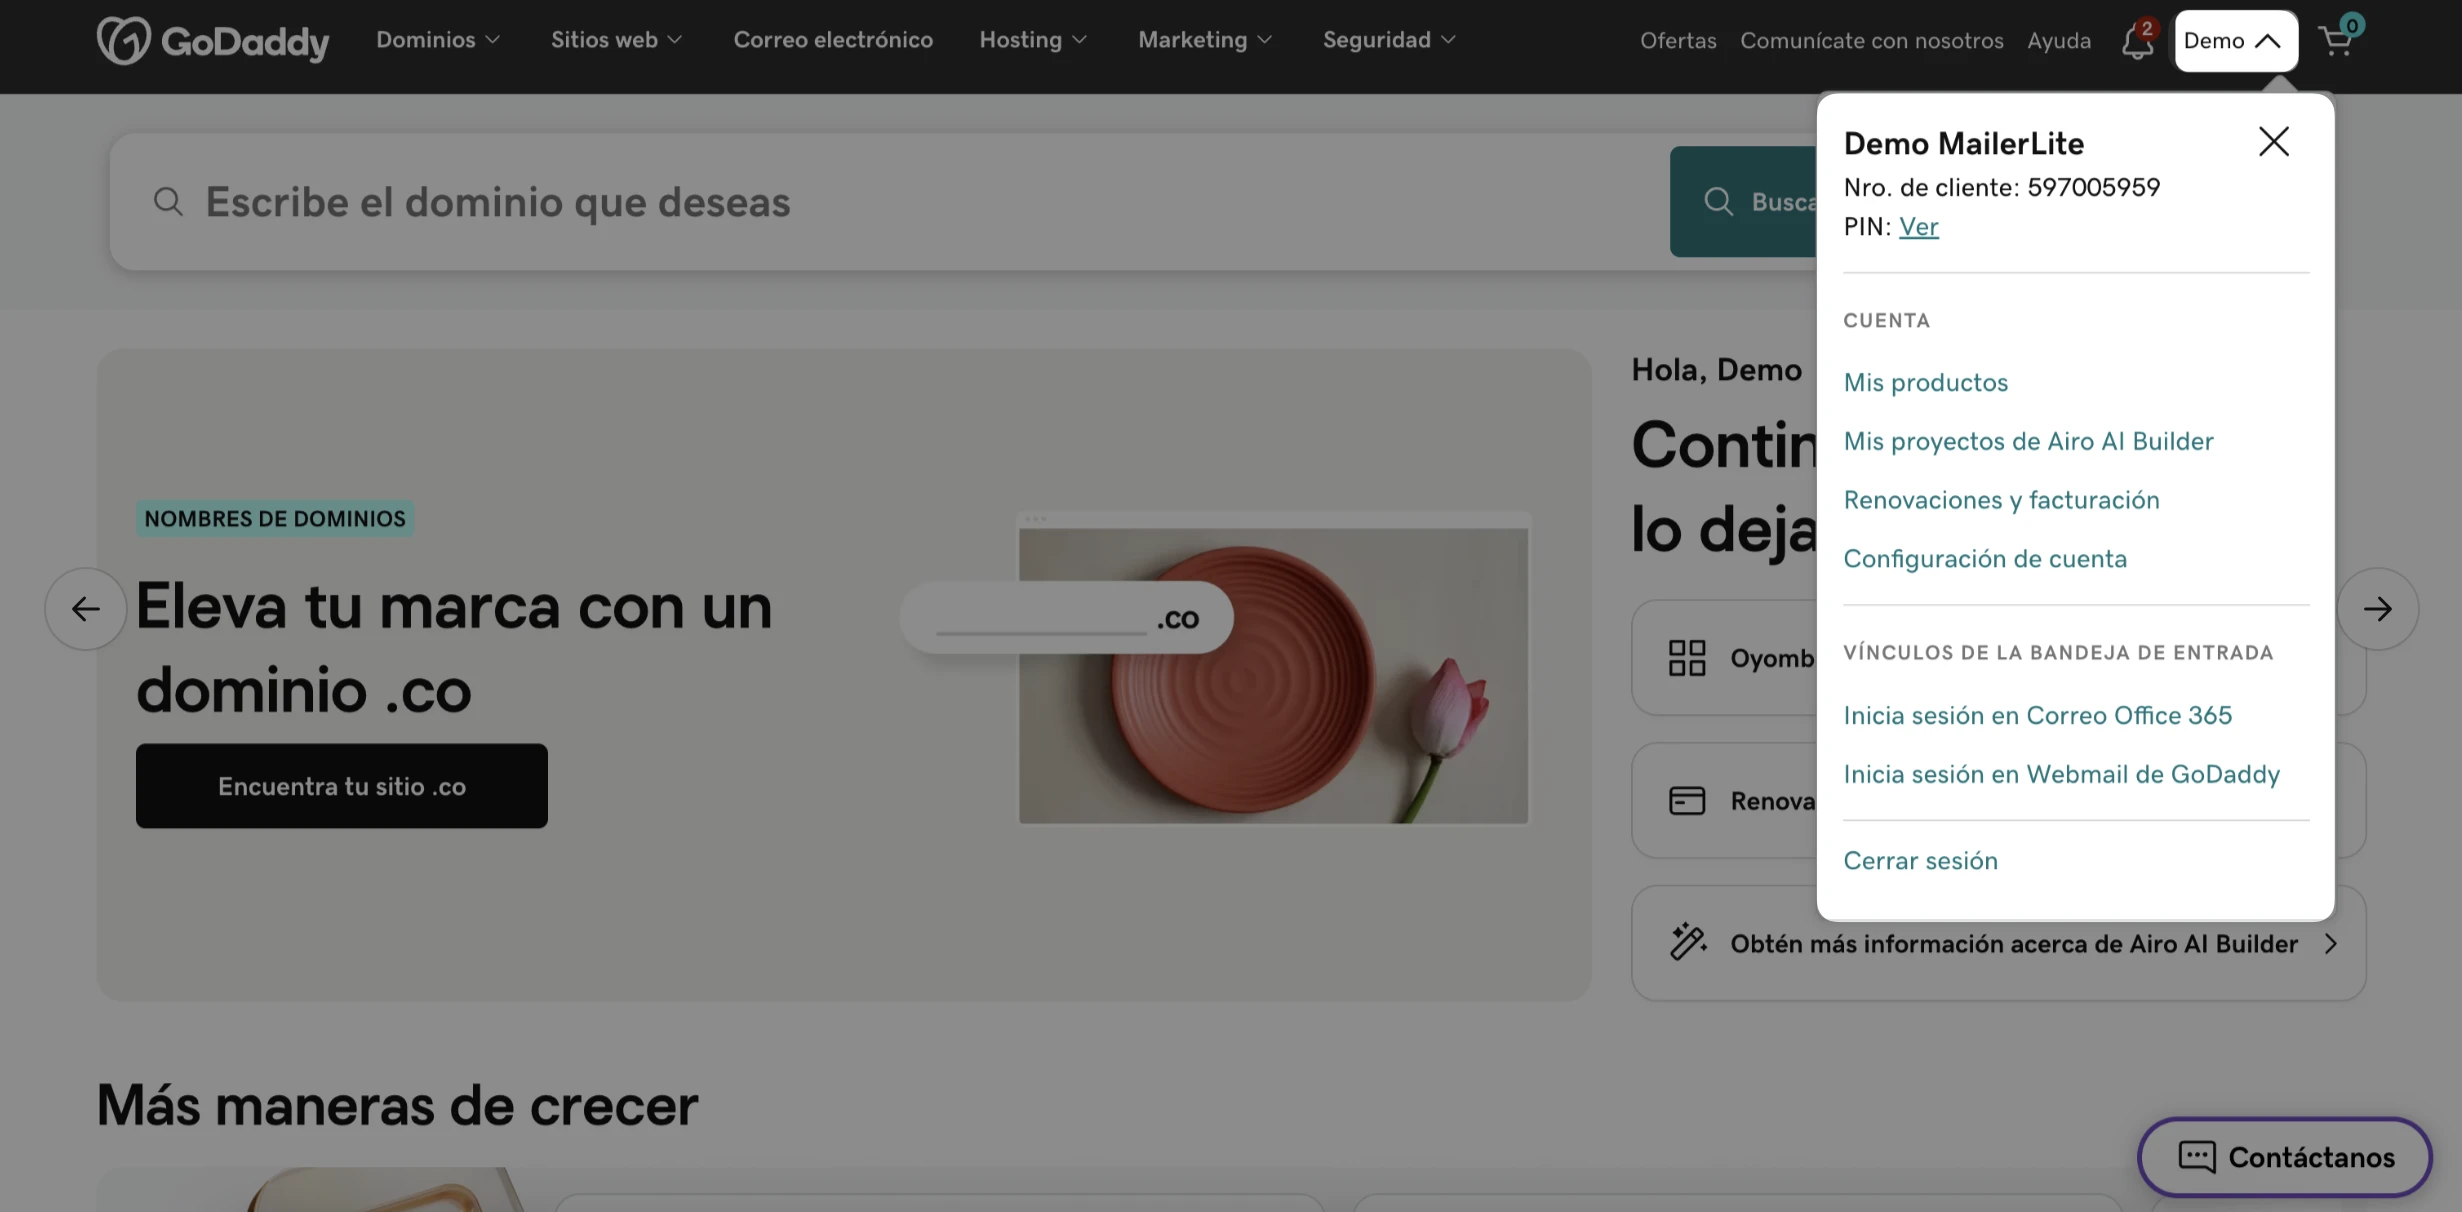
Haz clic en la flecha hacia abajo junto al nombre de tu cuenta y selecciona Mis productos en el desplegable.
Desplázate hacia abajo para encontrar tu dominio y haz clic en DNS.

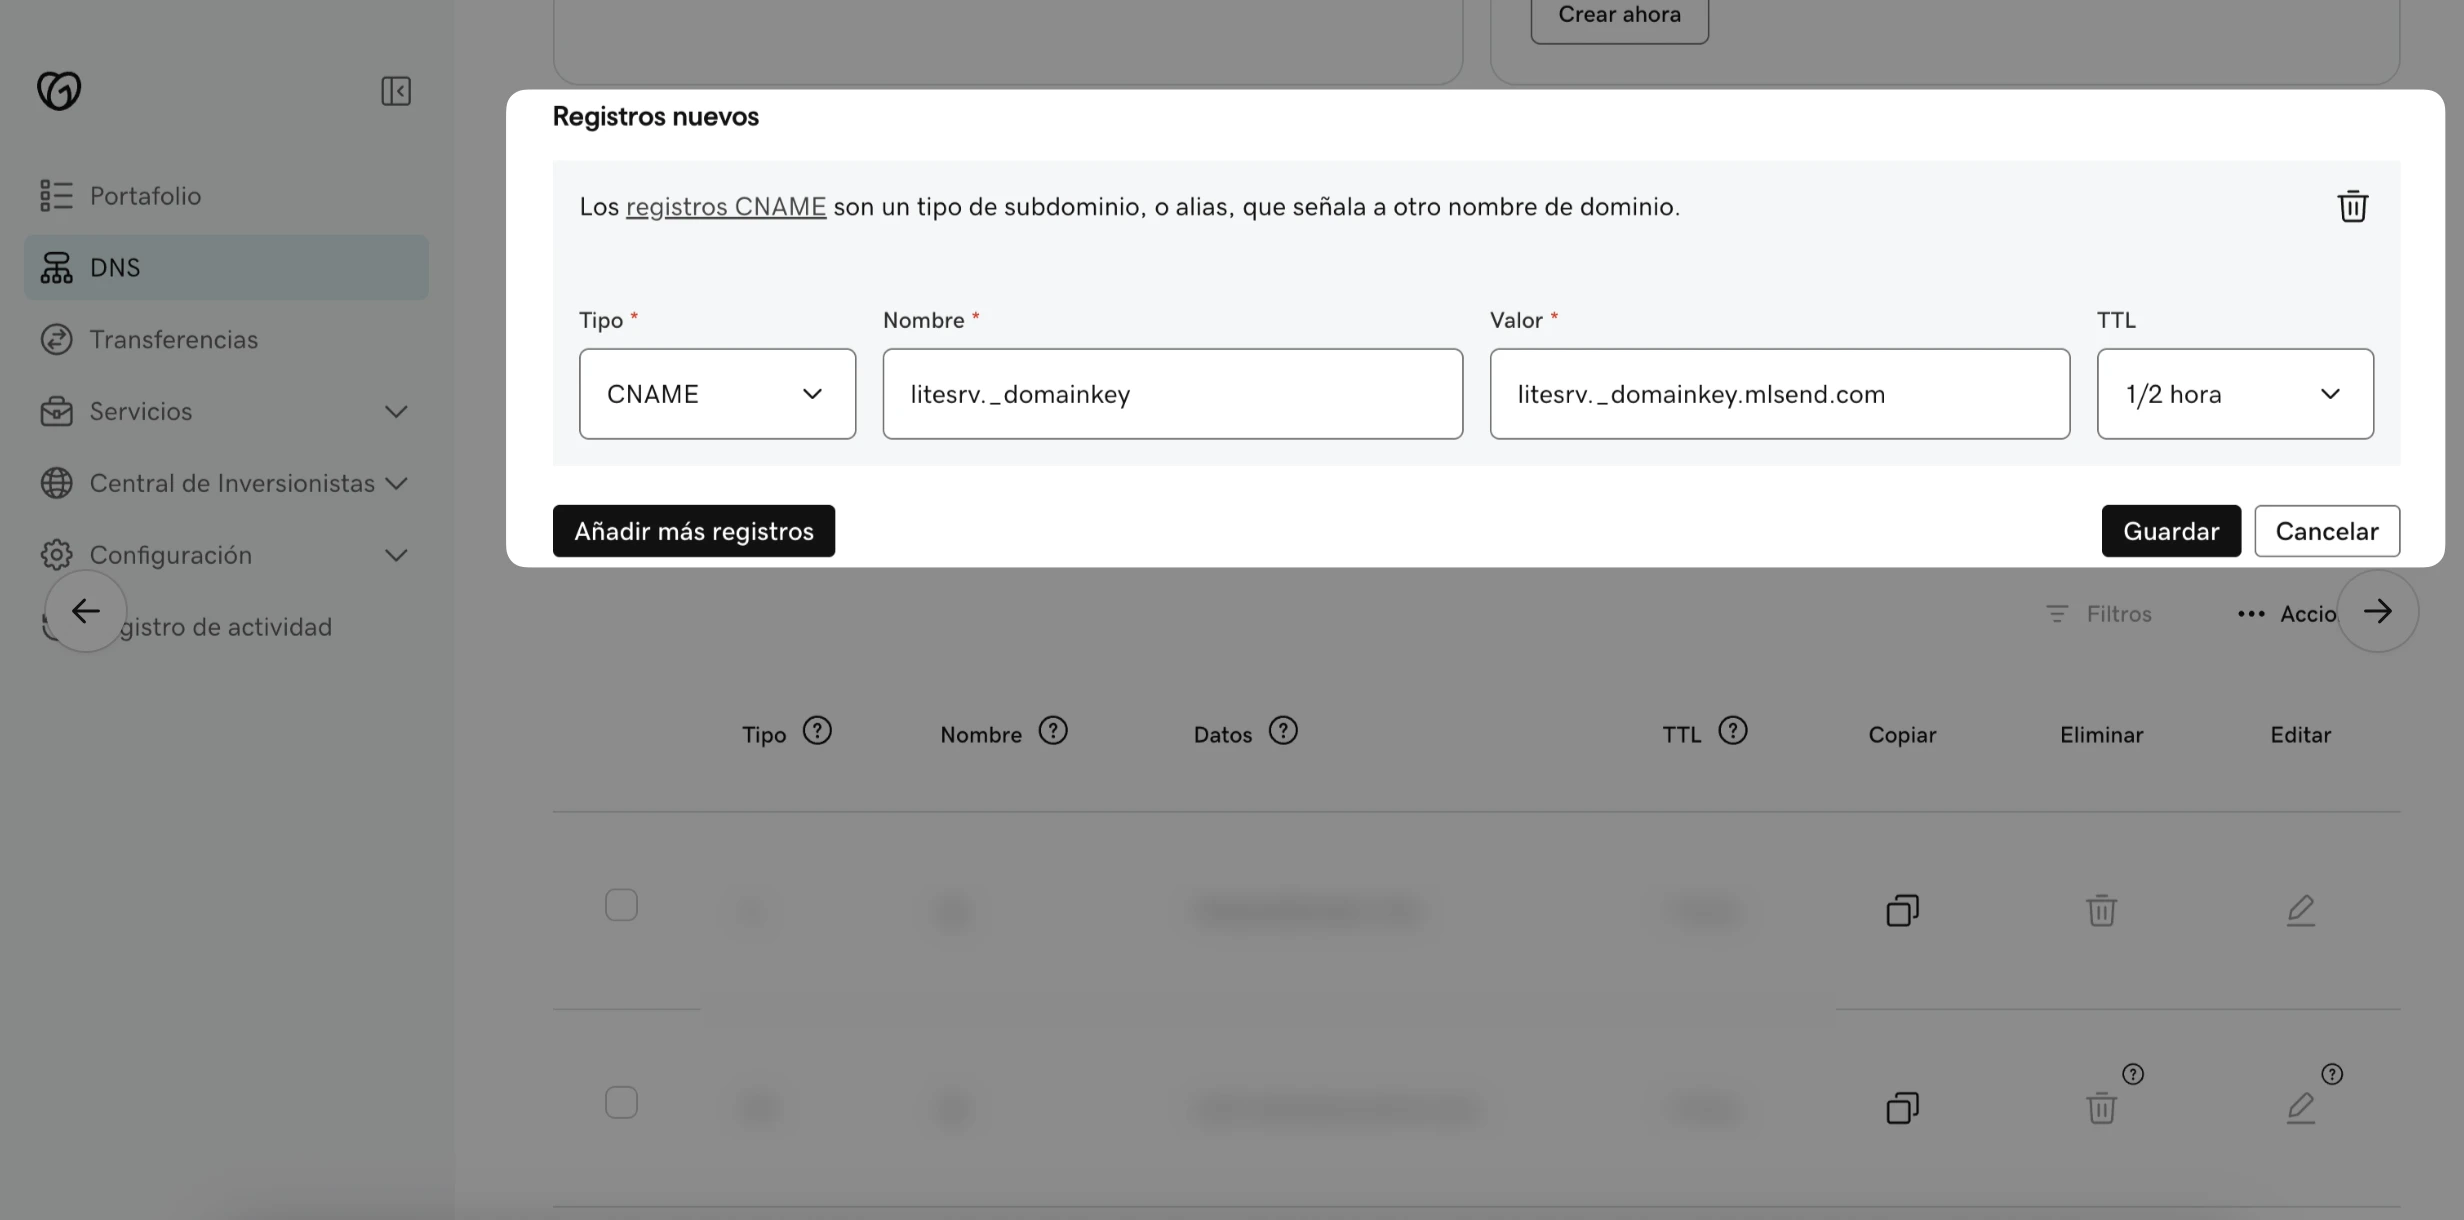
Cómo añadir el registro DKIM
Haz clic en Añadir nuevo registro.
En Tipo, selecciona CNAME.
En el campo Nombre, añade
litesrv._domainkey.En el campo Valor, pega el valor DKIM
litesrv._domainkey.mlsend.com.Deja el TTL en ½ hora.
Haz clic en Guardar.
Cómo añadir el registro SPF
Haz clic en Añadir nuevo registro.
En Tipo, selecciona TXT.
En el campo Nombre, introduce
@.En el campo Valor, pega el valor SPF de tu cuenta de MailerLite.
Deja el TTL en ½ hora.
Haz clic en Guardar.
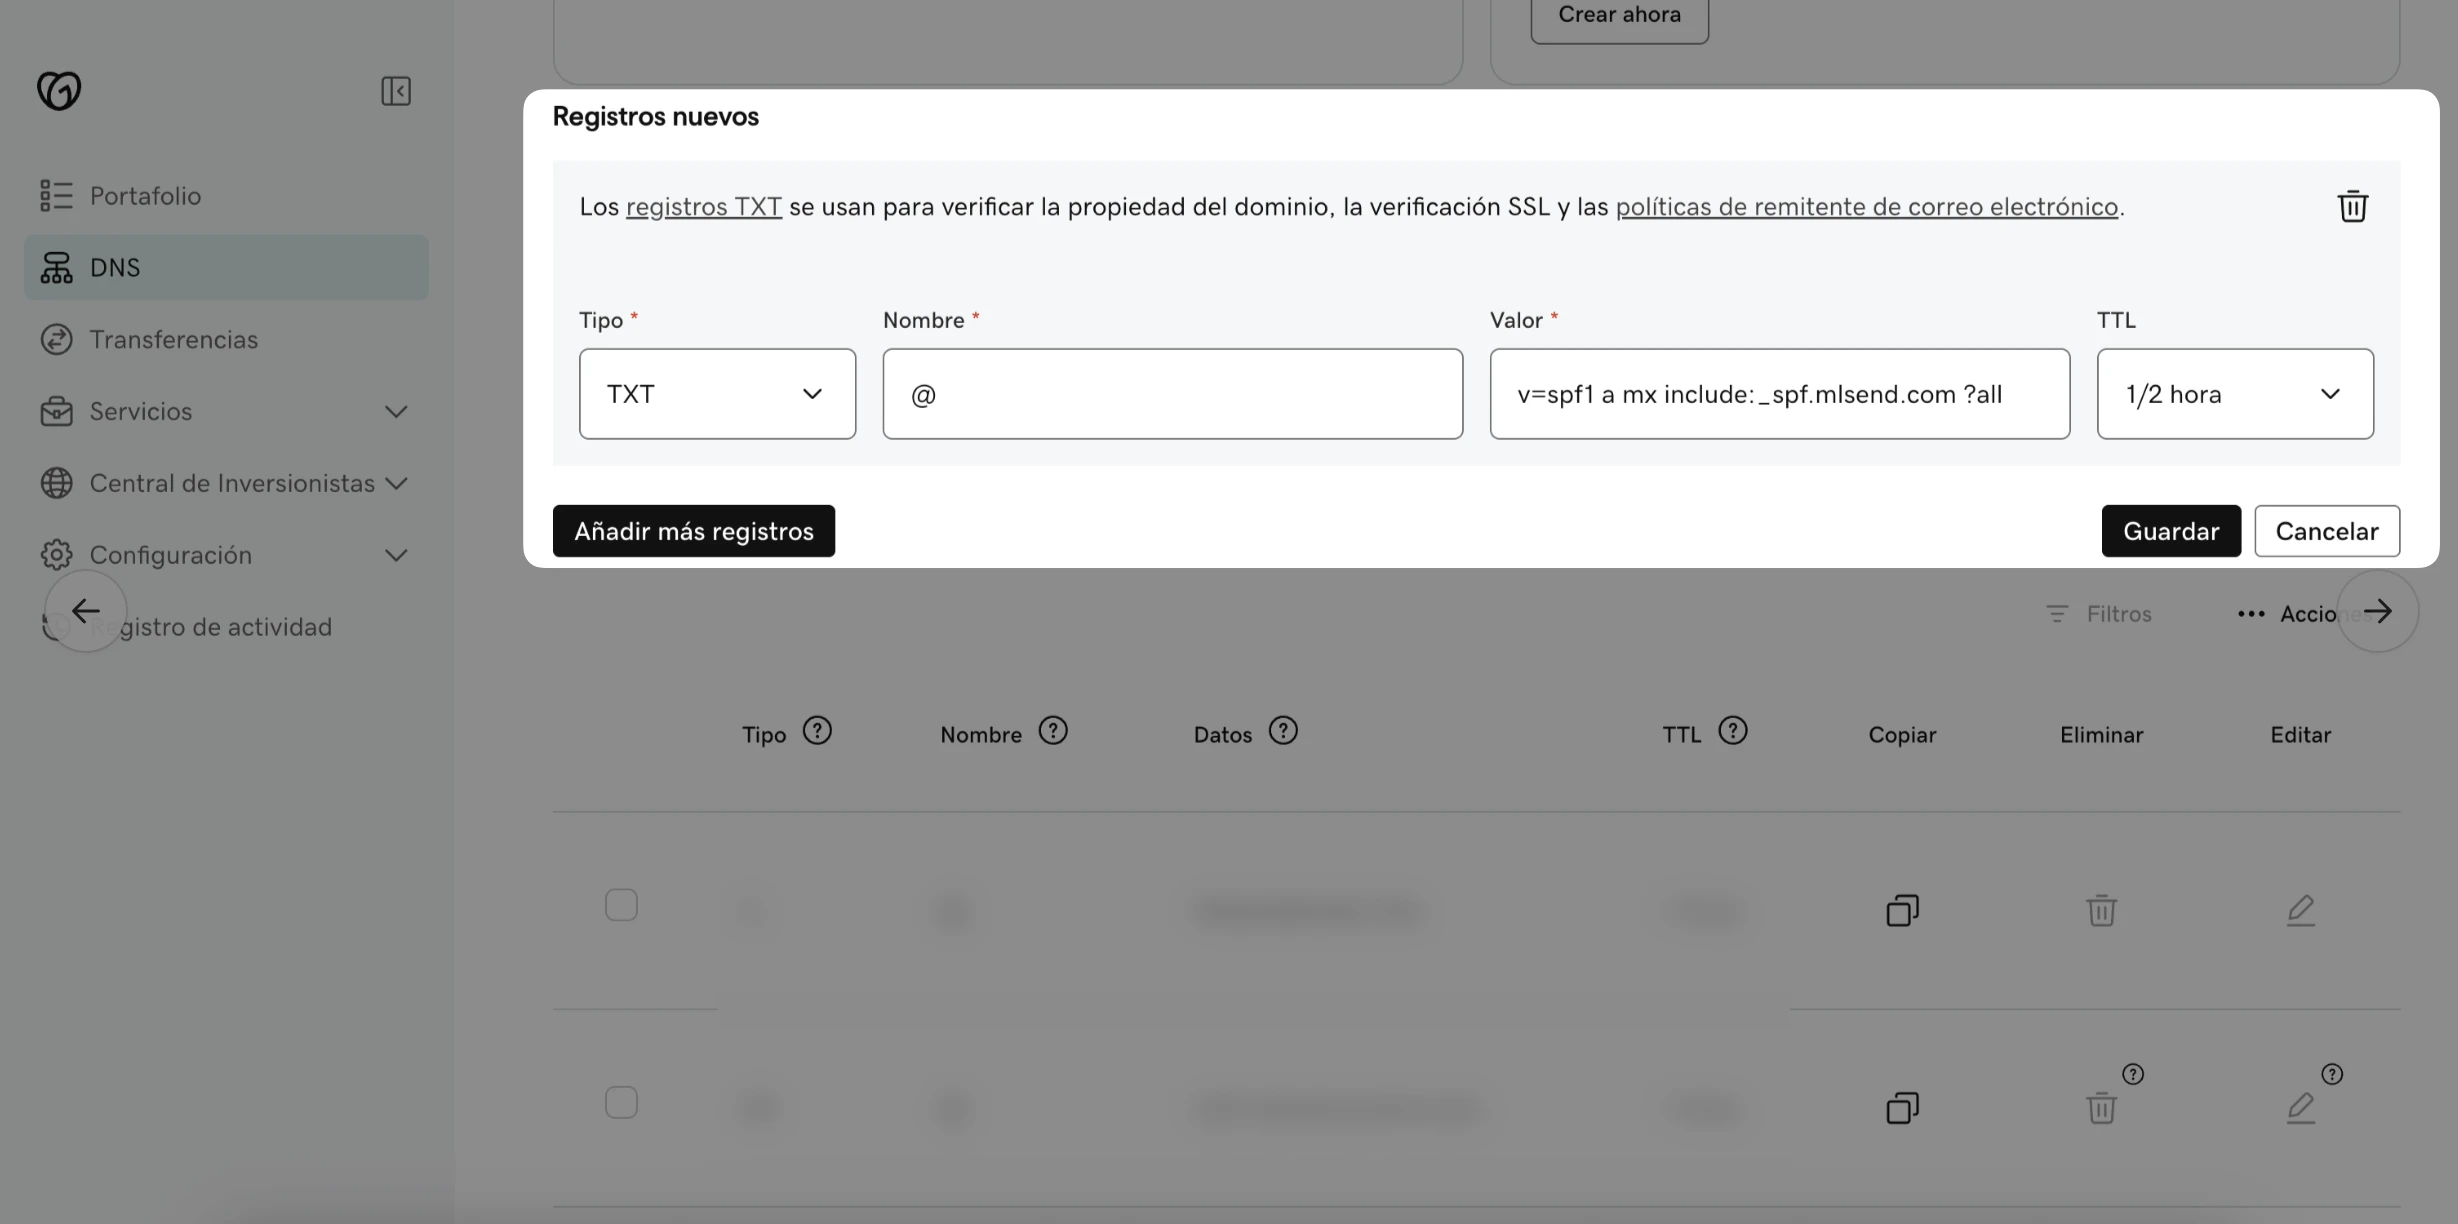
Nota: Sólo es posible tener un registro SPF en tu zona DNS. Si tienes más de un registro SPF, es necesario fusionarlos.
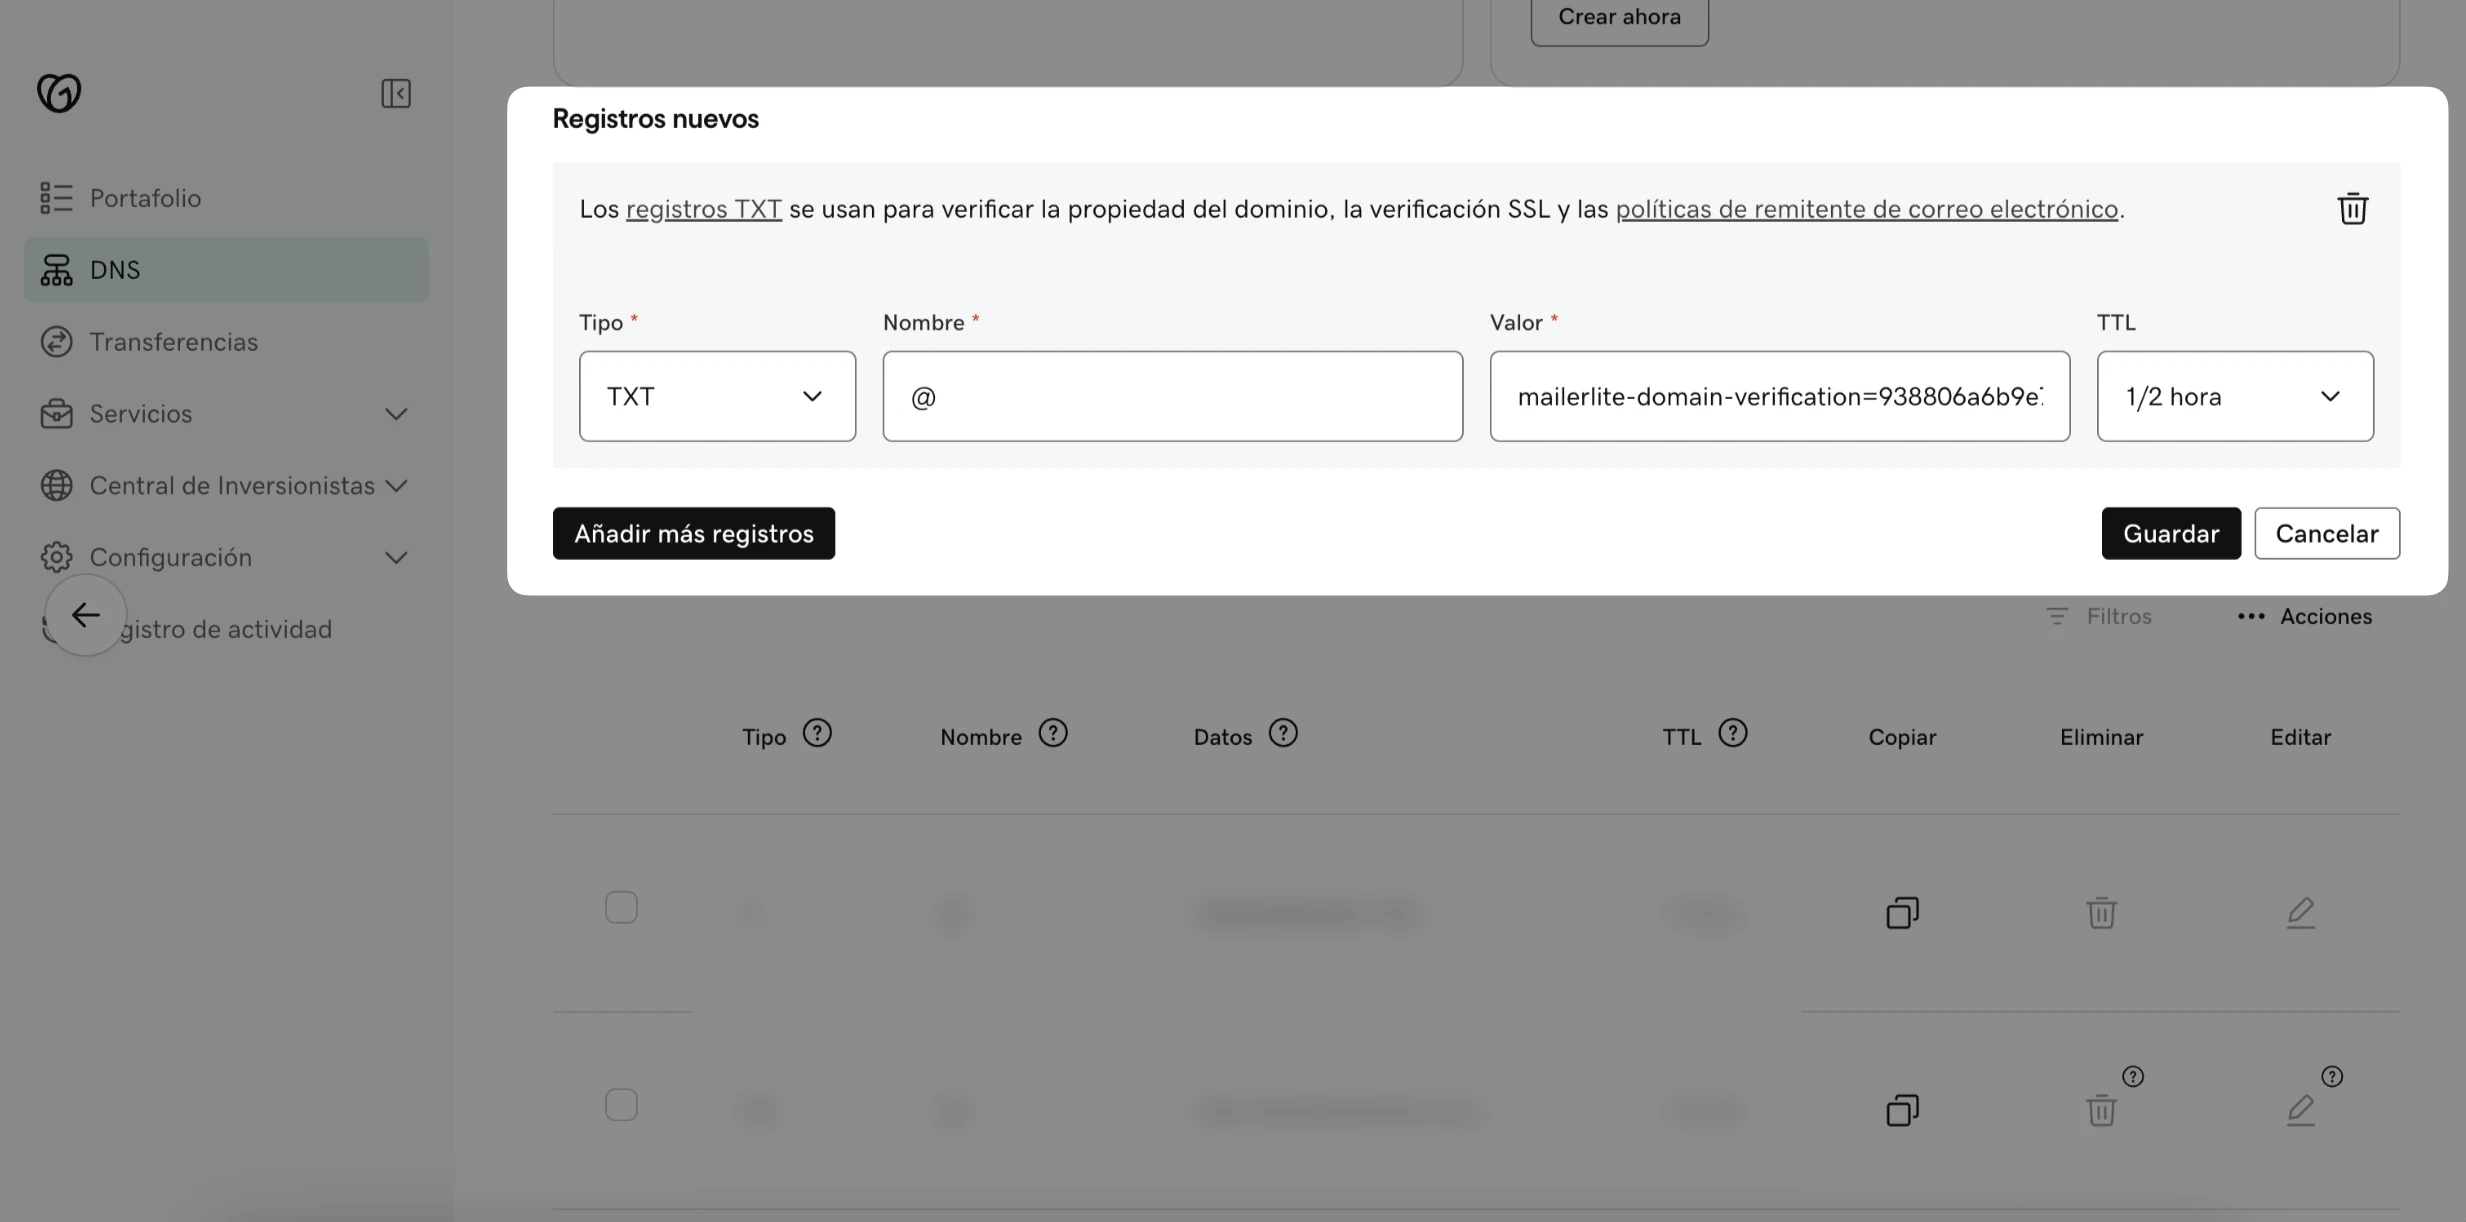
Cómo añadir el registro de verificación de dominio
Haz clic en Añadir nuevo registro.
En Tipo, selecciona TXT.
En el campo Nombre, introduce
@.En el campo Valor, pega el valor de verificación de tu cuenta de MailerLite.
Deja el TTL en ½ hora.
Haz clic en Guardar.
Cómo conseguir la aprobación de los registros DNS
Vuelve a la página Dominios de MailerLite y haz clic en el botón verde Comprobar registros DNS en la ventana de autenticación de dominio. Una vez aprobados los registros, tu nuevo dominio aparecerá como Autenticado ✅.
En algunos casos, puede parecer que los registros no se han aprobado aunque toda la información se haya introducido correctamente.
Esto puede ocurrir por 2 motivos:
Los servidores pueden tardar hasta 24 horas en actualizar esta información por completo. Sin embargo, en la mayoría de los casos la aprobación y actualización se produce en cuestión de minutos.
Es posible que haya que revisar y actualizar algún dato.
🛠️ ¿Necesitas ayuda? Para solucionar los problemas más habituales, consulta nuestra guía Solución de problemas: autenticación de dominio.
En ocasiones, el sistema puede indicar que uno o ambos registros no han sido aprobados, incluso cuando toda la información se introdujo correctamente.
Si tienes alguna pregunta, ponte en contacto con nuestro equipo de soporte y te ayudaremos encantados.
Ten en cuenta que, aunque estamos dispuestos a ayudarte con cualquier problema que se produzca en nuestra plataforma, nuestra capacidad de asistencia puede ser limitada en lo que respecta a aplicaciones de terceros, ya que no podemos acceder a tus cuentas en esas herramientas, aunque estén conectadas a tu cuenta de MailerLite. Por ello, te recomendamos que contactes directamente con el equipo de soporte de esas herramientas para obtener una mejor asistencia.
En este caso, puedes encontrar la página de soporte de GoDaddy aquí.
Sin embargo, a veces el sitio dirá que uno o ambos registros no fueron aprobados,