💡 This integration is only available on the New MailerLite.
Don't know which version of MailerLite you're using? Click here to find out!
With our Adobe Express integration, MailerLite customers can now sync and manage their images between MailerLite and Adobe Express effortlessly.
Getting started
To begin integrating Adobe Express and MailerLite:
1. Open the Adobe Express editor and create a new file or open an existing one.
2. Click on Add-ons located in the left-hand sidebar.
3. Search for MailerLite.
4. Once you've located the integration, click + Add.

5. The plugin will open on the left-hand sidebar. Click Login via browser to sign in using your MailerLite credentials.
6. You will be prompted to allow Adobe Express to access your MailerLite File Manager by clicking Authorize.
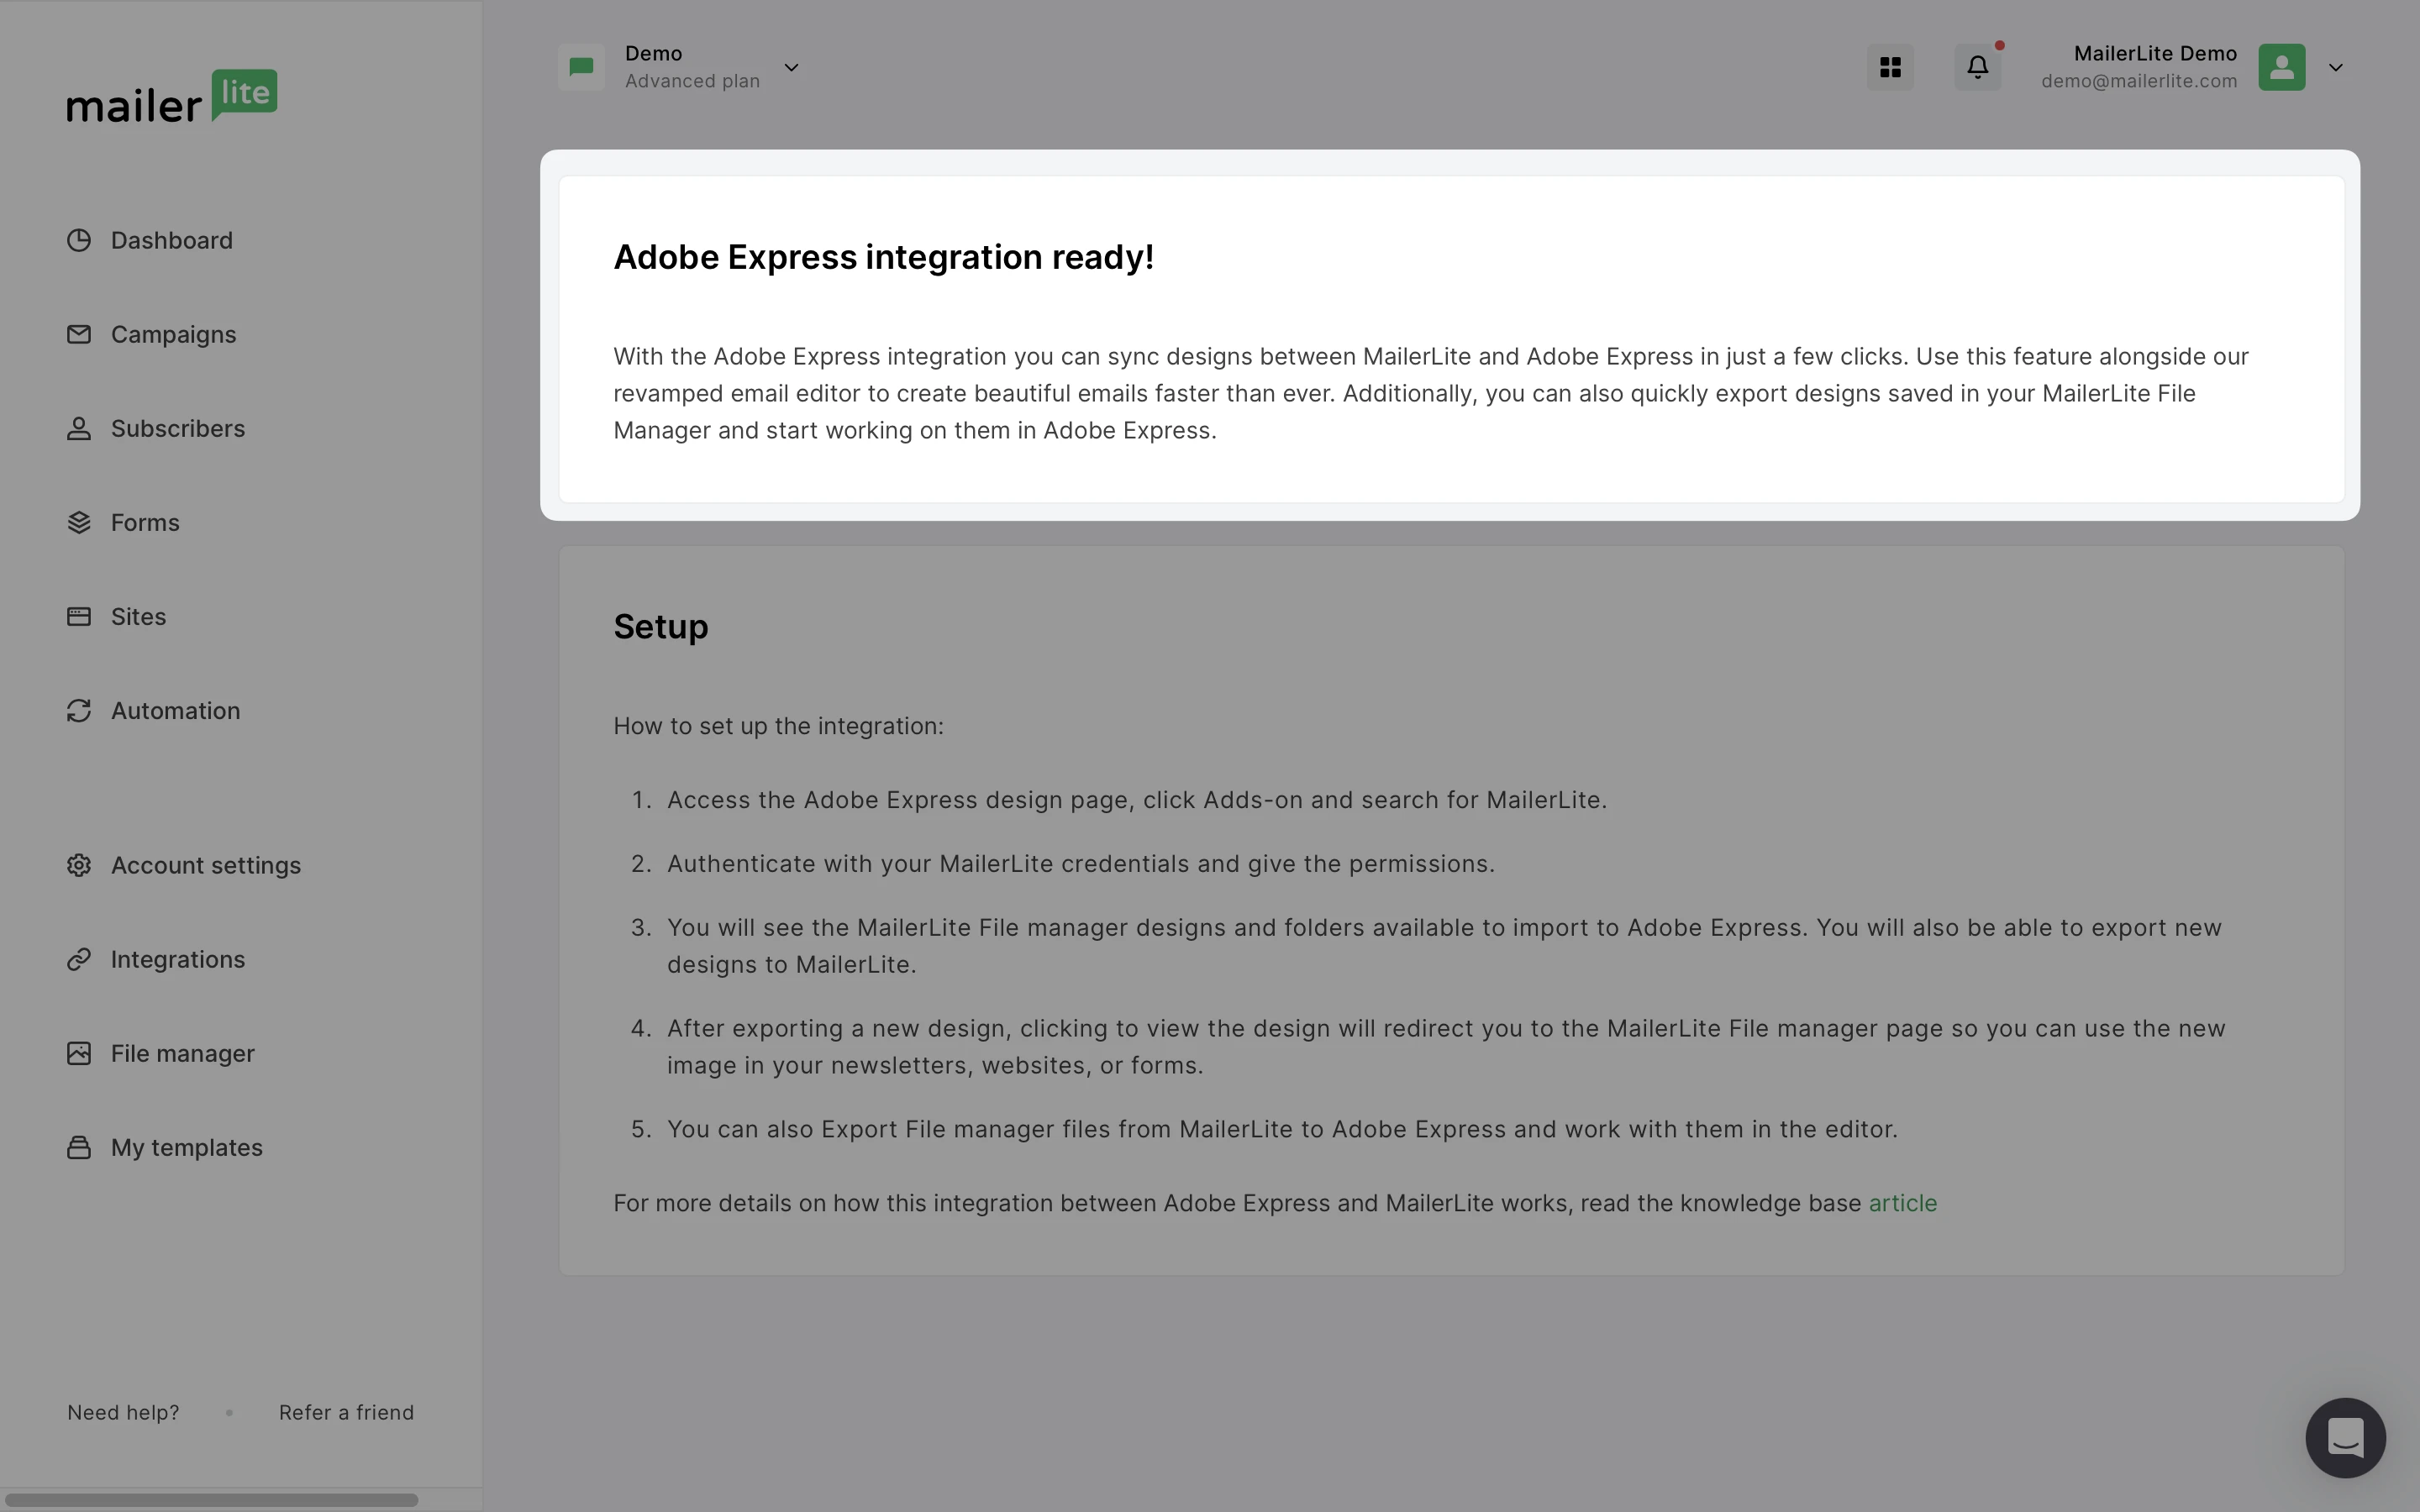
If the connection was successful, you will be taken to the Adobe Express integration page in MailerLite.

Back in Adobe Express, you will now be able to export new creations back to MailerLite and import existing designs in MailerLite back to Adobe Express.
Export
In the Export tab, you can select which file you would like to export to your MailerLite File manager. Choose the File name, Page, File type, and the Destination folder in your File manager.
⚠️ The MailerLite File manager supports images up to 2MB in size. If the exported file is larger, the file will be resized automatically to meet the 2MB limit by reducing its resolution.
When done, click Export to MailerLite.

Synced designs will be immediately available in your MailerLite File manager. From there, you can incorporate these designs into your newsletters, websites, or forms seamlessly.
Click to Export more files to sync more designs to MailerLite.
Import
In the Import tab, you can select files from your MailerLite file manager to be imported to your Adobe Express account. Simply select the file you want to import to add it to the editor, or drag and drop the file directly into your design.
And that’s it! Your file will appear in the Adobe Express editor to make further design changes.