Note: If you're a Legacy (Classic) user, please log in to your account to access the dedicated Legacy (Classic) Help Center.
When you have installed the MailerLite plugin for Shopify, WooCommerce, BigCommerce, PrestaShop, Wix, Squarespace, Shoper or use e-commerce API, a new E-commerce tab will appear in your Account settings.
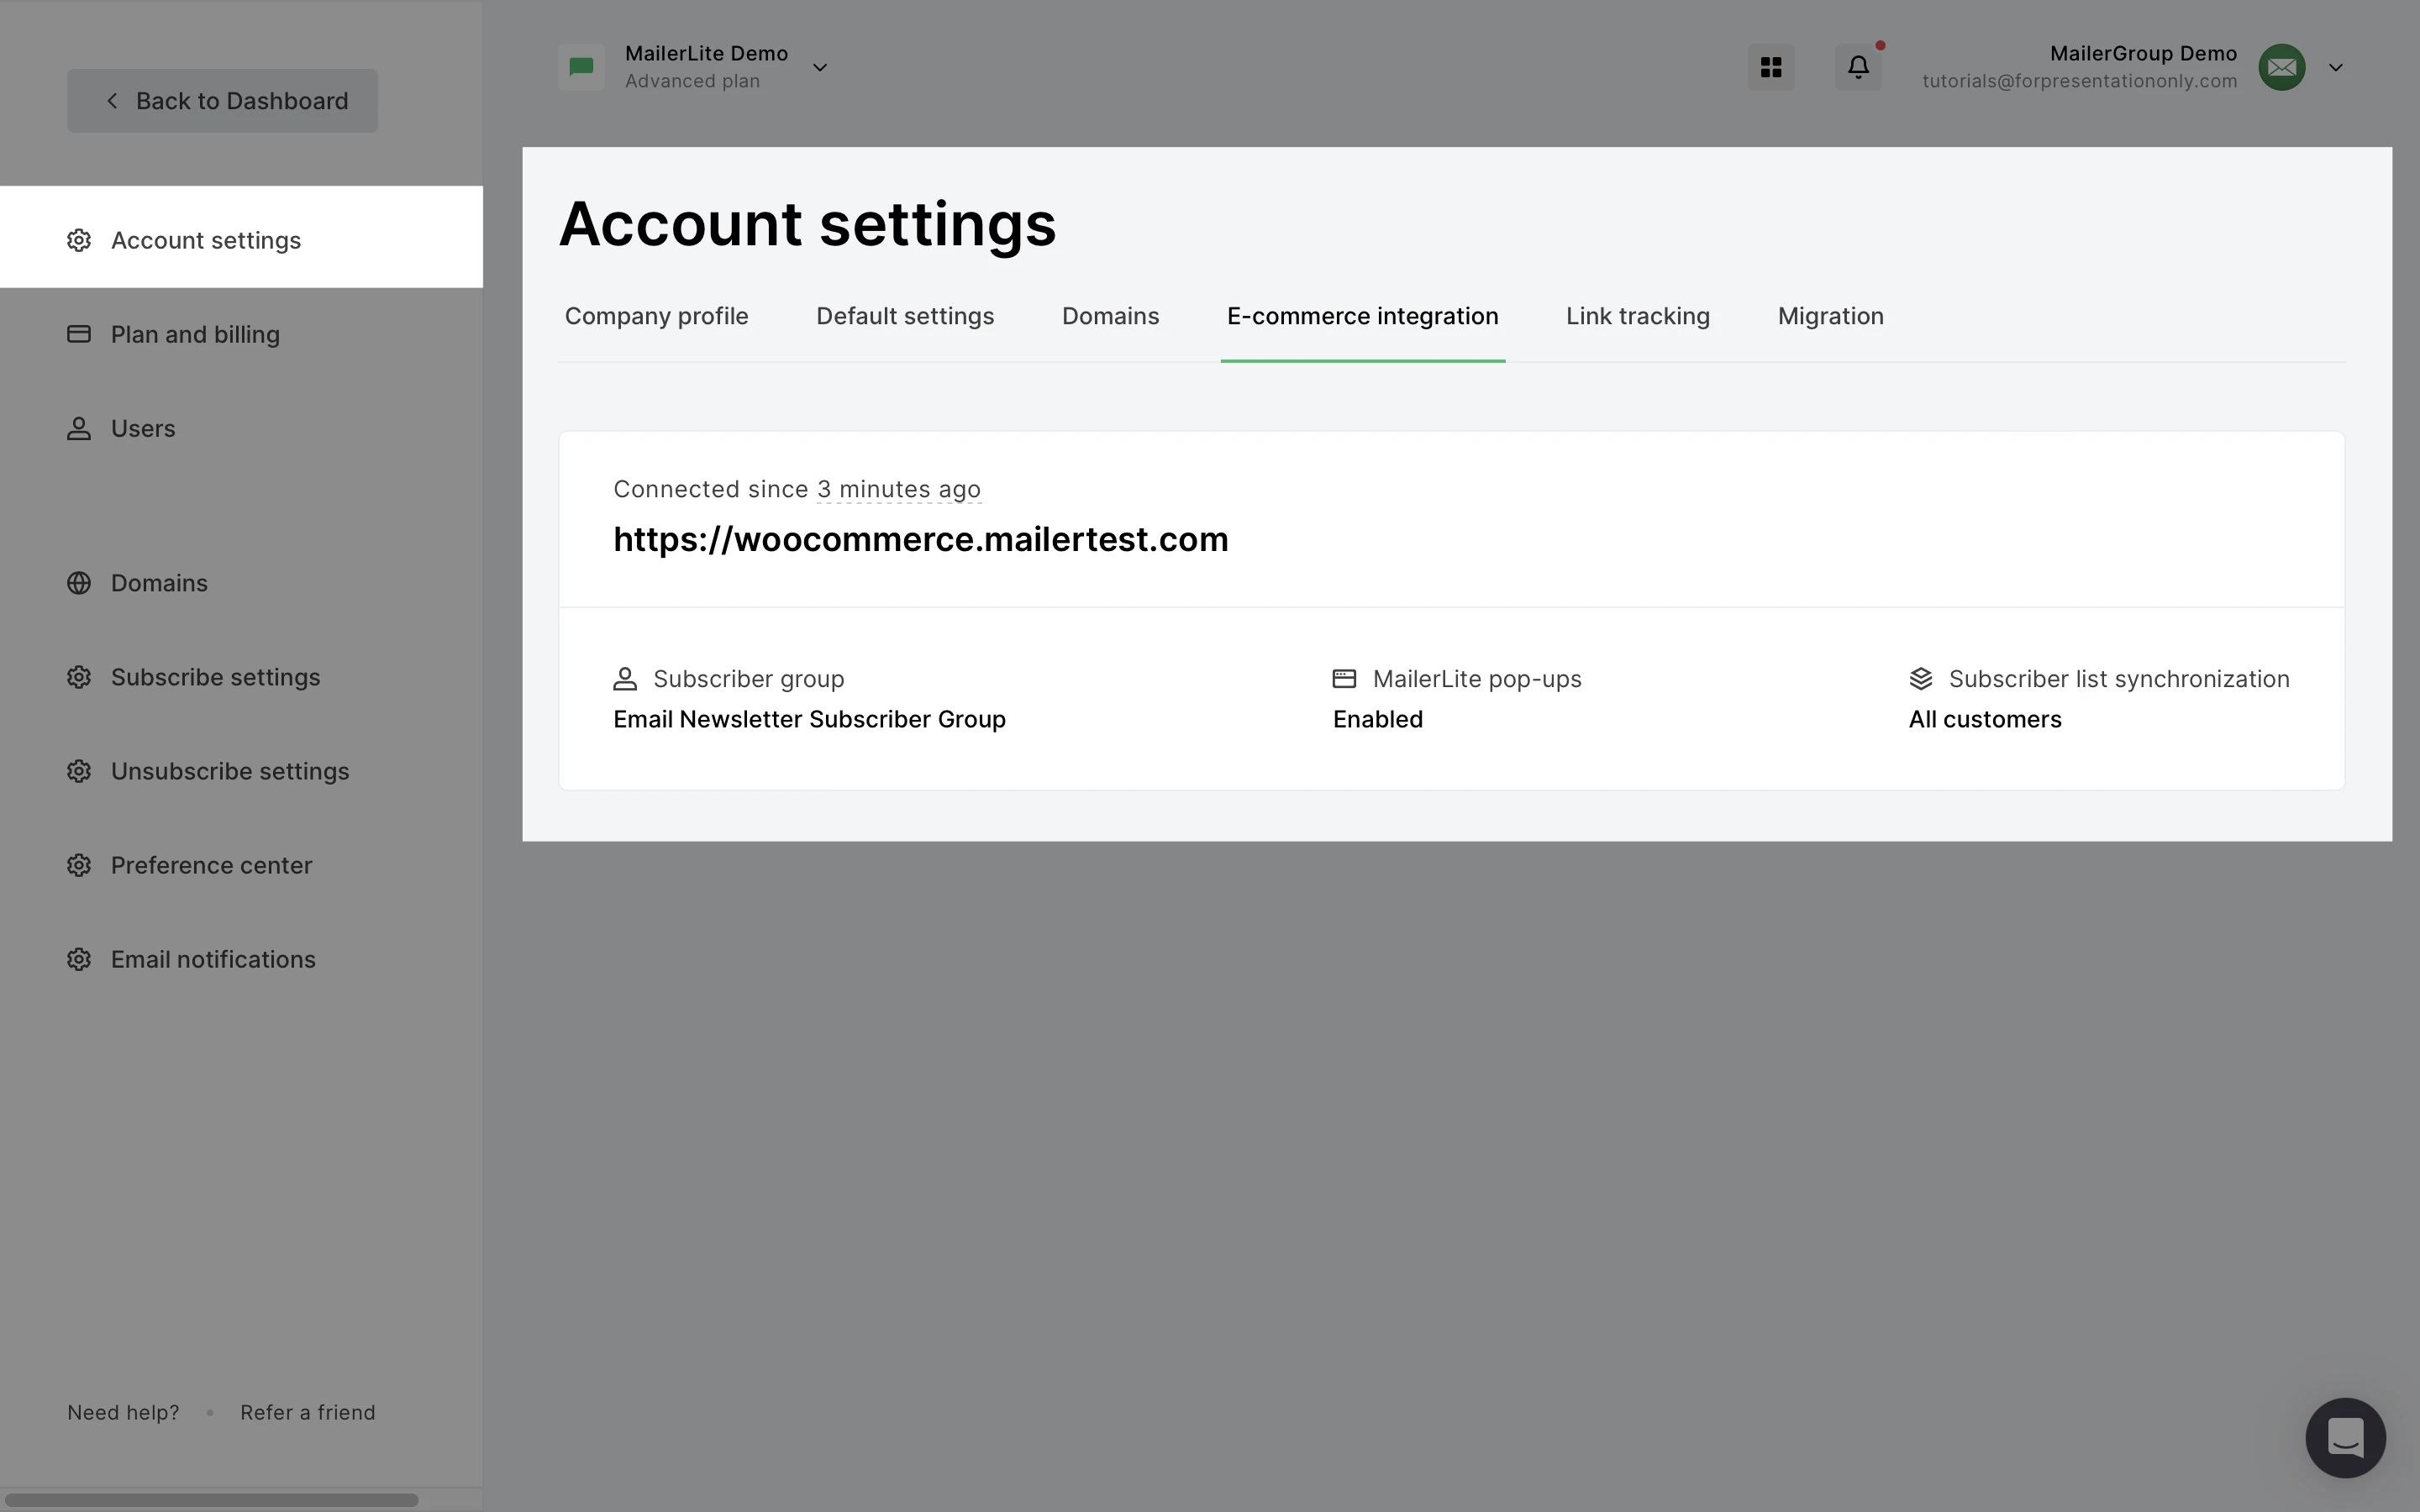
On the E-commerce tab, you’ll find a list of all your connected stores along with detailed information for each one. Here’s what you can see and manage:
Store details
• Connected since: The date when the store was integrated with your MailerLite account.
• Store URL: The web address of your online store.
Subscriber group
This section shows the subscriber group associated with the store:
• Not selected: No group has been assigned. Subscribers will not be added to a specific group.
• [Group Name]: The name of the group where new subscribers from this store will be added.
MailerLite Pop-ups
Indicates whether MailerLite pop-ups are active on your store:
• Enabled: Pop-ups are activated, allowing you to collect subscriber information directly from your store.
• Disabled: Pop-ups are not in use.
Subscriber list synchronization
Shows how customer data is synced between your store and MailerLite:
• All customers: Every customer from your store is synced to your subscriber list.
• Accepts email marketing: Only customers who have opted in for email marketing are synced.
Important: All settings related to subscriber groups, pop-ups, and synchronization must be adjusted in your specific e-commerce store settings outside of MailerLite.
Changes made in your e-commerce platform will be reflected in MailerLite upon synchronization.