Note: If you're a Legacy (Classic) user, please log in to your account to access the dedicated Legacy (Classic) Help Center.
You can create an embedded form or a landing page using the MailerLite Drag & drop form builder.
Both of these types of forms have their own URL, which you can share online on any platform, including Facebook.
How to share your form or landing page as a post
Each embedded form and landing page that you create in MailerLite has its own URL, which can be shared anywhere online, including in a Facebook post.
To find the share URL:
Head to the Forms or Sites page and click on the Overview button of the embedded form or landing page.
On the righthand, you will find the URL. Click Copy.
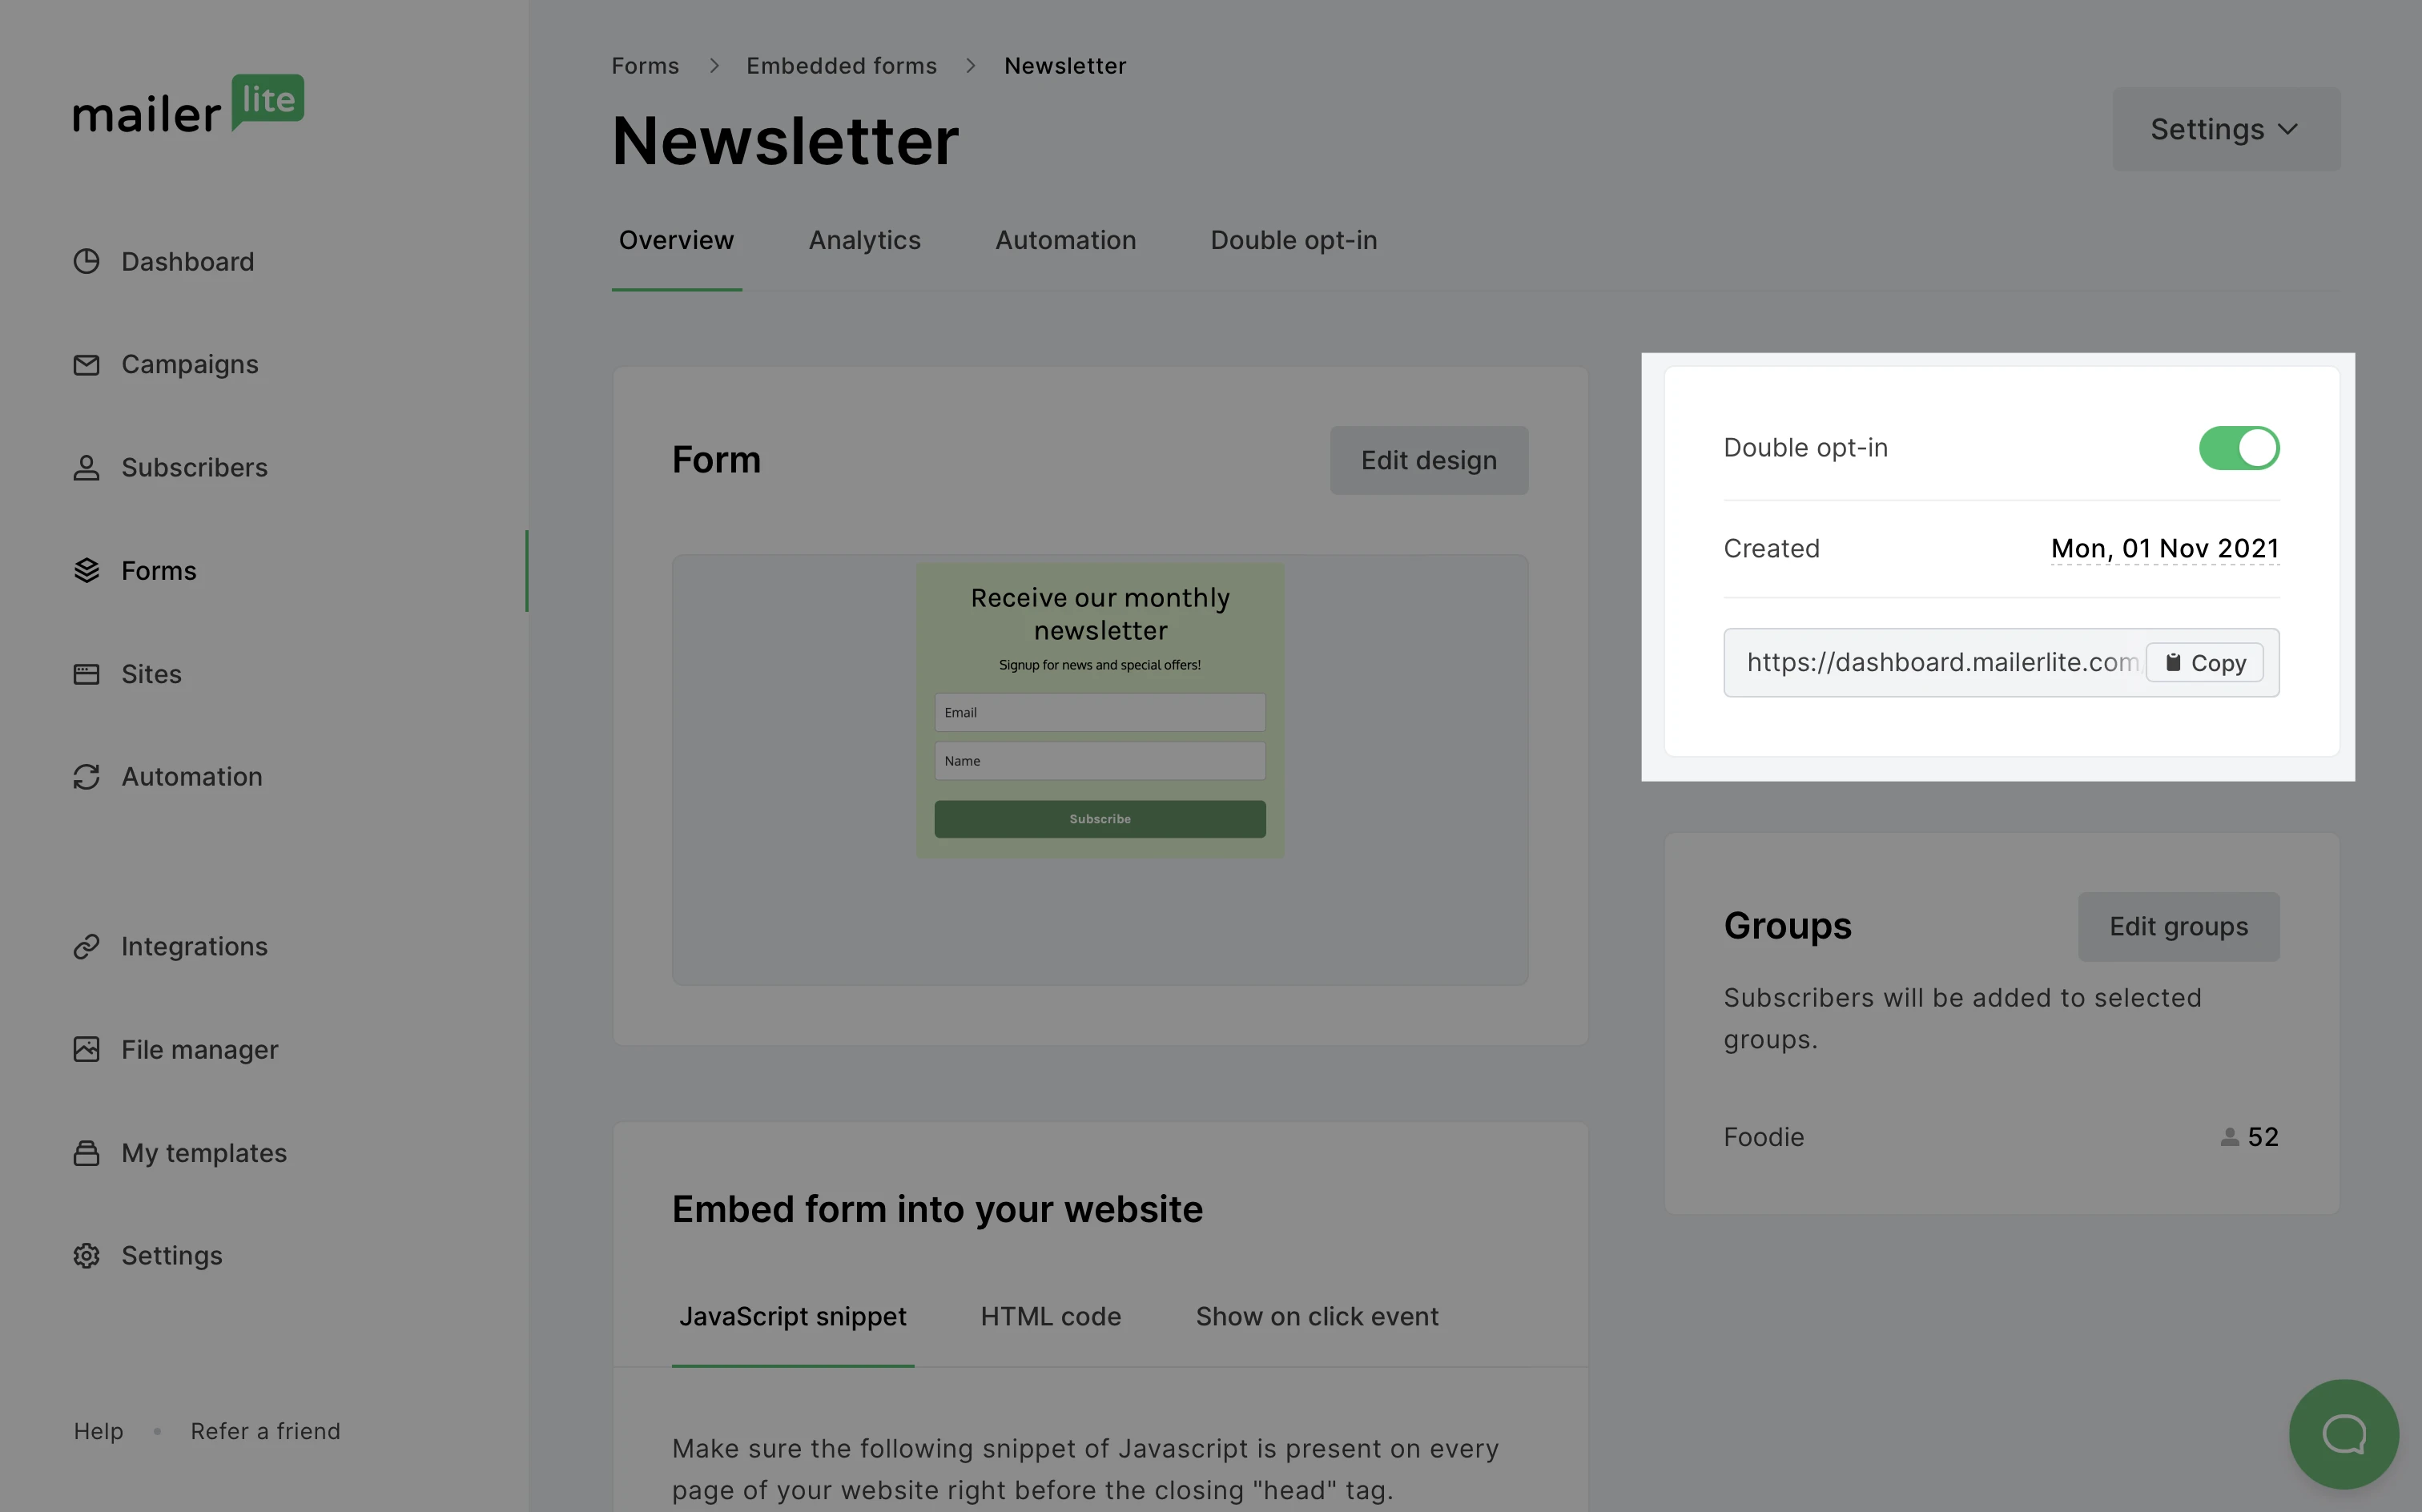
3. Paste this URL on a Facebook post.
When the landing page’s Facebook share image shows differently
Sometimes, Facebook shows a different image than the one you chose in your landing page Facebook share settings. This happens because of Facebook’s cache.
To debug it, enter the URL of your landing page here and click Debug.
After doing this, your landing page will be shared with the correct image.
How to add a Meta tracking pixel to a landing page
What is a Meta Pixel?
A Meta Pixel, previously known as Facebook Pixel, is a piece of code provided by Meta (formerly Facebook) that you can place on your website. It allows you to track user interactions on your site and gather data to help you create more effective Facebook ads.
You can learn more about the Meta tracking pixel and how to set it up here.
Tracking visitor and conversions
Both the Landing page and the Success page share the same URL, so it’s not possible to use different URLs to track visitors and conversions. Not to worry as there is a simple workaround.
There are two ways to track conversions or successful sign-ups on your landing page:
Add the Meta Pixel code in an HTML code block on both the Landing page and the Success page.
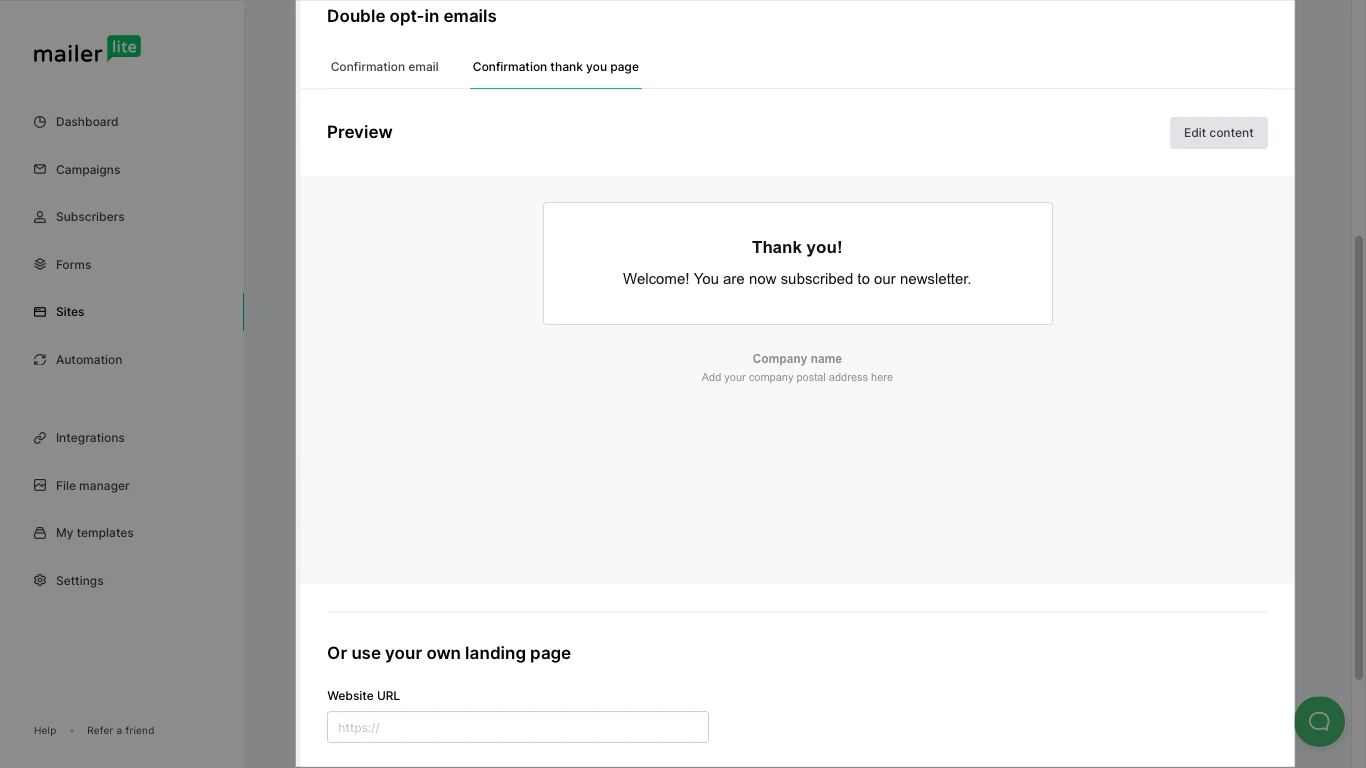
Enable double opt-in and insert the Meta Pixel on a custom Confirmation thank you page. This way, only those who confirm their subscription will be redirected to this custom page. To do this, head to the Double opt-in tab of the landing page, select the Confirmation thank you page tab, and scroll down to the Website URL section.
Adding the tracking pixel number to your landing page settings
The tracking pixel number is a long set of numbers that can be inserted into the landing page’s settings.
Head to the Sites page and click on the Overview button of the landing page.
On the Settings section, click Edit.
Under Settings, select the Analytics and custom code tab to view the Facebook pixel text box.
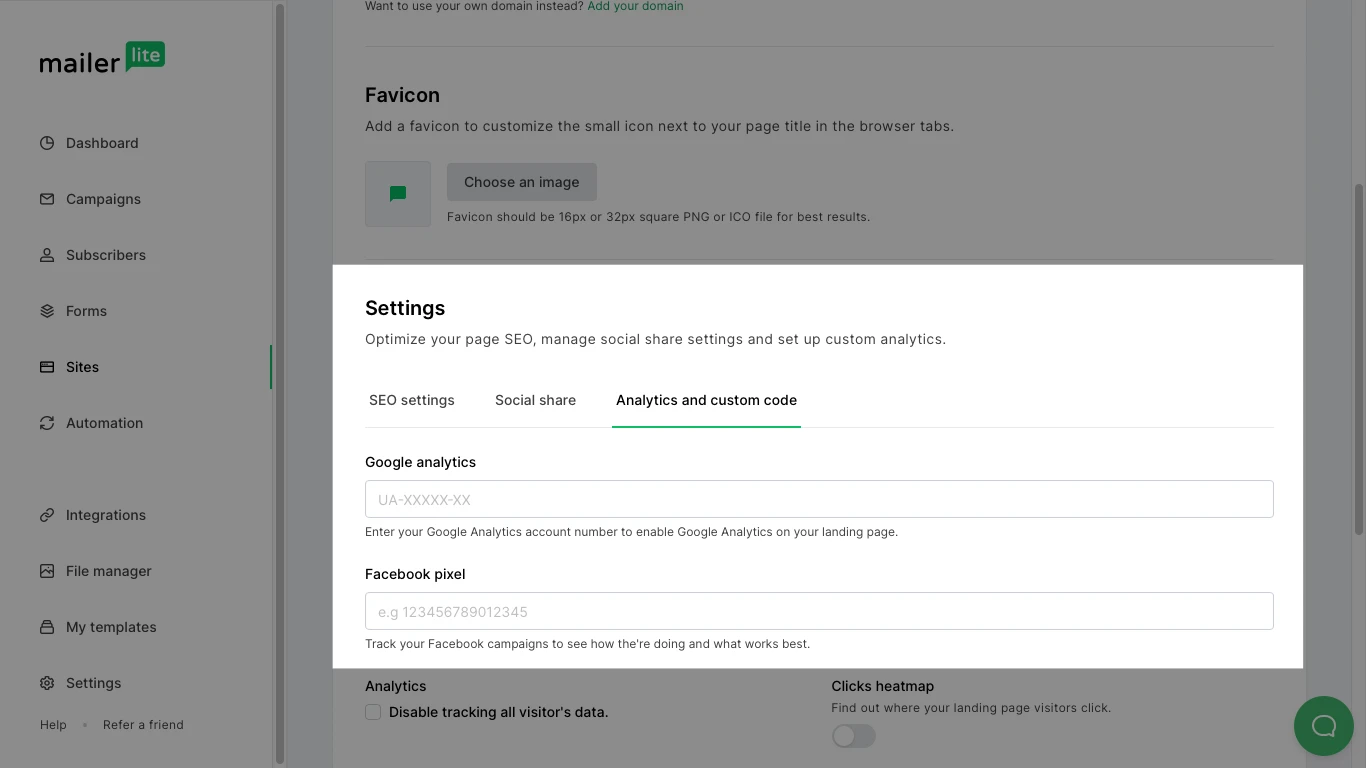
Insert your Meta Pixel number.
Click Save and continue once done.
Adding the tracking pixel code to your landing page
The tracking pixel code is a JavaScript code that can be inserted in the header or in an HTML code block.
To insert the Meta Pixel code in the header:
Head to the Sites page and click on the name of the landing page.
On the Settings section, click Edit.
Under Settings, select the Analytics and custom code tab.
Insert your Facebook tracking pixel number in the Header code injection field.
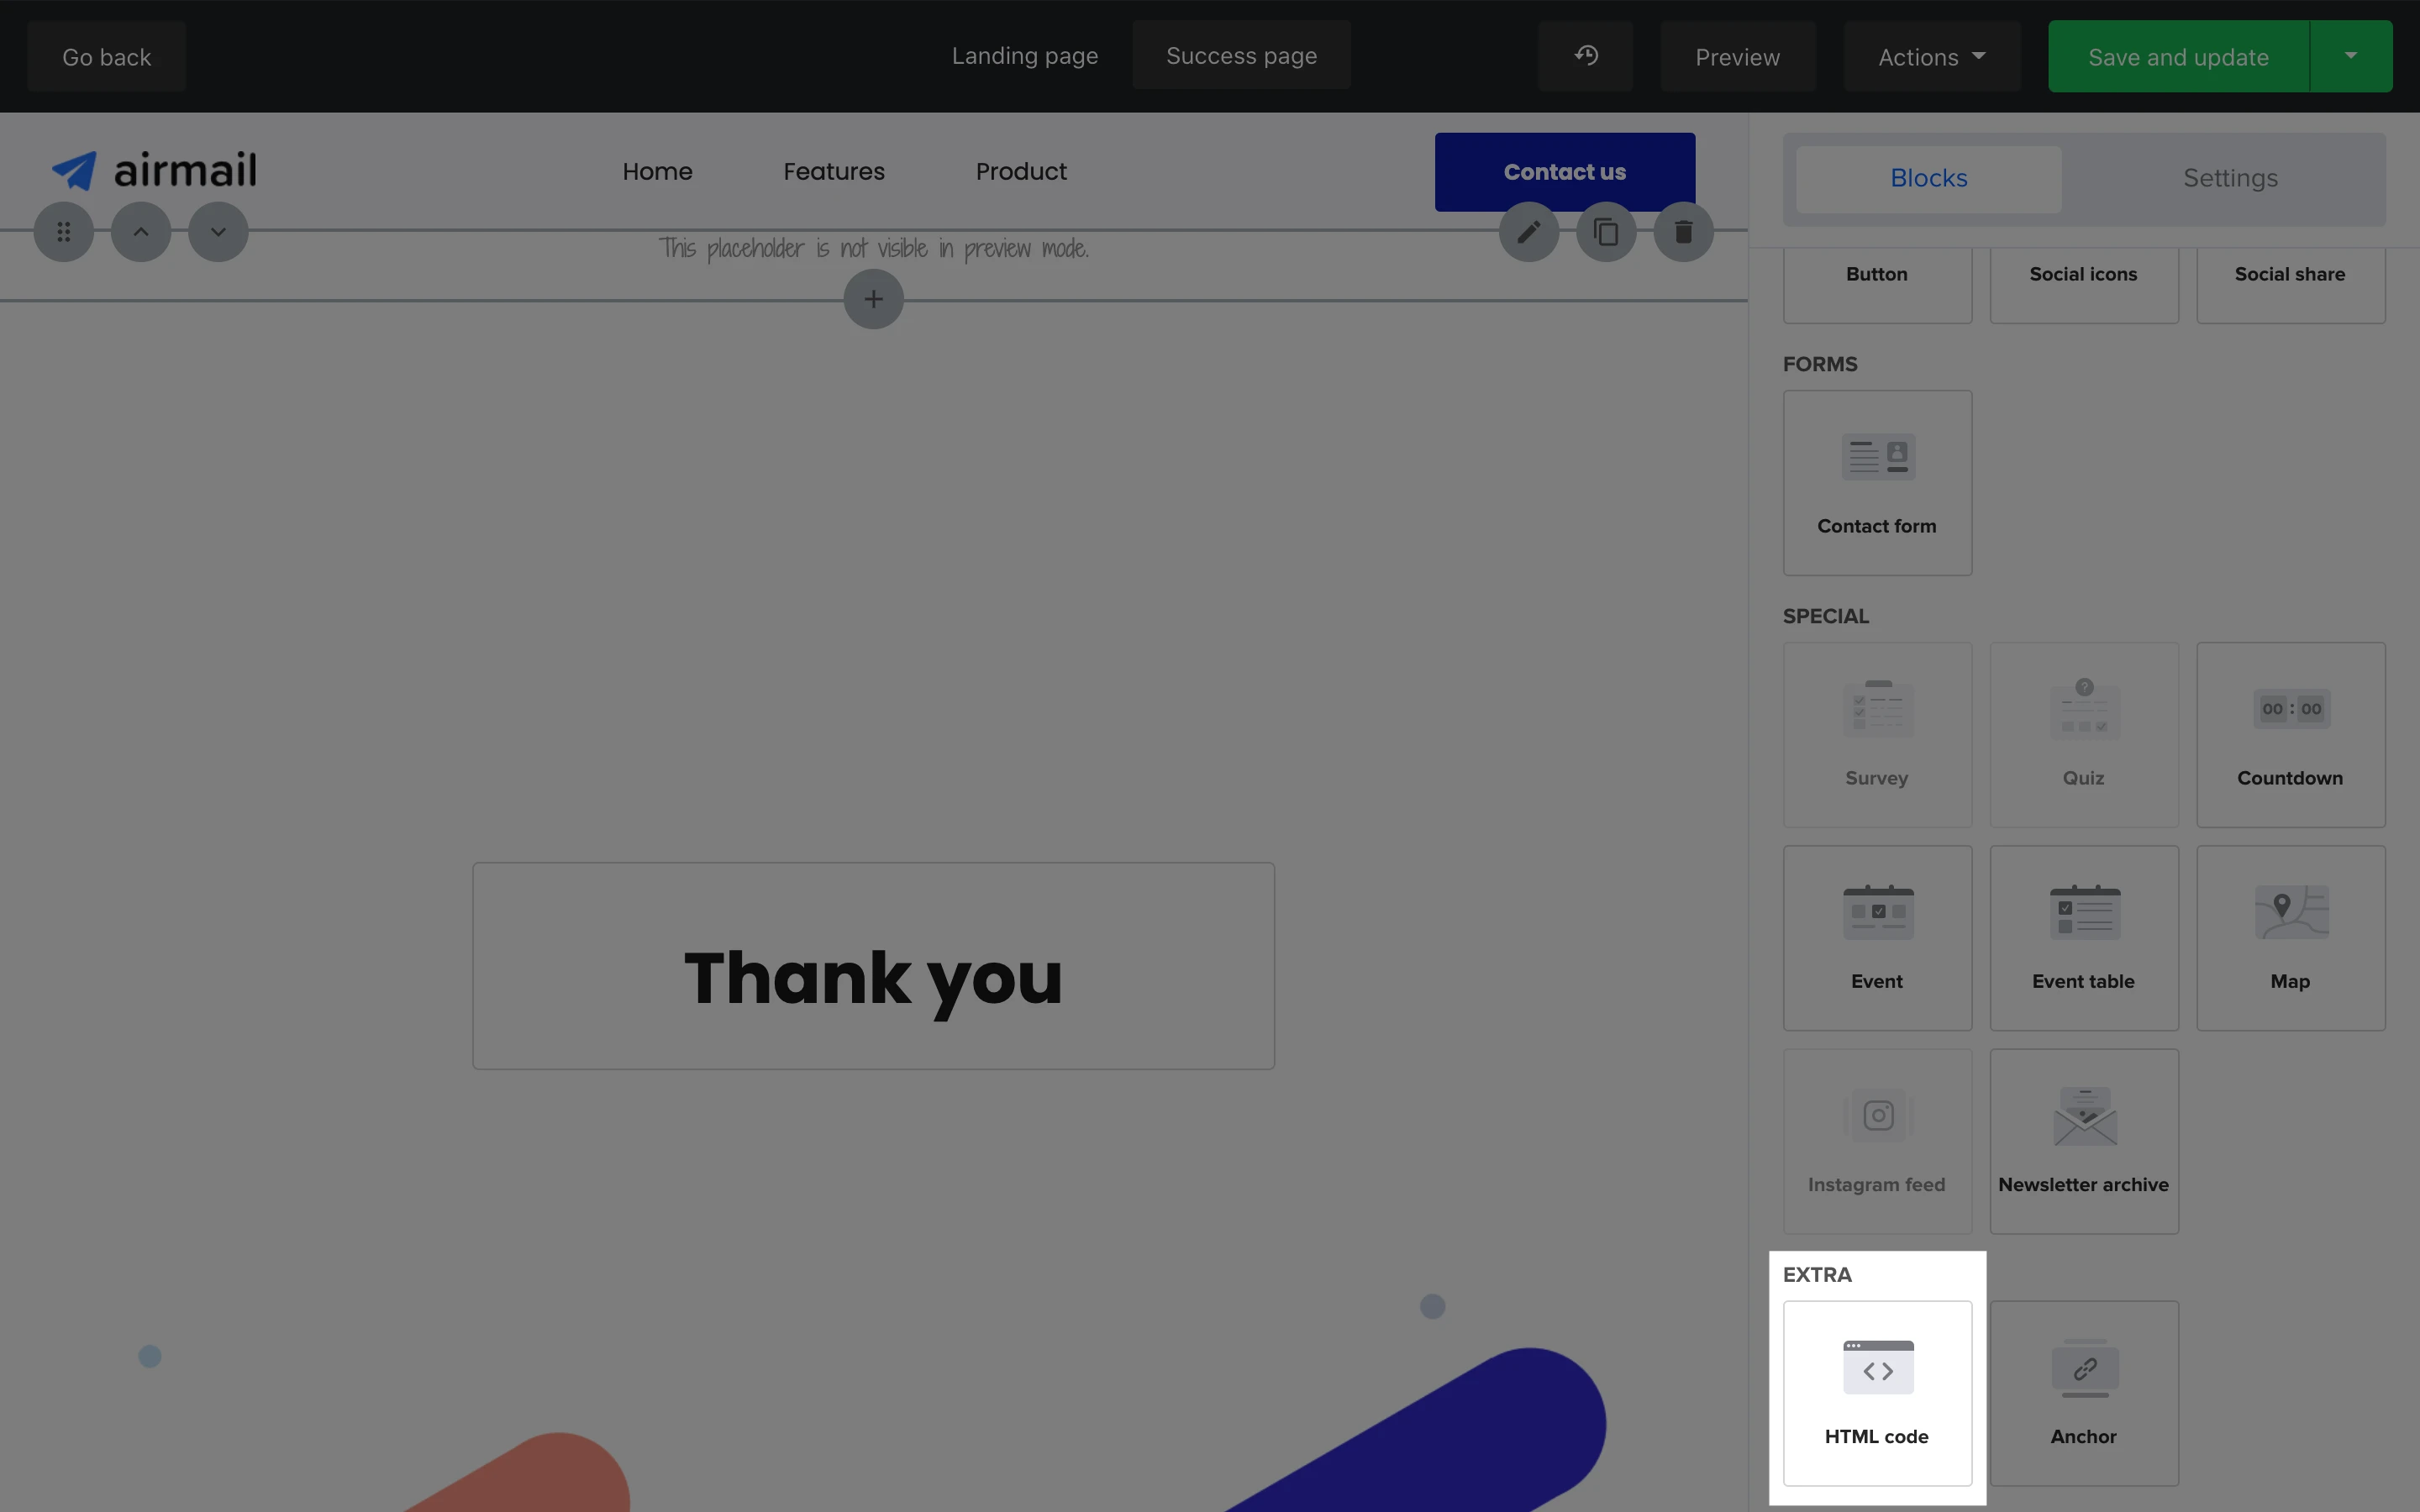
To insert the Meta Pixel code in an HTML code block:
Head to the Sites page and open the Drag and drop editor of the landing page.
On the sidebar, look for the HTML code block under the Extra section and drag and drop it anywhere on the page (it doesn’t matter where as the block will not be visible in the published version).
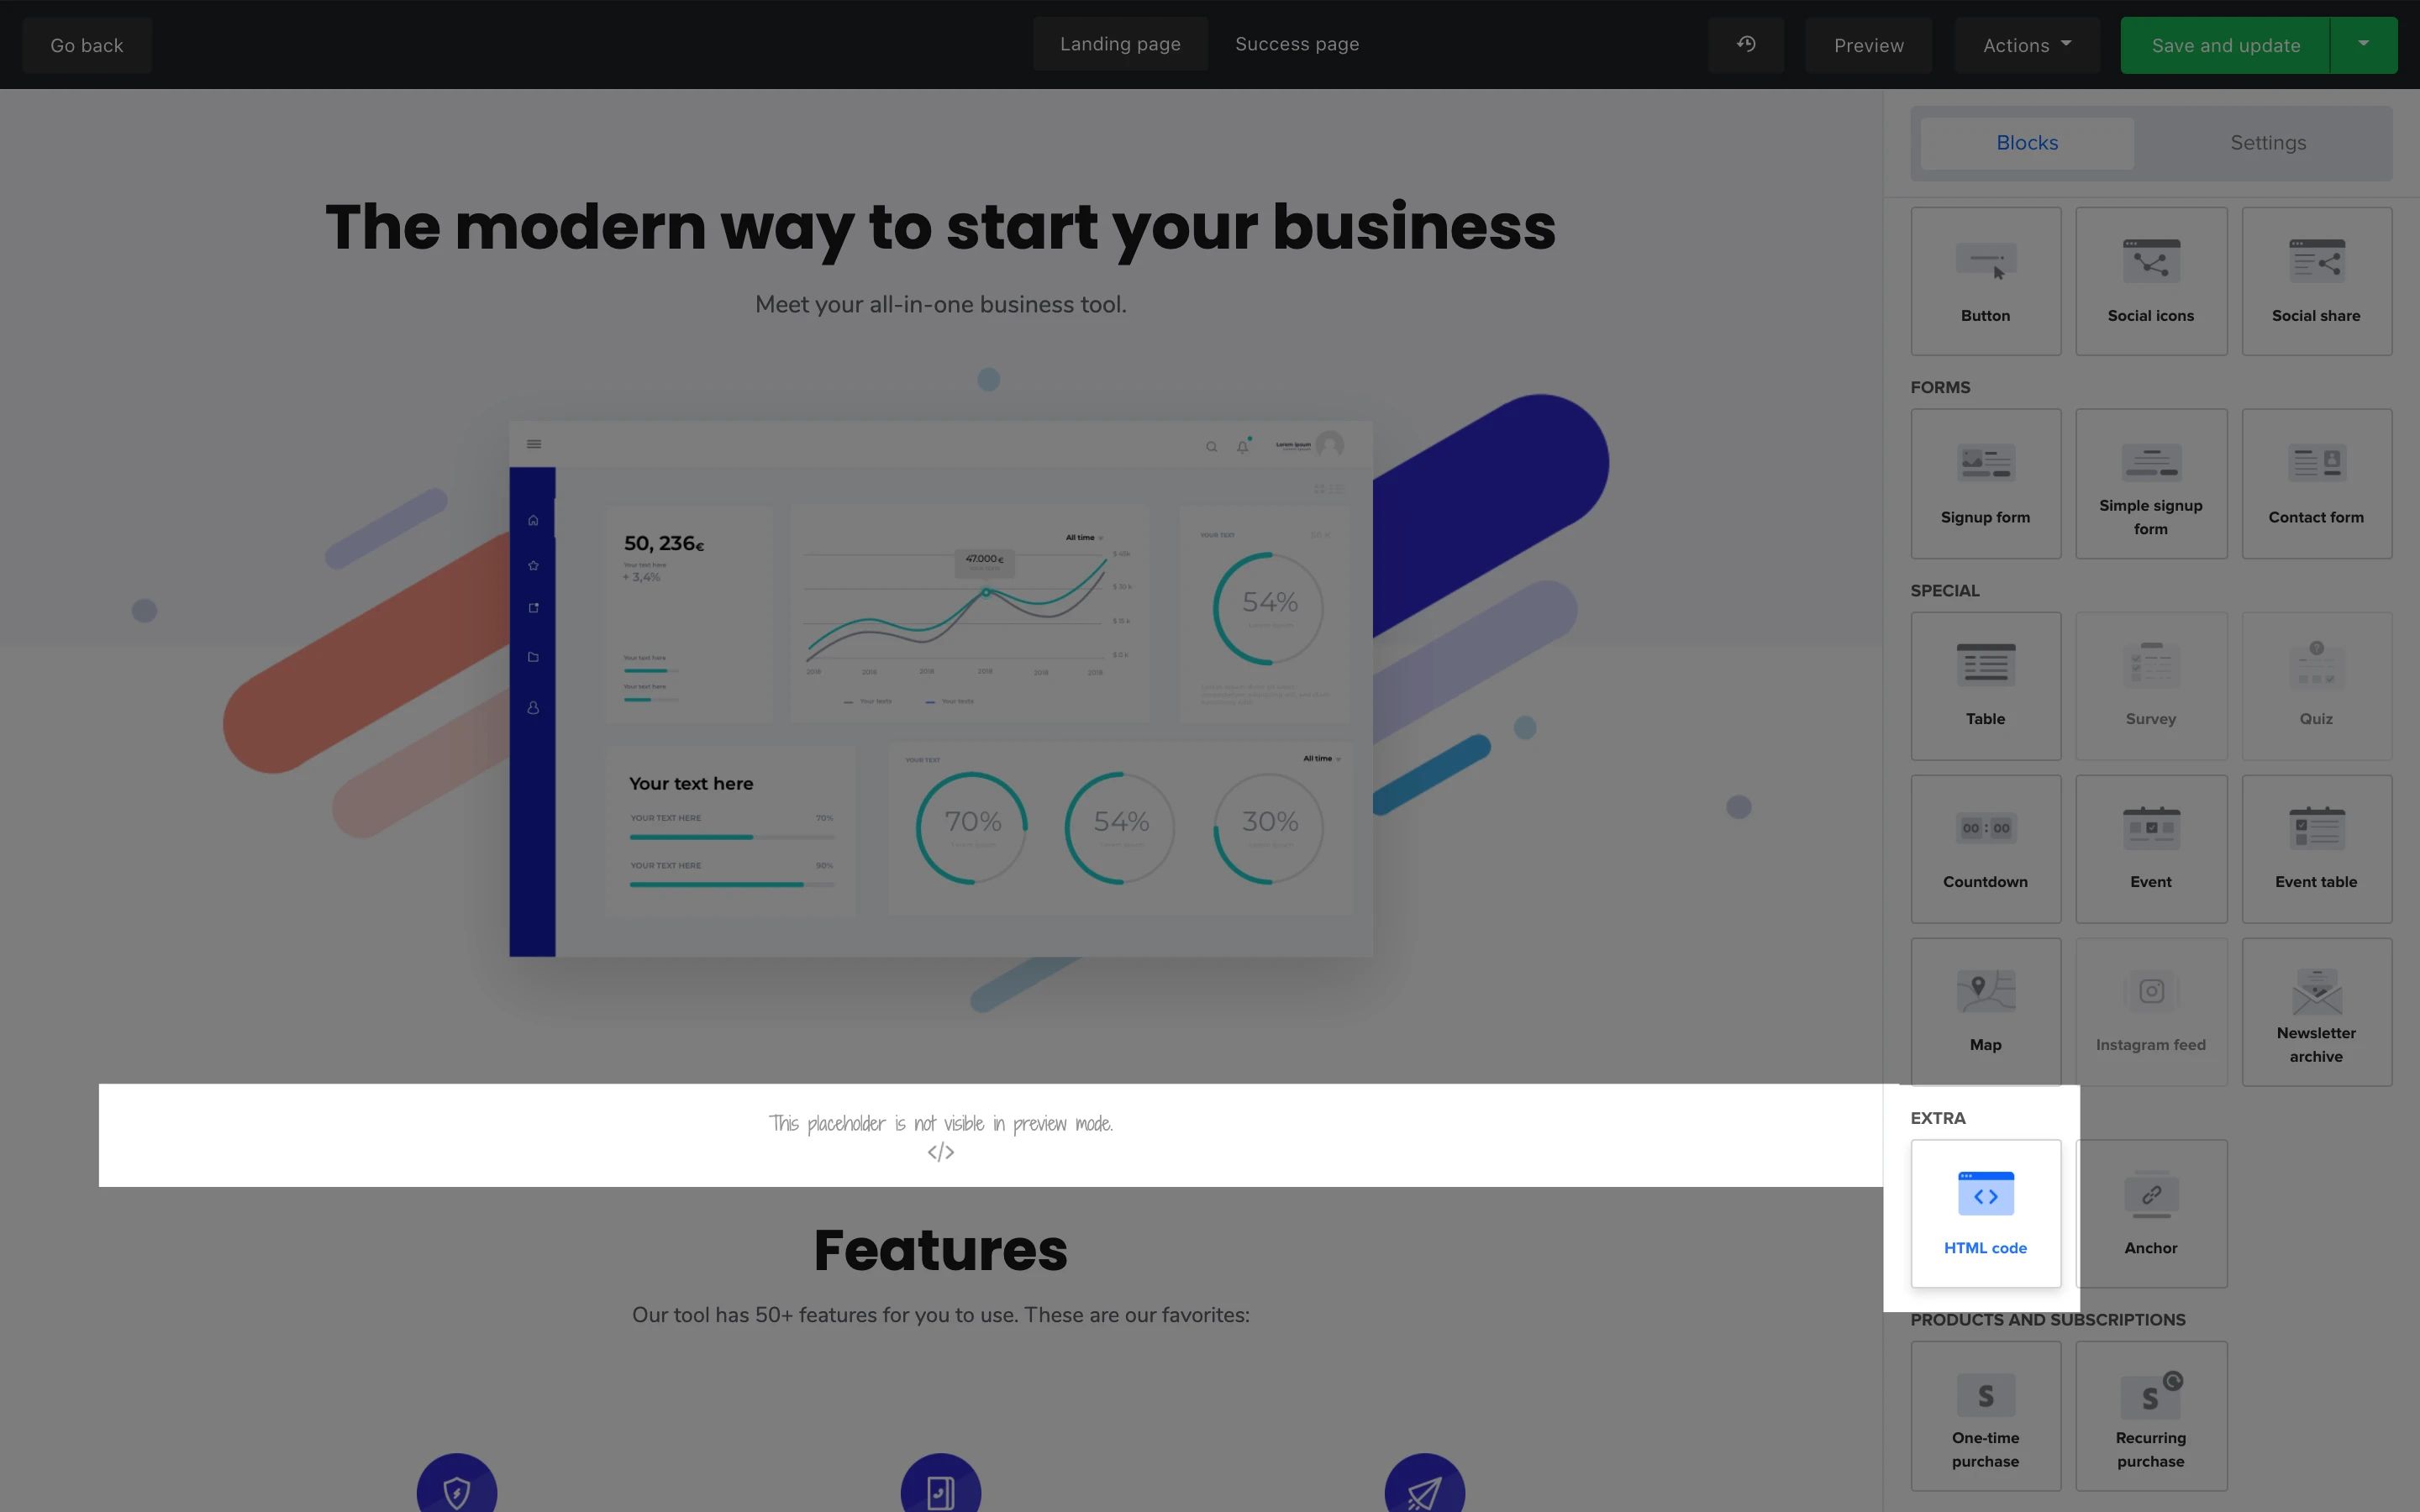
3. After it has been placed on the page, click on the horizontal placeholder of the block (it will read ‘this placeholder is not visible in preview mode') to open the HTML text box.
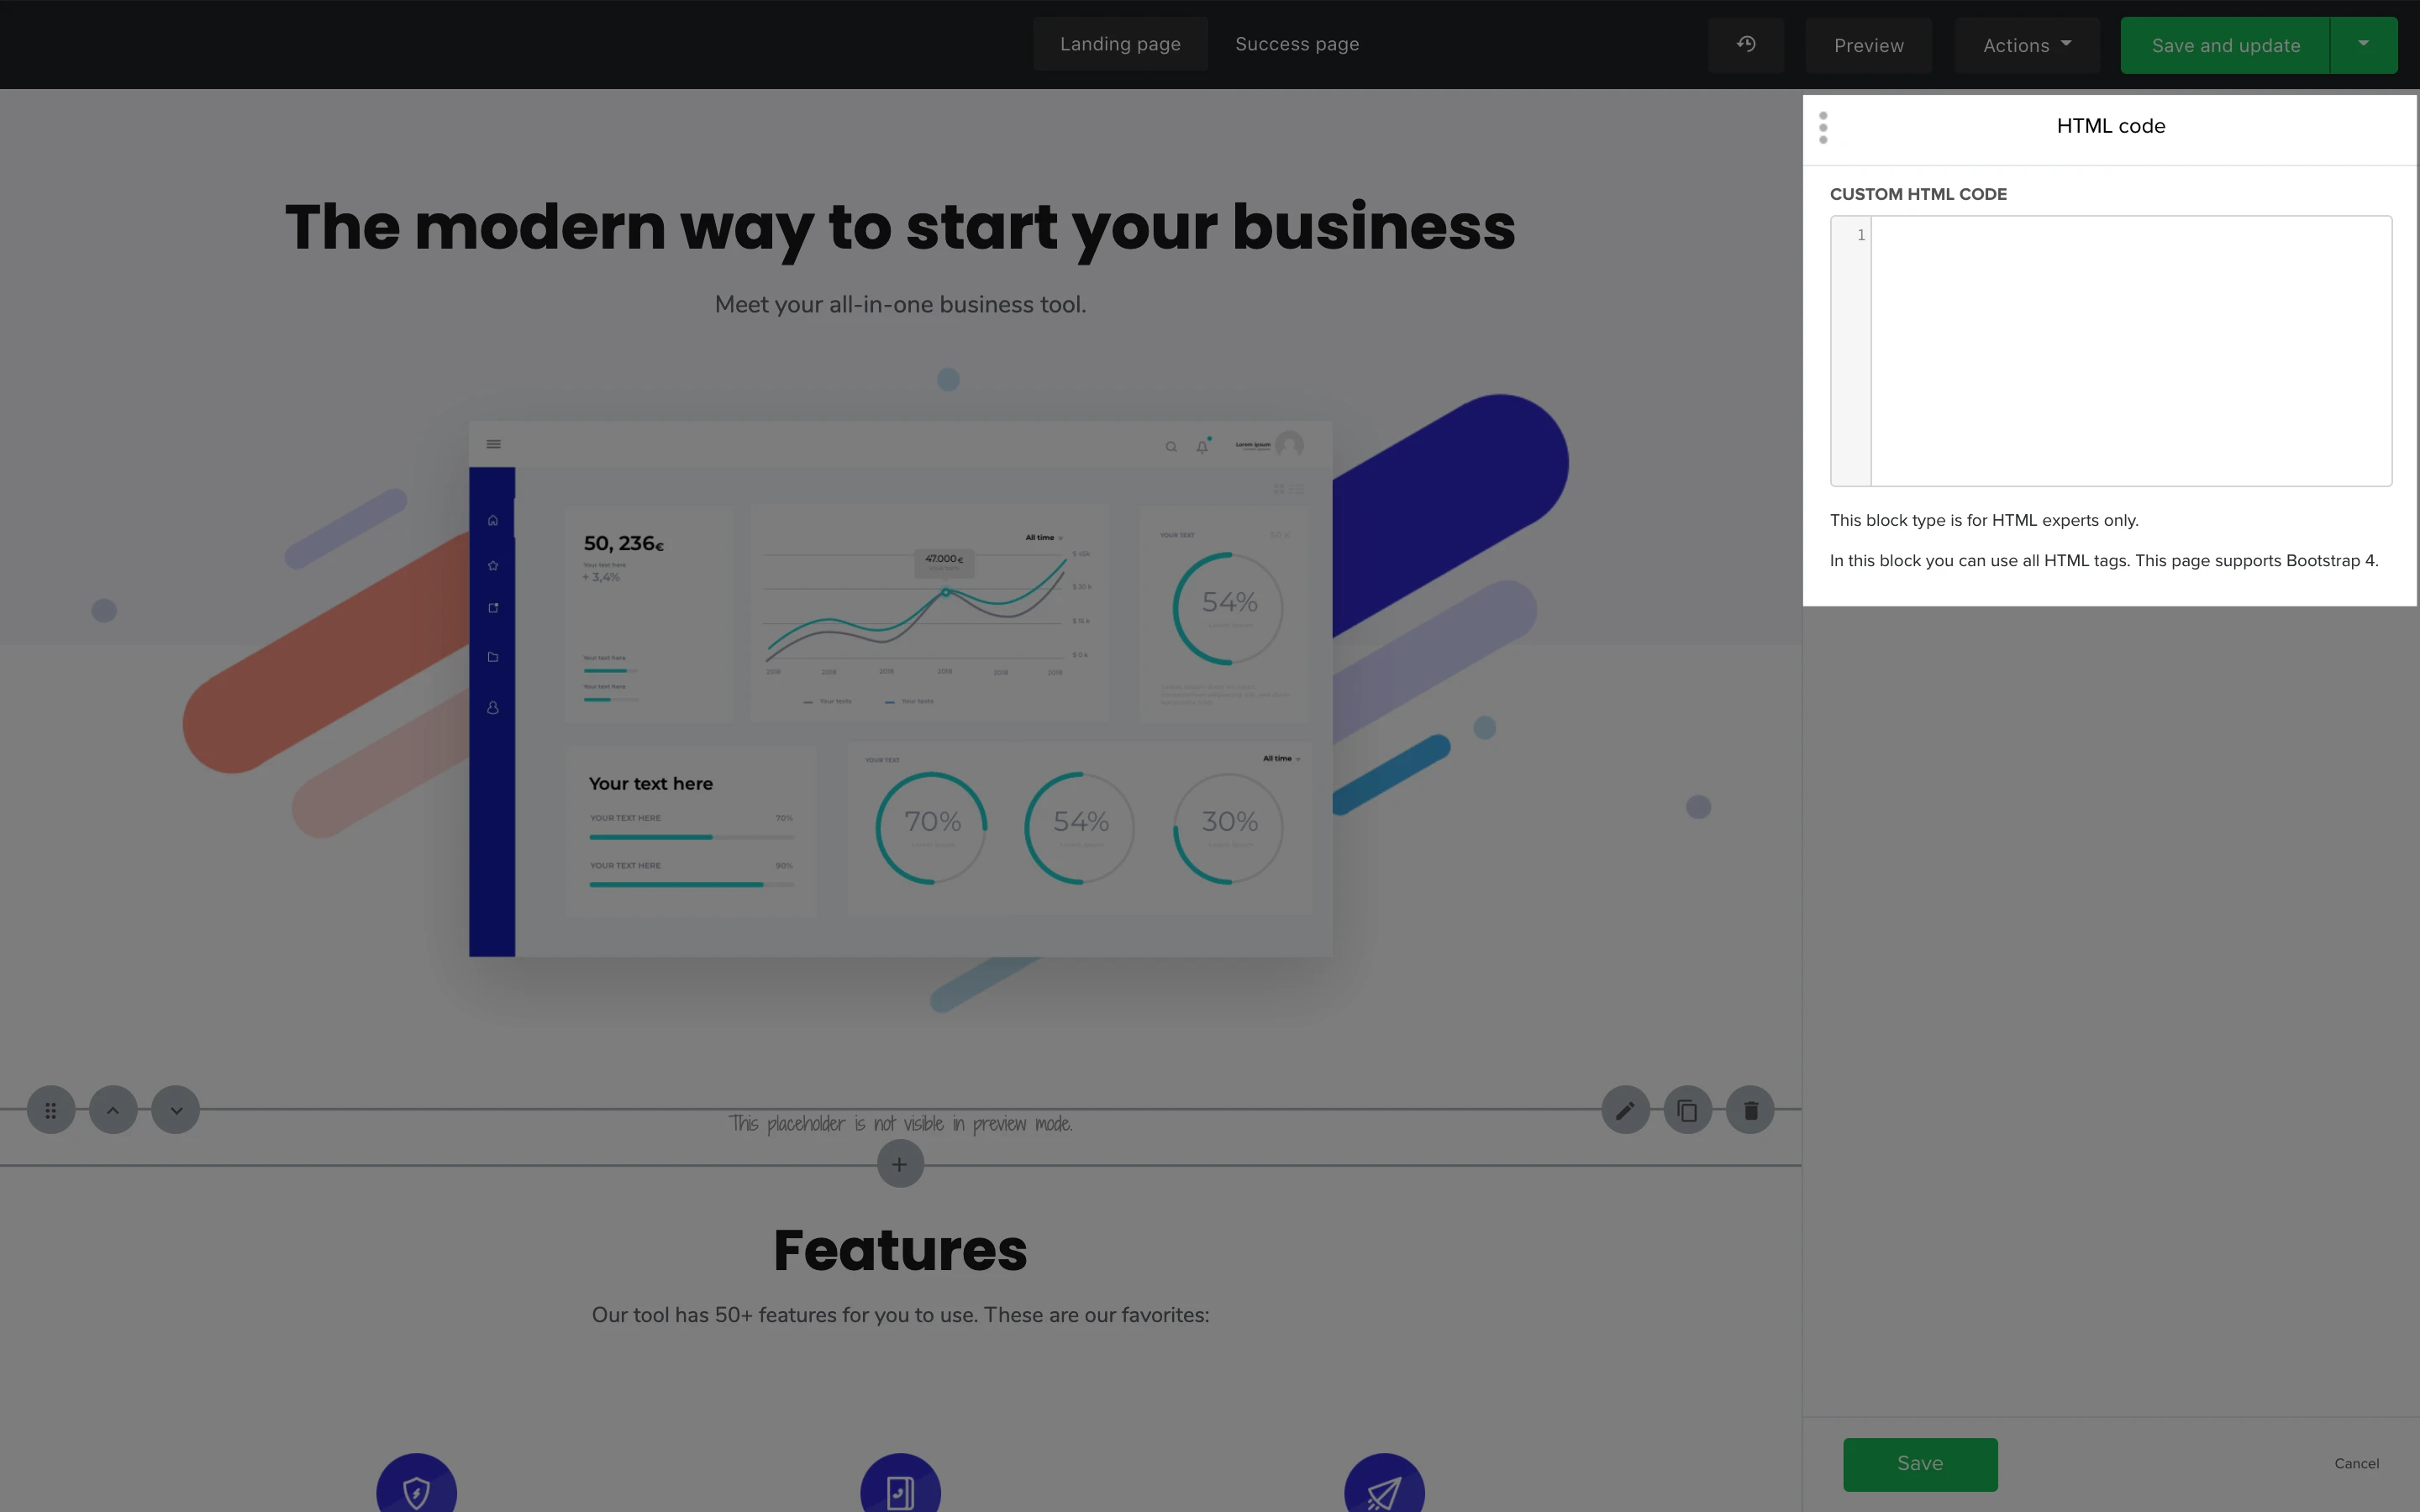
4. After you add the code, click Save.
How to advertise your landing page on Facebook
Here are the steps to advertise a MailerLite landing page on Facebook:
Go to Facebook Ads Manager.
Choose your marketing objective. The marketing objective you can use for this purpose is Traffic.
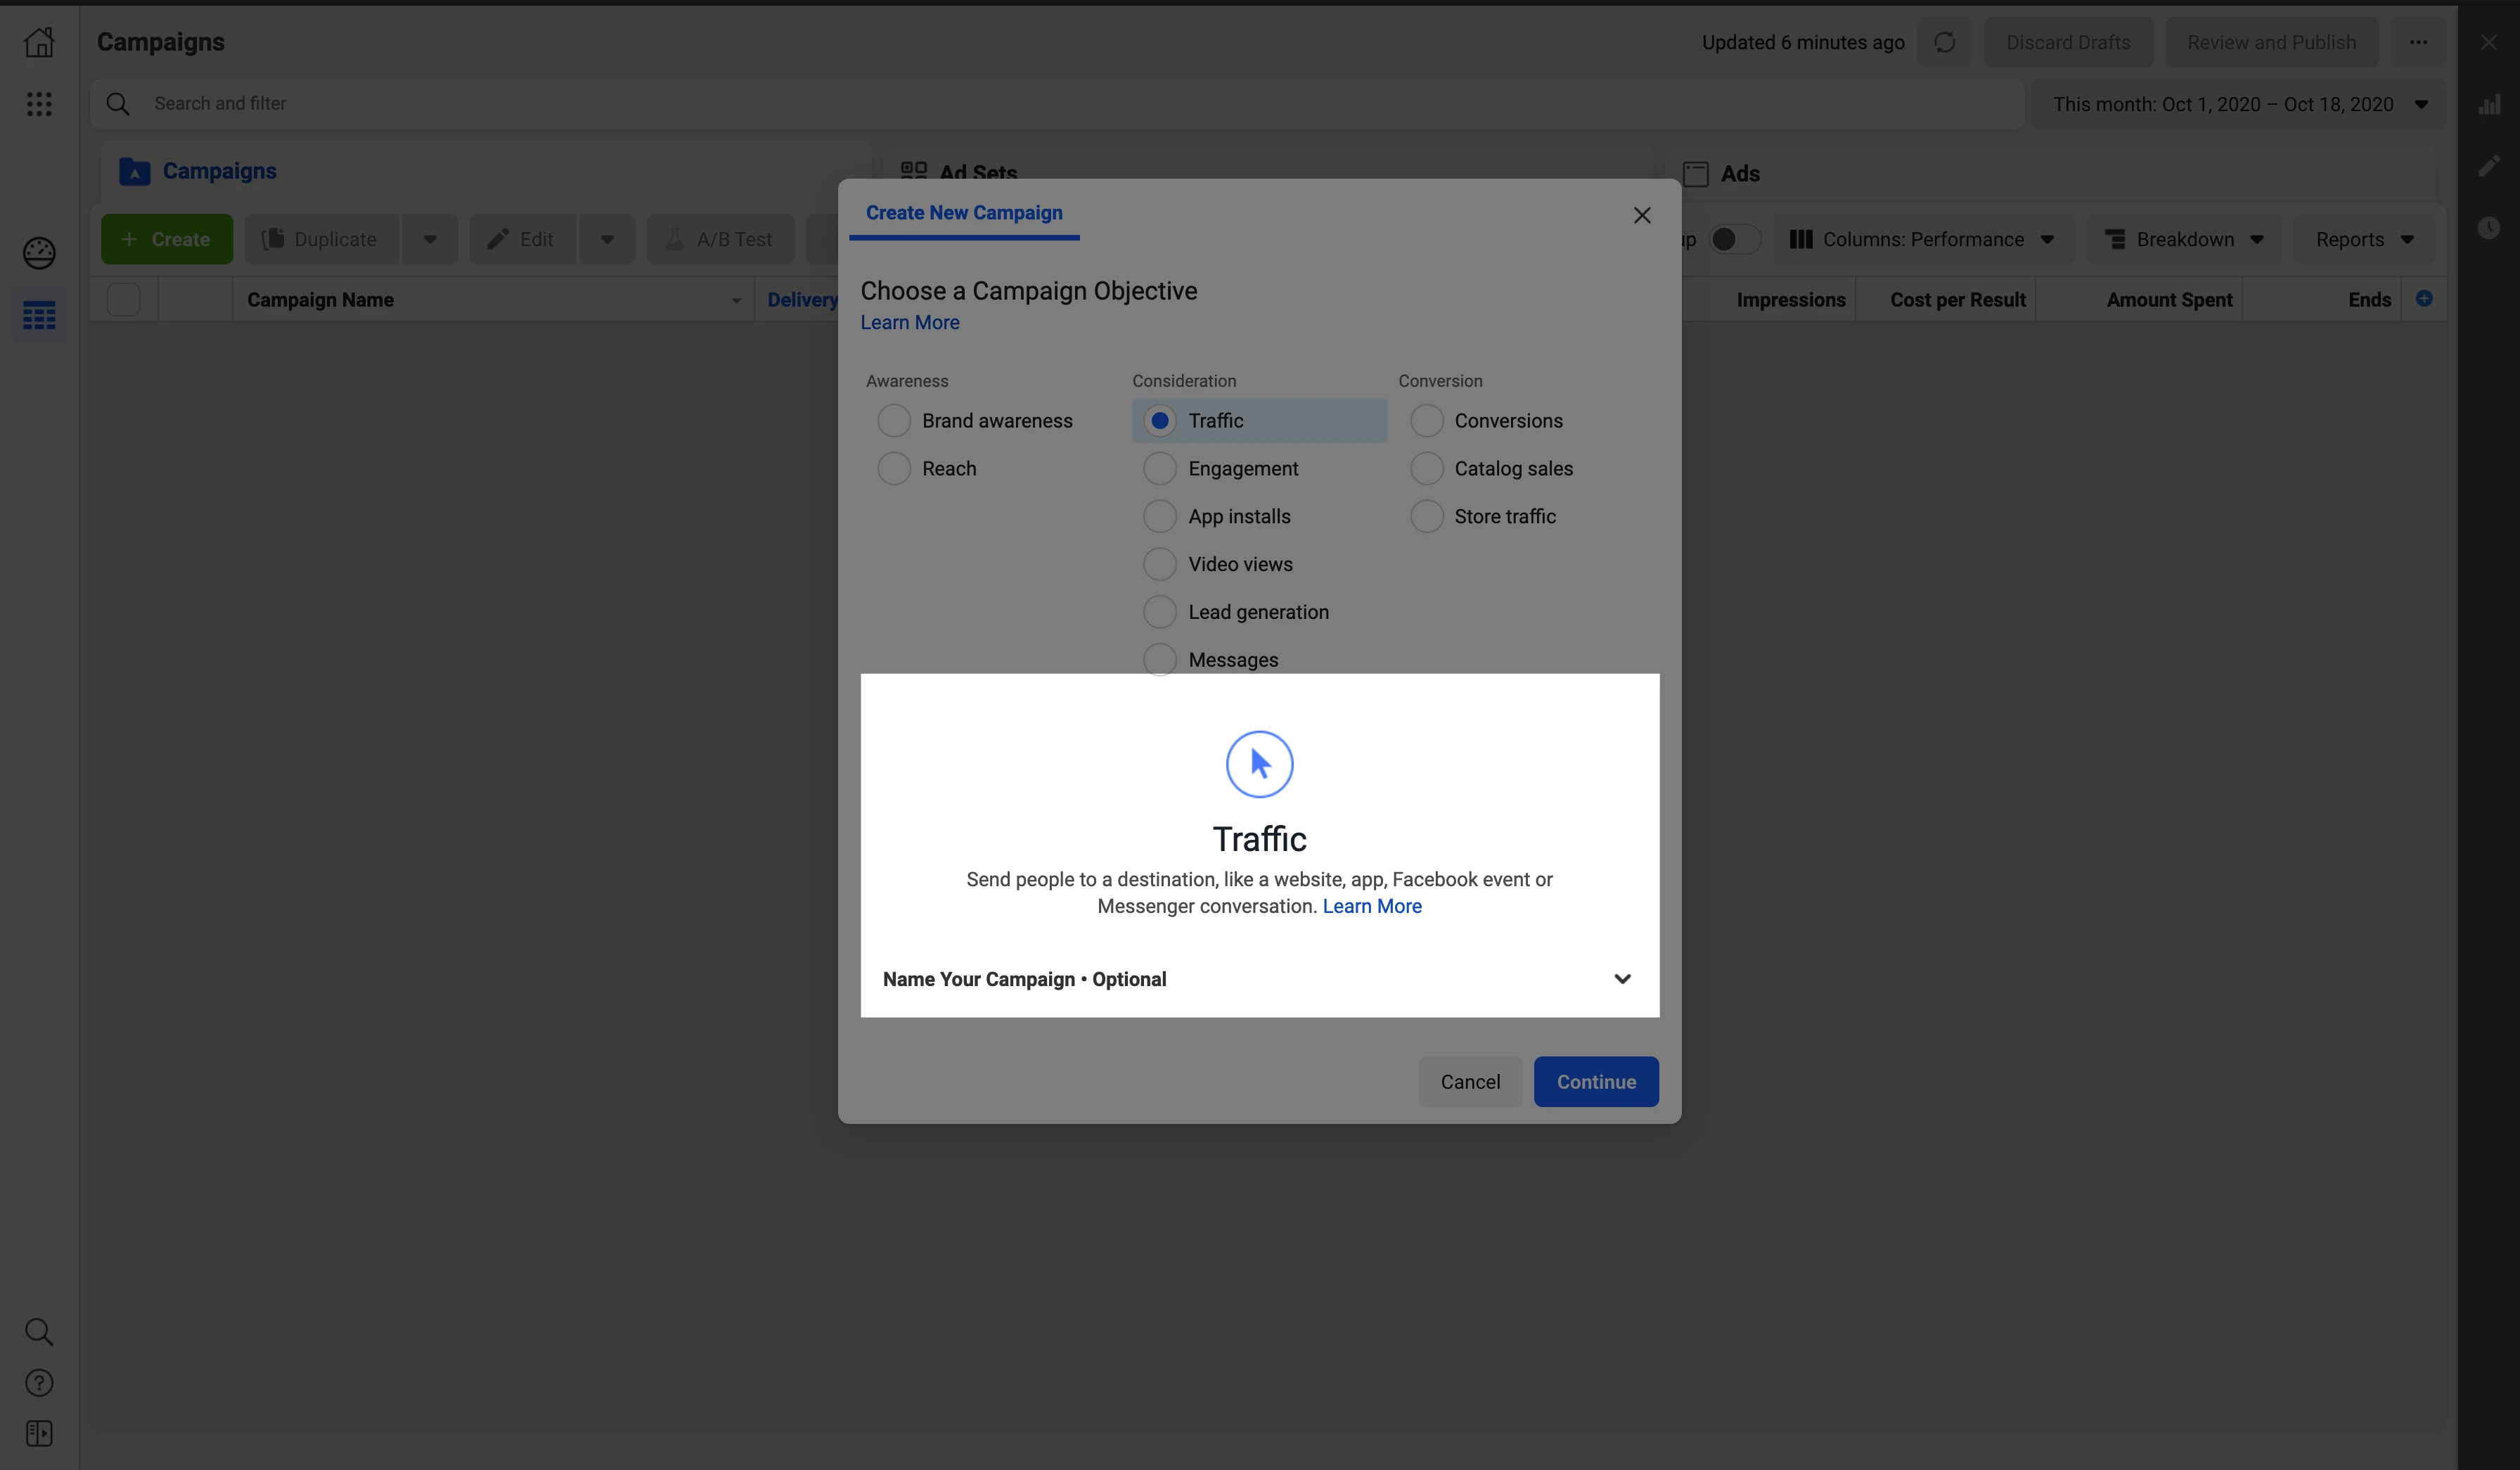
3. Name your Facebook Ads campaign.
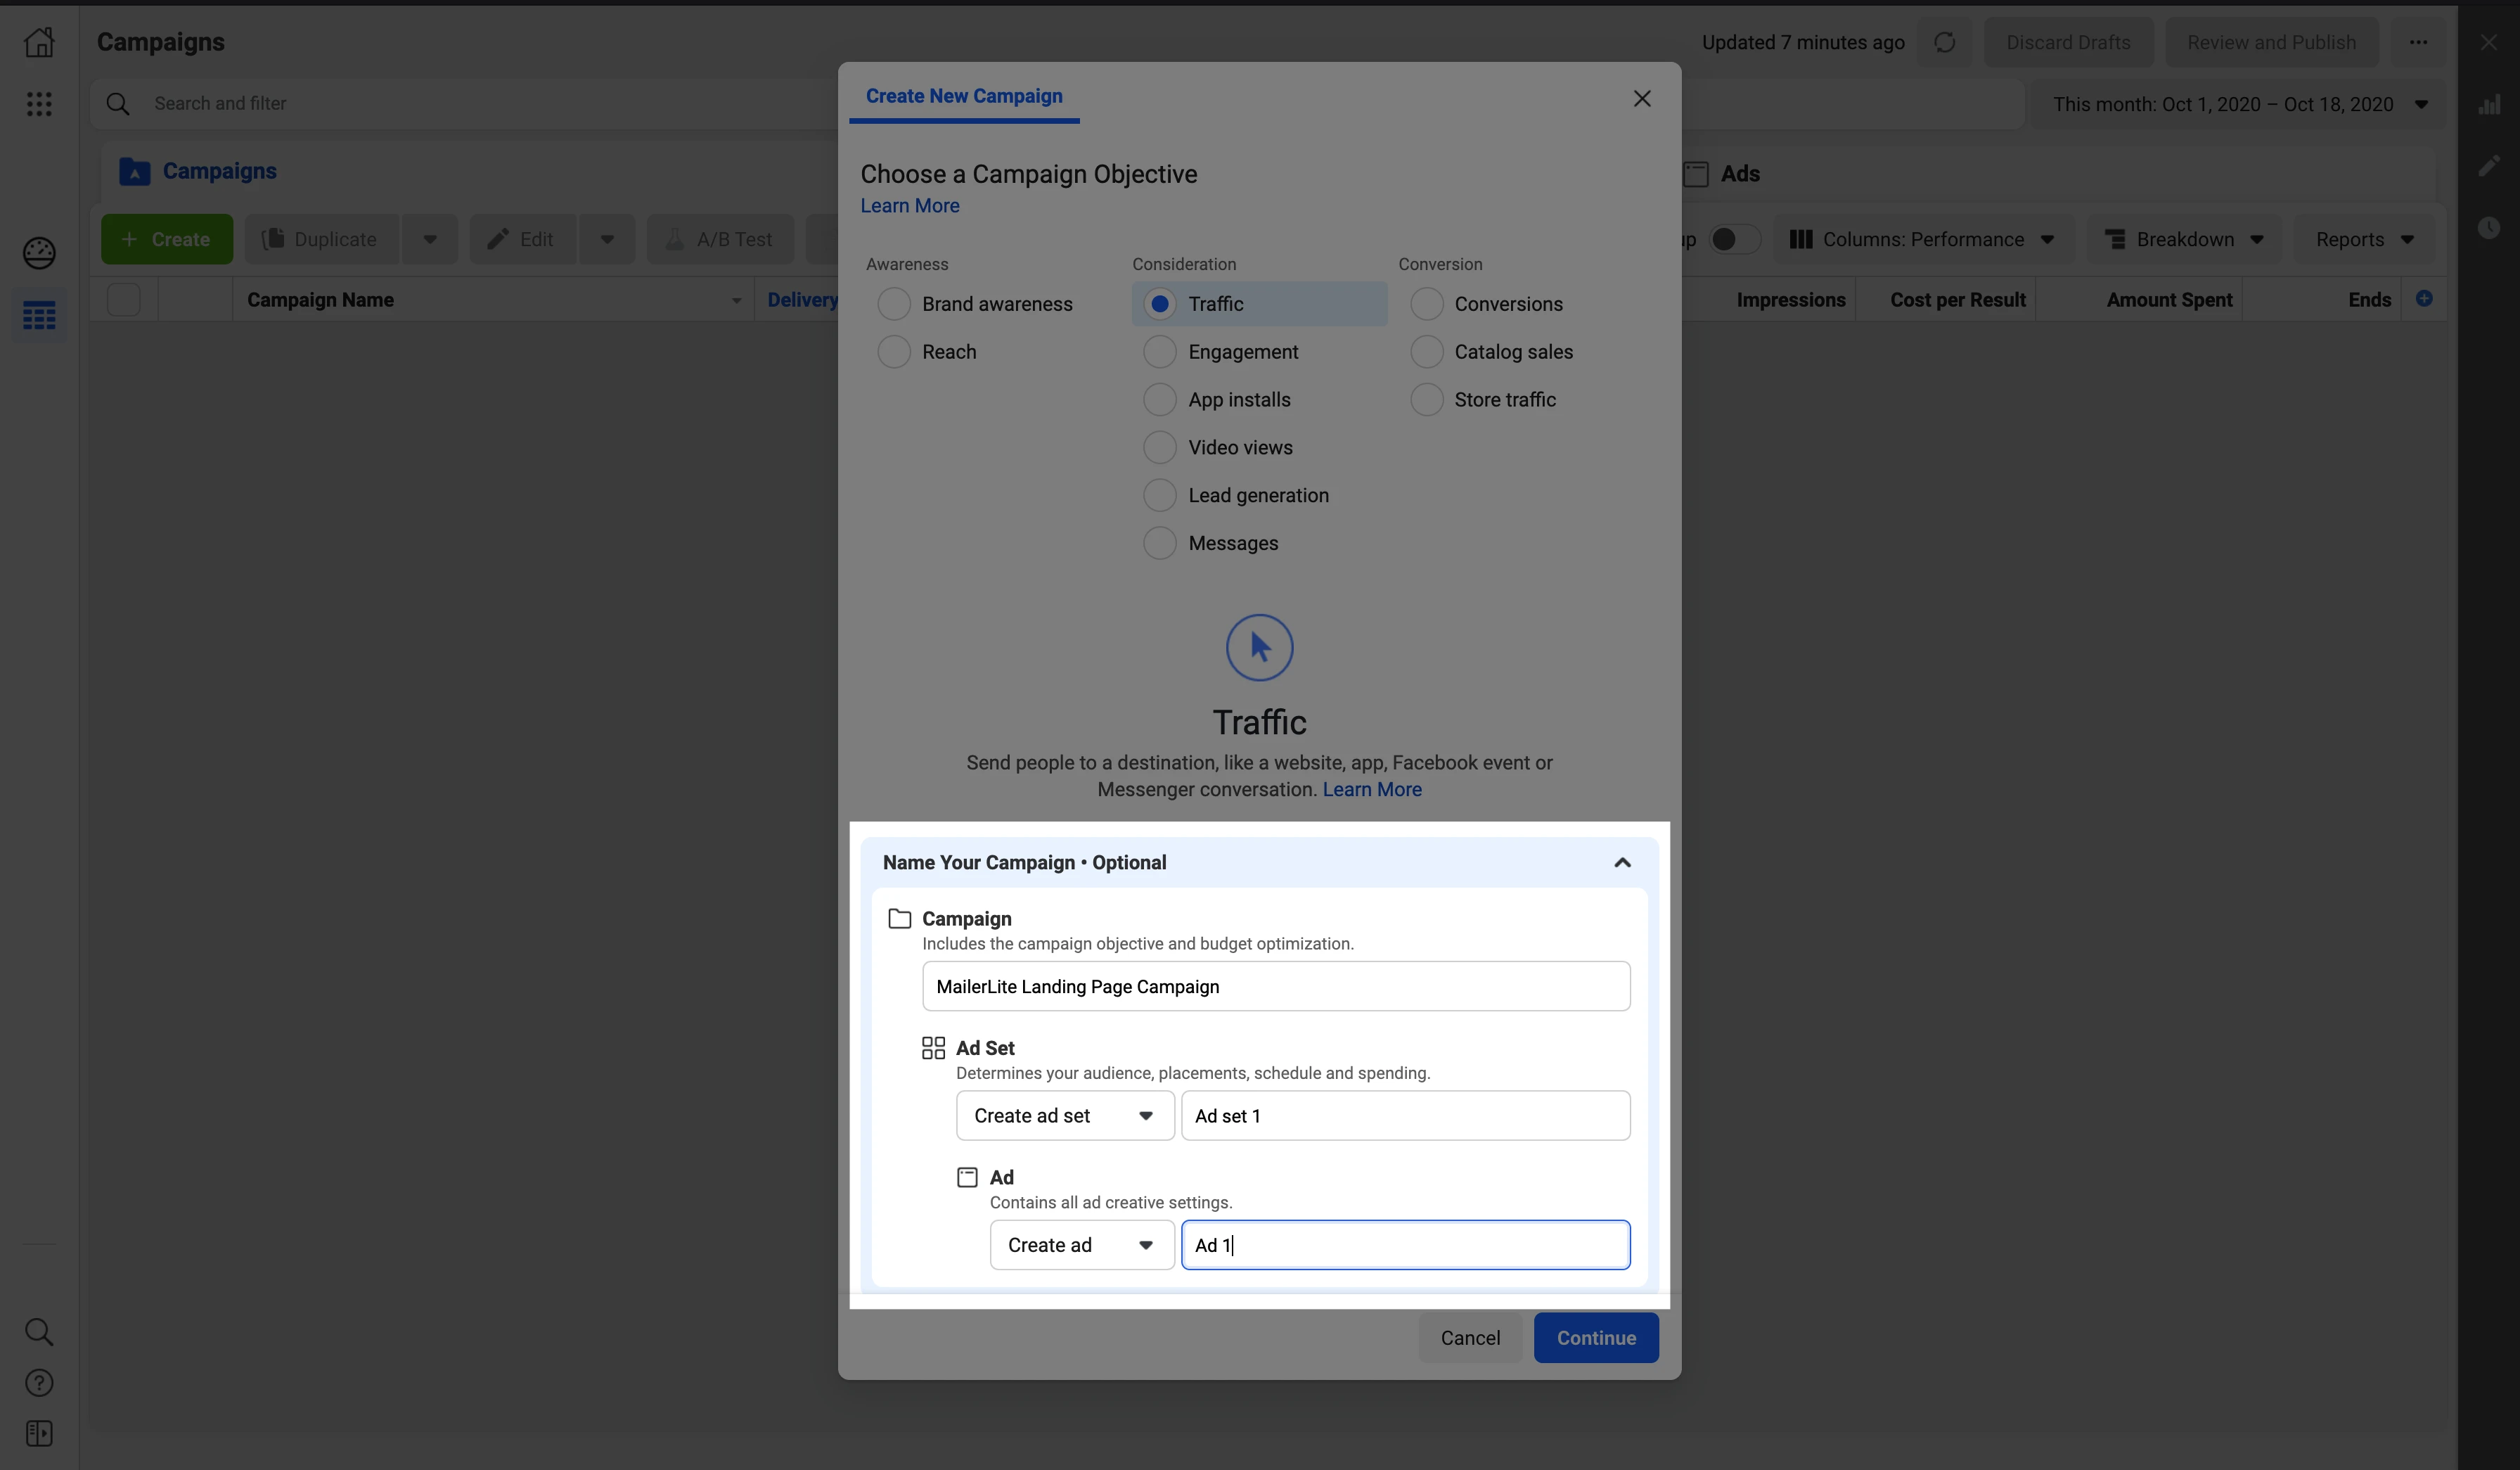
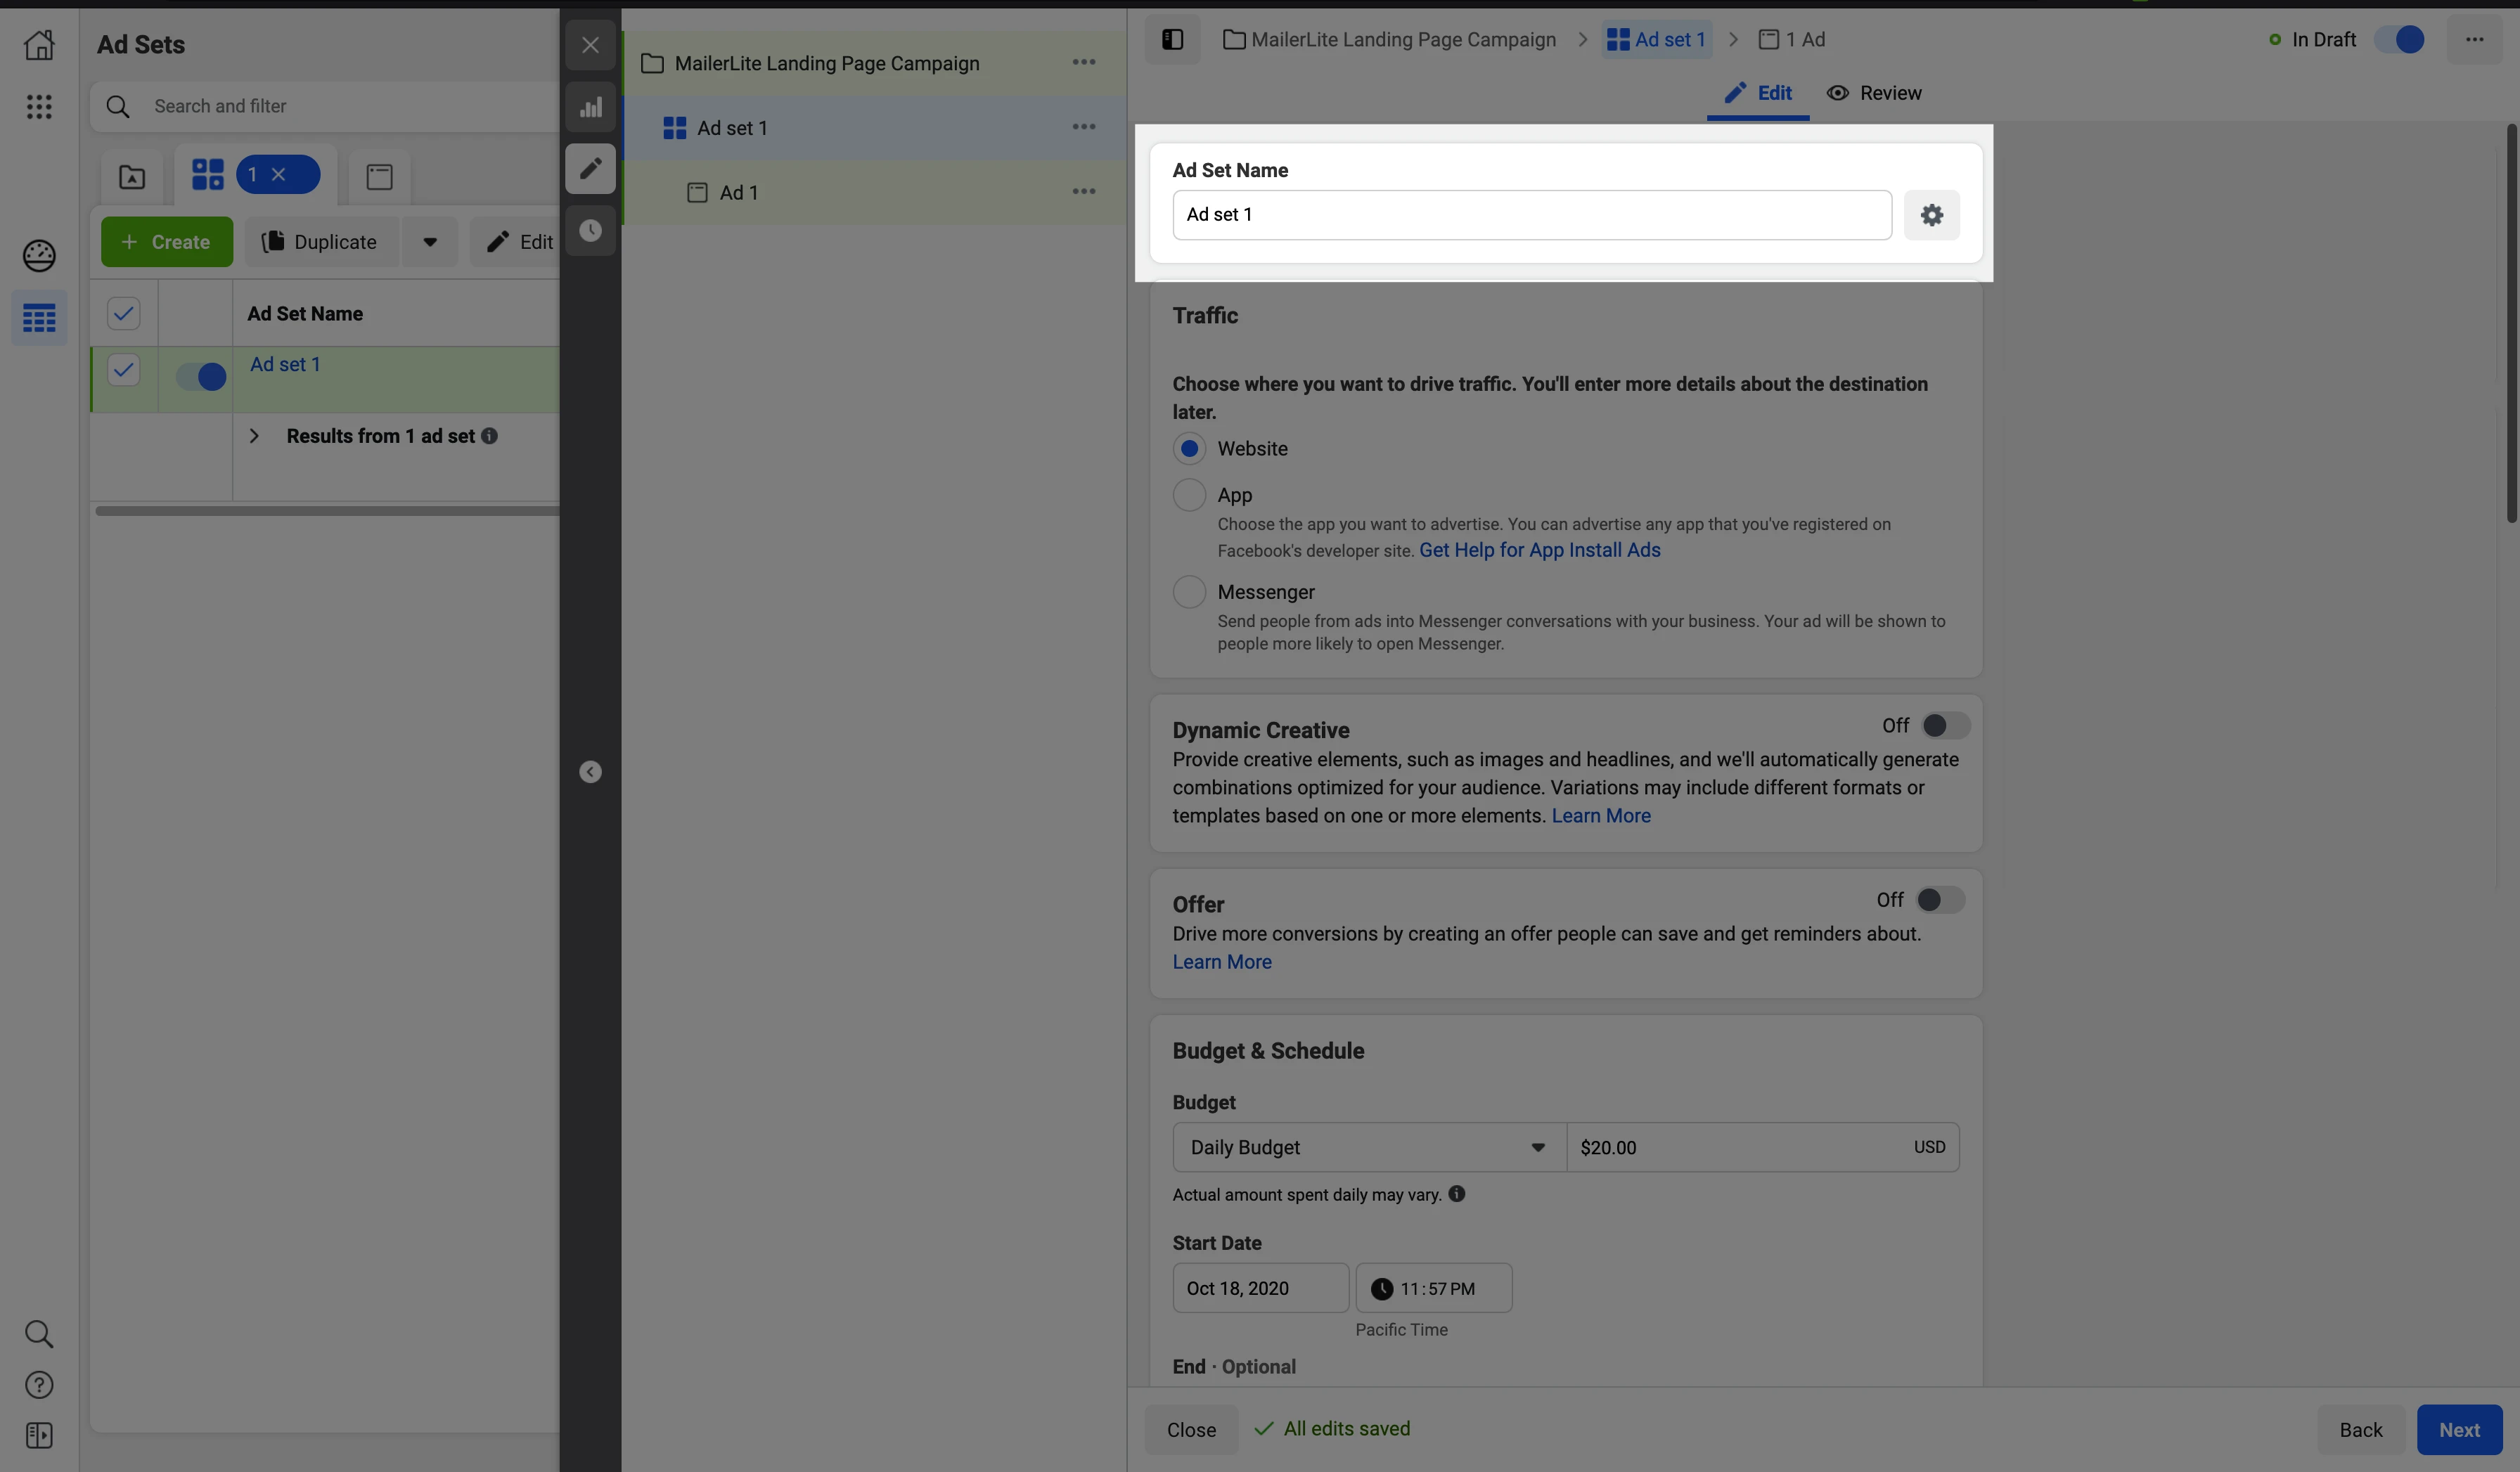
4. Create an Ad Set Name.
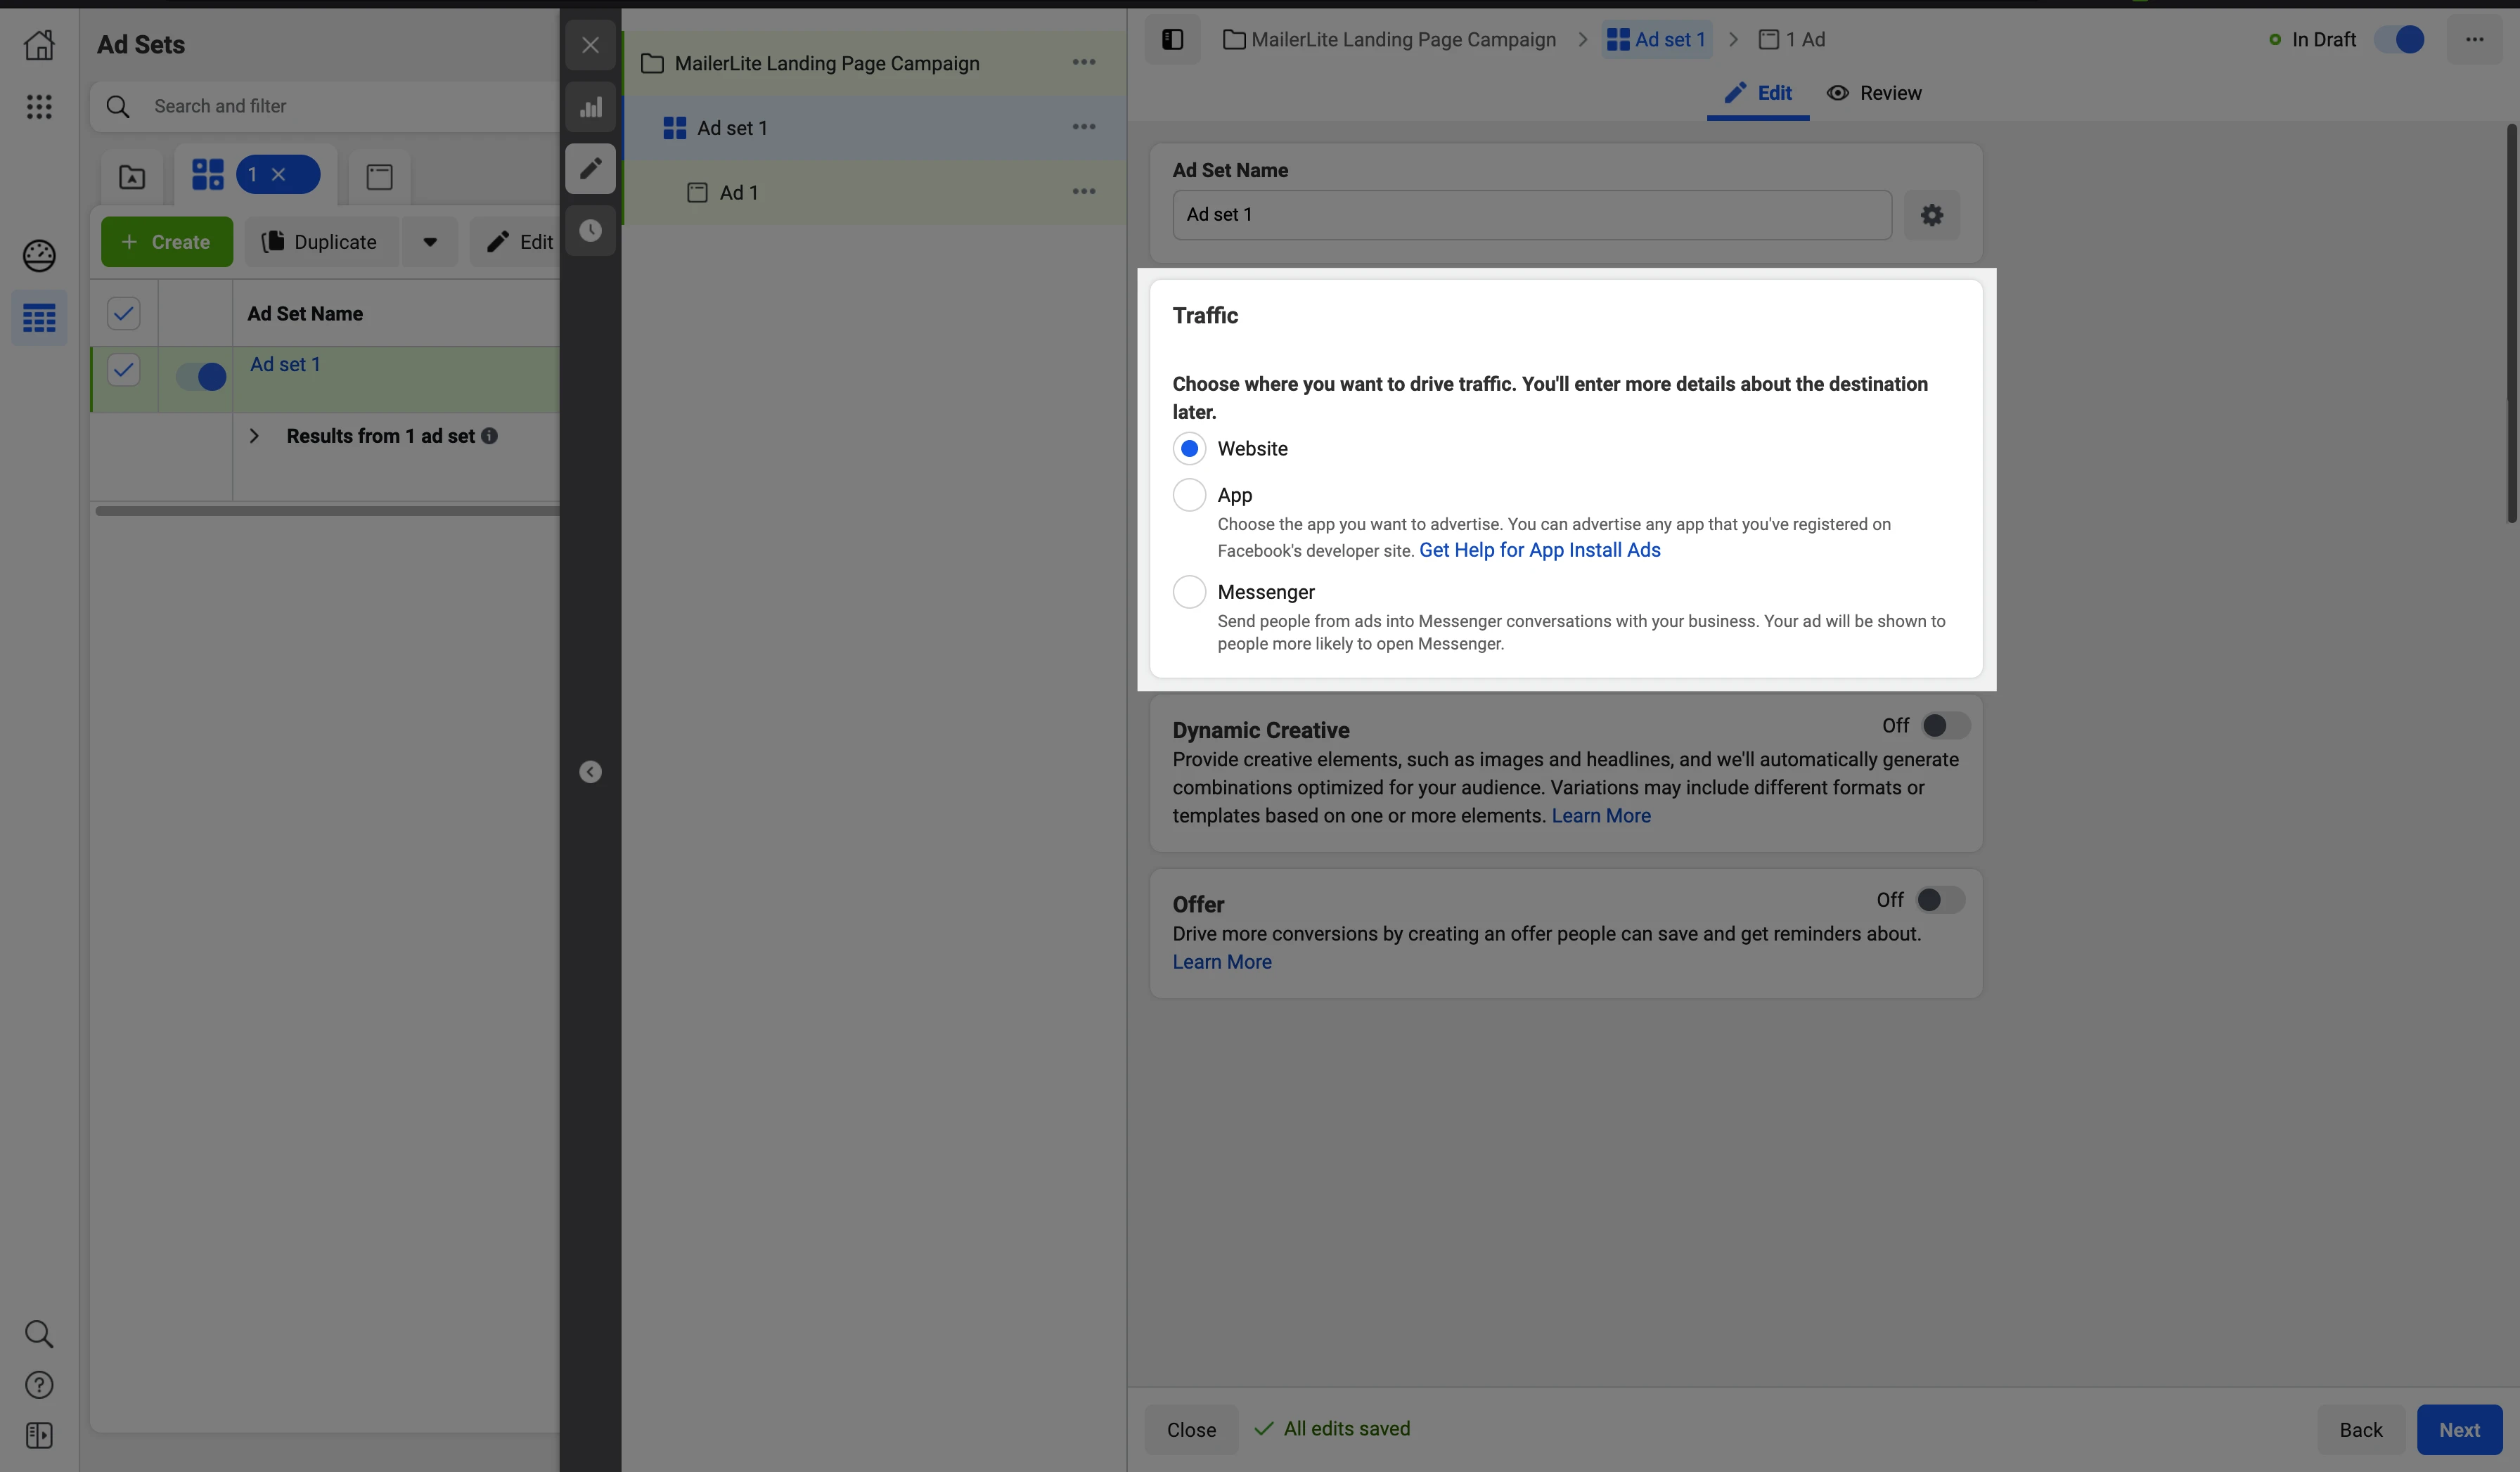
5. Choose where you want to drive traffic.
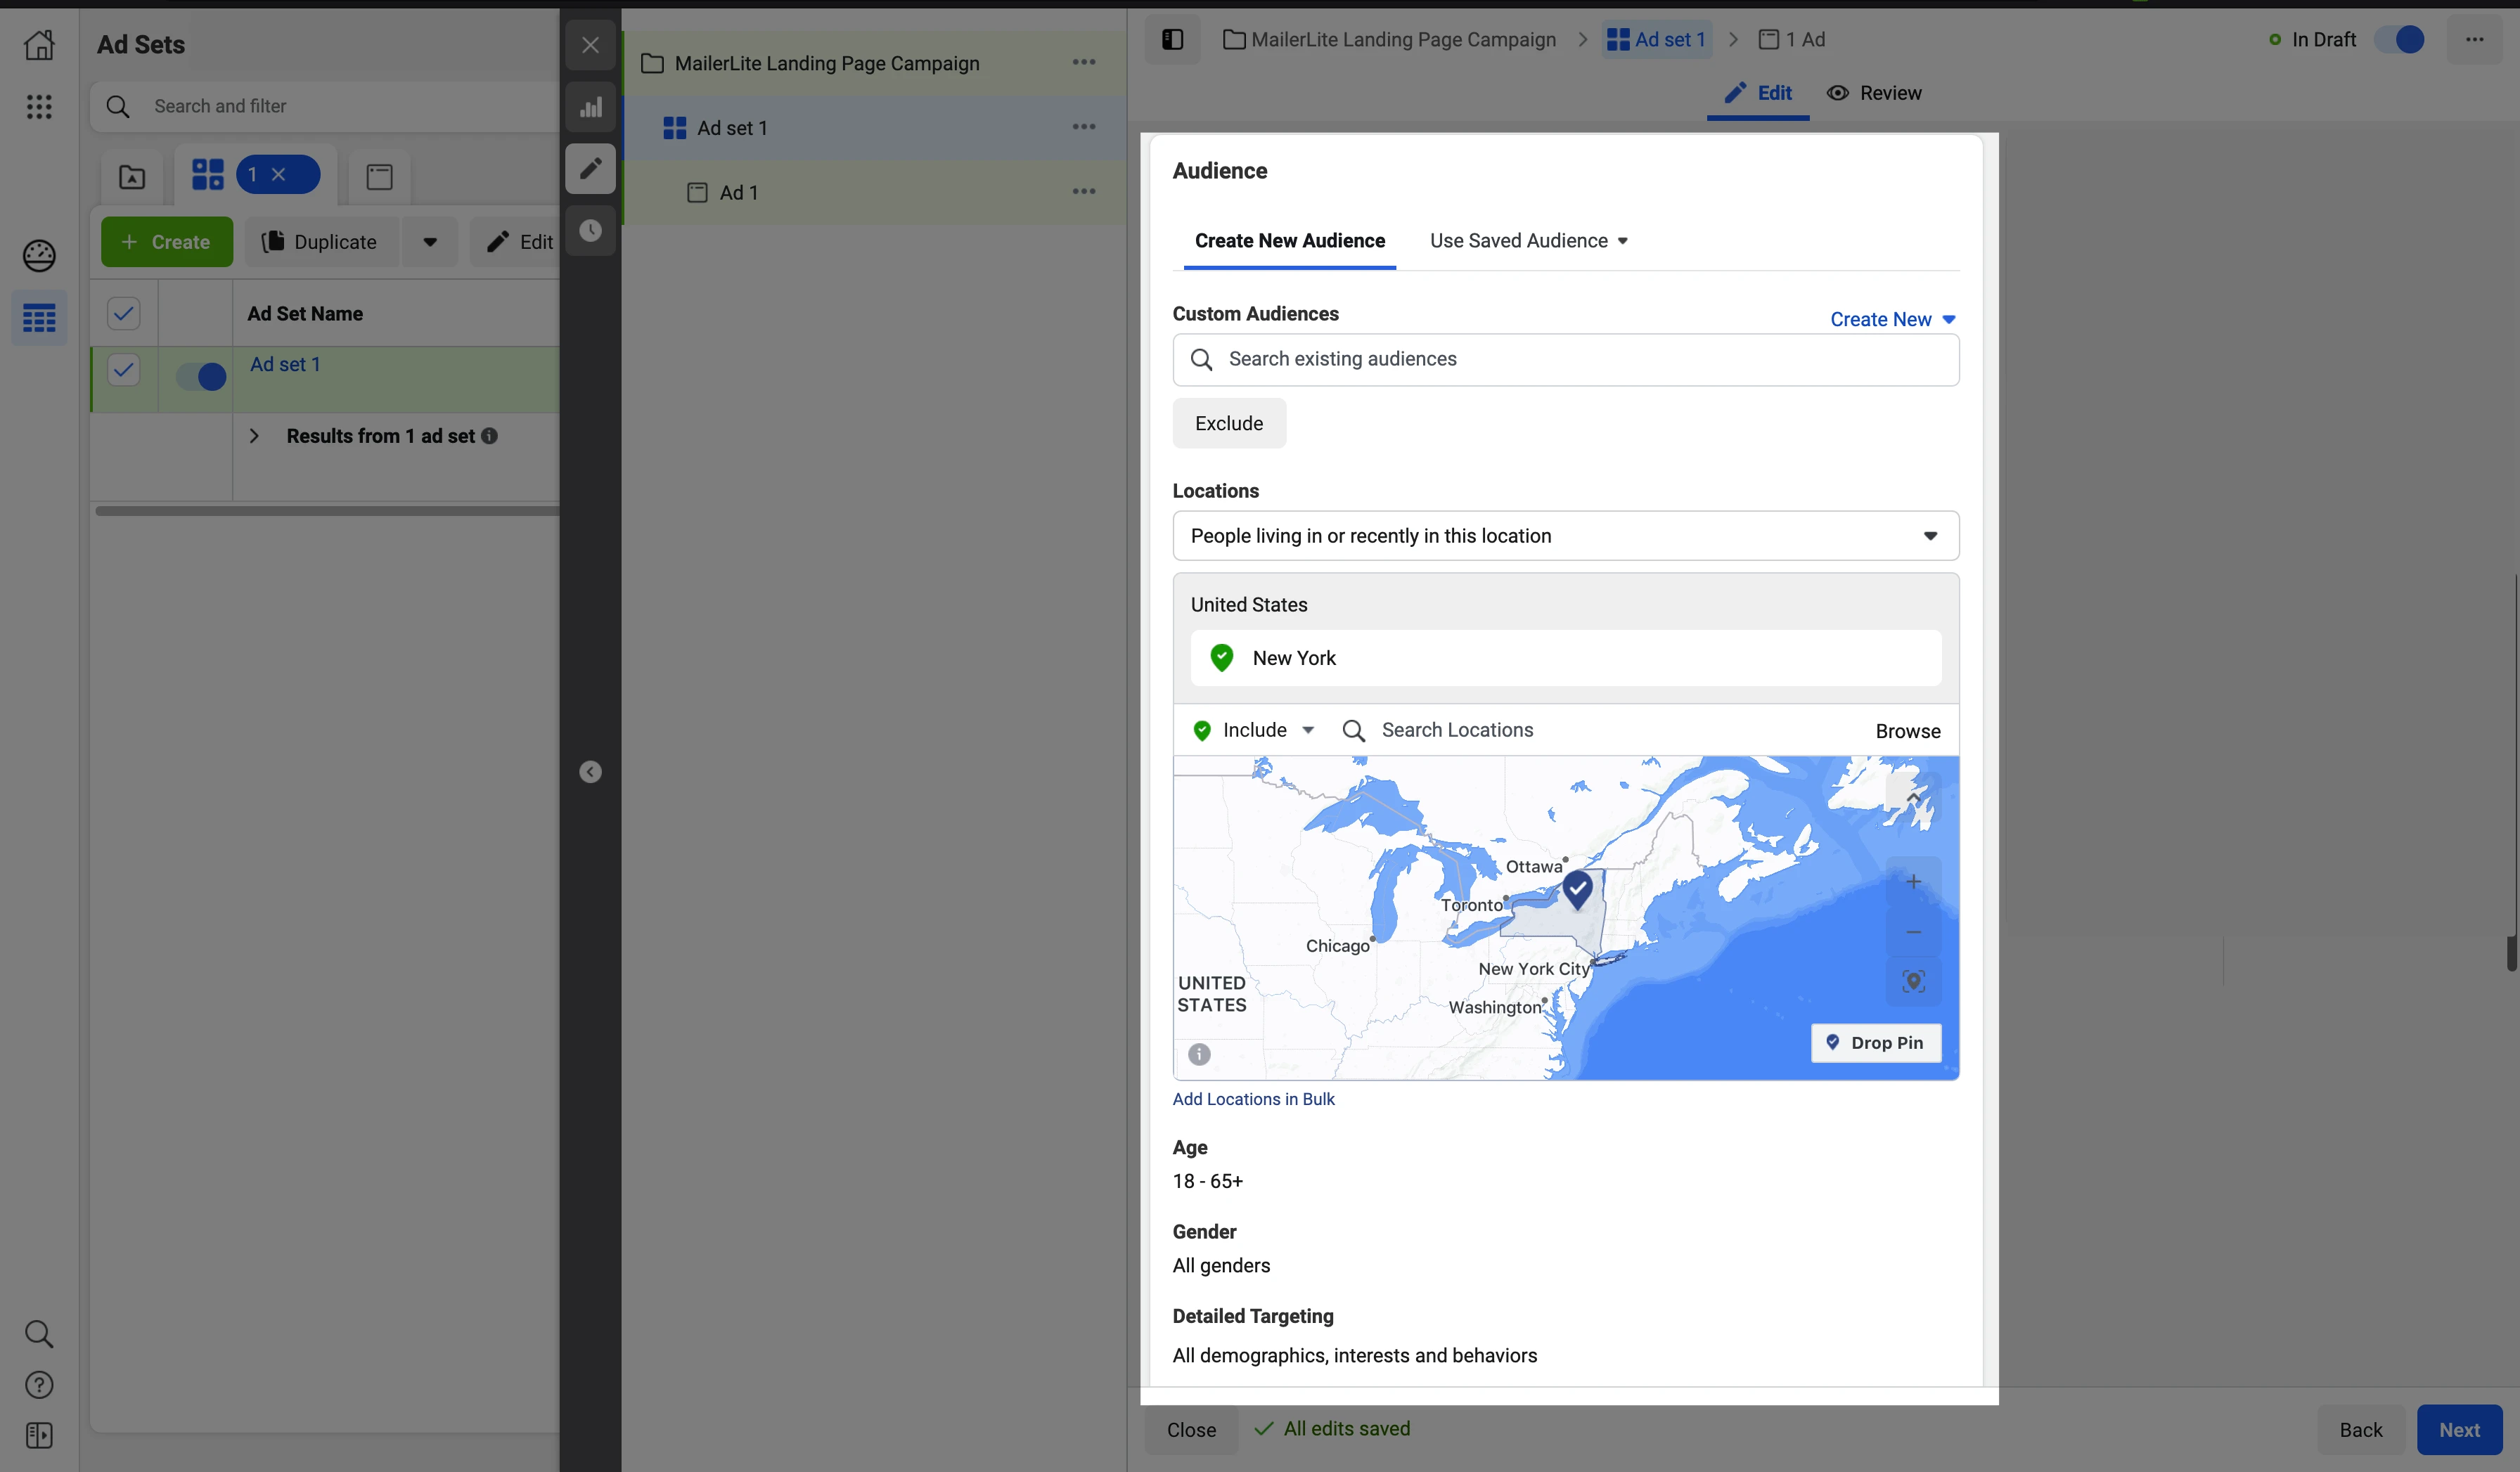
6. Choose your audience and set up your audience settings.
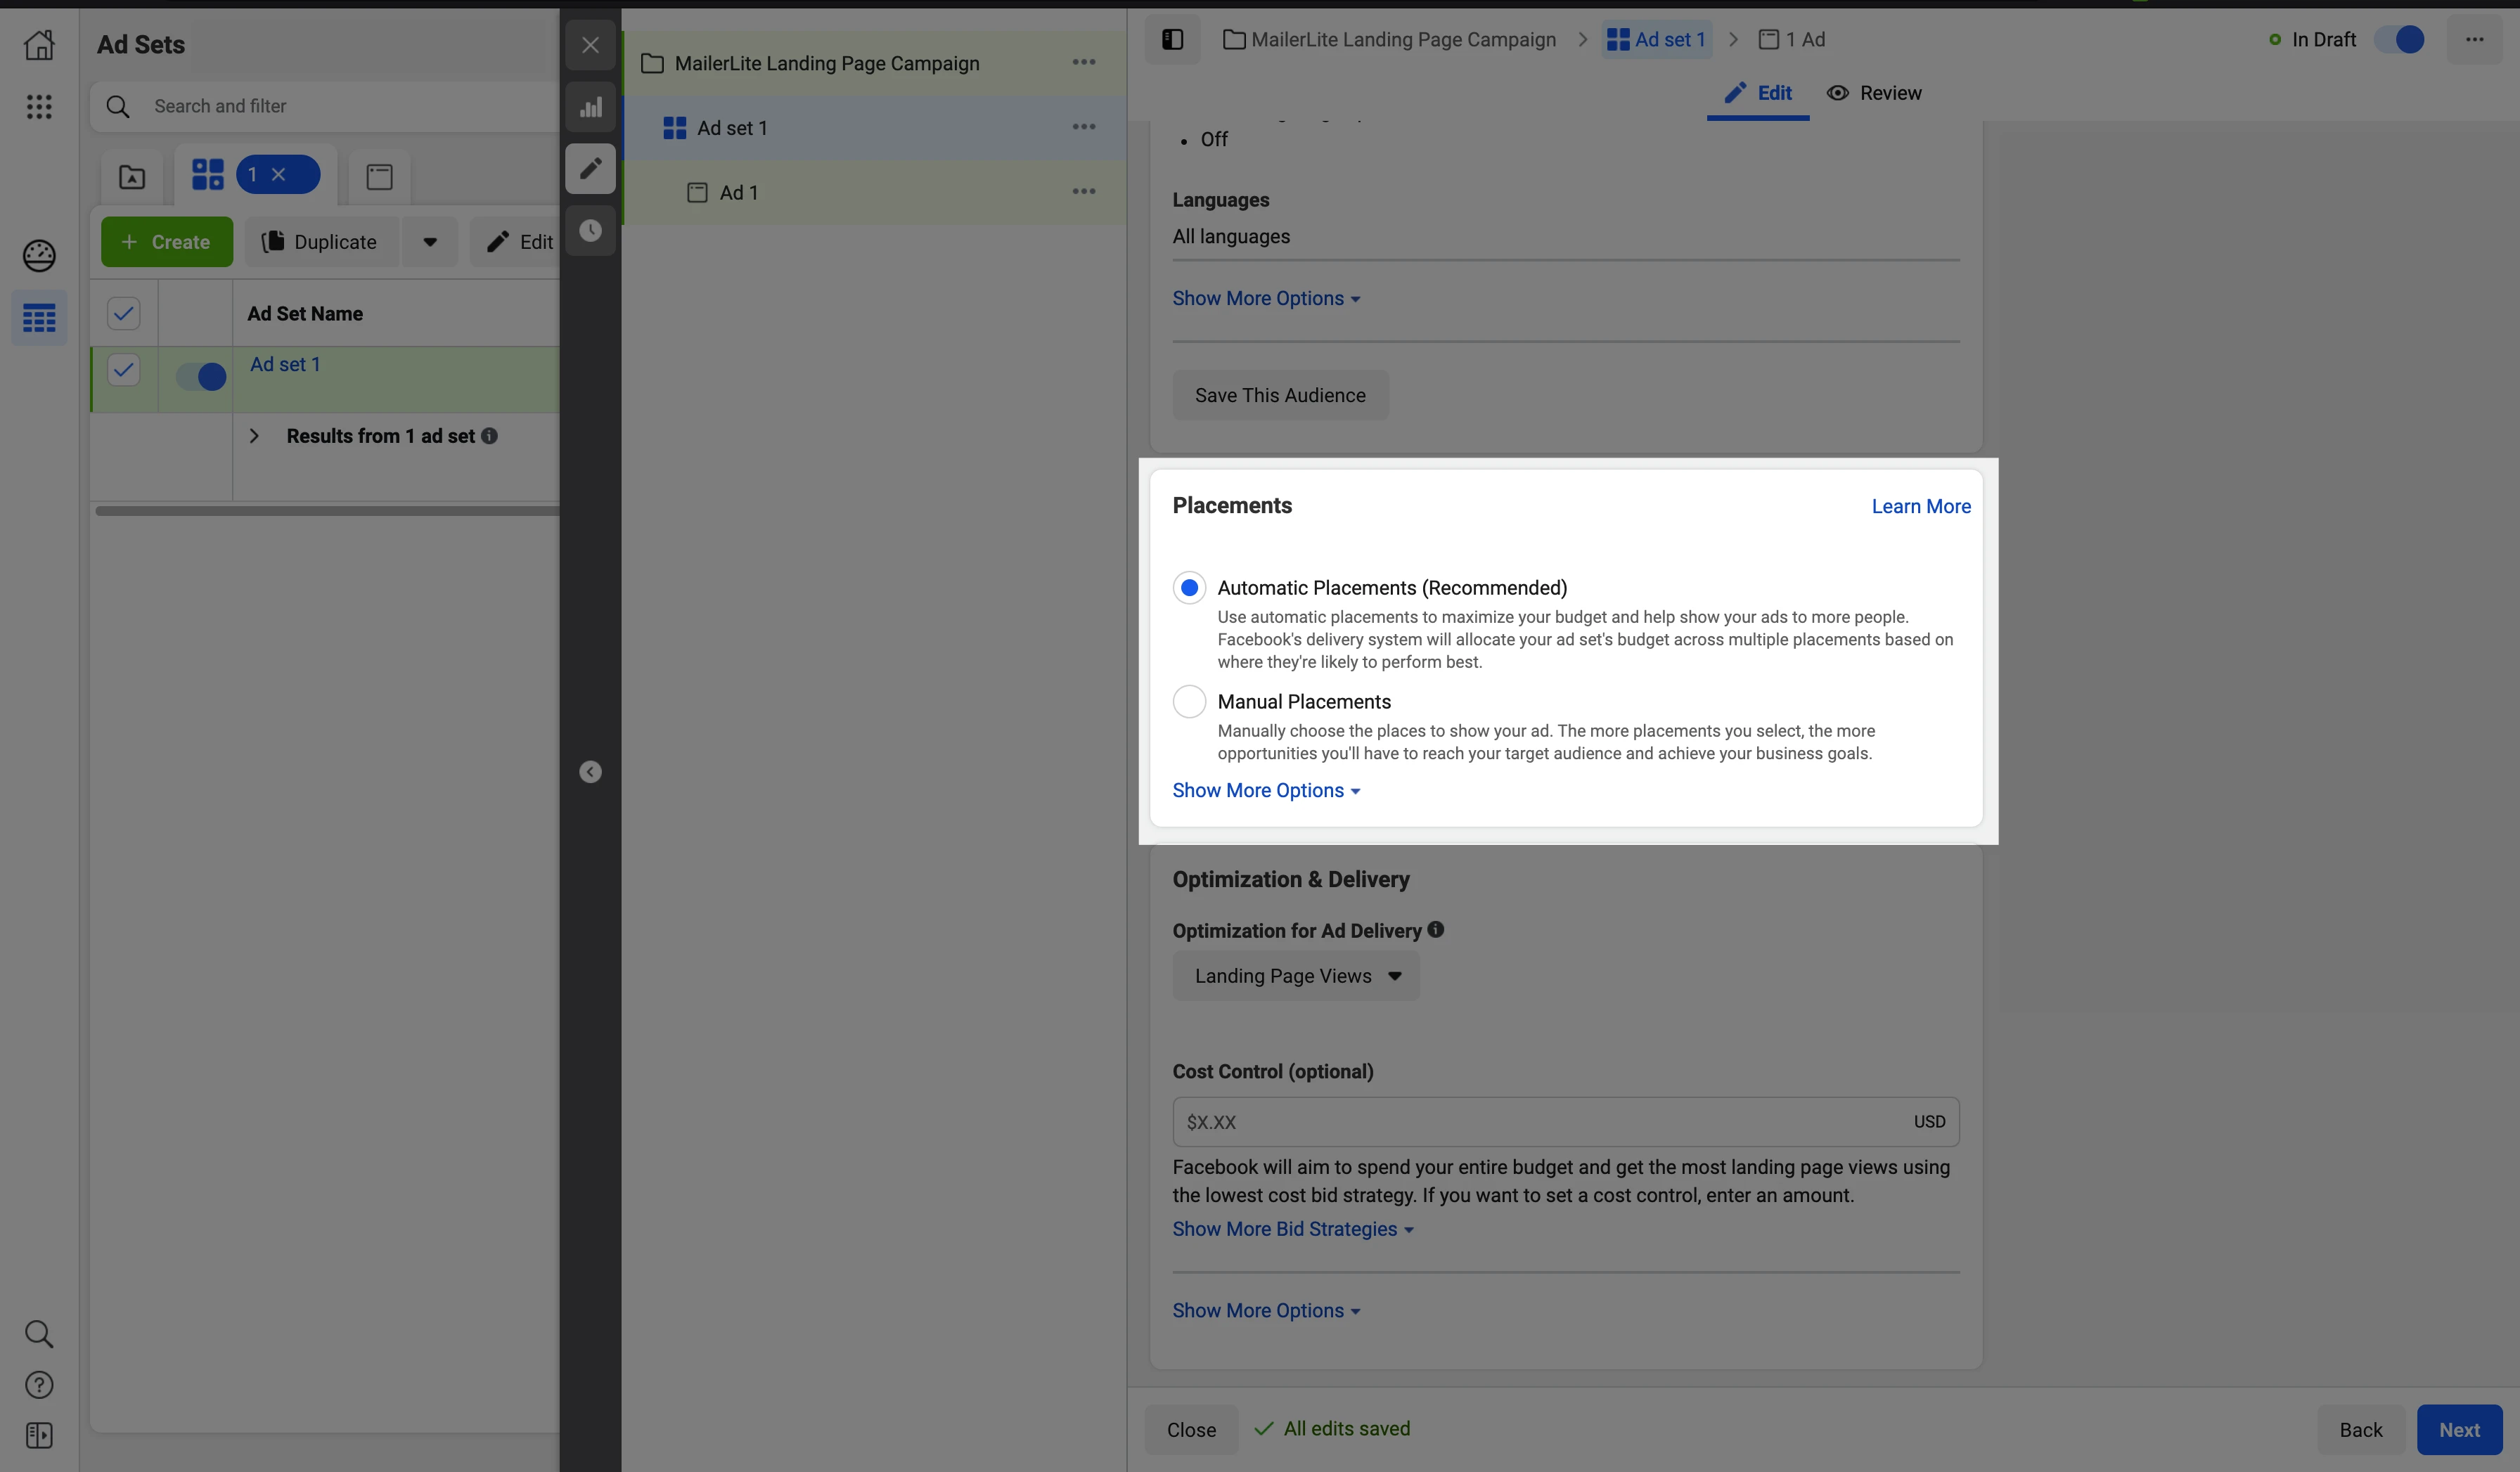
7. Choose placements.
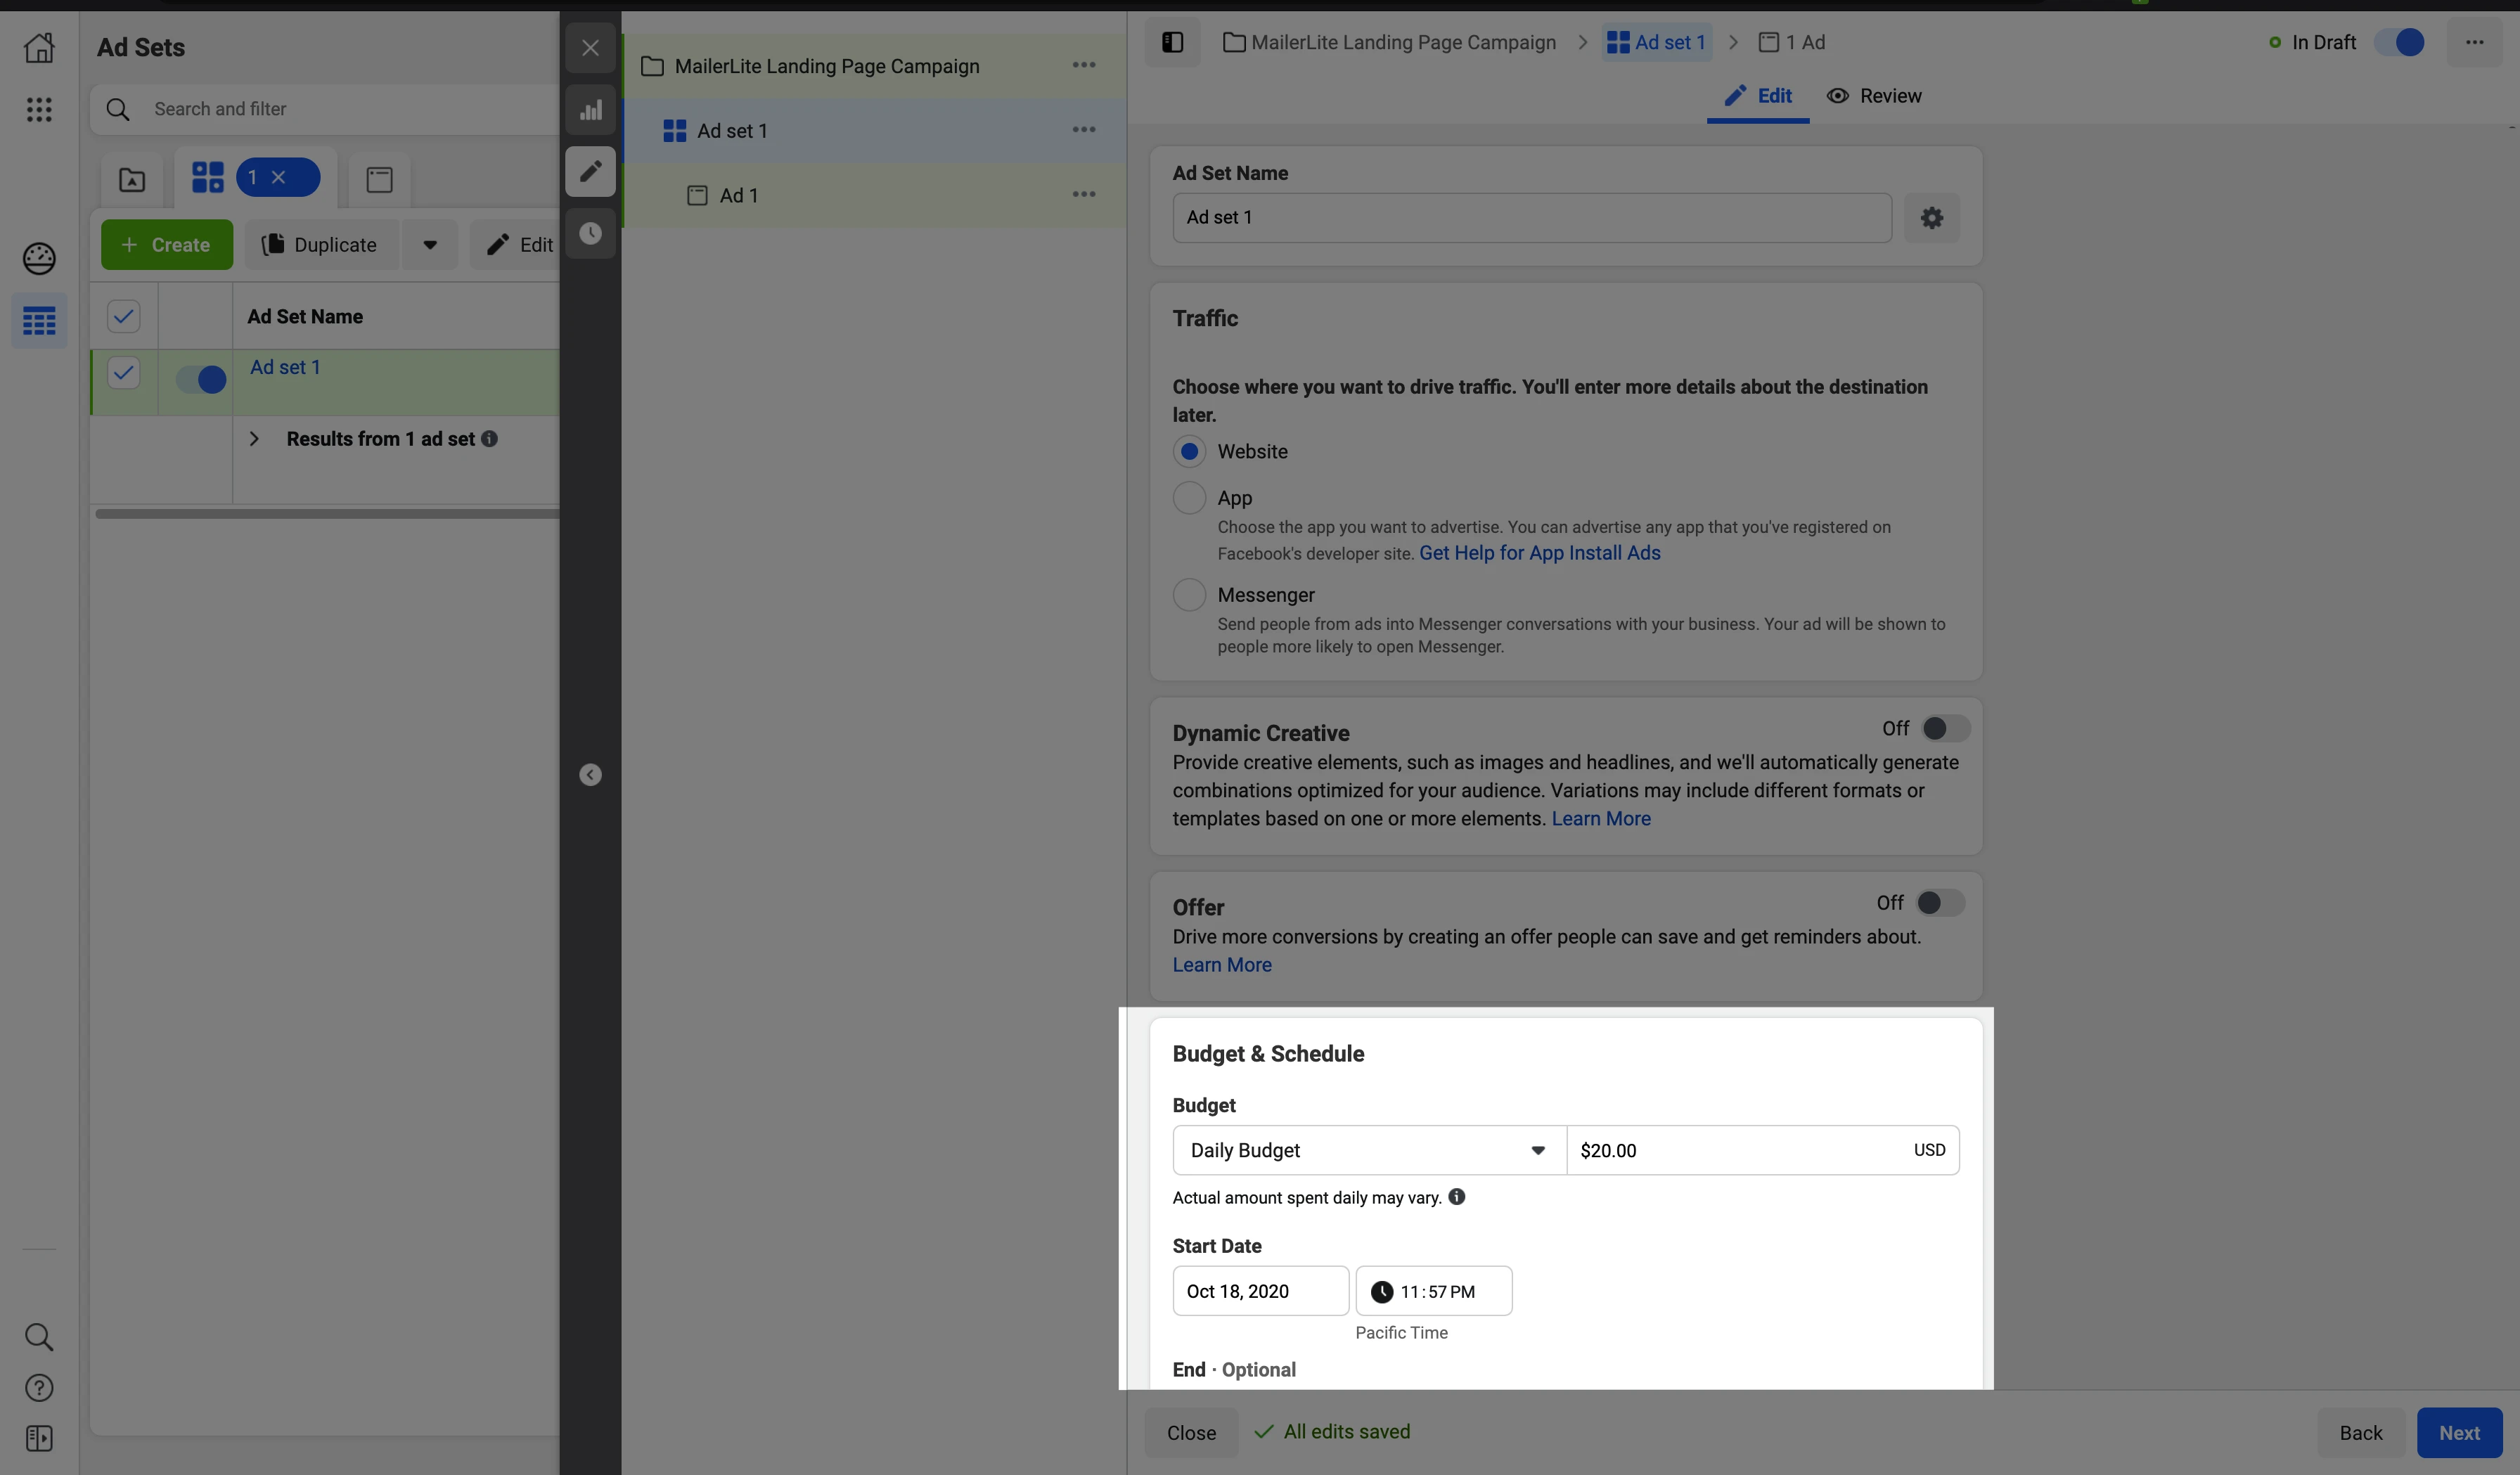
8. Choose budget and schedule and press Continue.
9. Create an Ad Name.
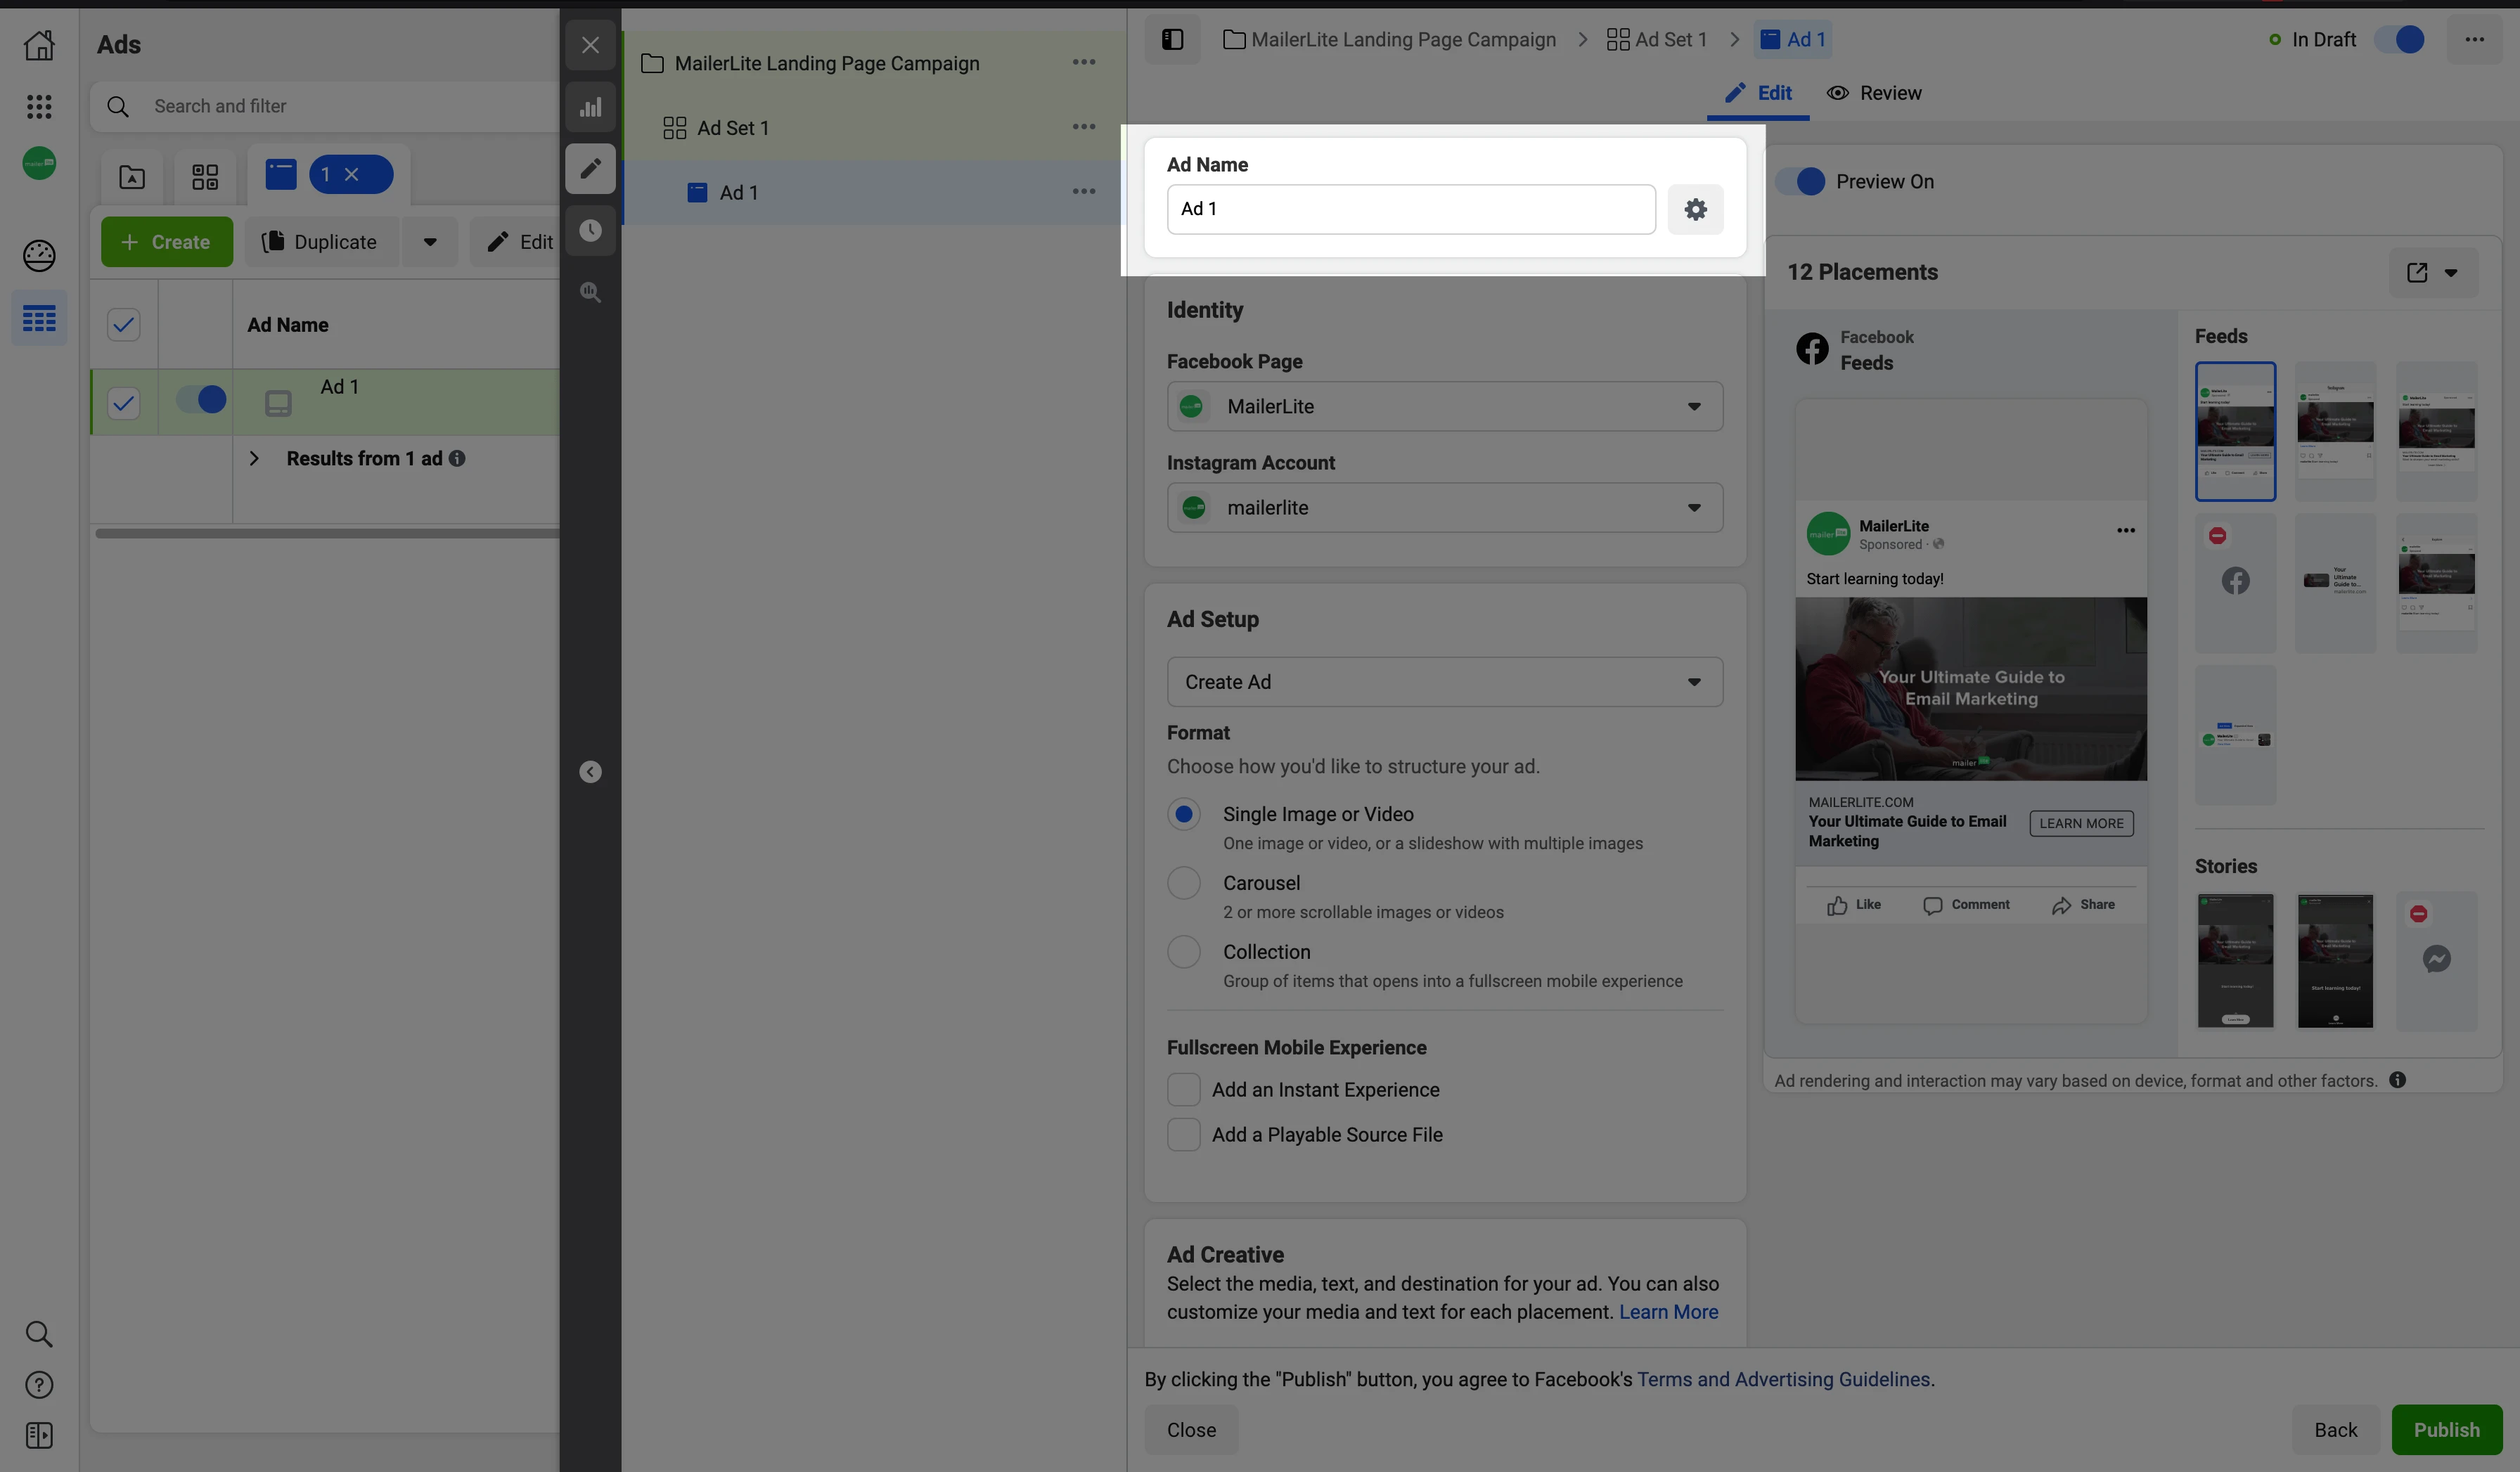
10. Create a new ad and link to your Facebook and Instagram page.

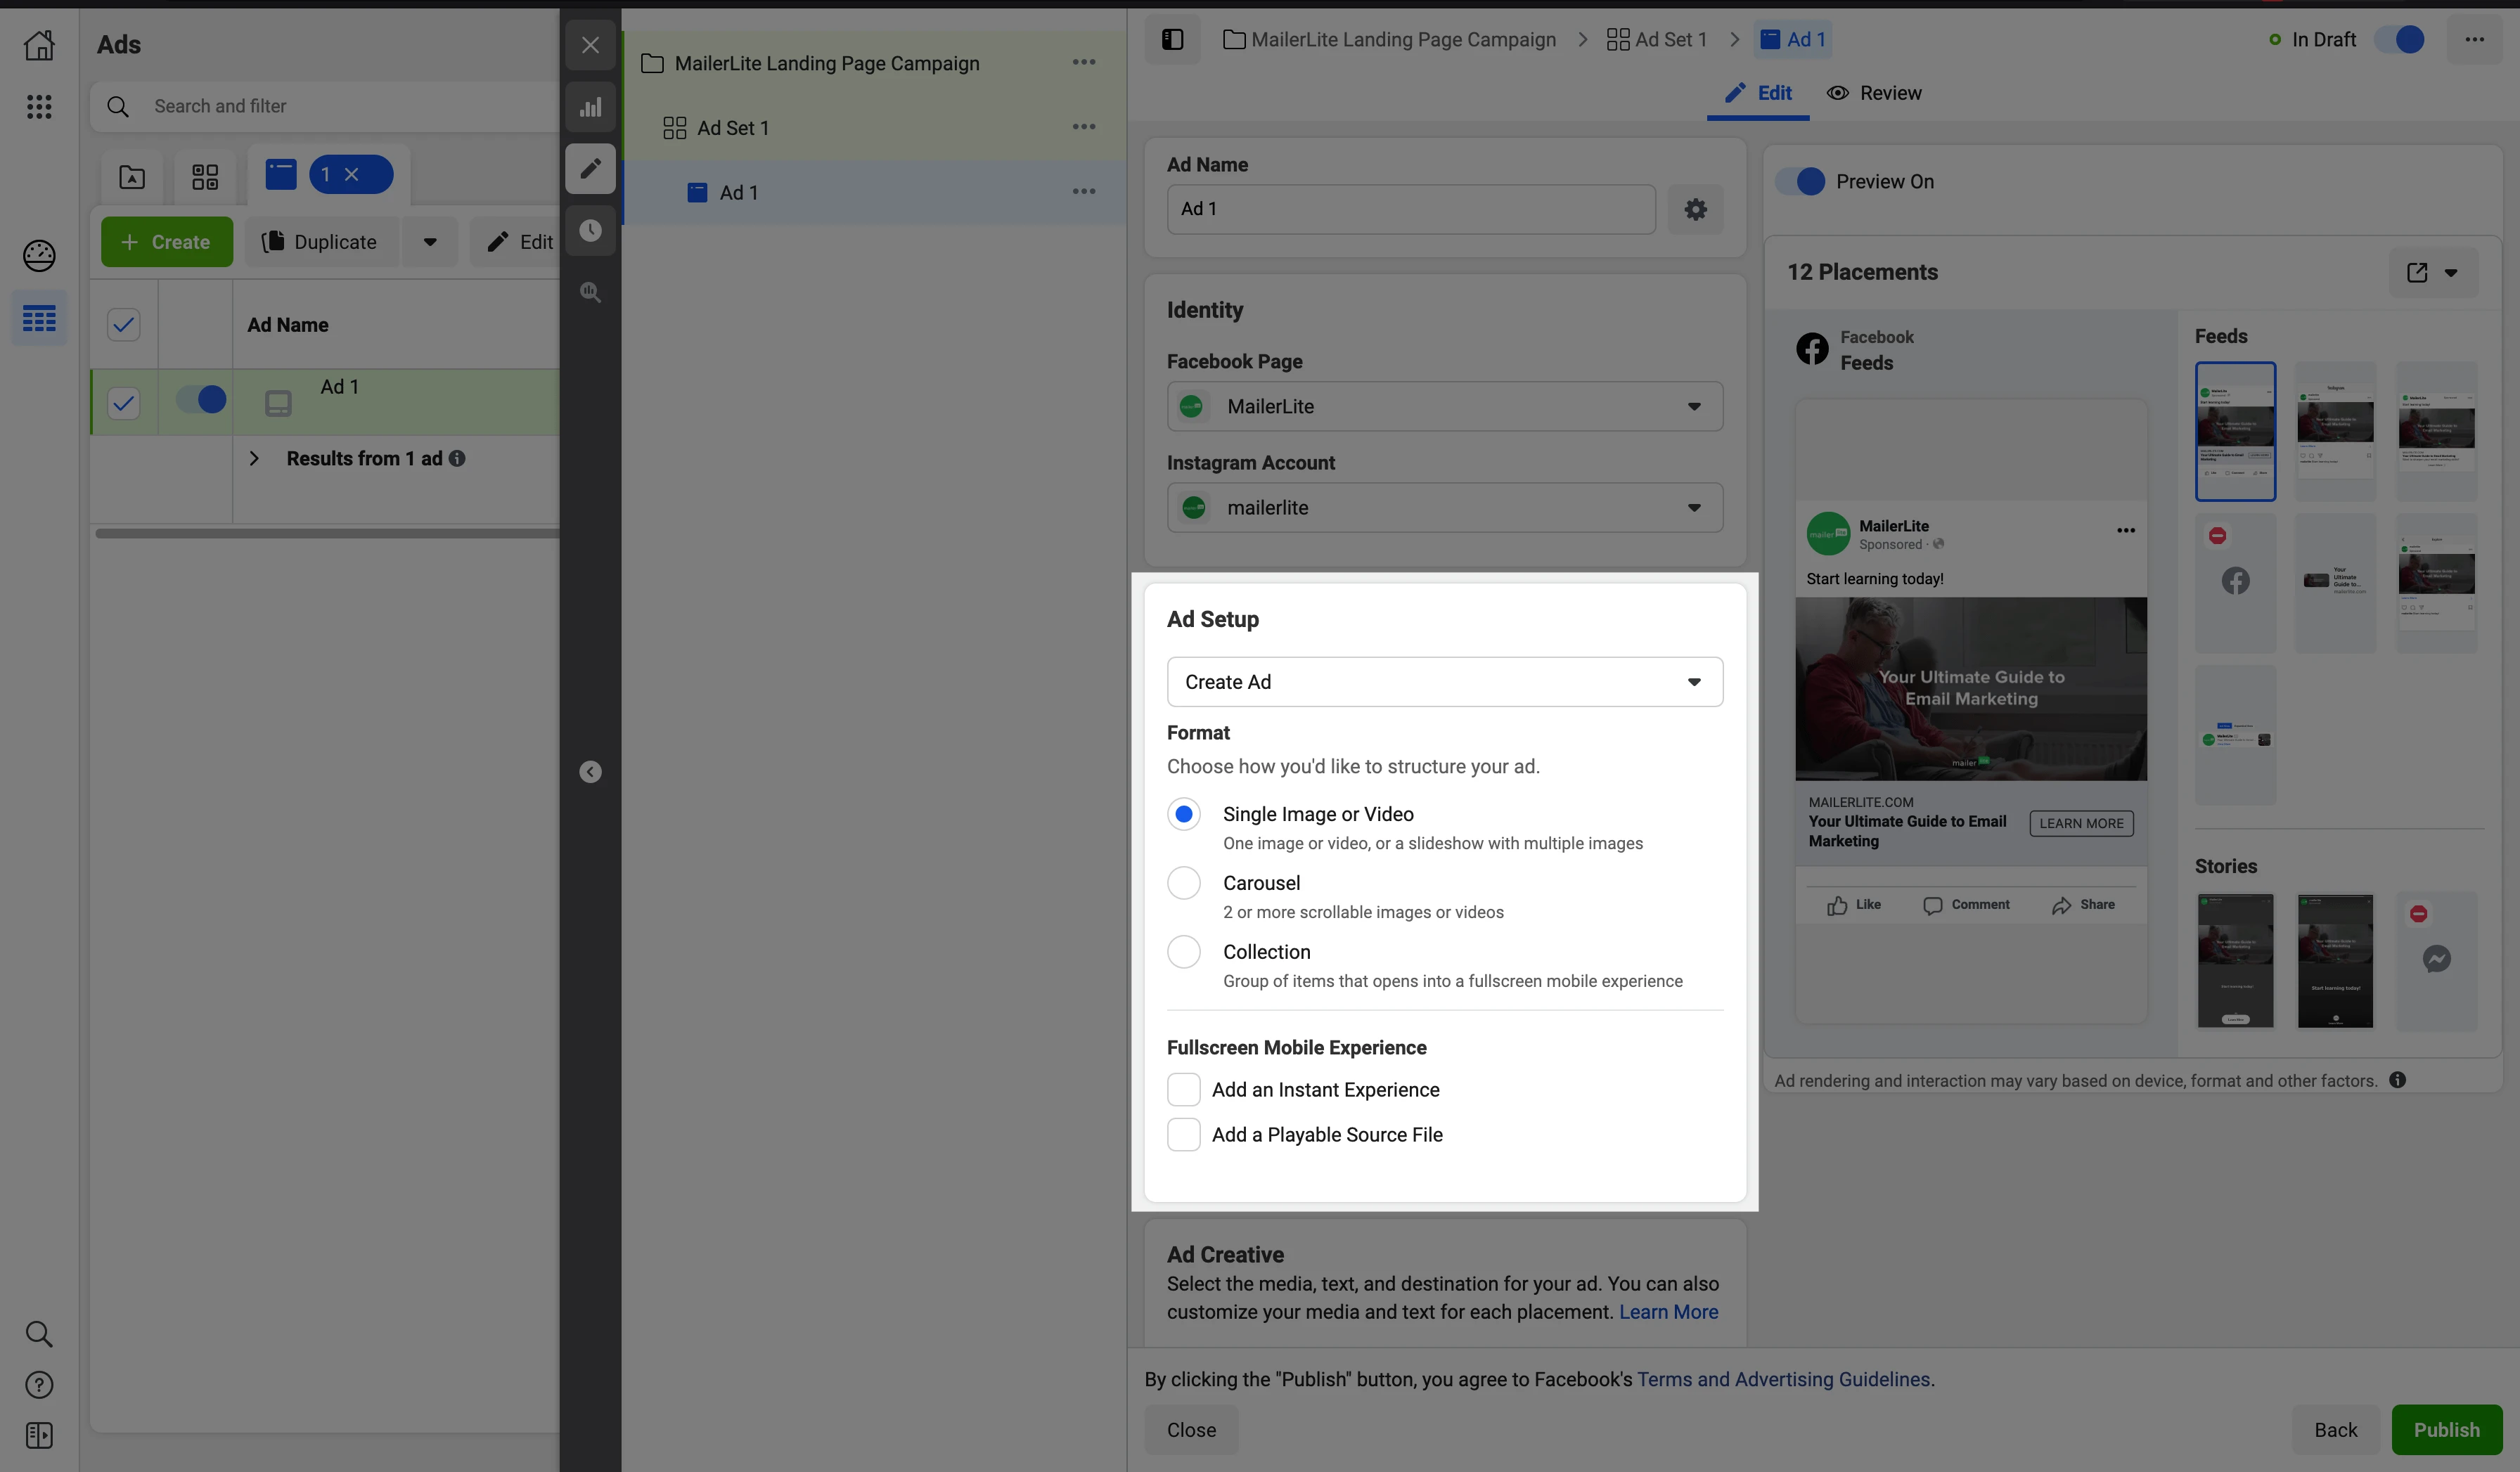
11. Choose a format. Single image format is preferred.
11. You'll be asked to add an image. However, you can skip this step and go directly to step 14. Facebook will fetch the image from your landing page.
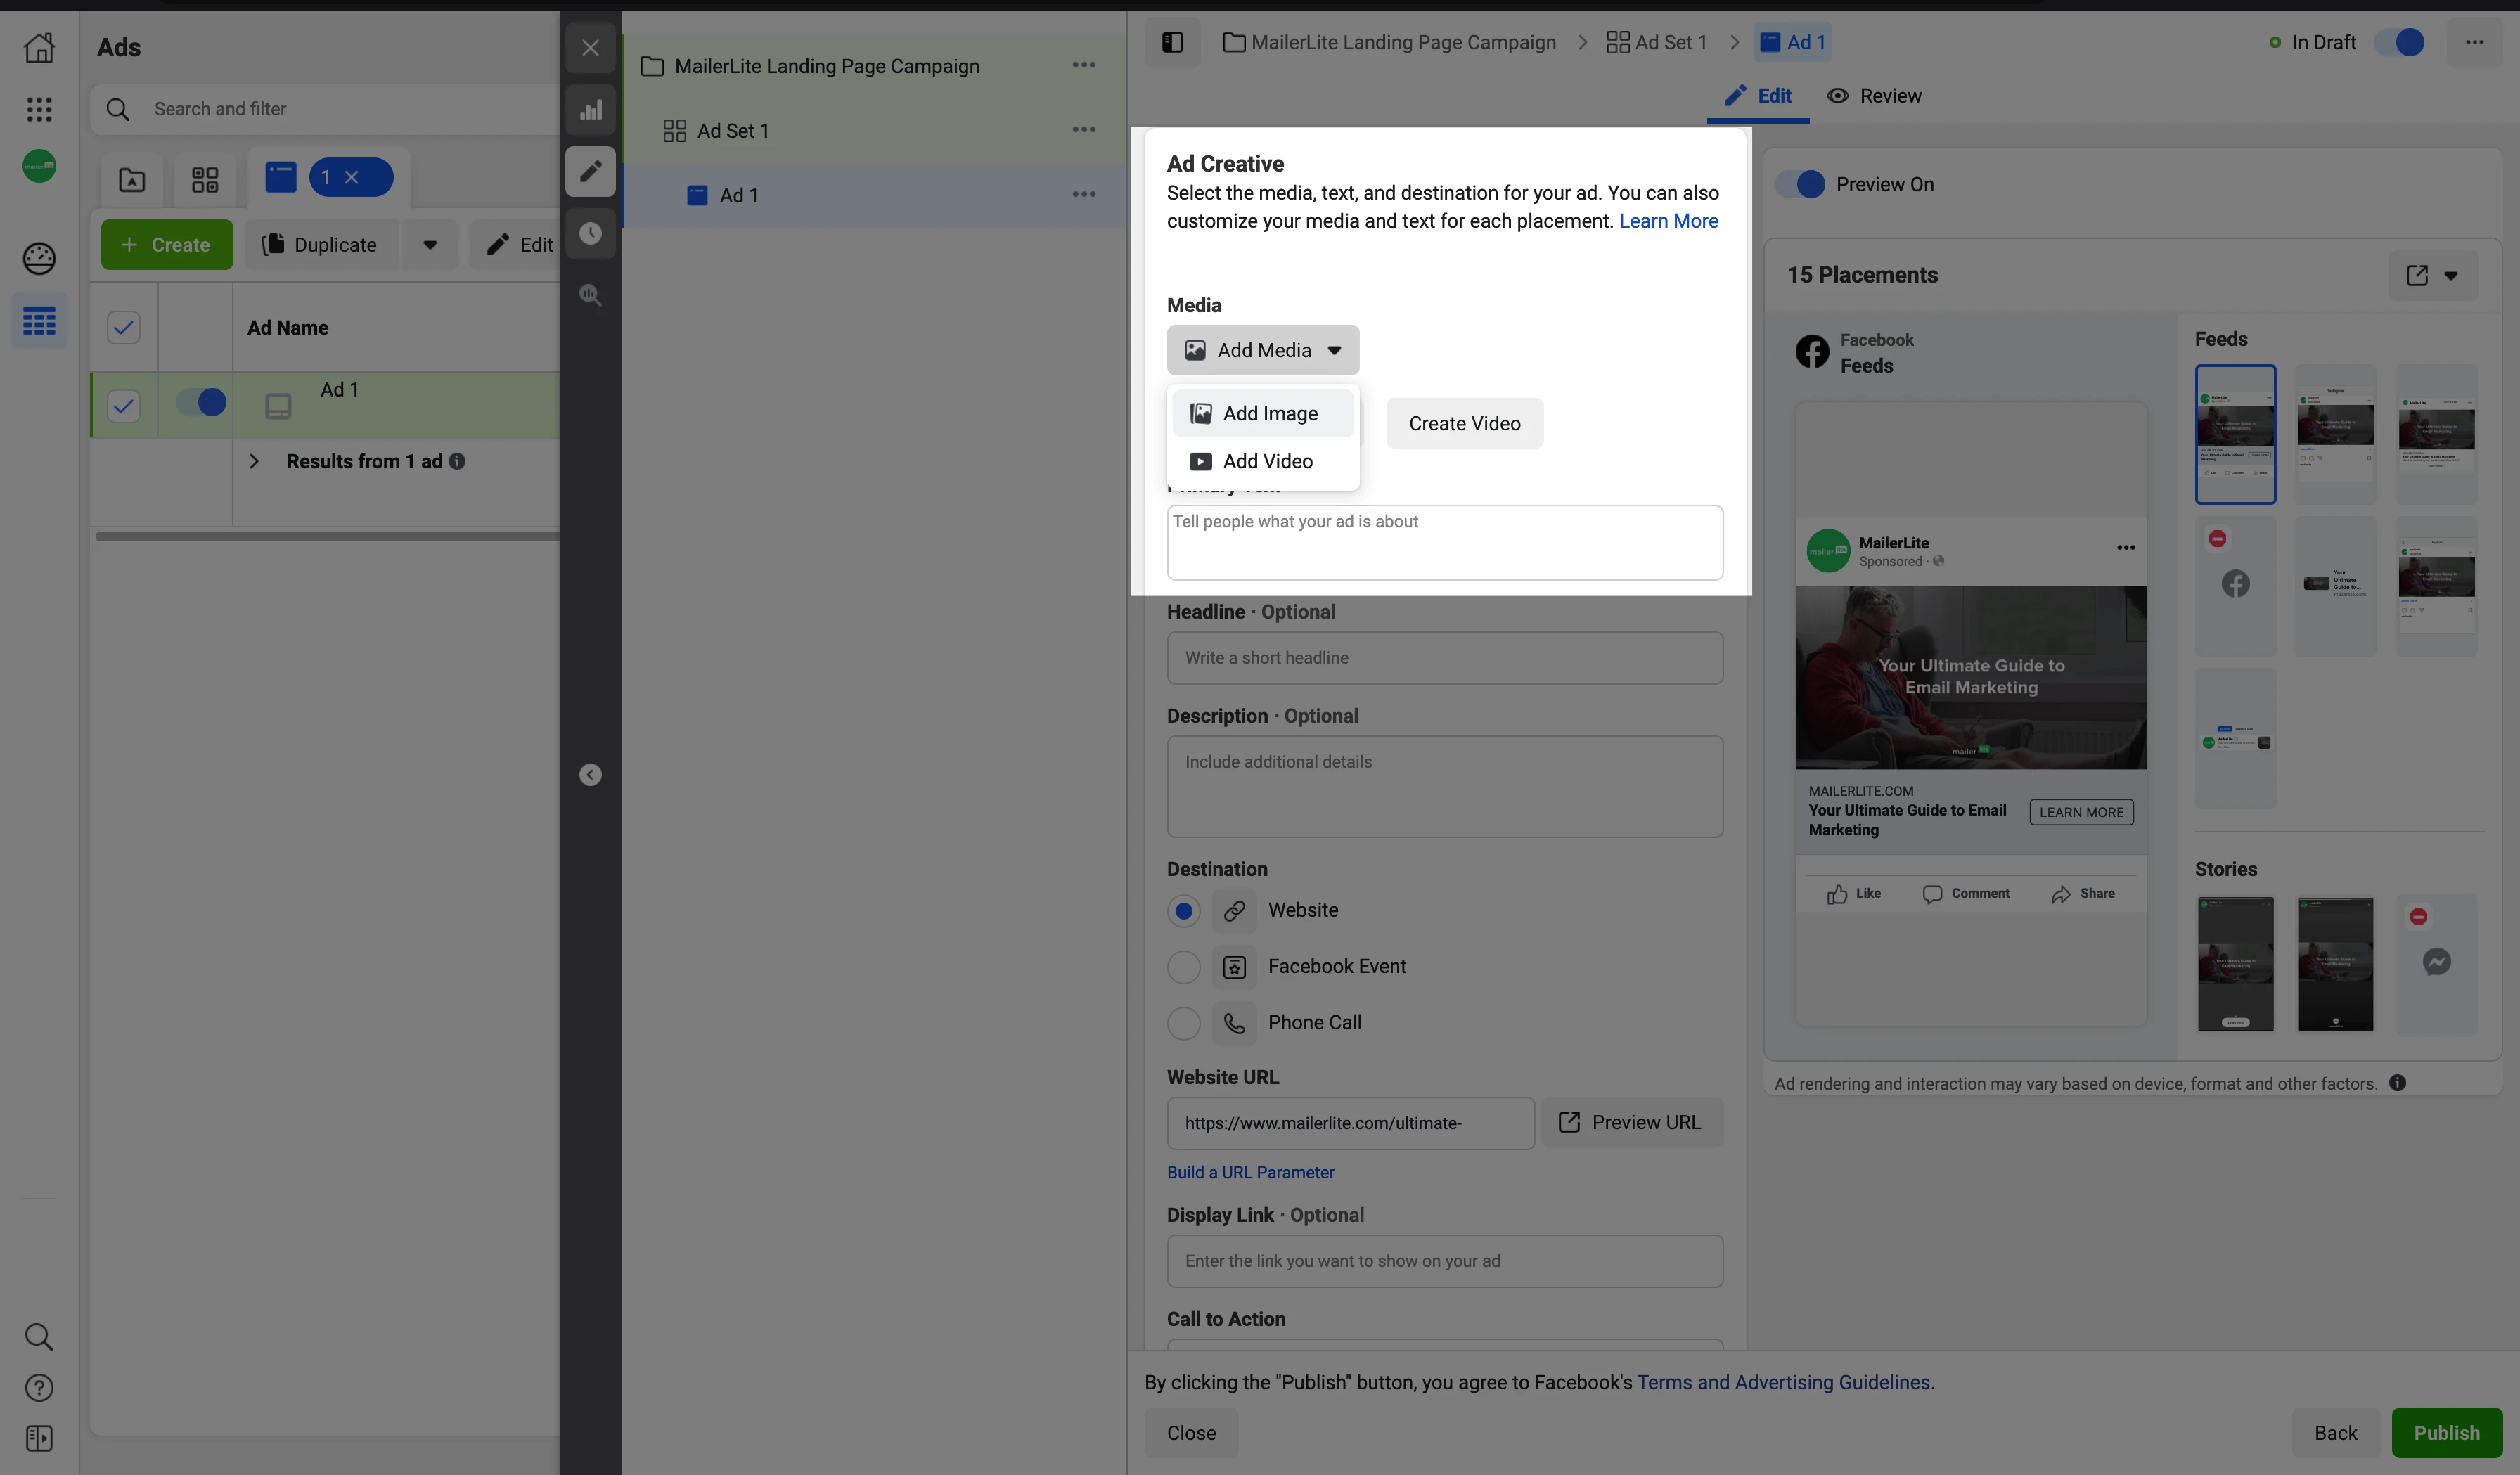
12. Set up the link to your landing page.
Add the link to the MailerLite landing page you've set up in step 1
Add your headline
Add text to your ad
Choose your Call-to-Action button
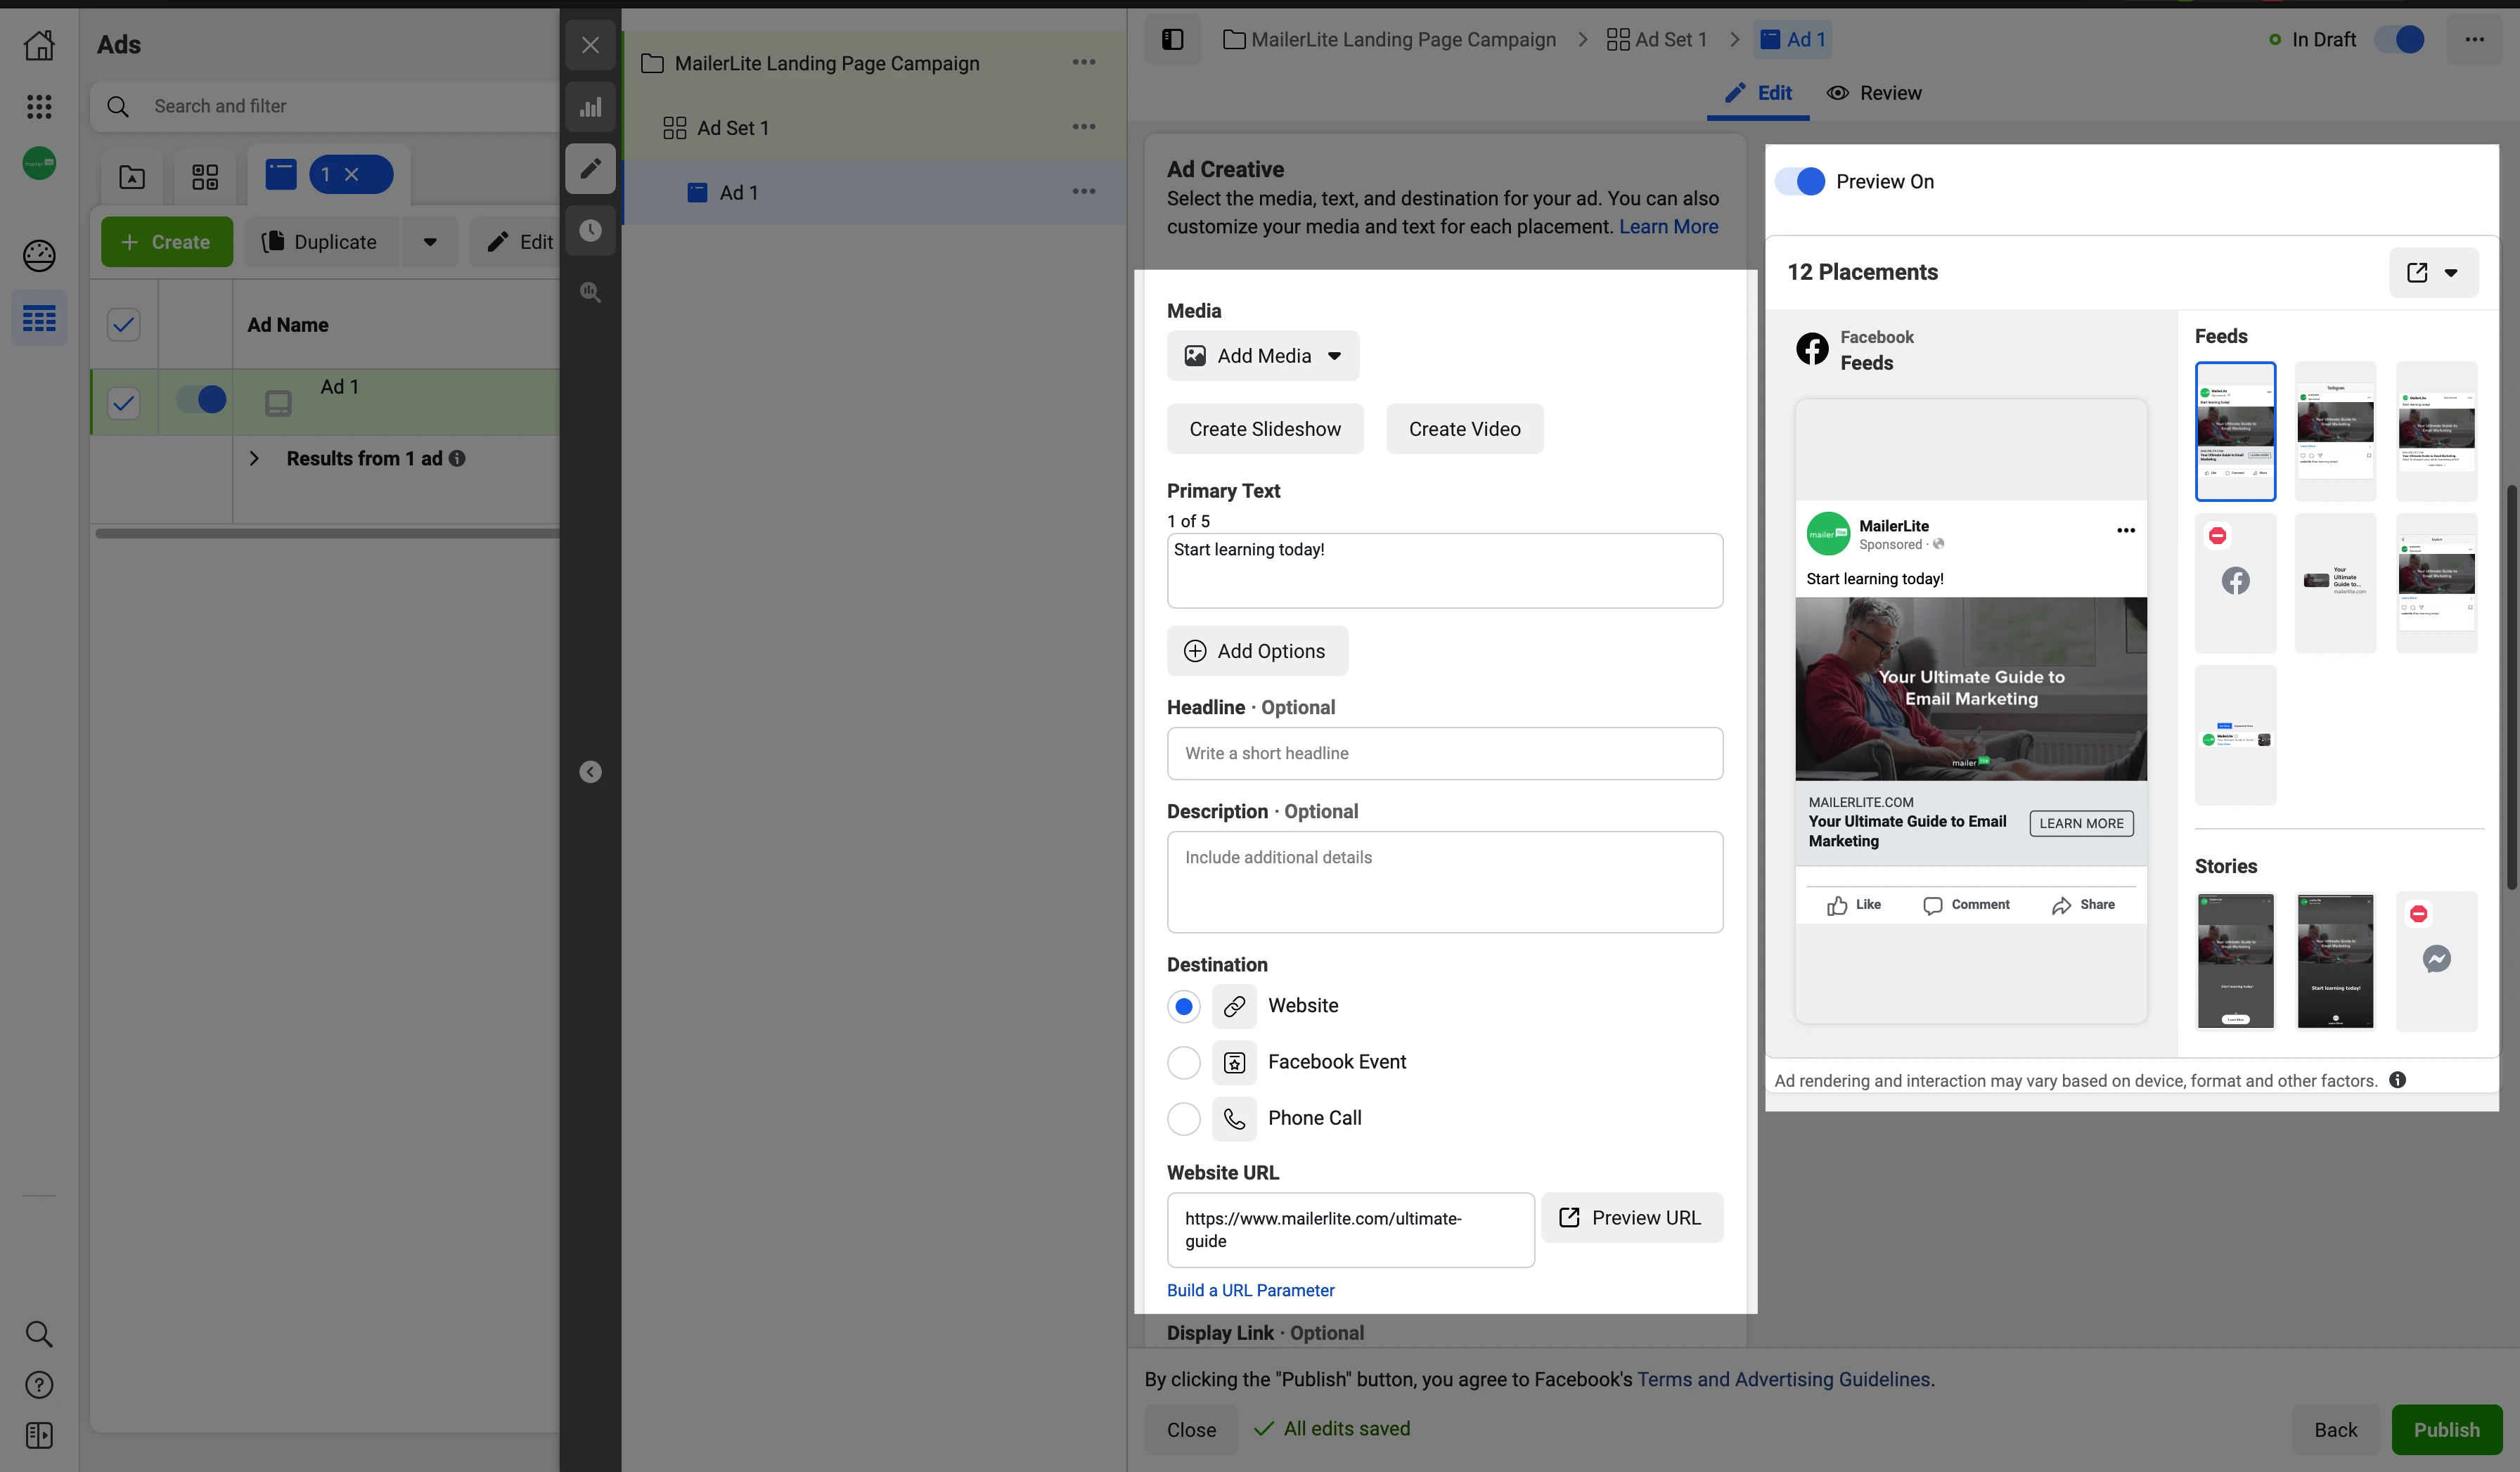
13. Click on Process your order.
You can now advertise your MailerLite landing page on Facebook!
Facebook community standards: what to avoid in your landing page
Since the Facebook Community has very strict policies that you have to follow, we encourage you to read Facebook’s Community Standards. If you’re promoting your landing page, make sure your ads and landing pages comply with Facebook's advertising policies. These policies will help you to avoid having your landing page blocked.
If your URL has been blocked, check the Facebook policies mentioned above and then contact Facebook support help and request a review.
The three most common reasons landing pages are blocked include:
Using restricted content
Using bit.ly links
Using misleading CTAs (call-to-action)
Here are some tips that will help you get your landing page approved, as well as helping you improve your conversion rates and lead quality:
Always include your business name and/or logo. It’s also good to have your contact email address available.
Include links to your website and/or your social media accounts, so that users (and Facebook) can check the legitimacy of the business. Facebook often restricts using dead-end pages, so at the very least, include a link where users can read more about you and your business.
Include a link to your privacy policy. It’s important to have one for legal reasons, too.
Maintain ad and landing page consistency both visually and with regards to the content, and what you are offering. Your landing page must deliver on what’s promised in the ad.
It’s important that users receive exactly what they are promised. Make sure your offer is clear. Misleading offers, call-to-actions or hidden details will get your landing page disapproved.
Check if your CTA button text is consistent with what happens after clicking it (both on the ad and on the landing page). For example, your CTA button cannot say “Download” if it actually signs the person up for your marketing emails.
Set clear user expectations on what happens when they choose to opt-in or sign up. When capturing someone’s email and personal details, make sure you’re transparent and obtain their consent.