Note: If you're a Legacy (Classic) user, please log in to your account to access the dedicated Legacy (Classic) Help Center.
Great things happen when you bring powerful tools together. By connecting MailerLite to Zapier, you can access thousands of features from the most popular apps, ready to come together to level up your email marketing.
What is Zapier?
Zapier is an automation platform that lets you connect MailerLite with other web-based tools such as Typeform, Google Drive and HubSpot – no code required. These connections, called “Zaps”, start with a trigger, which is an event that occurs in the first application that sets off an action in the second.
For a bit of inspiration, see everything that’s possible with MailerLite and Zapier.
How to connect MailerLite to Zapier
To connect your MailerLite account to Zapier:
1. Log in to your Zapier account and start at your Dashboard.
2. Click + Create.
3. Choose Zaps.

When MailerLite is the app trigger
If you want an action in MailerLite to set off a reaction in another app, that would make MailerLite the Trigger.
1. Choose the Trigger option and locate MailerLite.

2. Select the Event, which is the trigger in MailerLite that starts the flow.
3. Click Continue.

4. Next, connect to your MailerLite account by clicking Sign in.
5. Choose your MailerLite account. If you have already connected an account, choose it from the list. If not, click + connect a new account.
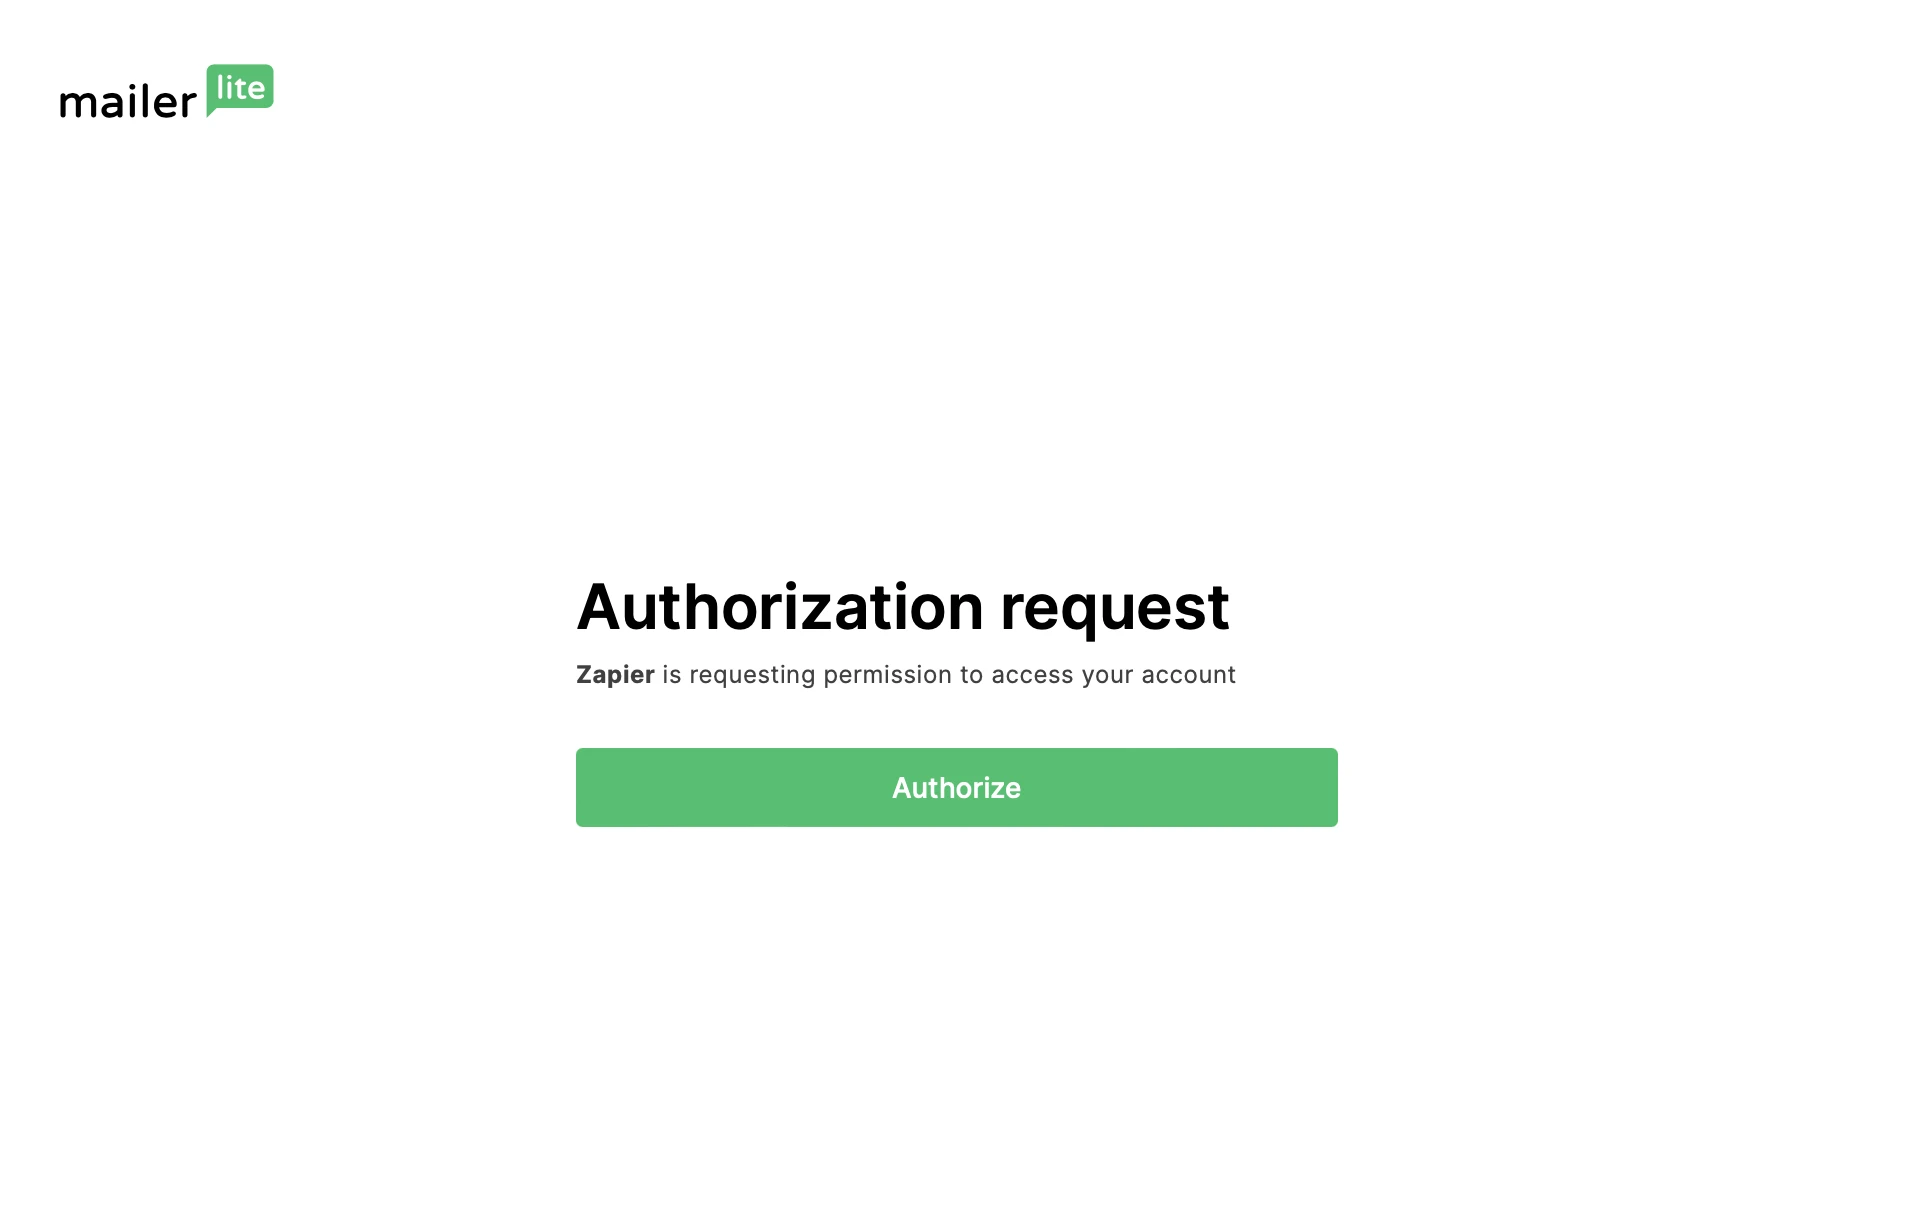
6. Authorize your account by clicking Authorize when shown.
7. You will be redirected back to Zapier and your account should now be connected. Click Continue to finish setting up the trigger.
8. Click Test trigger to make sure the account is connected and the trigger is set up properly.

Select an Action.
This is the second event that will happen after your trigger.

Connect to your account in the second application. This process will vary depending on the app you are connecting to. Click Continue.
Set up the Action. Depending on the app you have chosen, you will need to set up the details of the action you want to occur. Click Continue.
Click Test action. Again, Zapier will run a test to make sure everything is working and set up properly.
If everything is correct and the test is successful, you will see the option to publish your Zap by clicking Publish & Turn on.

Once you’ve published your Zap, Zapier automatically checks if there have been any new triggers every few minutes. Once Zapier detects a trigger that matches the Zap that you have set up, it automatically executes the respective action.
Keep in mind, you can always go back and edit your Zaps. Learn how to manage published Zaps and even share a Zap with your team!
When MailerLite is the action
When you want an event in a third party app to trigger an event in MailerLite, that makes MailerLite the Action.
In this case, set up the first app as the Trigger. Once completed, choose MailerLite as the Action. Continue to choose the Event, and connect your MailerLite account.

Actions and triggers
With MailerLite, you can find 13 triggers:
Campaign Sent: Triggers when a campaign has been sent out.
Spam Complaint: Triggers when a subscriber issues a spam complaint about an email
Subscriber Added to Group: Triggers when a subscriber is added to a group.
Subscriber Completed Automation: Triggers when a subscriber completes a selected workflow.
Subscriber Bounced: Triggers when an email to a subscriber bounces.
Subscriber Created: Triggers when a subscriber was created on your mailing list.
Subscriber Removed From Group: Triggers when a subscriber has been removed from a group.
Subscriber Triggered Automation: Triggers when a subscriber triggers a selected workflow.
Subscriber Unsubscribed: Triggers when a subscriber has unsubscribed from your mailing list.
Subscriber Fields Updated: Triggers when subscriber fields (such as name, date of birth or a custom field) have been updated.
Subscriber Opened Campaign: Triggers when a subscriber opens a campaign.
Subscriber Clicked Campaign Link: Triggers when a subscriber clicks a link in a campaign.
Subscriber Deleted: Triggers when a subscriber is deleted or forgotten.
You can also find 6 actions:
Create or Update Subscriber: Create a new subscriber or Update an existing subscriber based on their email.
Add Subscriber to a Group: Add subscribers to a specific group by email address.
Remove Subscriber From a Group: Remove a subscriber from a specific group by email address.
Unsubscribe Subscriber: Sets the contact's status to "Unsubscribed".
Send a Campaign: Send a campaign to a subscriber group or segment.
Change Subscriber Email: Change the email address of an existing subscriber.
🧠 Ask the experts!
Since our team's expertise is with MailerLite, feel free to reach out to Zapier support for any questions regarding your Zapier account.