Note: If you're a Legacy (Classic) user, please log in to your account to access the dedicated Legacy (Classic) Help Center.
Why isn't my automation working?
Changes on your subscriber list or steps in your automation may sometimes affect the way subscribers go through a workflow. They could get removed from the queue or even not be triggered at all. Read ahead to find out why this happens and how to fix it.
Why is my automation in Drafts?
The Automation page is divided into two areas. The Workflows tab shows all complete workflows, whether active or paused. This means the workflow contains all completed steps and can be activated.
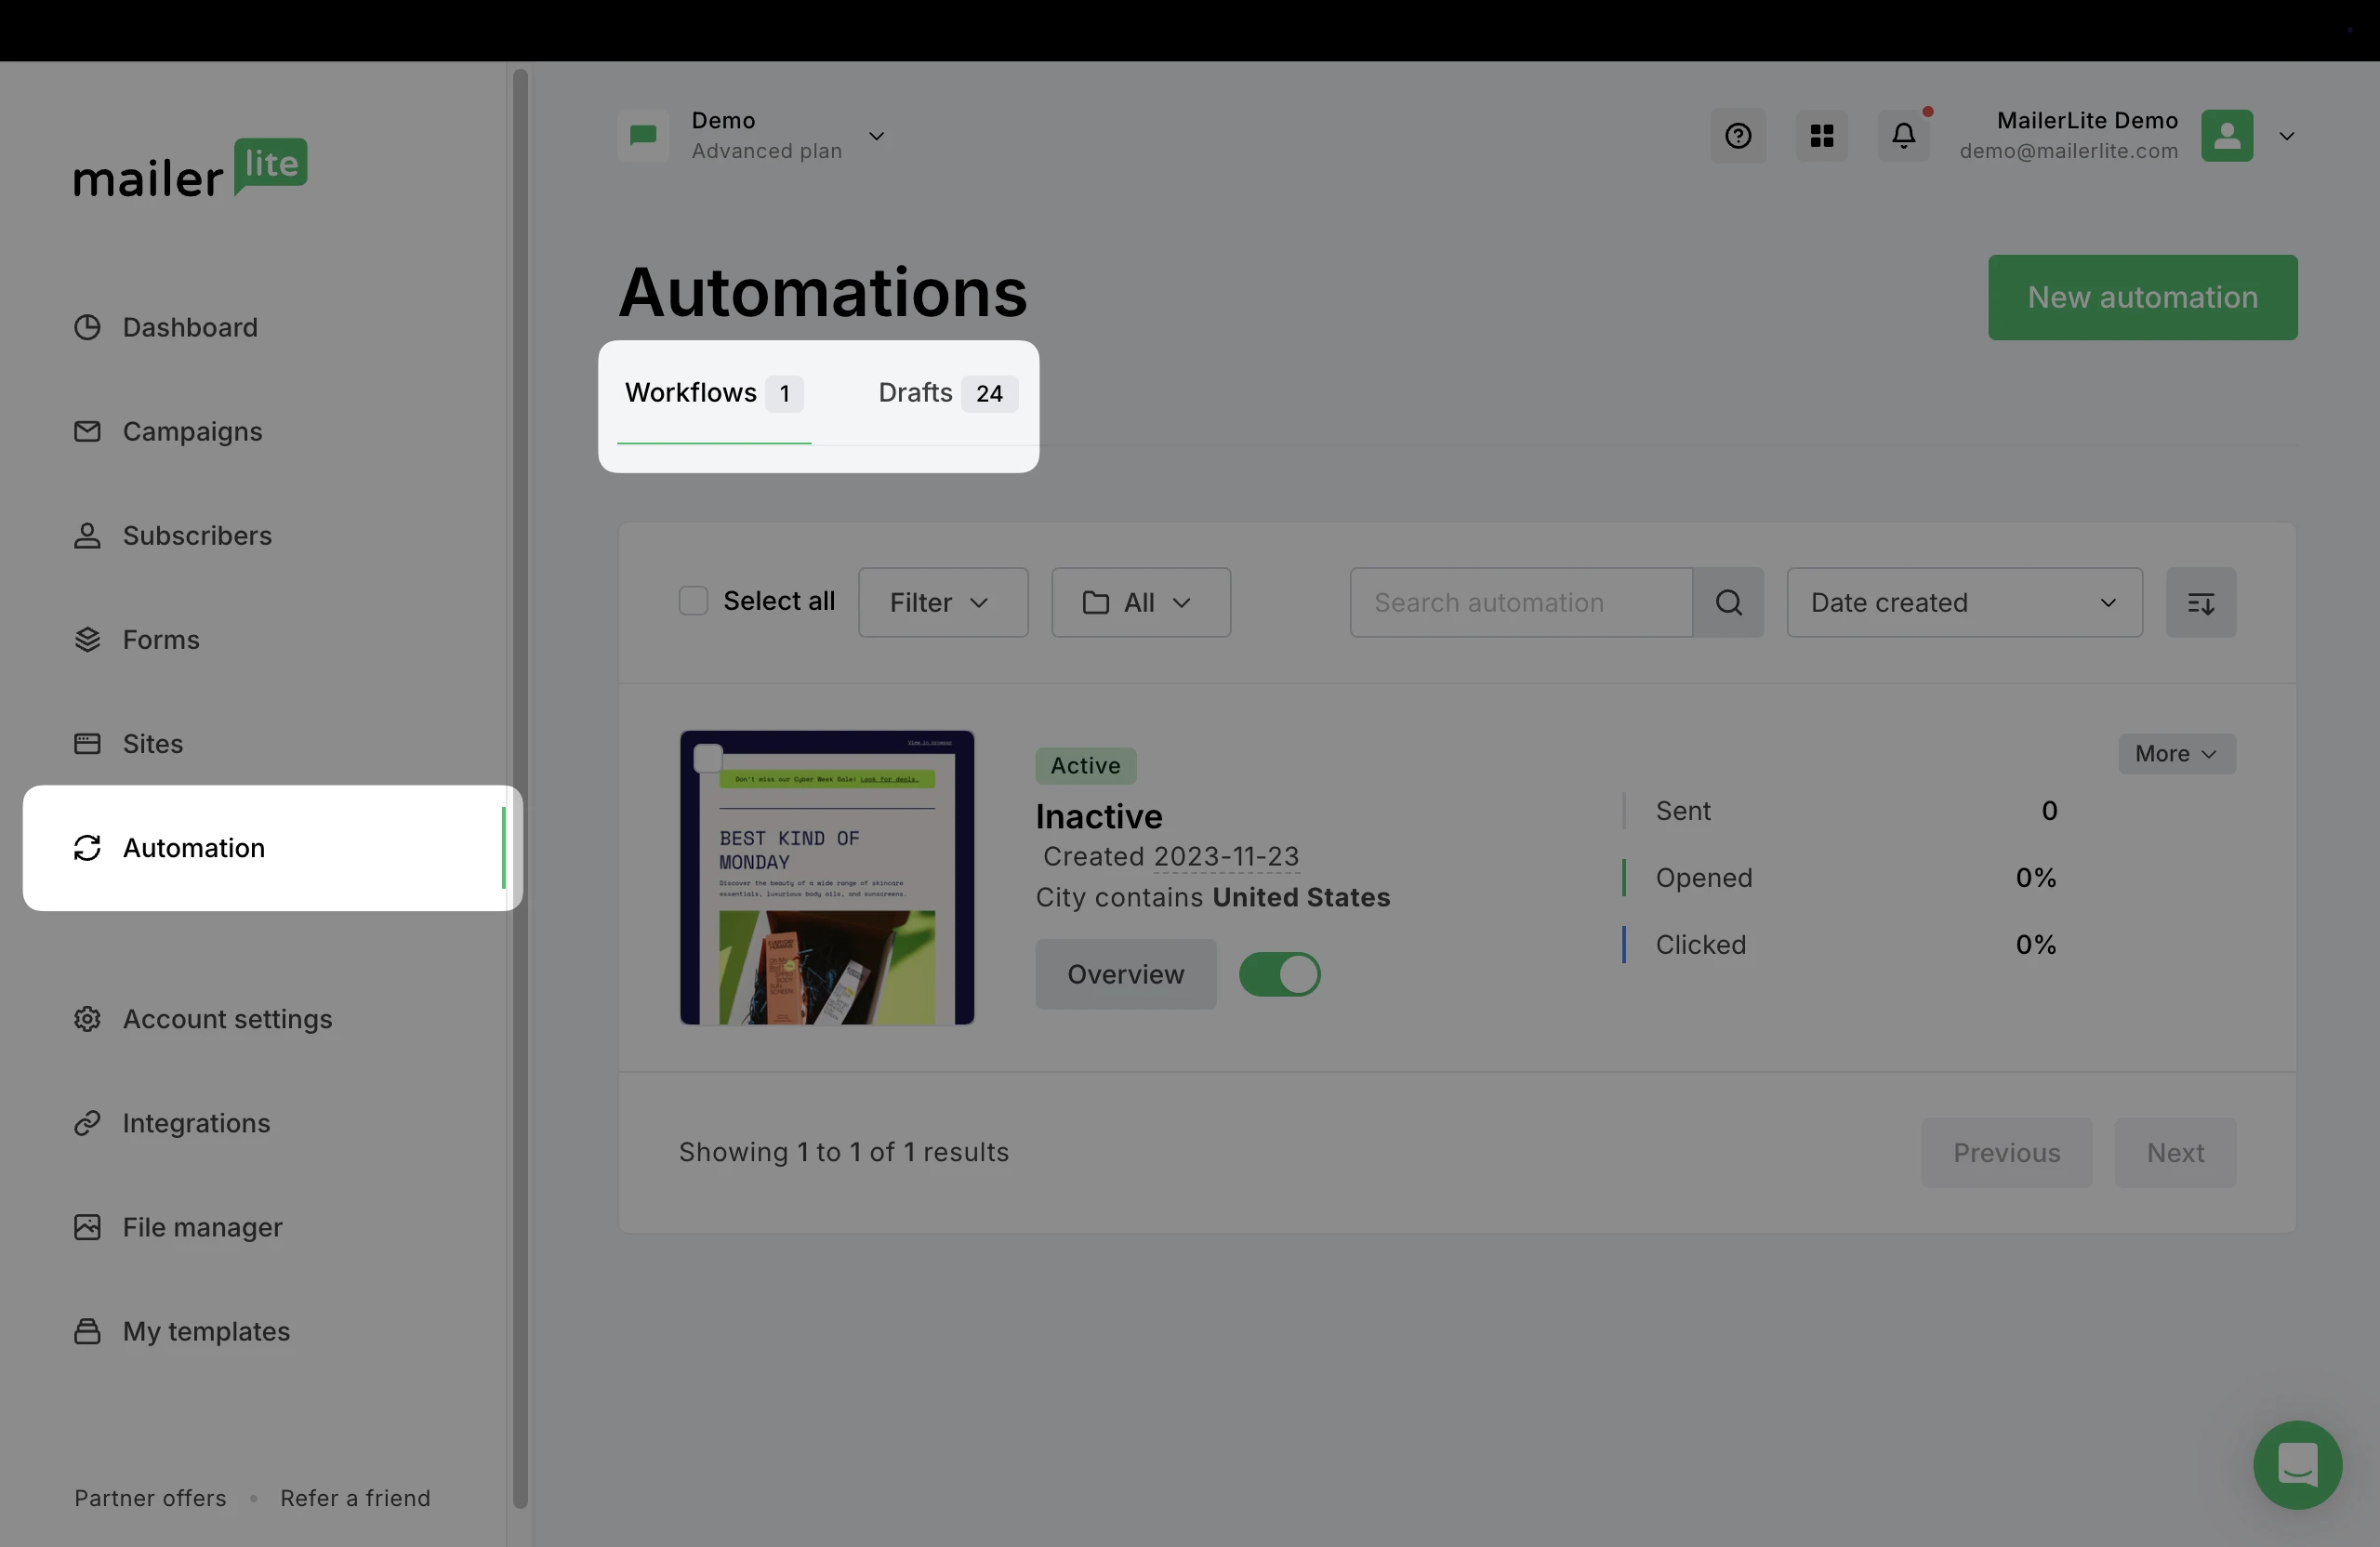
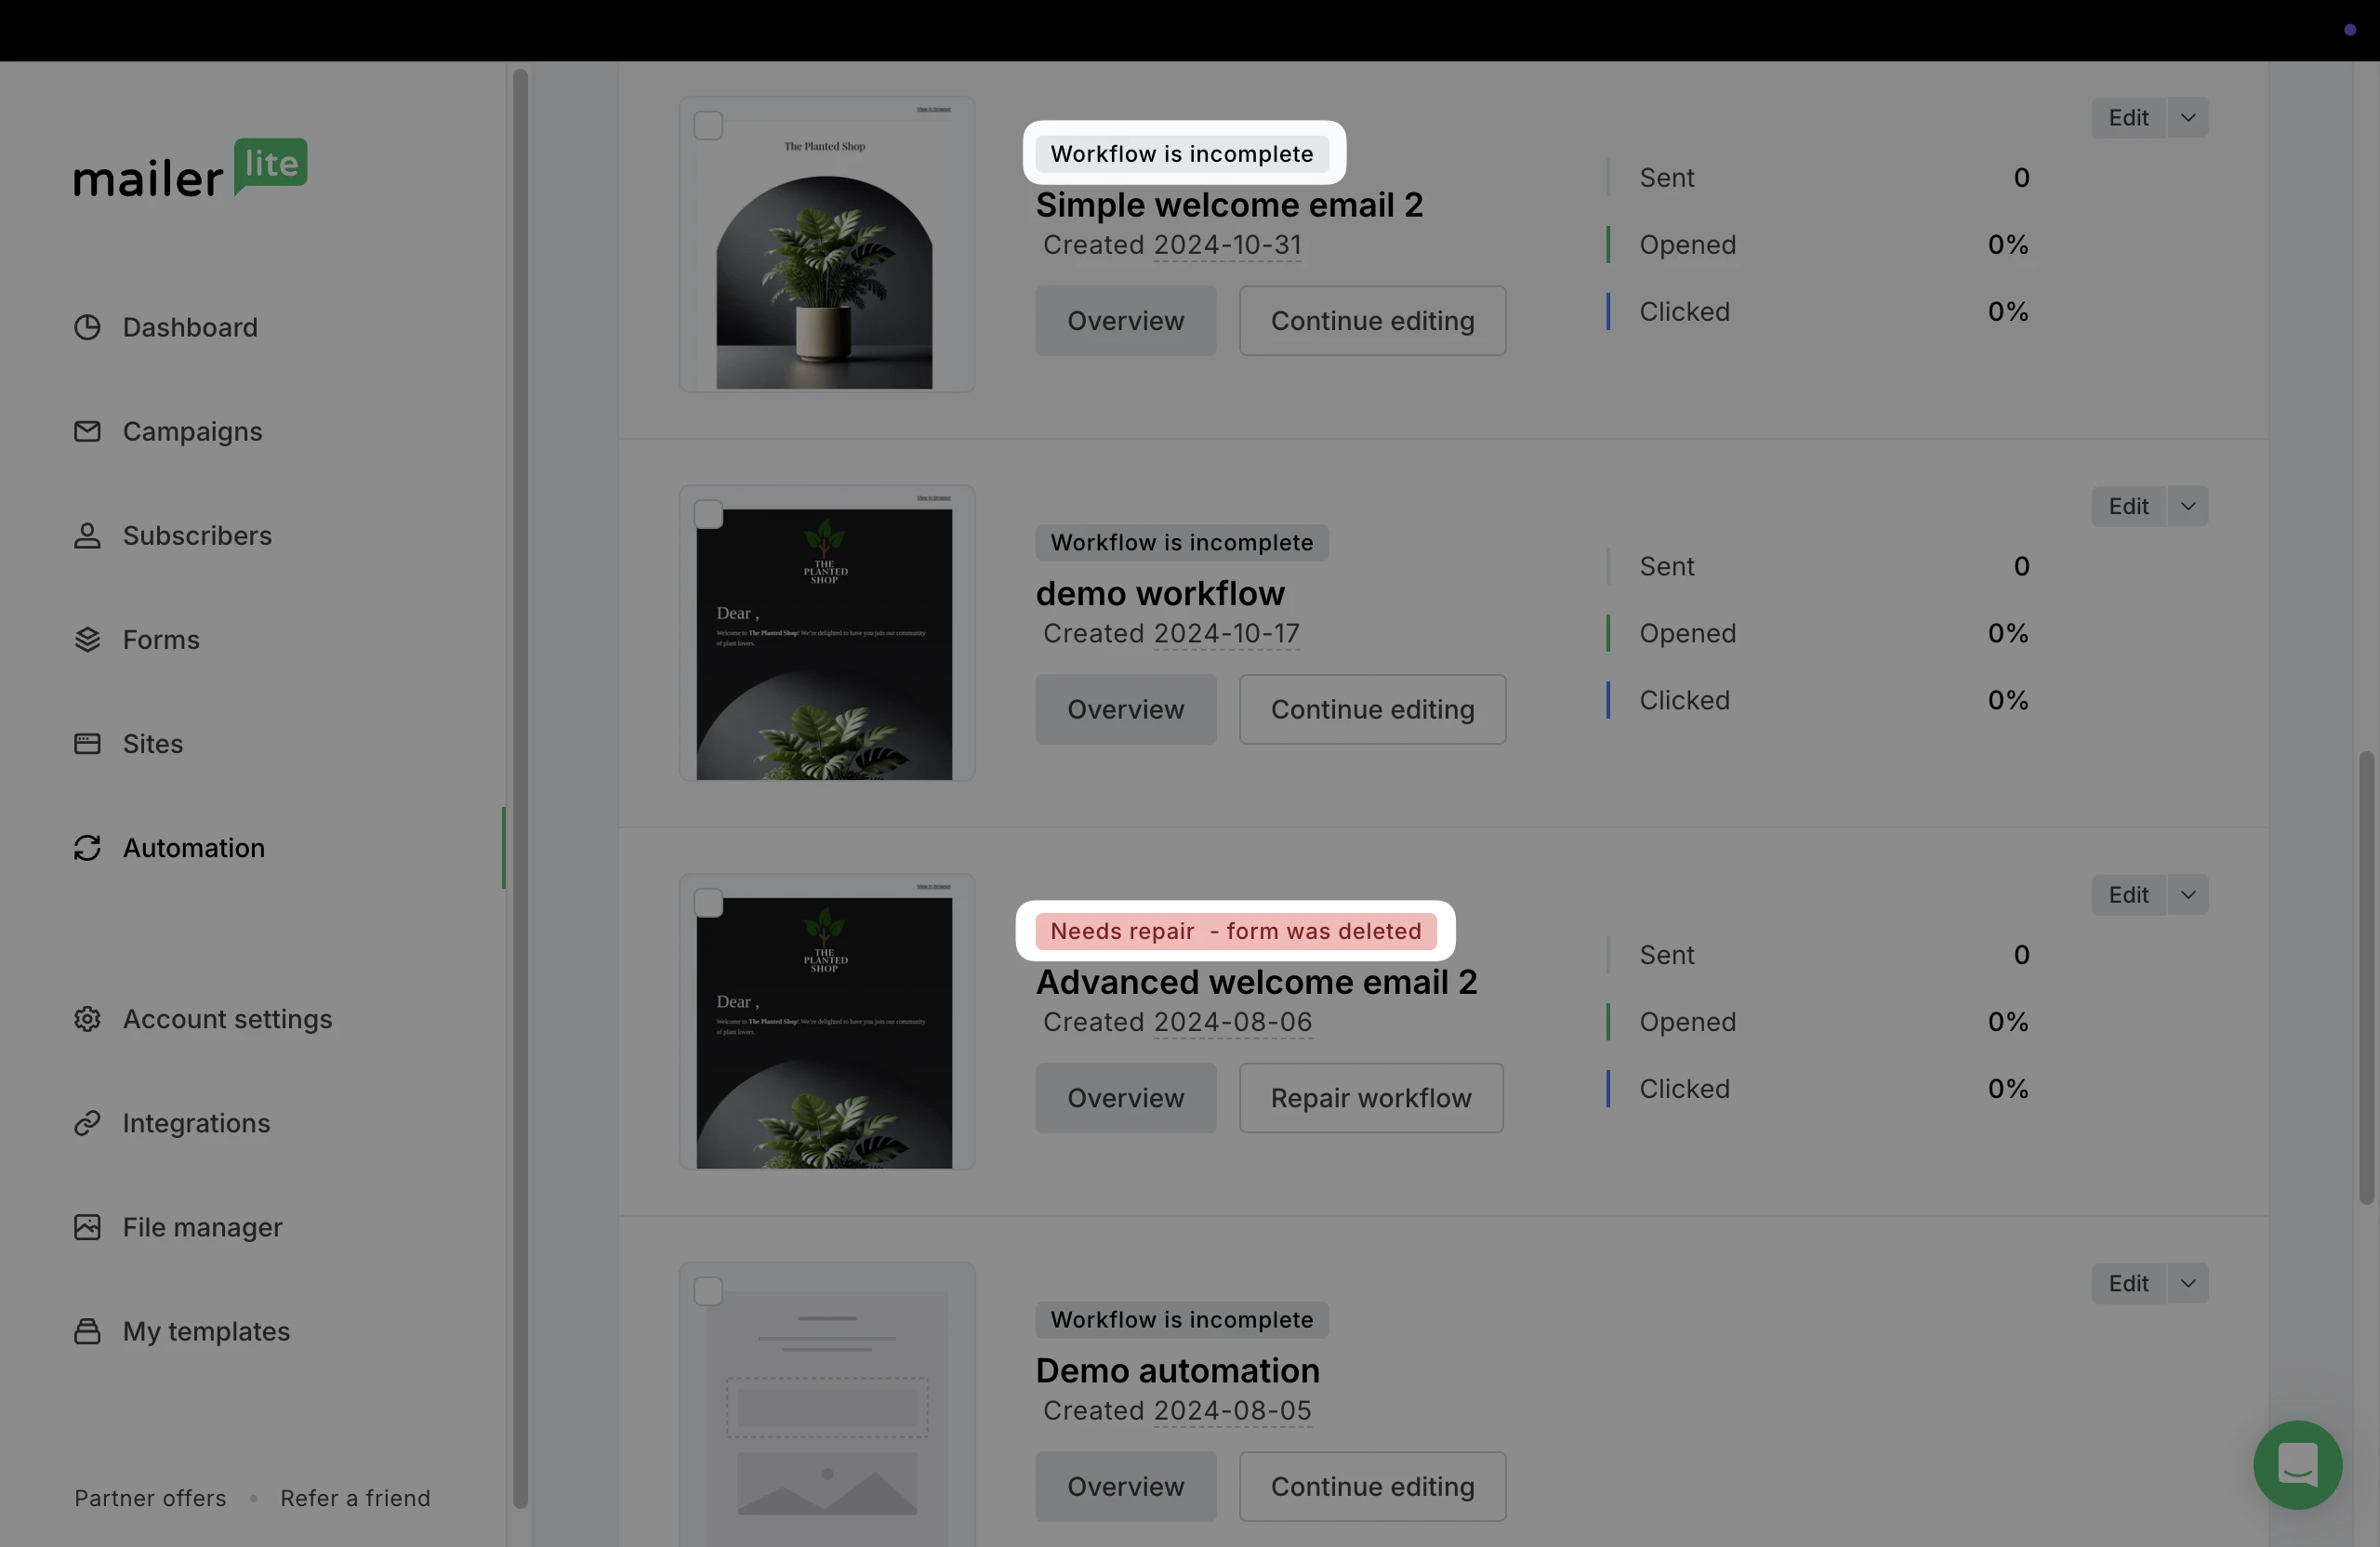
The Drafts tab shows all incomplete or workflows needing repair. This may mean that a group or form that was connected to an automation has been deleted, and the automation needs to be edited before it can be activated. In the Drafts tab, you can see the reason displayed on each workflow.
What happens when you insert a new step into a workflow
You can add new steps to the beginning, middle and end of an existing workflow, even if it already has subscribers that are queued or have completed it.
The workflow must be turned off to edit it, which means that it won’t be triggering any new subscribers or executing any queued steps until the workflow is turned on again.
When a new step is added in the middle of a workflow, it is executed only for the subscribers who haven’t yet reached the step before it. Those who are already past this step will not execute the new step.
For example, if you add a new step between steps 3 and 4 of a 6-step email sequence, only those who haven’t yet reached step 3 will execute the new step. Those who are already queued for the 4th, 5th, or 6th step will not execute the new step.
If a new step is added as the last step in a workflow, it will then be executed for all subscribers. This includes those who have already completed the workflow sequence as they will be automatically re-added.
To edit a workflow and add a new step:
Head to the Automations page and click Edit on the workflow you wish to work on.
Turn it off to have your workflow in edit mode.
Click on the plus (+) sign to open Rules and Actions.
Drag a step into an available location in the automation.
Why aren't steps completed when the workflow is turned off?
While you are making edits to your workflow, please note:
No new subscribers will be added to the workflow while it is turned off. To manually add these new subscribers into the sequence, read the section What happens if you get new subscribers while your workflow is turned off below.
No emails are sent while it is turned off. These emails will also not be automatically sent once it has been turned back on.
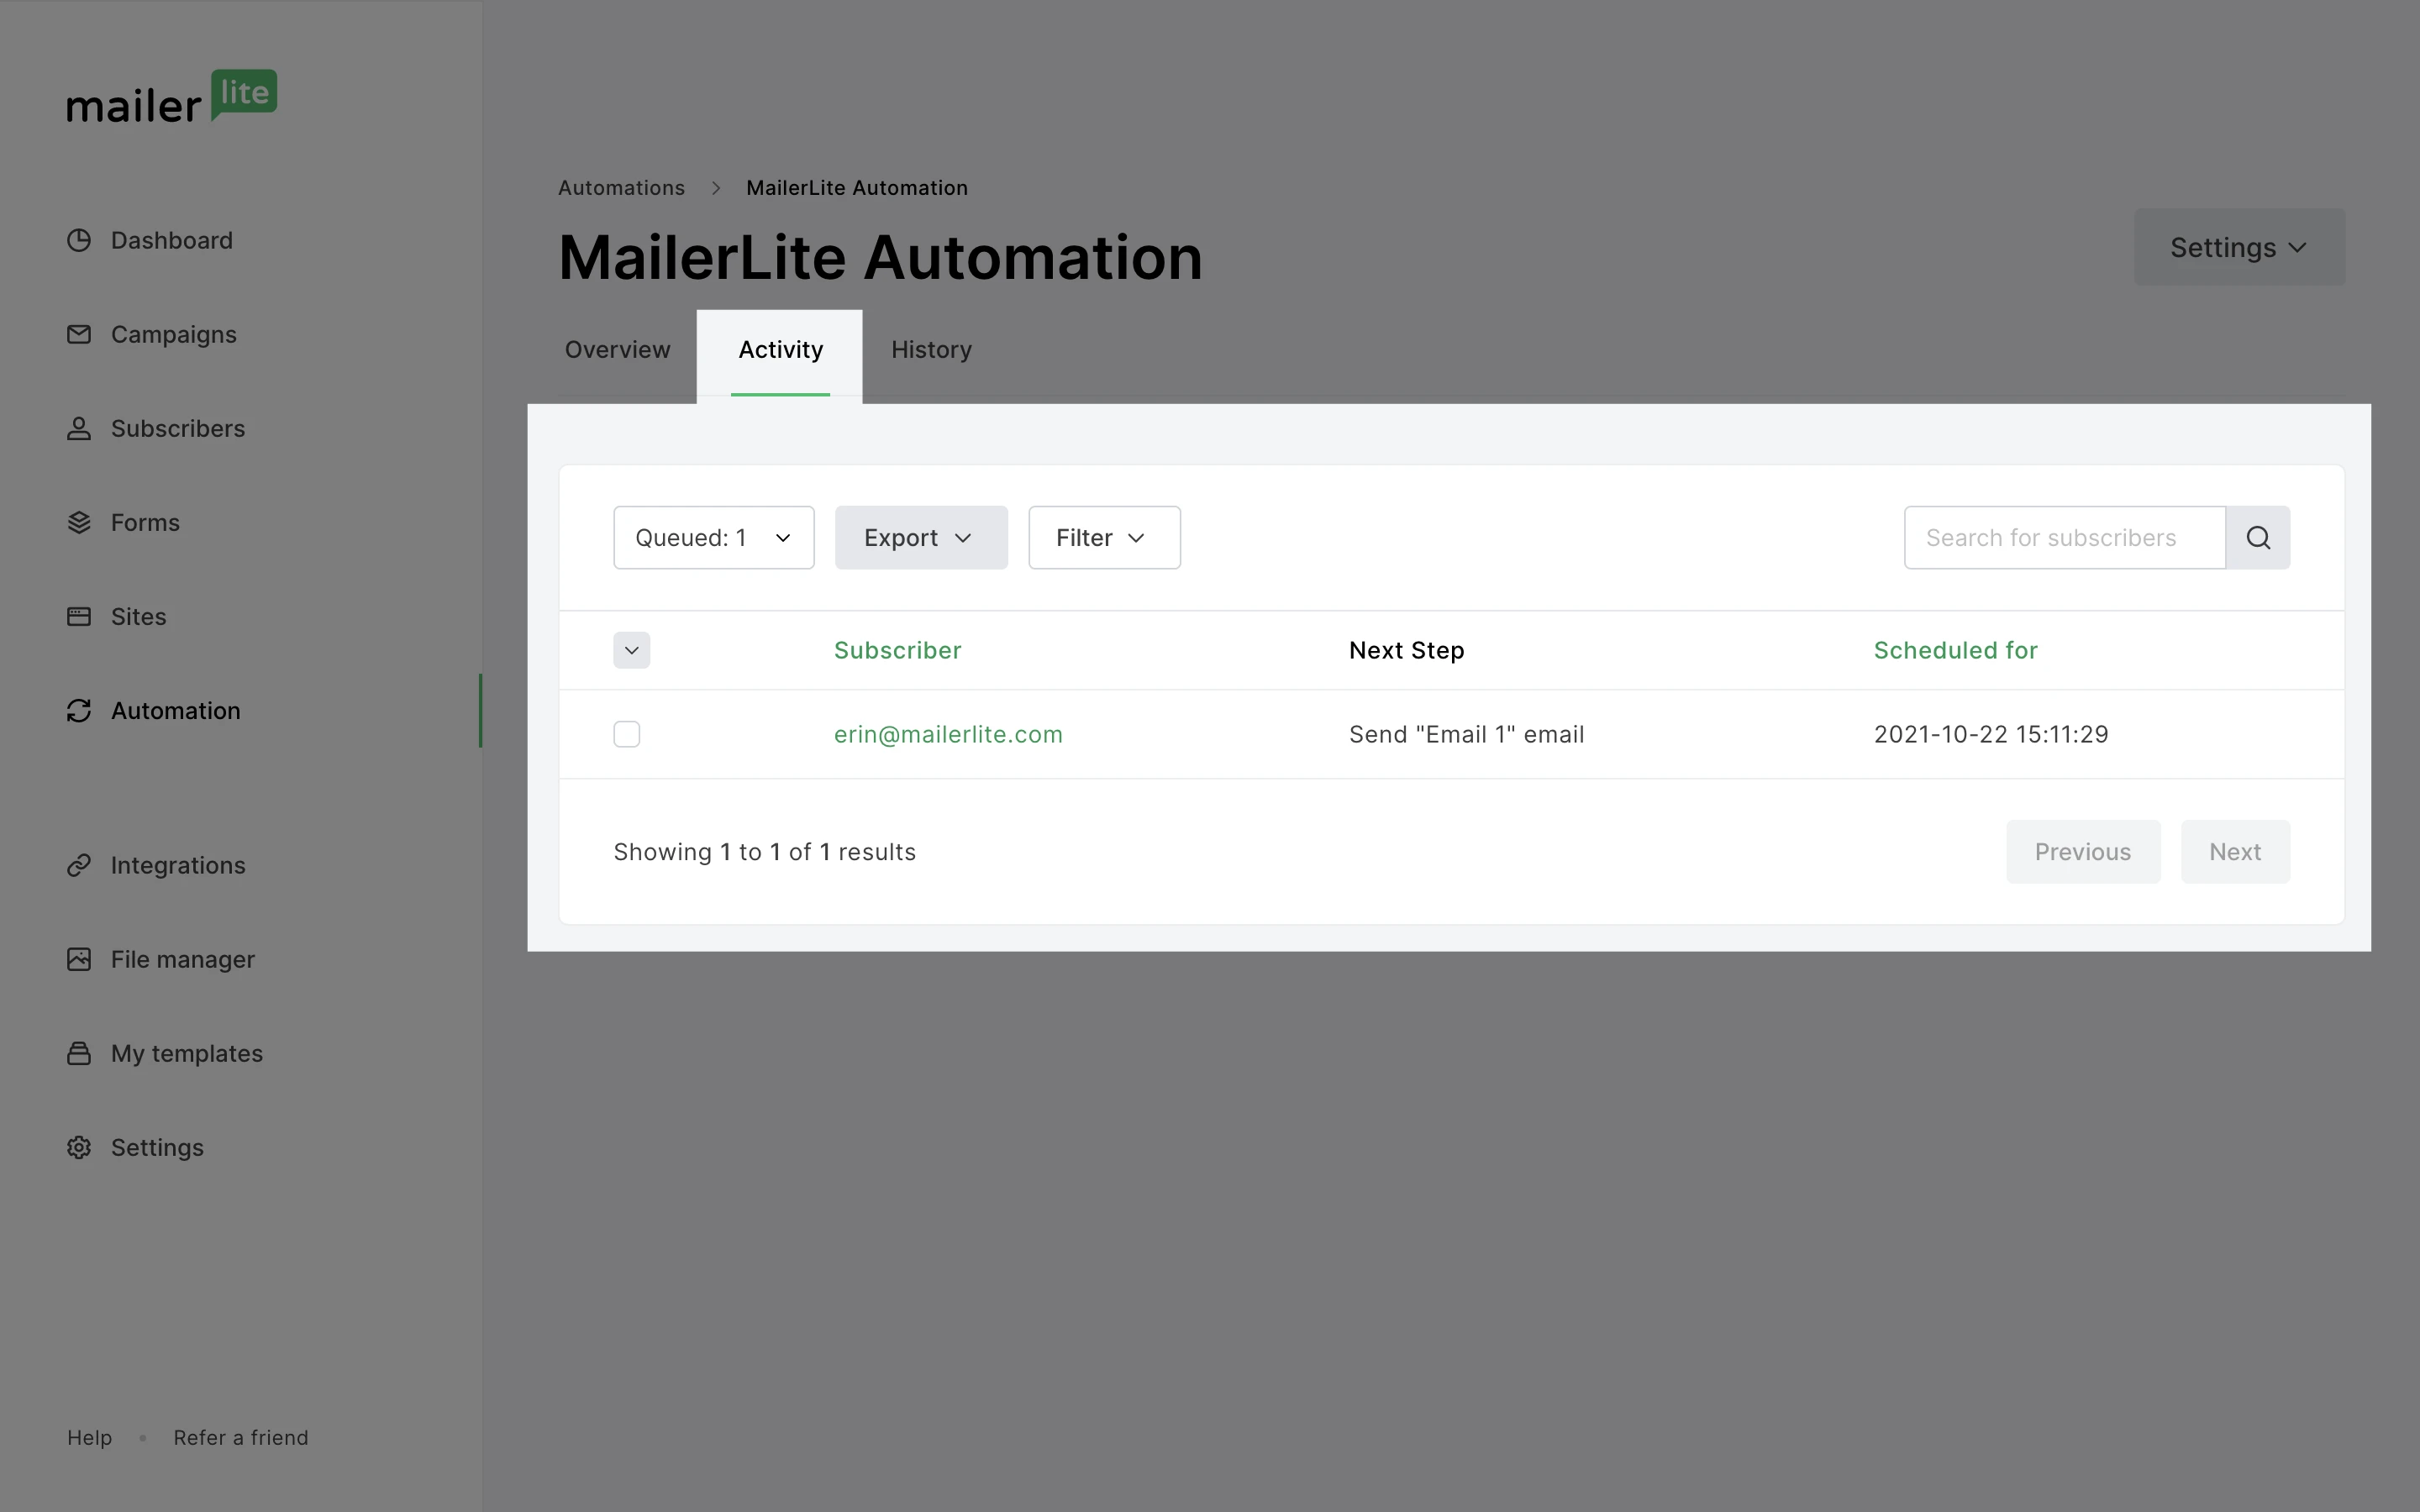
This happens because each step is given a specific timestamp on when it should be executed, based on the delay that you set up (if any). You can see the timestamp of any queued step under the Date and Time columns in the Queued folder of the Activity tab of the workflow.
If a workflow is turned back on and the date of the time stamp has passed, these subscribers will be kicked out of the workflow’s queue and sent to the Canceled folder.
How do I add existing subscribers to a workflow?
The Add subscribers action is available in several places:
Via the three-dot menu on the Automations main page and in Automation reports.
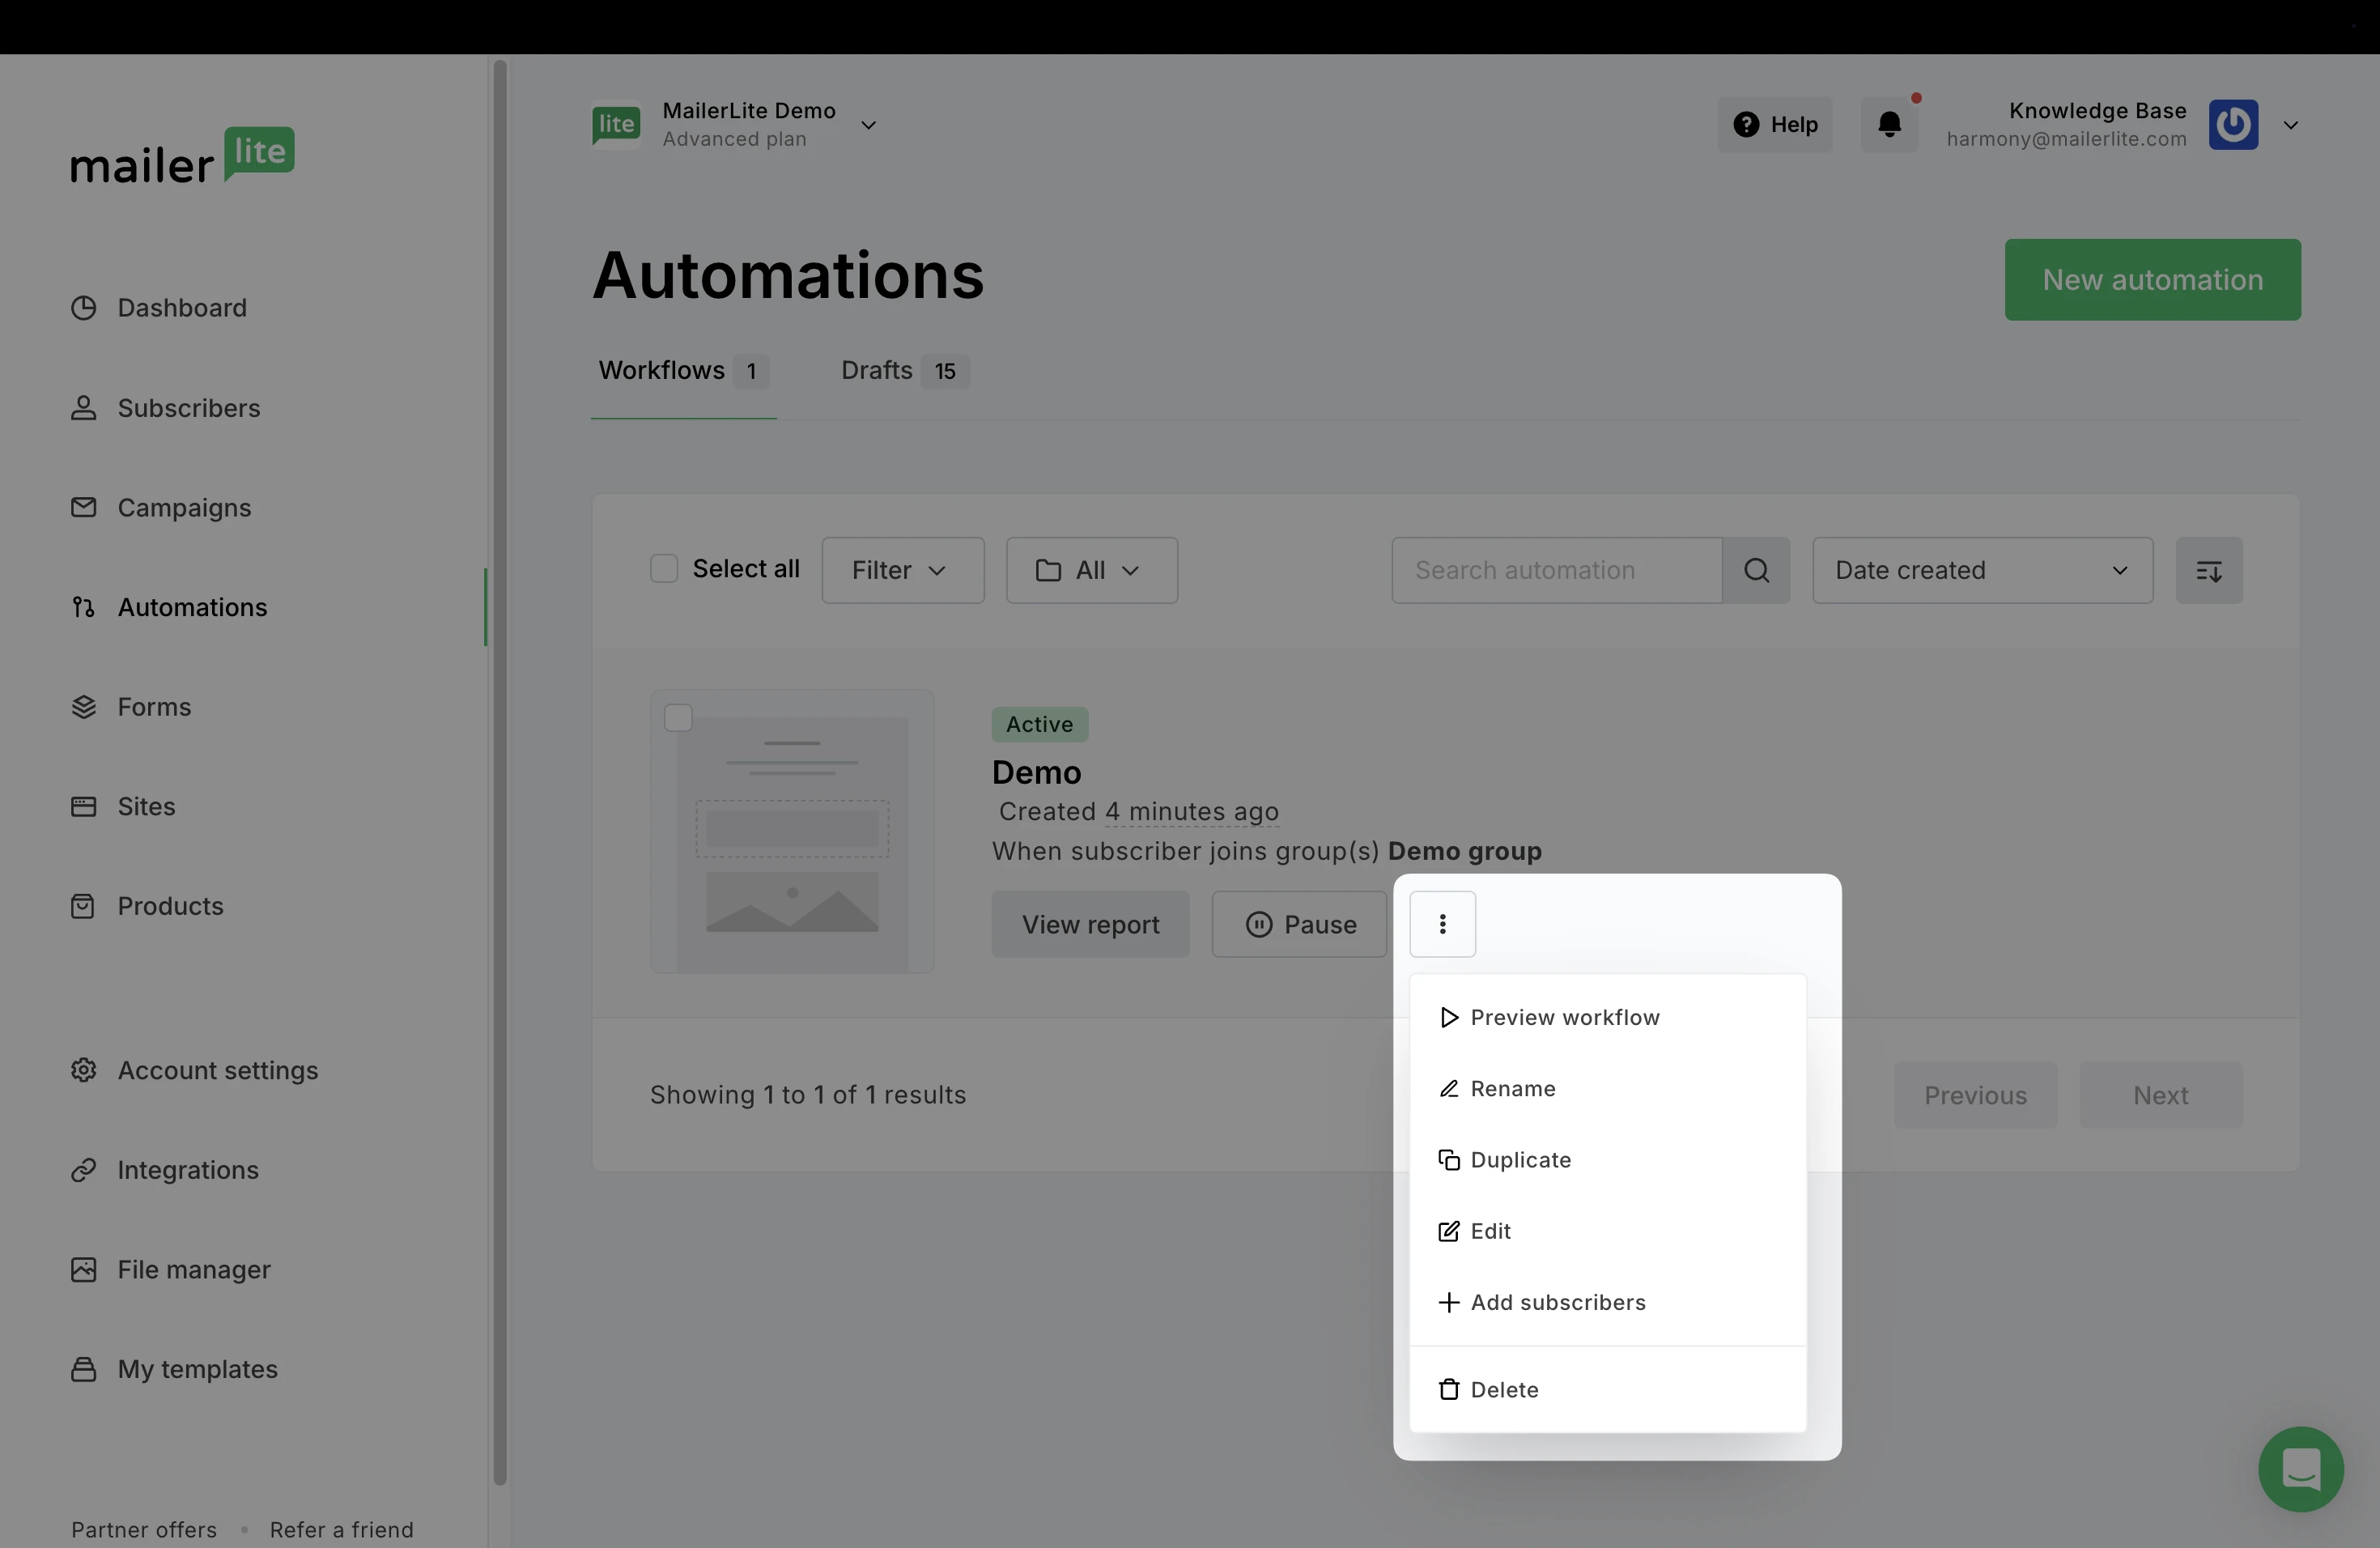
From automation previews.
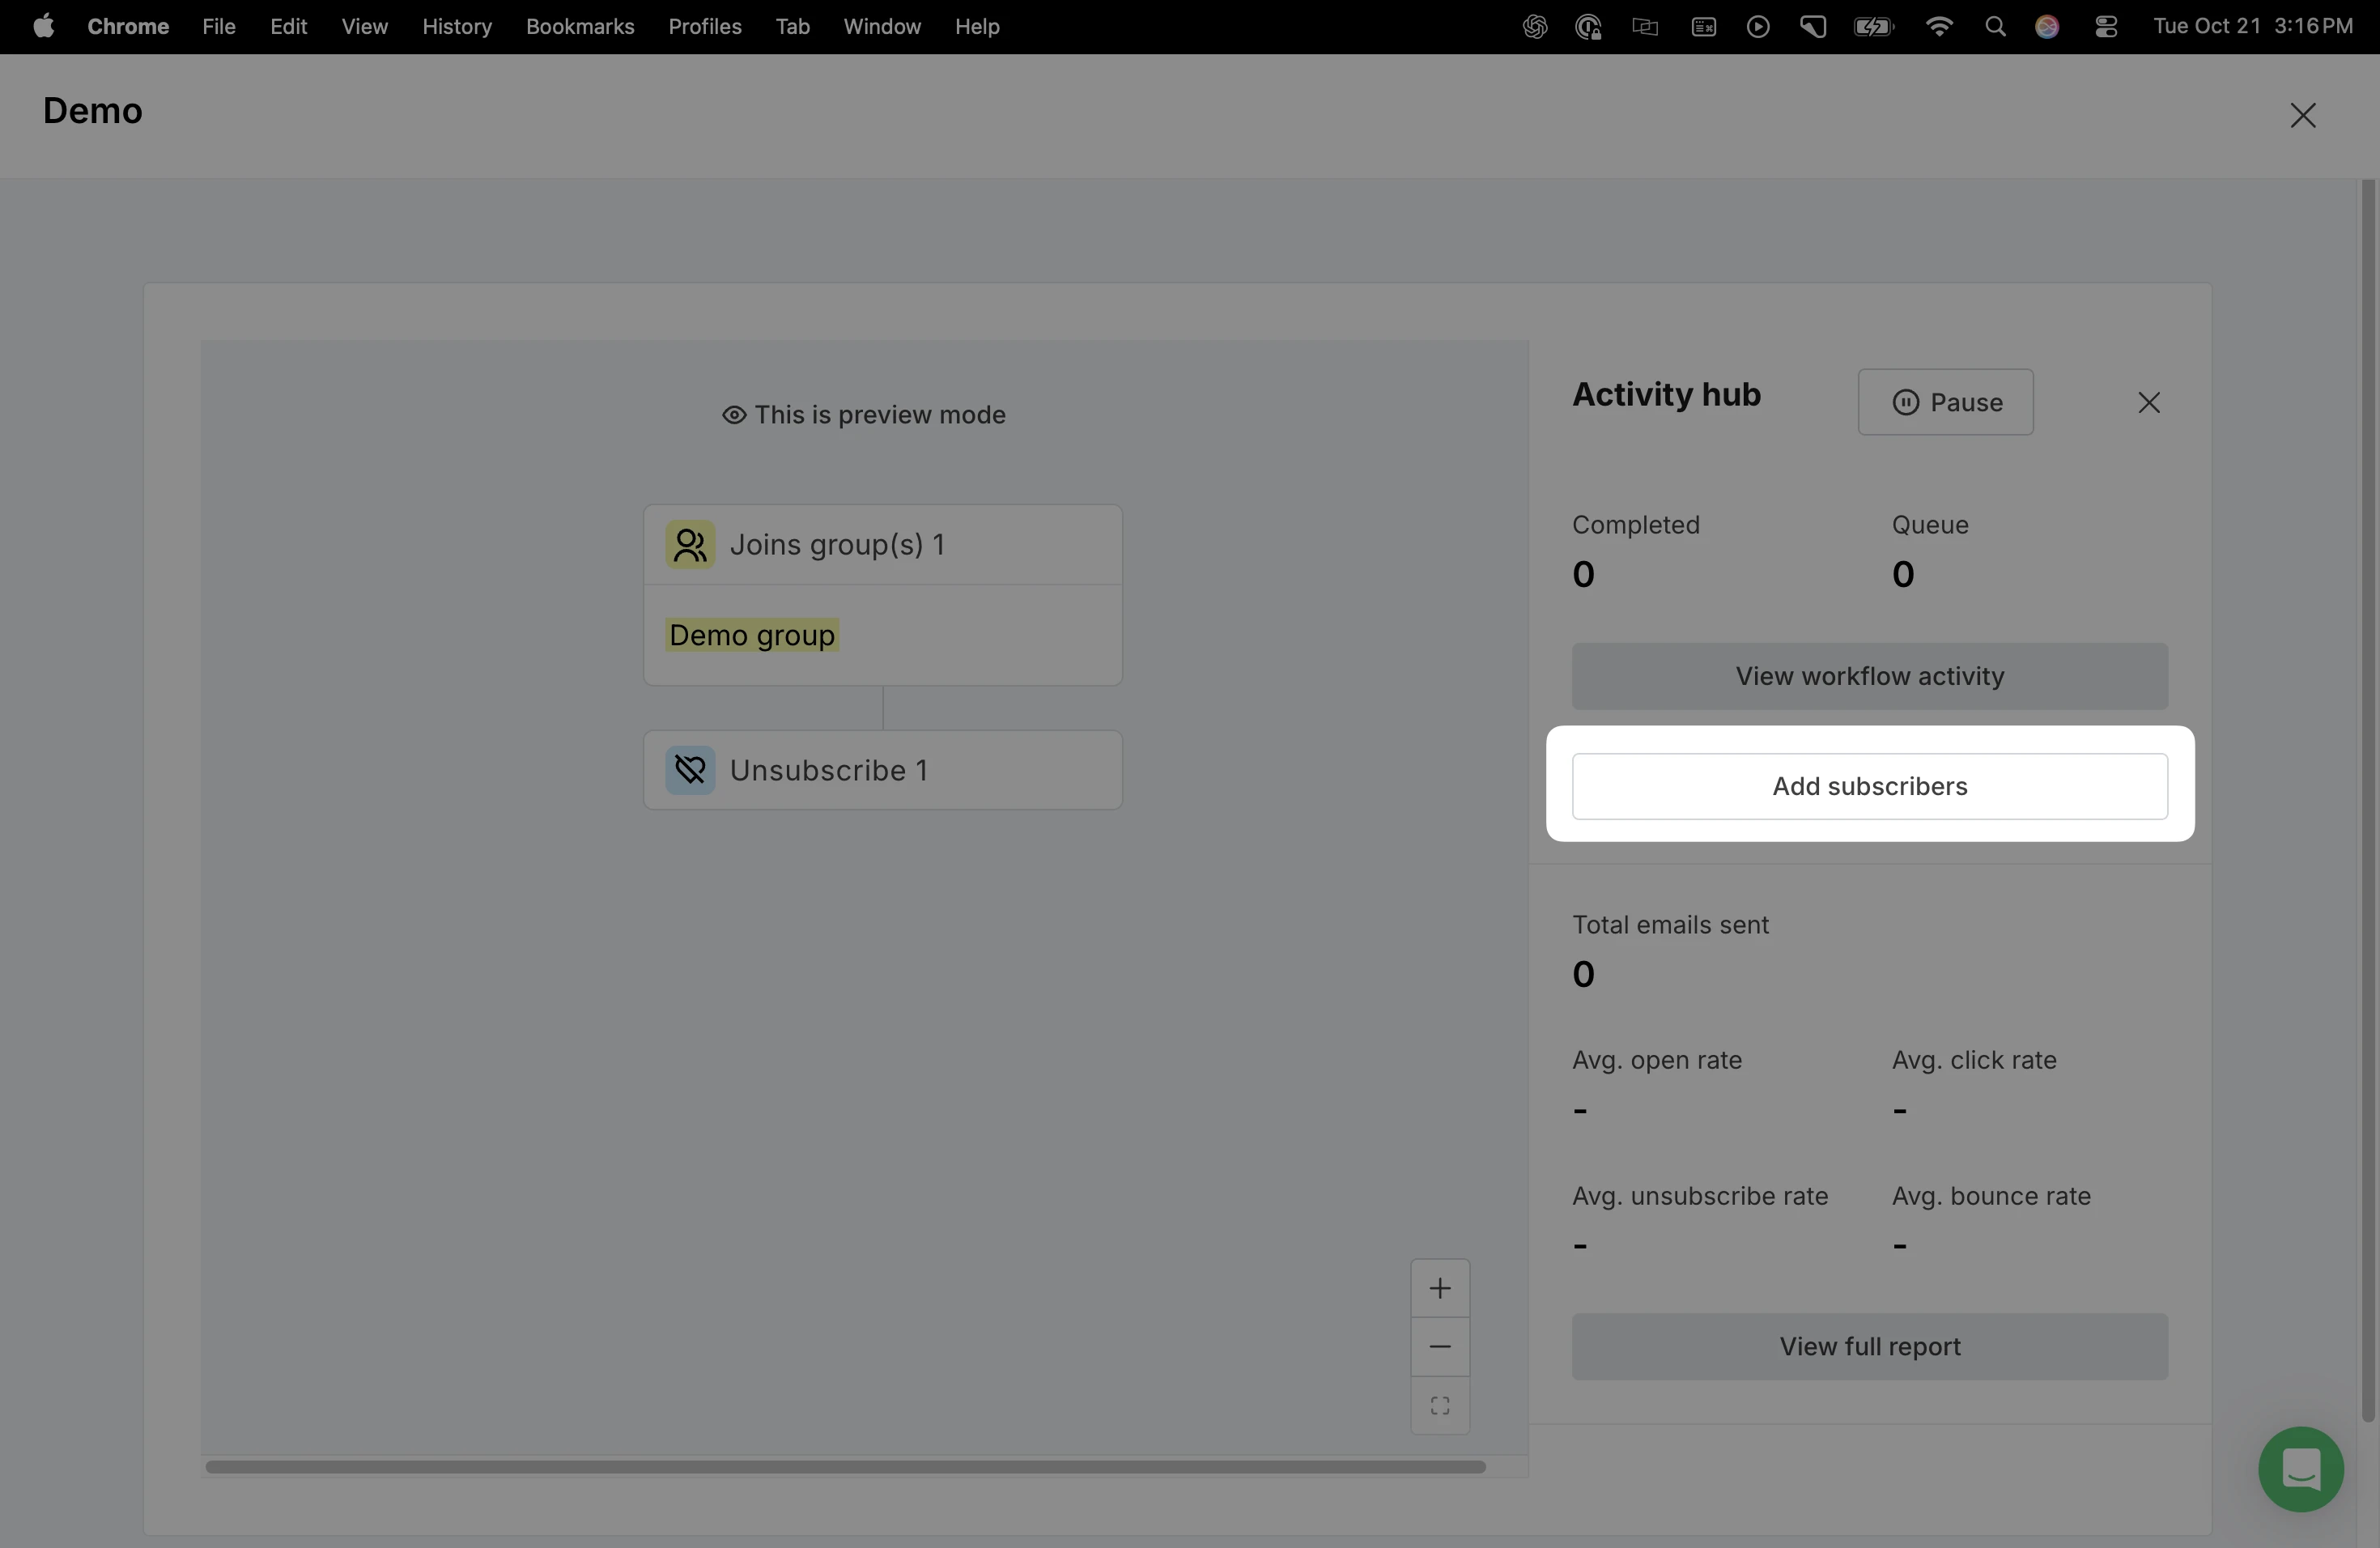
In the left-side Stats panel inside the workflow editor.
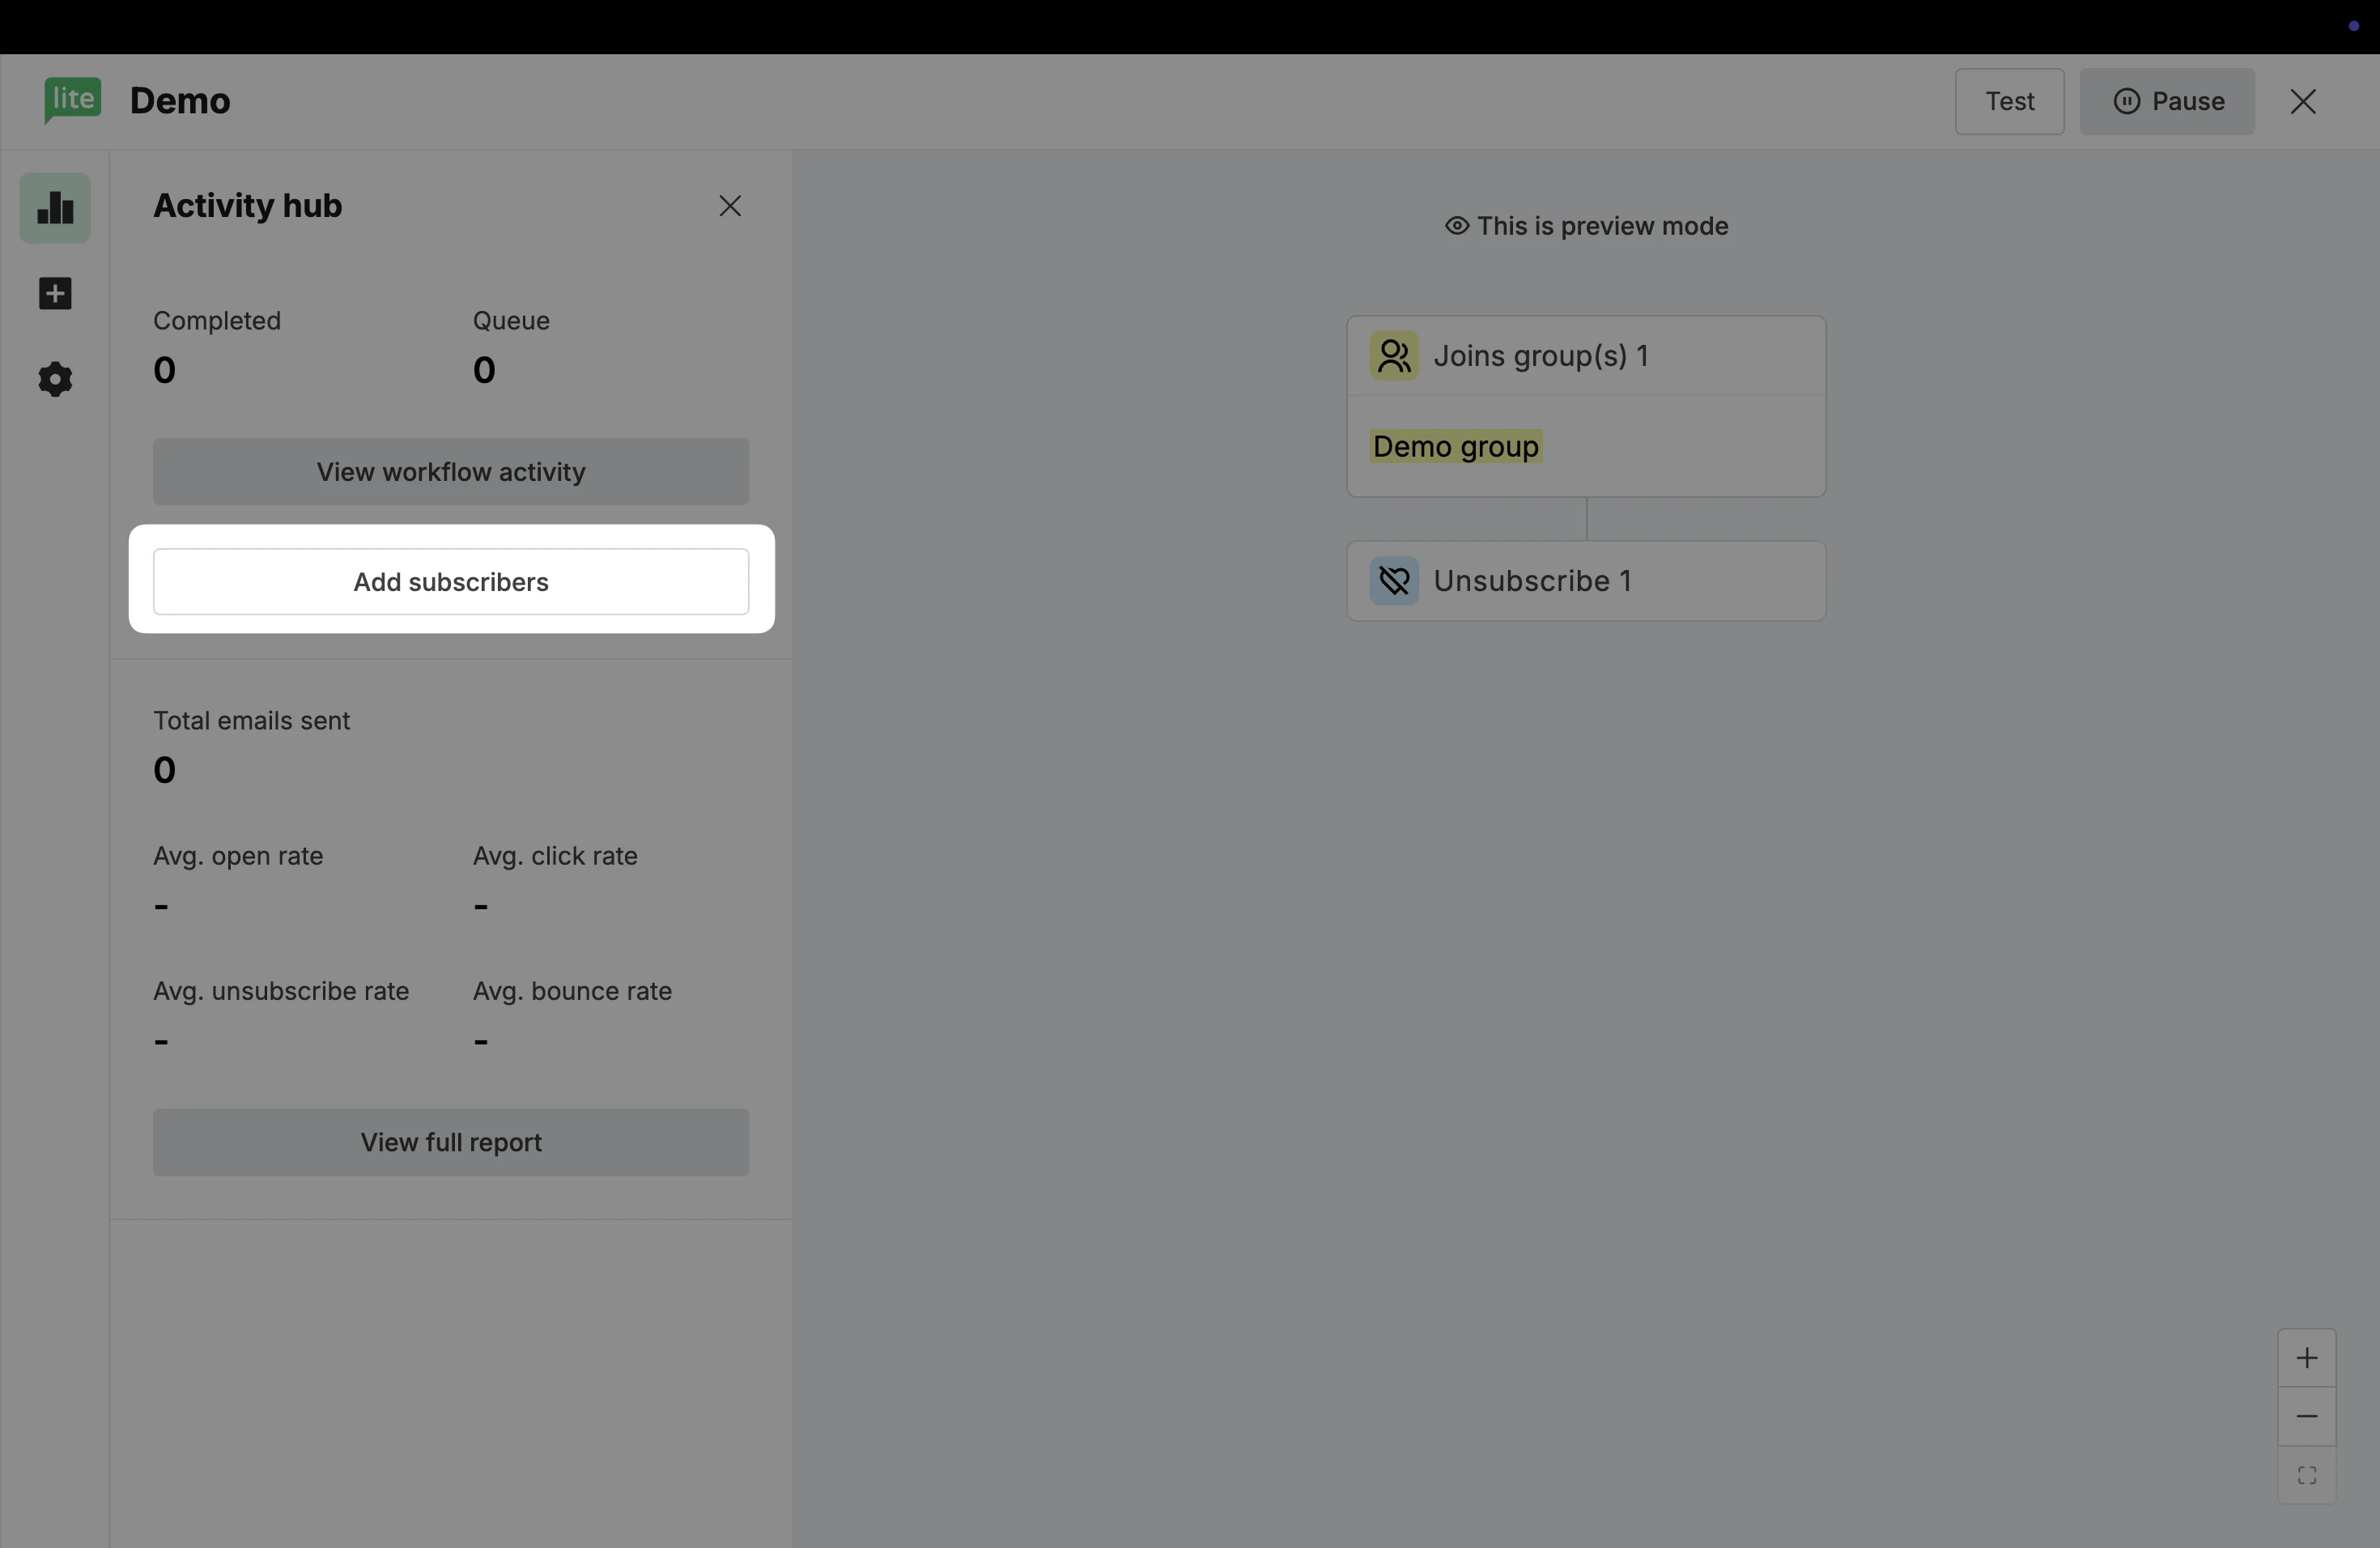
To learn more, check our guide on How to add existing subscribers to a workflow.
How can I re-add subscribers who already completed the automation?
If you want to manually re-add subscribers who already finished the workflow:
Head to the Automations page.
Click on the View report button of the workflow.
Select the Activity tab.
In the dropdown menu, choose the Completed category to view all subscribers who have finished the automation. This method will also work for those in the Canceled or Failed category.

Click the checkbox next to the email address to select the subscriber.
Click on Actions above and select Re-add to the sequence.
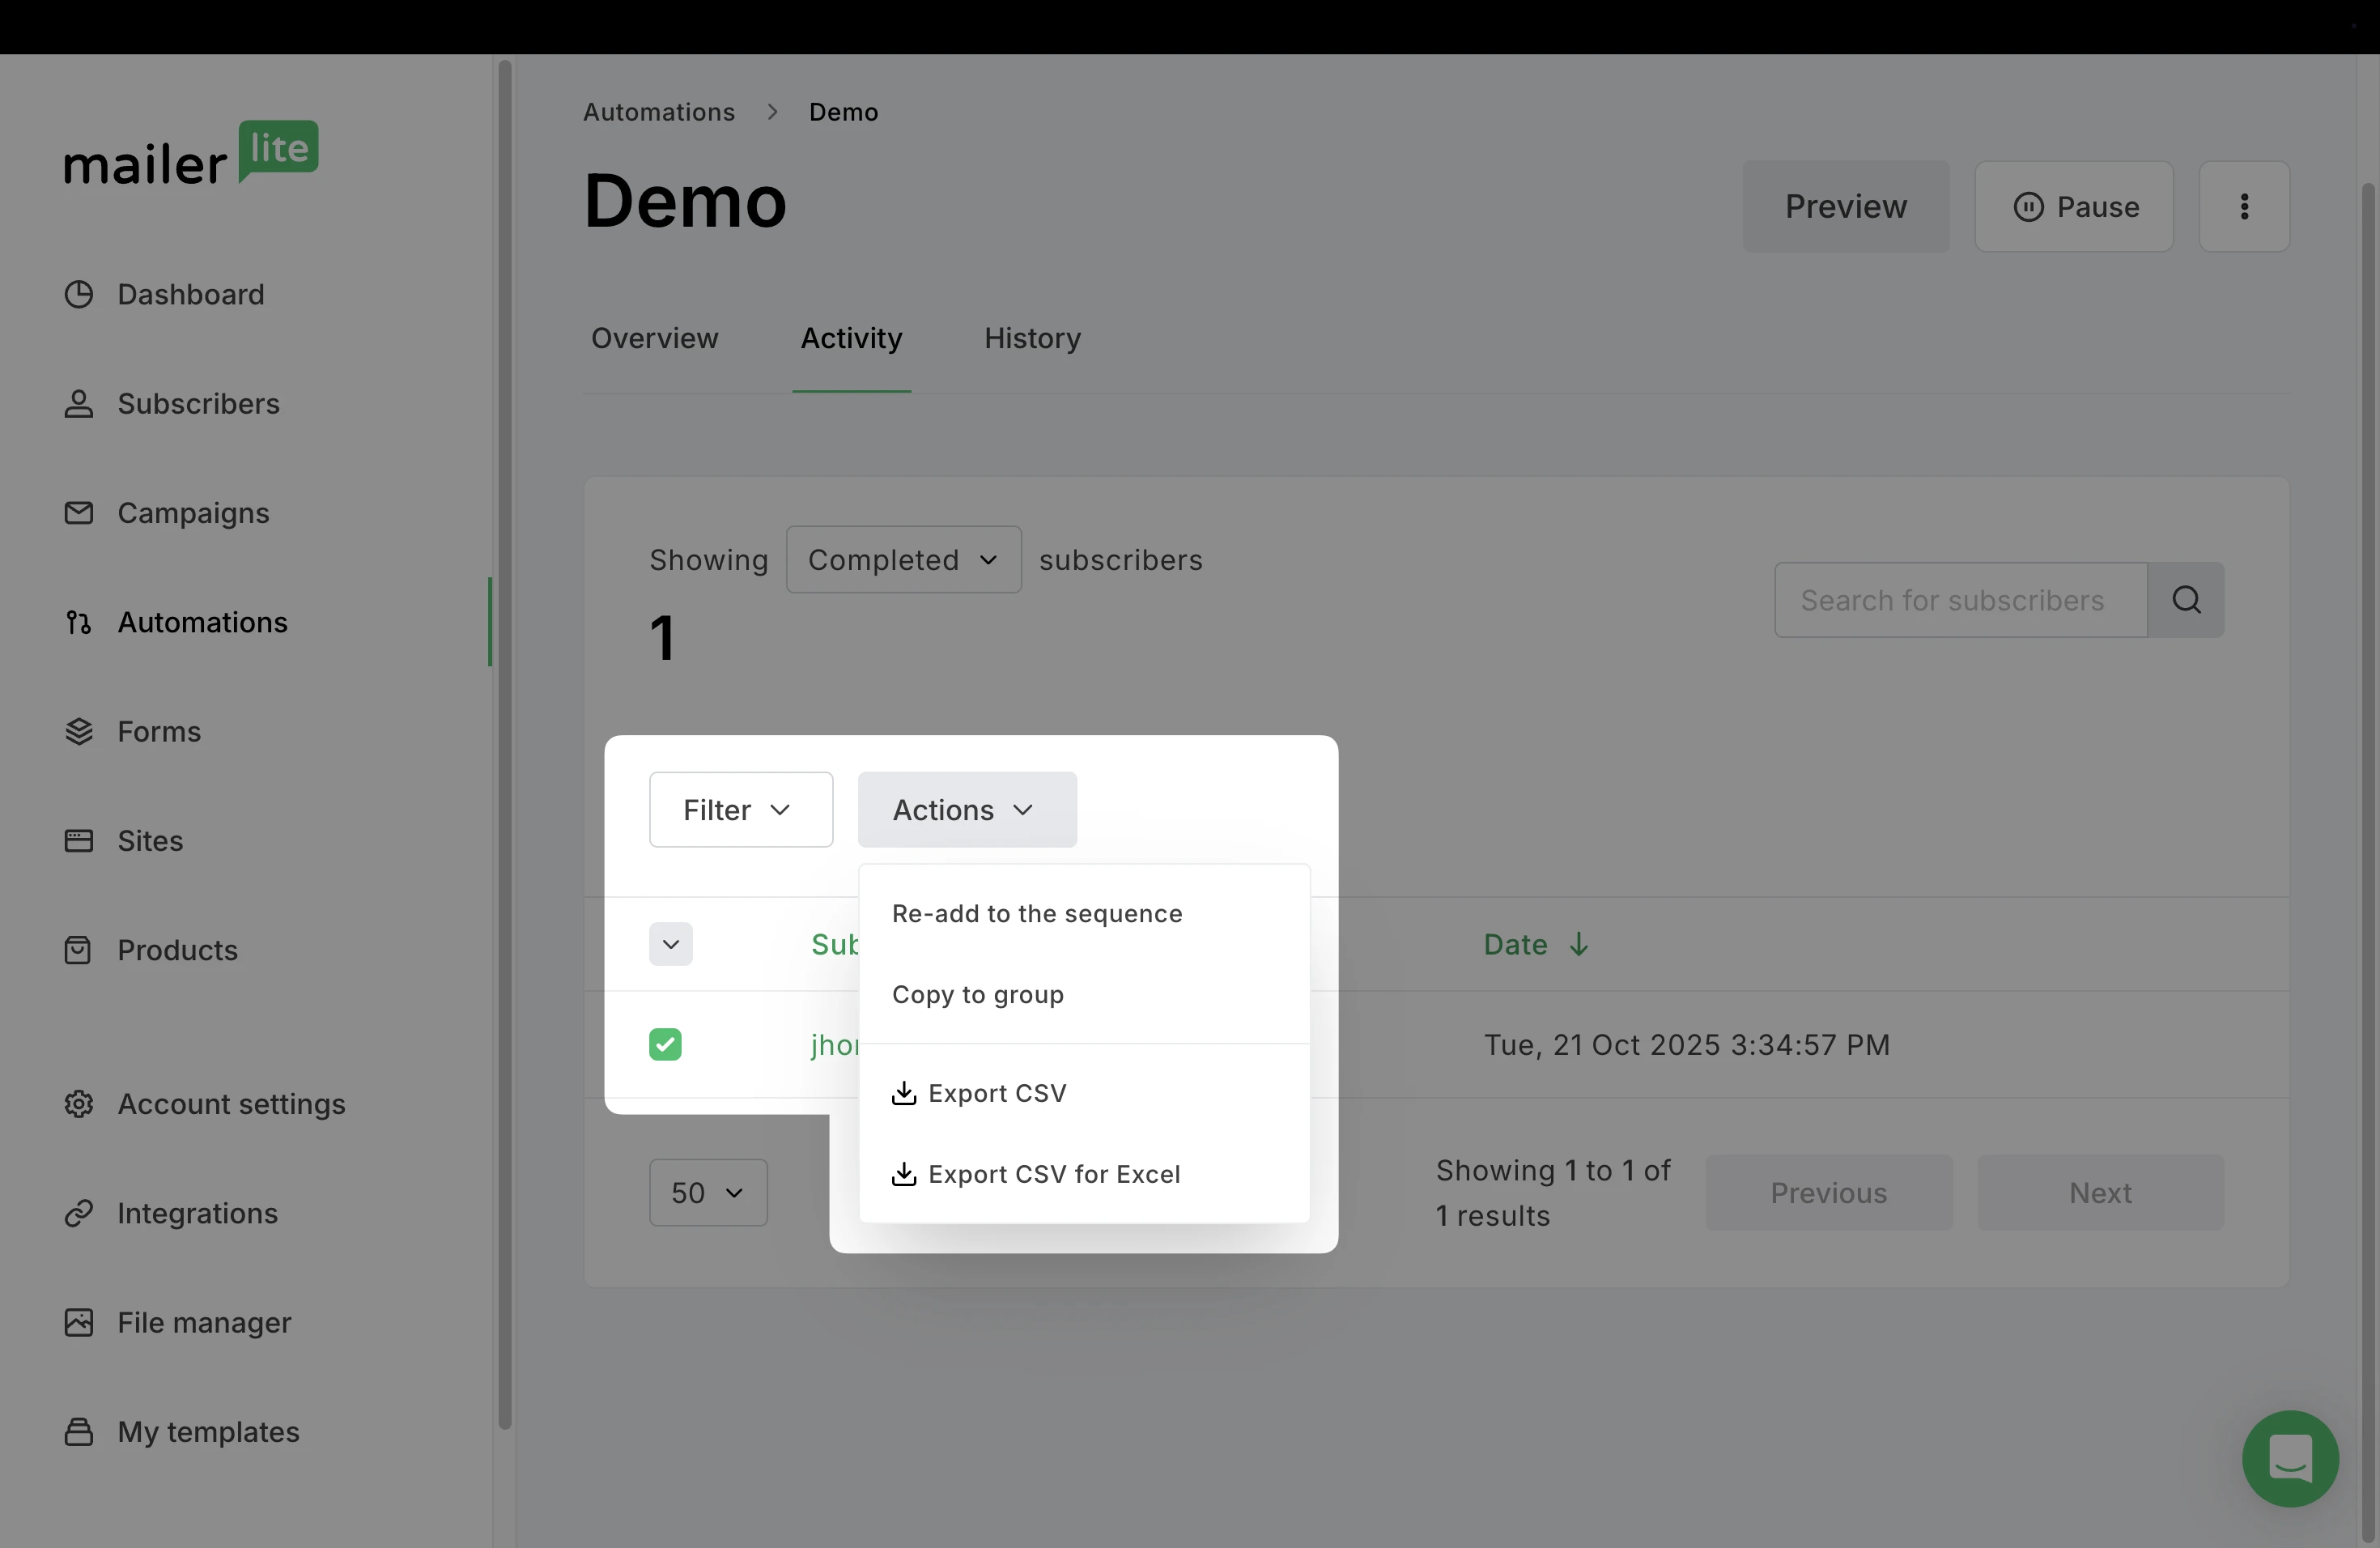
Add the subscriber to the last step they completed, or to any other step, and click Confirm.

What happens if you get new subscribers while your workflow is turned off
To make edits to a new or existing automation workflow, it must first be turned off. While it is off, new subscribers will not be added and steps will not be executed.
When you enable a workflow, you may see a pop-up to Add existing subscribers. This only refers to existing subscribers who have not yet entered the workflow and also meet the trigger condition.
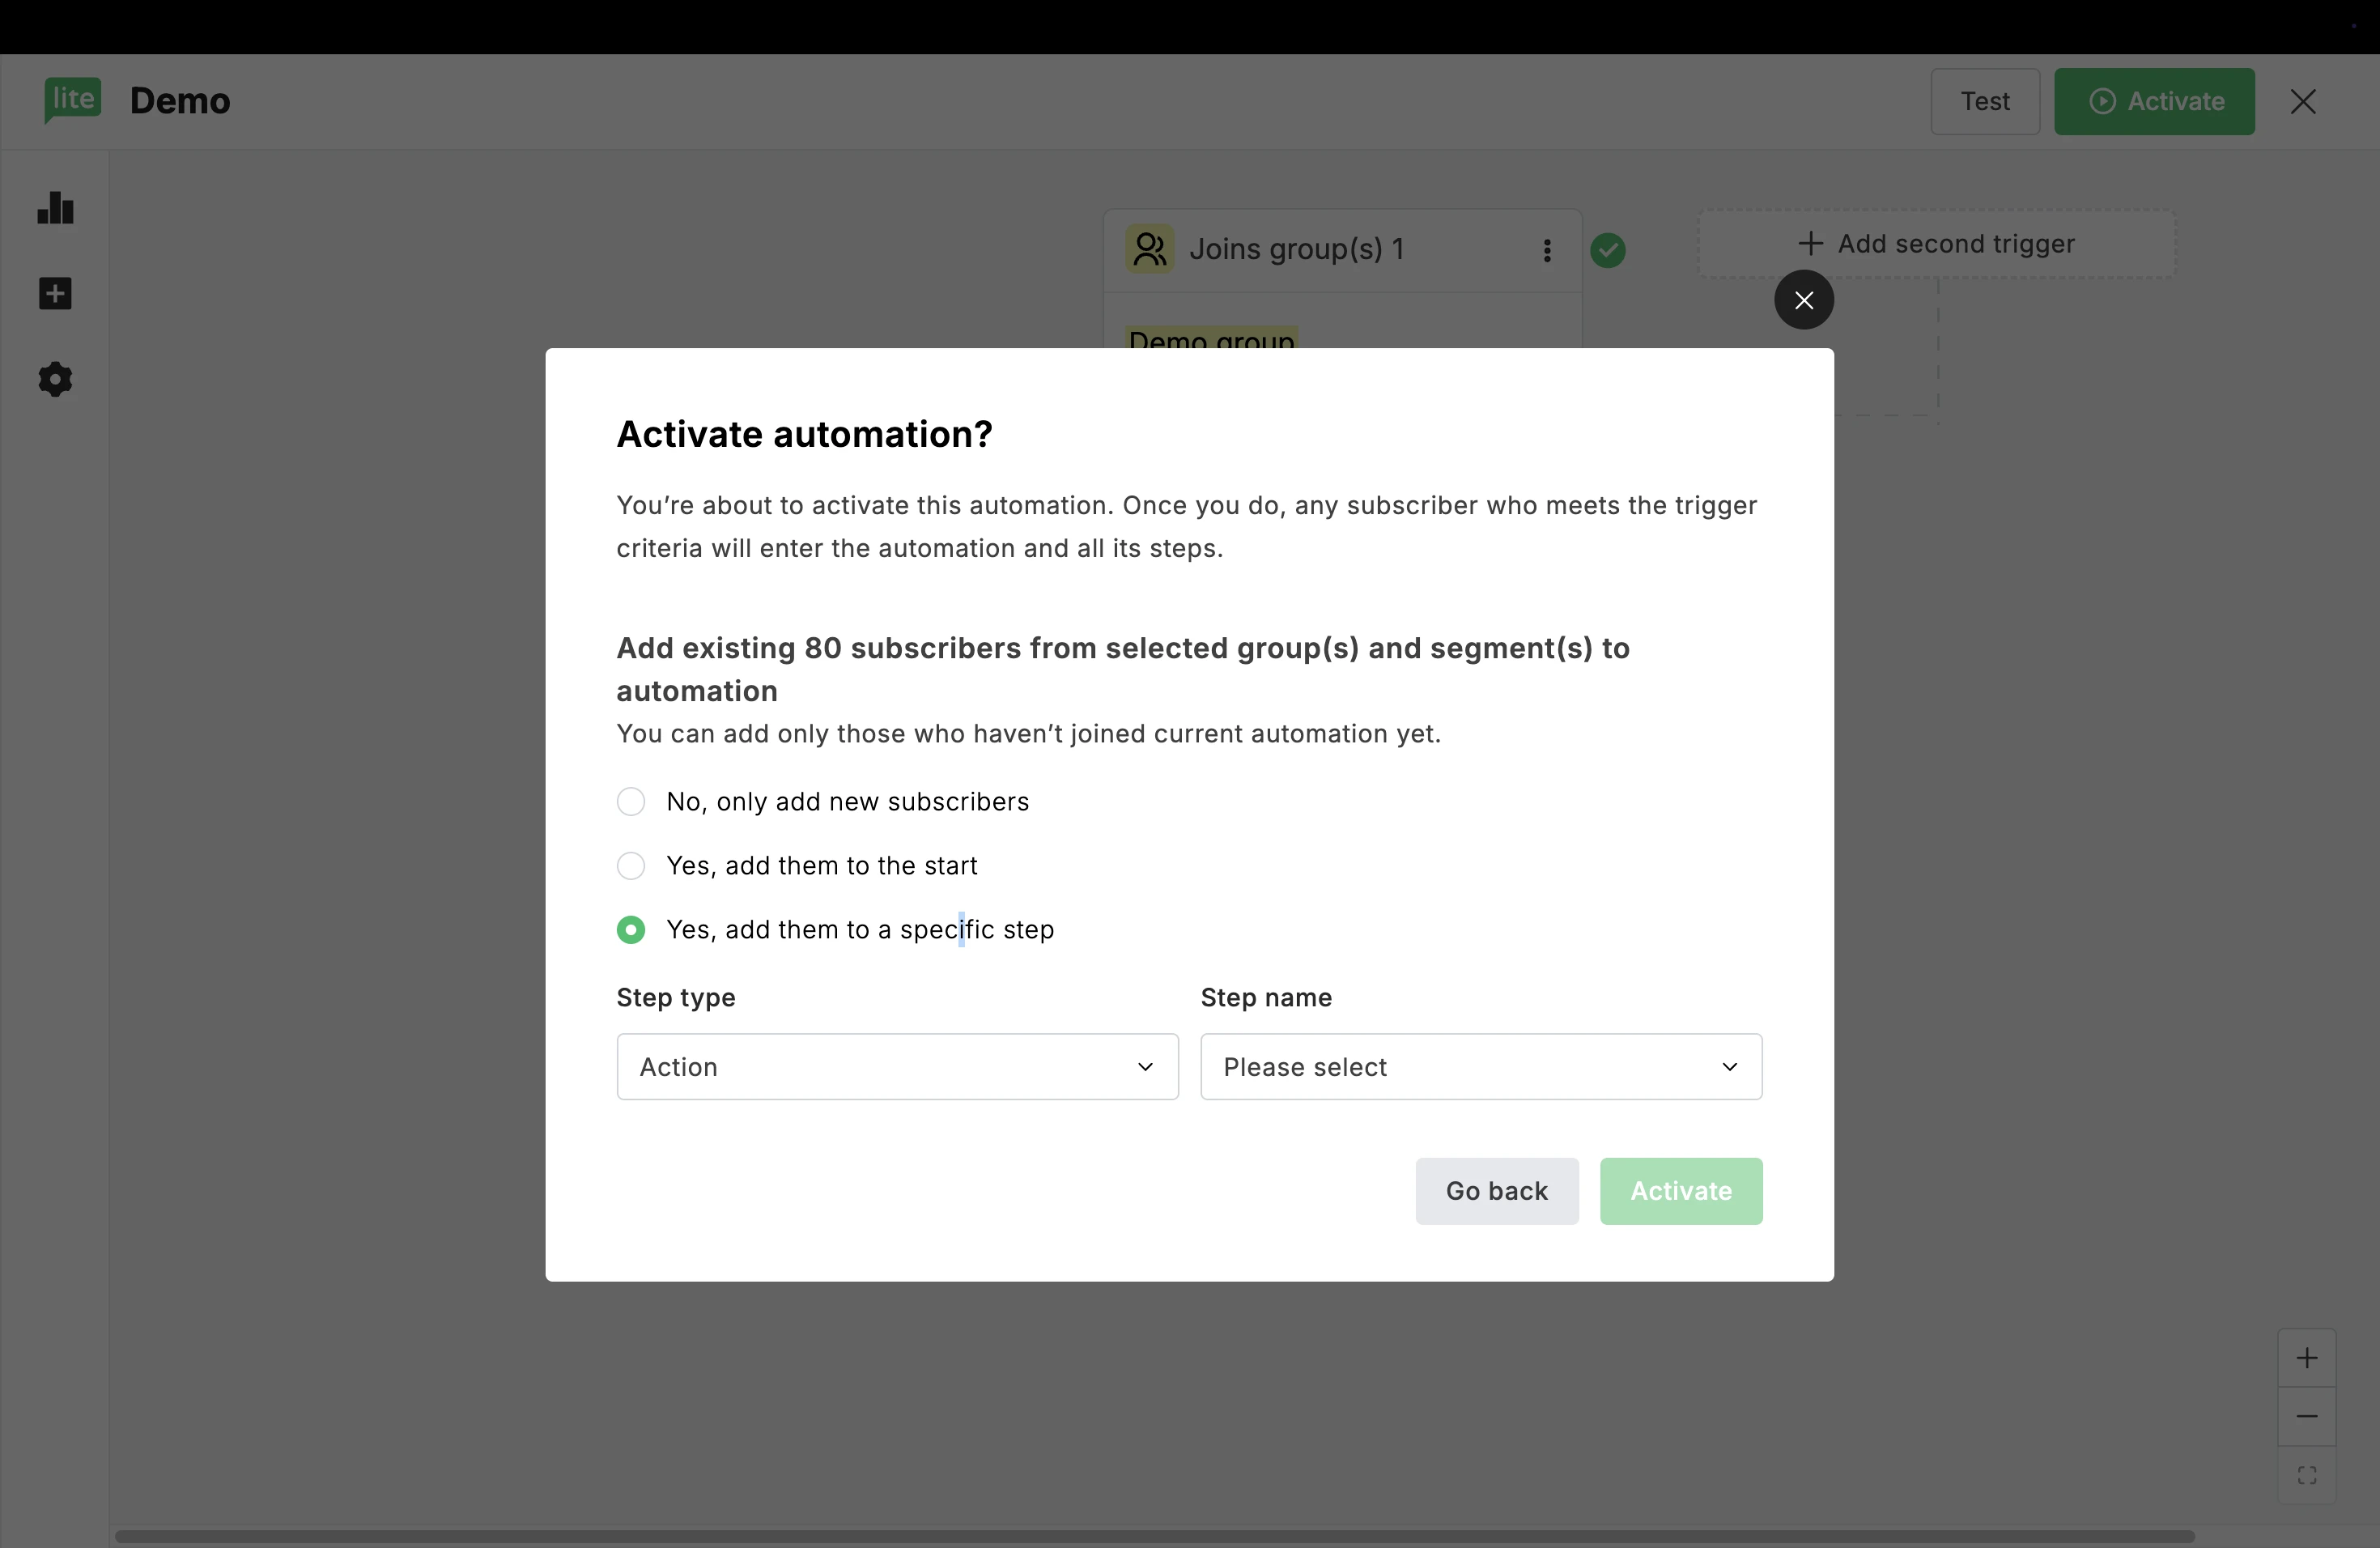
You can choose between:
No, only add new subscribers: Previous subscribers will not be added to this sequence, only new subscribers who meet the condition.
Yes, add them to the start: Adds previous subscribers who meet the condition to the beginning of the workflow
Yes, add them to a specific step: Add previous subscribers to any step in the automation. Here, you can specify which step to add them to.
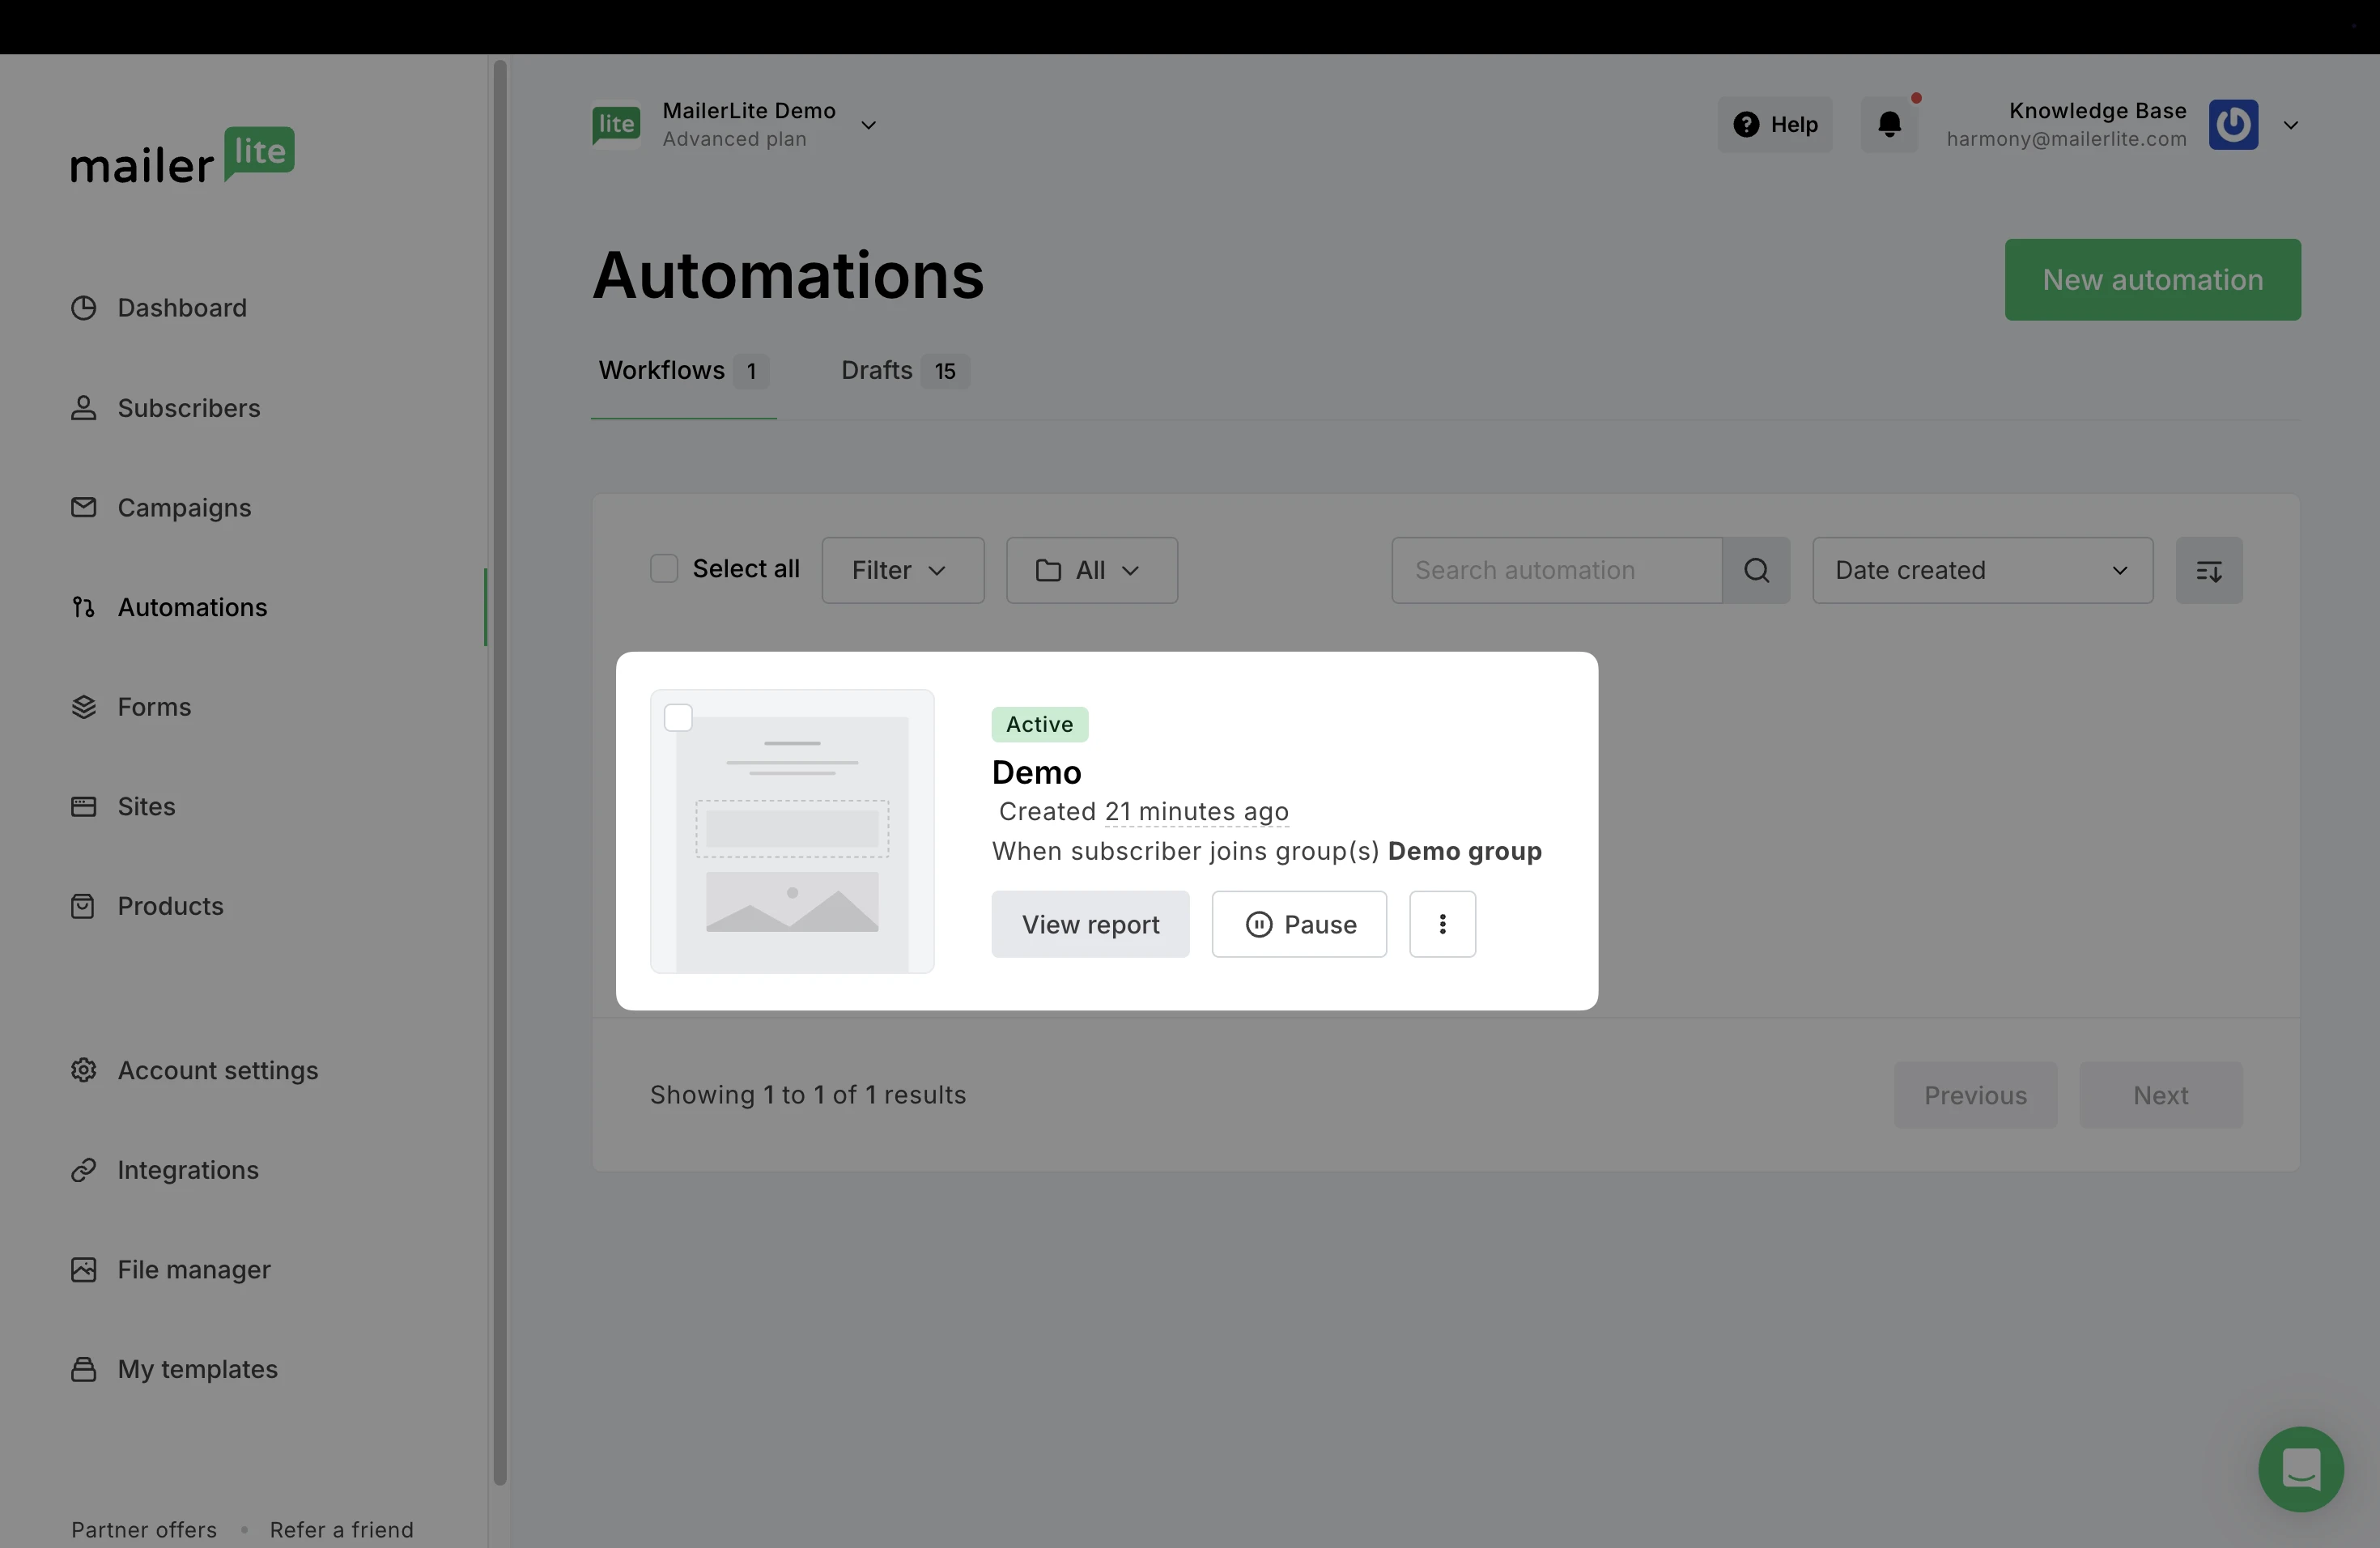
Can I preview an automation without editing?
Yes! You can easily view an active automation without making any changes. Just hover over the automation’s thumbnail and click Preview to open the workflow in a non-editable format.
You’ll see all relevant stats, workflow step details, and a clear visual overview—no more switching modes or worrying about unintended edits. We’ve also added a “Preview workflow” button directly in the Automation Overview to give you quick access whenever you need it.
What happens if you remove a subscriber from a group the trigger group
In order to be active in an automated workflow with the trigger Joins a group, the subscriber must be a member of the trigger group. If a subscriber is removed from the trigger group, they will be automatically removed from the workflow’s queue.
To add them back to the queue, they first need to be re-added to the trigger group.
To re-add a subscriber to the trigger group:
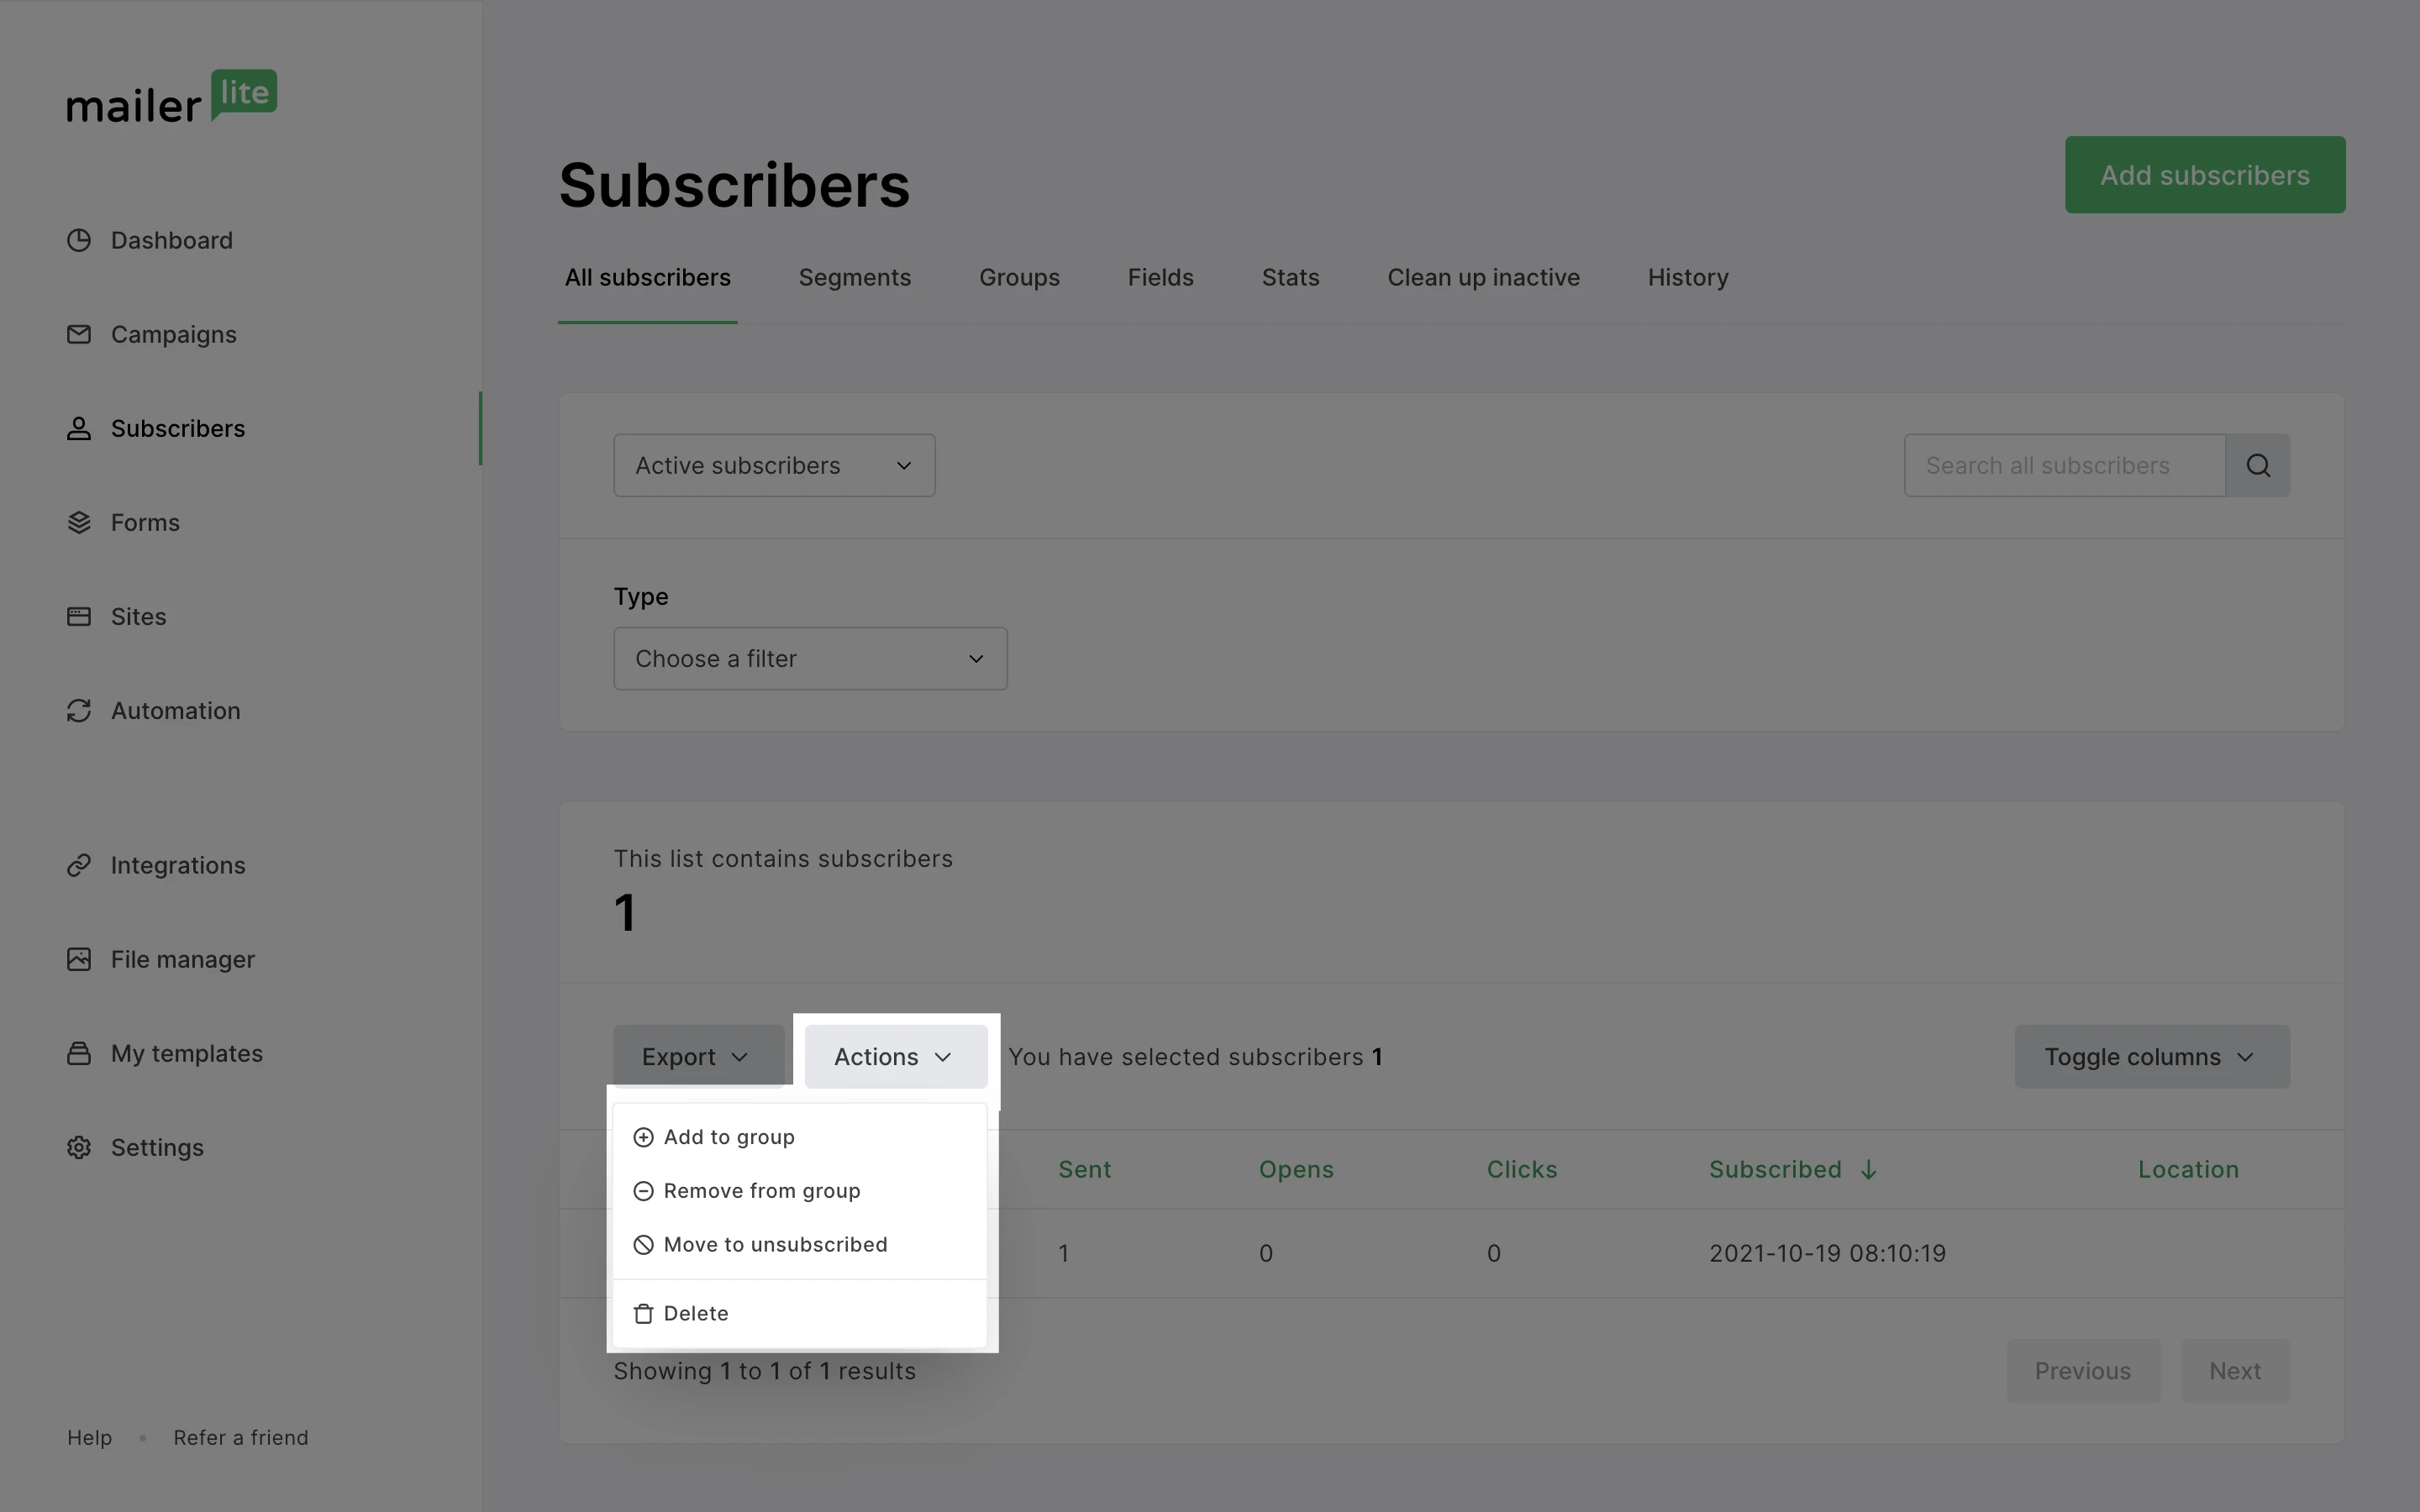
Head to the subscribers page and search for the subscriber’s email address.
Select the subscriber you wish to re-add to a group and click Actions.
Click Add to group and select the group you wish to re-add the subscriber to.
What happens when you receive confirmation and automation emails at the same time
Sometimes, subscribers who complete a signup form may simultaneously receive both the confirmation email and the first email of an automation workflow.
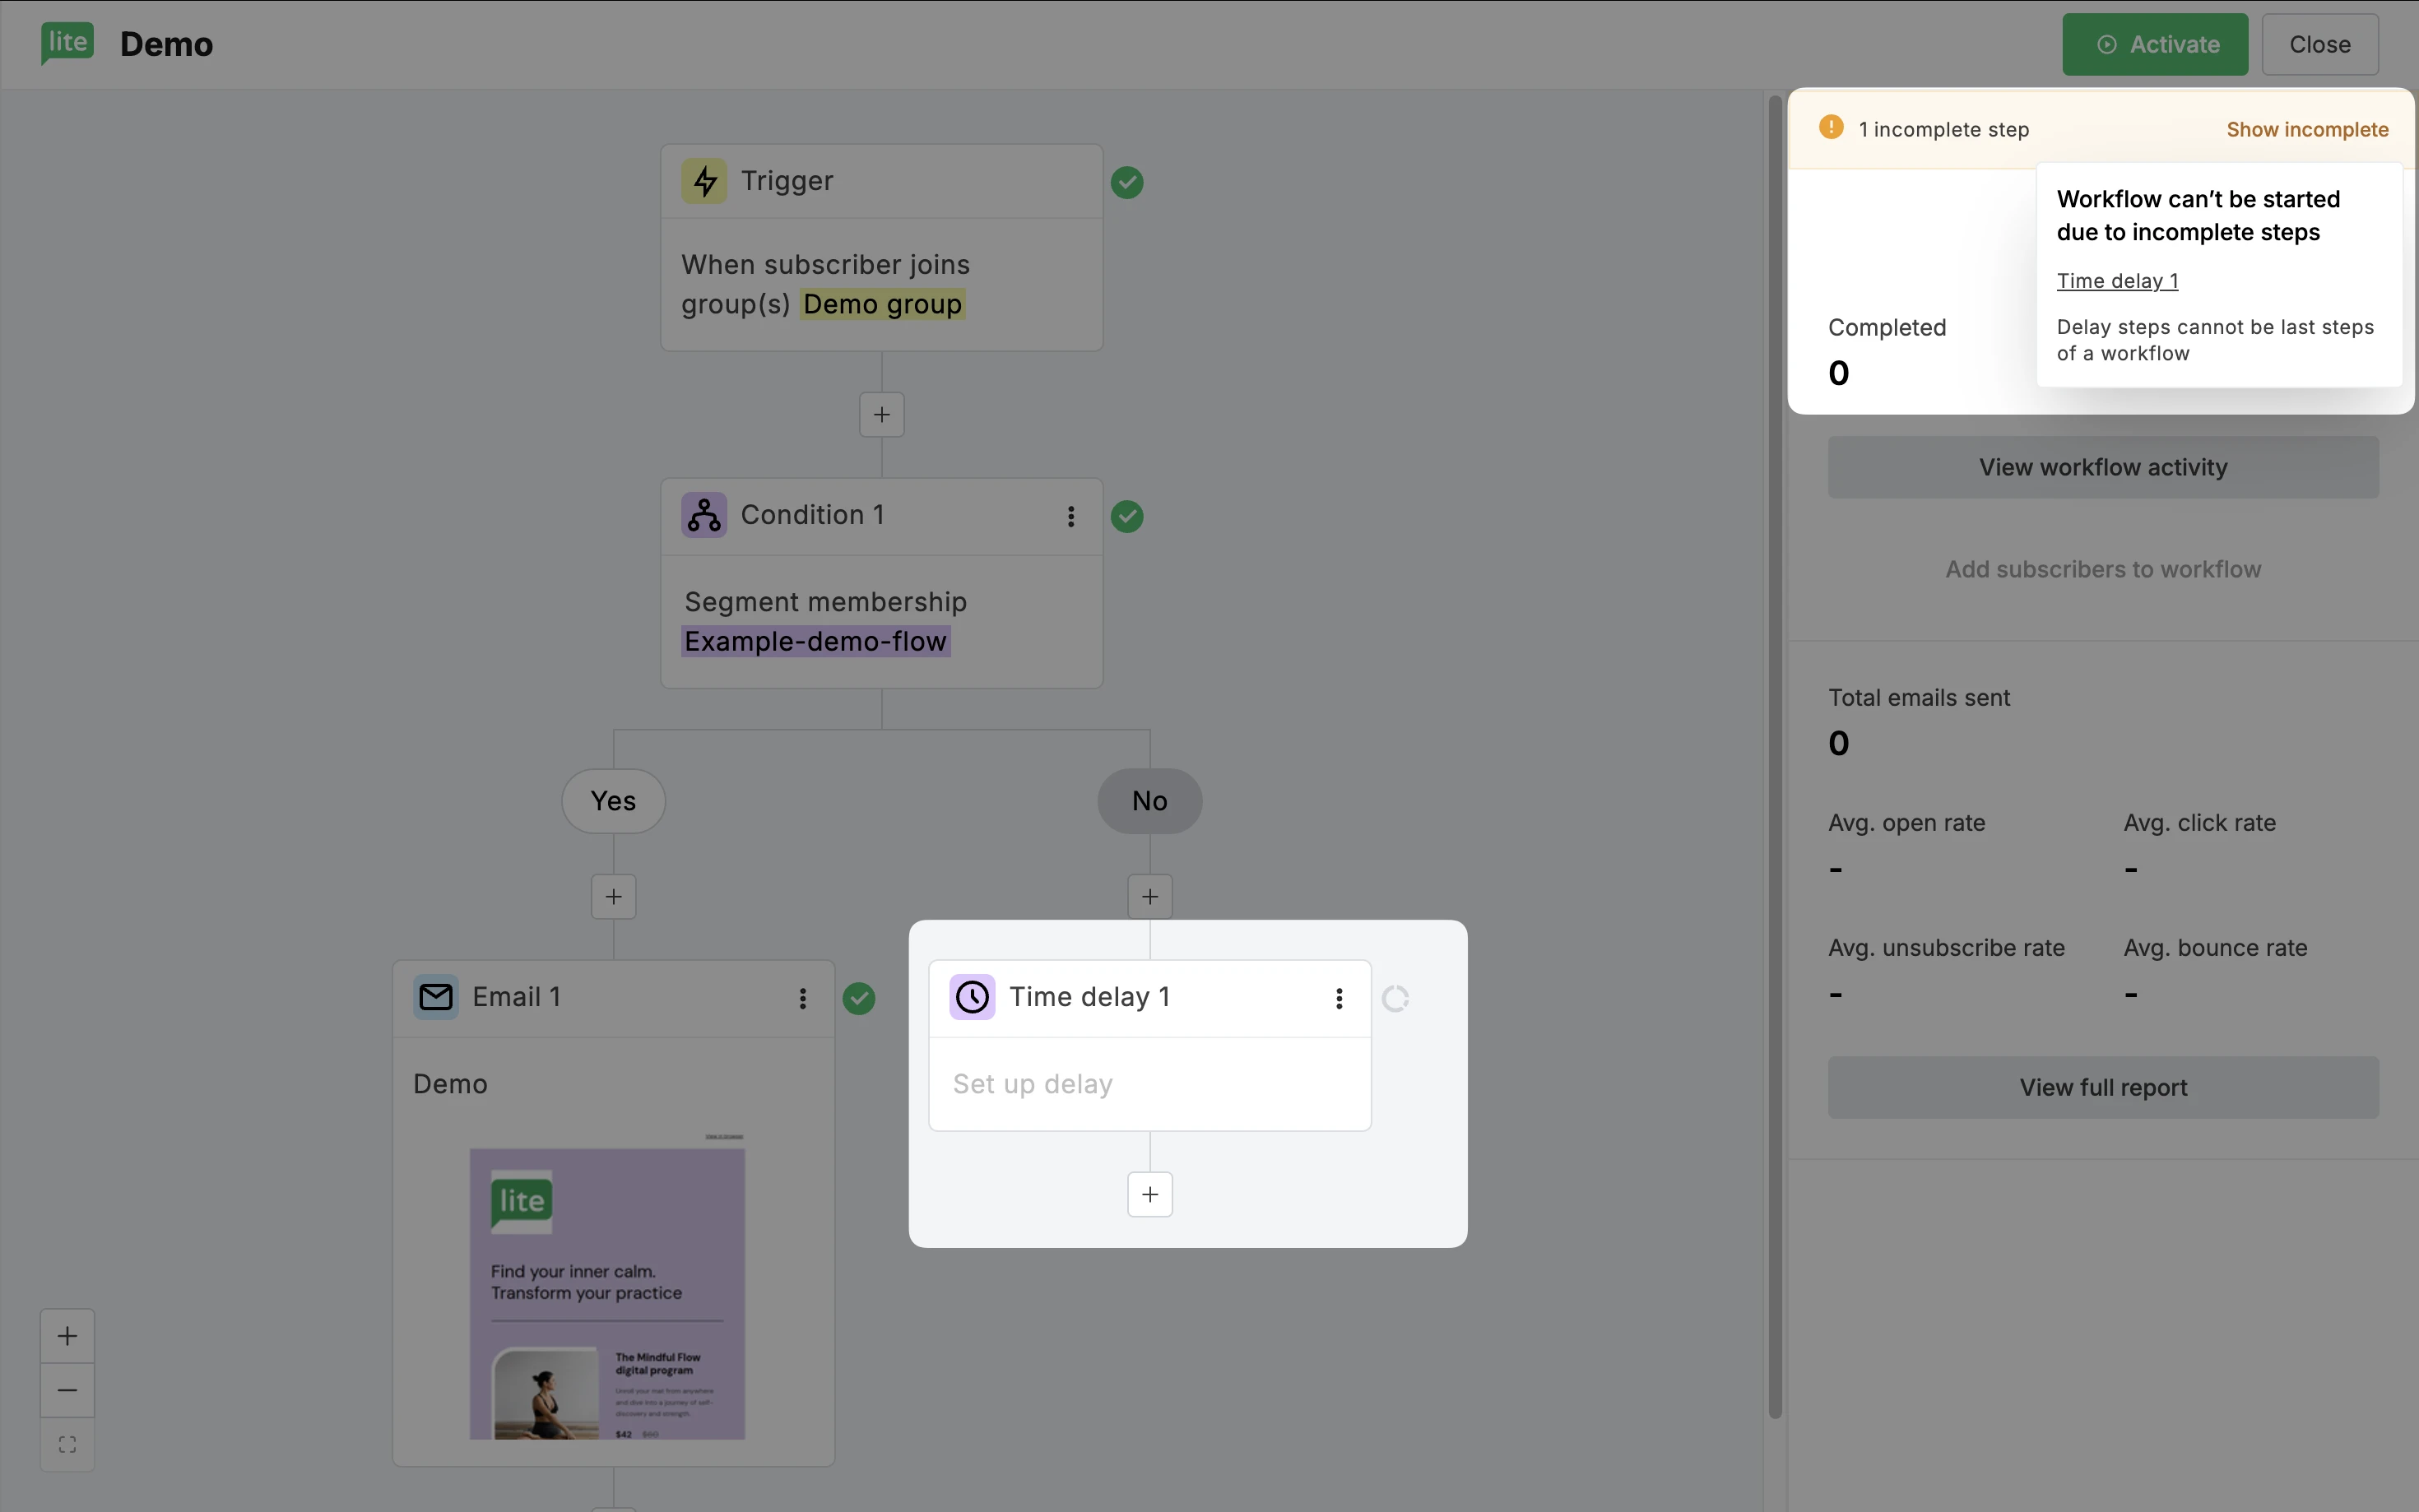
What happens if I have incomplete steps?
If you have any steps in the workflow that aren’t finished, you’ll see them listed at the top when you attempt to save the automation.
All incomplete steps will also display a grey circle next to them, while completed steps will show a green check mark.
Clicking on an incomplete step will open it in the sidebar, making it easy to review and complete right away.
When confirmation emails are sent
Confirmation emails are sent when someone signs up on a form that has double opt-in enabled, only once at the first sign-up.
Before a person confirms their subscription to your list, they are considered unconfirmed subscribers. Apart from confirmation emails, no other emails are sent to unconfirmed subscribers. Once they confirm their subscription, they will be active subscribers and will be able to receive any email.
To learn how to set up a confirmation email for forms built within MailerLite, click here. To set up confirmation emails for all API sign-ups, click here. Make sure you authenticate your domain to maximize your deliverability.
Getting a confirmation email and an automation email at the same time
After completing a form with double opt-in, a subscriber may receive both the confirmation email and the automation email at the same time. This means that the subscriber has already confirmed their subscription before they filled out the form. In other words, they are already active on your list.
Everyone, including existing subscribers, will receive a confirmation email upon sign up.
New subscribers will never receive both the confirmation email and the automation email at the same time. They will first need to confirm their subscription before they can receive any emails.
Can you add an A/B split test to an existing automation?
Yes. You can add A/B split testing steps throughout existing workflows. All you have to do is pause the workflow, click the + icon where you want to add a split test, and select the A/B split testing step.
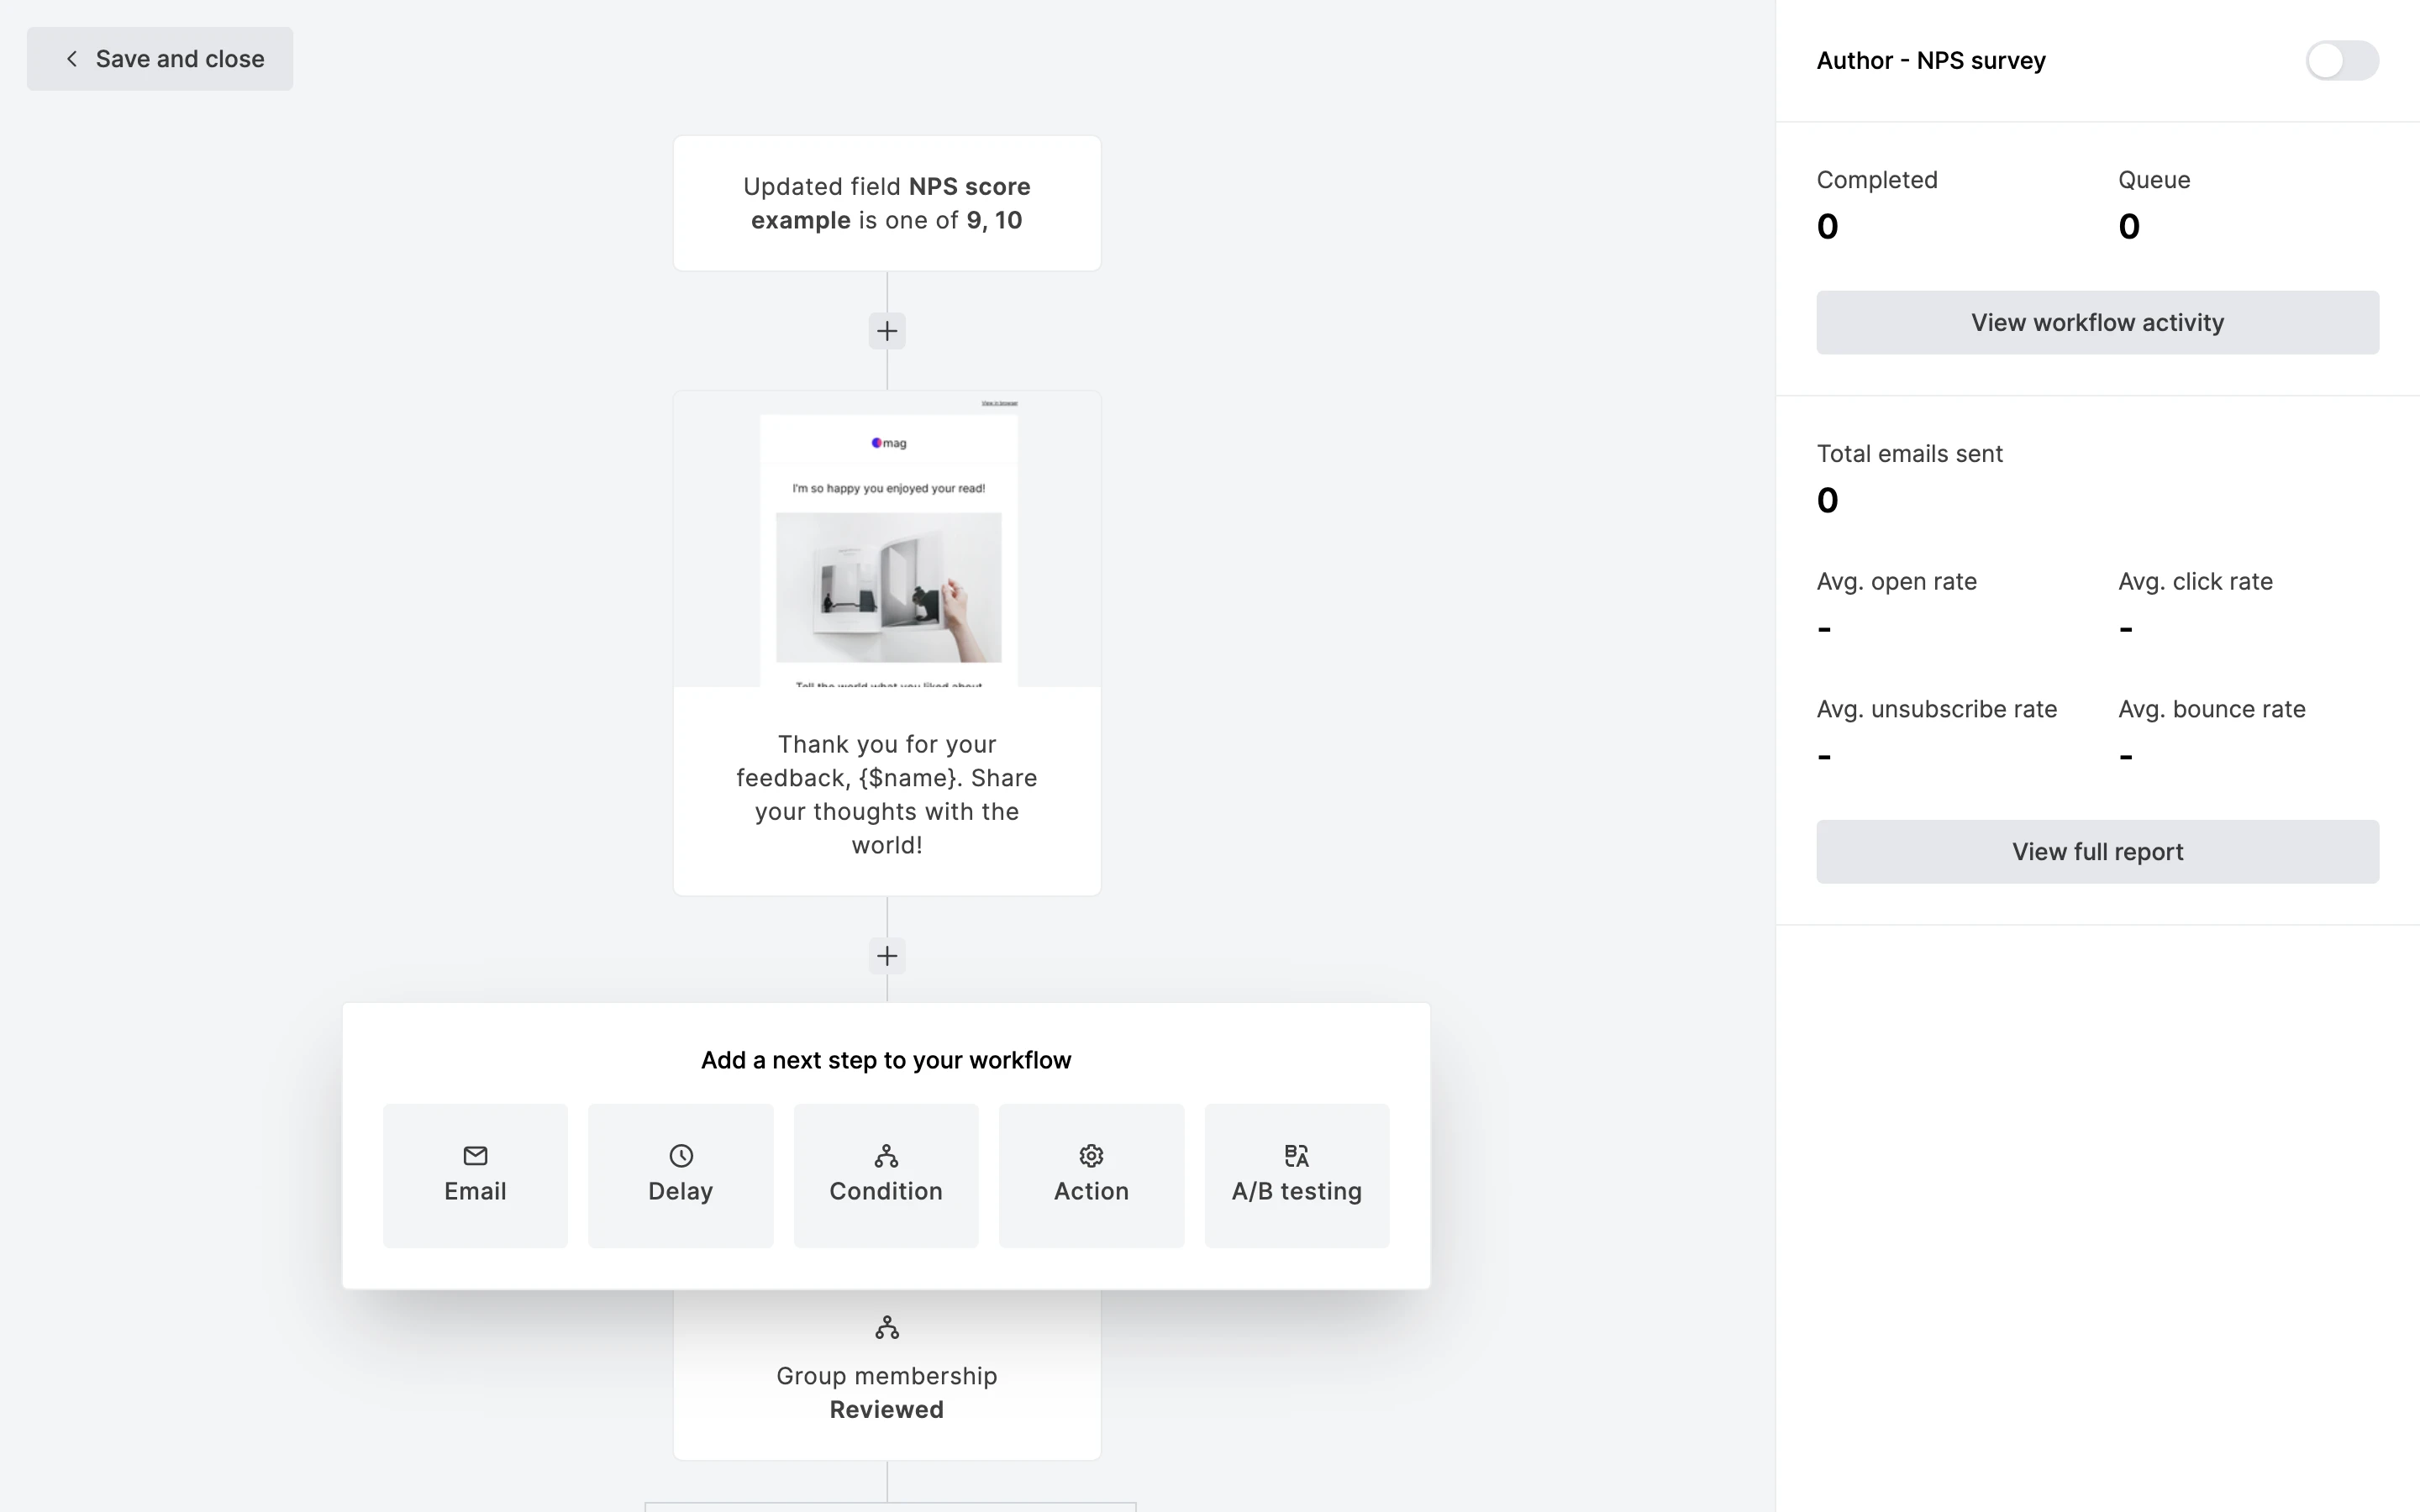
Keep in mind that subscribers who have already completed the workflow won't be included in the split test data. Only new subscribers entering the workflow will participate in the A/B split test.