Note: If you're a Legacy (Classic) user, please log in to your account to access the dedicated Legacy (Classic) Help Center.
When you create an automation workflow, and you want to monitor things like where your subscribers are in the sequence and when they will reach the next step, you can do so by monitoring your automation activity.
Where to find automation activity
To find and monitor the activity of a workflow:
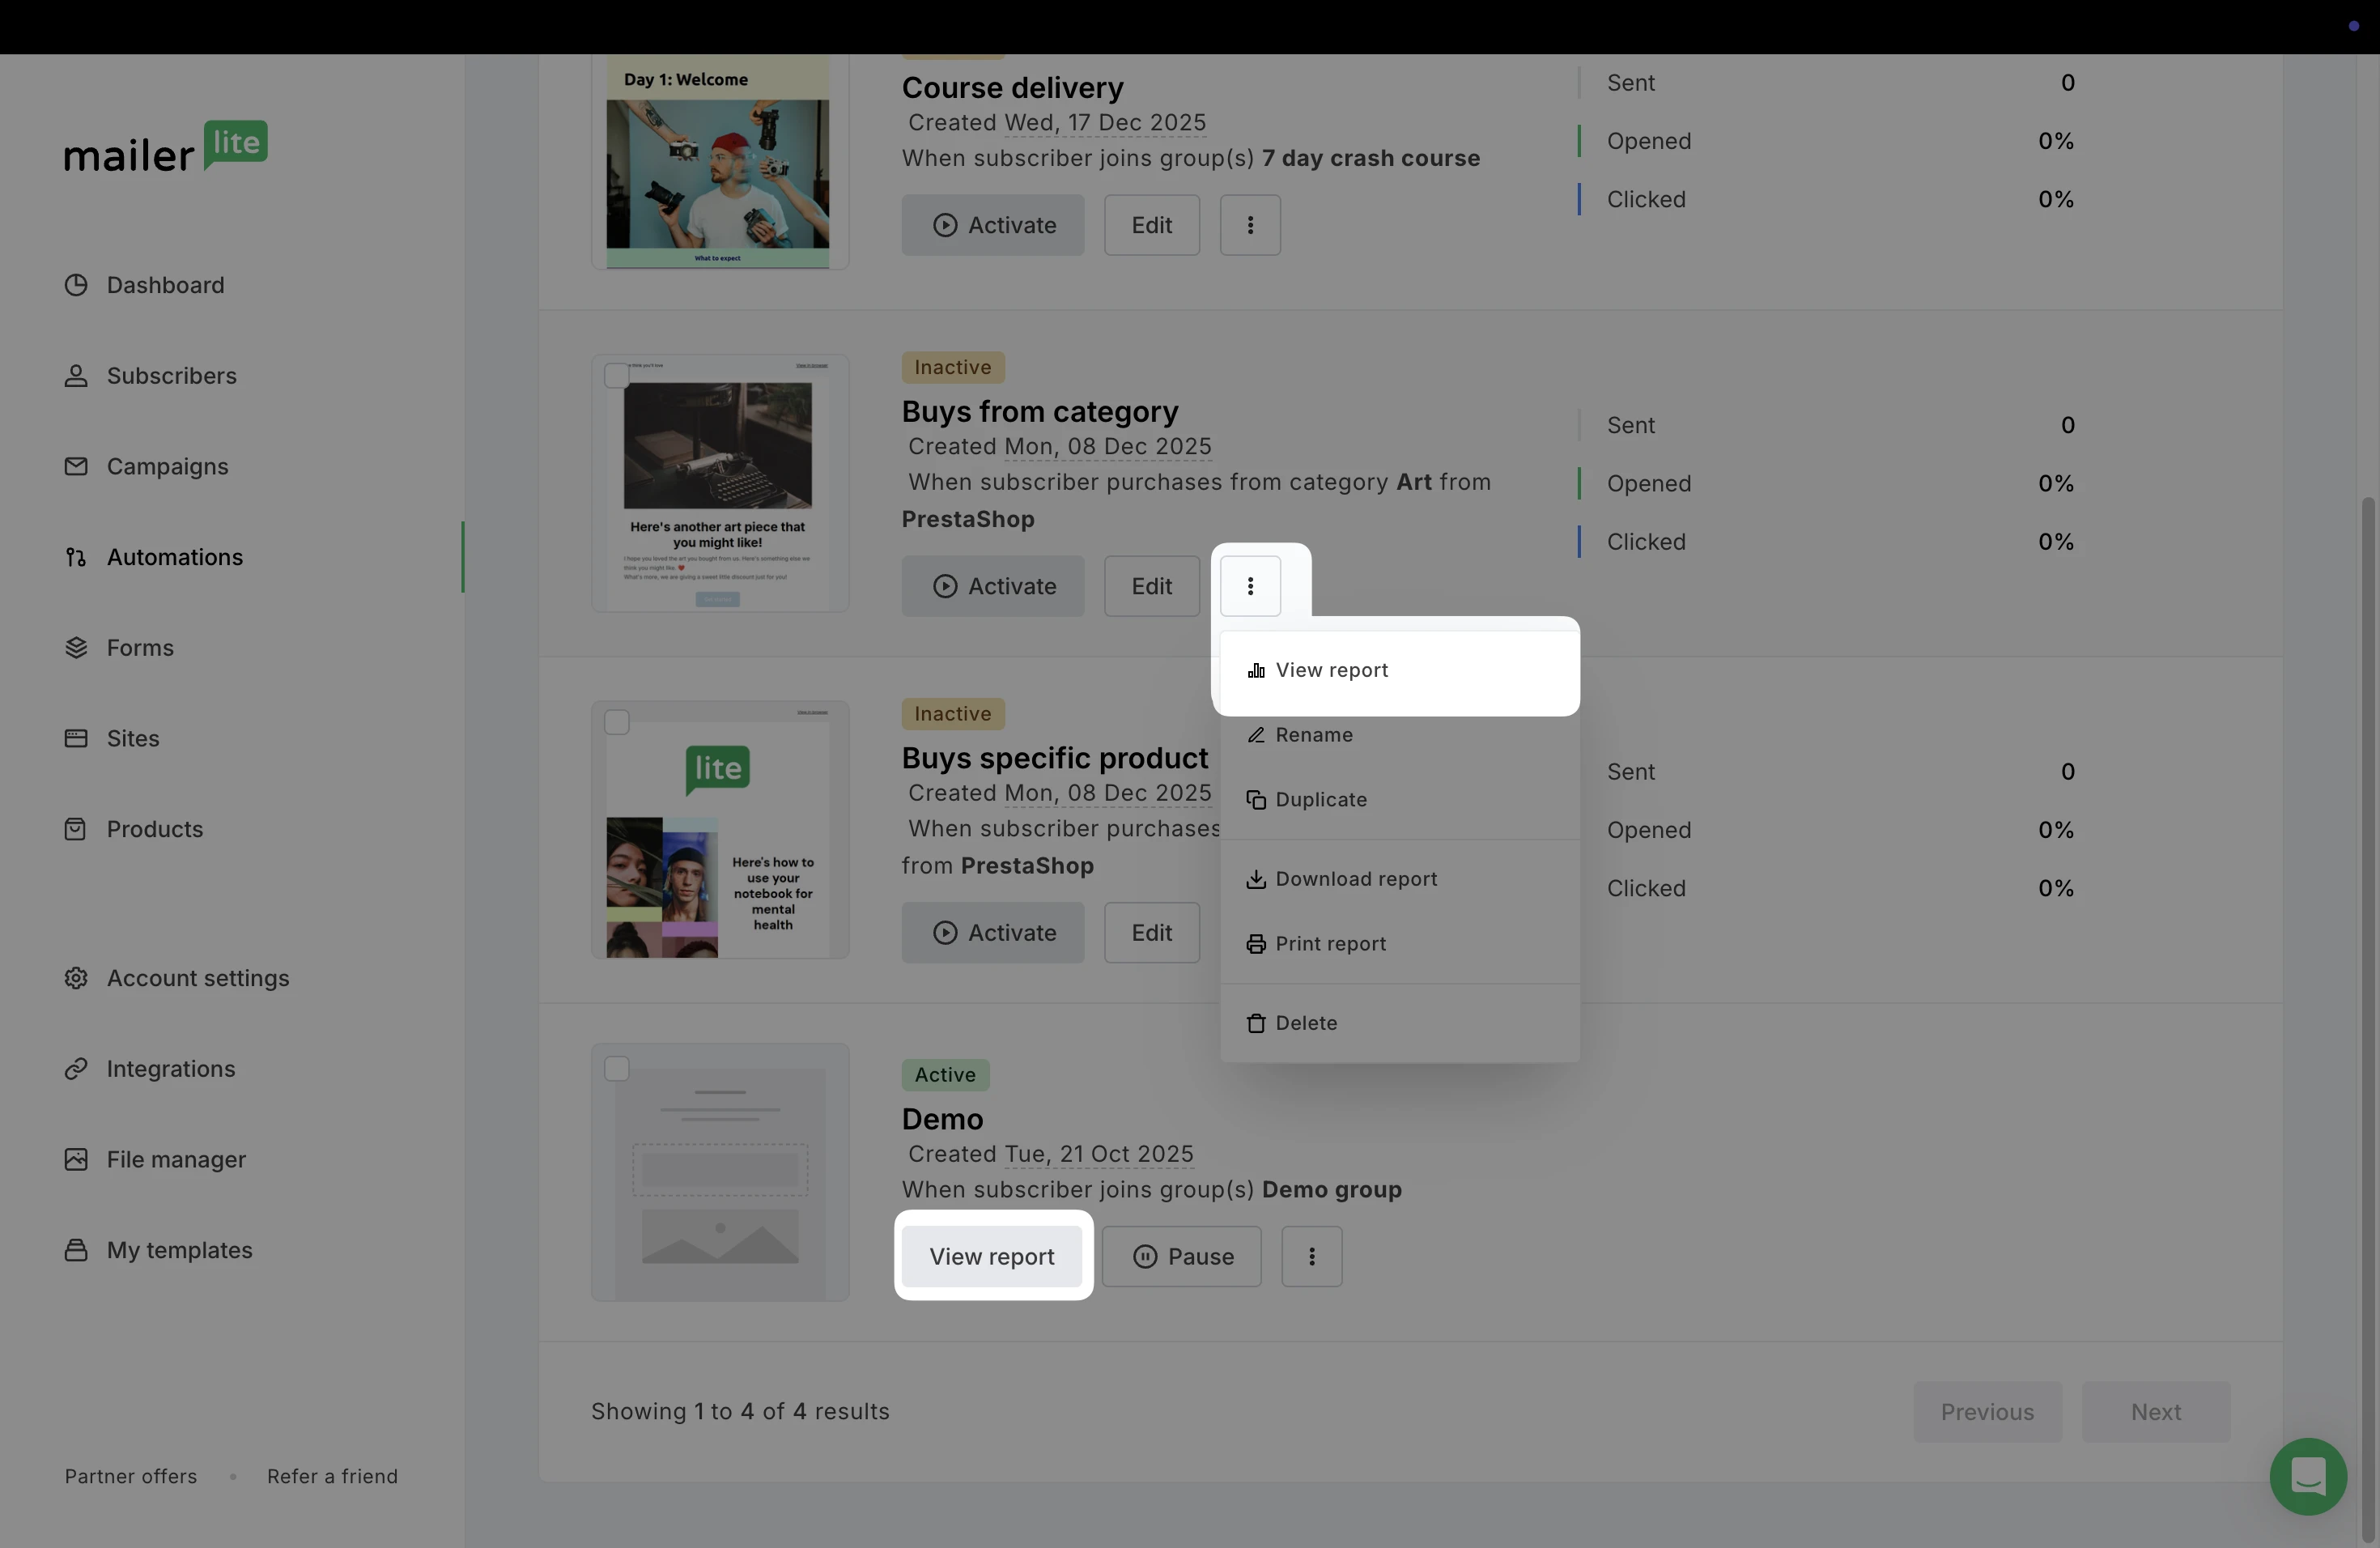
Navigate to the Automations page.
For inactive workflows, click the three dots and choose View report. For active automations, click on the View report button of the automation you want to monitor.
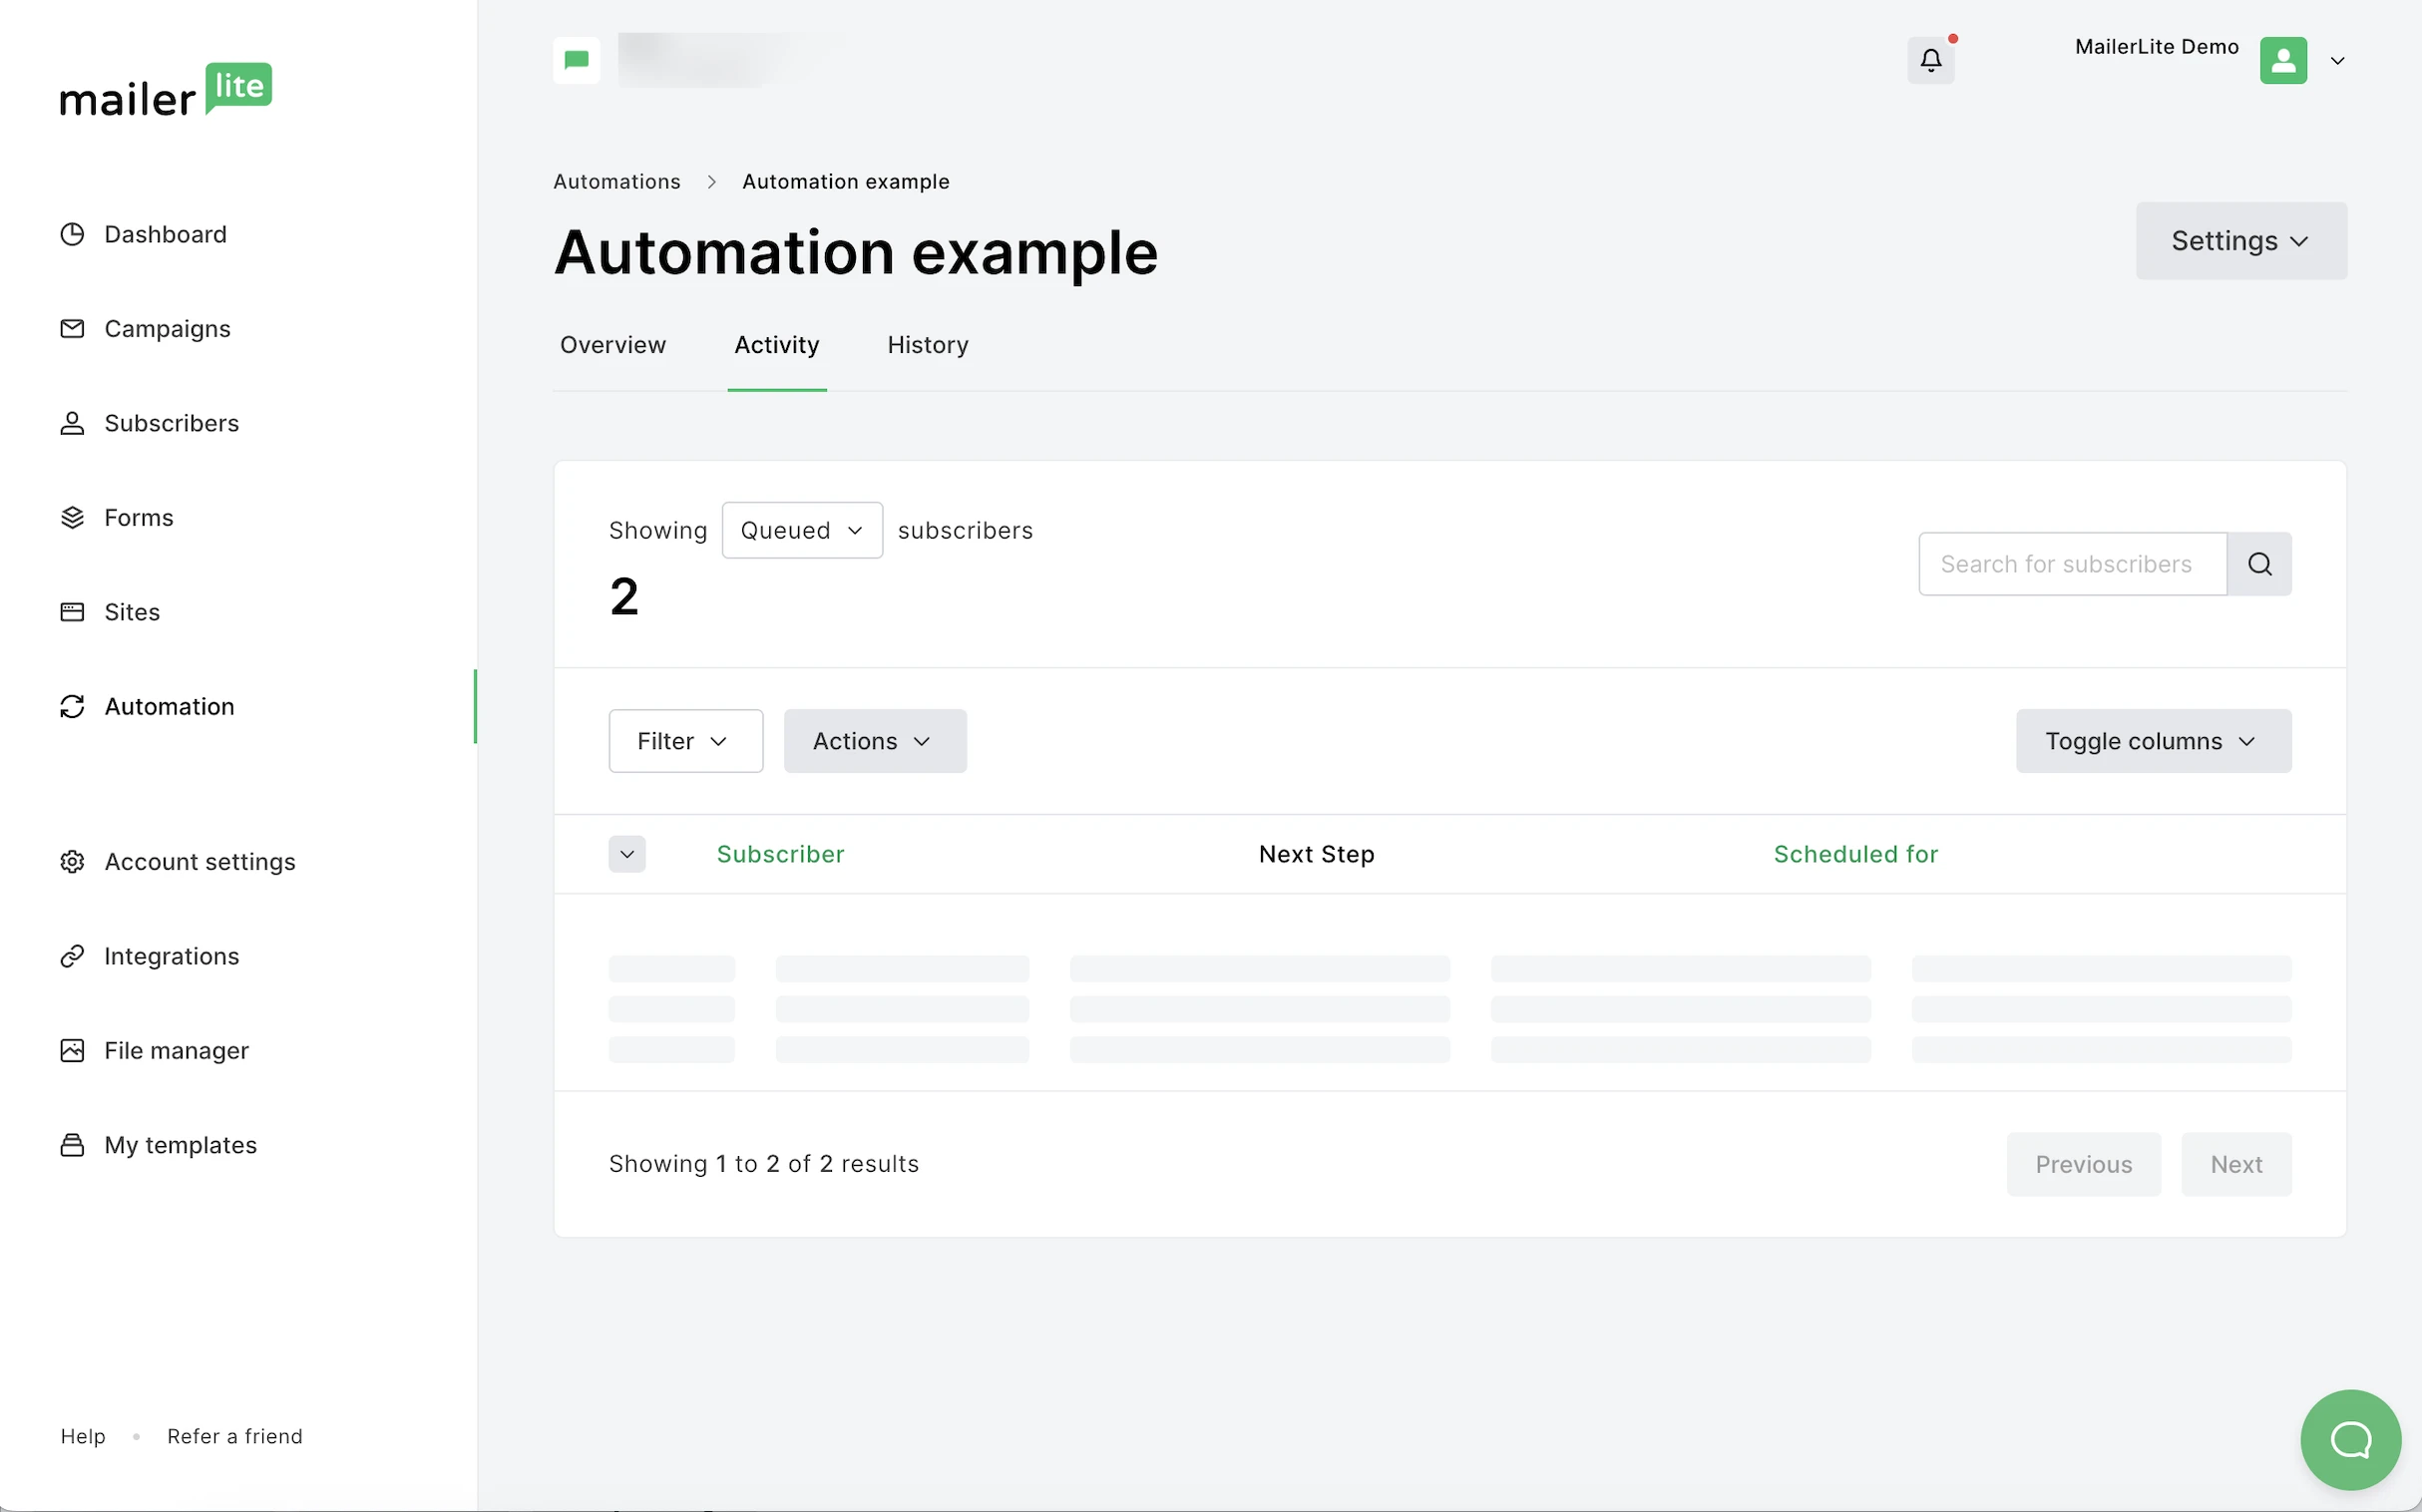
3. Click on the Activity tab.
Here you can review the activity of subscribers active in your workflow.
How to analyze automation activity
When first viewing the automation activity, you are presented with the list of subscribers who have completed all of the steps in the workflow. You also can toggle to view Queued, Canceled, and Failed subscribers by clicking on the Completed dropdown menu.
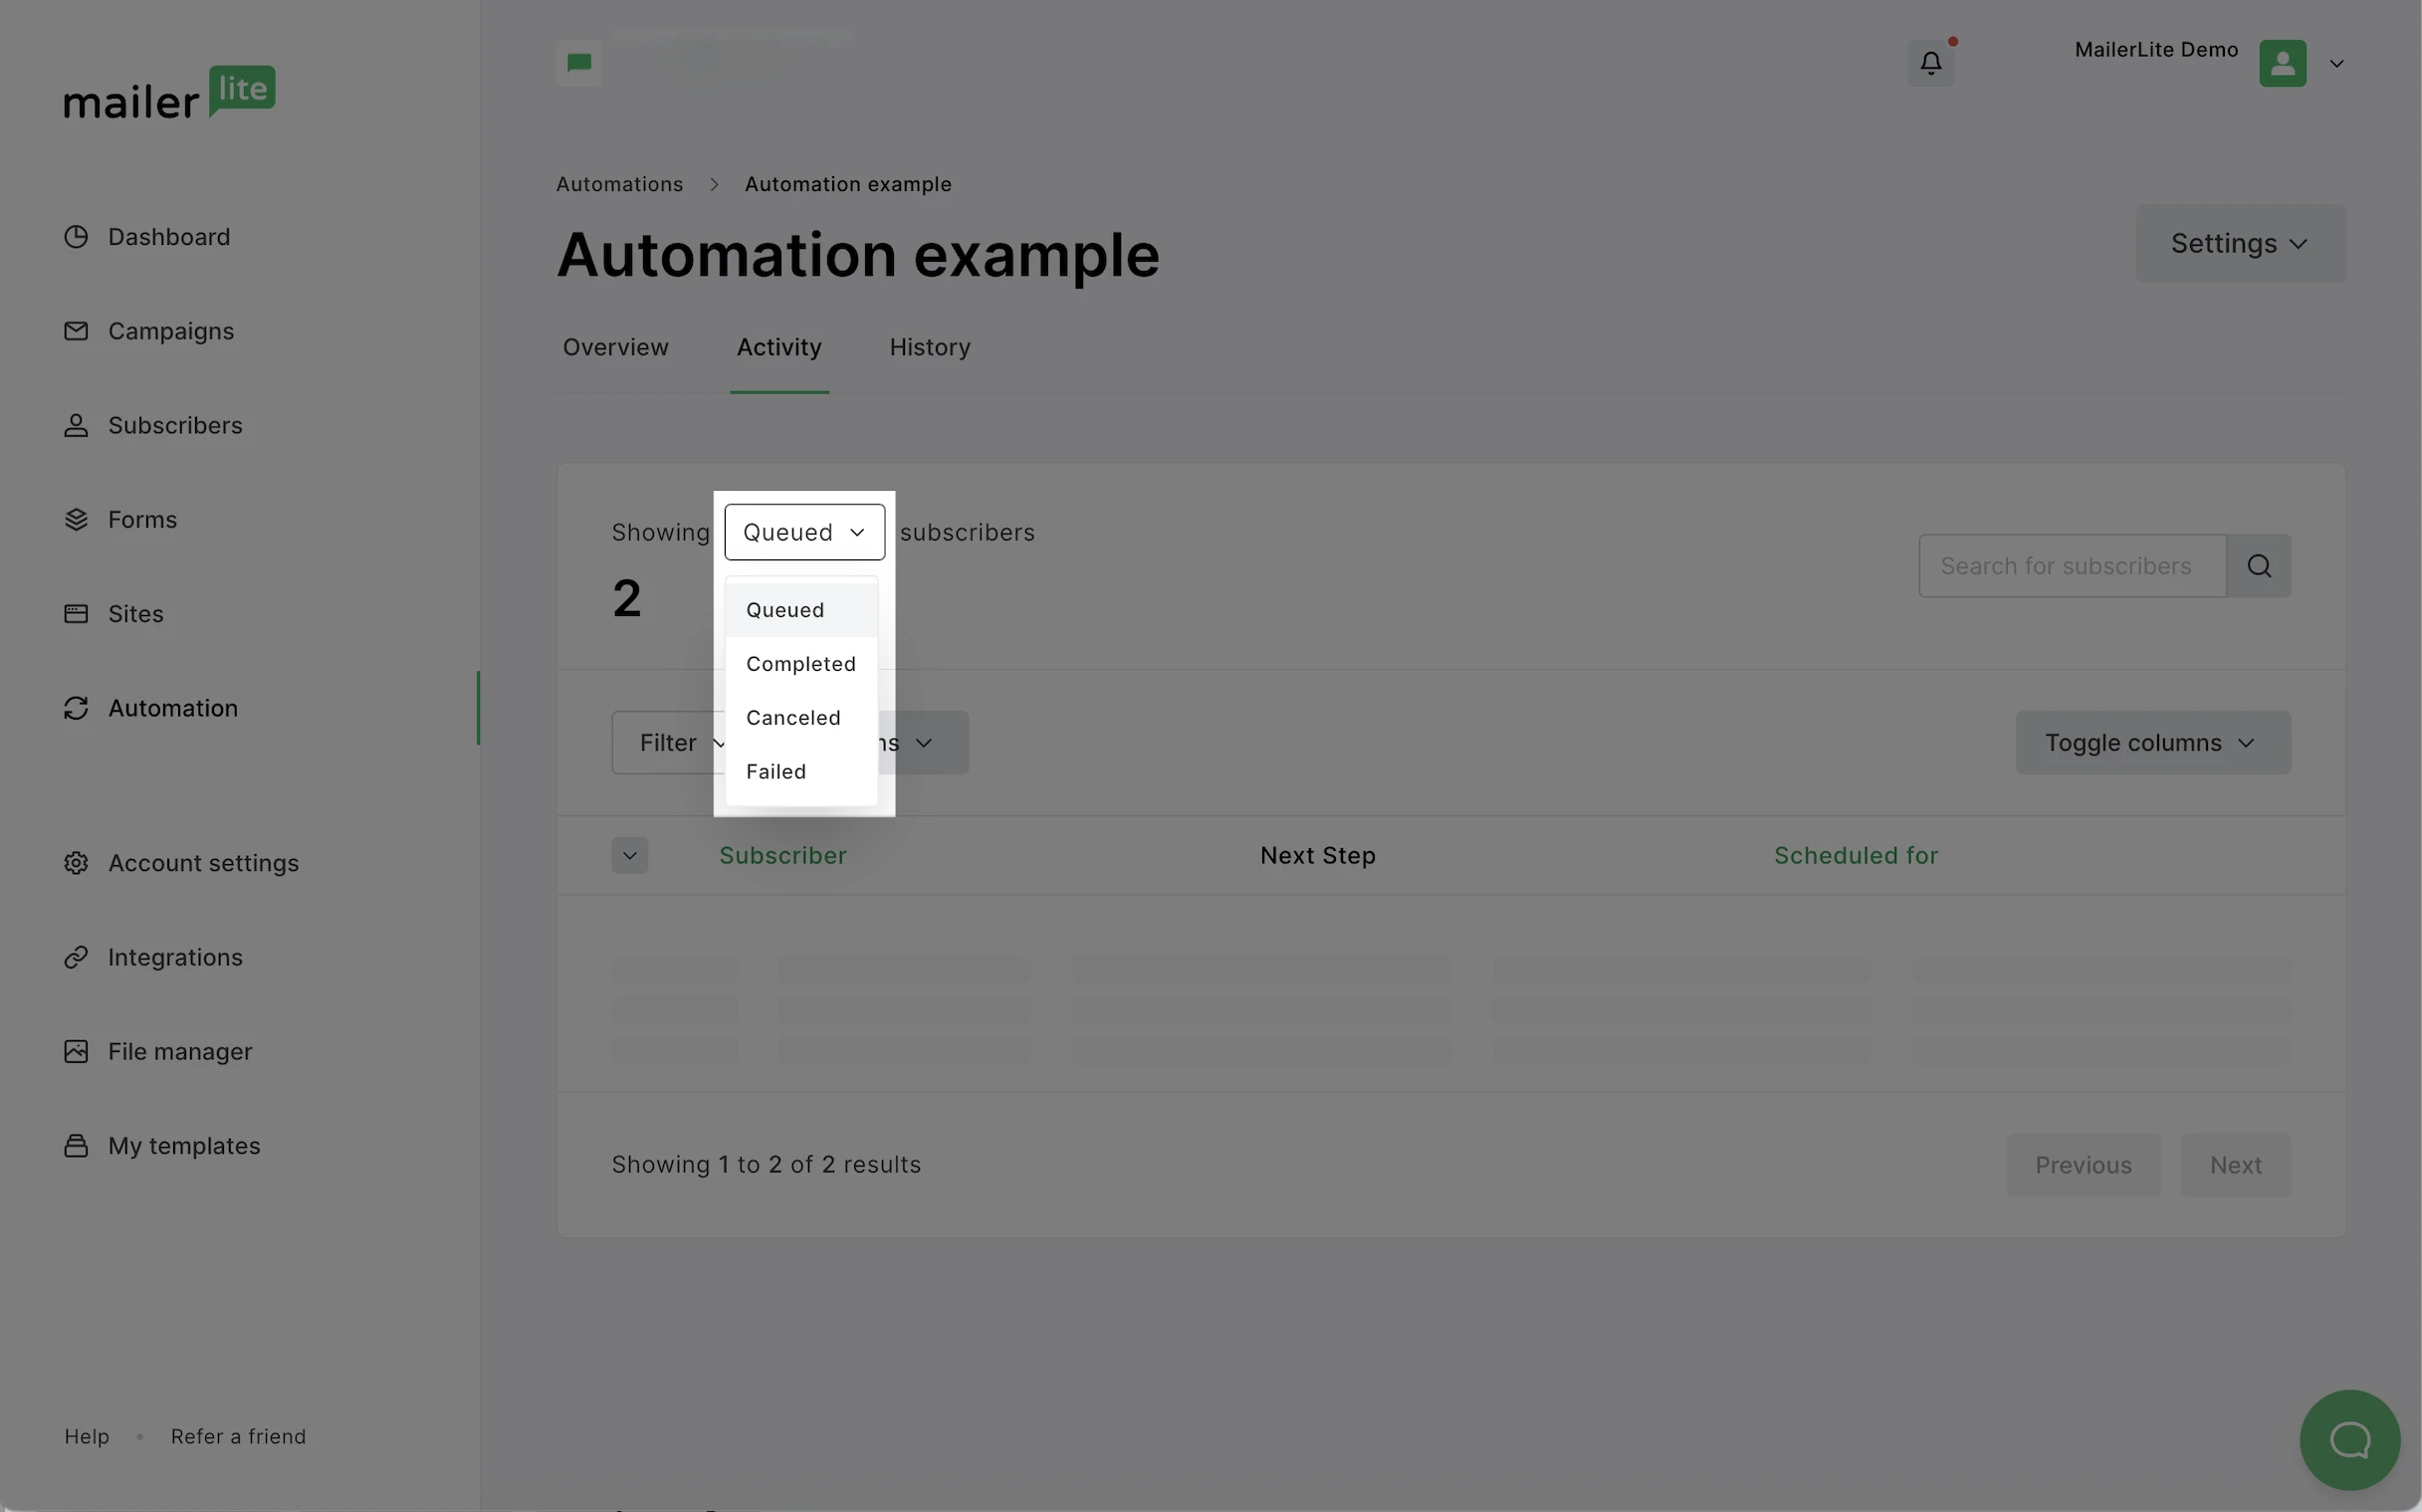
Completed
The Completed section on your Activity tab shows only the subscribers who have successfully completed all of the steps in your workflow, along with the date and time they completed it.
Queued
The Queued section of your Activity tab displays the subscribers that are active in your workflow but have not yet completed it as they are queued on a Delay step.
If you want your subscribers to skip the Delay step they’re queued on, you can follow these steps:
Toggle to view Queued subscribers.
Use the Filter tool to show only subscribers on the specific delay step you wish to skip. If you want to skip the delay for all subscribers, skip this step.
Click the downward-facing arrow on your subscriber list and click Select all. If you have a filter applied, this will only select all subscribers who apply to that filter.
Click Actions and select Skip delay.
Canceled
The Canceled section of your Activity tab displays the subscribers who have been canceled from the workflow. You can also view the time and date the subscriber was canceled from the workflow, as well as the reason.
Reasons a subscriber might be canceled from the workflow include:
Not active - This means the subscriber was deleted, unsubscribed, or bounced before they were able to complete the workflow.
Delay time has passed - When a subscriber reaches a Delay step and the date specified for that delay has passed, the subscriber will be canceled from the workflow.
Workflow trigger was changed - This means subscribers were canceled from the workflow due to the main workflow trigger being changed.
Subscriber doesn’t belong to the group anymore - If your workflow is triggered when a subscriber joins a group, and a subscriber is then removed from that group, they will be canceled from the workflow.
Failed
The Failed section of your Activity tab displays the subscribers that have failed to complete the workflow. Here you can review the reason the subscriber failed to complete the sequence, as well as the time and date they failed.
Reasons why a subscriber might fail a workflow include:
Subscriber limit is reached - Your plan's limit for active subscribers has been reached. In order to re-add these subscribers to the sequence, you will need to upgrade your plan.
Step was deleted - This indicated that the subscriber was on a step that was deleted, causing them to be canceled from the workflow.
A subscriber may fail to complete a step in an automation if the Email step they were due to receive is not saved properly. This can occur if your browser tab is closed during the loading screen after saving.
How to re-add subscribers to the sequence
If you find your subscribers have failed or been canceled from your workflow, you can re-add them to the sequence with the following steps:
Navigate to the Automations page.
Click the Overview button of the automation.
Select the Activity tab.
Toggle to view Failed or Canceled subscribers.
Click the downward-facing arrow on your subscriber list and click Select all.
Click Actions followed by Re-add to sequence.
Note: If you only want to re-add some subscribers to the sequence, you can use the filter tool to filter by which step the subscribers were on.
How to remove a subscriber from the workflow
If a subscriber is active in your workflow, and you want to remove them from the sequence, you will need to remove them from the queue.
To remove a subscriber from the queue:
Navigate to the Automations page.
Click the Overview button of the automation.
Select the Activity tab.
Toggle to view Queued subscribers.
Use the search tool to find the subscriber you want to remove from the sequence.
Select that subscriber and click Actions.
Click Remove from queue.
The subscriber will be canceled from the workflow and can be found in the Canceled section of your Activity tab.