Note: If you're a Legacy (Classic) user, please log in to your account to access the dedicated Legacy (Classic) Help Center.
An automation trigger is an event that will automatically kick-start your automation workflow as soon as that event takes place. Selecting a trigger is the first step in creating an automation workflow.
To see these triggers in action, check What are automation triggers and how you can use them.
Automation triggers
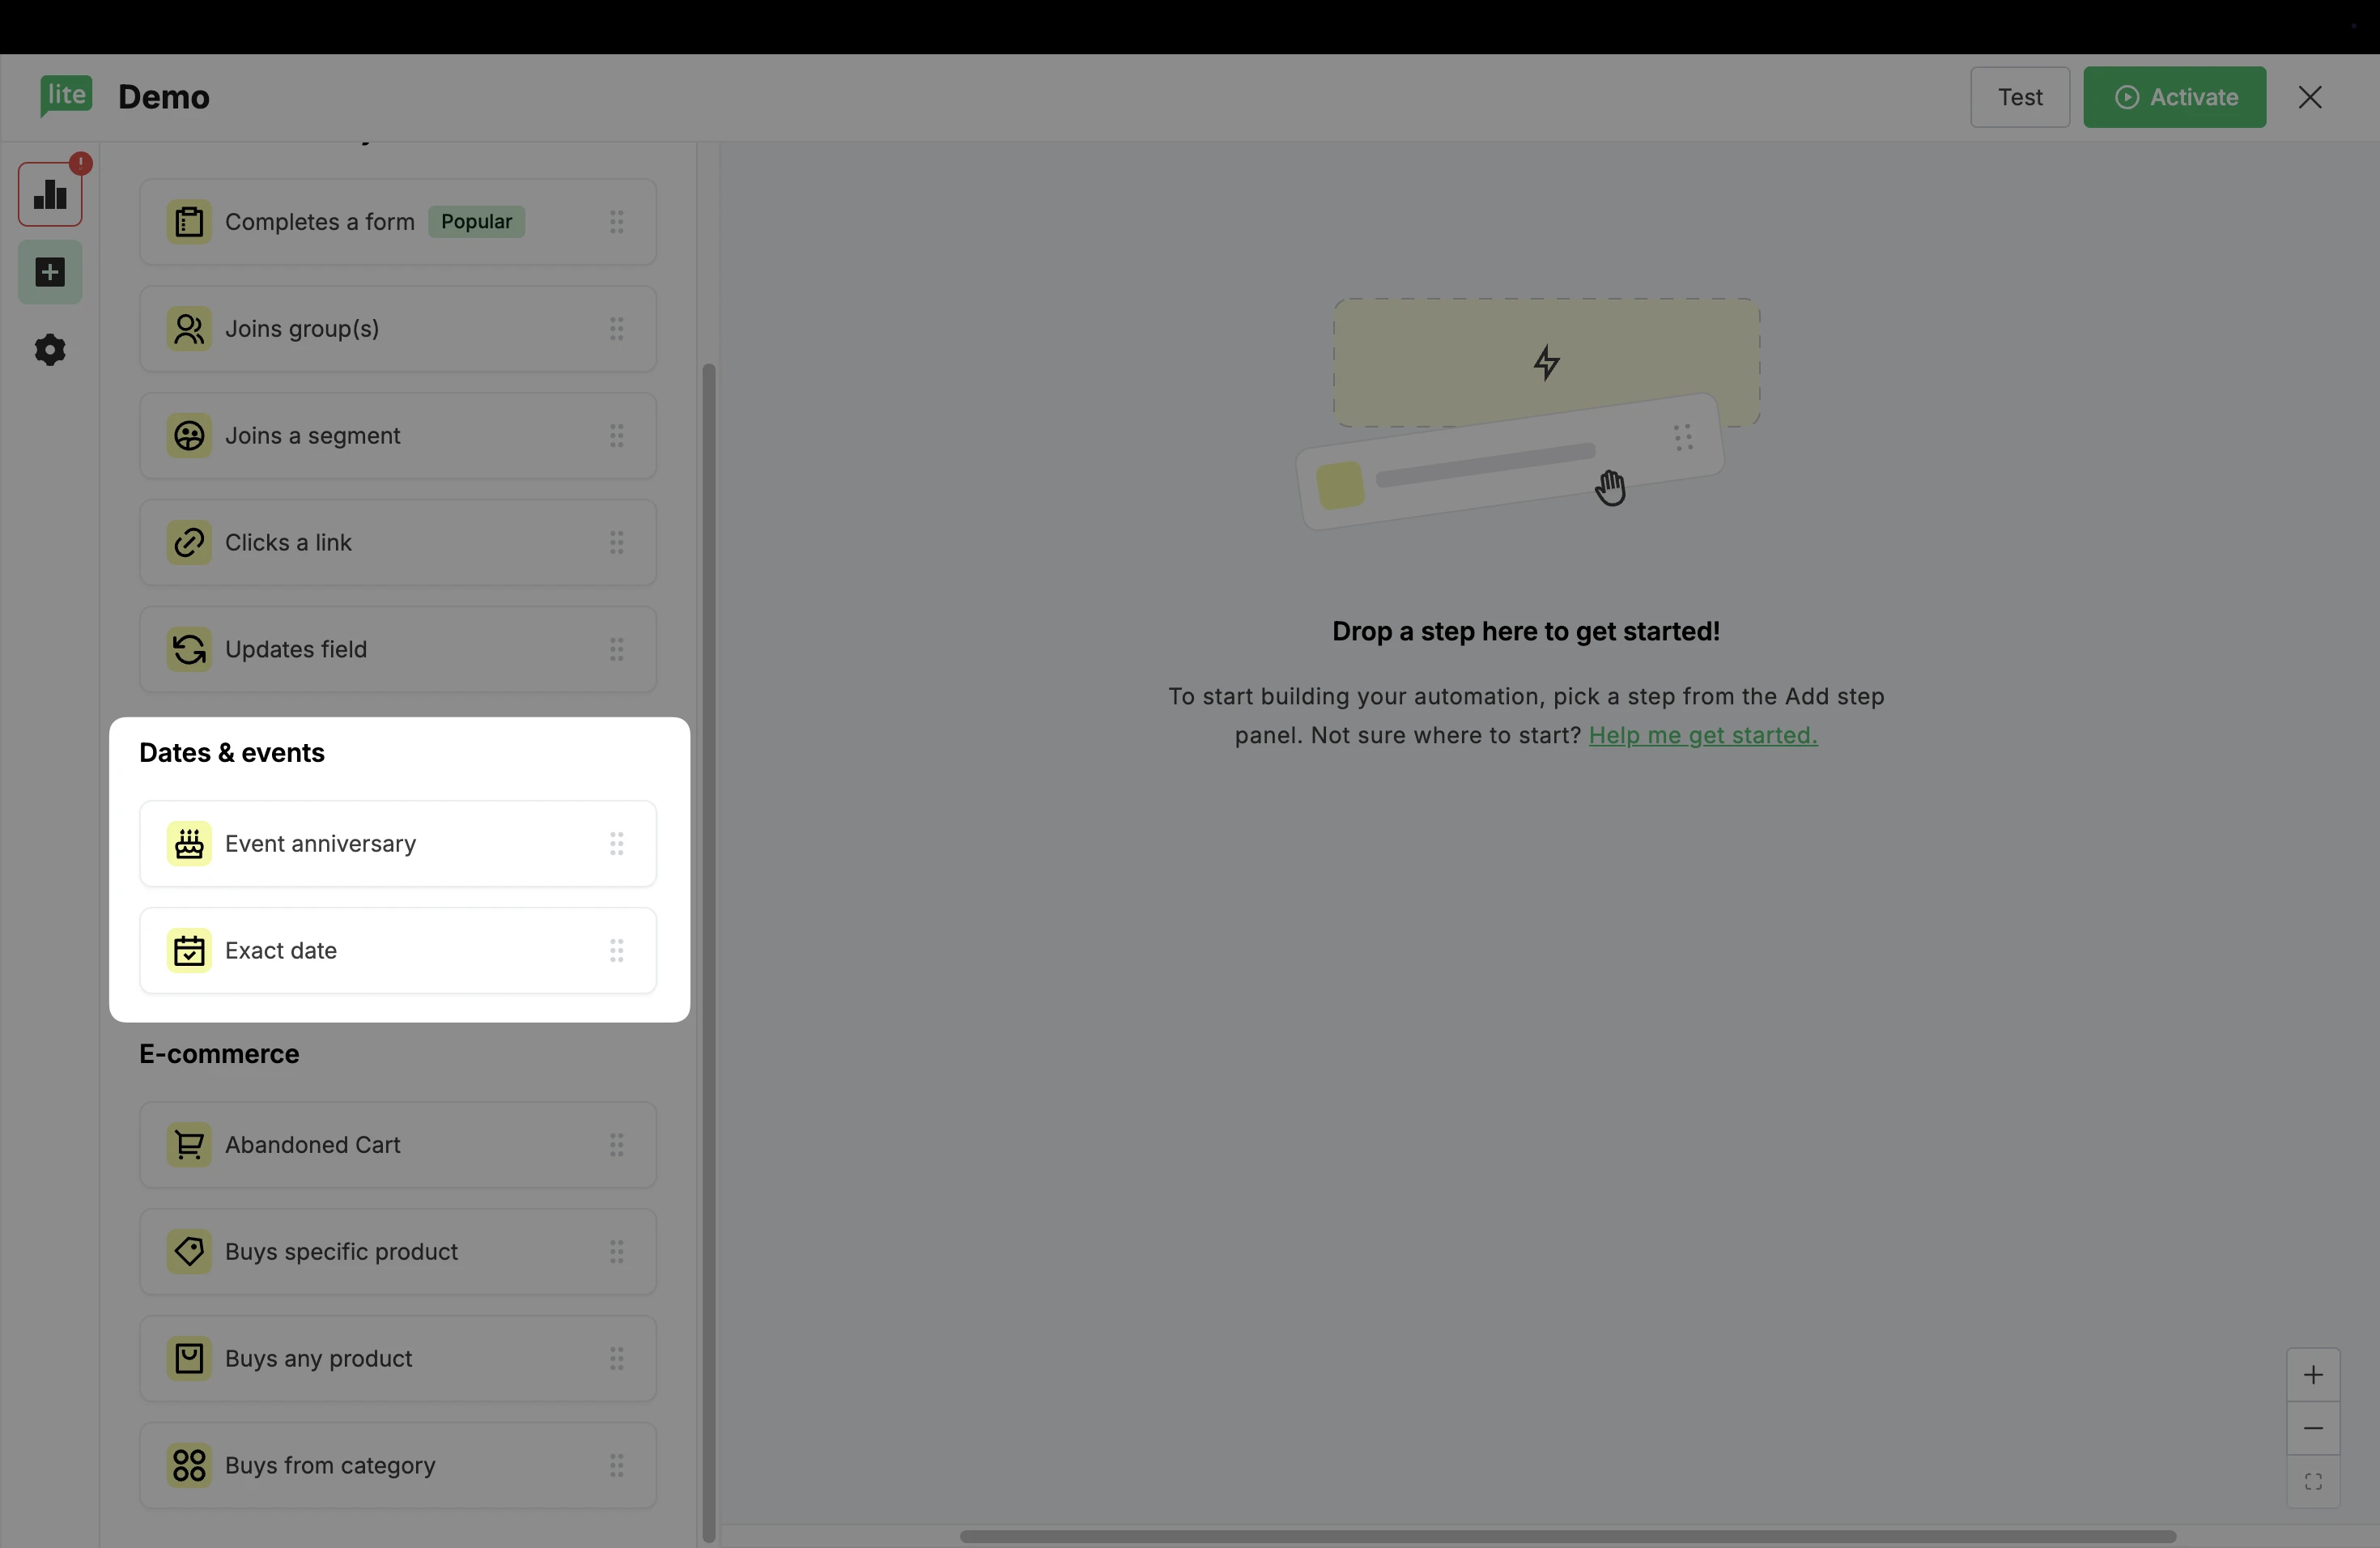
There are seven default triggers to choose from when creating an automation workflow:
Joins a group
Completes a form
Clicks a link
Updated field
Event anniversary
Exact date
Joins a segment(s)
Getting started with automation triggers
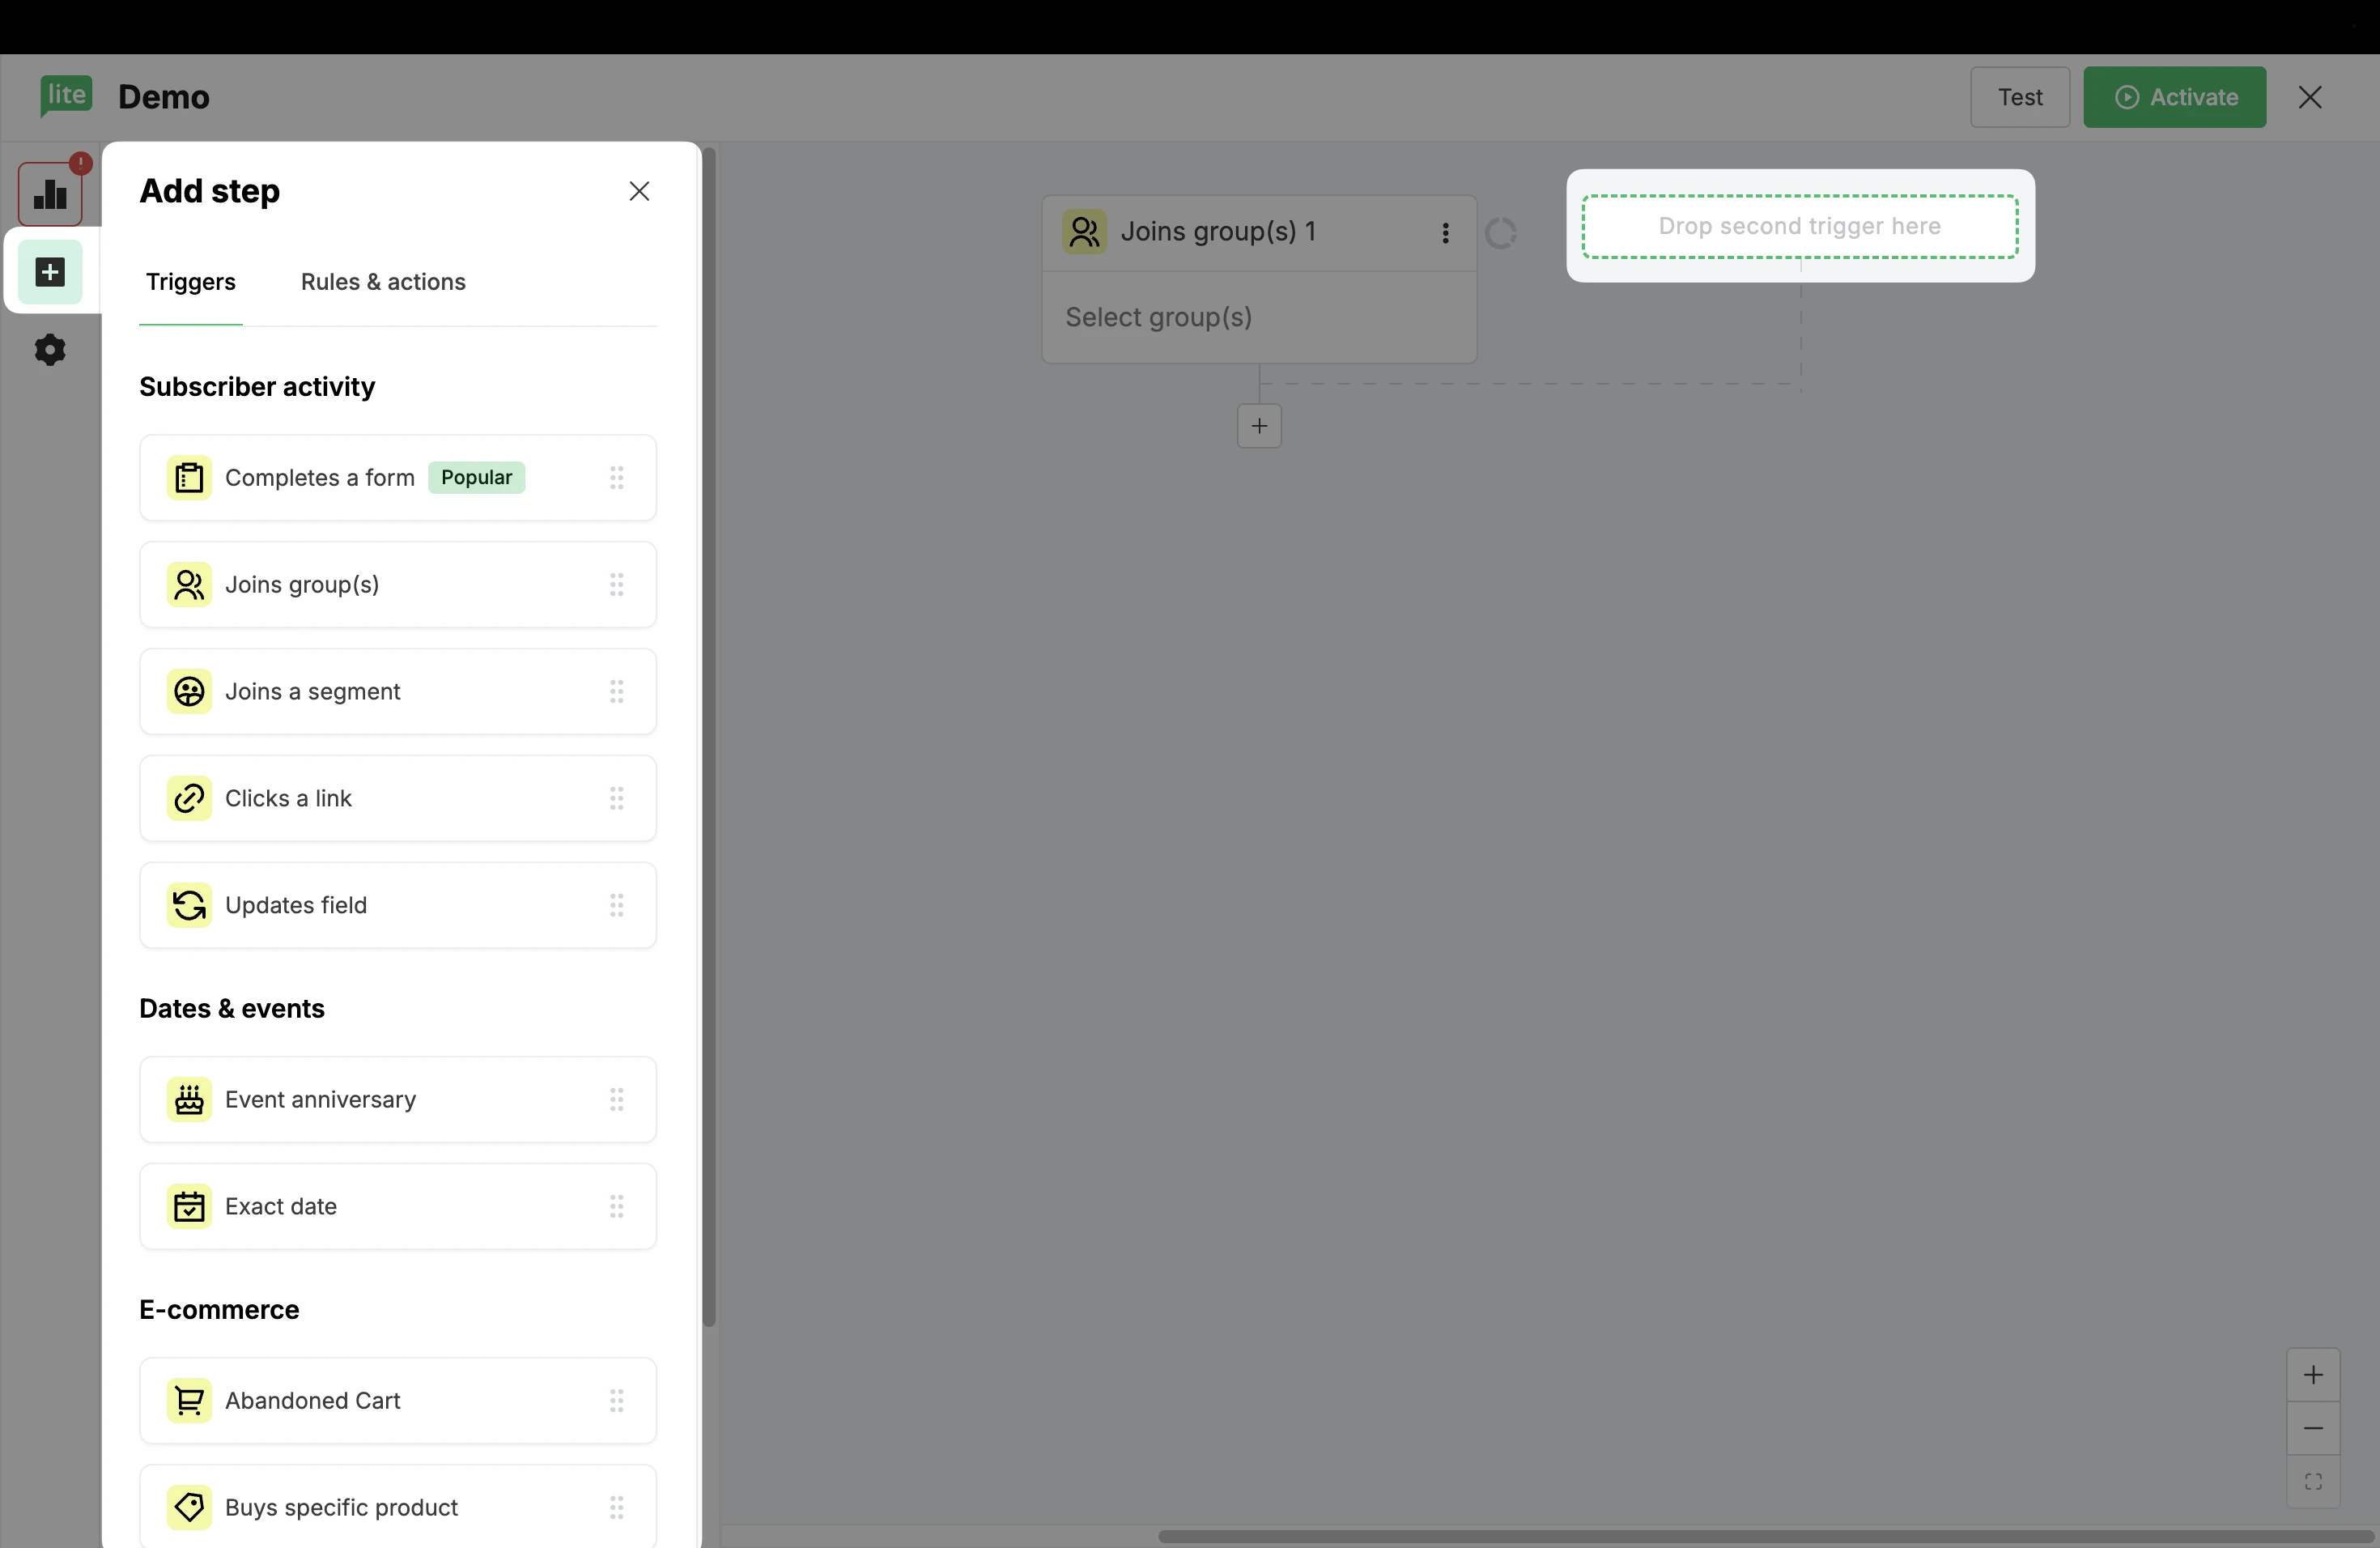
When you open the workflow editor by clicking the Create workflow button, you will be prompted to select your trigger in the sidebar.
Using multiple triggers
If you are using the New MailerLite with an Advanced plan, you can add up to three triggers to each automation, allowing you to set up multiple entry paths to a single workflow.
To learn more, check How to set up multiple triggers in your automation workflow.
Joins a group
When you set your trigger as Joins a group, the workflow will be triggered when a subscriber joins the subscriber group of your choice.
To set up your group membership trigger:
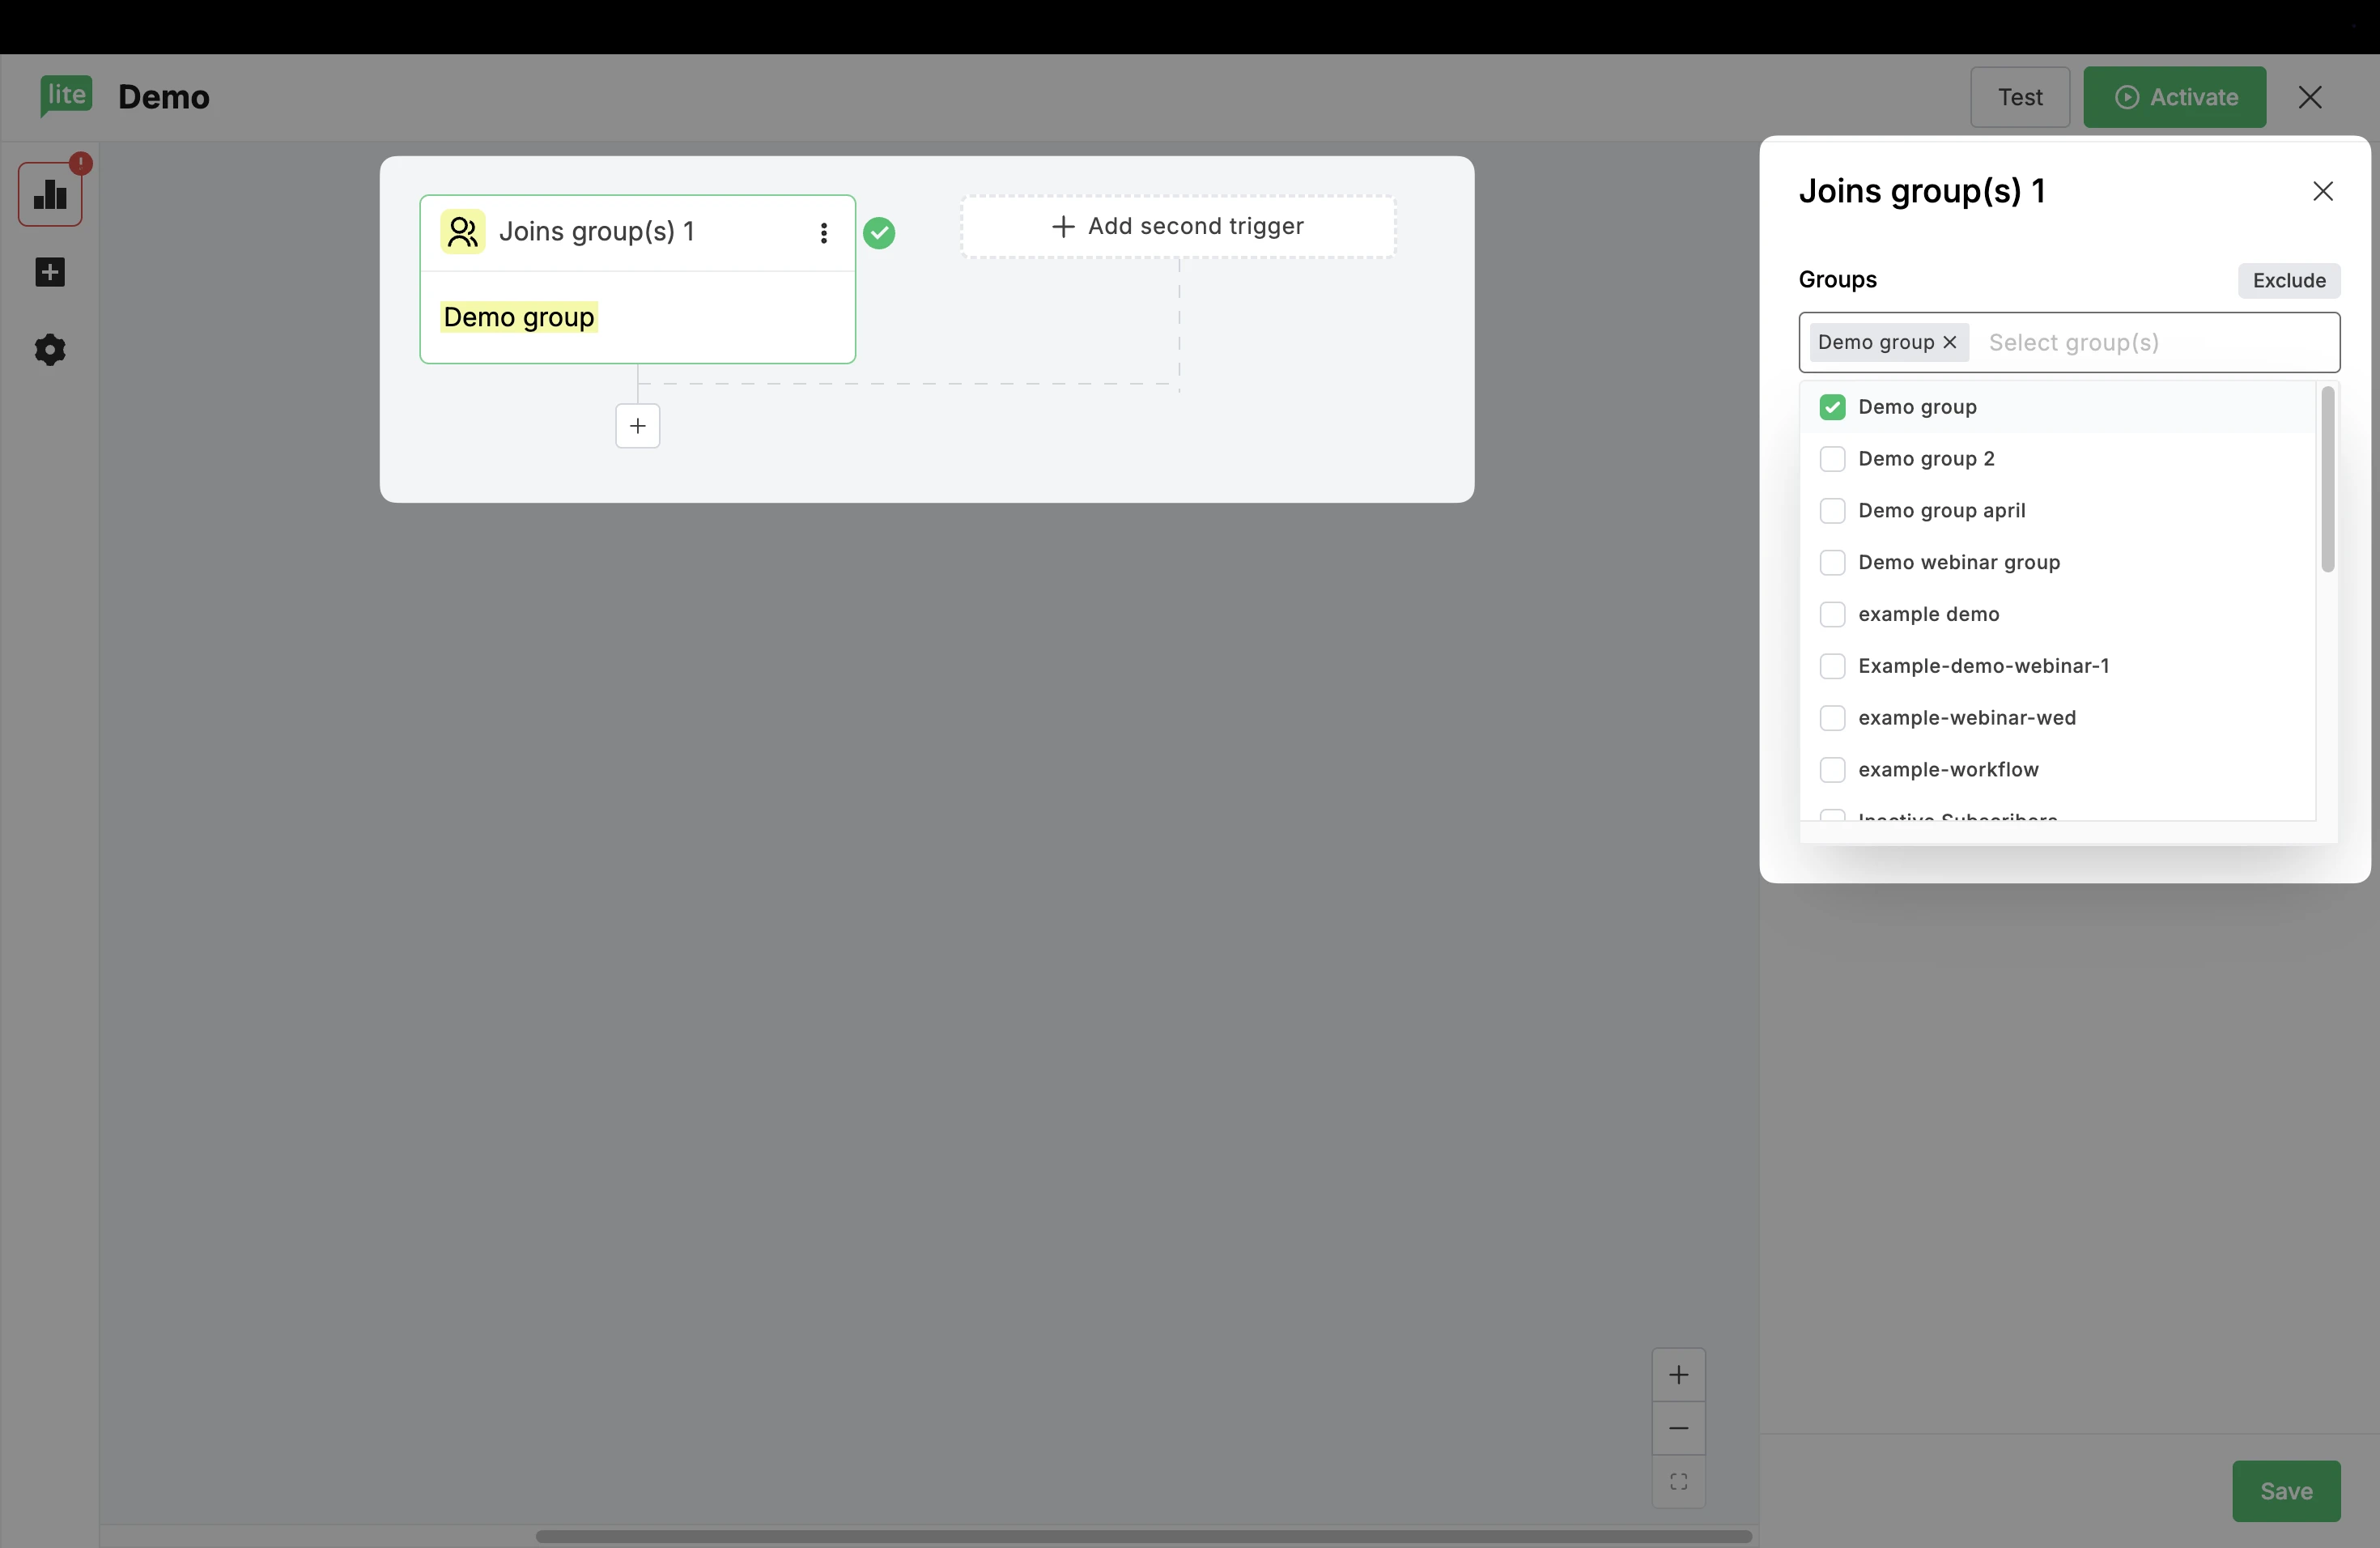
Select the workflow trigger Joins a group and drop it into the workflow.
In the sidebar under Groups, select which group you want to trigger the workflow when it's joined. Alternatively, click Exclude to prohibit certain groups from entering the automation. Create a group specifically for this automation.
3. In the left sidebar in the Settings tab, you’ll see an option labeled Allow subscribers re-enter automation. Check this box if you want subscribers to re-trigger the workflow every time they rejoin the trigger group. However, subscribers can only be triggered once every 24 hours.
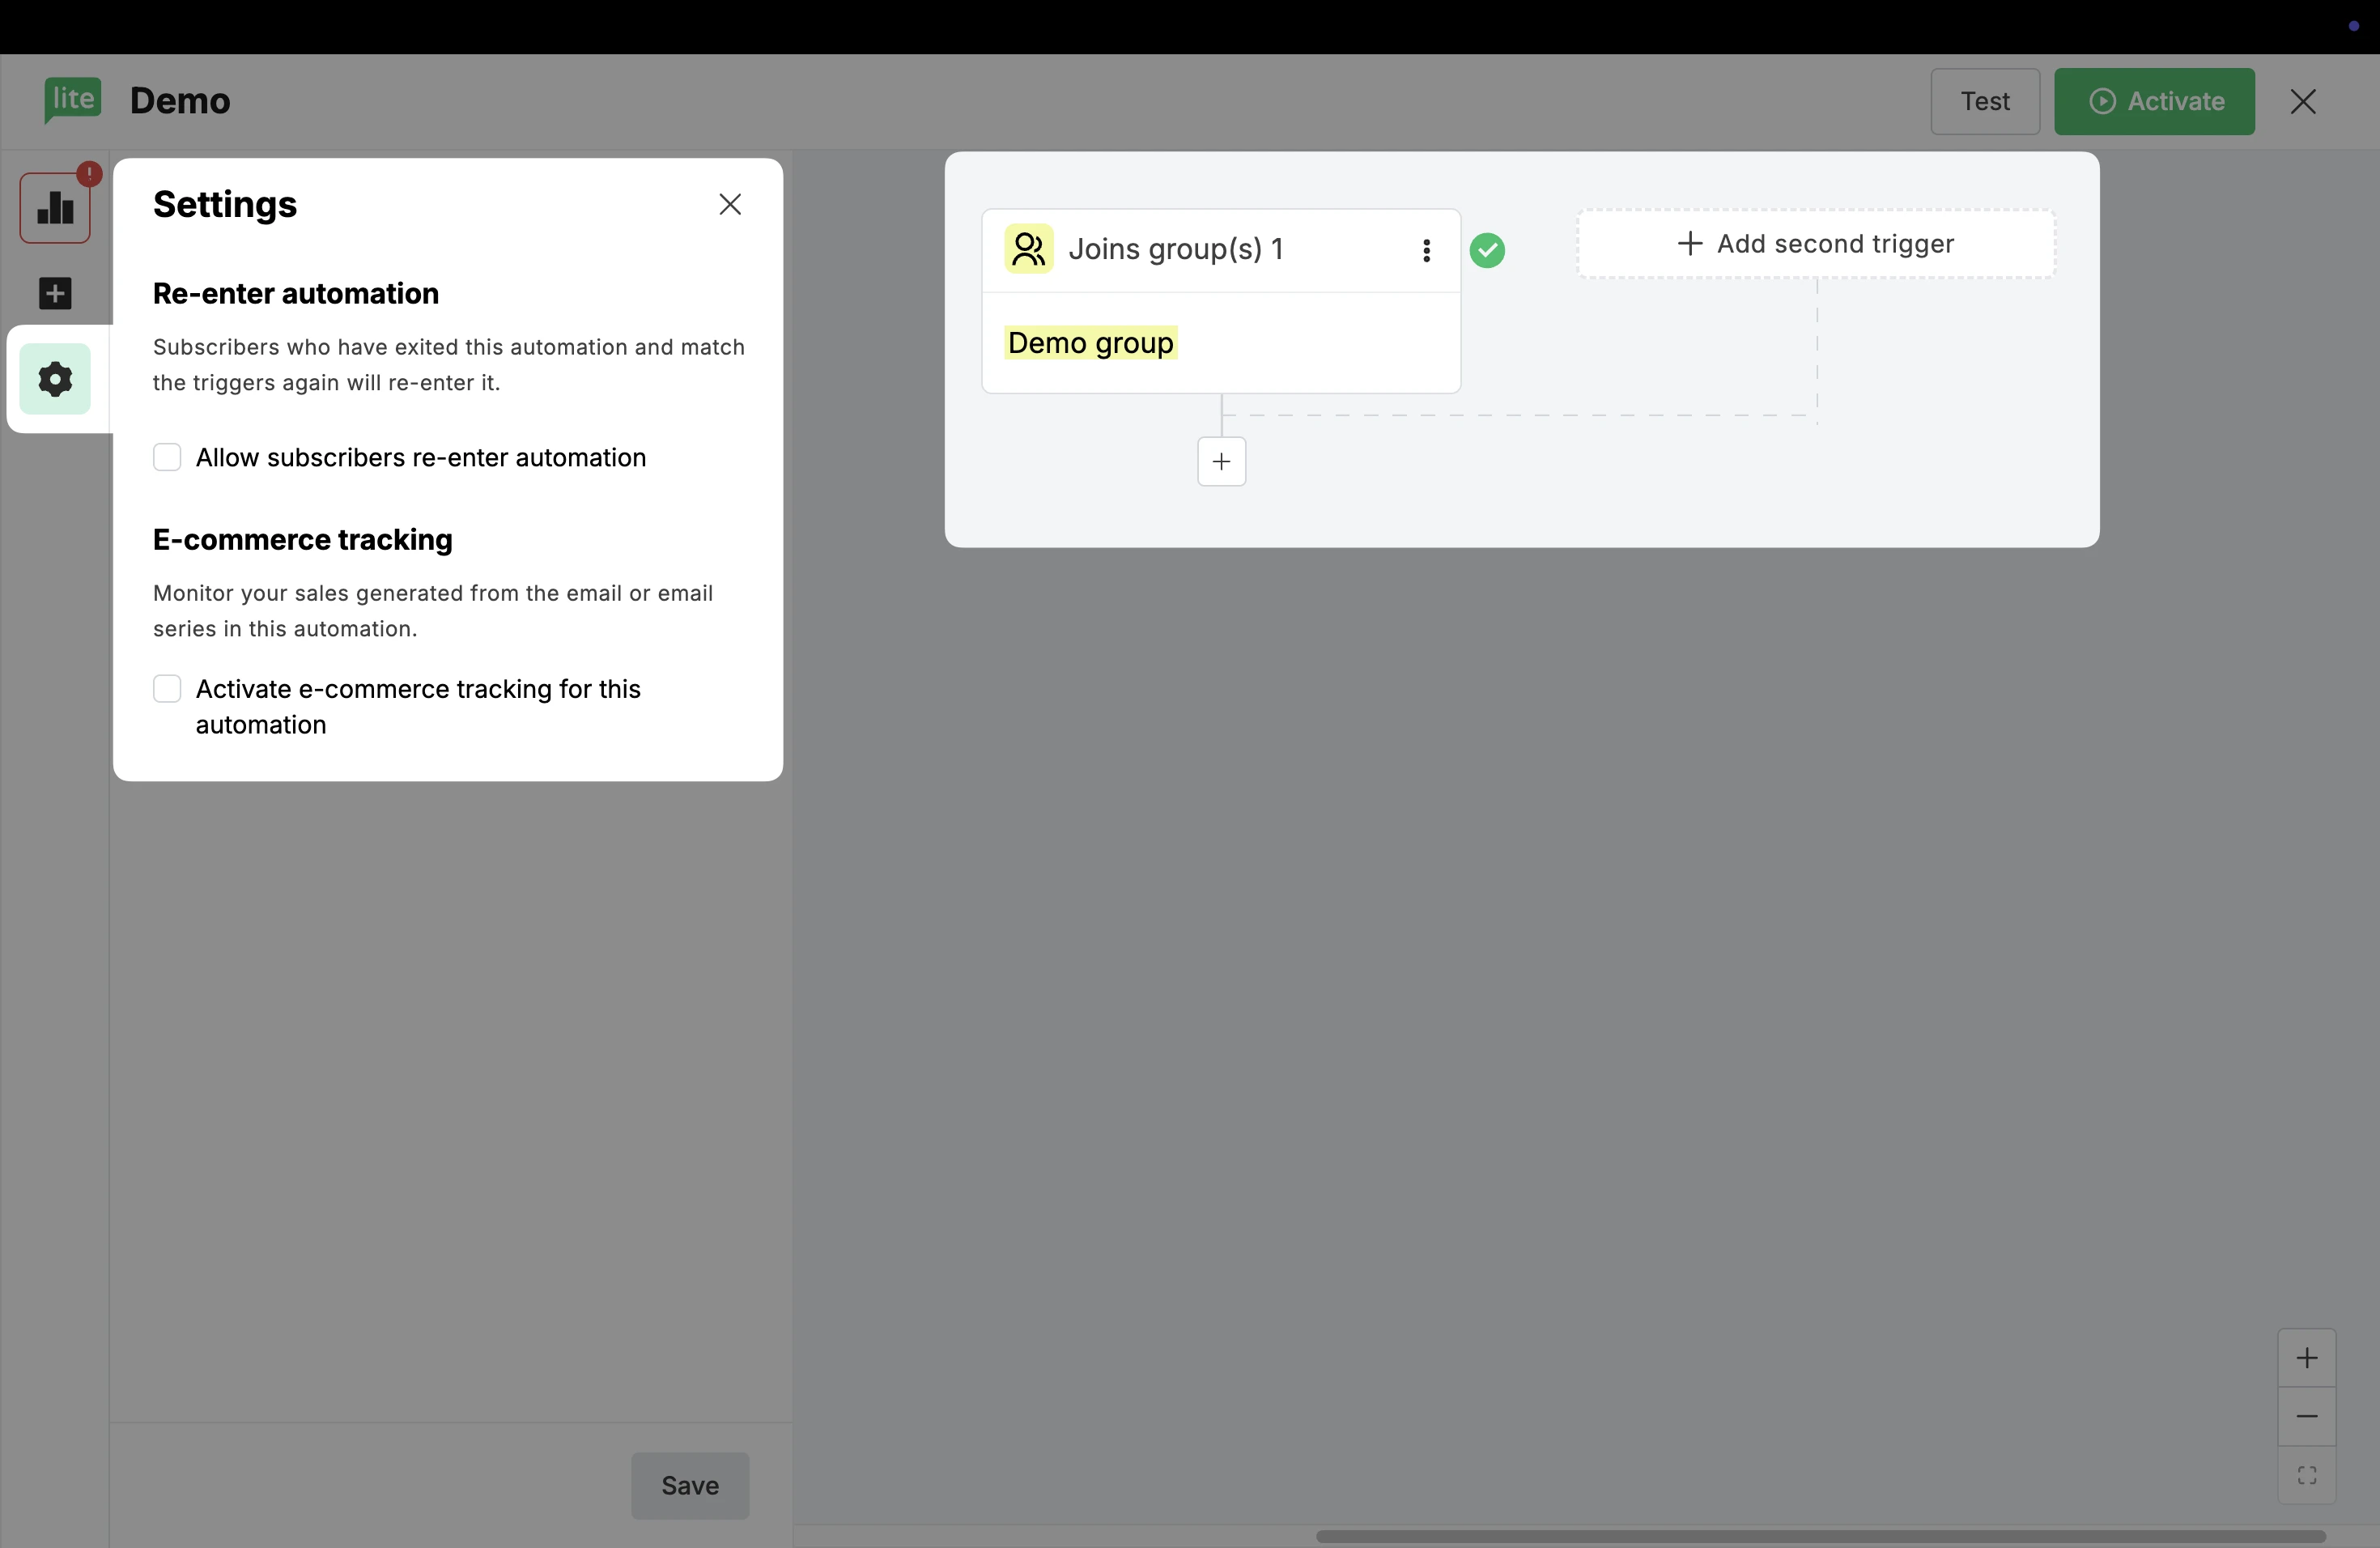
If you leave this box unchecked, subscribers will complete the workflow once and never trigger it a second time.
Note: A subscriber can't rejoin a group of which they're already a member. In order for a subscriber to rejoin the trigger group (and therefore trigger the workflow again) they must first be removed from it.
4. Click Save to apply these settings to your trigger.
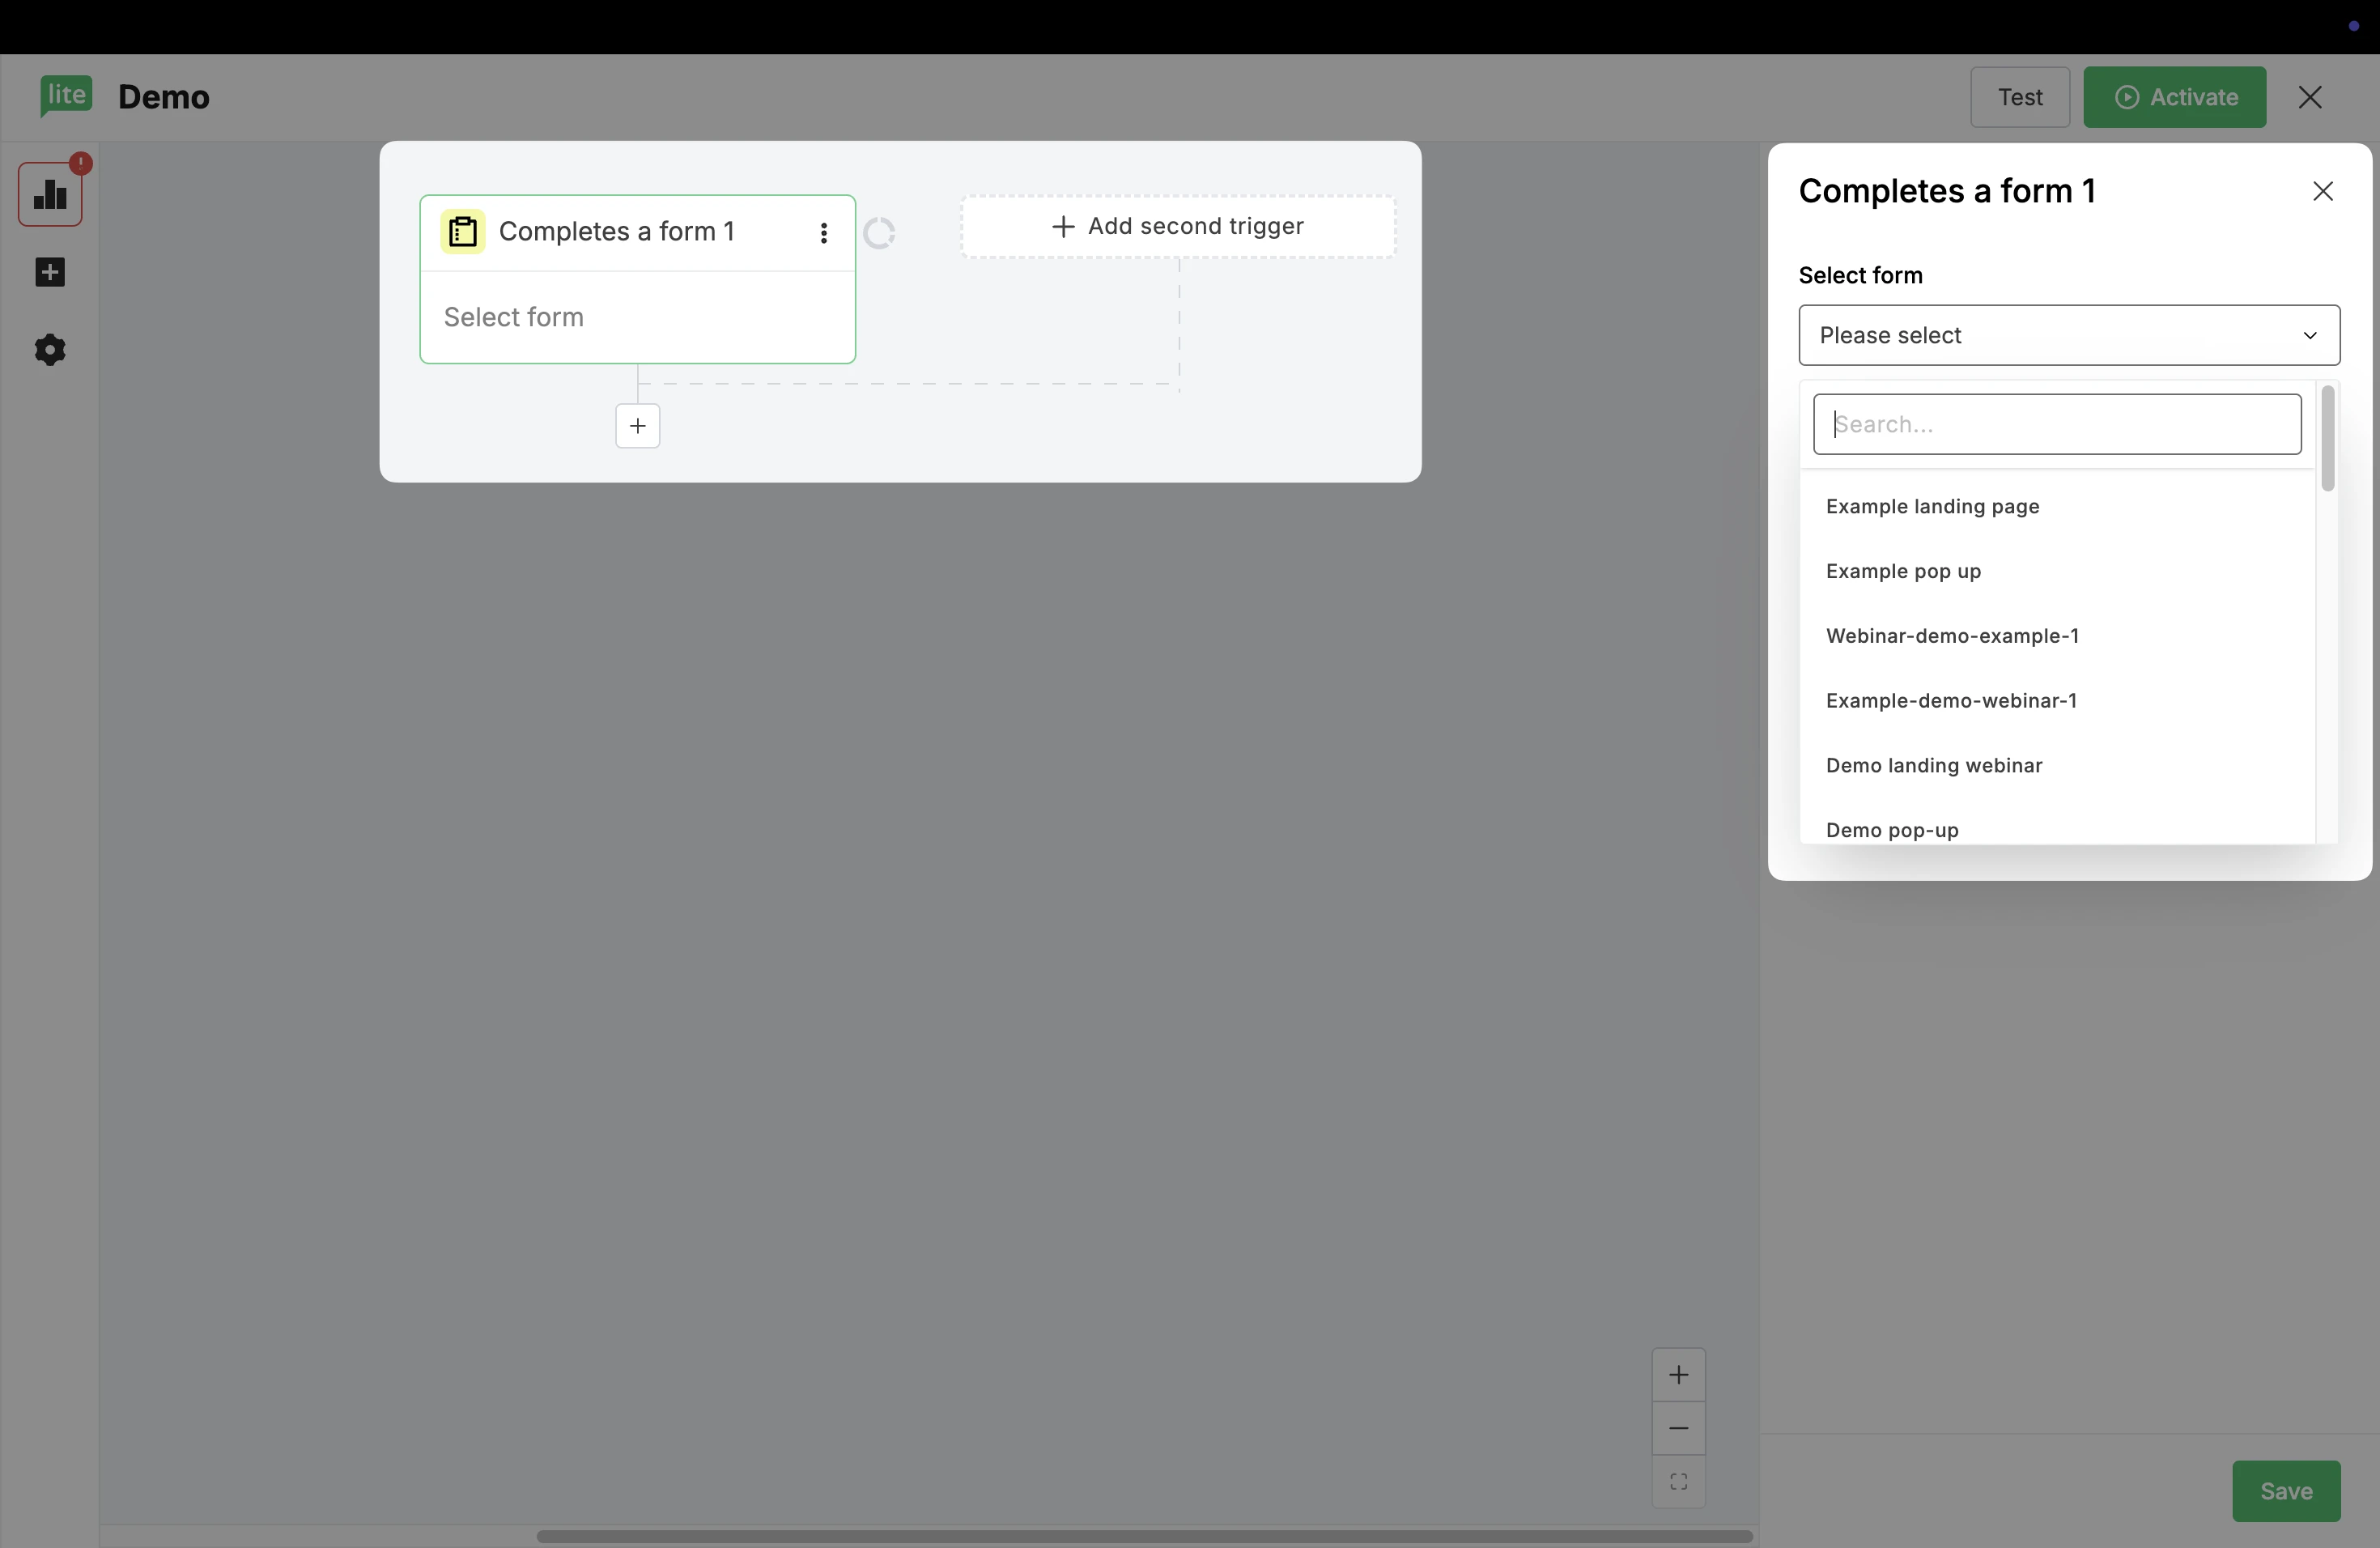
Completes a form
When you set your workflow trigger to Completes a form, the workflow will be triggered when a subscriber submits their details into a MailerLite subscription form that was created in your account.
To set up your form trigger:
Select the workflow trigger Completes a form and drag the step into the workflow.
Under Select form, pick the form that you want to use as your workflow trigger.
3. In the left sidebar in the Settings tab, you’ll see an option labeled Allow subscribers re-enter automation. Check this box if you wish for the workflow to repeat every time a subscriber completes the same form.
Leave the box unchecked if you only wish for subscribers to complete the workflow once.
4. Click Save to apply your trigger settings.
💡 Important
The automation must be Active when the subscriber submits the form in order to trigger correctly.
If using double opt-in with multiple forms or landing pages, keep in mind that only the automation connected to the form where the subscriber confirms their opt-in will trigger.
For example, if a subscriber signs up through several forms (each connected to separate automations), only the automation linked to the form they confirmed will activate.
To ensure all relevant automations trigger consistently, we recommend using a group-based trigger instead of multiple Form triggers when working with double opt-in across multiple forms.
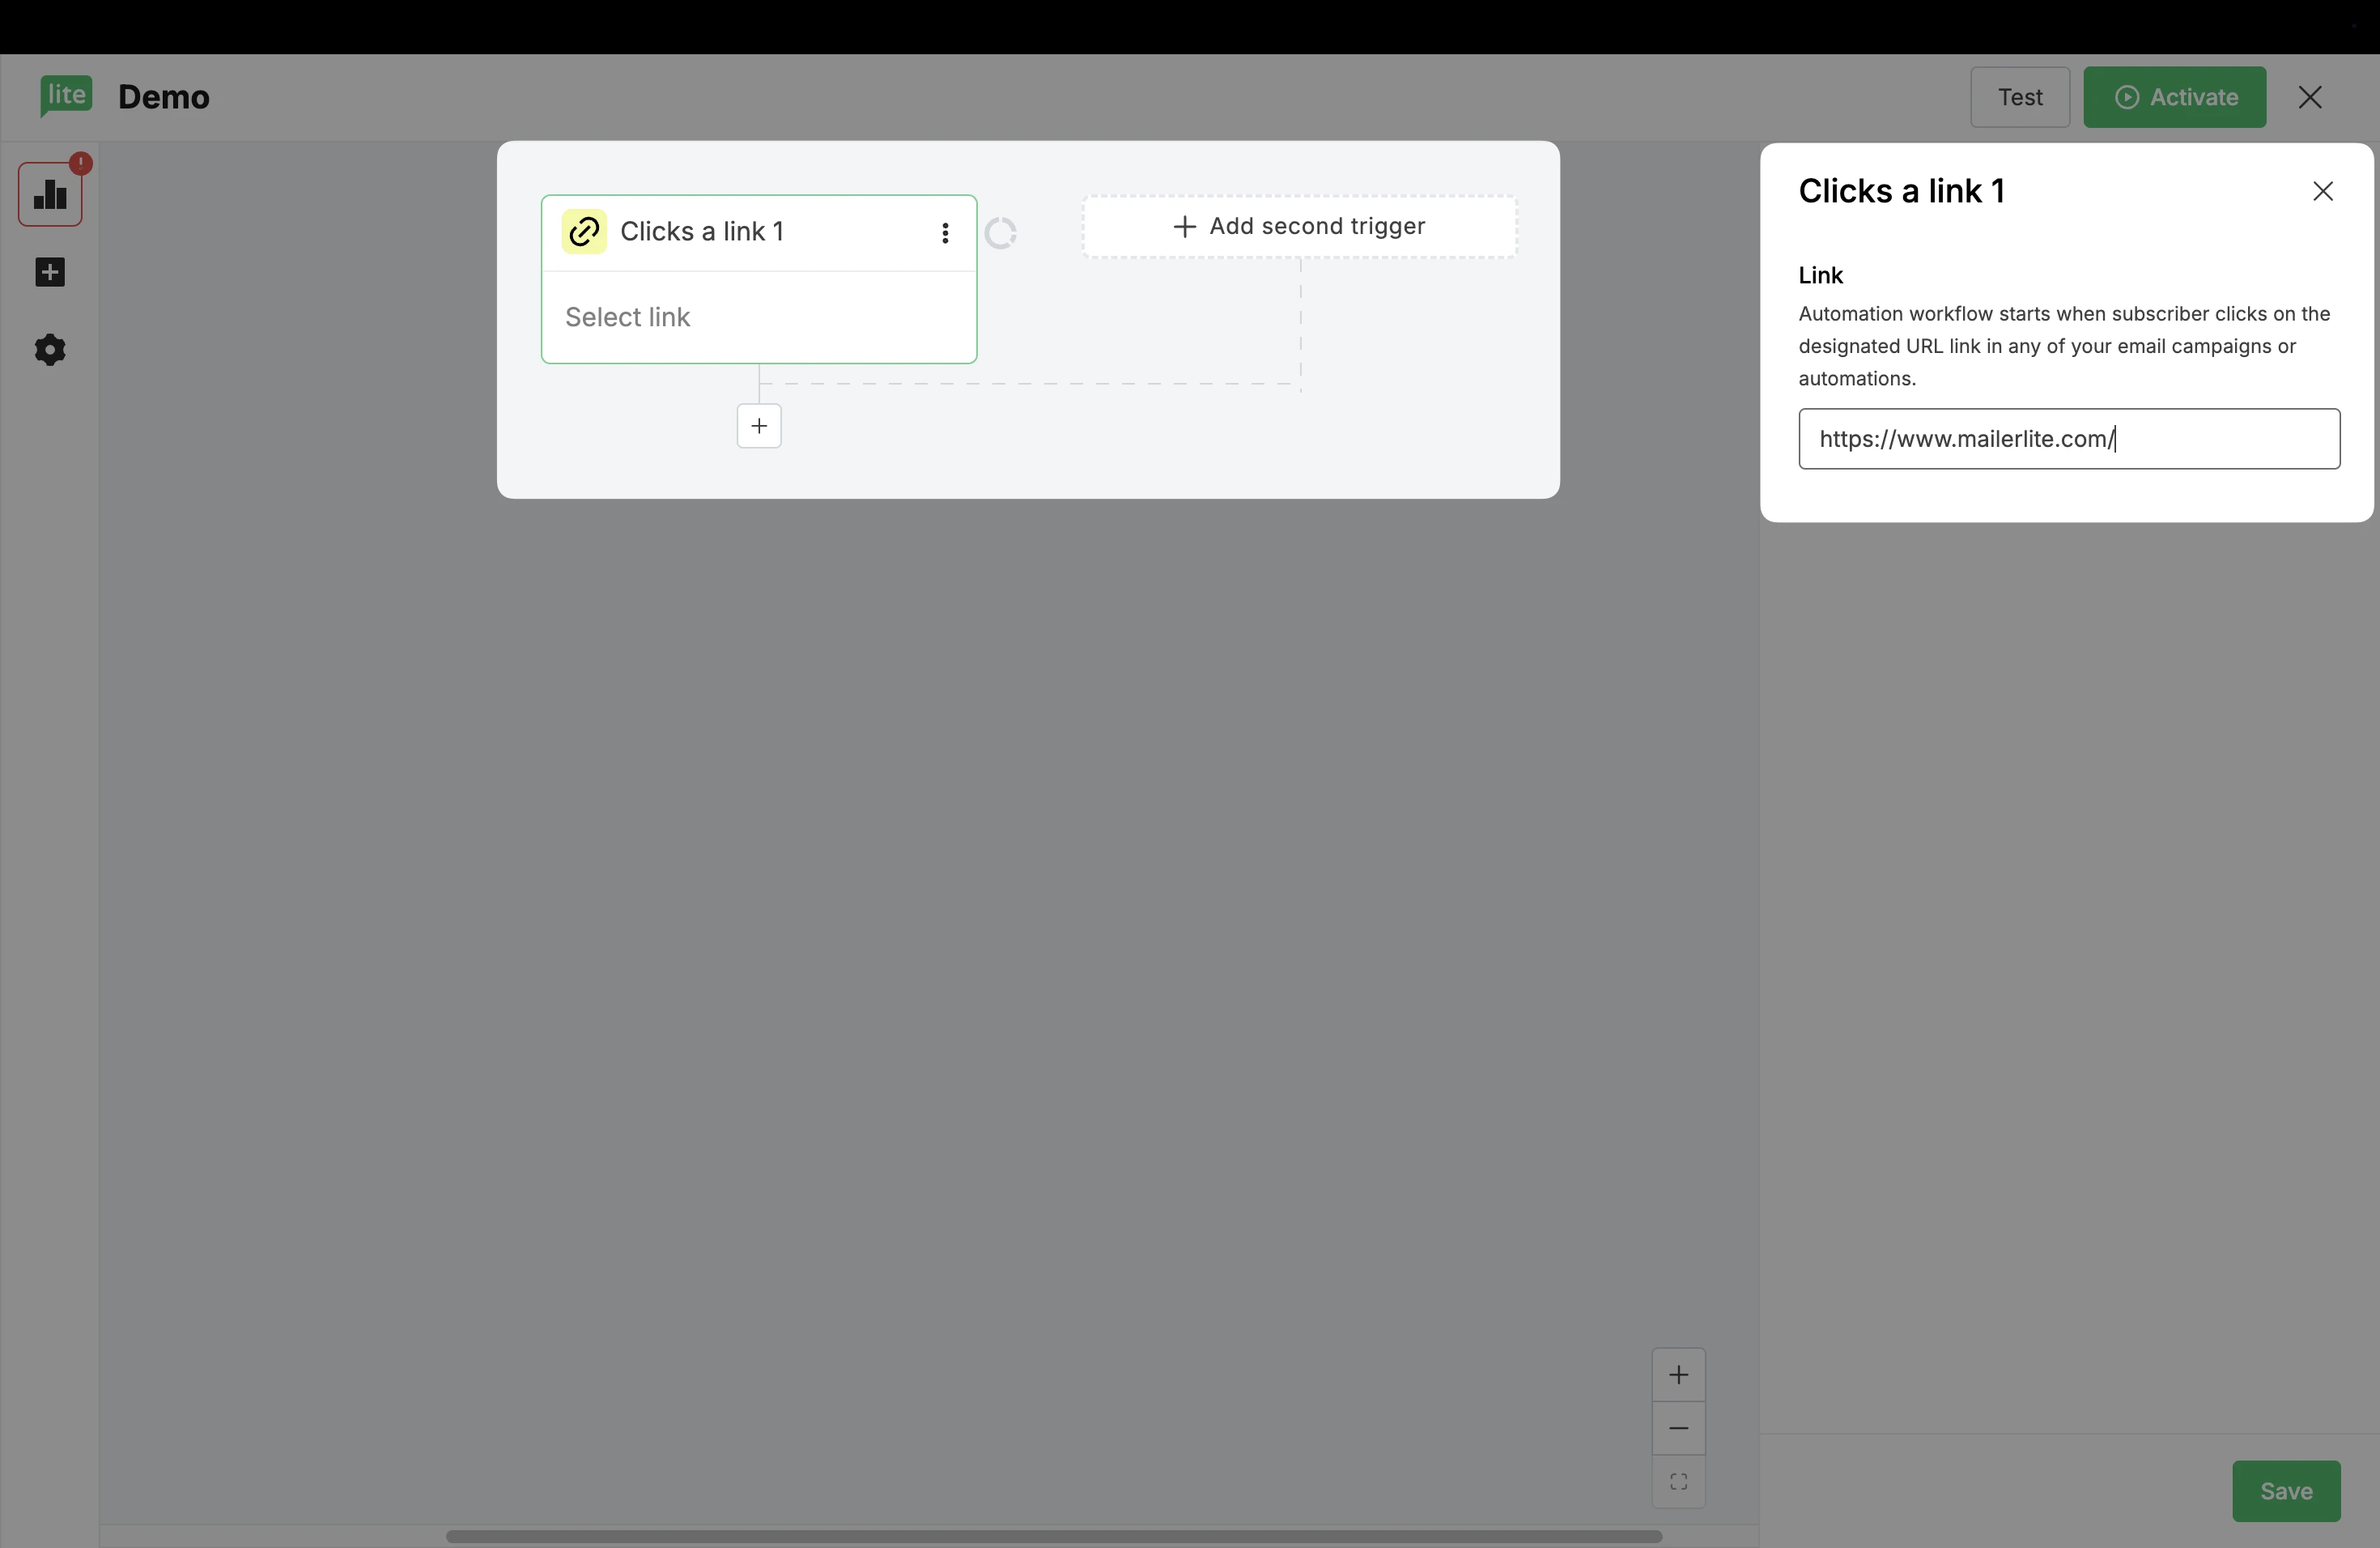
Clicks a link
When you set your workflow trigger to Clicks a link, the workflow will be triggered when a subscriber clicks a specific link in any MailerLite automation email or campaign.
To set up your link trigger:
Select the workflow trigger Clicks a link and drag it into your workflow.
In the sidebar under Link, enter the exact URL that subscribers will be clicking in order to trigger the workflow. We recommend your copy/paste the link to ensure that it is exactly the same as the one subscribers will be clicking.
3. In the left sidebar in the Settings tab, you’ll see an option labeled Allow subscribers re-enter automation. Check this box if you would like the workflow to repeat every time the subscriber clicks that same link.
Leave the box unchecked if you only want subscribers to complete your workflow the first time they click the trigger link.
4. Click Save to apply your trigger settings.
Updated field
When you use the workflow trigger Updated field, the workflow will be triggered when a subscriber field you select is updated to match the trigger rule.
To learn more about subscriber fields, check out How to create and use custom fields.
A subscriber will trigger the workflow as soon as the field selected meets the rule. This includes:
When you manually update a subscriber’s field in their profile
When a subscriber’s field is updated by a survey
When a subscriber’s field is updated by an action step in any workflow
When a subscriber enters the information in a MailerLite sign-up form
When a subscriber is added as a single subscriber
Adding subscribers with valid field data via CSV or TXT file will only trigger an automation if the following option is checked during the import:
Yes, the imported subscribers should start the automation workflow.
To set up your field trigger:
Select the workflow trigger Updated field.
In the sidebar under Custom field, select the field that you want to trigger the workflow when updated.
Select the rule you’d like to apply to that field.
Enter the value that the field must contain in order to trigger the workflow.
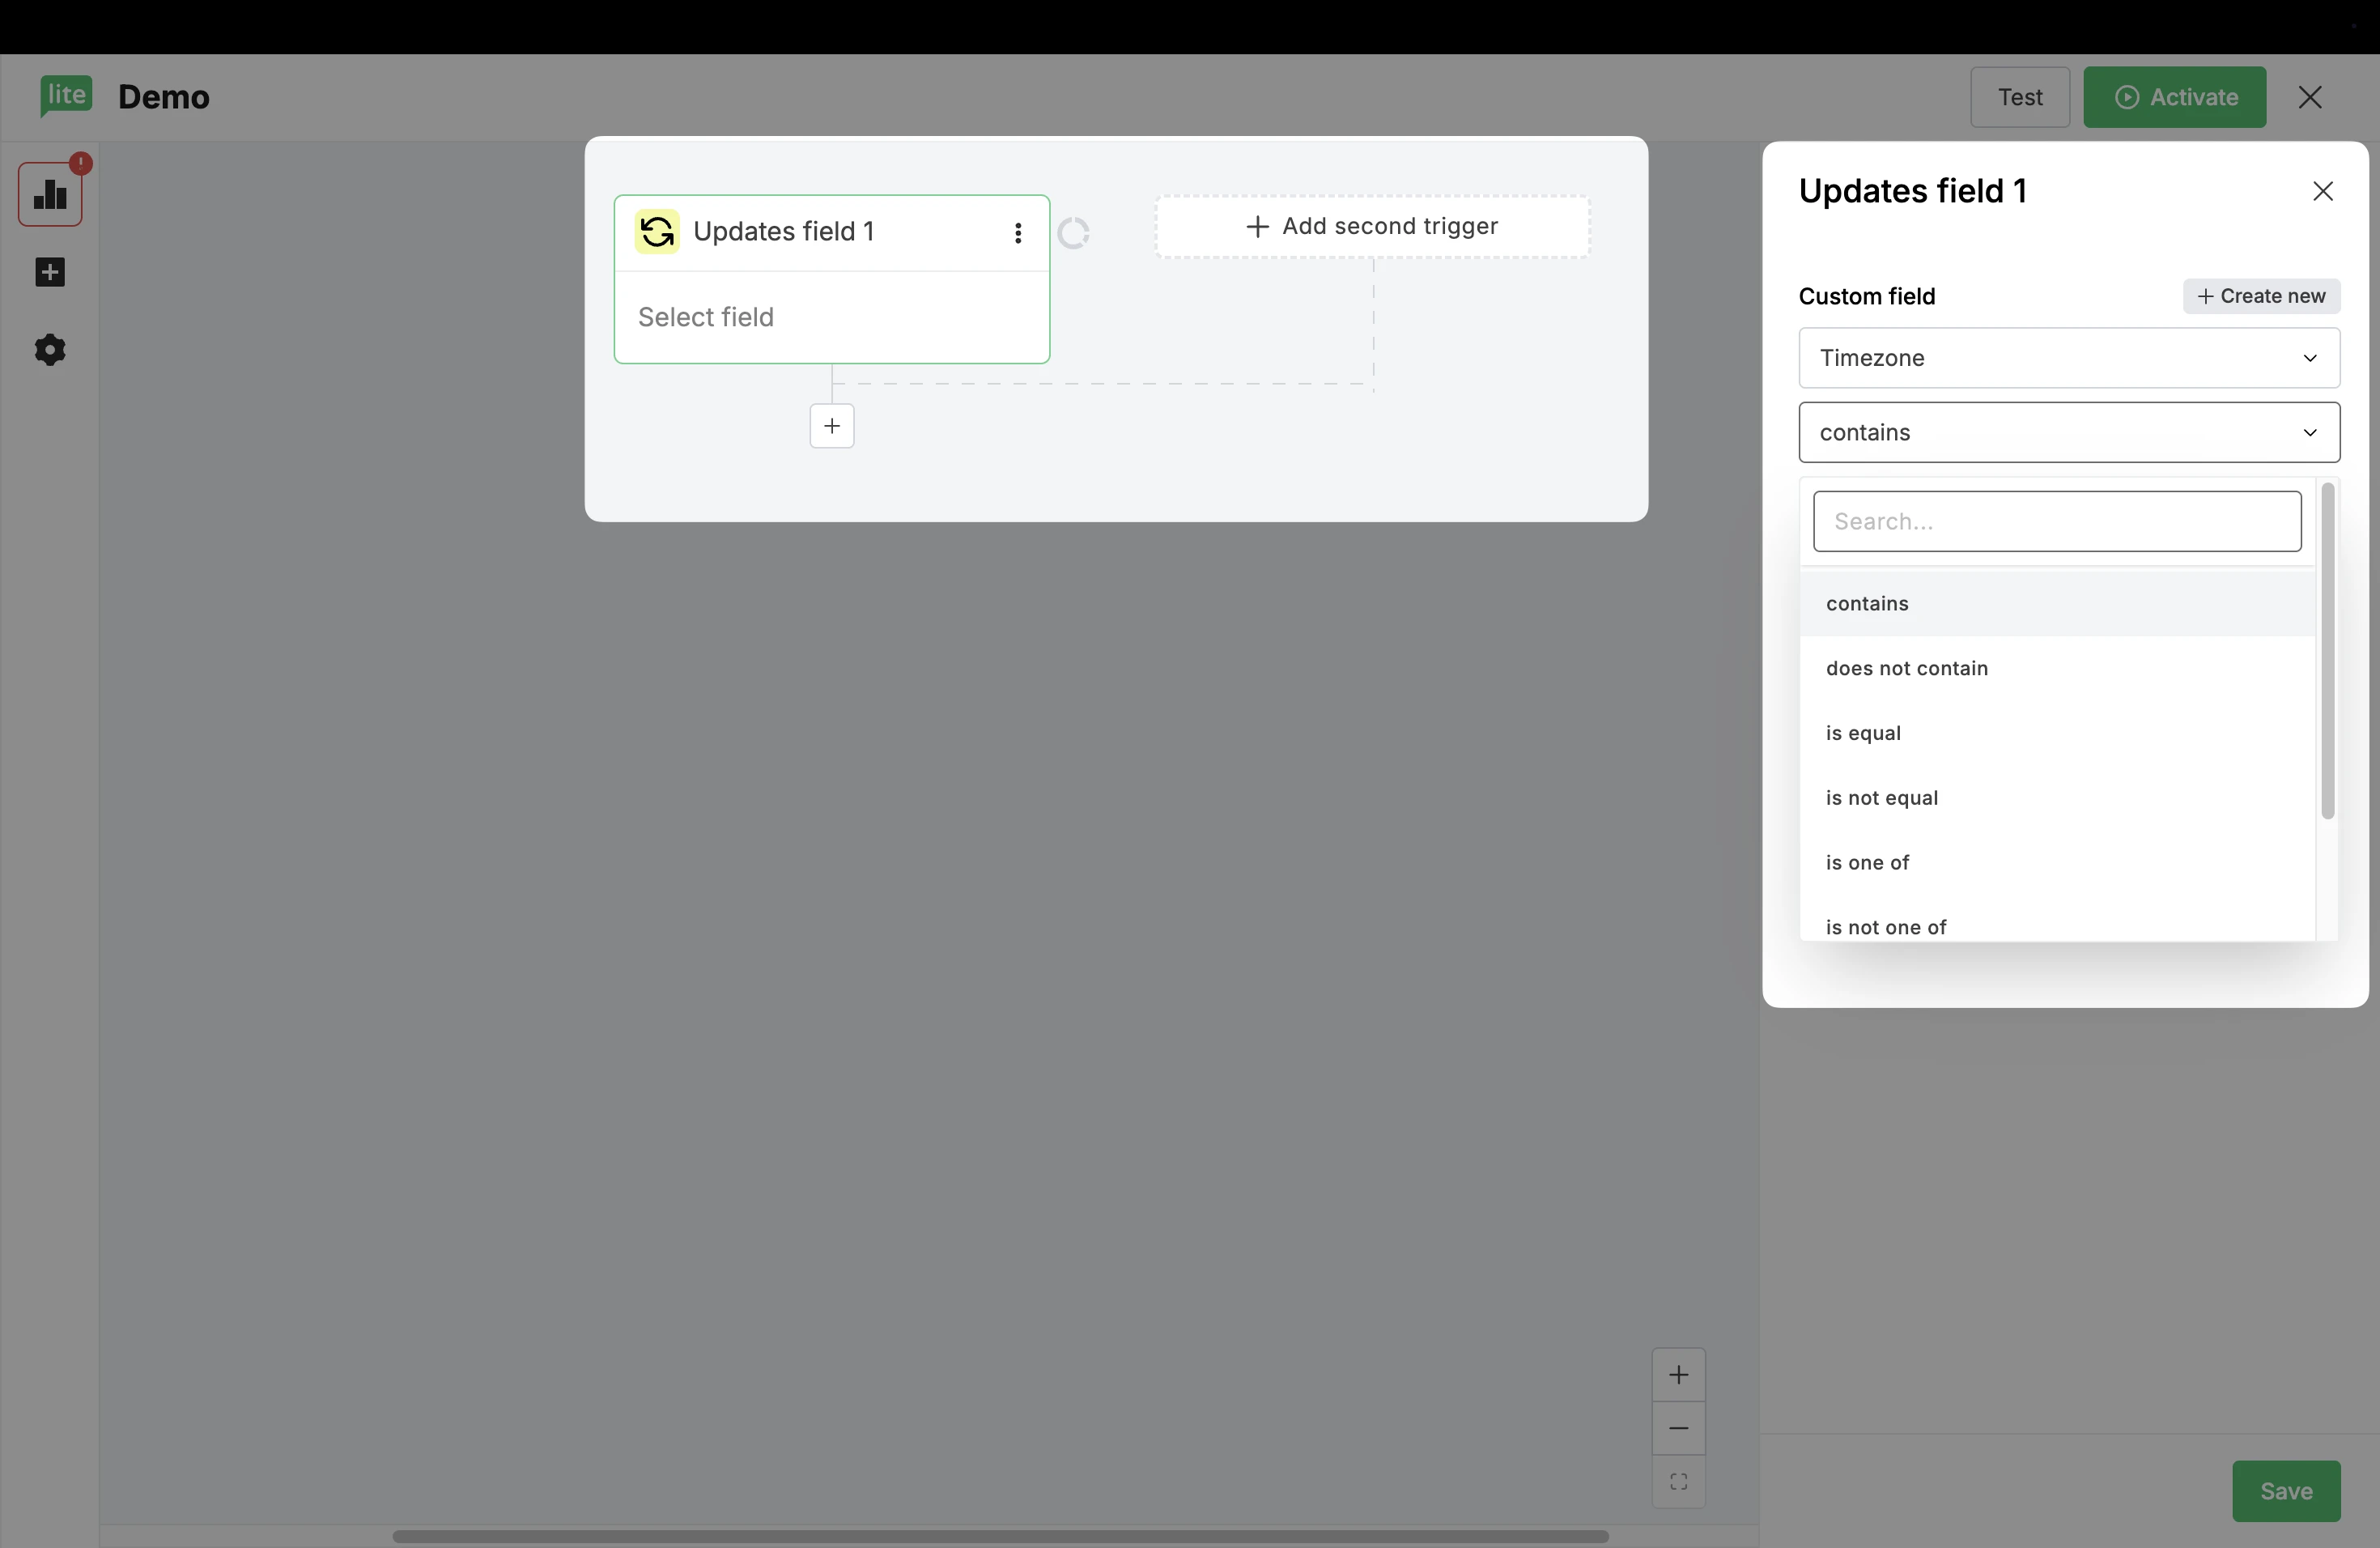
When setting up an Updated field trigger, you can select from the following rules:
Contains
Does not contain
Is equal
Is one of
Is not equal
Is not one of
Is not provided
Is provided
This makes up the condition that is your workflow trigger. For example, your trigger may be:
Field: Country
Rule: Is equal
Value: United States
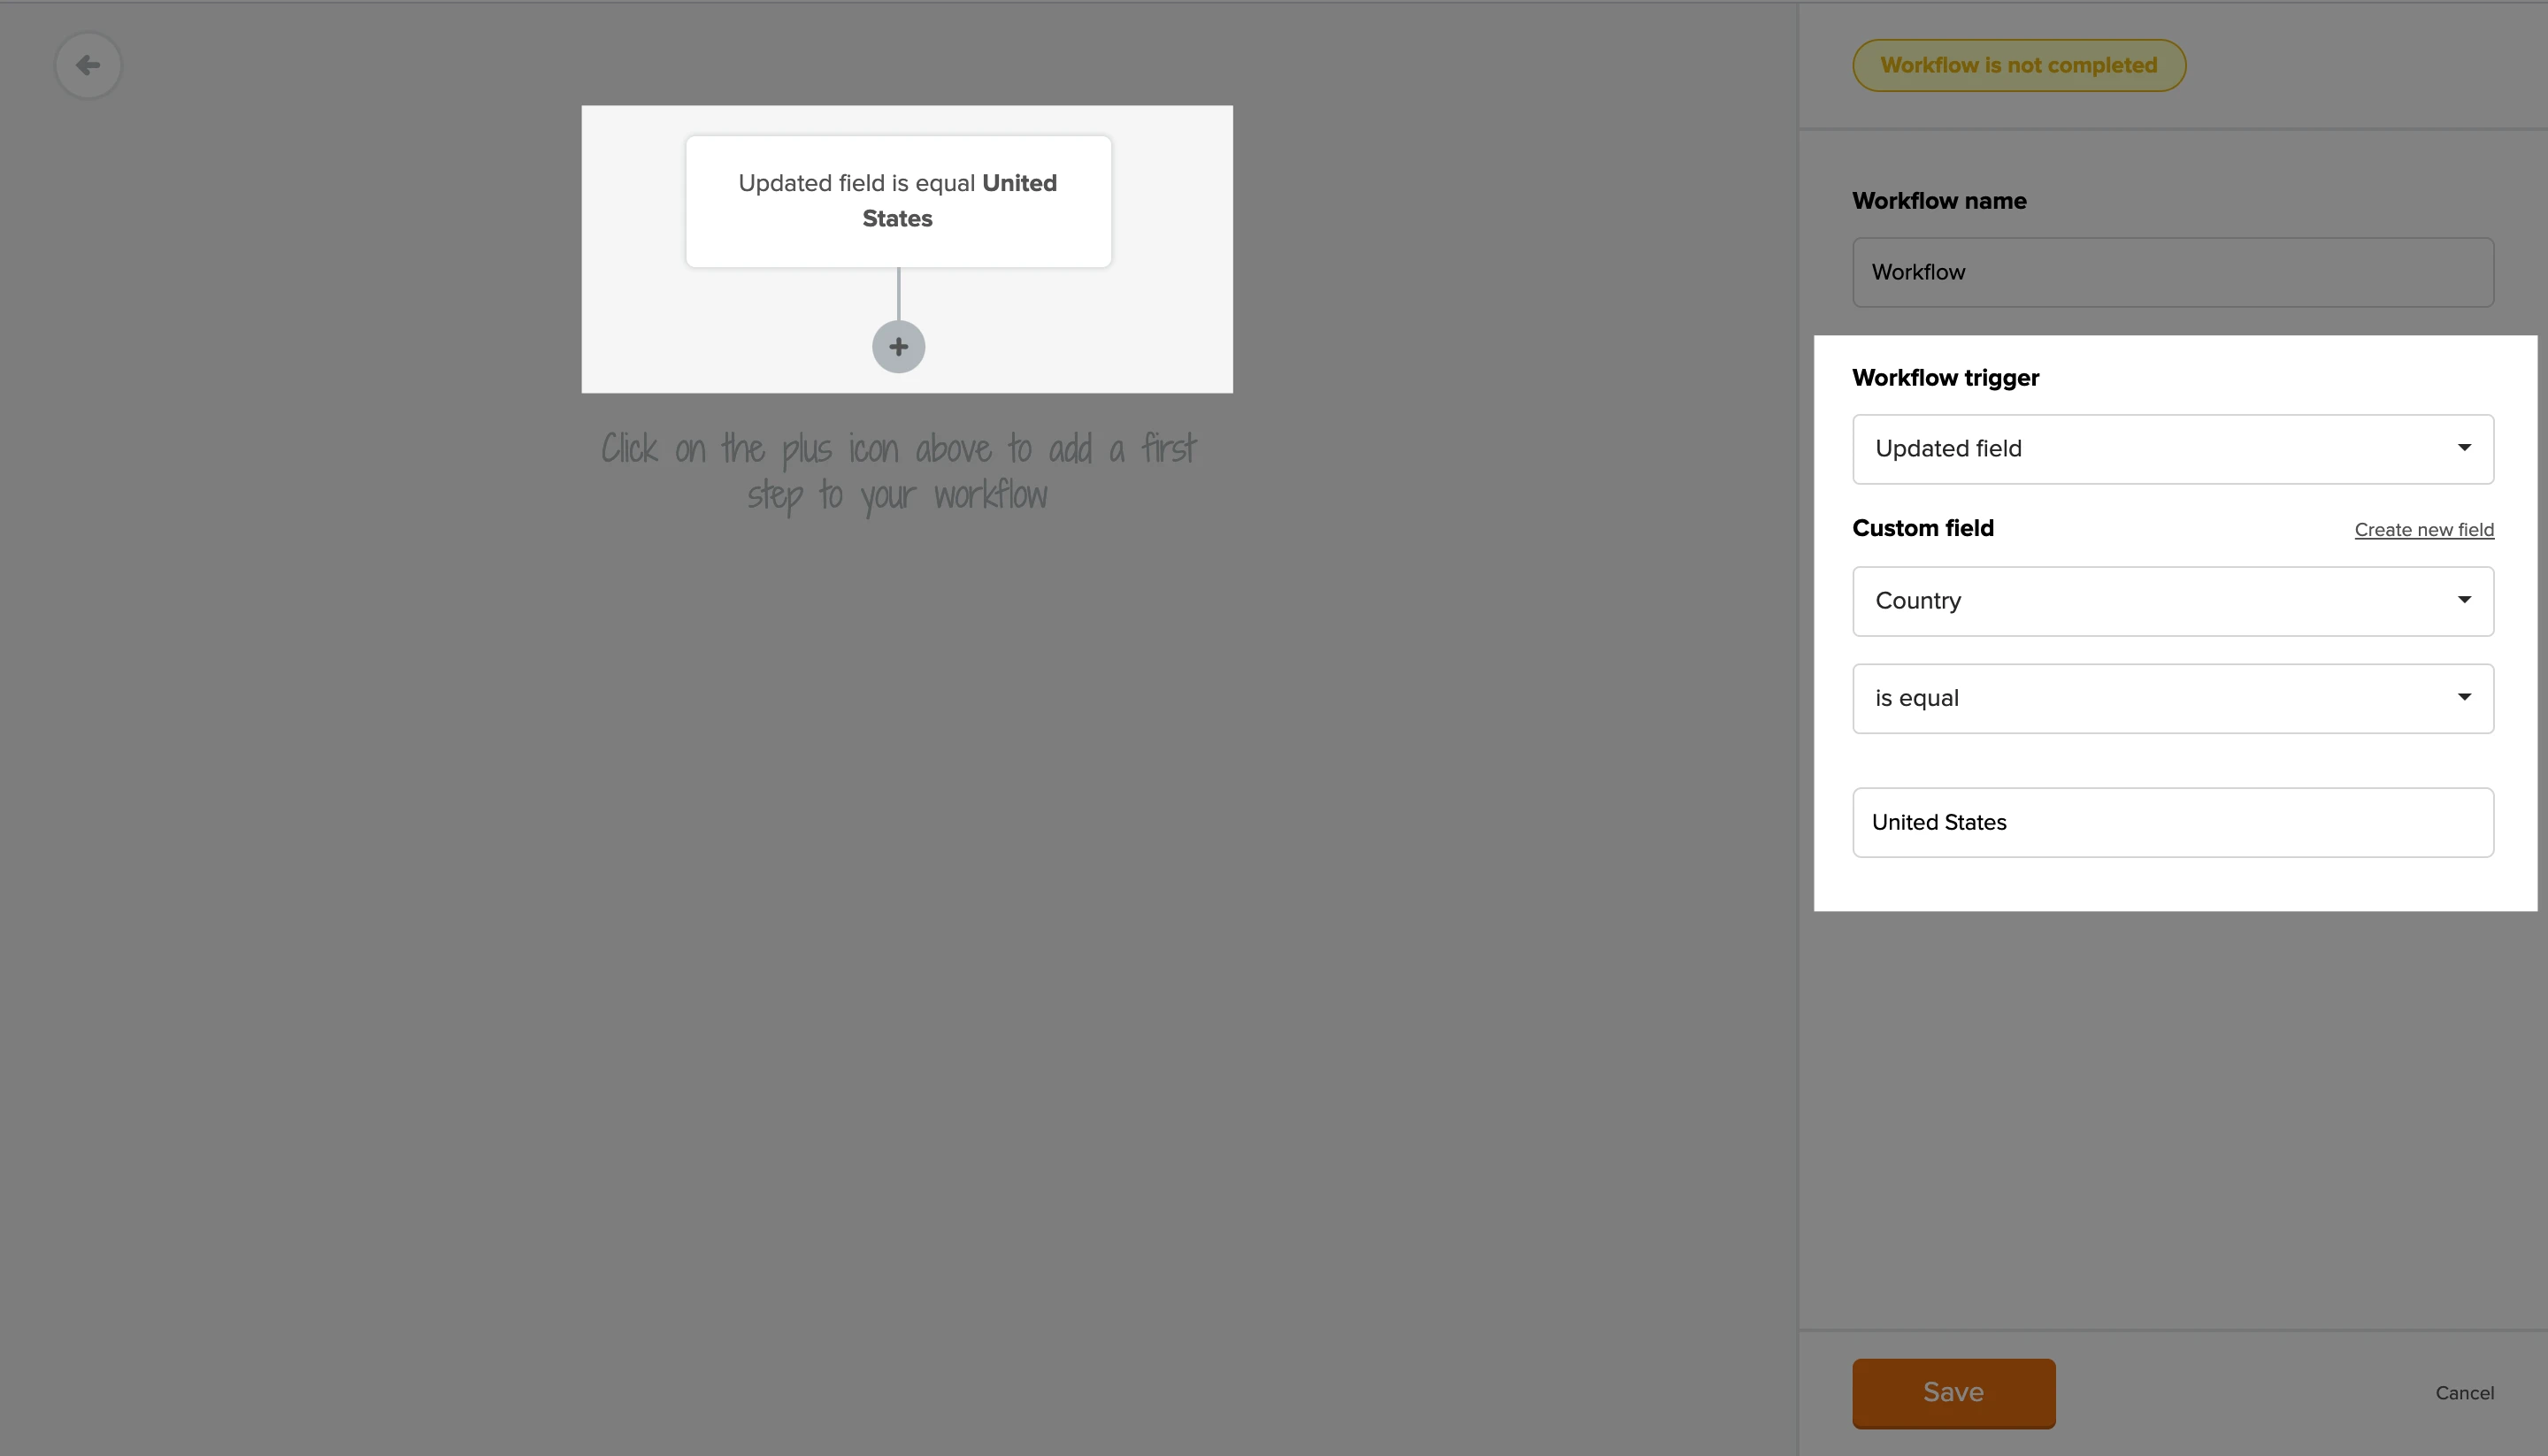
In this example, when a subscriber’s Country field is updated with a value equal to United States, they will automatically trigger the workflow.
The entered value is not case-sensitive. So, if your trigger rule is Country is equal to France, the workflow will still trigger for subscribers whose Country field contains france.
Joins a segment(s)
This trigger activates a workflow when a subscriber matches the criteria of a specific segment.
Key details:
You can select one segment per trigger, with up to 3 triggers per automation (Advanced plan).
Subscribers enter the automation as soon as they meet the segment criteria.
If they no longer meet the segment conditions, they exit the flow at their current step.
If a subscriber is removed from the automation, they will appear in the workflow Activity tab, and will be in the Canceled category with the reason: Subscriber no longer matches the segment.
Allow subscribers re-enter automation checkbox:
If not checked, once a subscriber is dropped, they won’t re-enter the flow.
If checked, they can re-enter after 24 hours if they match the segment again.
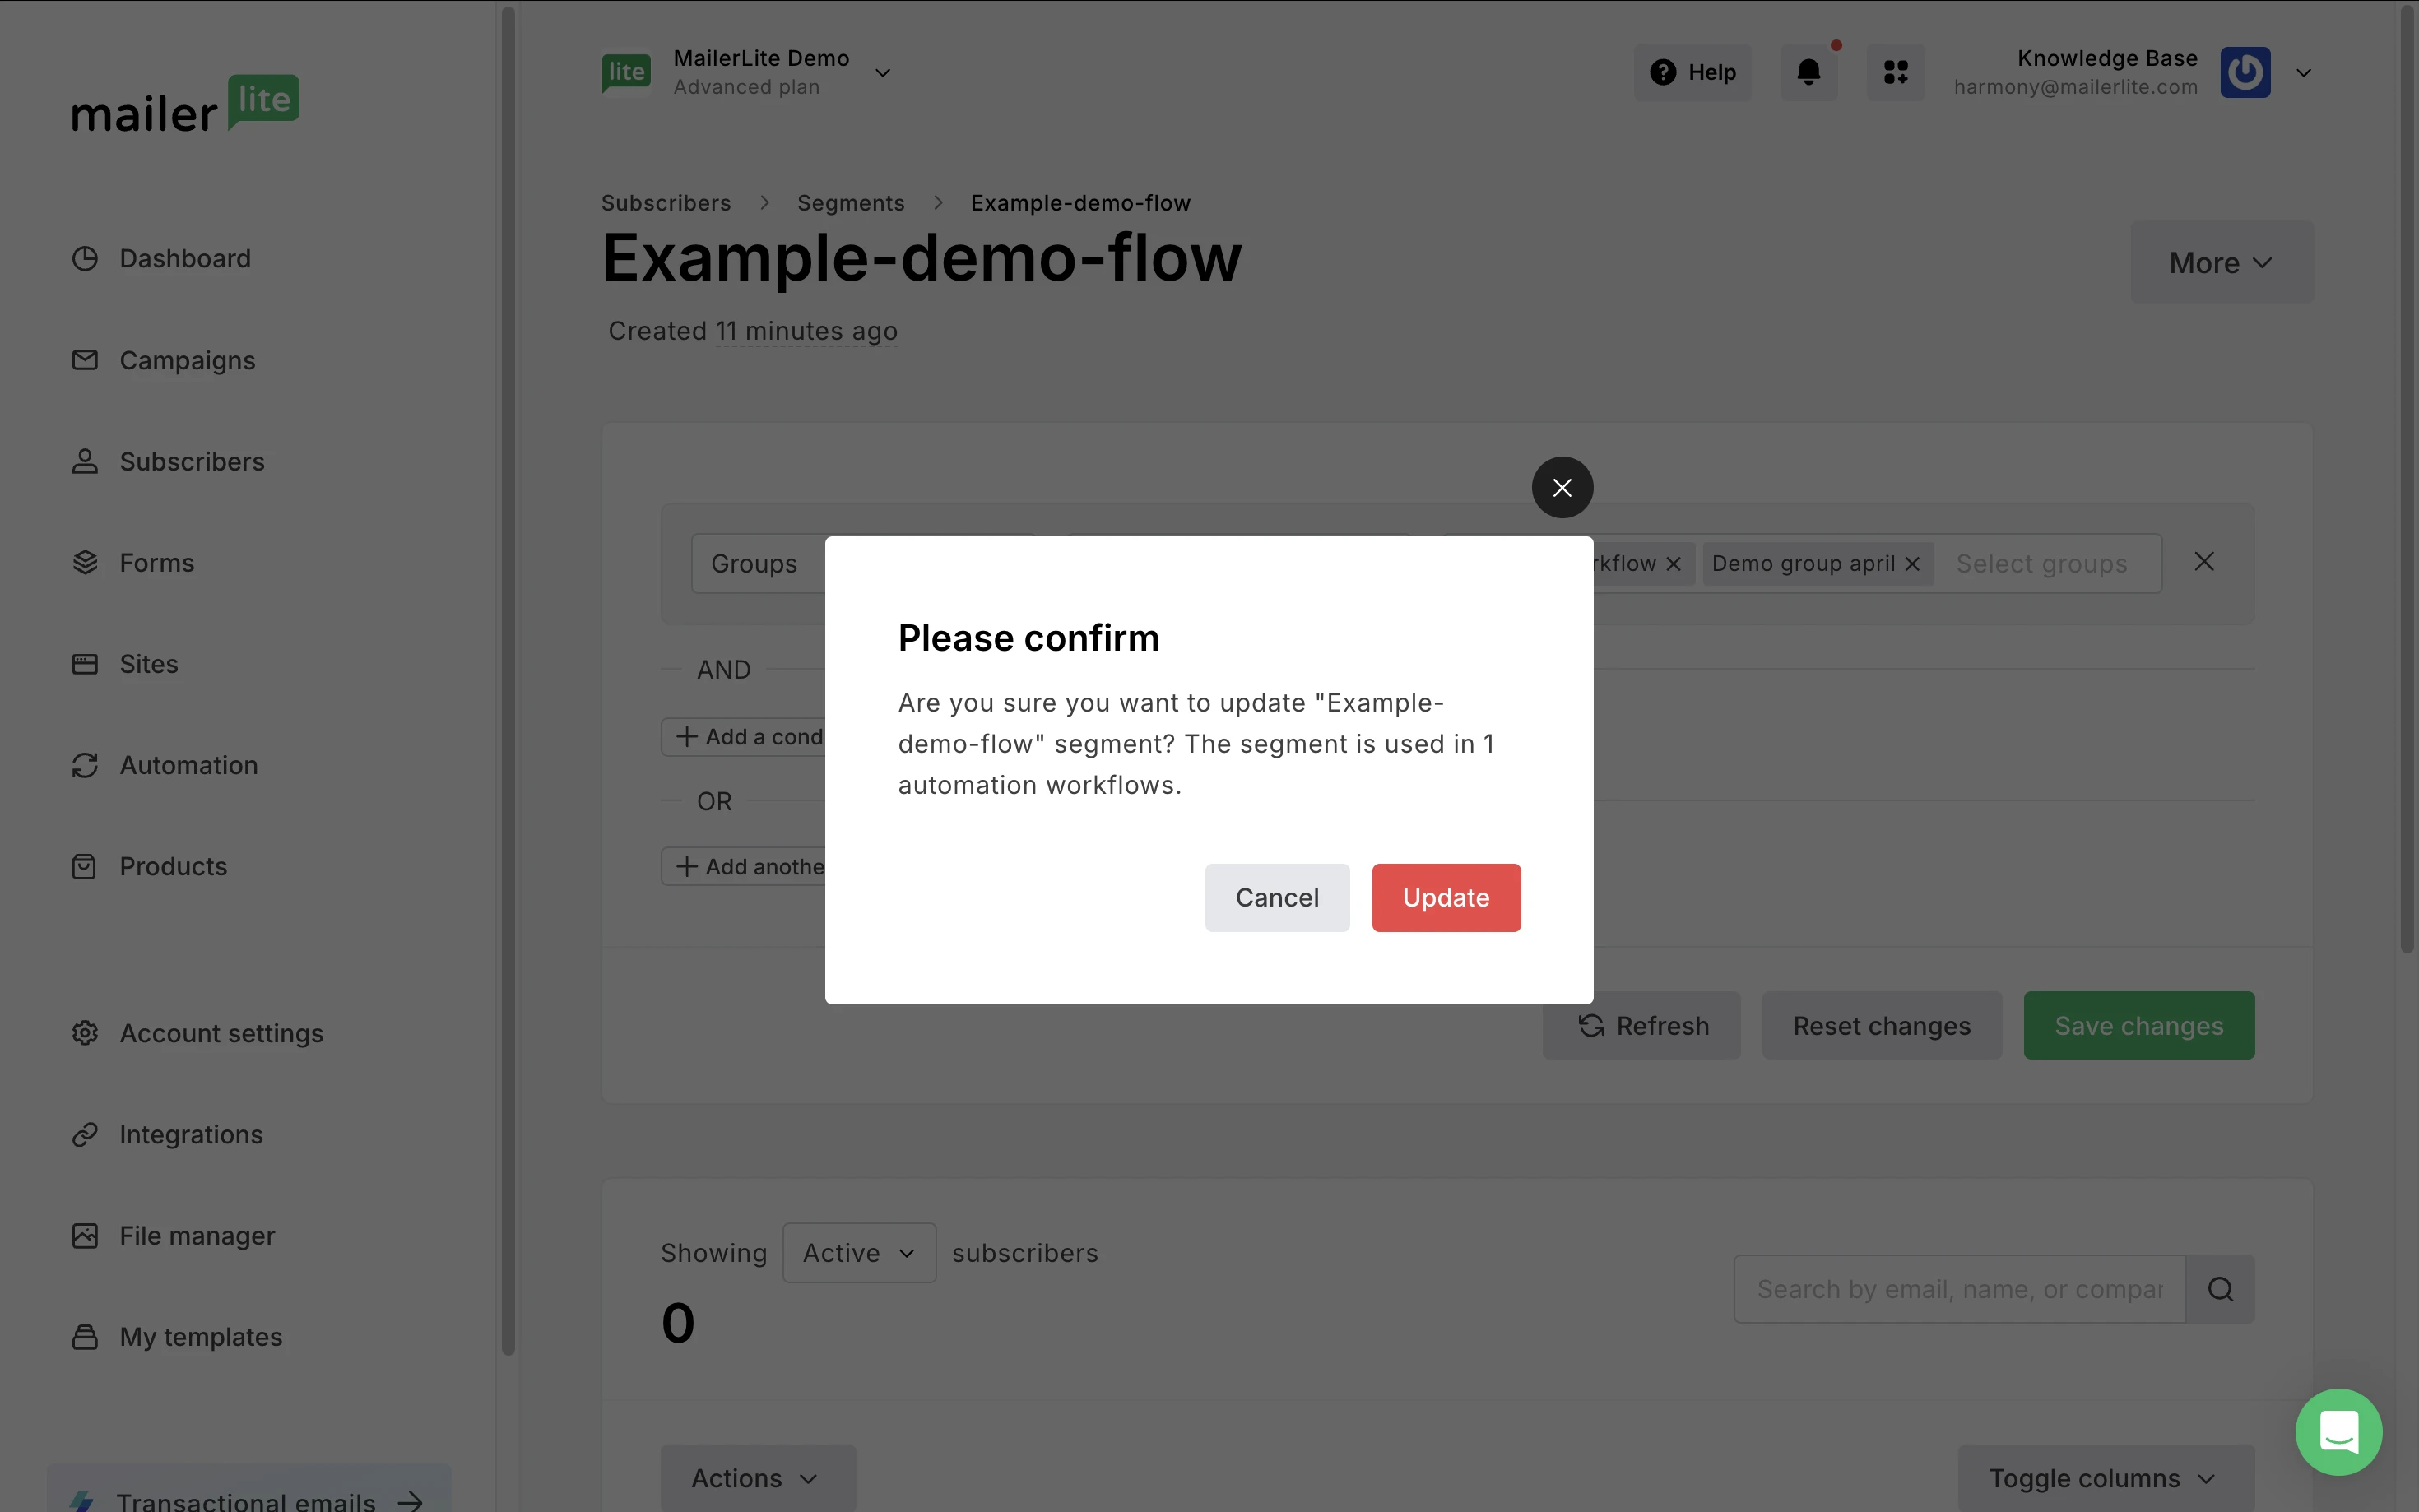
If you manually update a segment filter tied to an active automation:
New members added by the update won’t trigger the flow automatically (only organic entries count).
Account Admins can manually add updated members via automation settings.
Subscribers who no longer match the segment are removed from the flow.
A confirmation step appears when saving updates to segments tied to active automations to prevent mistakes.
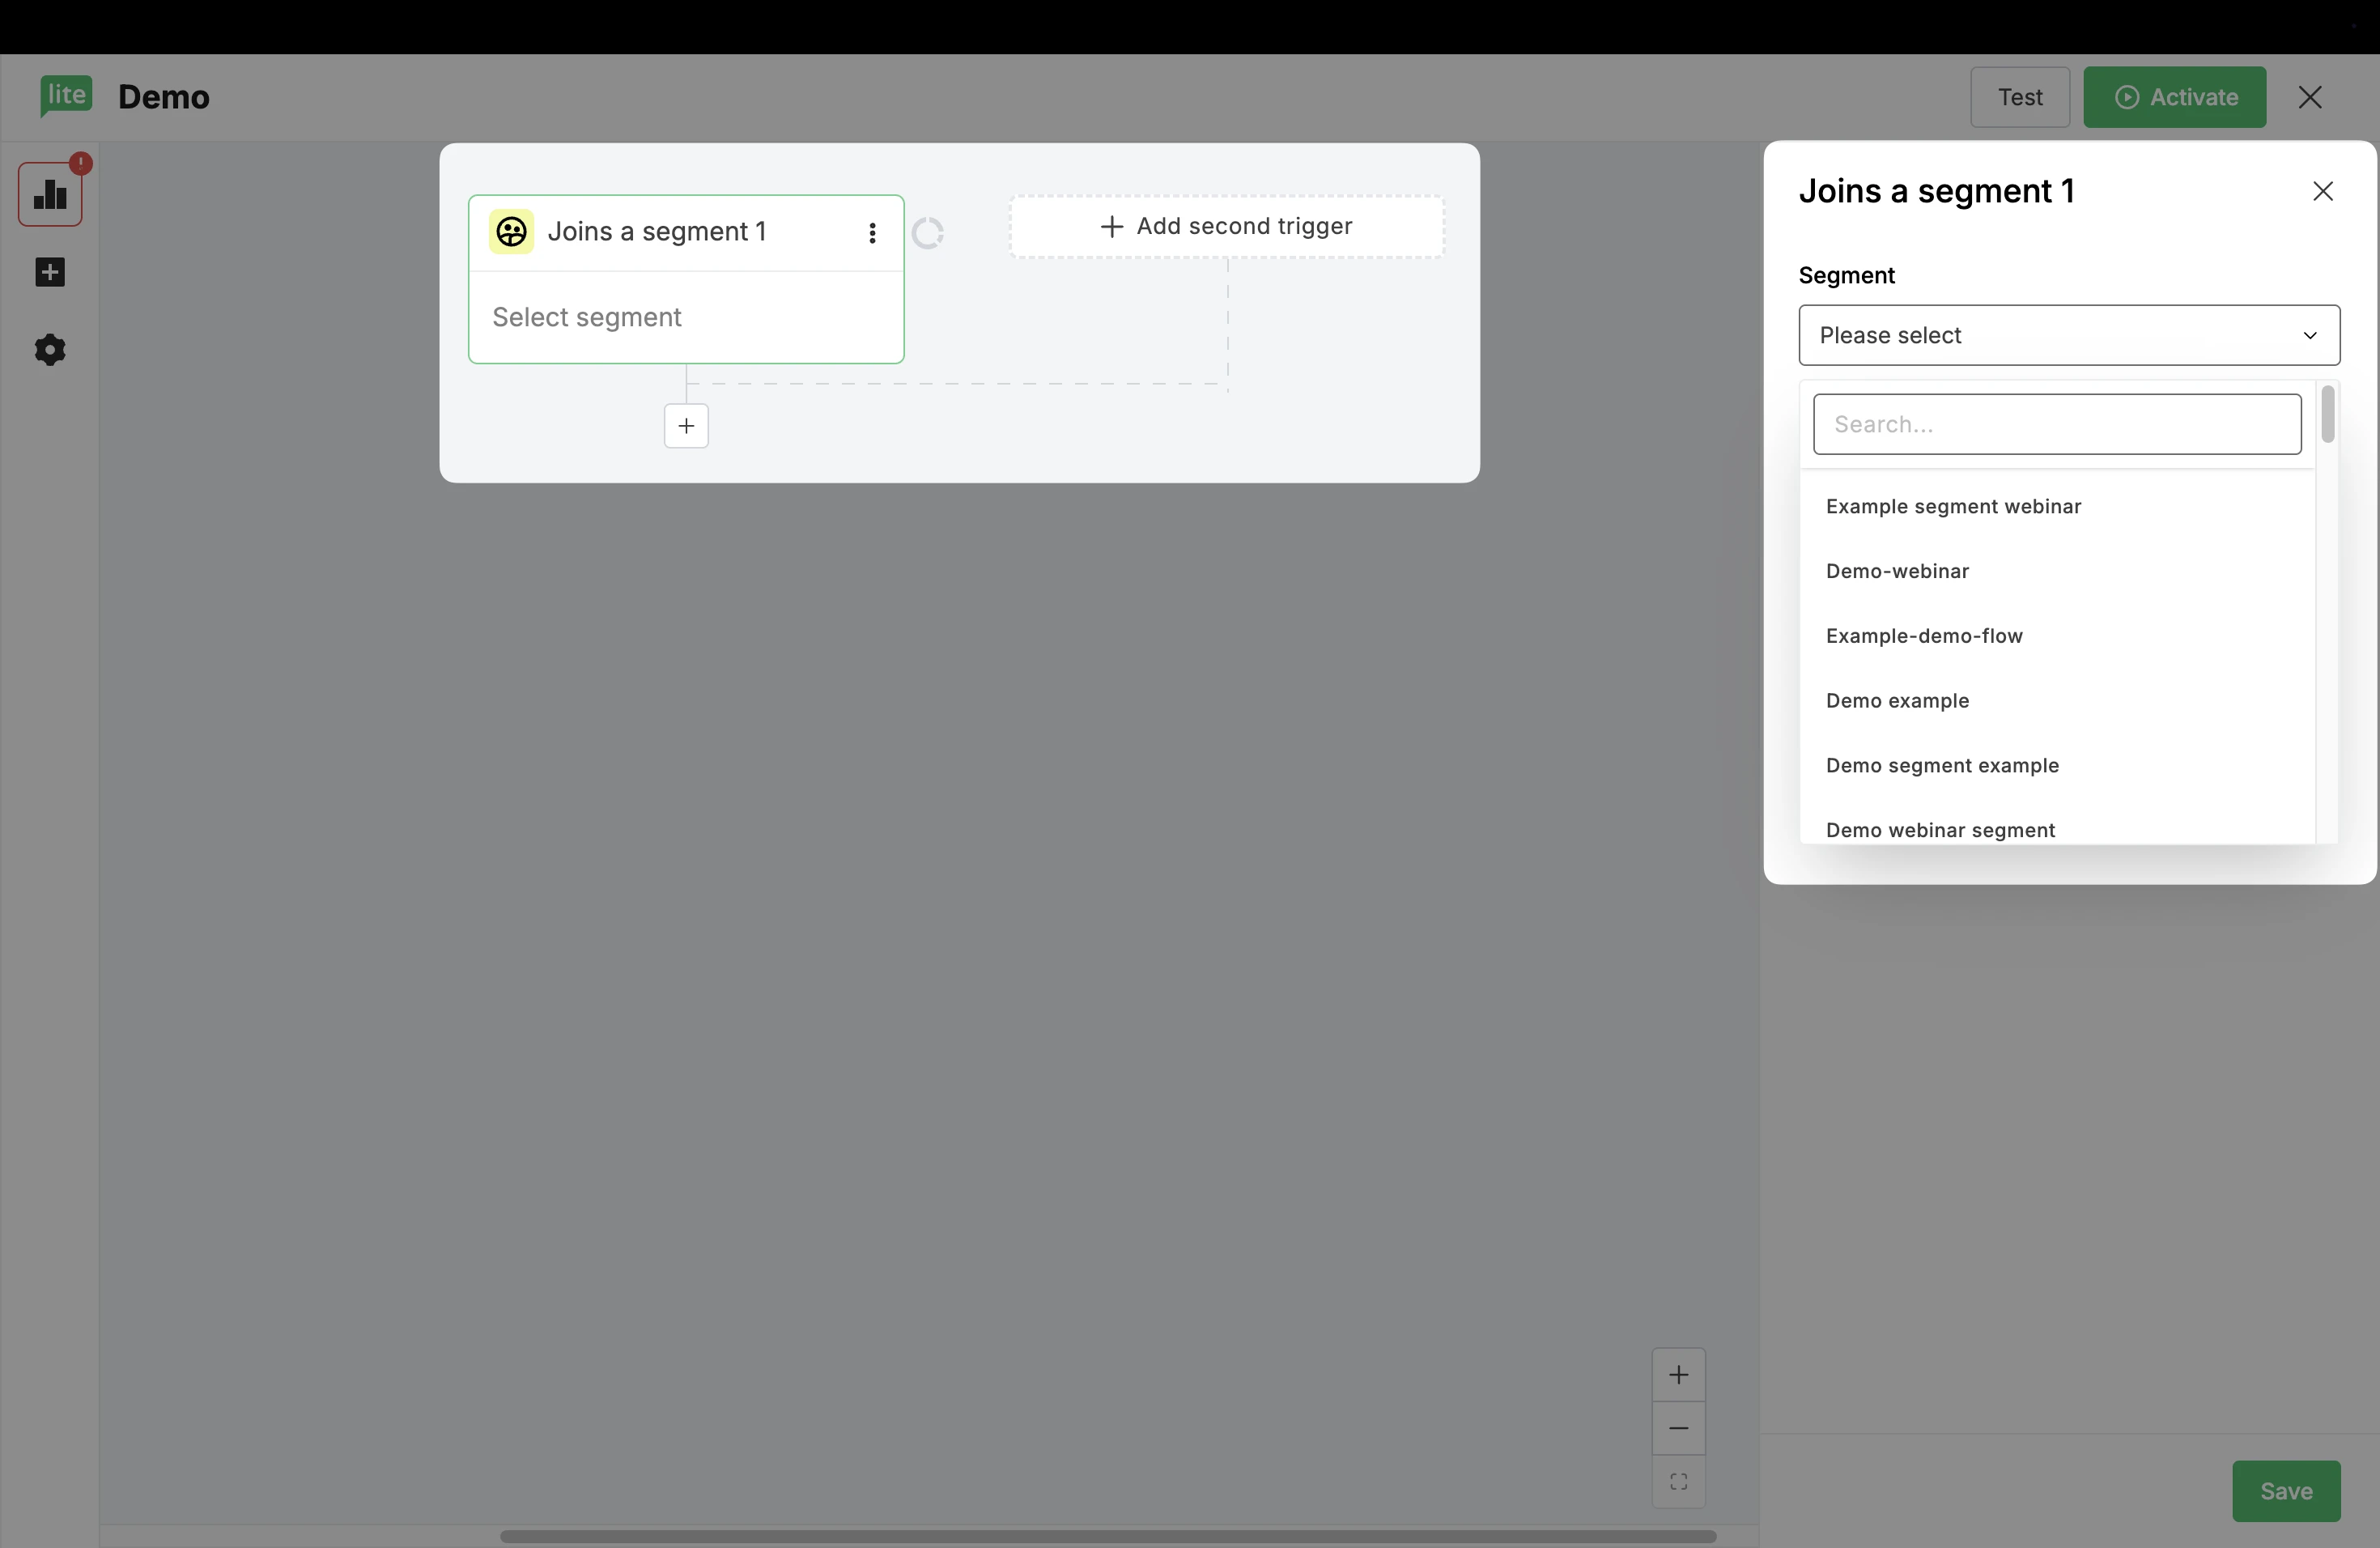
To set up your segment trigger:
1. Select Joins a segment(s) and drag the step into the workflow.
2. Choose your segment from the sidebar.
3. Click Save.
Event anniversary
Event anniversary trigger automatically initiates a workflow every year on a specific date, such as for birthdays or anniversaries. This trigger relies on a date custom field to send timely, personalized emails to your subscribers.
✨ For inspiration, check our automation templates for birthday emails and anniversary emails.
To set up your anniversary trigger:
1. Select the trigger Event anniversary.
2. In the sidebar, select the Group you want to include in this workflow.
3. Define the trigger date:
Choose the custom date field to base the trigger on.
Specify if the workflow should activate On the date or Before it.
4. Select the time of day you’d like the automation to trigger.
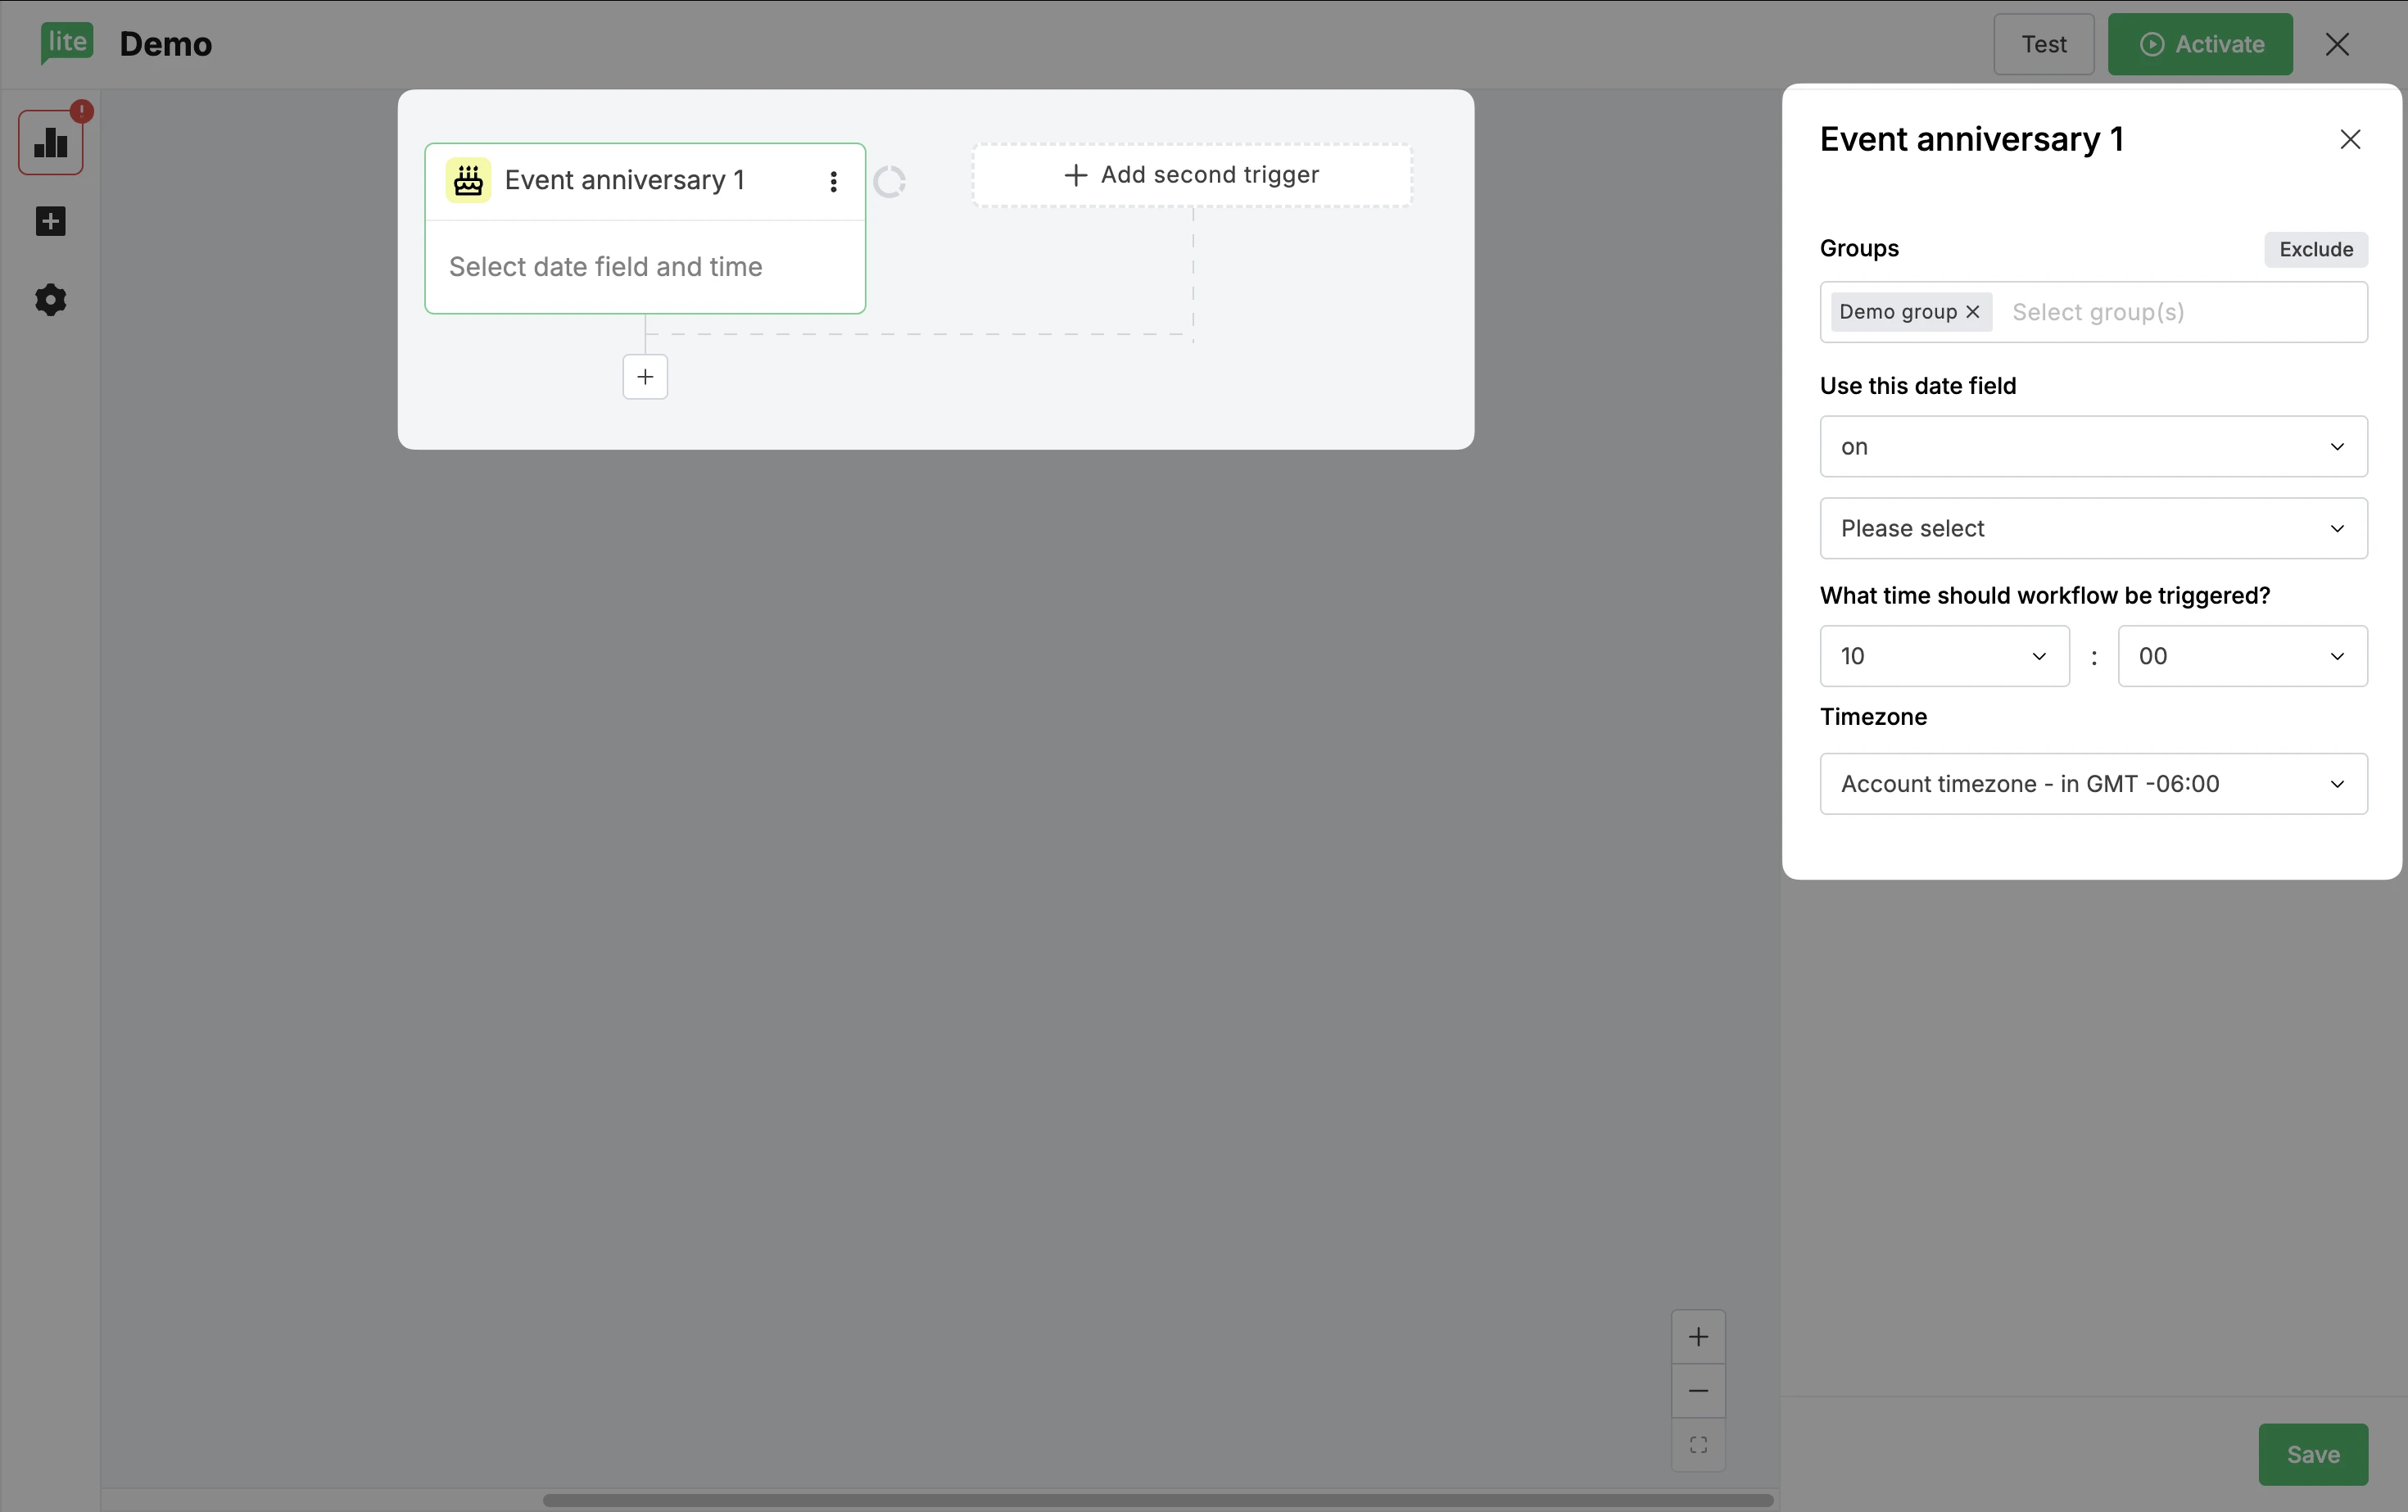
5. Click Save to apply your trigger settings.
💡 Important
Timing: The system checks the selected date field for each subscriber in the group daily at 4:00 AM GMT/UTC +00:00. Ensure subscribers are added to the group before this time on the desired trigger date.
Date format: Use the YYYY-MM-DD format for the custom date field.
Time zone: This feature operates on GMT/UTC +00:00, not your account’s local time zone. Adjust your planning accordingly.
Exact date
The Exact date activates a workflow on a specific date, without repeating annually. It's ideal for one-time events or deadlines, utilizing a custom date field for precise targeting.
To set up your exact match of date trigger:
1. Select the trigger Exact date and drag the step into the workflow.
2. In the sidebar, select the Group you want to include in this workflow.
3. Define the trigger date:
Choose the custom date field to base the trigger on.
Specify if the workflow should activate On the date or Before it.
4. Select the time of day you’d like the automation to trigger.
5. Click Save to apply your trigger settings.
💡 Important
Daily check: This trigger also checks the date field for each subscriber daily at 4:00 AM GMT/UTC +00:00. Timely addition to the group is essential.
Date format: Ensure the date is in the YYYY-MM-DD format.
UTC time zone: This trigger uses GMT/UTC +00:00 time. It’s important to plan according to this standard, not your local time.
E-commerce triggers
If you have the MailerLite plugin installed for Shopify, BigCommerce, PrestaShop, WooCommerce, Shoper, Wix, Squarespace, or use e-commerce API, then you will have access to e-commerce automation triggers. This means events that occur in your store can trigger automation workflows in MailerLite.
E-commerce triggers include:
Abandoned cart
Abandoned checkout
Buys any product
Buys specific product
Buys from category
Purchase frequency
In order to trigger an automation that uses an e-commerce trigger, customers of your store must also be newsletter subscribers and accept receiving marketing from you.
💡 Curious how these triggers work?
Learn how to use them in our E-commerce automation triggers article.
How to manually add subscribers to a workflow
If you want to include specific people or groups to an automation without relying on triggers, you can also manually add subscribers.
The option to Add subscribers can be found from the main workflows page under the three dot menu.
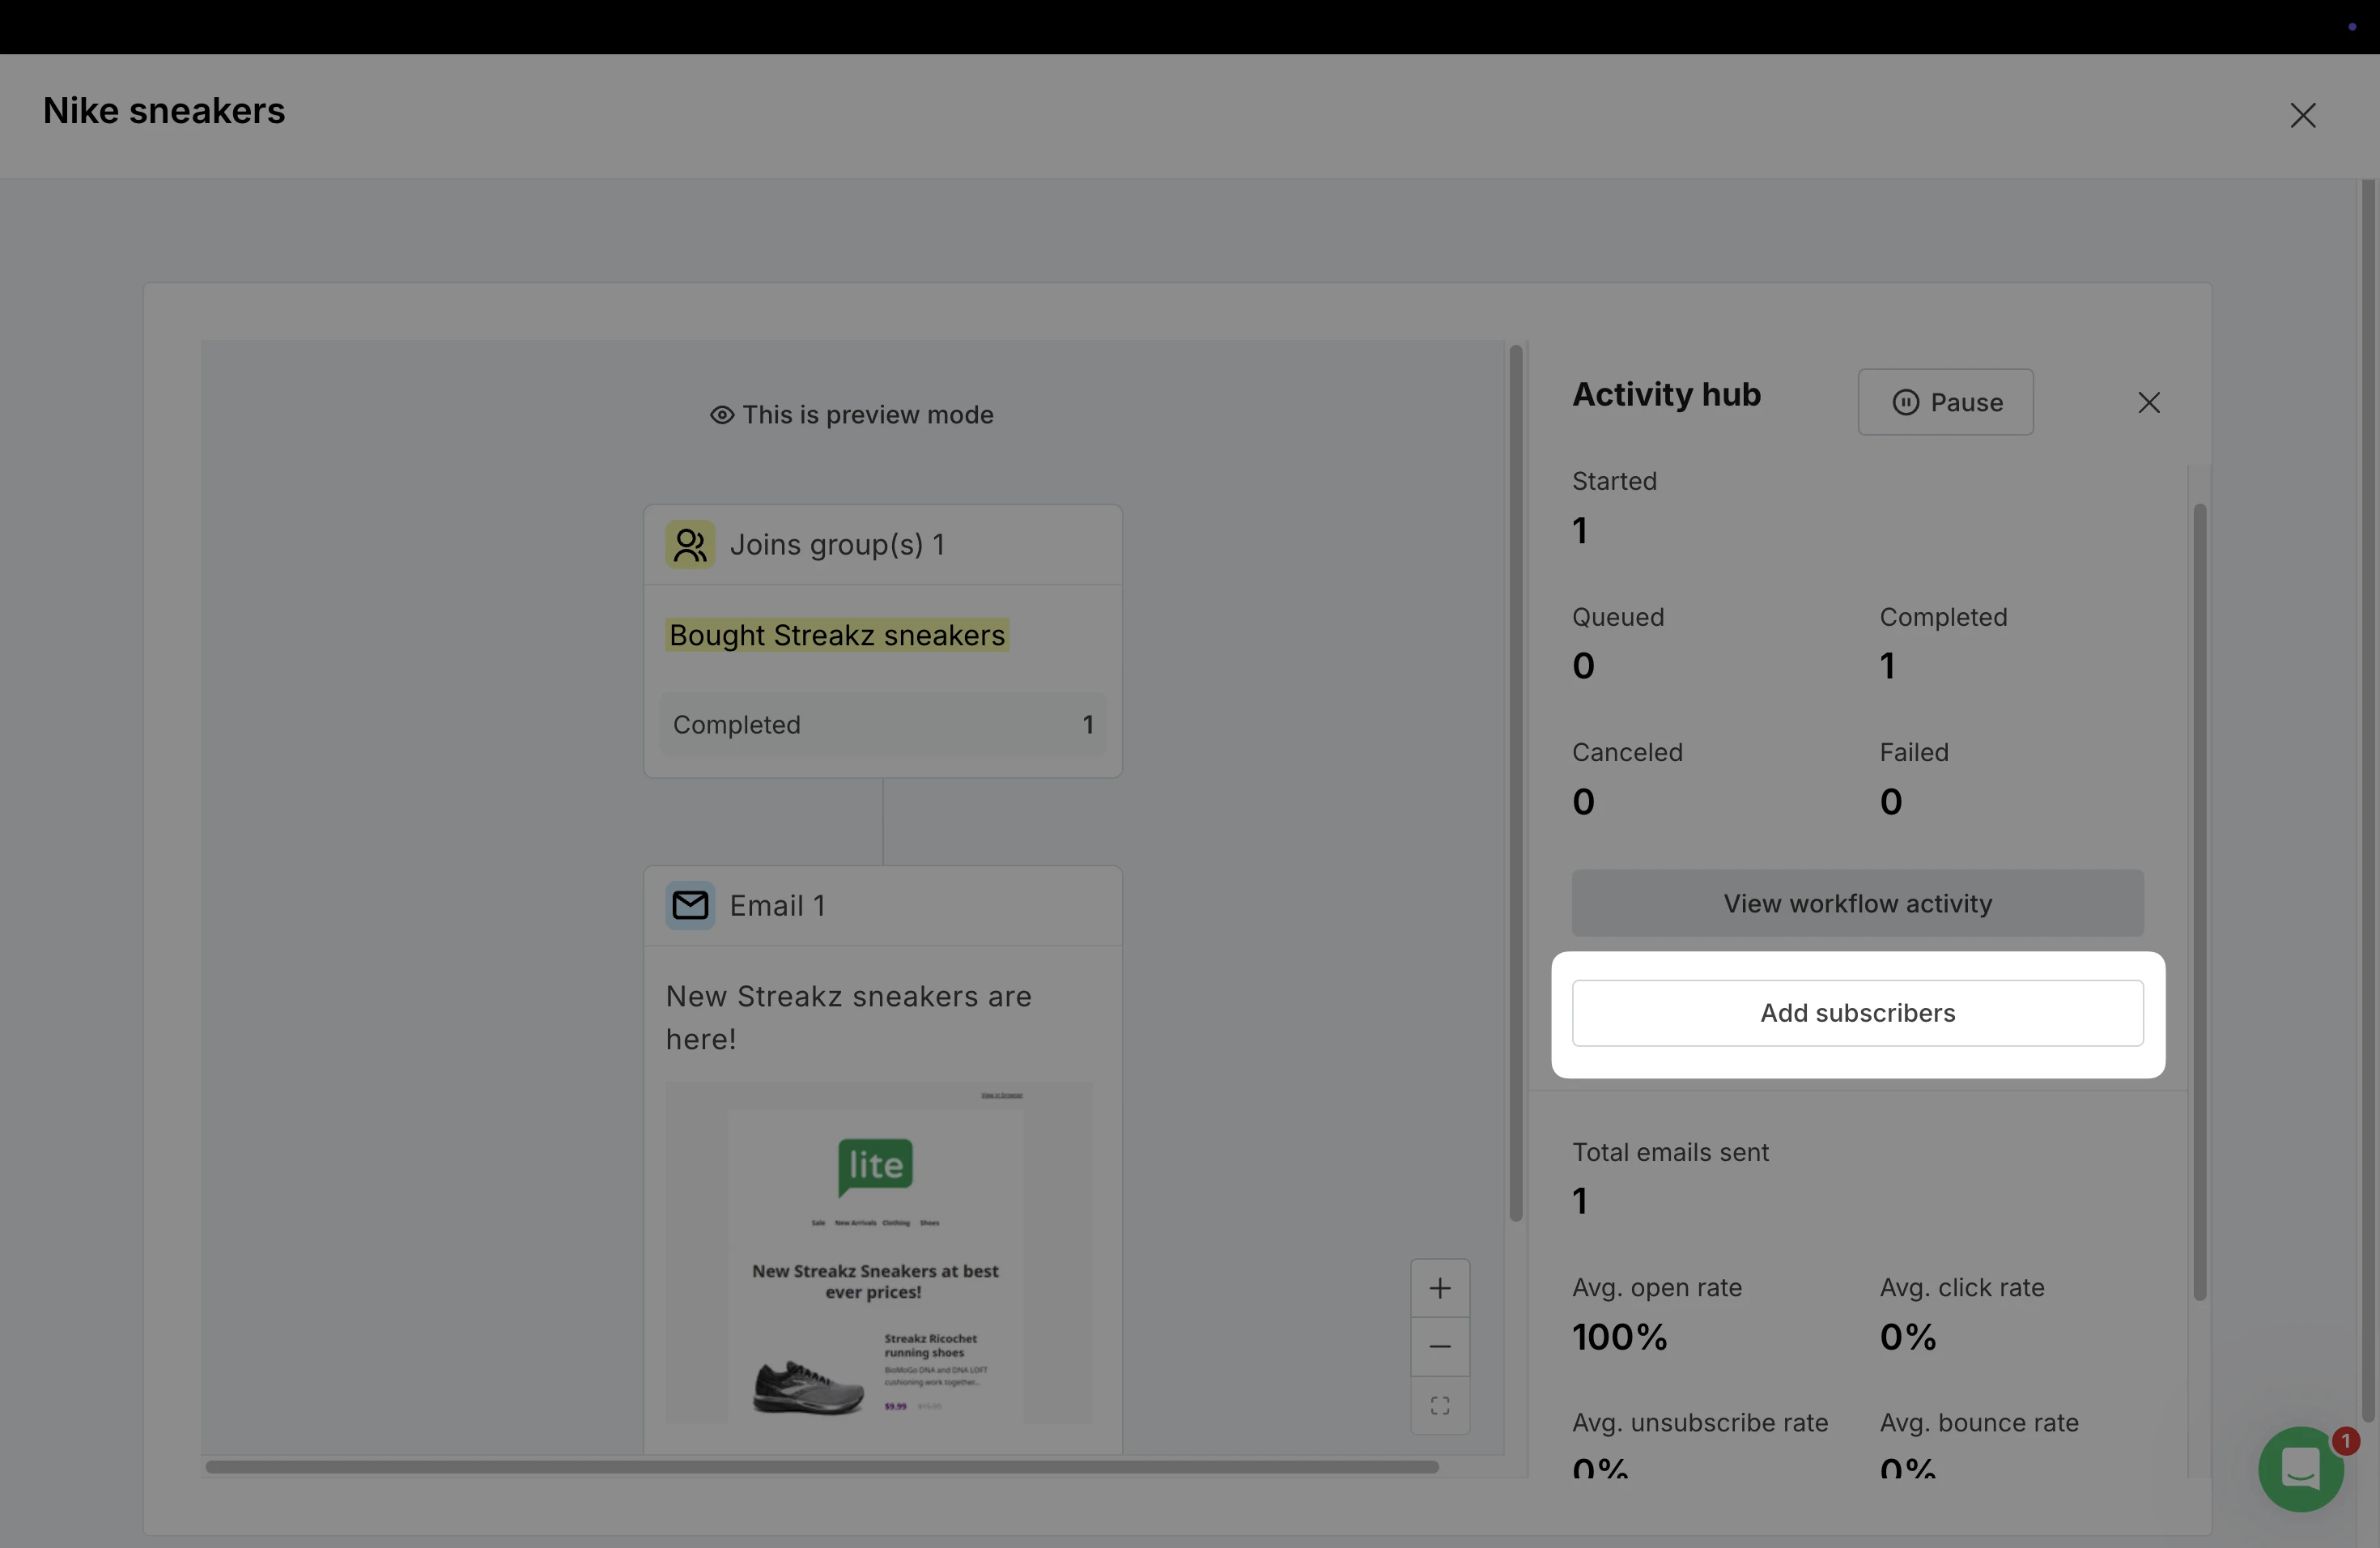
As well as in the automation preview.

Next, choose between:
Chosen subscriber: Enter one or more email addresses
Selected group: Pick a group to add multiple subscribers at once
Subscribers can start from the beginning of the automation or from a specific step. The action bypasses trigger checks, but still follows all conditions within the automation flow.
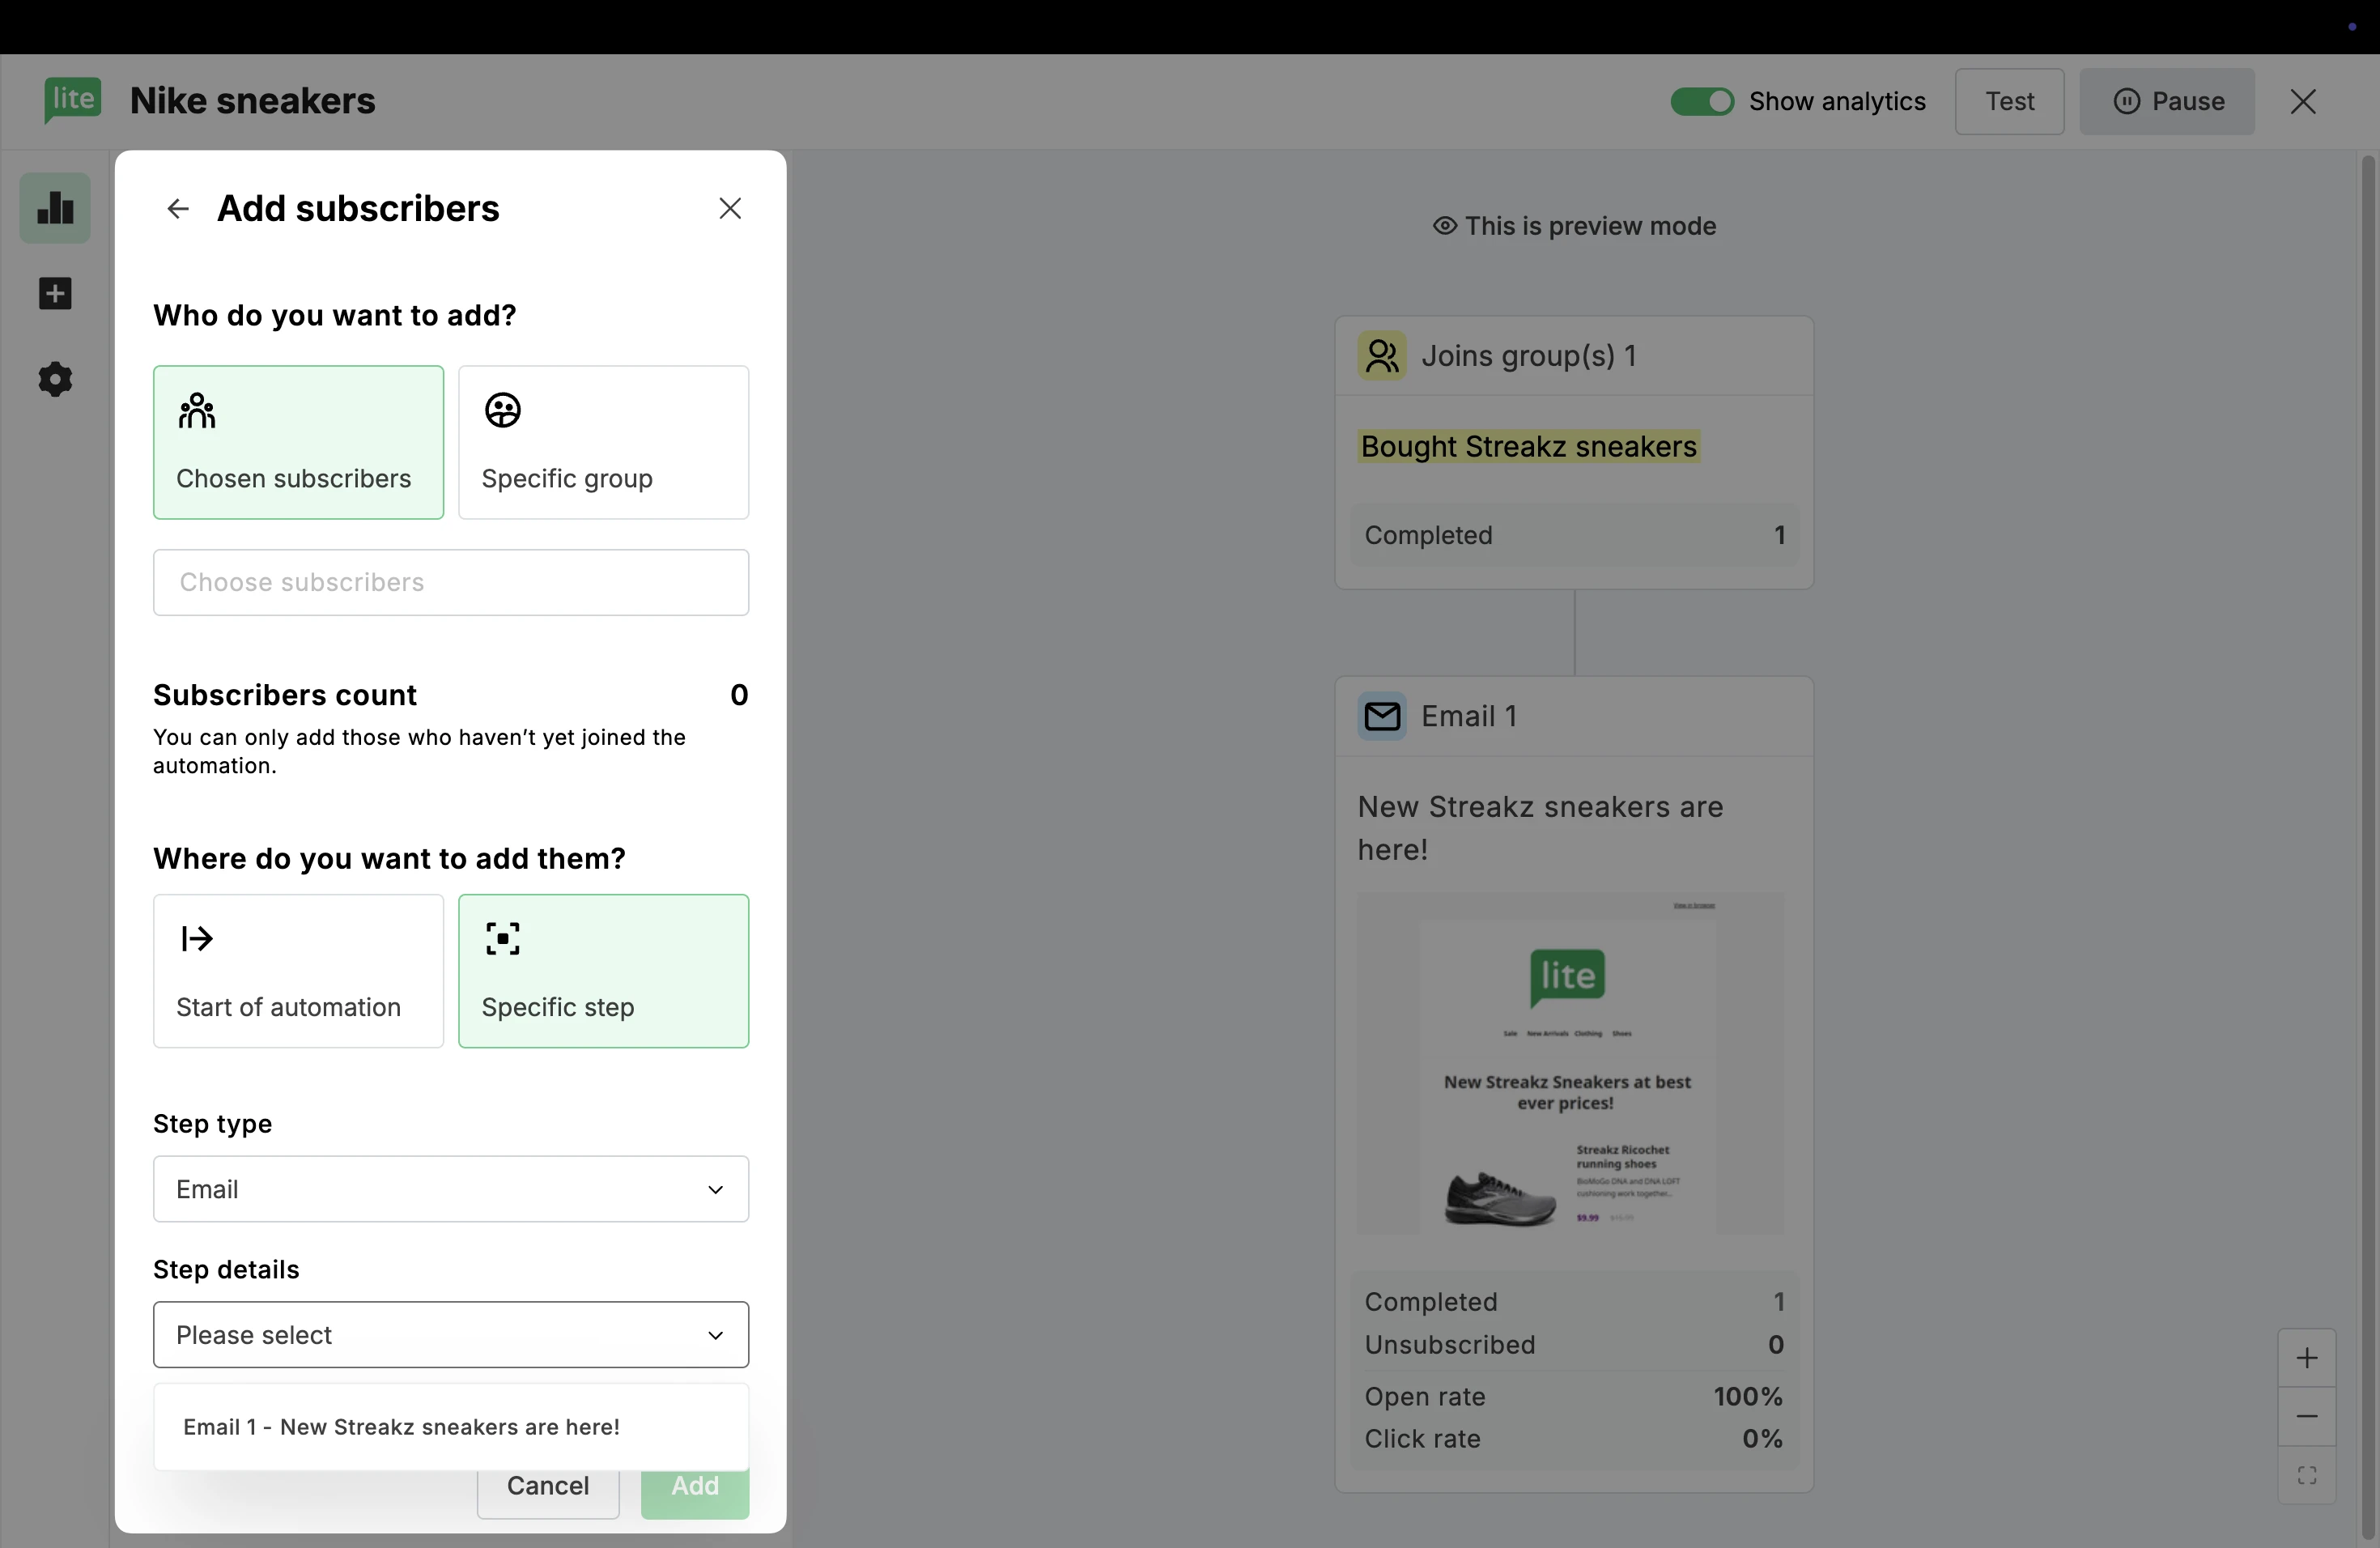
Keep in mind, subscribers cannot be manually added to automations if they are already in the workflow or have already completed it.