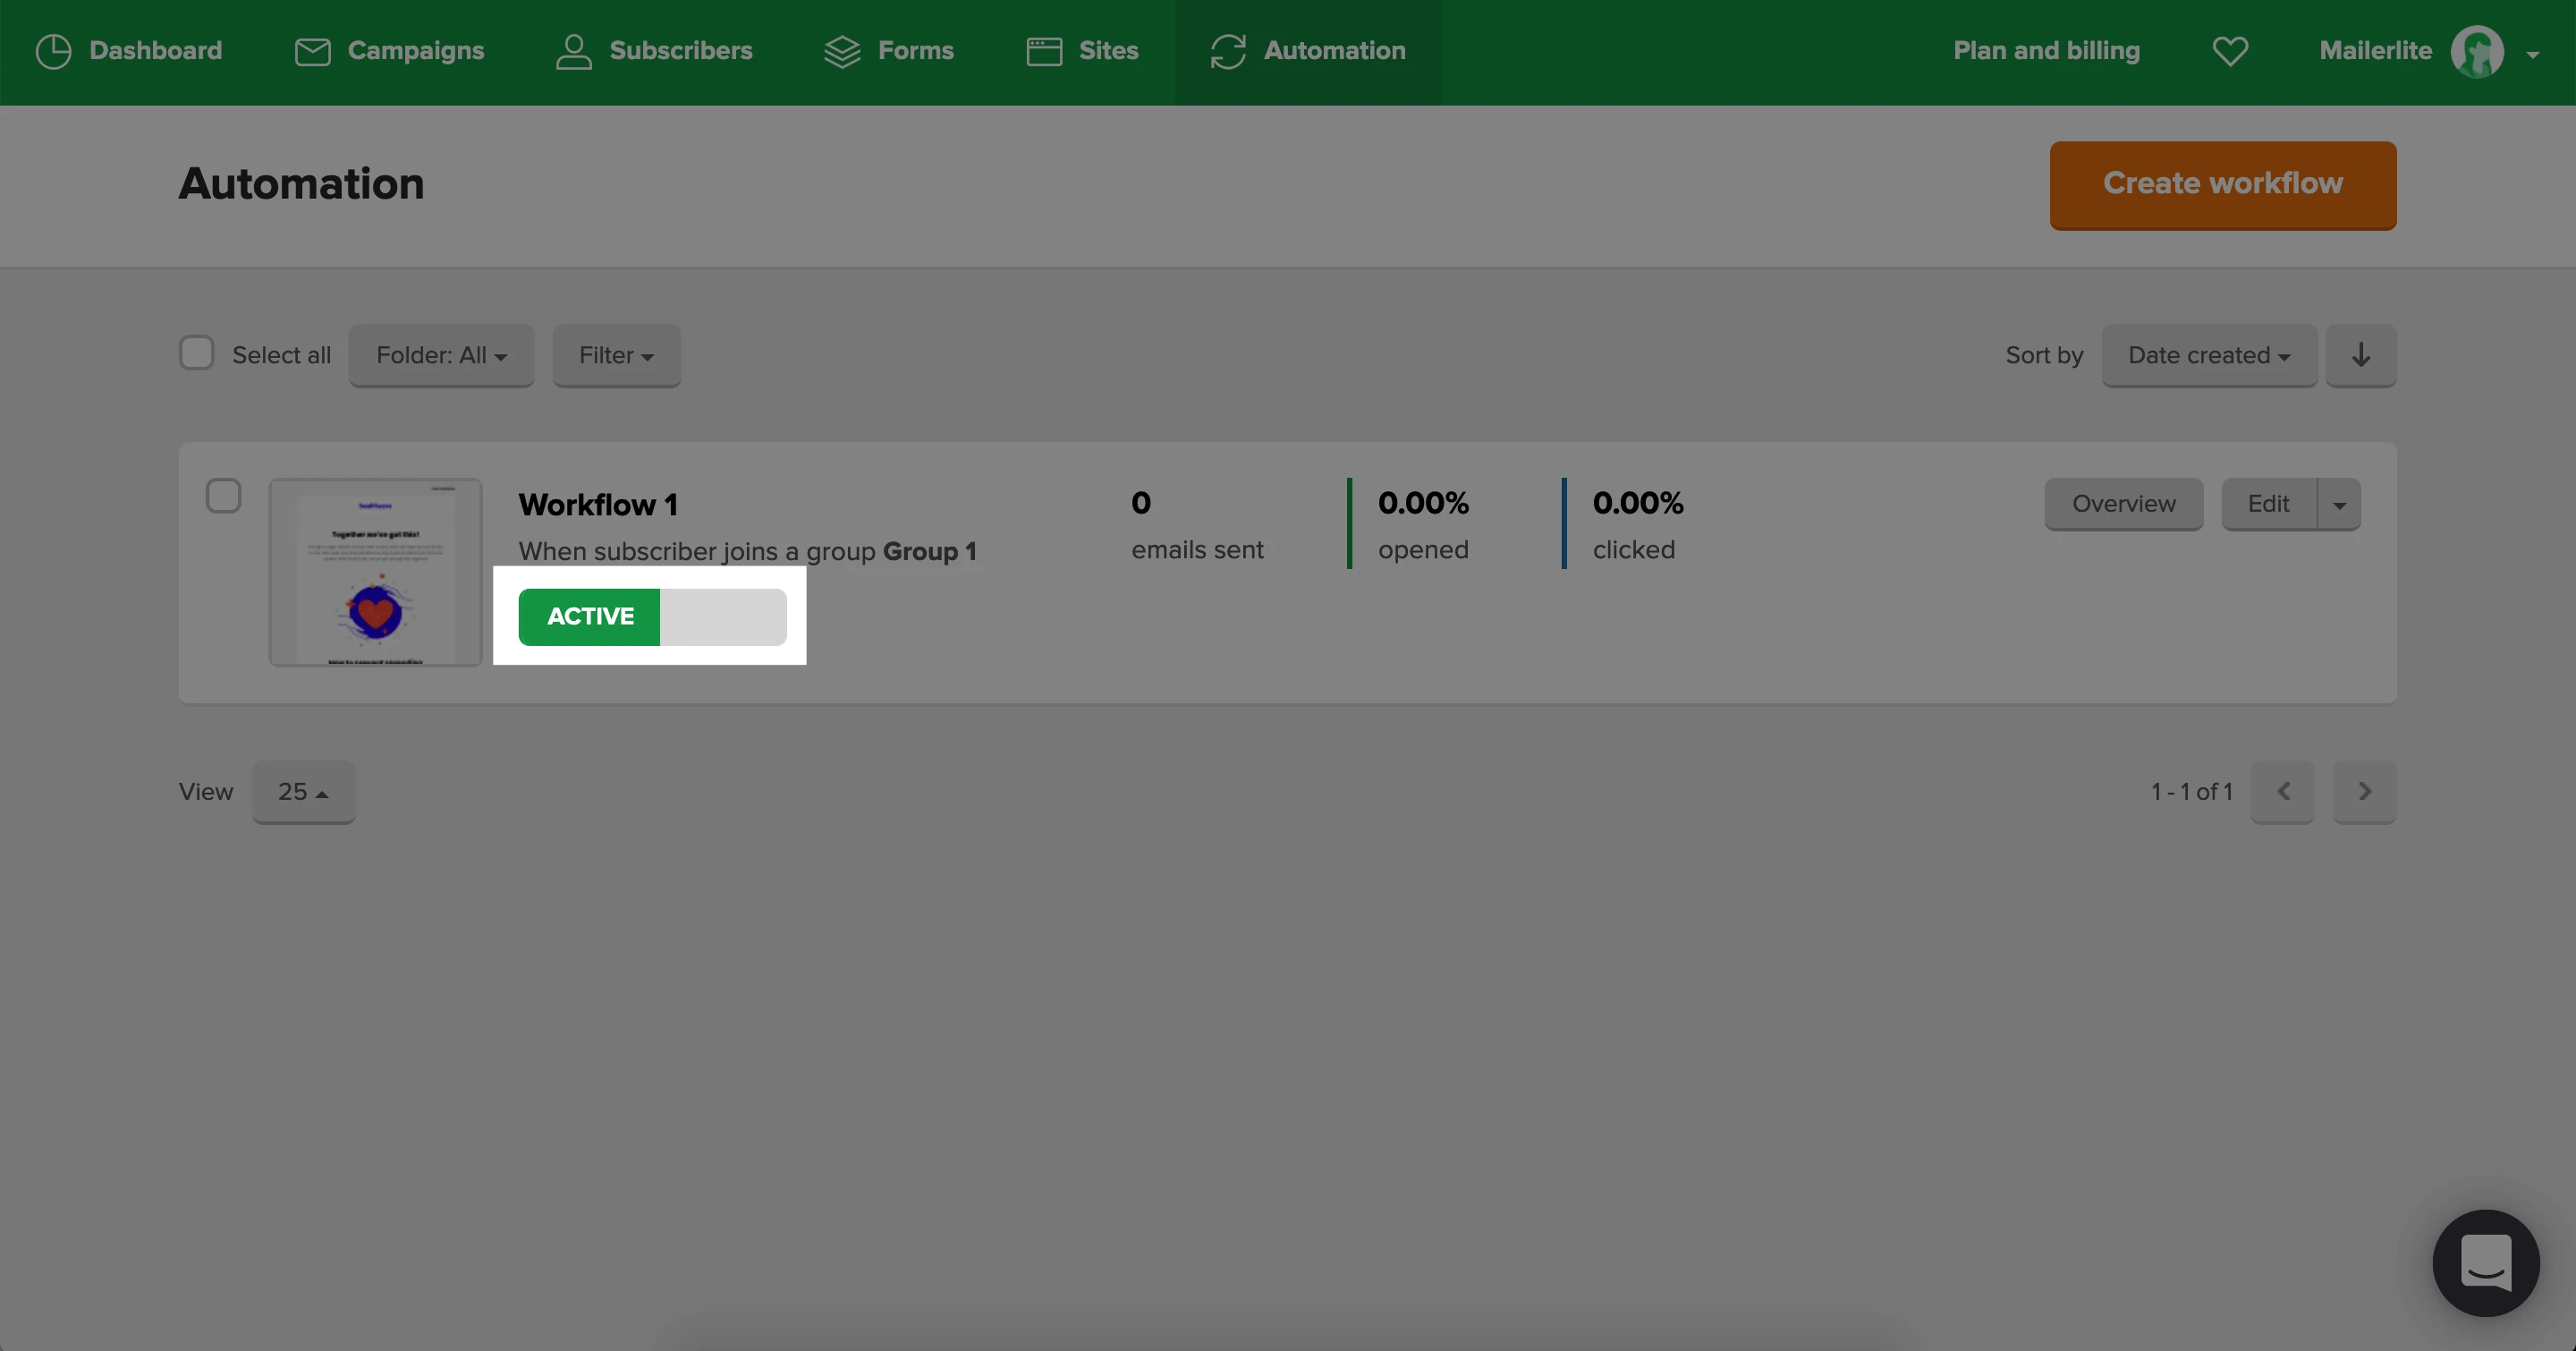
What is an automation workflow?
An automation workflow is a sequence of steps triggered by a specific date, event or action triggered by the subscriber. You can use automation to send a series of emails automatically when your subscribers sign up or join a new group.
How automation workflows work
All automation workflows start with an automation trigger. This trigger determines how the workflow is started. Once a subscriber meets the requirements of your trigger, they will immediately begin the workflow.
If you are using the new version of Mailerlite with an Advanced plan, you can add up to three triggers to each automation, allowing you to set up multiple entry paths to a single workflow. To see how to use multiple triggers , check How to set up multiple triggers in your automation workflow.
All the steps in the workflow are processed straight away, one after the other in a sequence until the workflow is complete.
If your workflow contains multiple email steps with no delay steps in between, your subscribers will receive all of the email steps at the same time.
Additionally, a new step can’t be processed if the previous step failed. Picture your workflow as a sequence of stepping stones; you can’t reach the next one if the one before it is broken. You can monitor subscriber movement in your workflow in the automation activity tab.
The Automation page
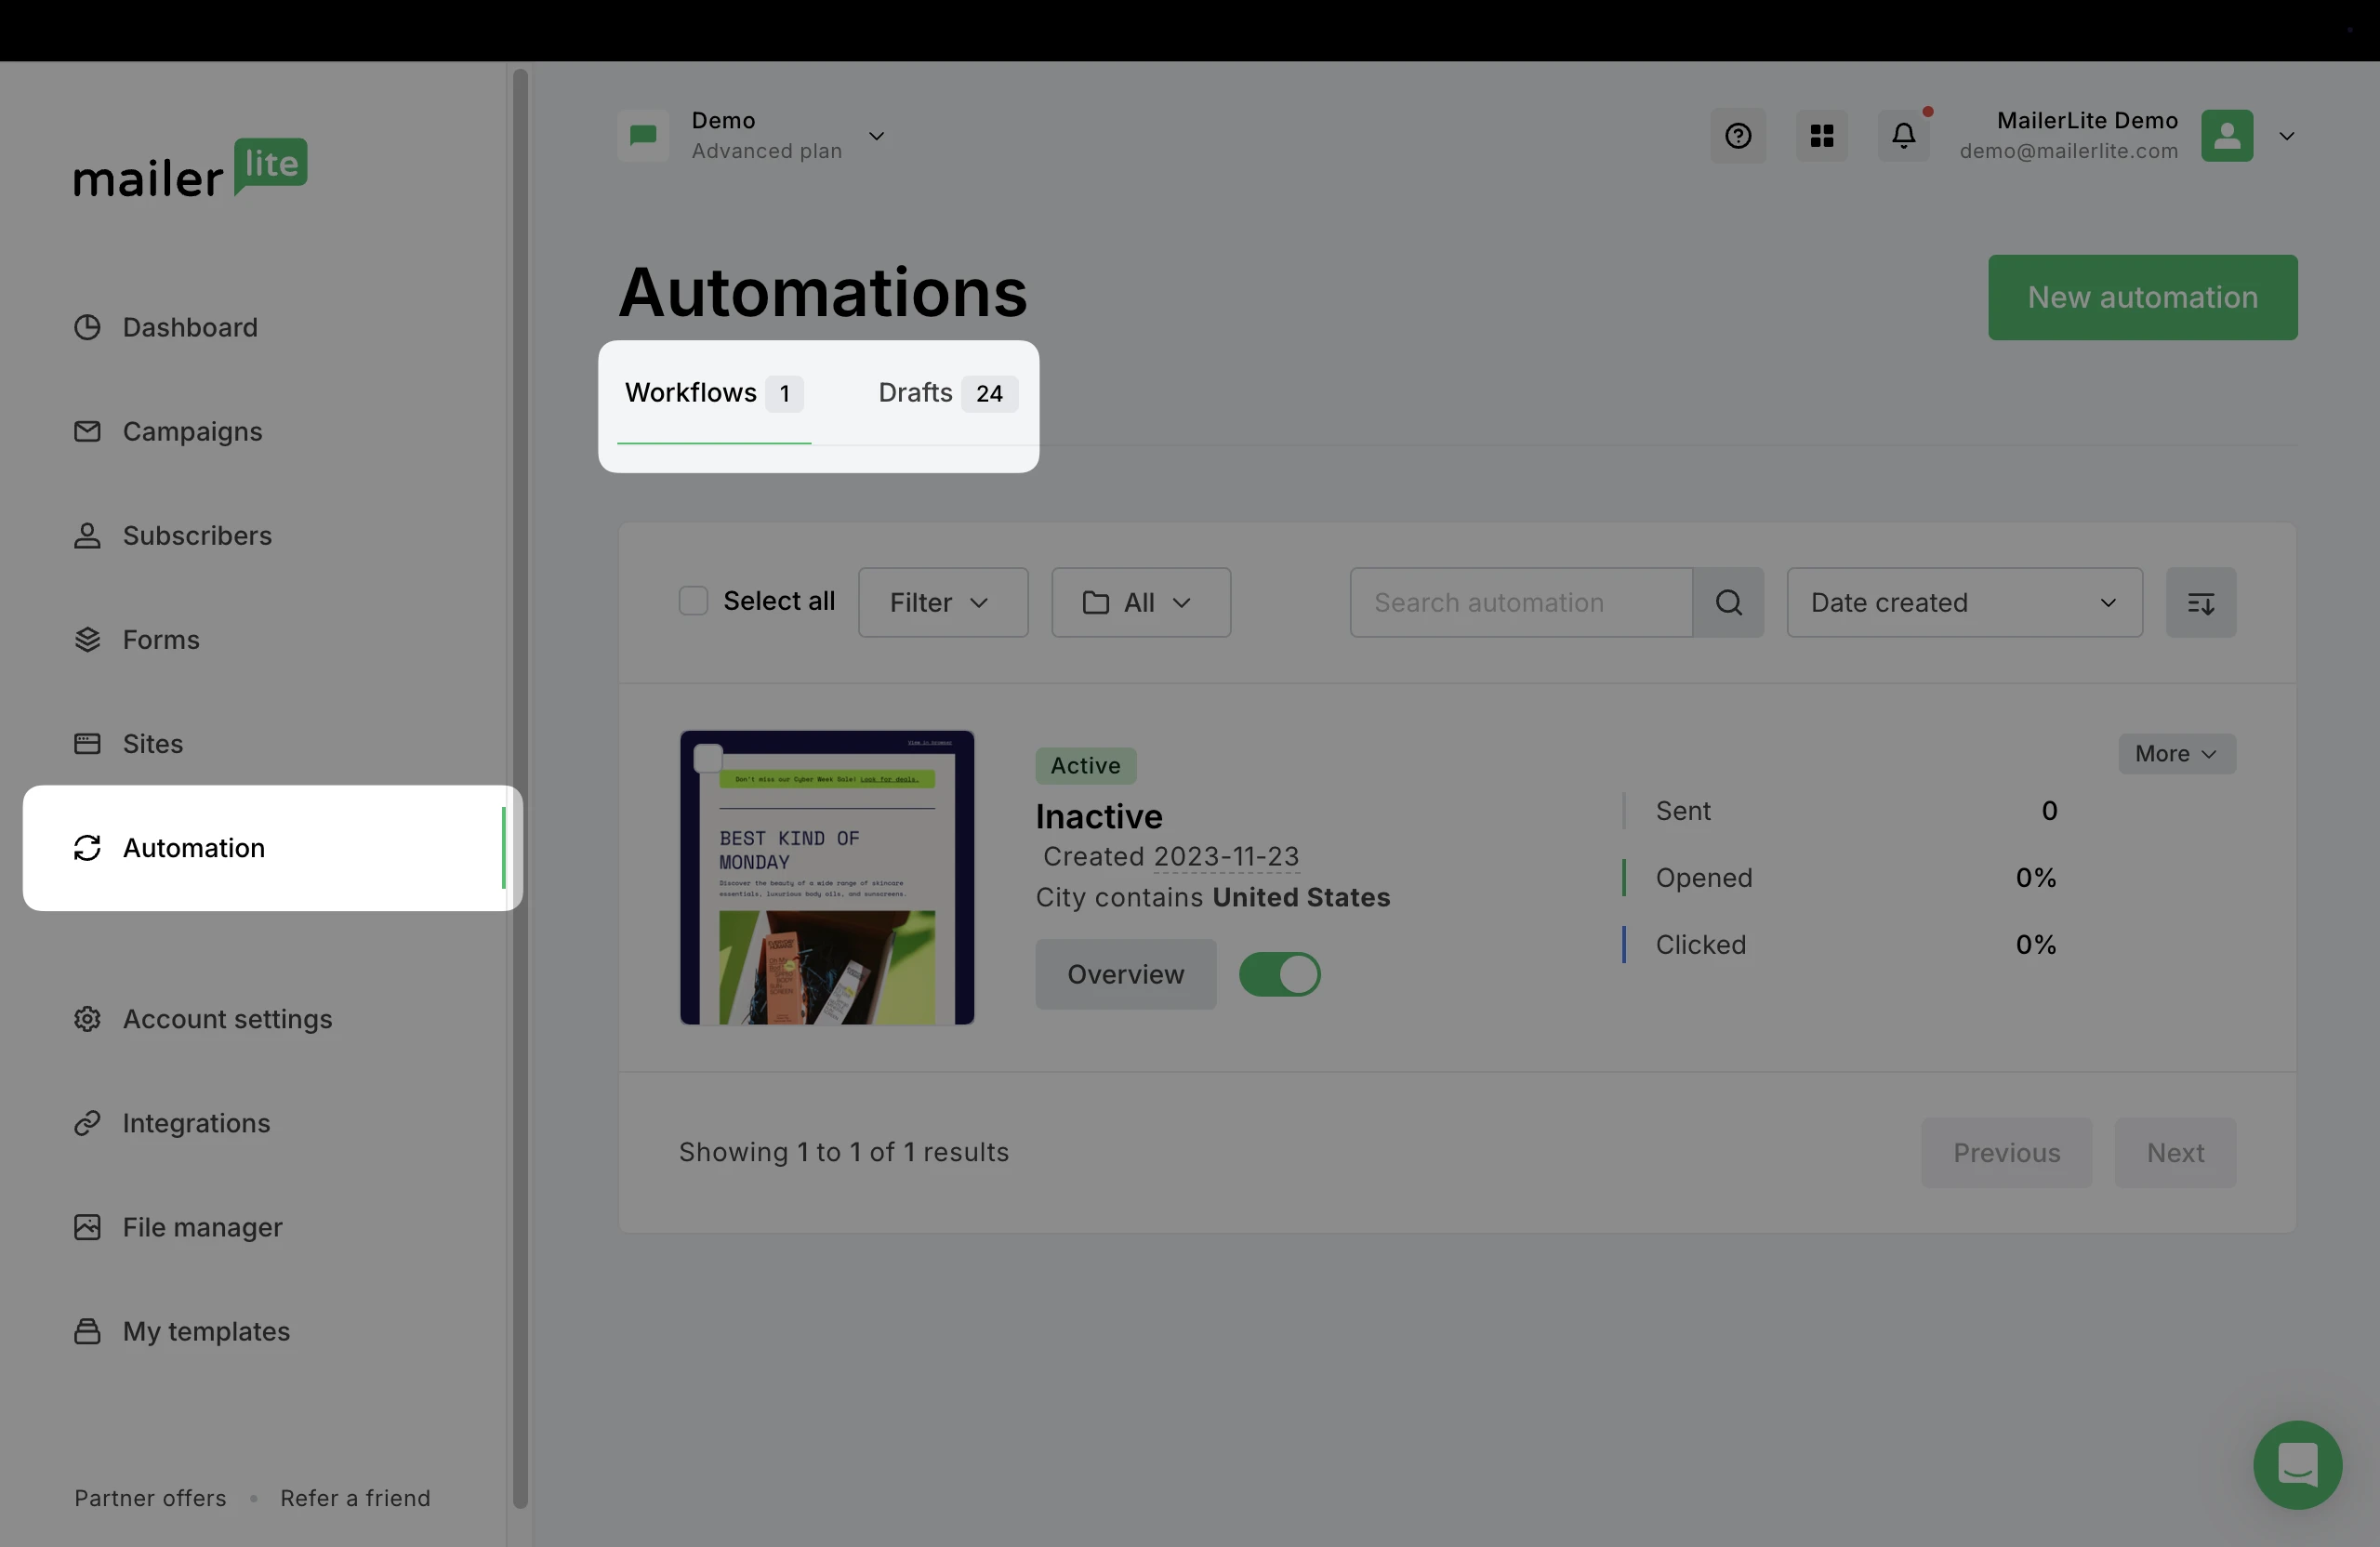
The Automation page is divided into two areas. The Workflows tab shows all complete workflows, whether active or paused. This means the workflow contains all completed steps and can be activated.
The Drafts tab shows all incomplete or workflows needing repair. This may mean that a group or form that was connected to an automation has been deleted, and the workflow needs to be edited before it can be activated.
How to create an automation workflow
To create an automation workflow, navigate to the Automations page and click Create workflow. This will open up the workflow editor. Choose to create your workflow from scratch, or use one of our automation templates.
To create a simple workflow:
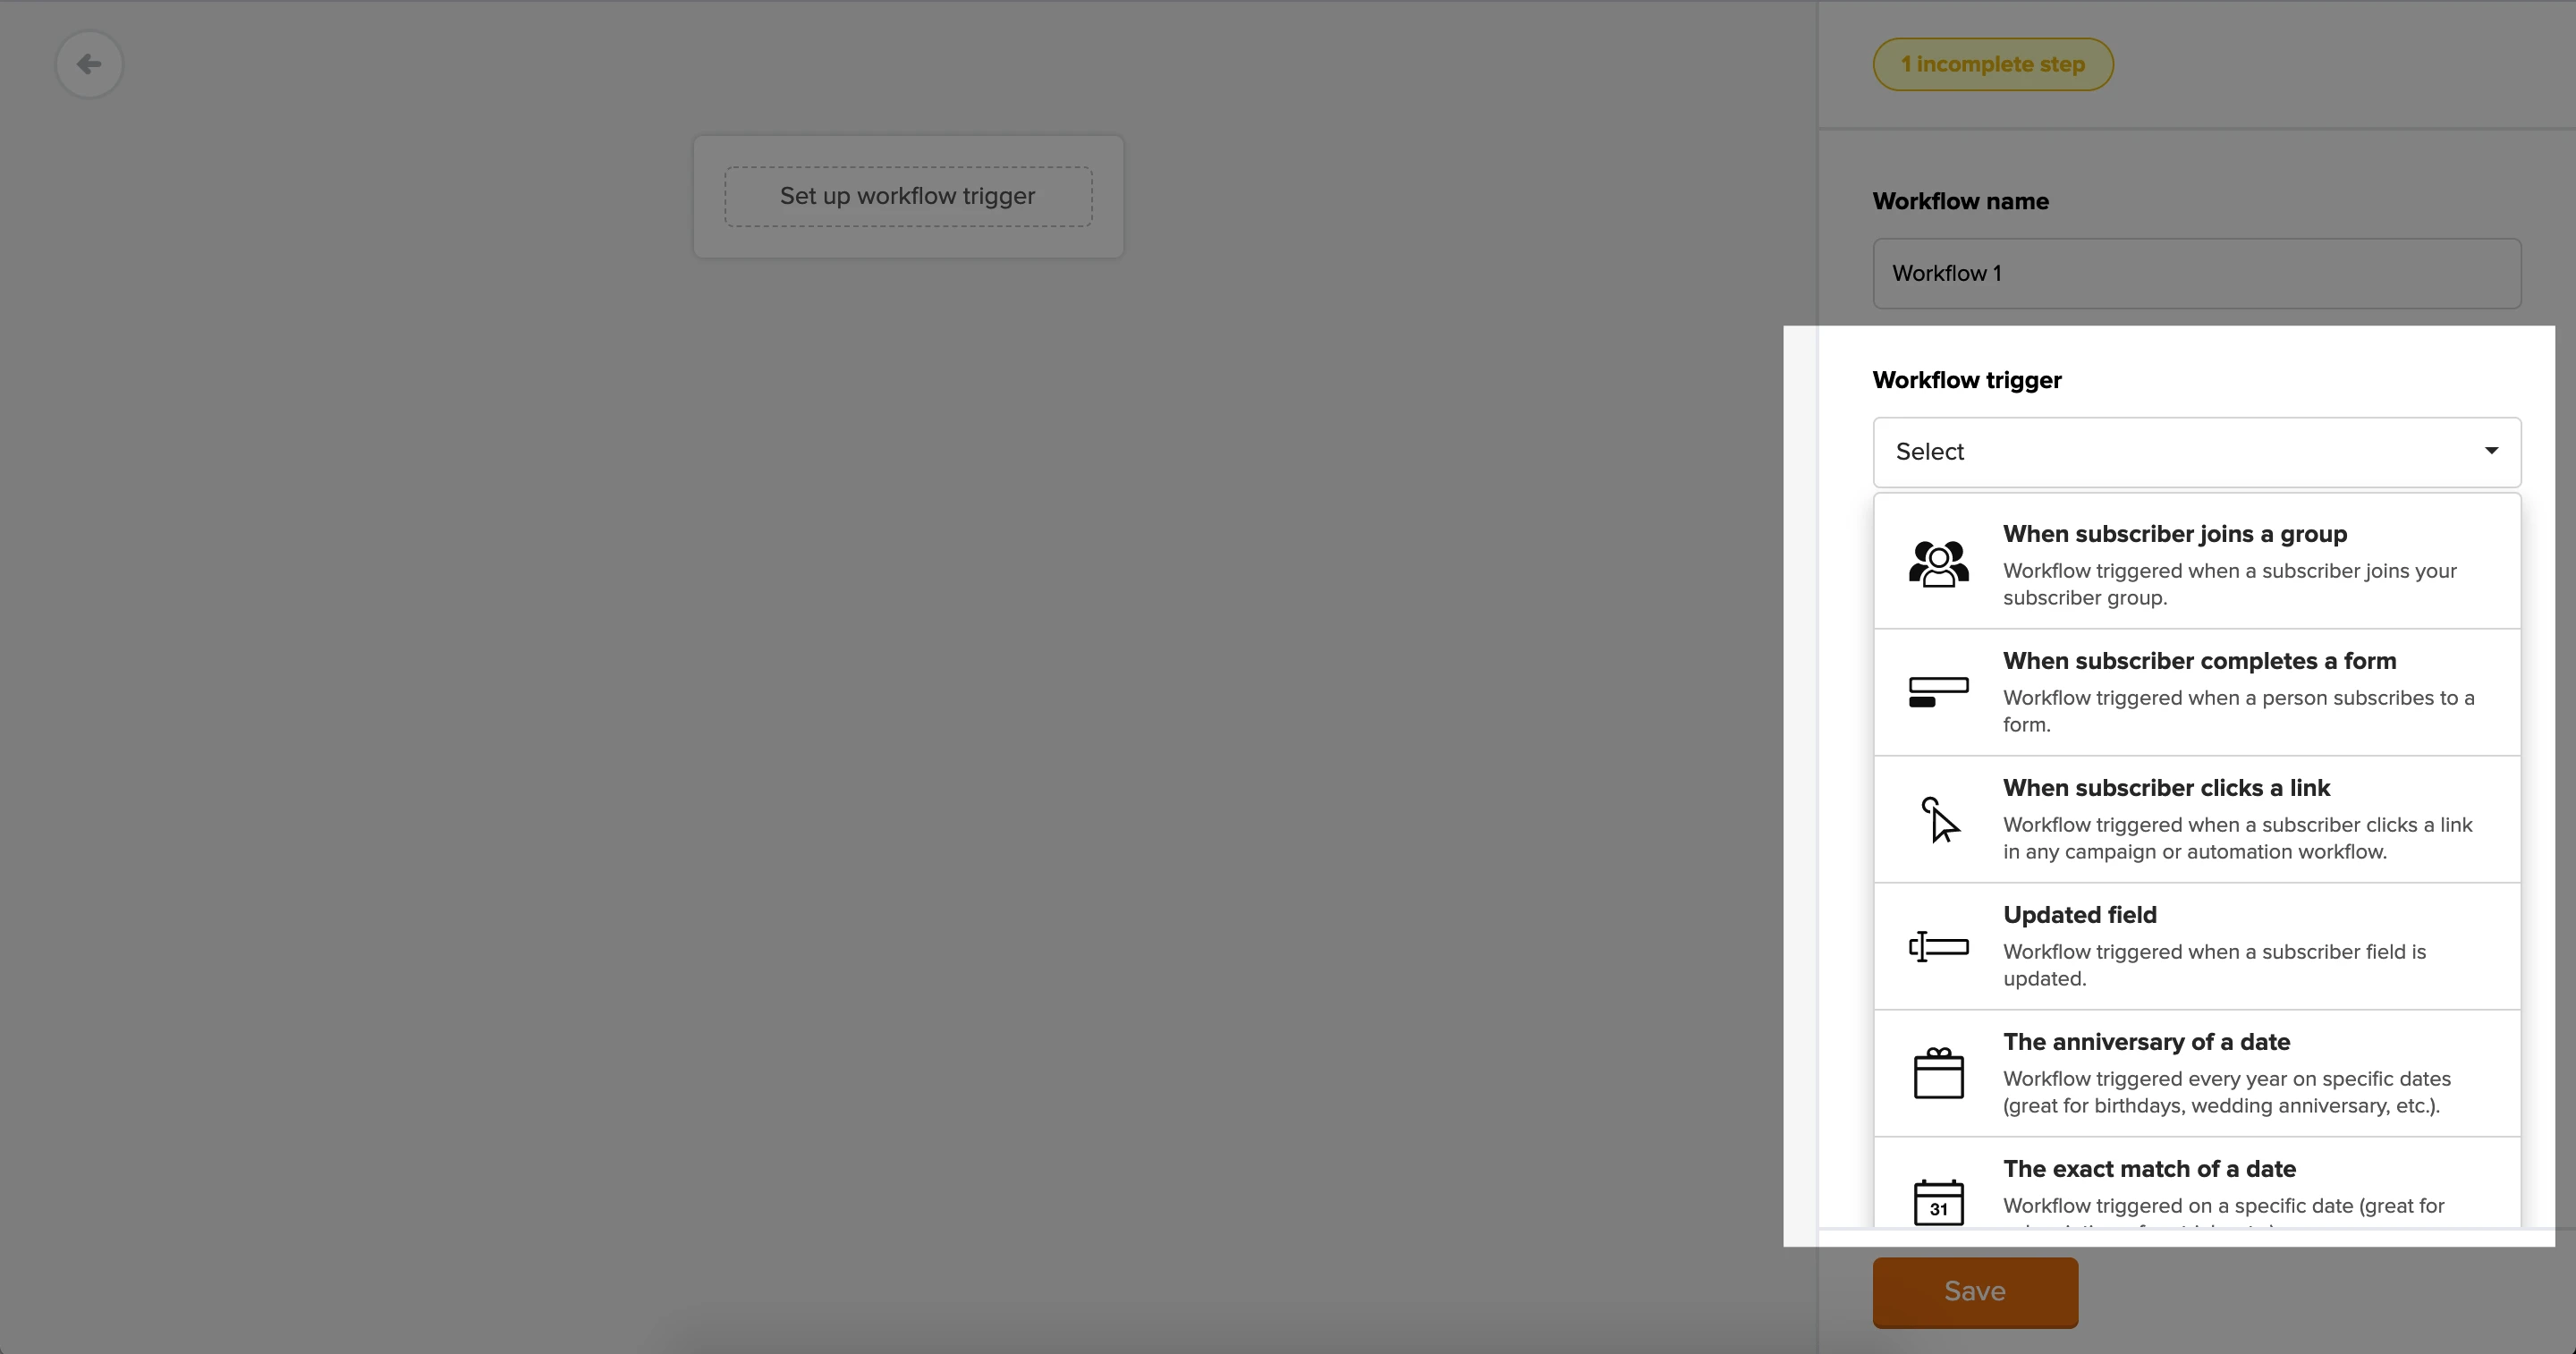
1. Select a trigger from the Triggers tab in the left side bar and drag it into the workflow. The trigger will be the event that causes a subscriber to begin the sequence automatically. For example, Joins a group.
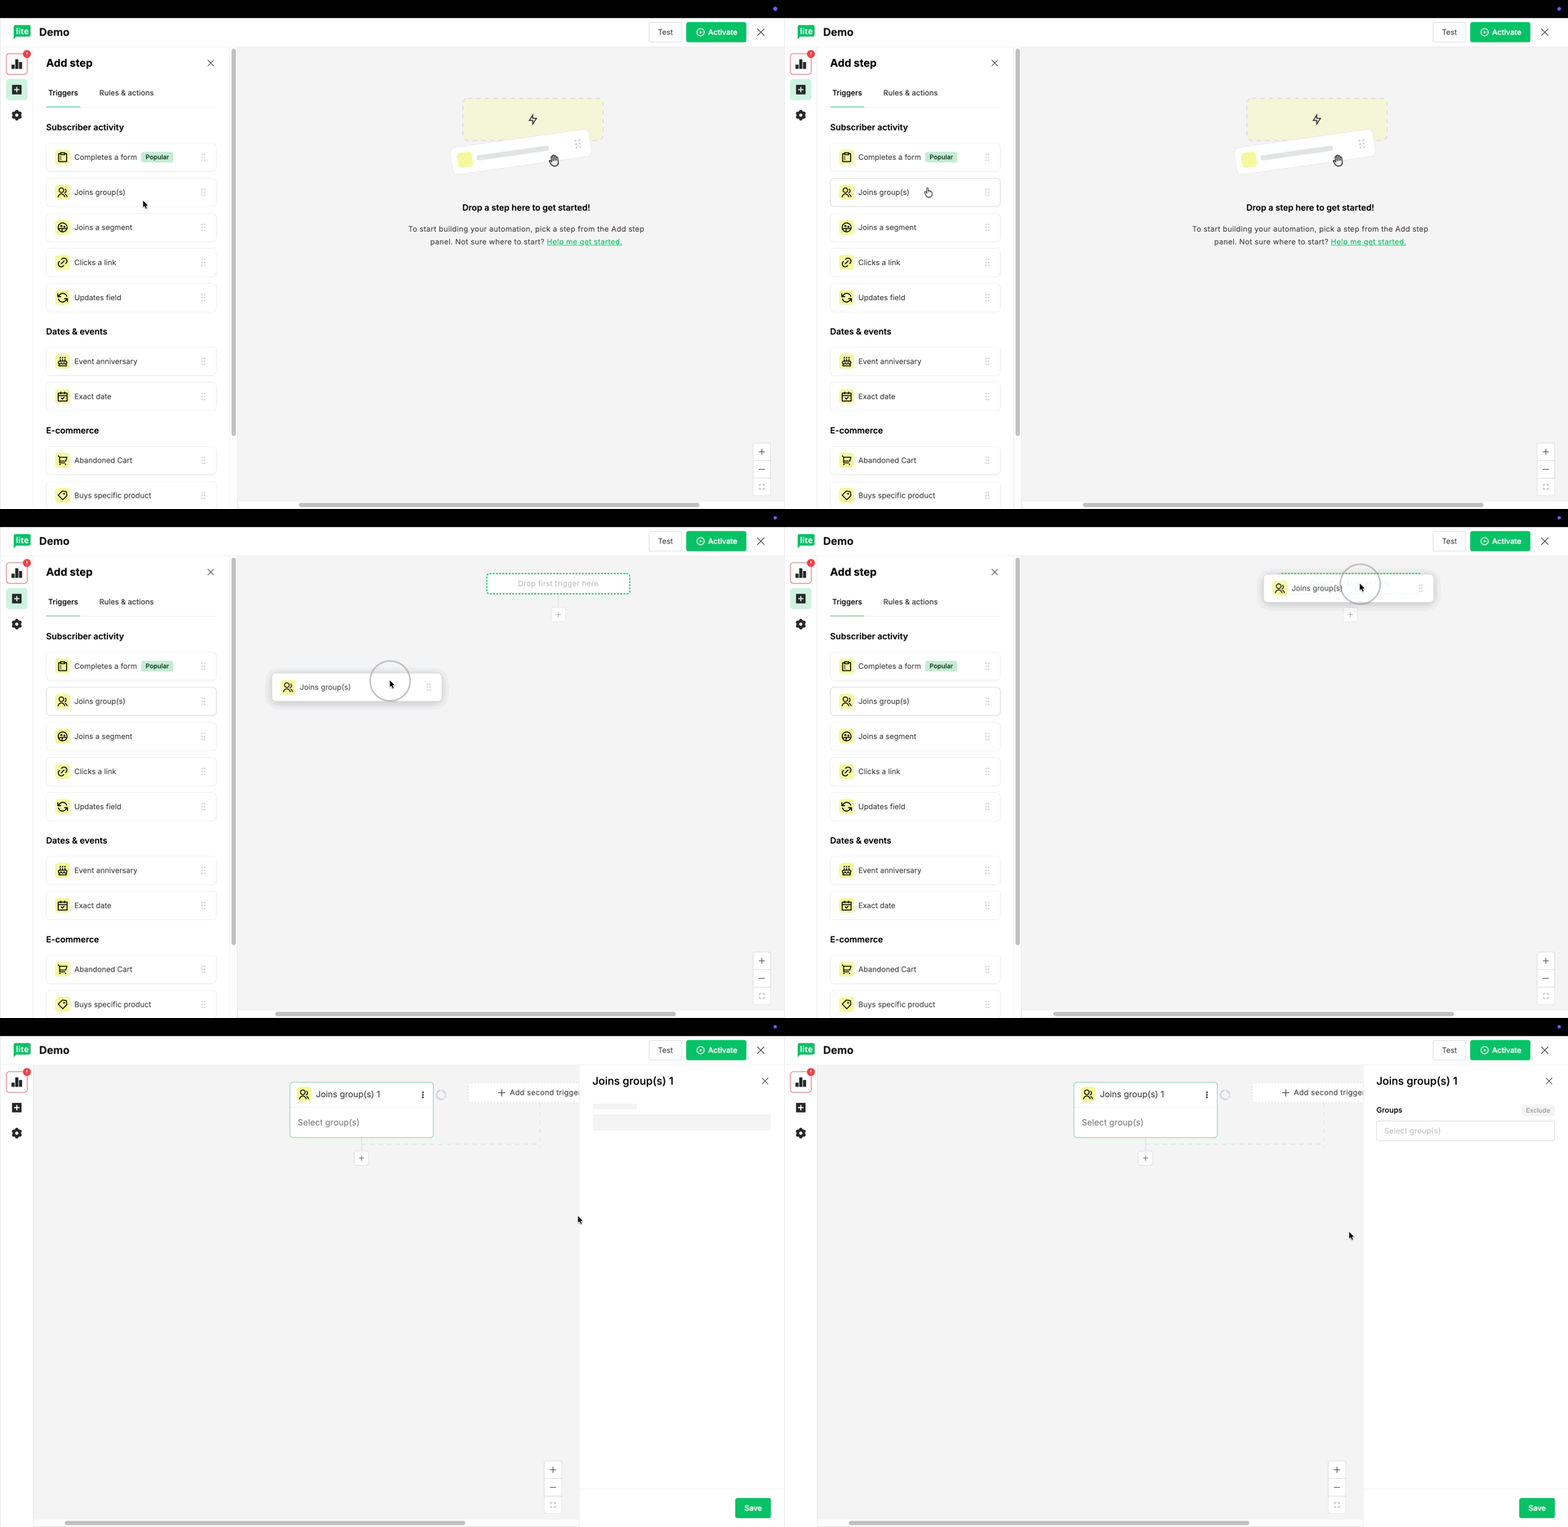
2. Click Save to set your workflow trigger.
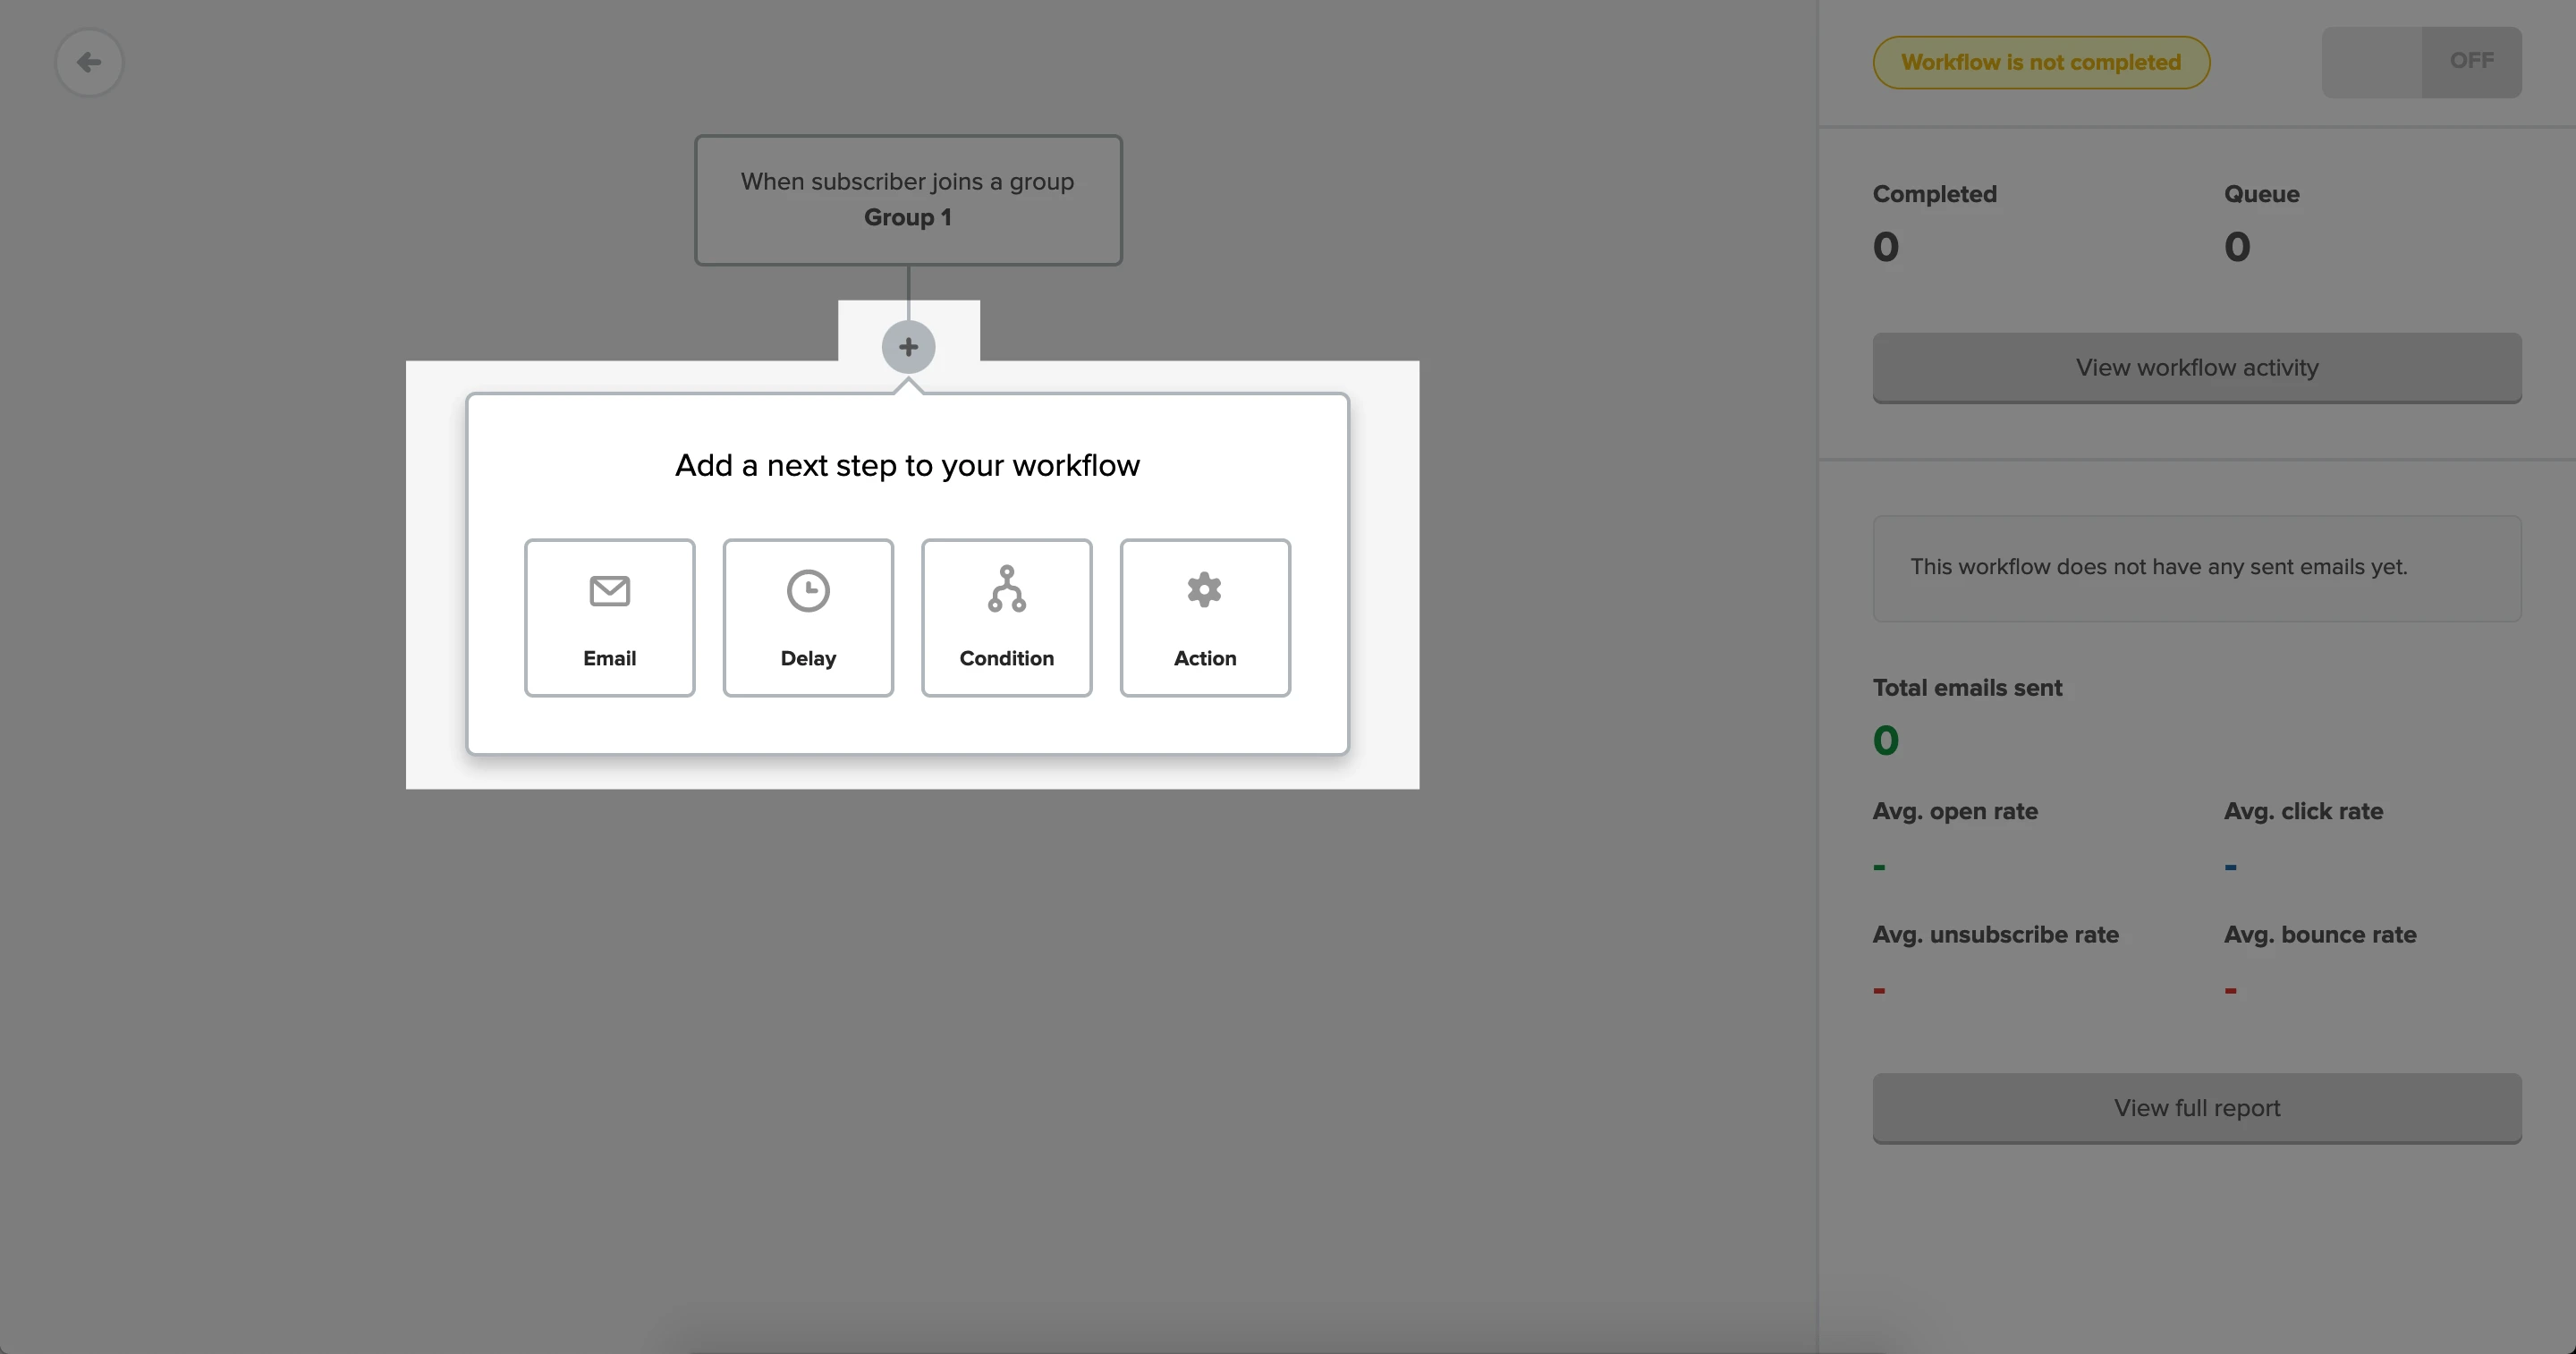
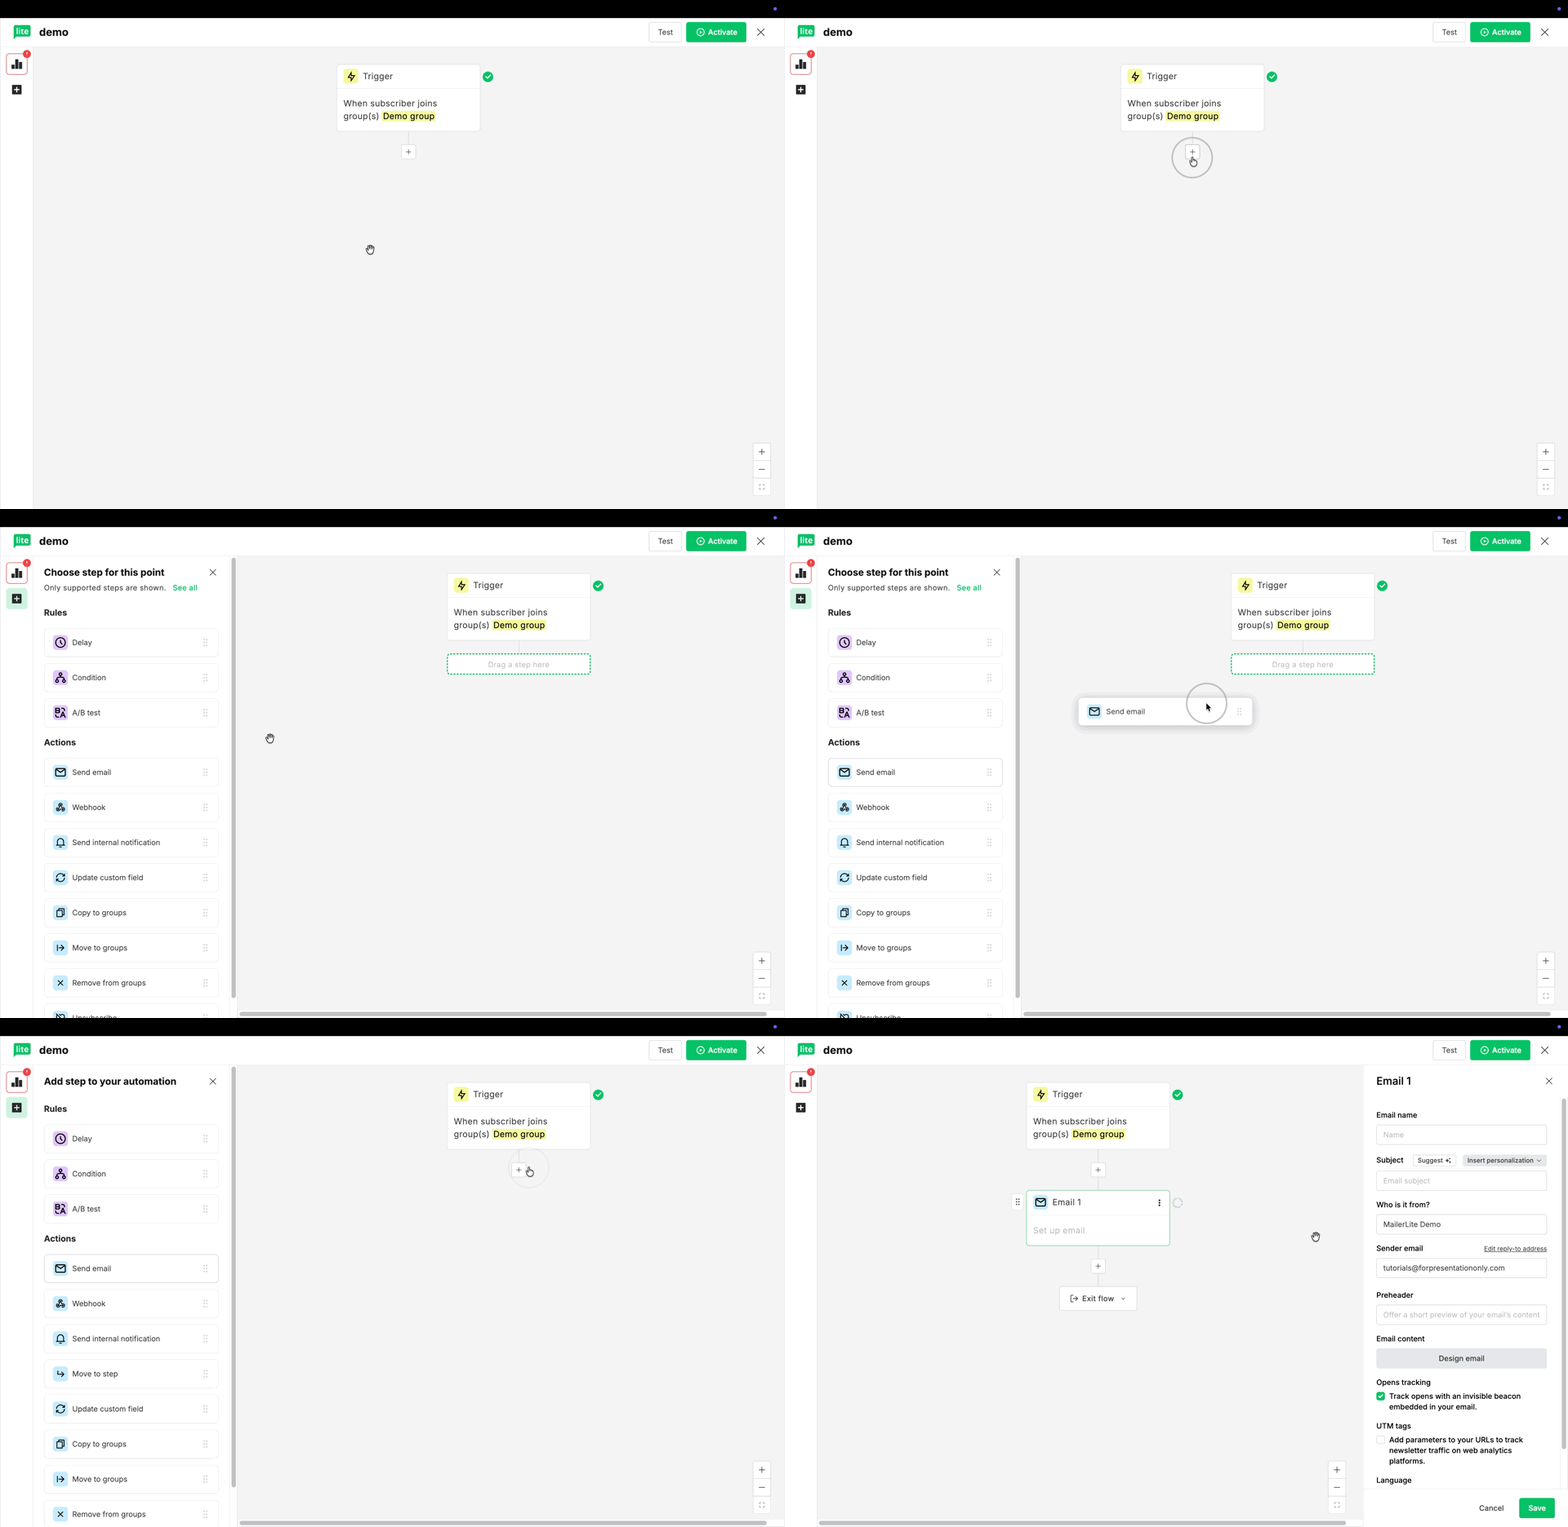
3. Click the plus icon to add the first step to your workflow. The left side panel will open, showing various options for Rules and Actions.
Rules
Rules help you control how subscribers move through your workflow.
Delay: Pause subscribers for a set amount of time before they continue to the next step.
Condition: Branch subscribers based on conditions (e.g., custom field values, group membership, campaign activity).
A/B test — Split subscribers into groups to test different workflow paths and compare results.
Actions
Actions define what happens to subscribers as they move through the workflow.
Send email: Deliver an automated email to subscribers at this point in the workflow.
Webhook: Send subscriber data to an external app or service.
Send internal notification: Notify yourself or your team by email when subscribers reach this step.
Move to step: Redirect subscribers to another step within the same workflow.
Update custom field: Change the value of a subscriber’s custom field.
Copy to groups: Add subscribers to one or more groups while keeping them in their current group(s).
Move to groups: Add subscribers to new groups and remove them from their current group(s).
Remove from groups: Take subscribers out of one or more groups.
Unsubscribe: Remove subscribers from your list so they no longer receive emails.
Simply drag and drop this step into the available space. In this example, let’s select the Send email action.
Need to re-arrange steps?
Check out this guide ➡️ How to re-arrange automation steps
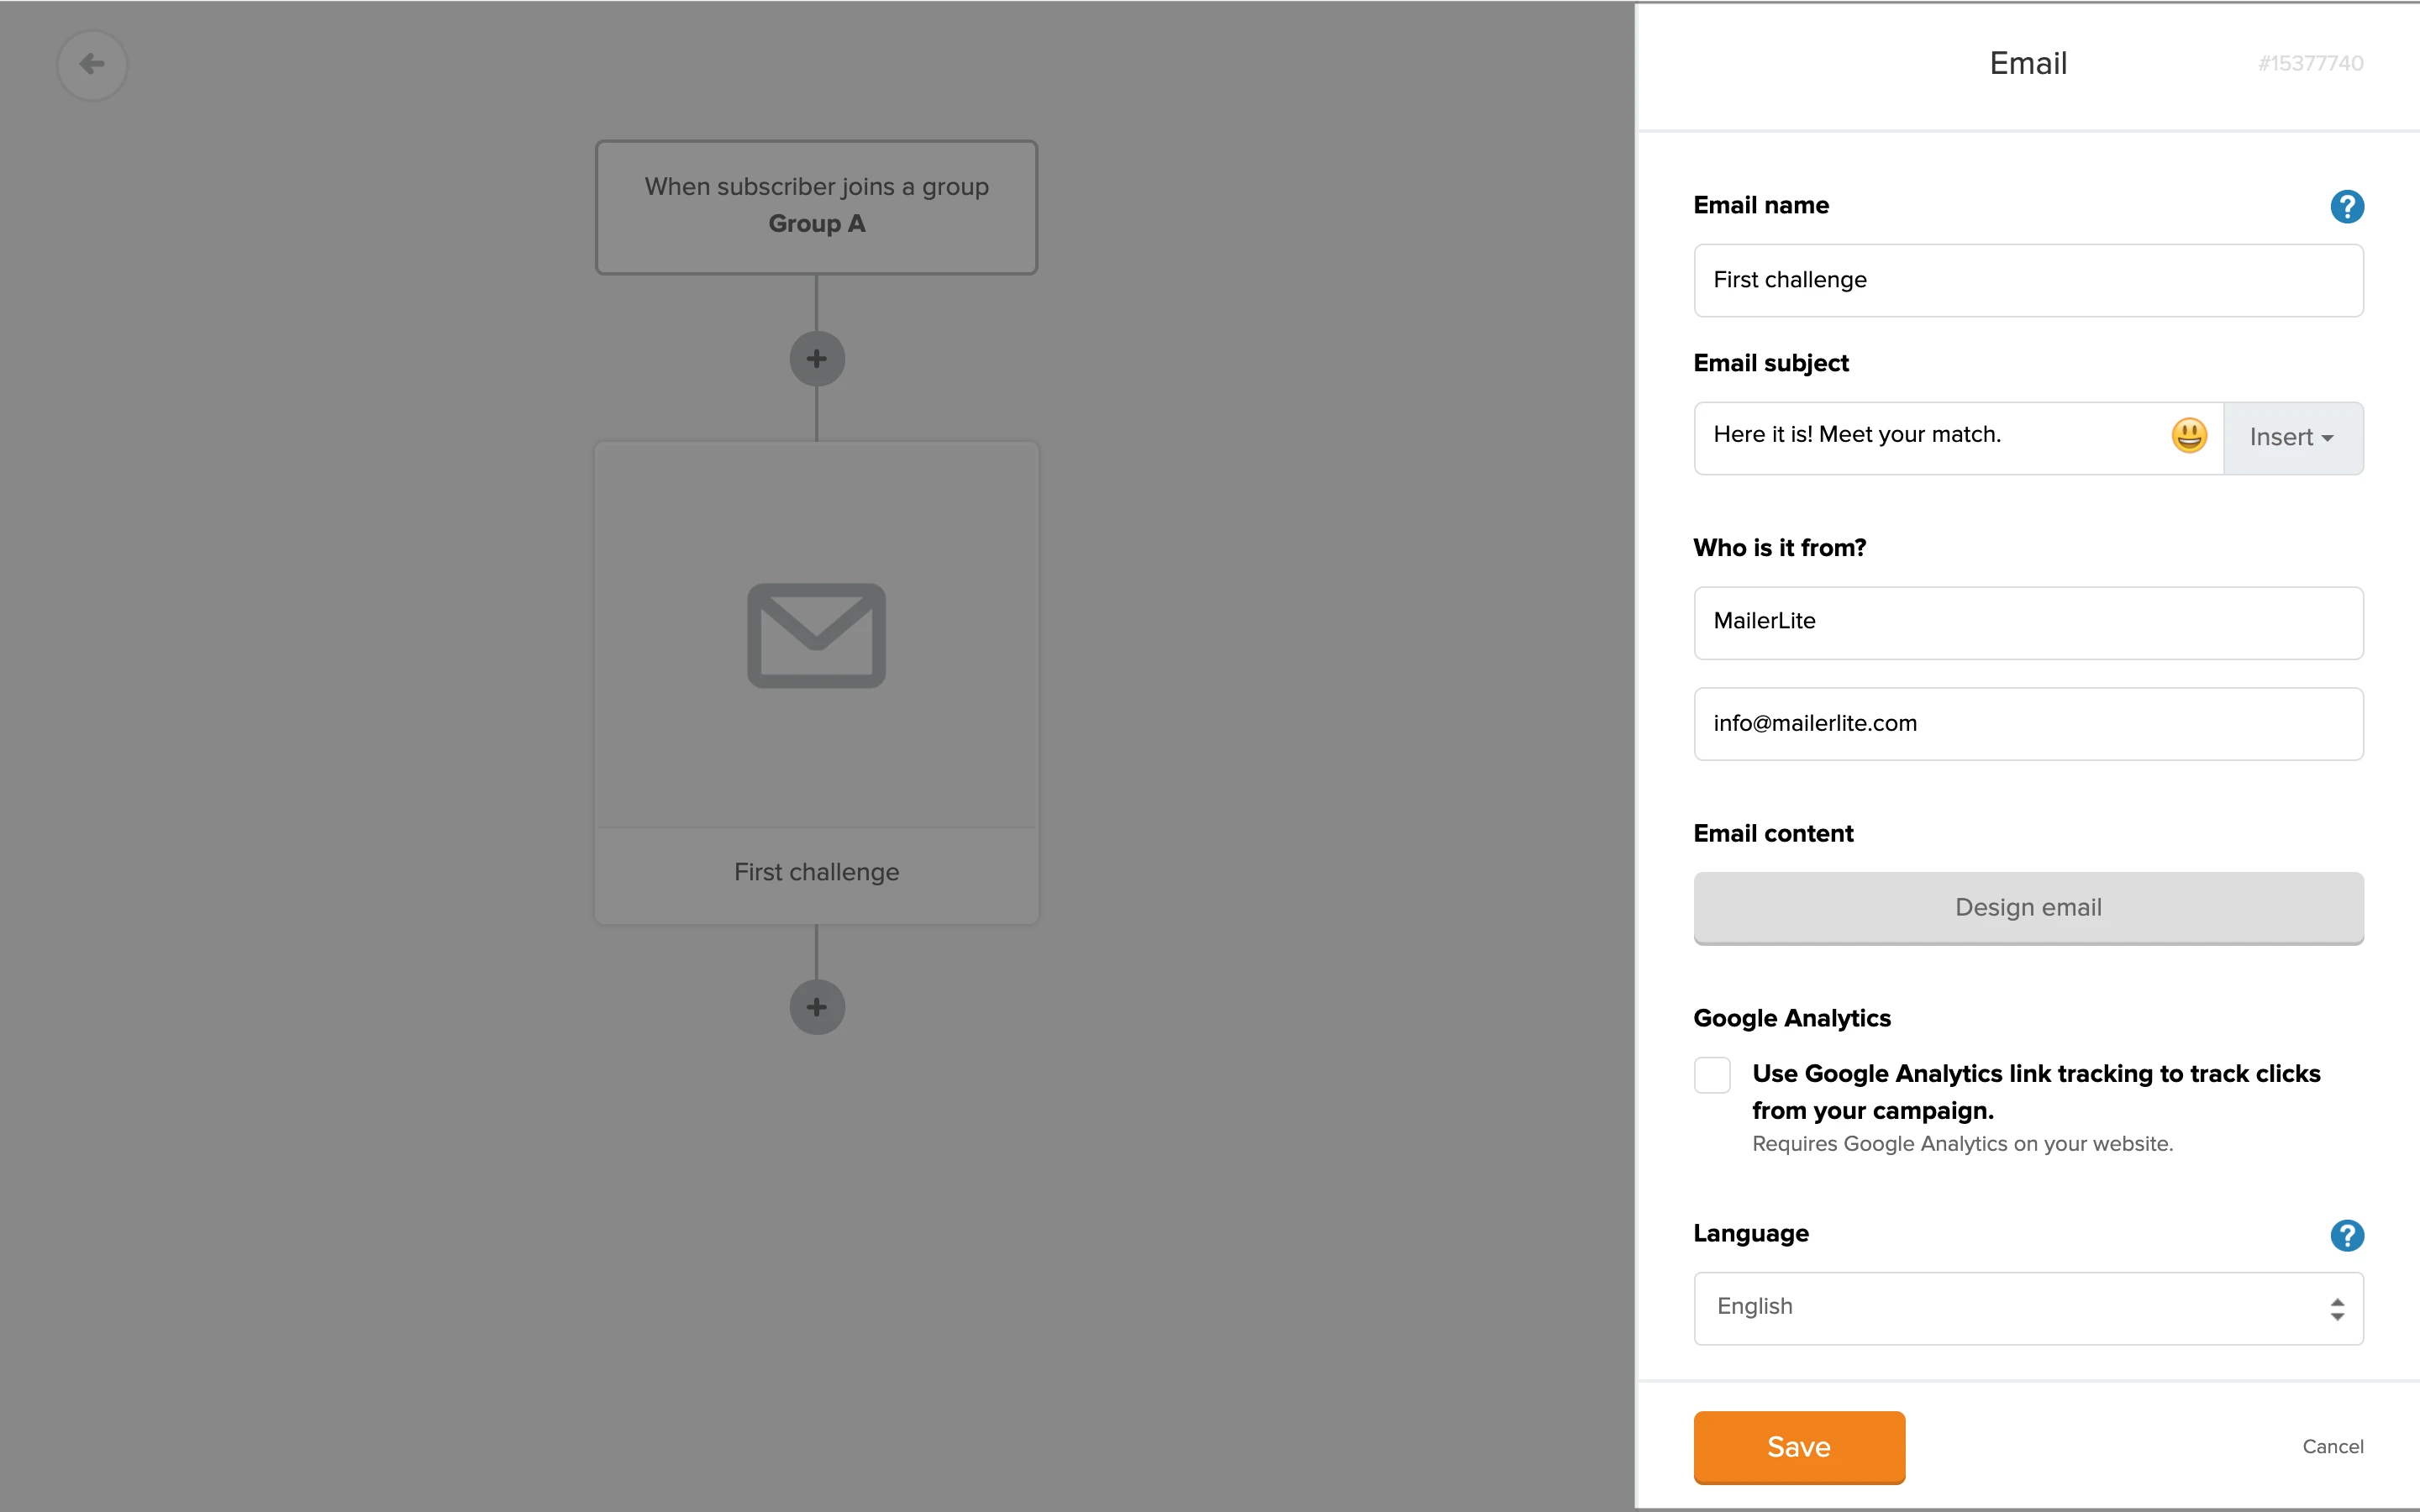
4. In the right sidebar, enter your email subject, sender name, and sender email address.
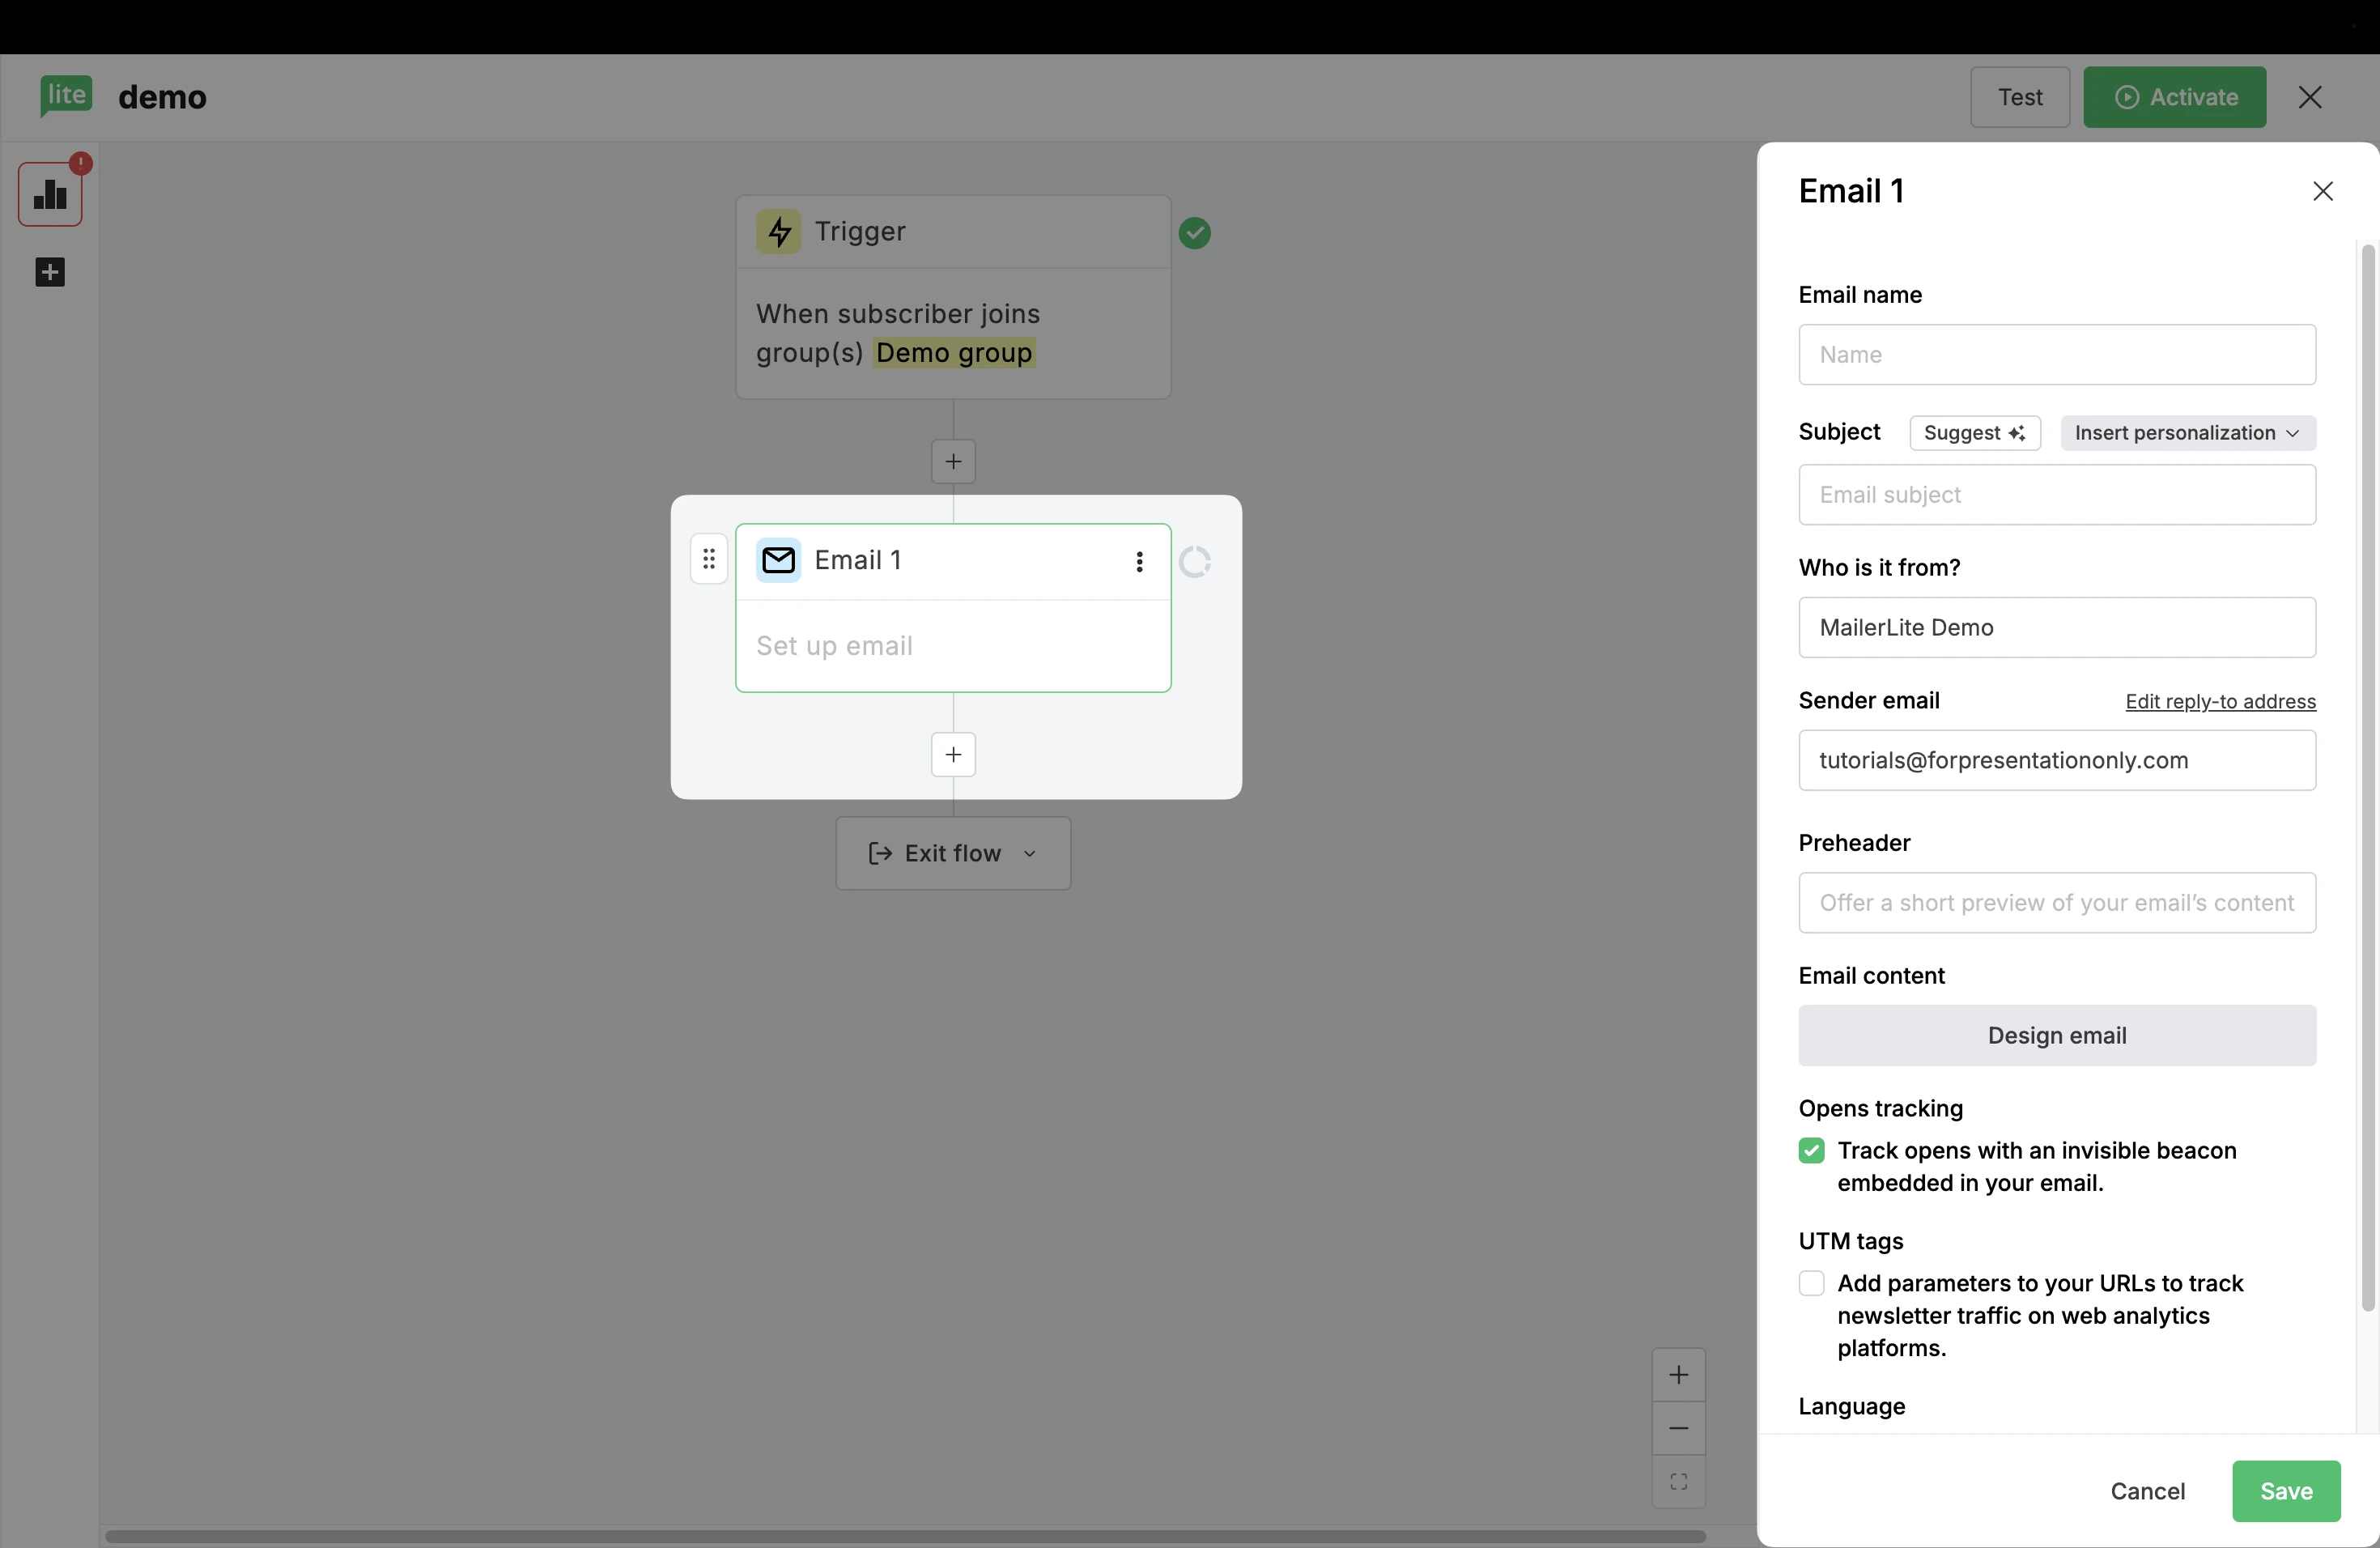
5. Click Design email and choose a campaign editor in which to design your workflow email.
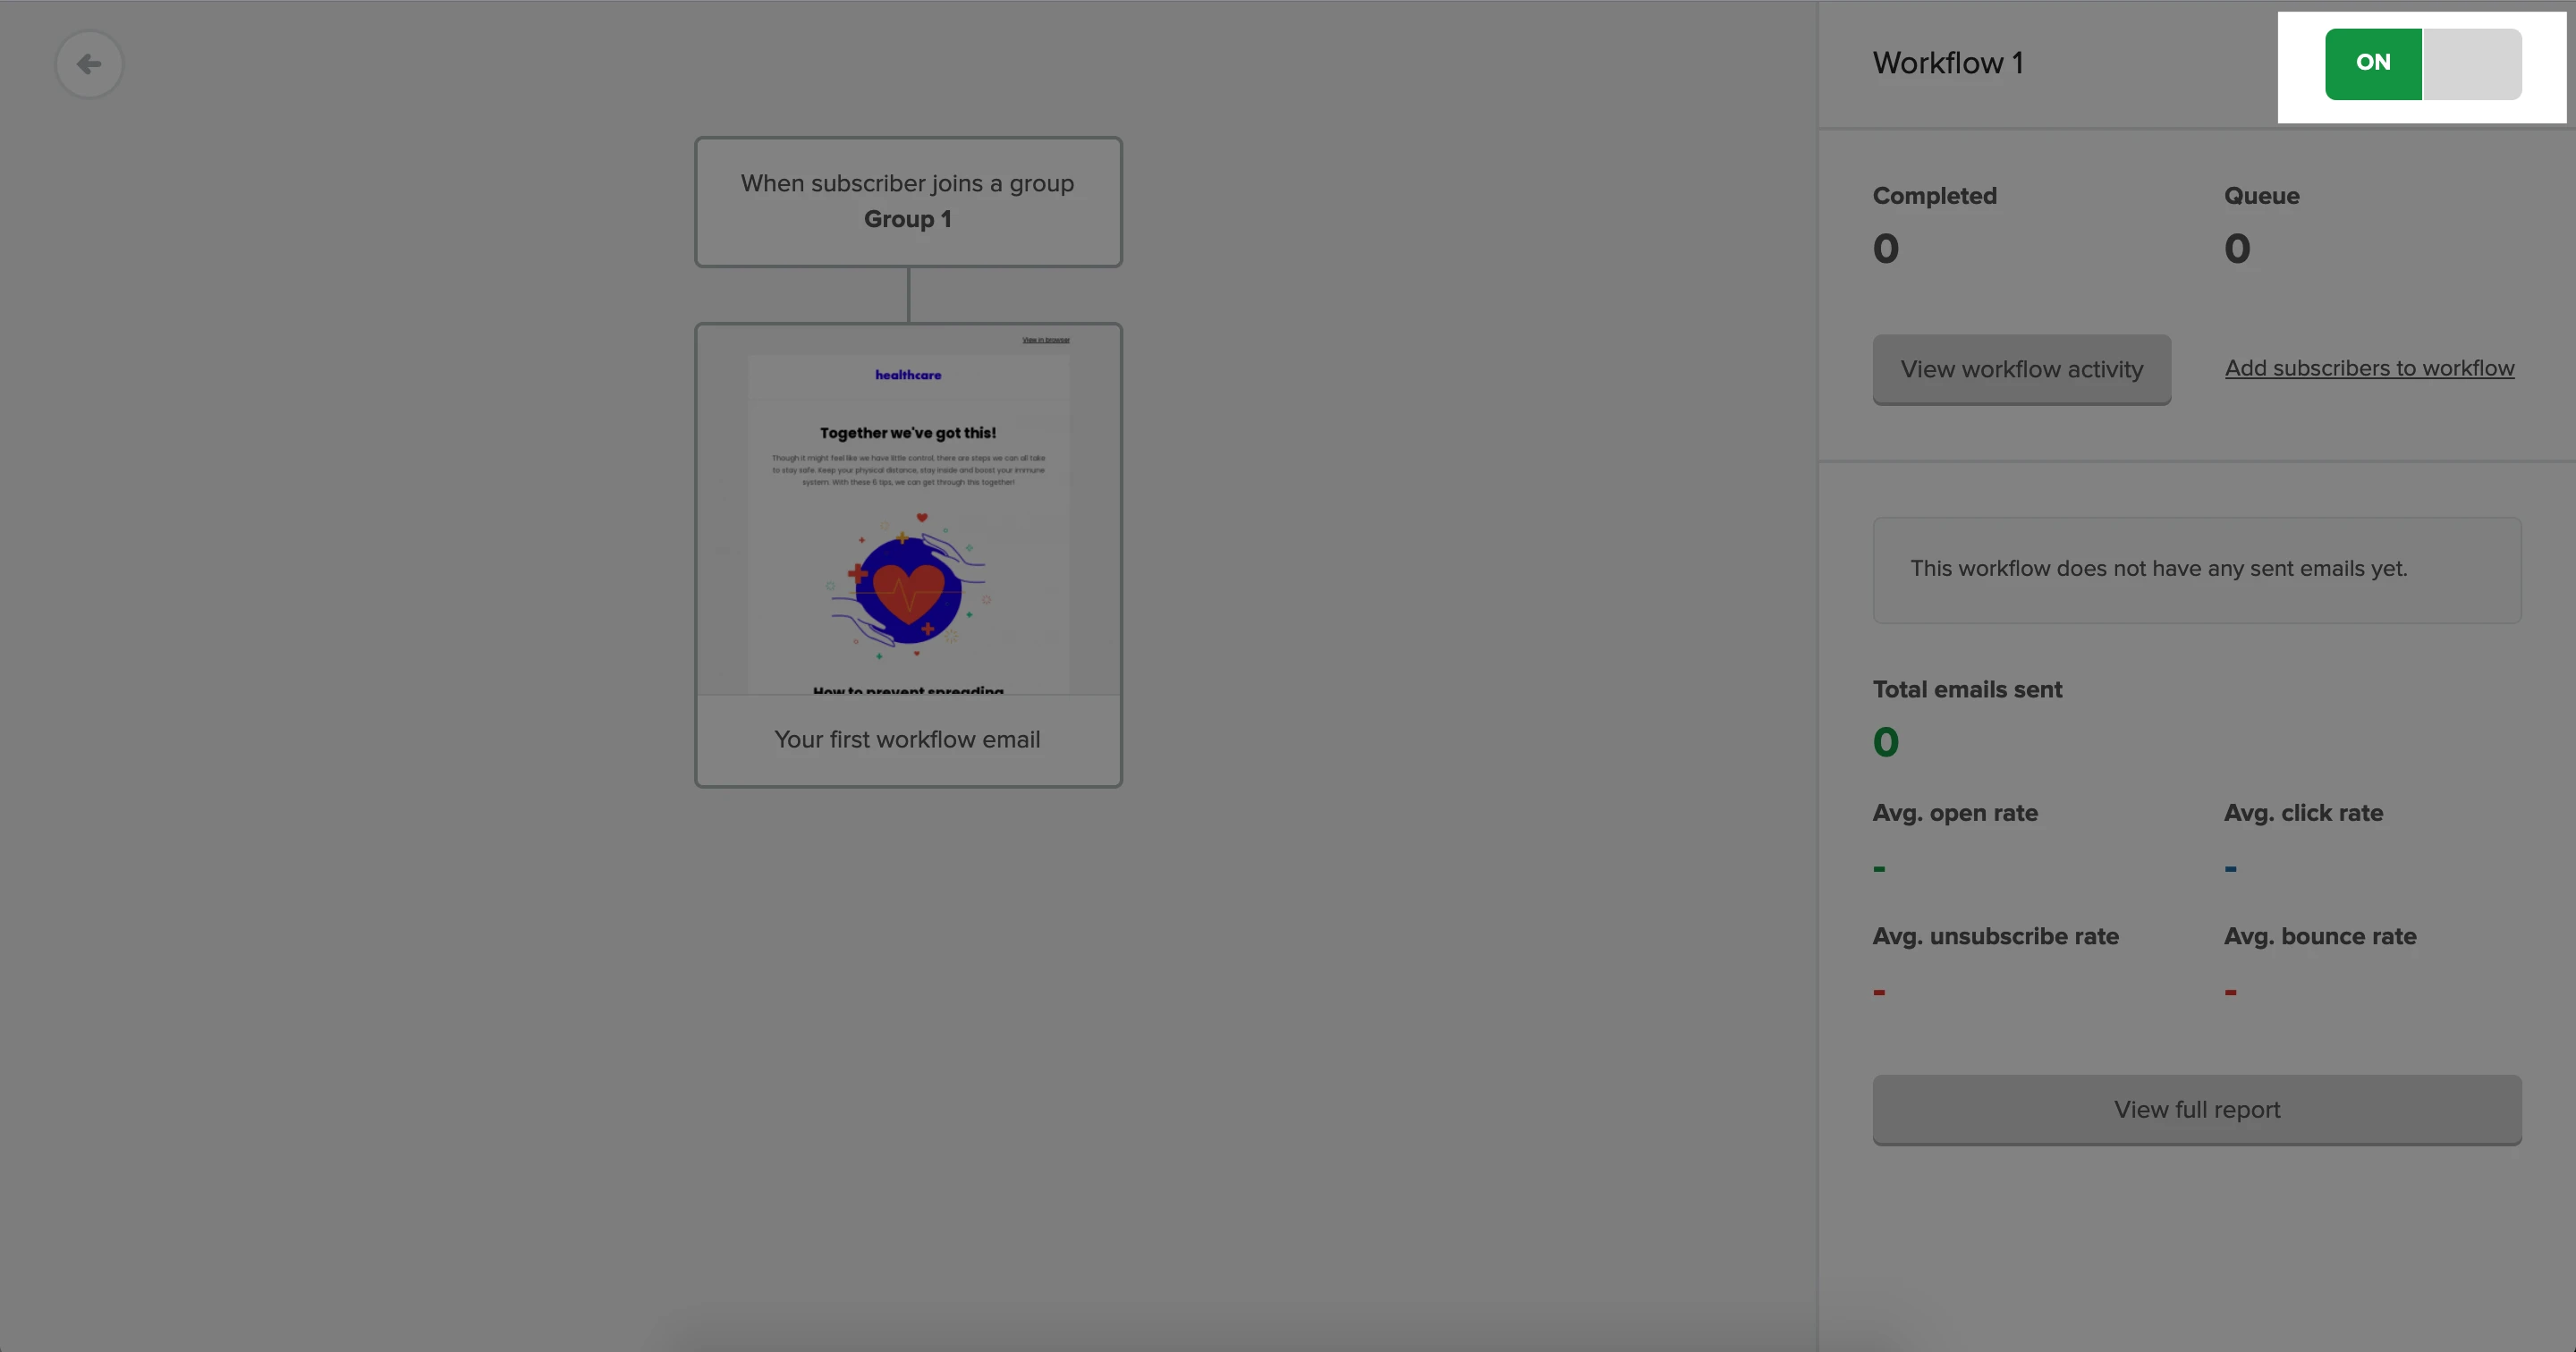
6. When you’ve finished creating your workflow email, click the Activate button on the top-right corner of the page.
You now have a simple automation workflow that automatically sends an email when a subscriber joins a group. If you wish to add more steps, click the plus icon.
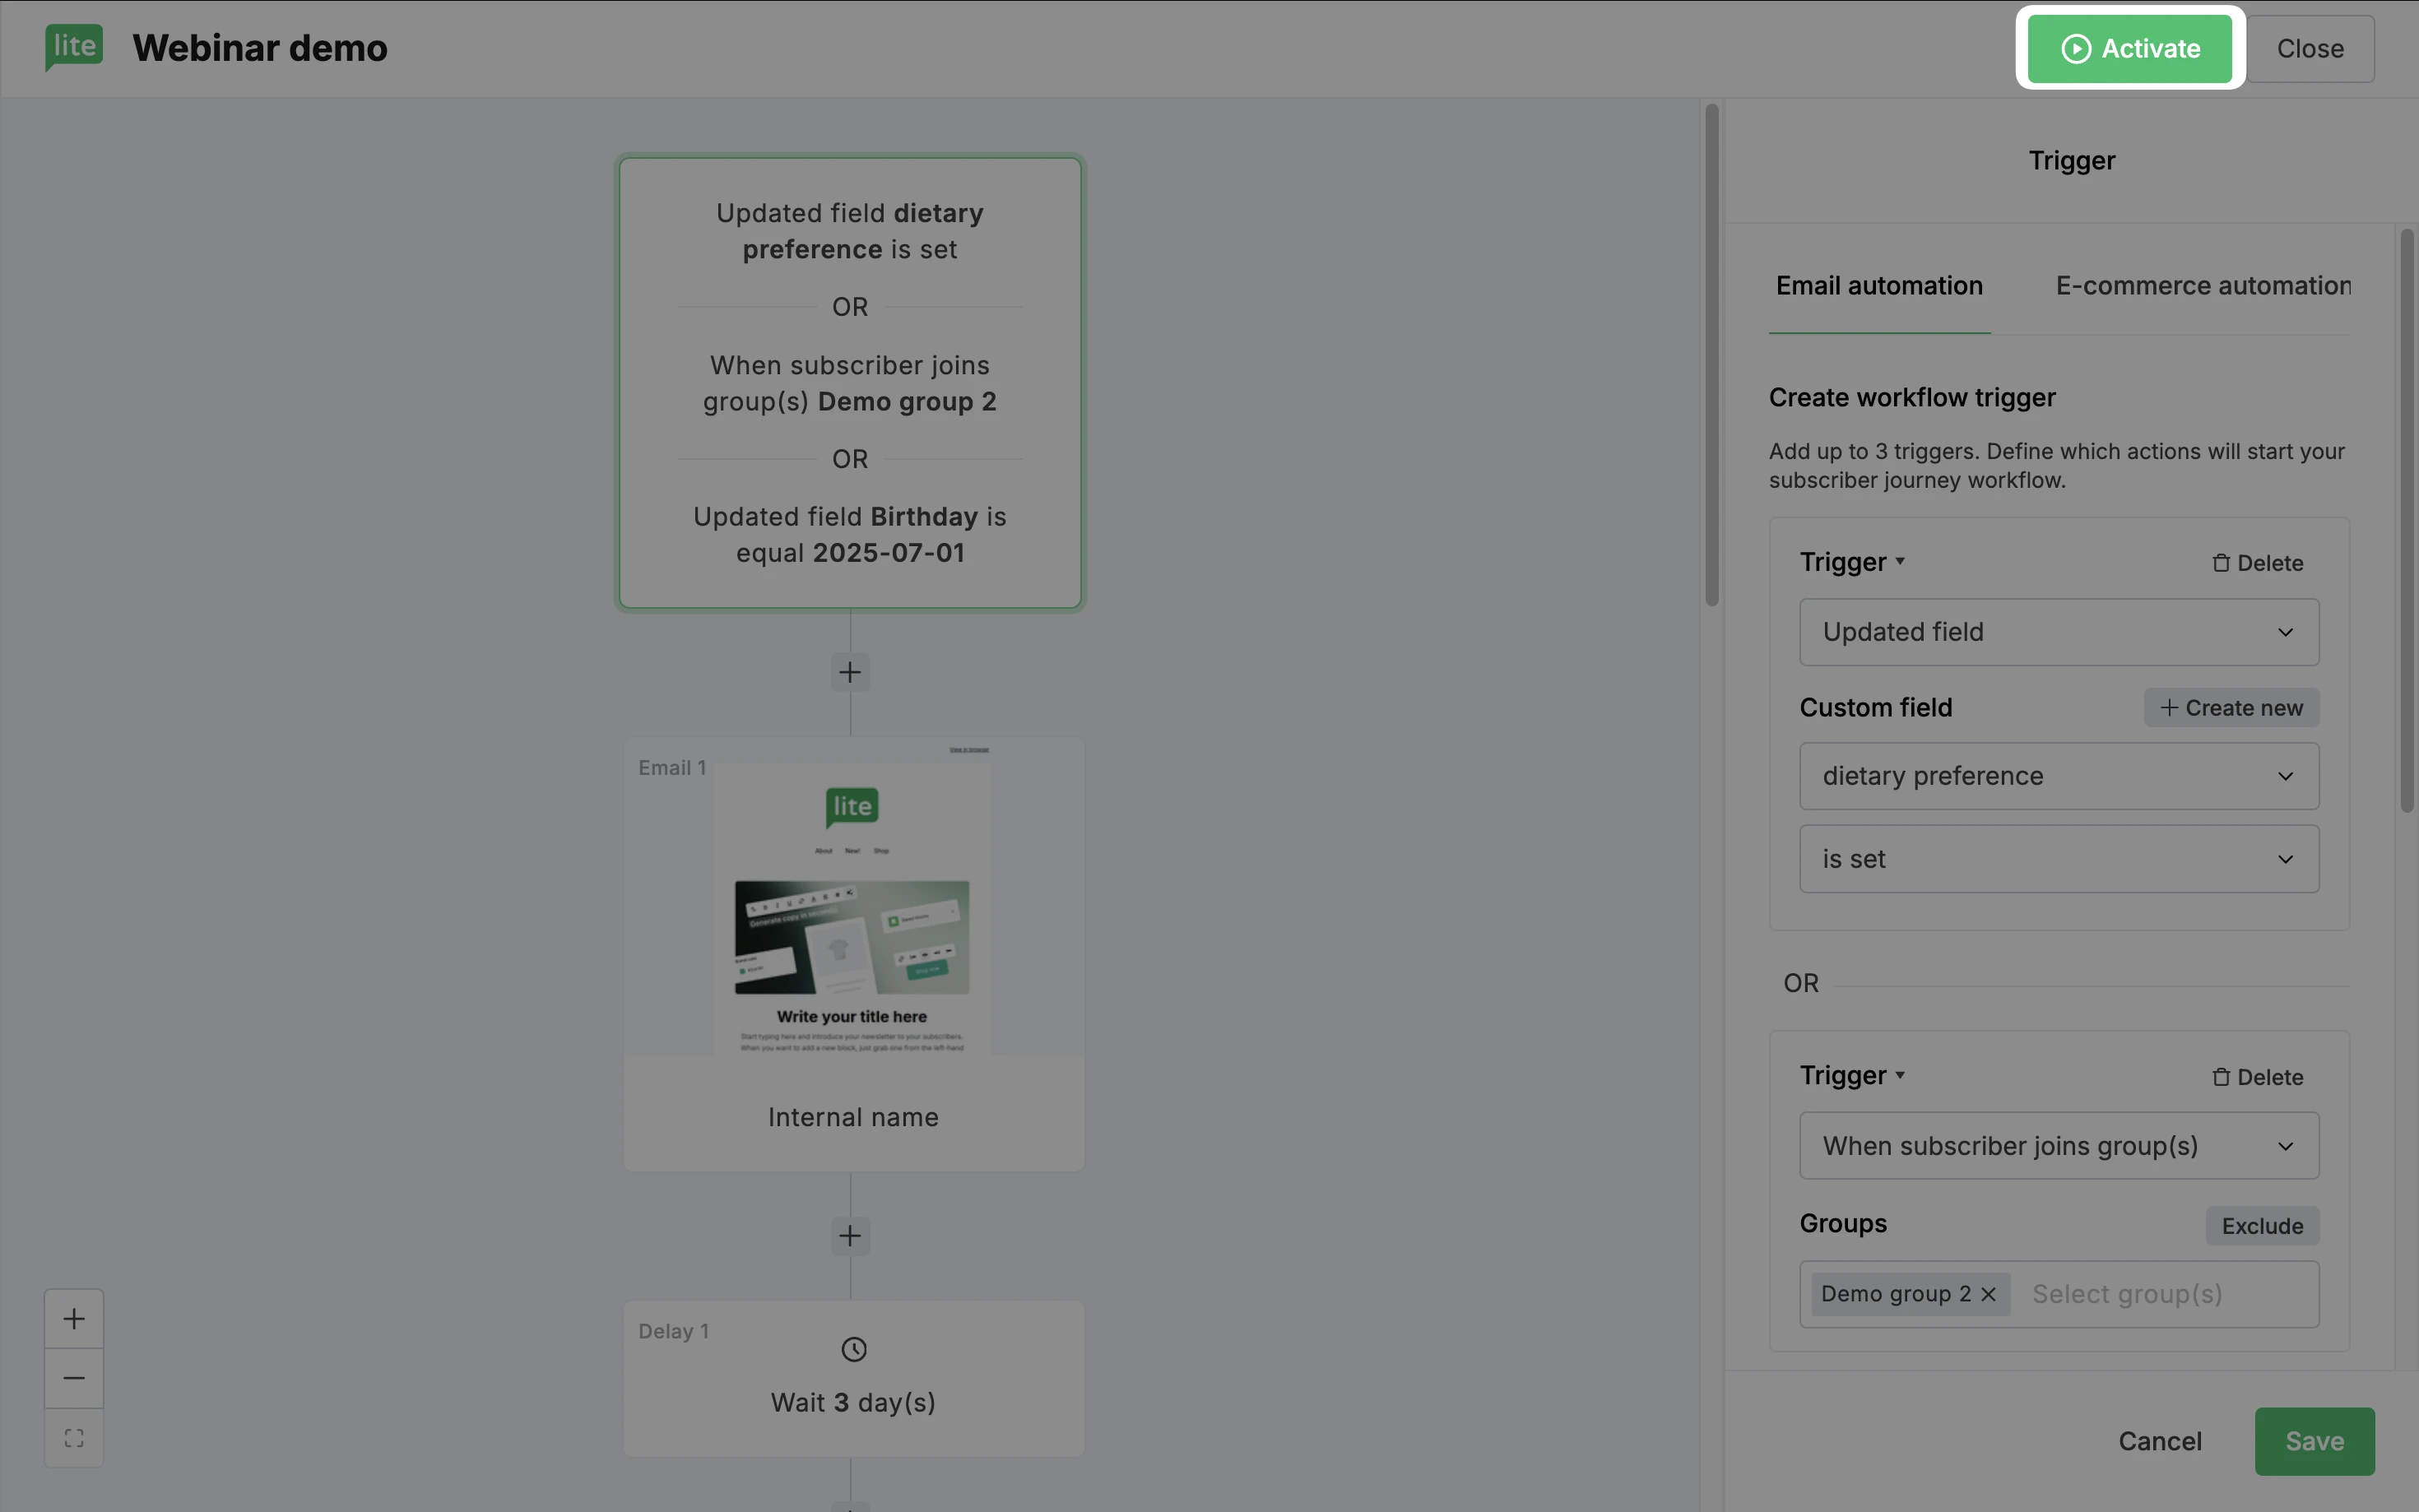
For visual examples and instructions for recreating common automation workflows, such as a welcome sequence or freebie email, check out our Automation gallery.
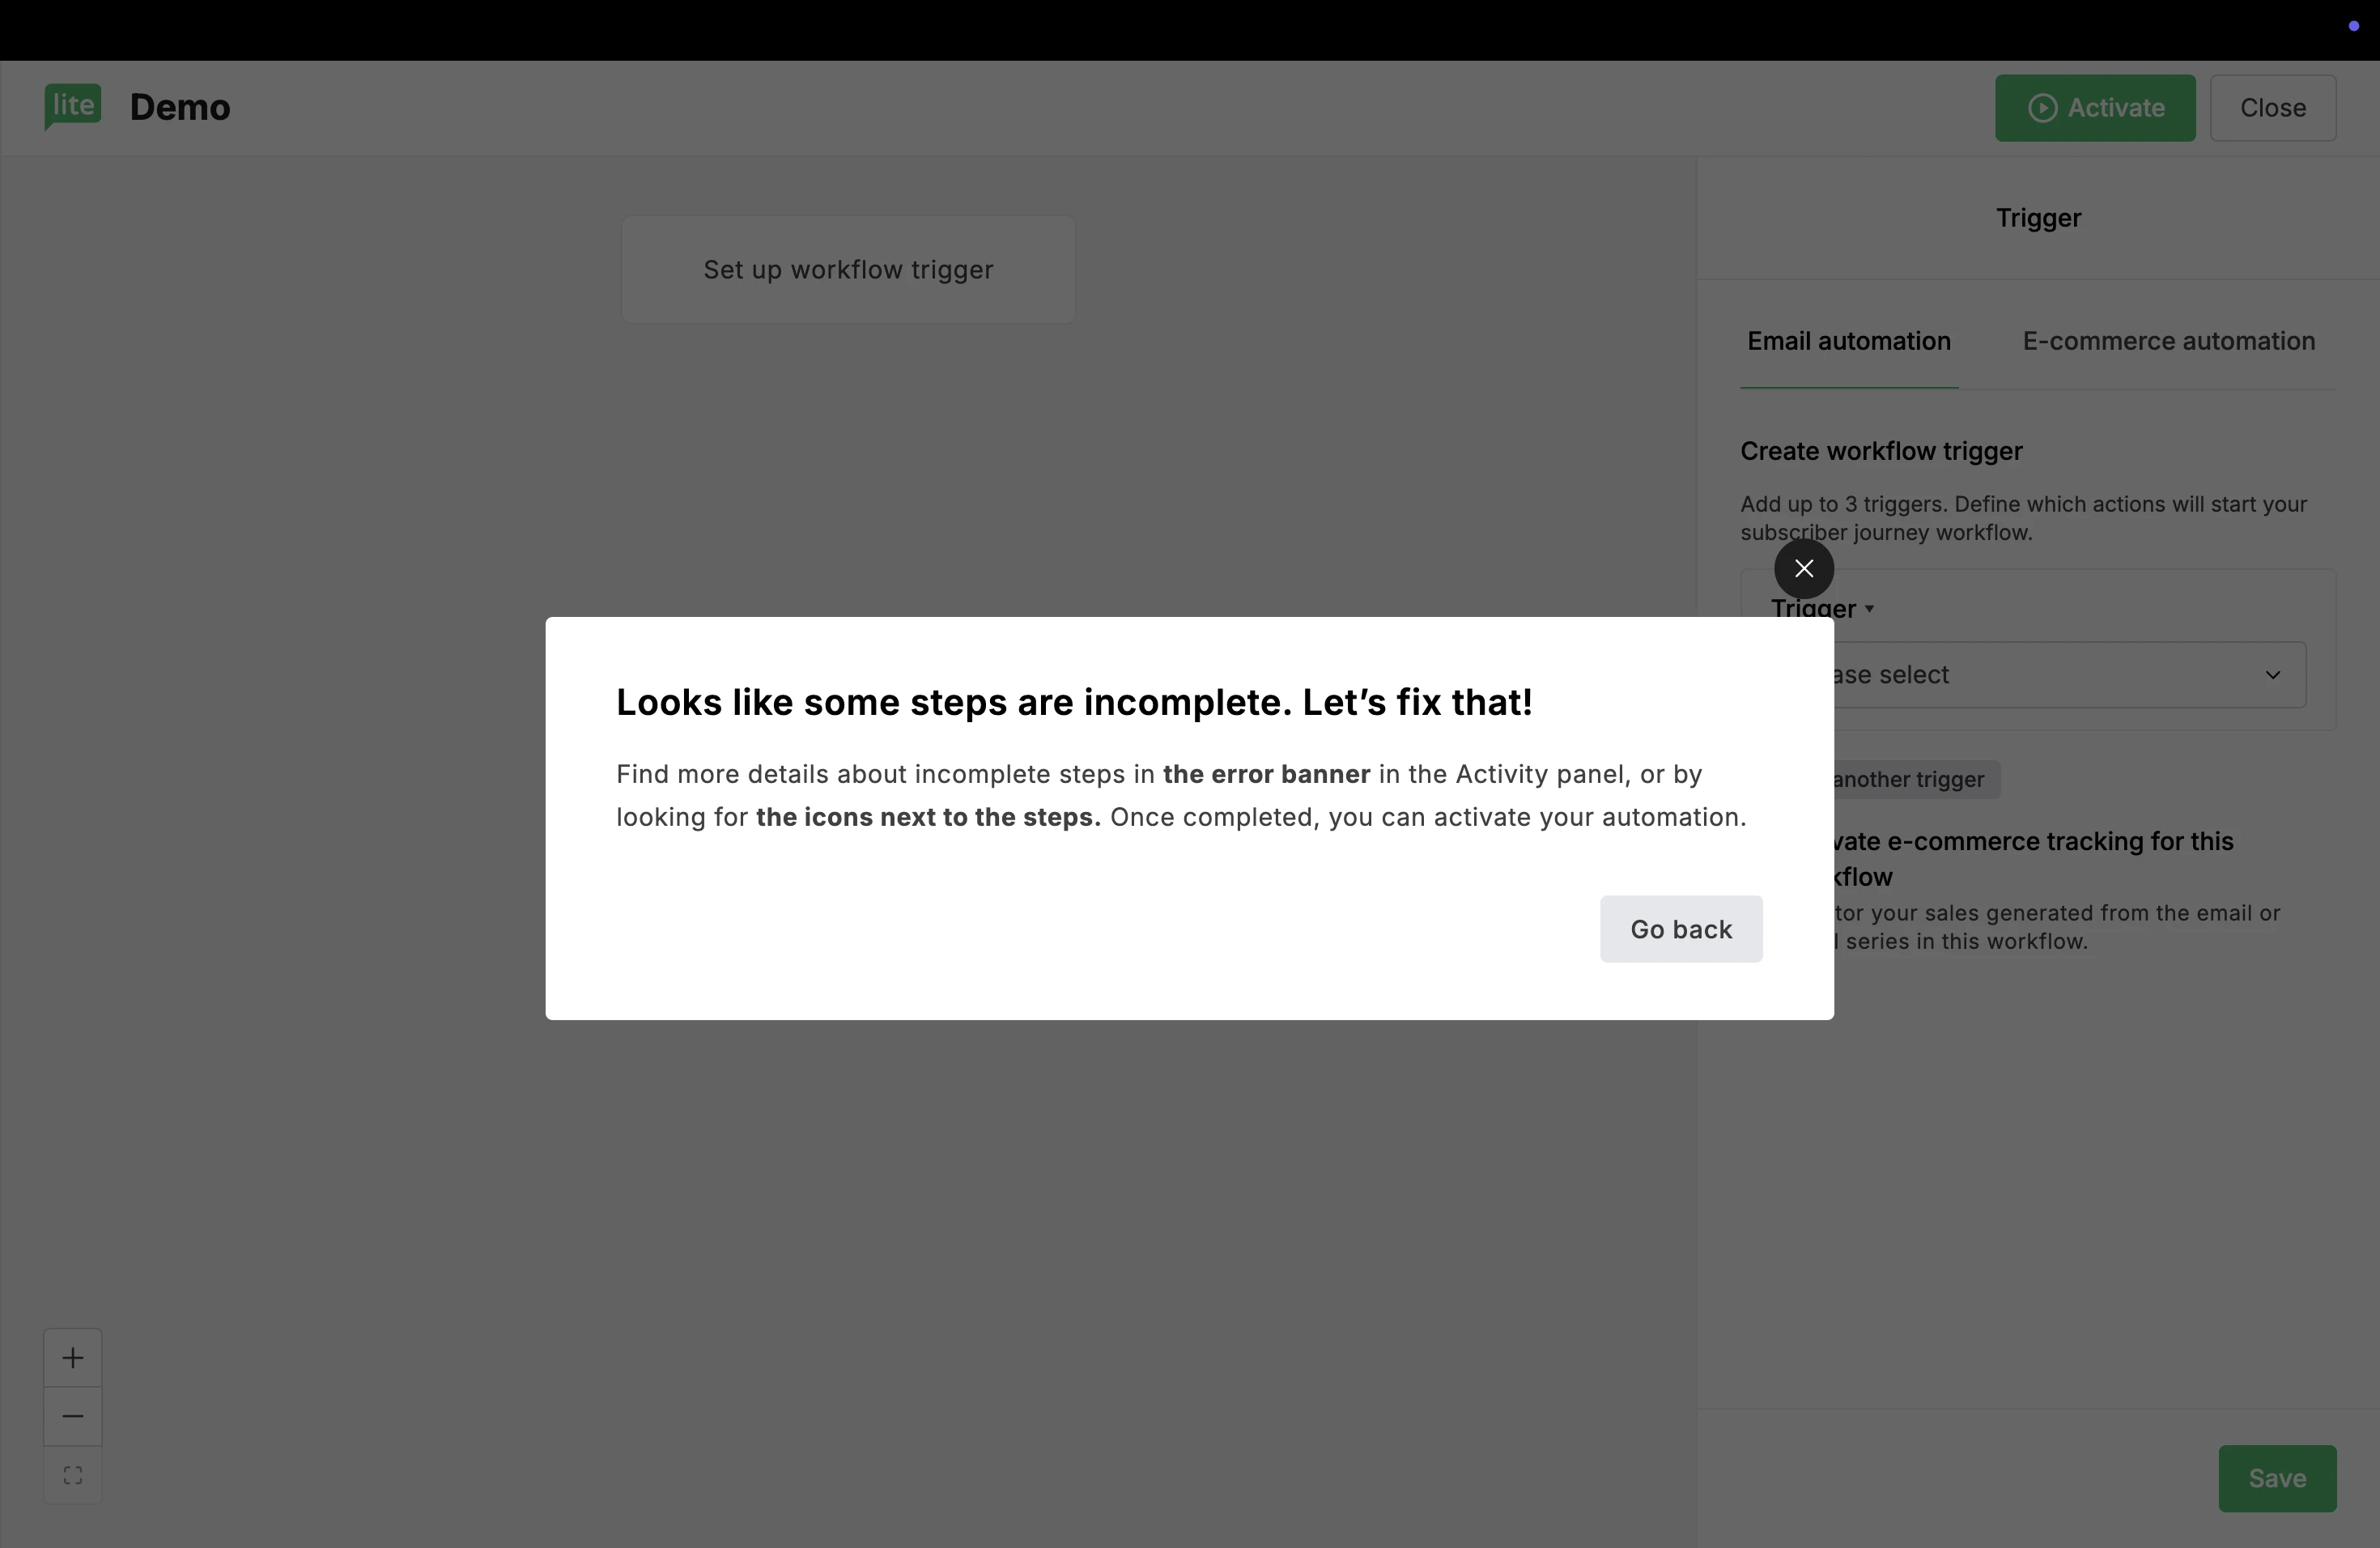
If the workflow is incomplete, you will see a message prompting you to complete the workflow before it can be activated.
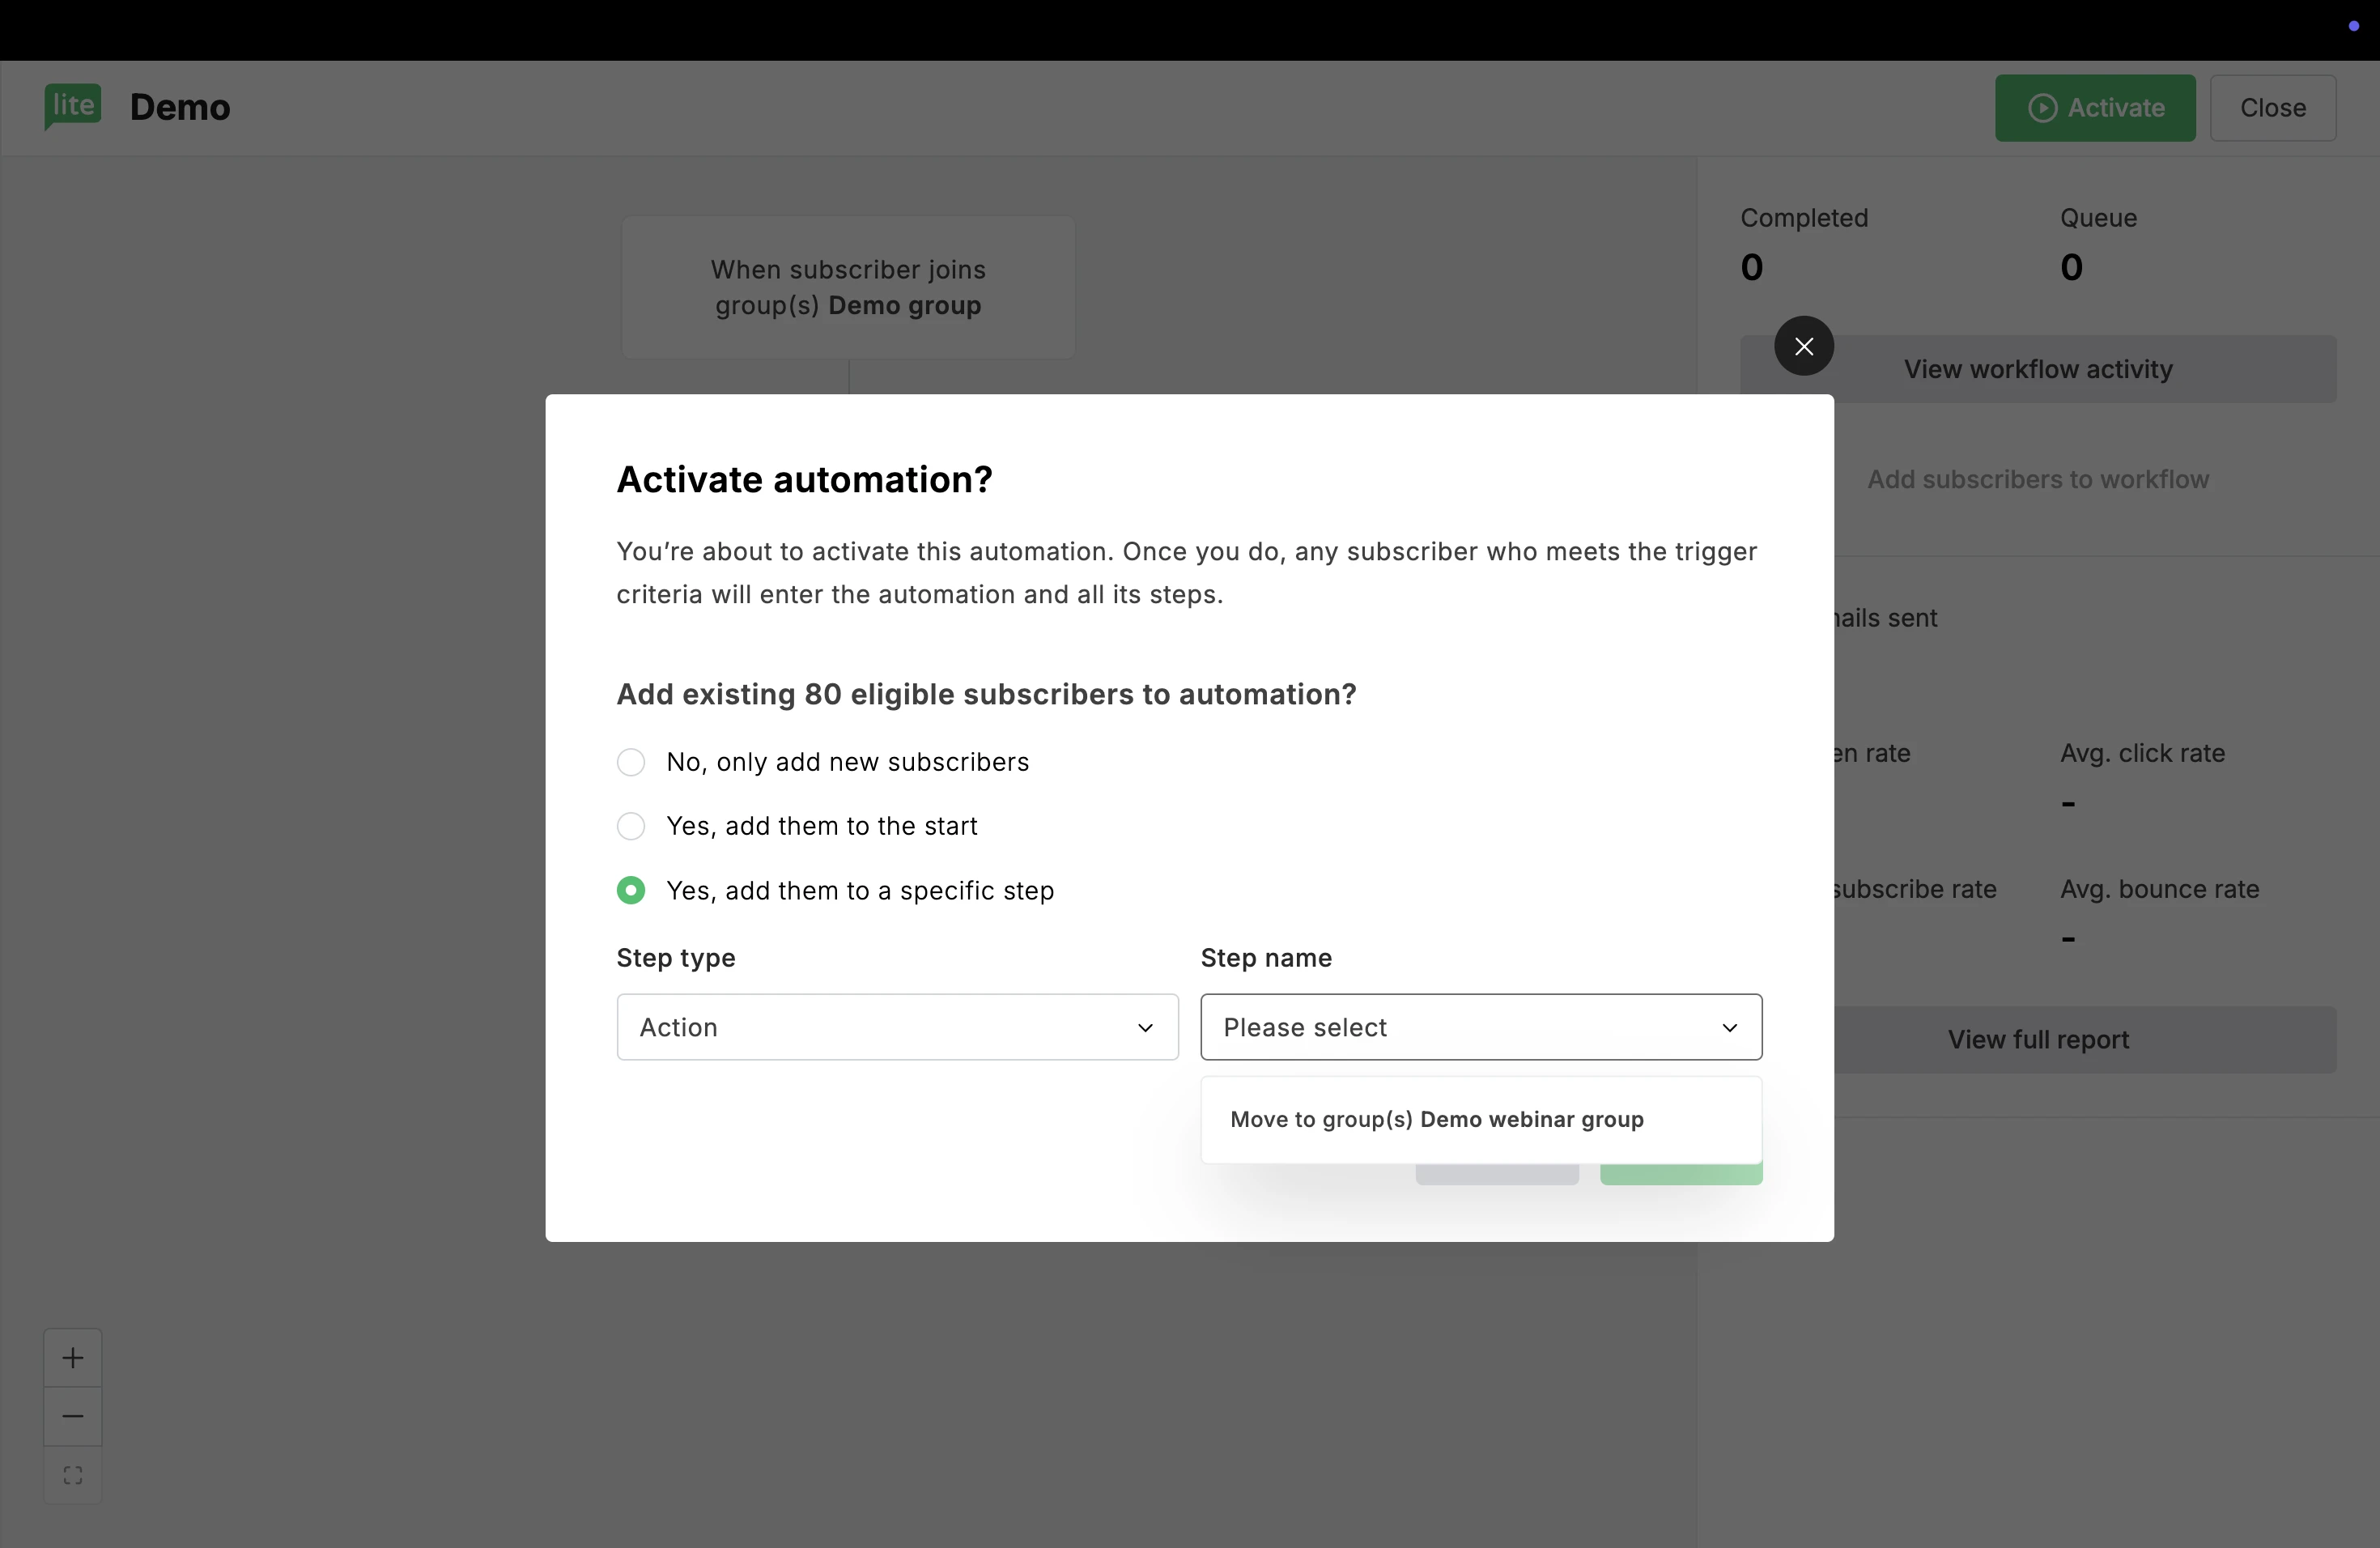
If previous subscribers meet the trigger and are eligible to enter the workflow, you will see a message asking how you would like to manage those subscribers.
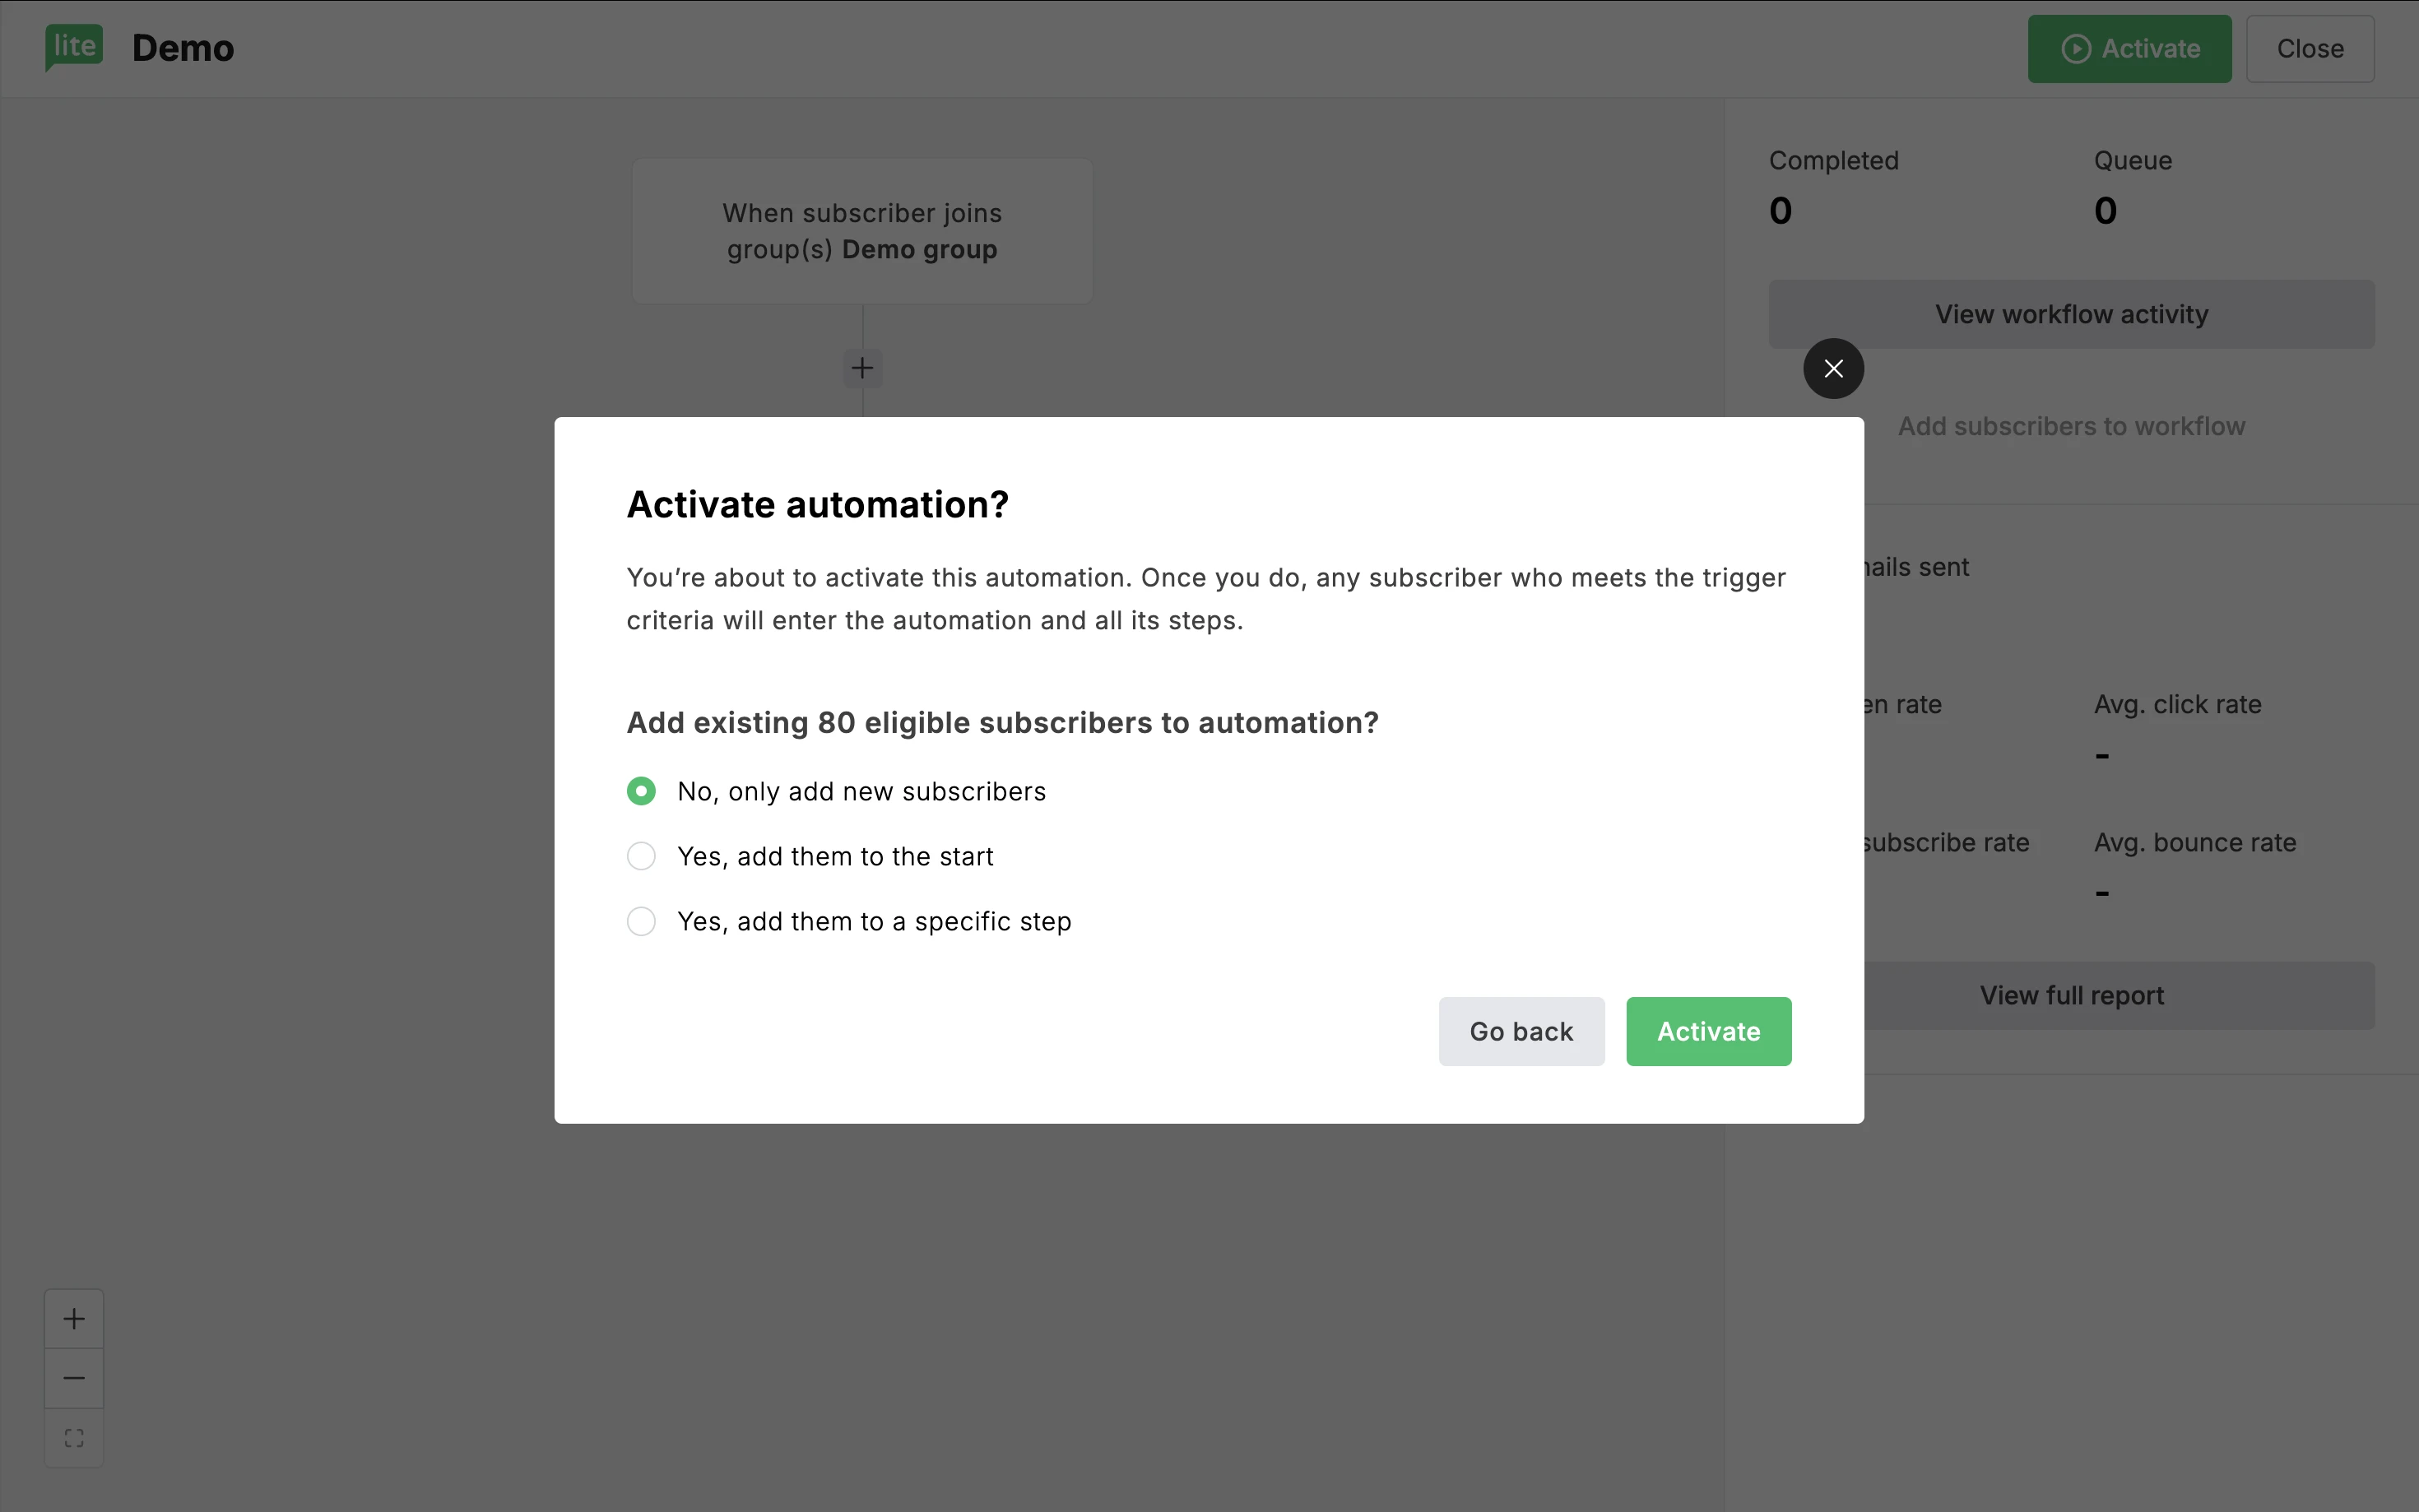
You can choose between:
No, only add new subscribers: Previous subscribers will not be added to this sequence, only new subscribers who meet the condition.
Yes, add them to the start: Adds previous subscribers who meet the condition to the beginning of the workflow
Yes, add them to a specific step: Add previous subscribers to any step in the automation. Here, you can specify which step to add them to.
How to pause an automation workflow
To make changes to an active automation, you must first pause it or turn it off.
To pause an automation workflow:
Navigate to the Automation page.
Find the workflow you wish to pause and access the editor.
Click the Pause button.
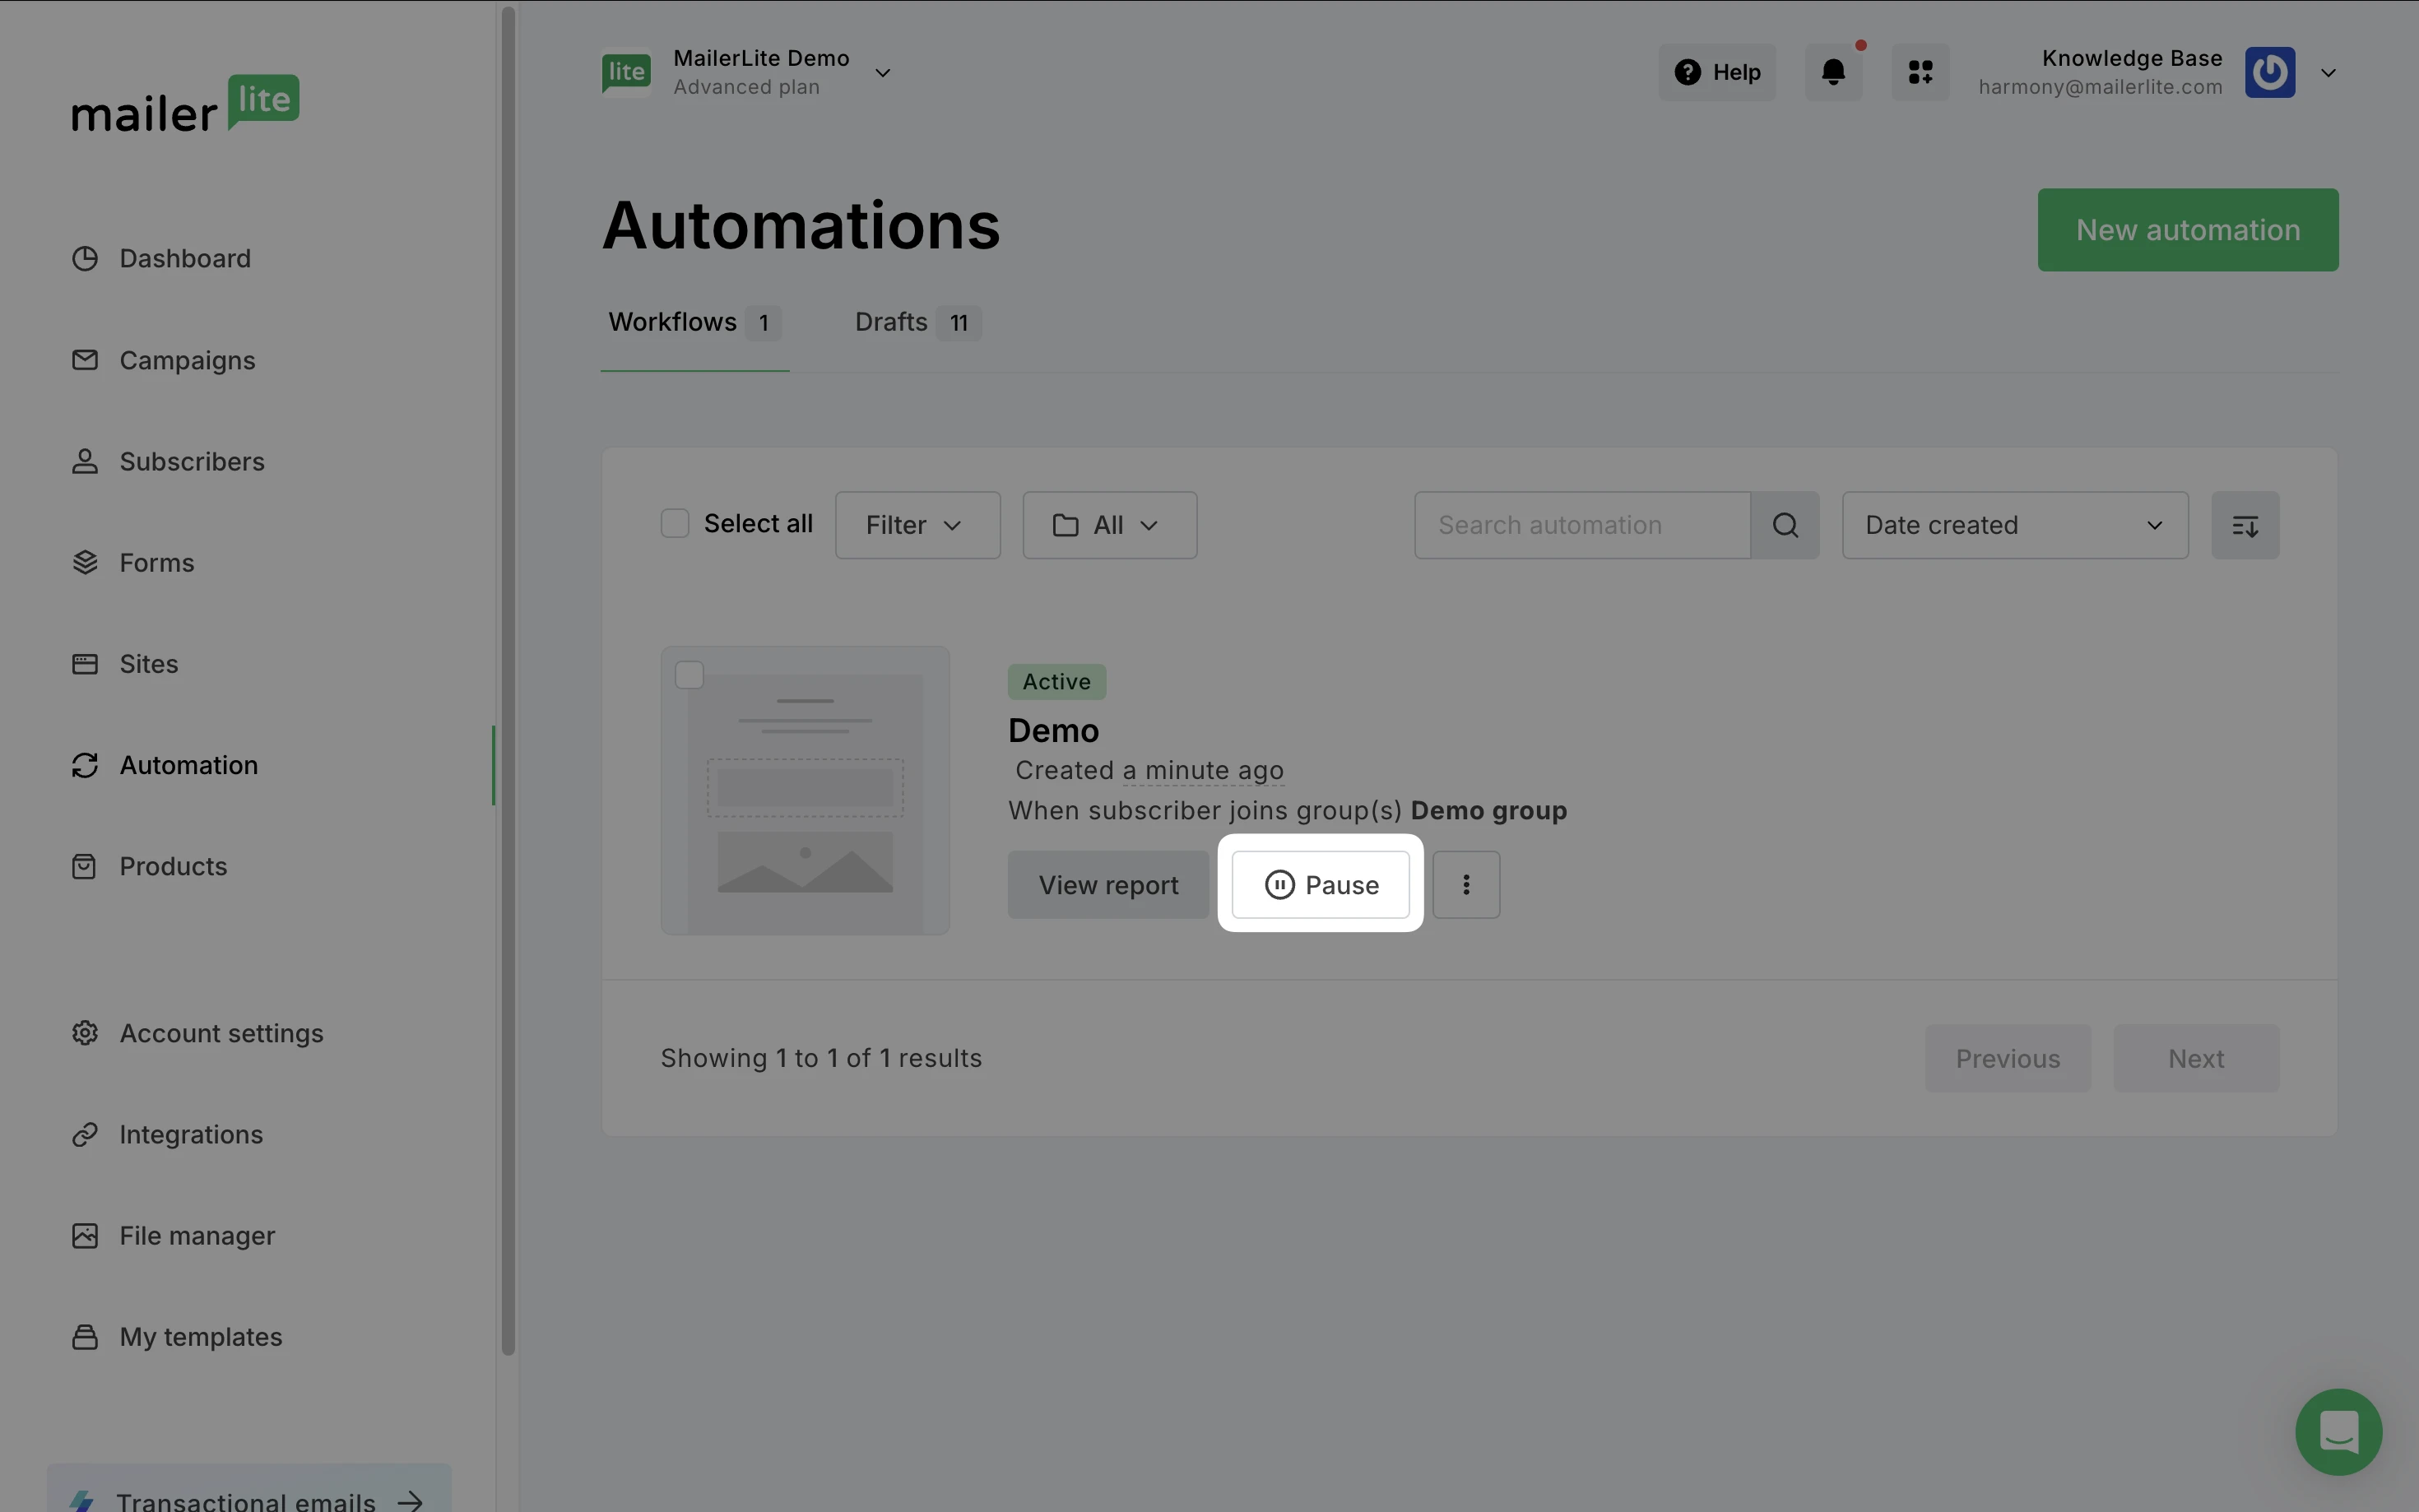
When an automation workflow is paused, subscribers are paused on the step they’re up to at the moment that you pause it. When the automation is activated again, all subscribers in the automation sequence continue at the steps they’ve been waiting for.
If subscribers were paused on a delay step, and the delay time passed while the automation was paused, then the subscribers won’t be able to continue the sequence.
For example: If you have an automation that contains a delay step of one day and you pause the automation for three days, all subscribers that were queued on the one-day delay step will be canceled from the workflow.
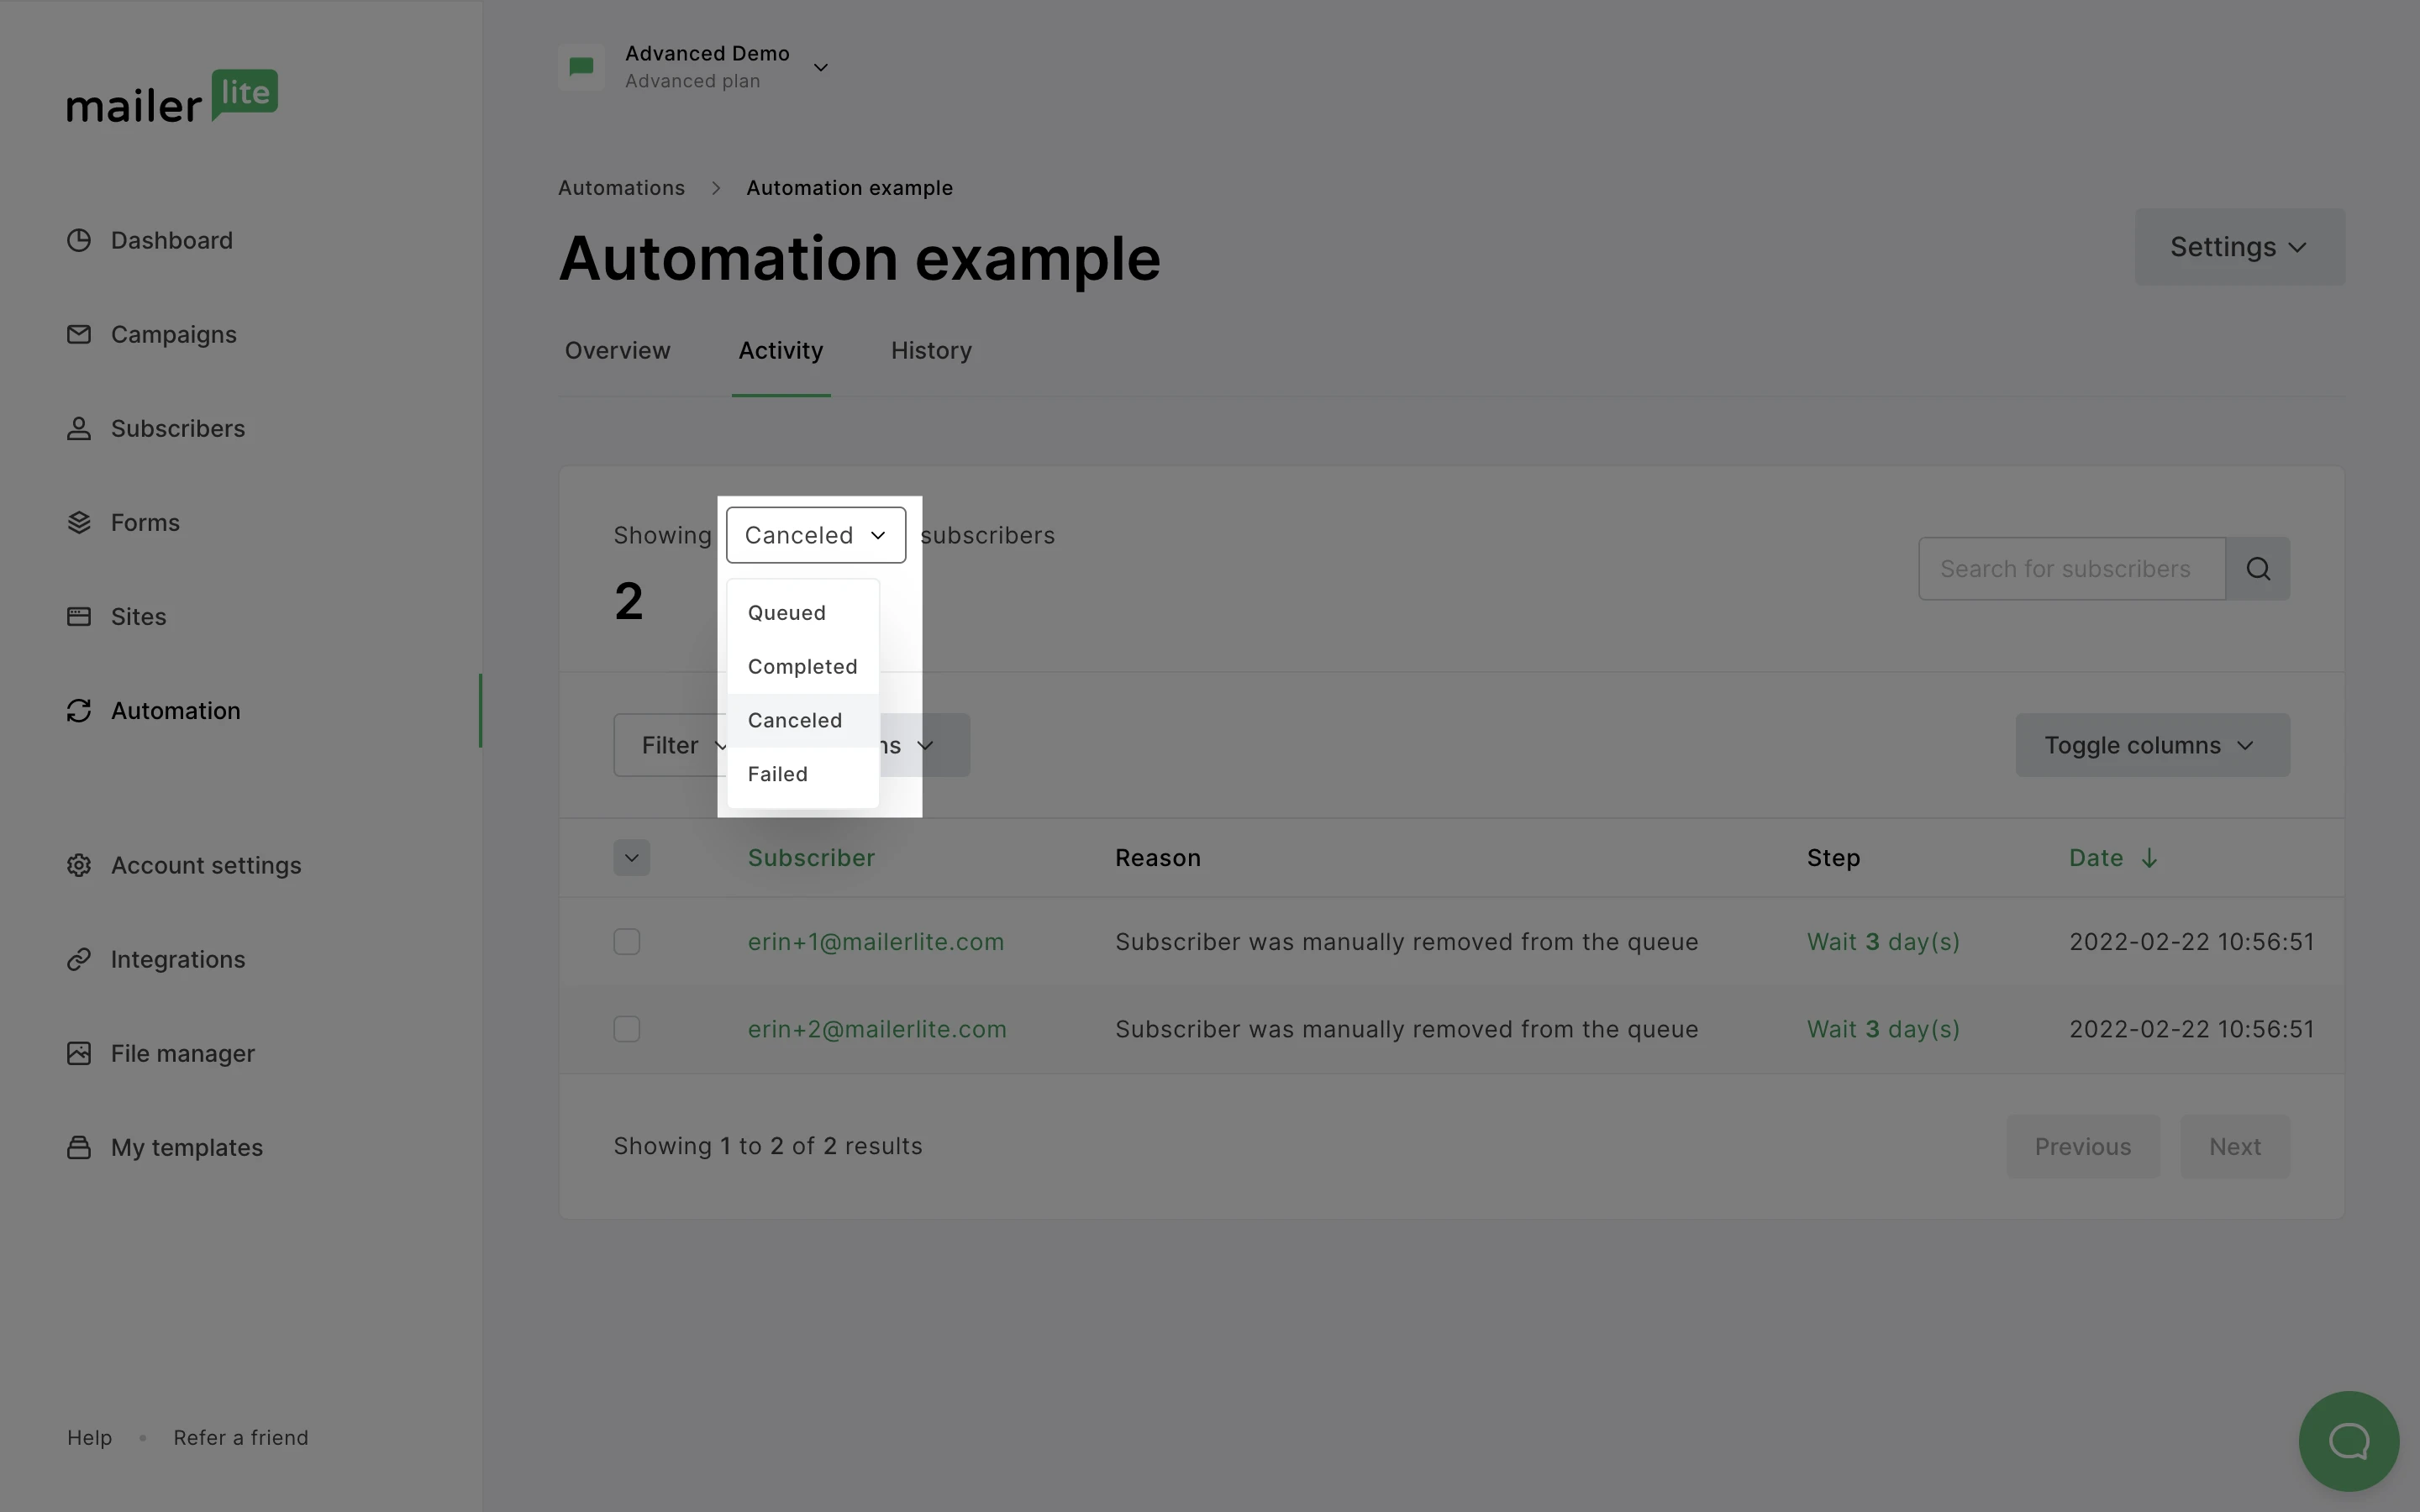
These subscribers can be found under Automation activity when you toggle to view Canceled subscribers.
How to rename an automation workflow
If your workflow is already up and running and you wish to change the workflow name, you can! To rename an automation workflow:
Find the workflow you want to rename.
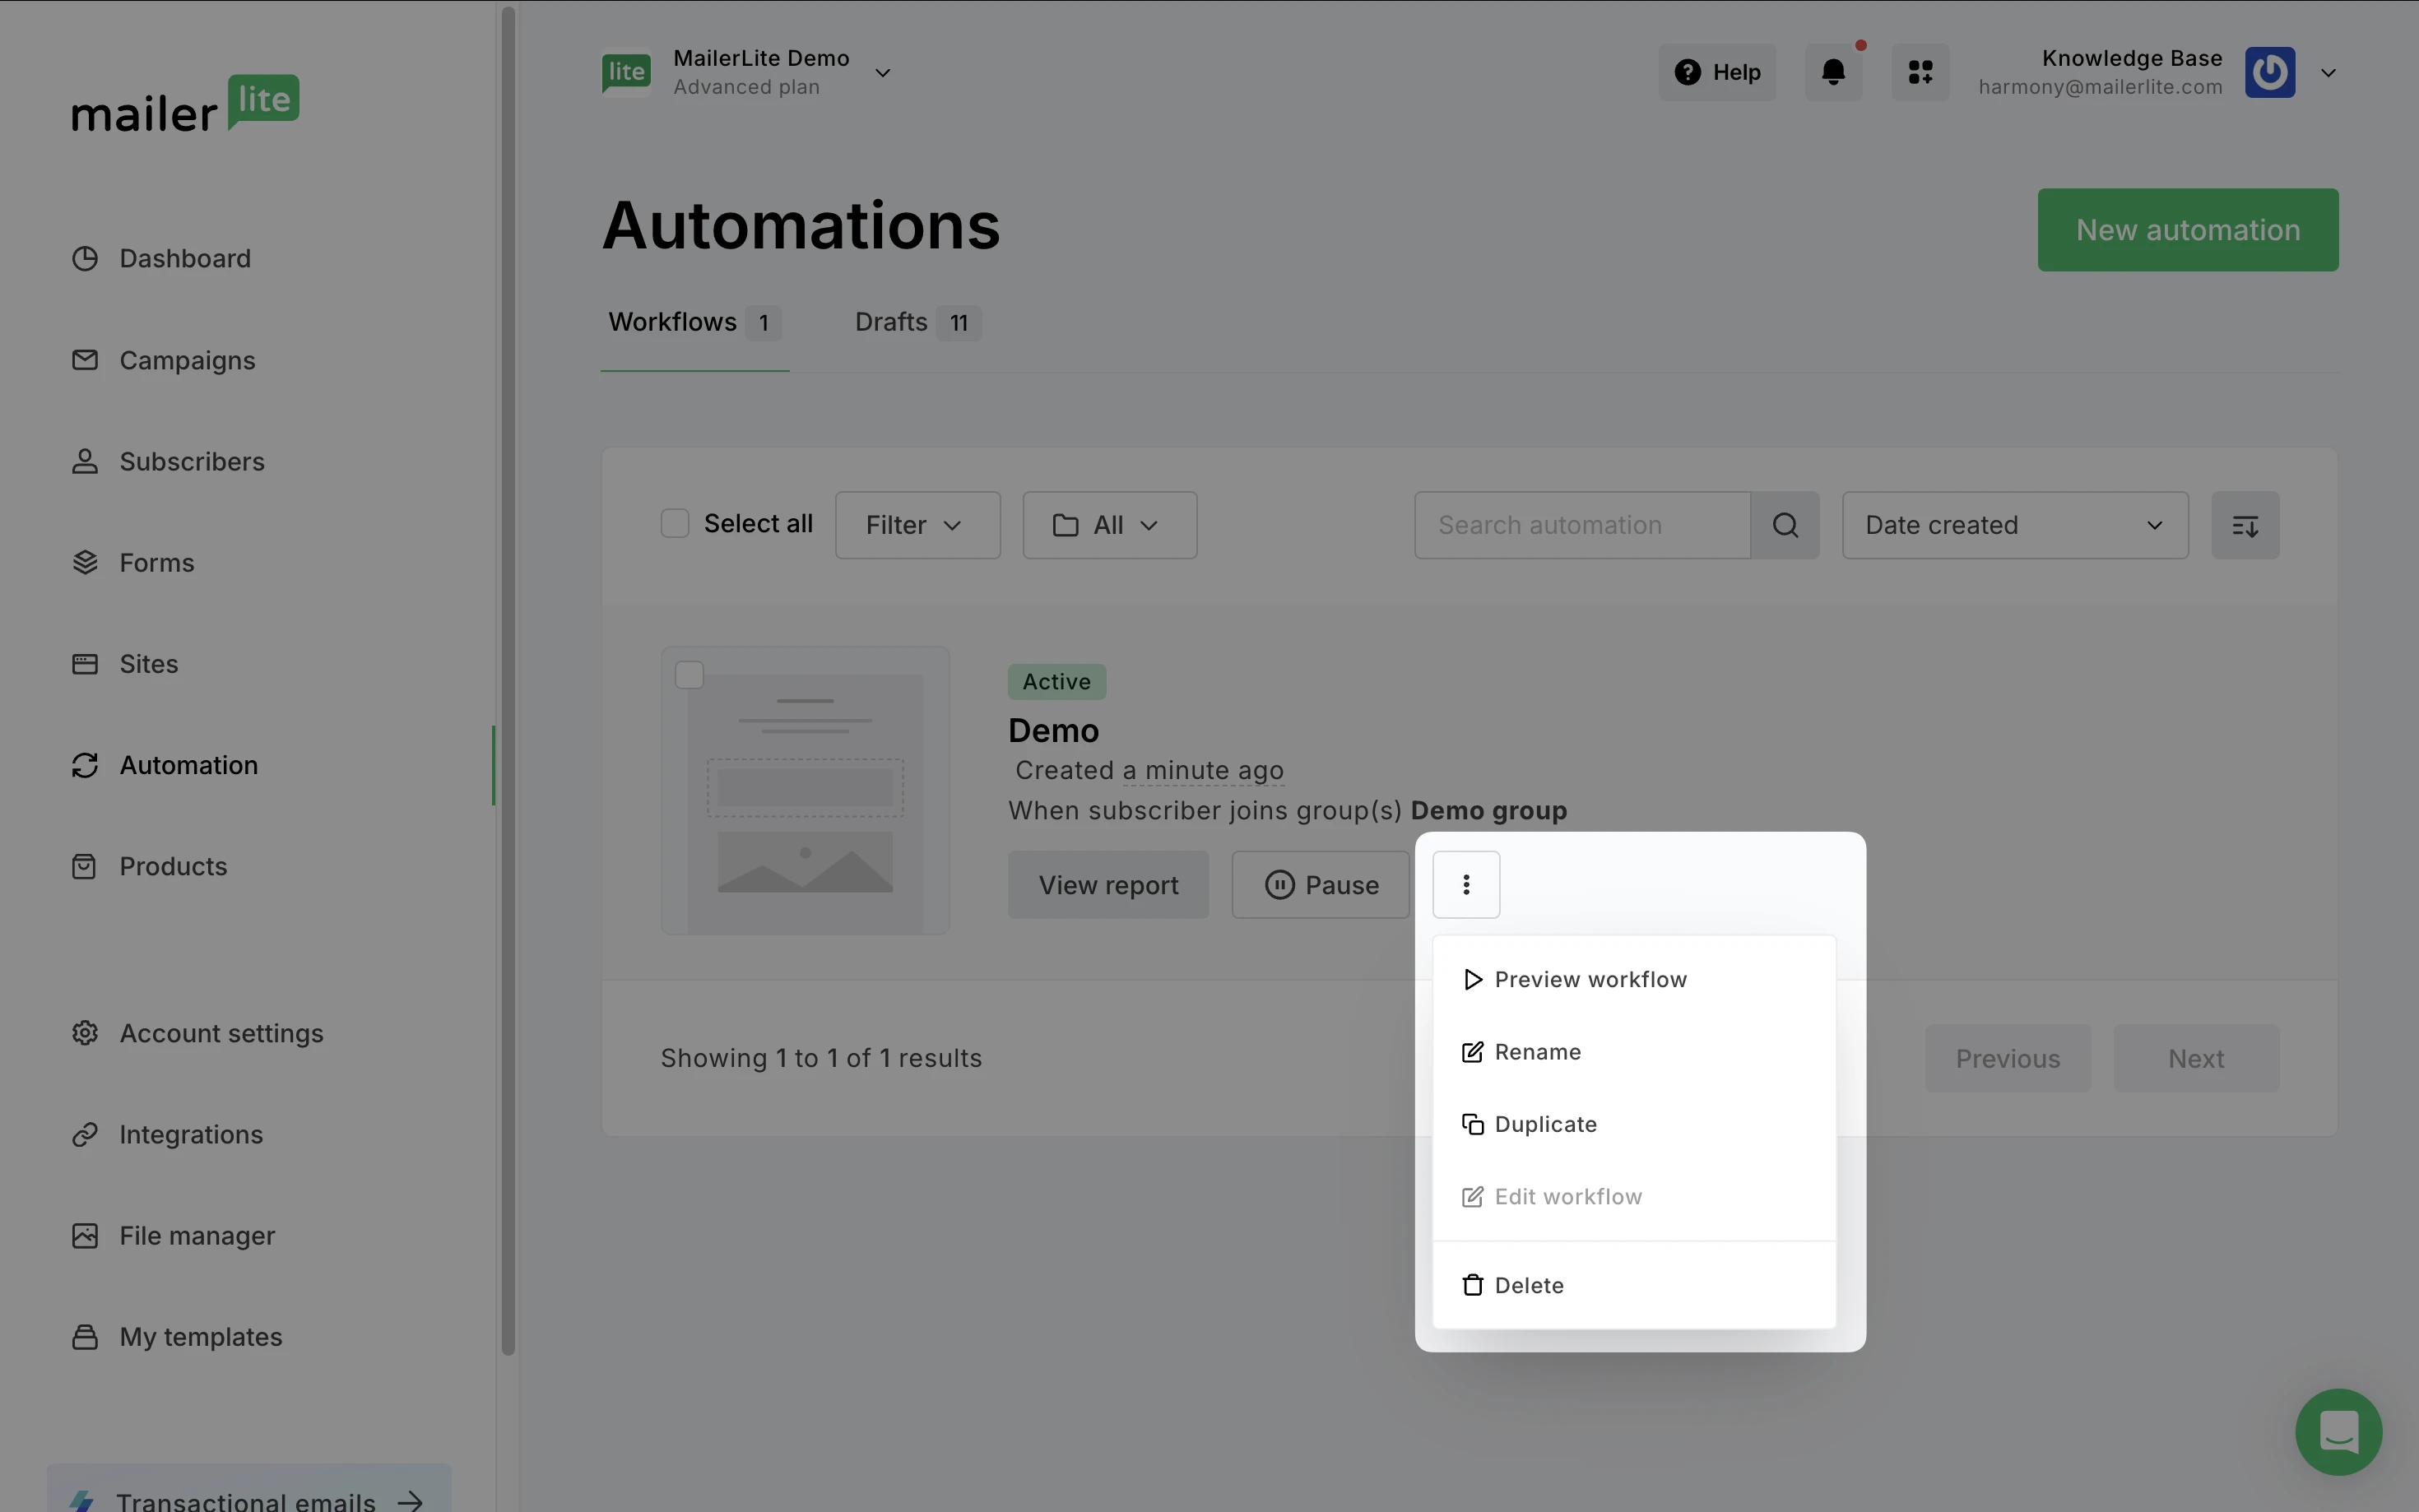
Click the three dot icon.
Select Rename.
How to duplicate an automation workflow
To duplicate a workflow:
Find the workflow you want to duplicate.
Click the three dot icon.
Click Duplicate.
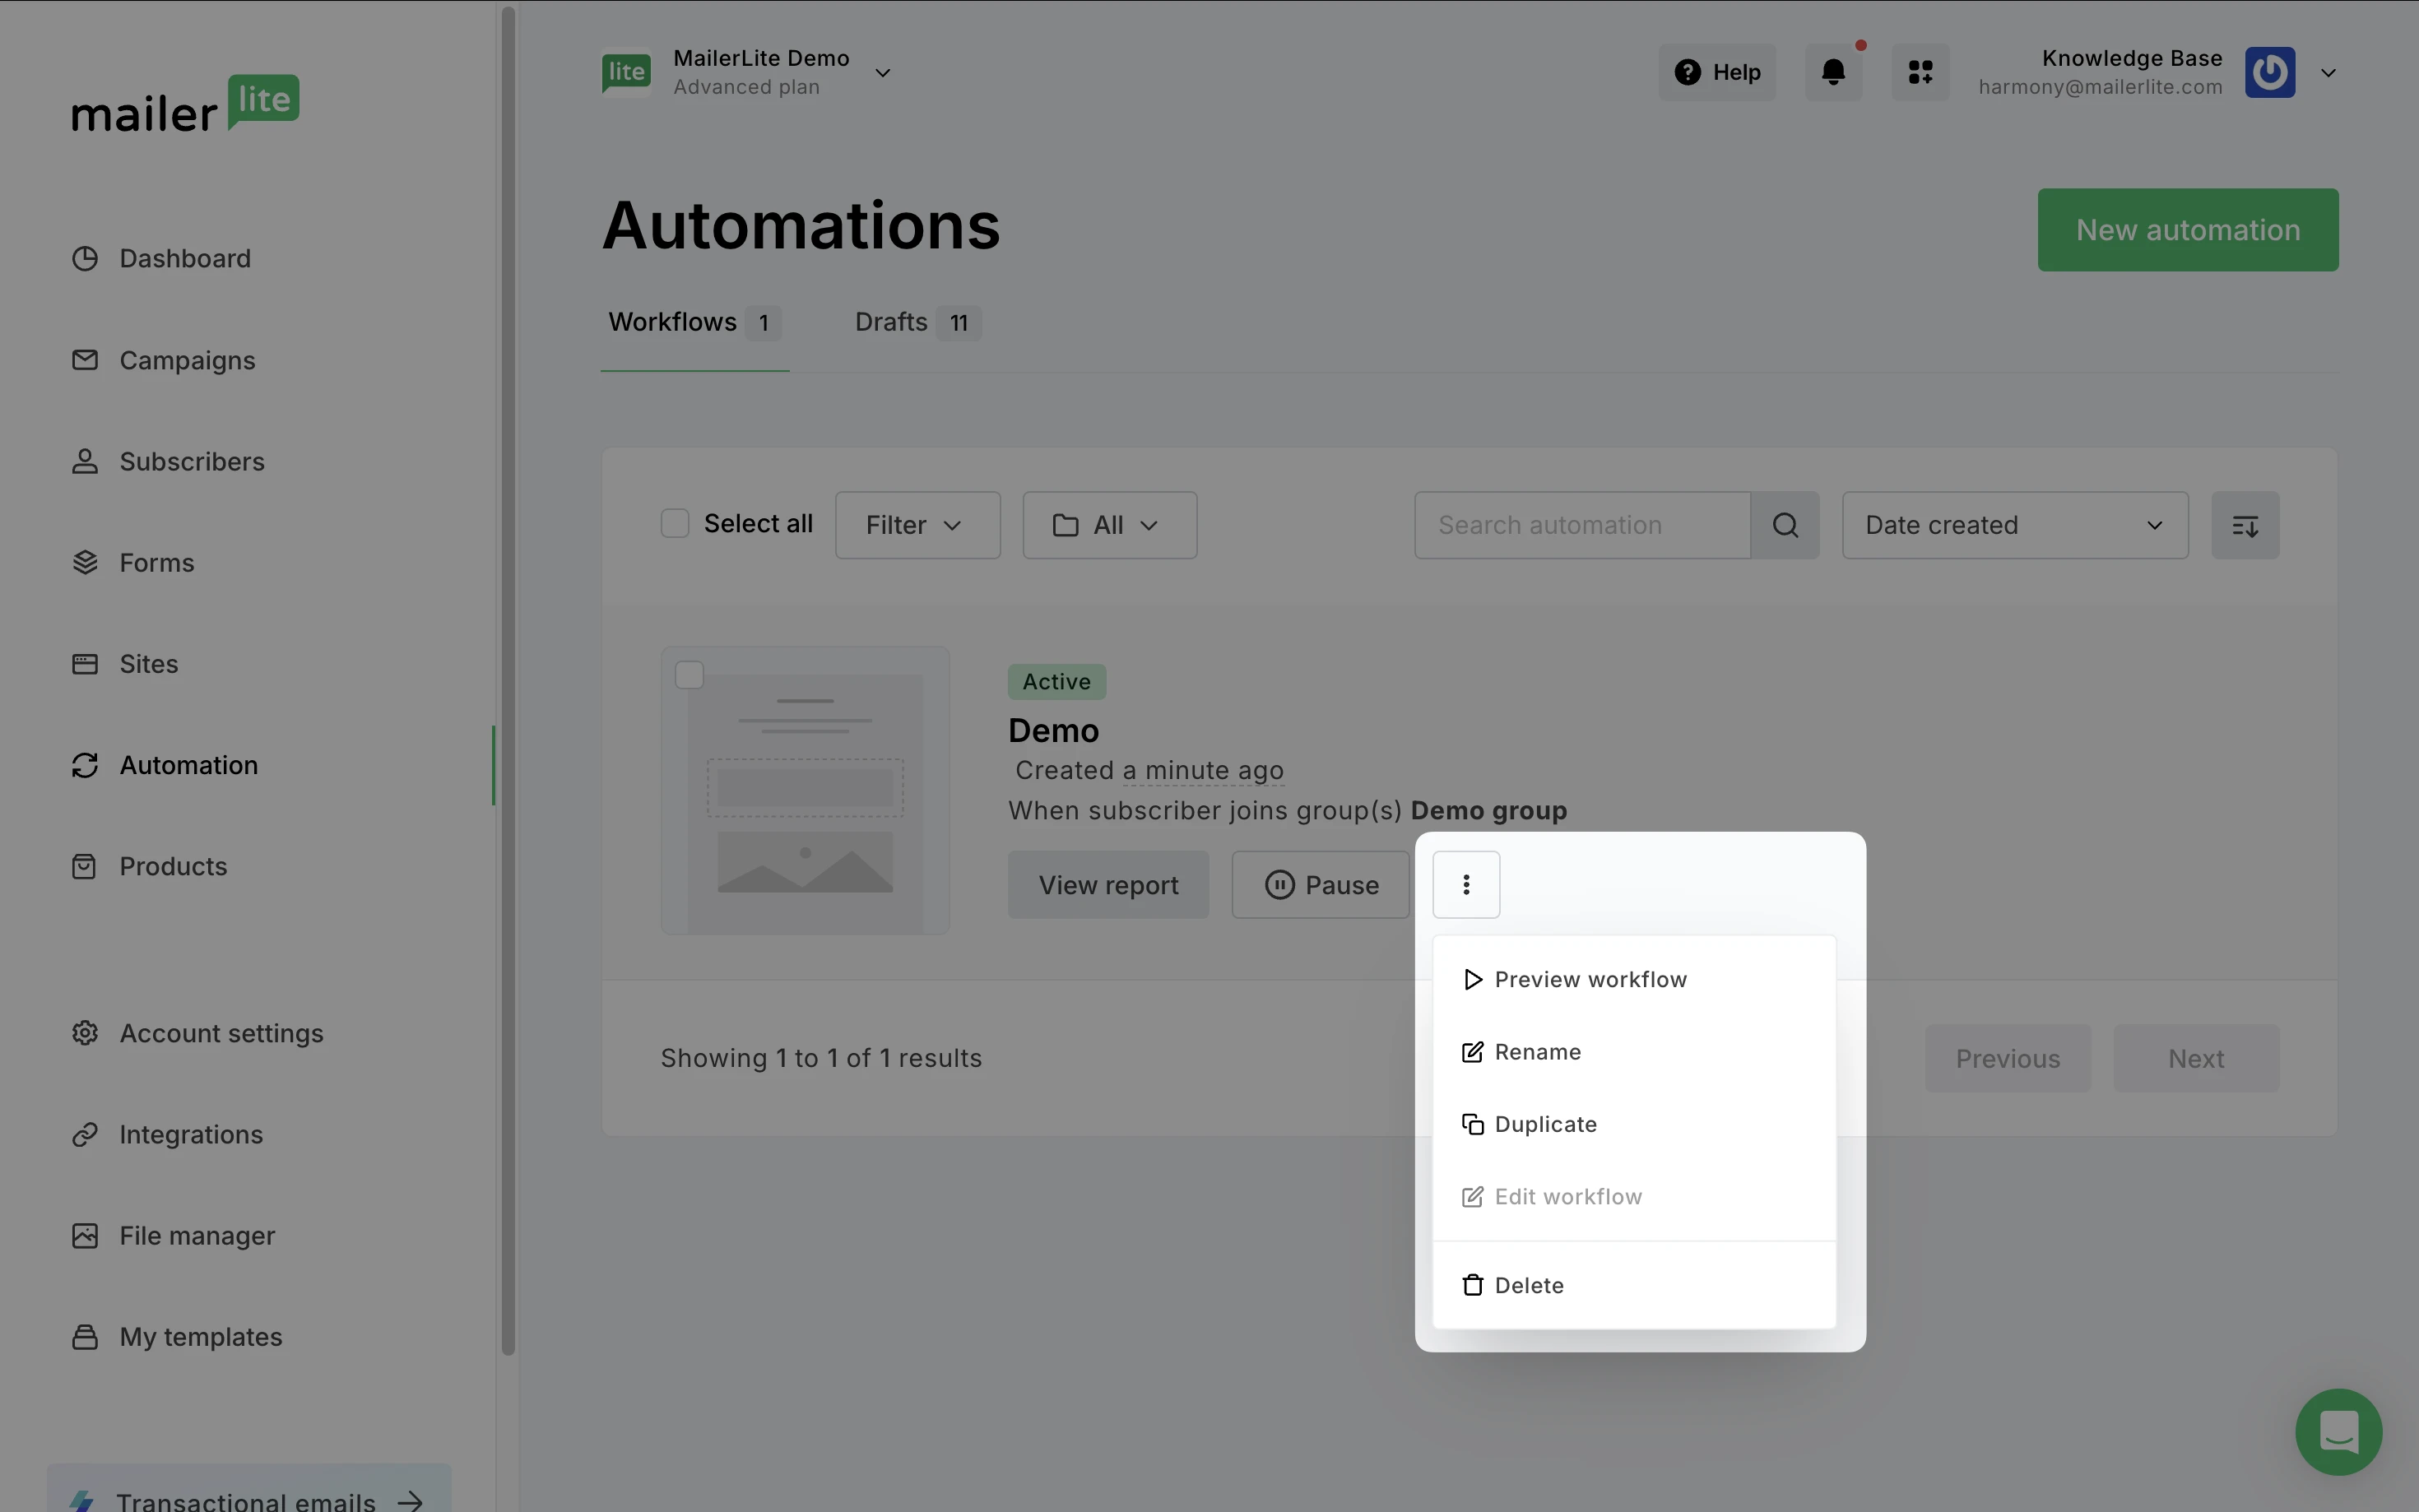
An identical copy of your workflow will appear. Copies of workflows are automatically paused when they’re created; to activate your workflow, toggle your workflow from Paused to Active.
Note: Although your new workflow is copied from an existing workflow, they are entirely individual. This means that subscribers who have already completed the original workflow could trigger the duplicate version. Keep this in mind when setting the trigger of your new workflow.
How can I re-add subscribers to a workflow?
To reinsert the canceled or failed subscribers back in the workflow sequence:
Head to the Automations page and click on the Overview button of the workflow.
Select the Activity tab.
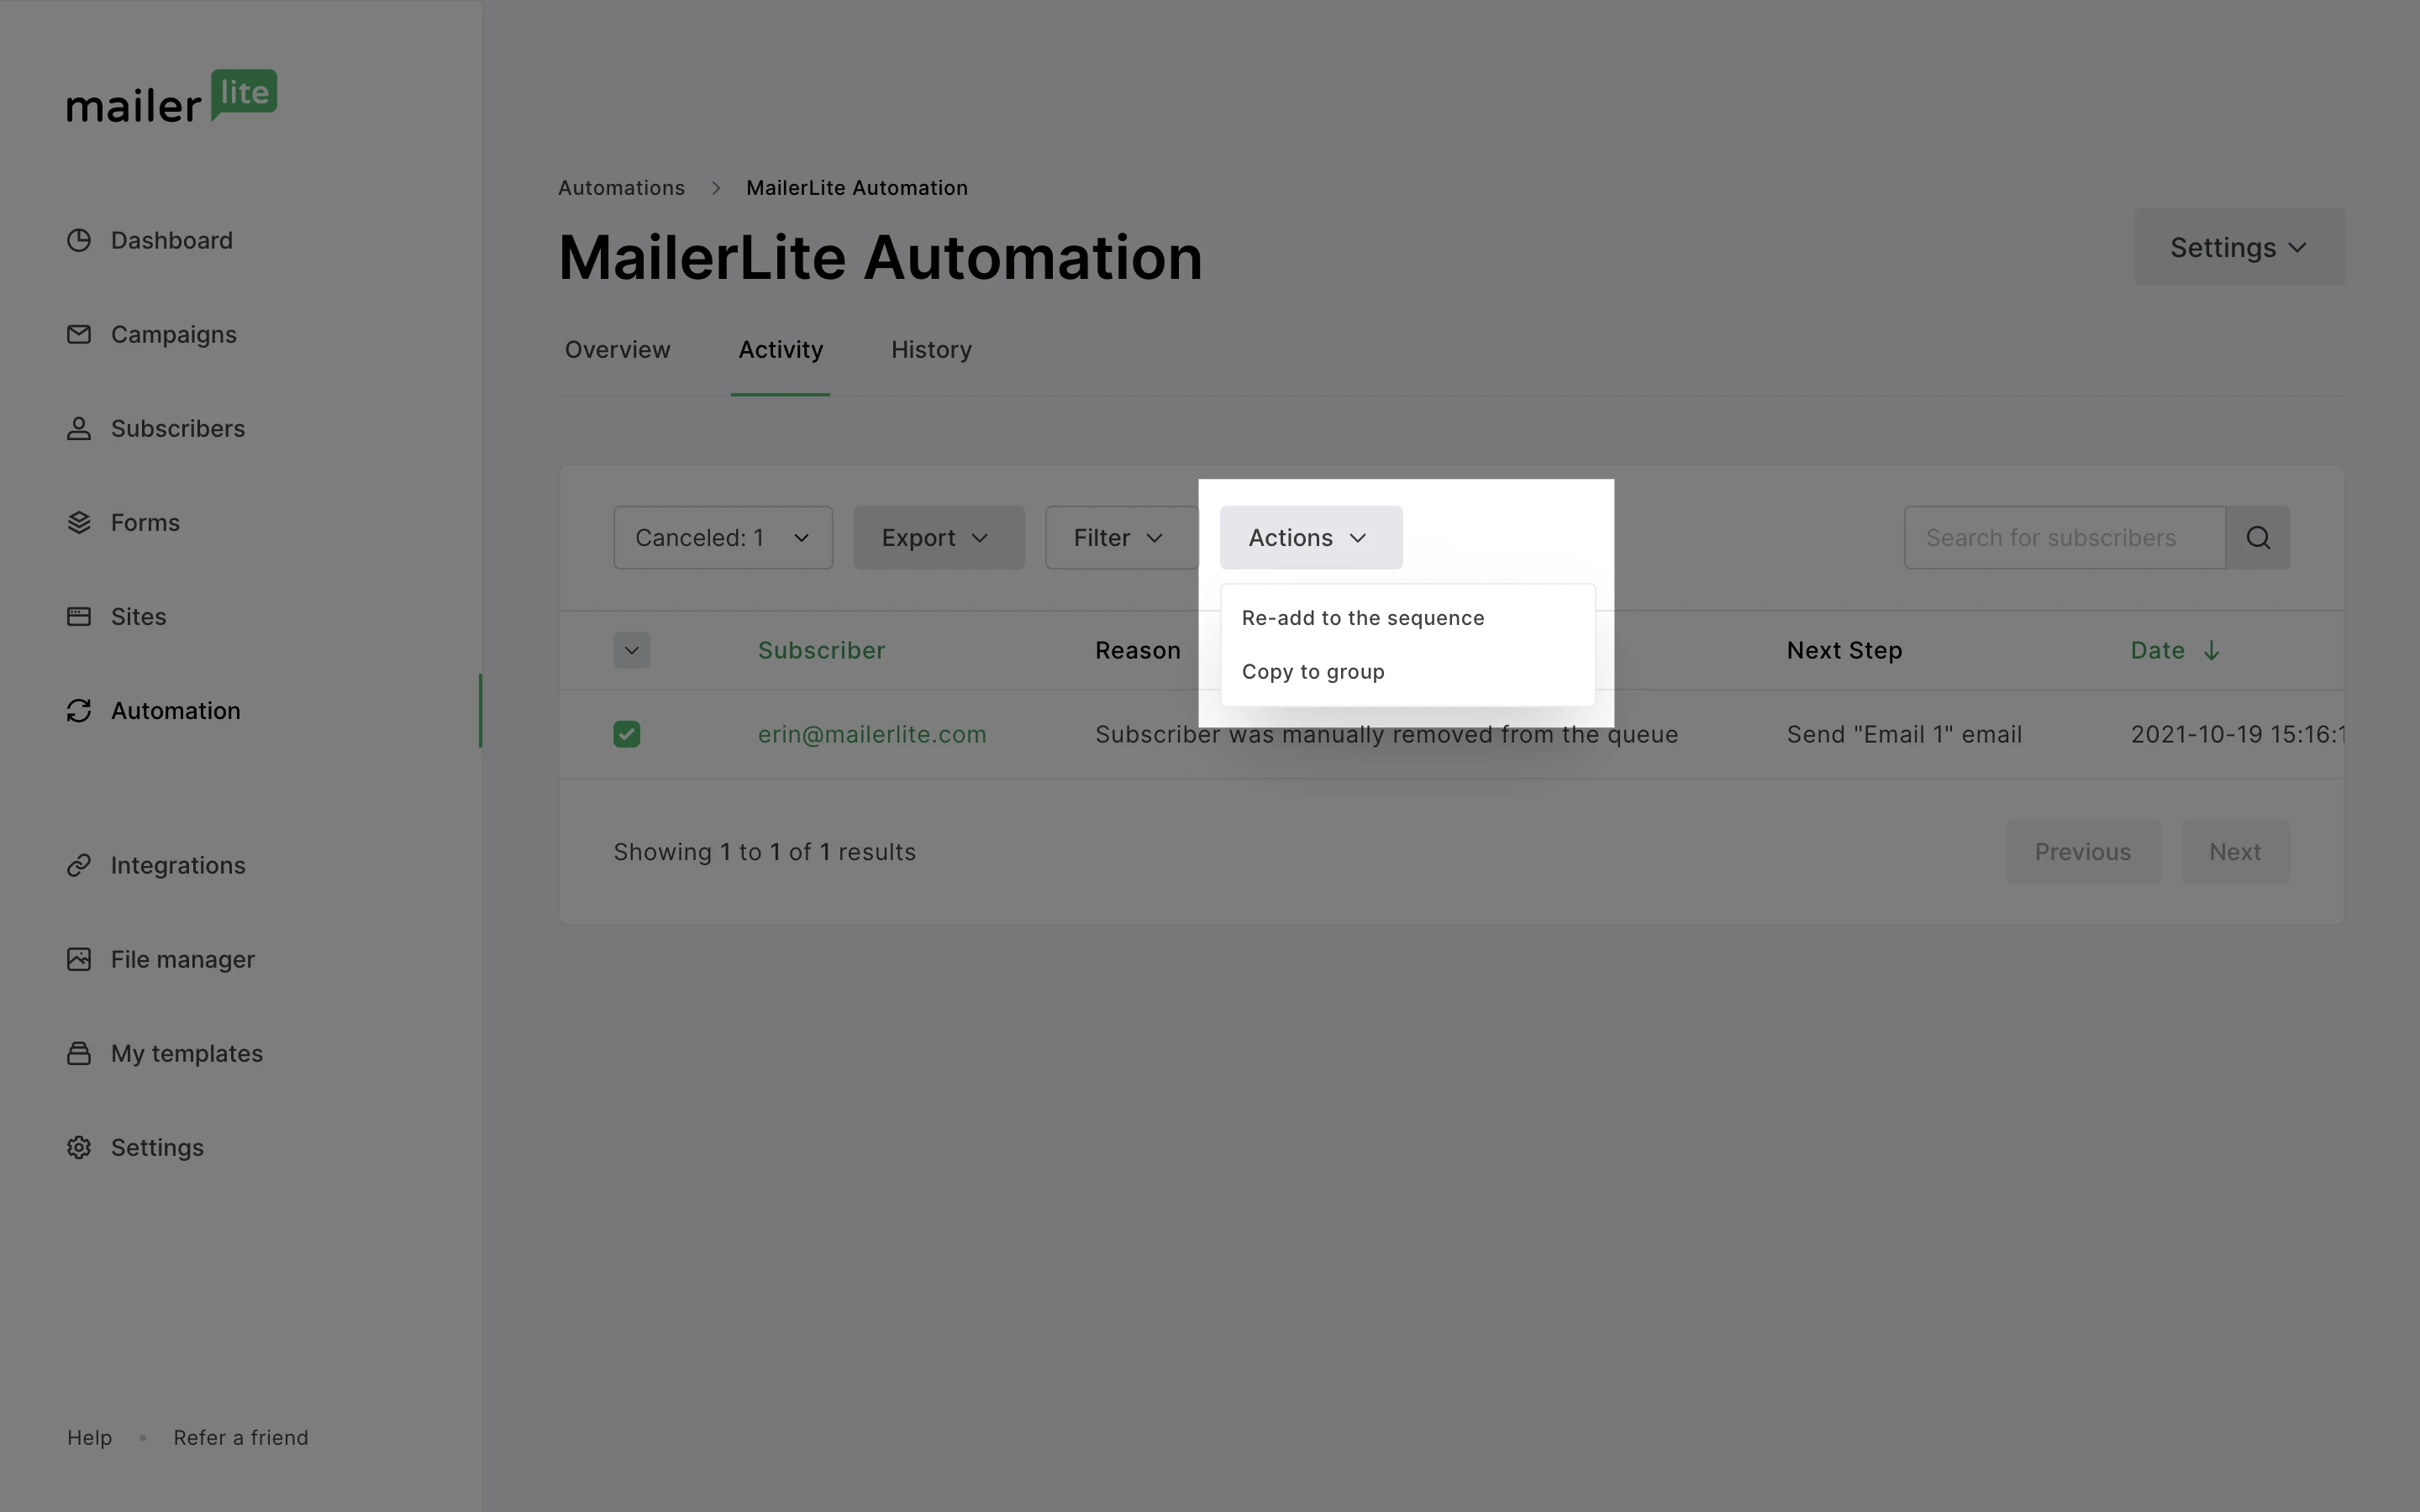
Click on the Completed button and select Canceled or Failed from the dropdown menu.
Click on the checkbox next to the email address to select the subscriber.
Click on Actions above and select Re-add to the sequence.
Add the subscriber to the step they failed (the site knows which step they failed) or to any other step, and click Confirm.
For additional troubleshooting steps, check out our article Automation FAQS.
