Note: If you're a Legacy (Classic) user, please log in to your account to access the dedicated Legacy (Classic) Help Center.
💡 This guide gives you general info on authenticating your domain, but we've got something even better: Automatic domain authentication for most hosting providers, details here.
Authenticating with various domain hosts
Since MailerLite does not provide a service to host your domain, it needs to be hosted outside of MailerLite by a third-party domain hosting provider such as GoDaddy or BlueHost.
For more info on different providers, check out our article on Authenticating with various domain hosts.
Is authentication required to send emails with MailerLite?
In light of Google and Yahoo's new sender requirements for email senders, it is required to authenticate your domain if you are using a custom domain for sending.
New MailerLite accounts can send their first campaigns without authenticating a domain during the 14 day trial period only.
How to authenticate your domain
To get started:
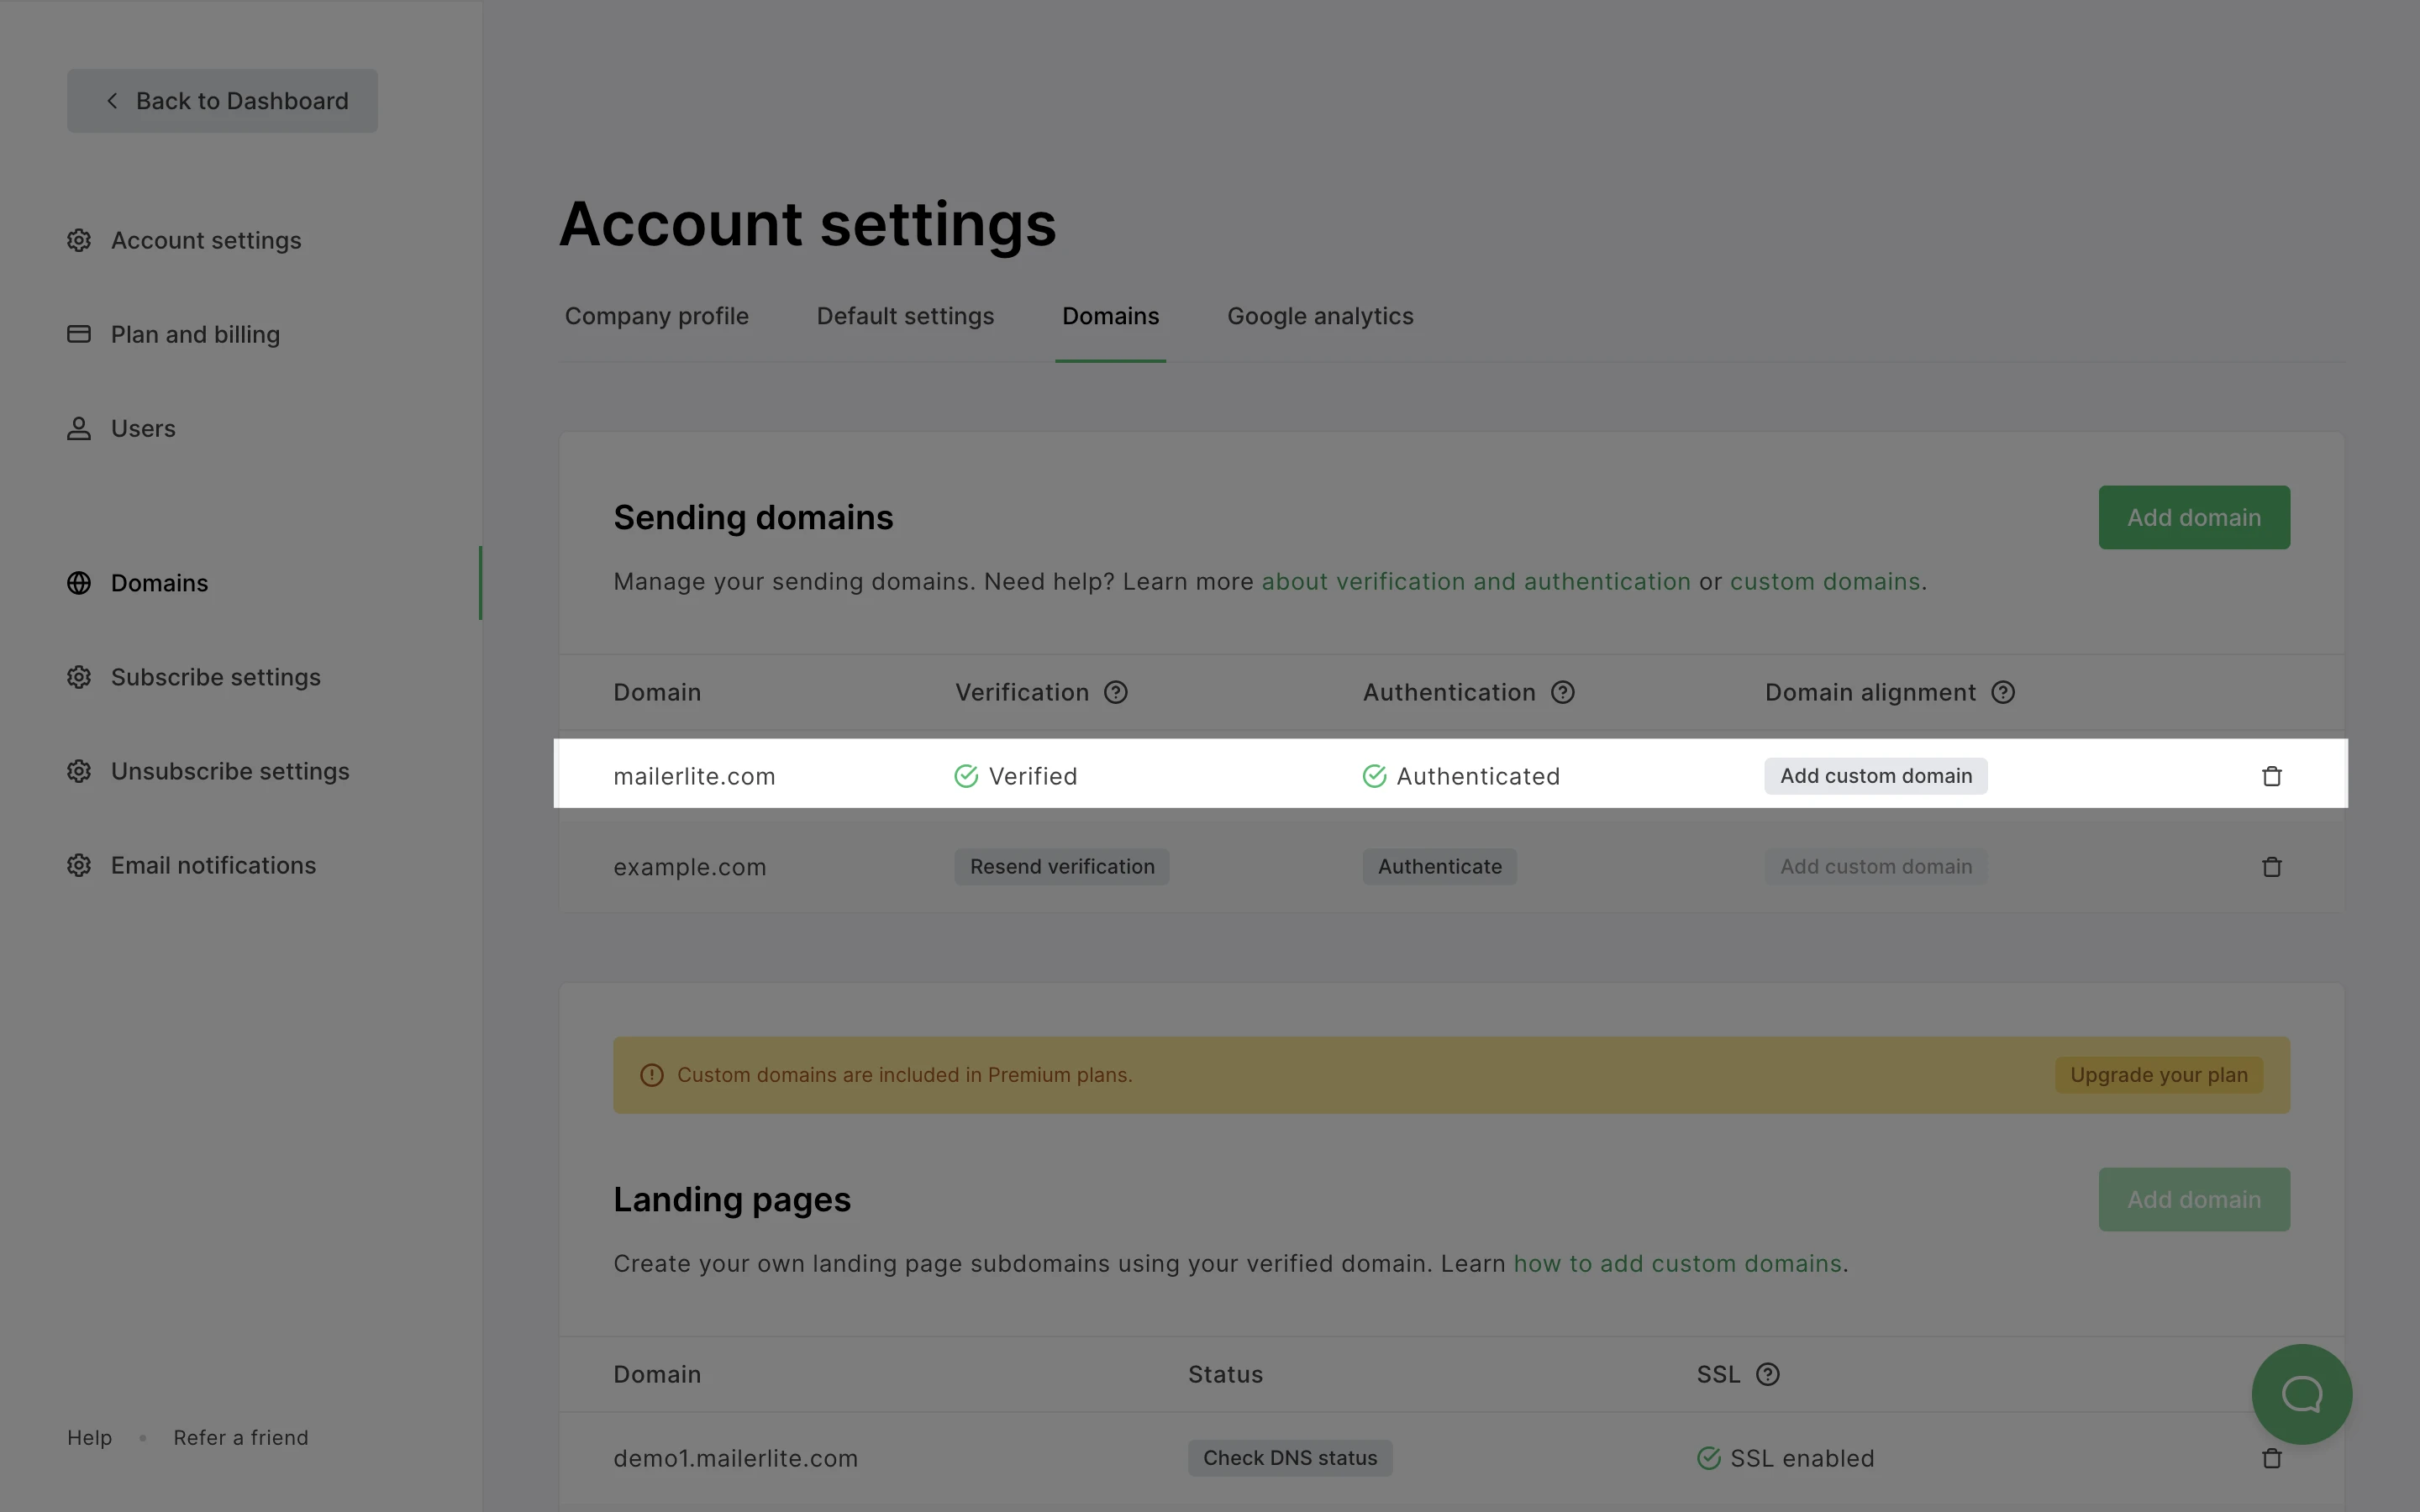
Head to the Account settings page.
Select the Domains tab.
Click Add domain.
Enter the email address you wish to use to send emails from and click Save.

If your DNS provider is one of our partners, you can take advantage of our automatic setup, which simplifies the process even further.
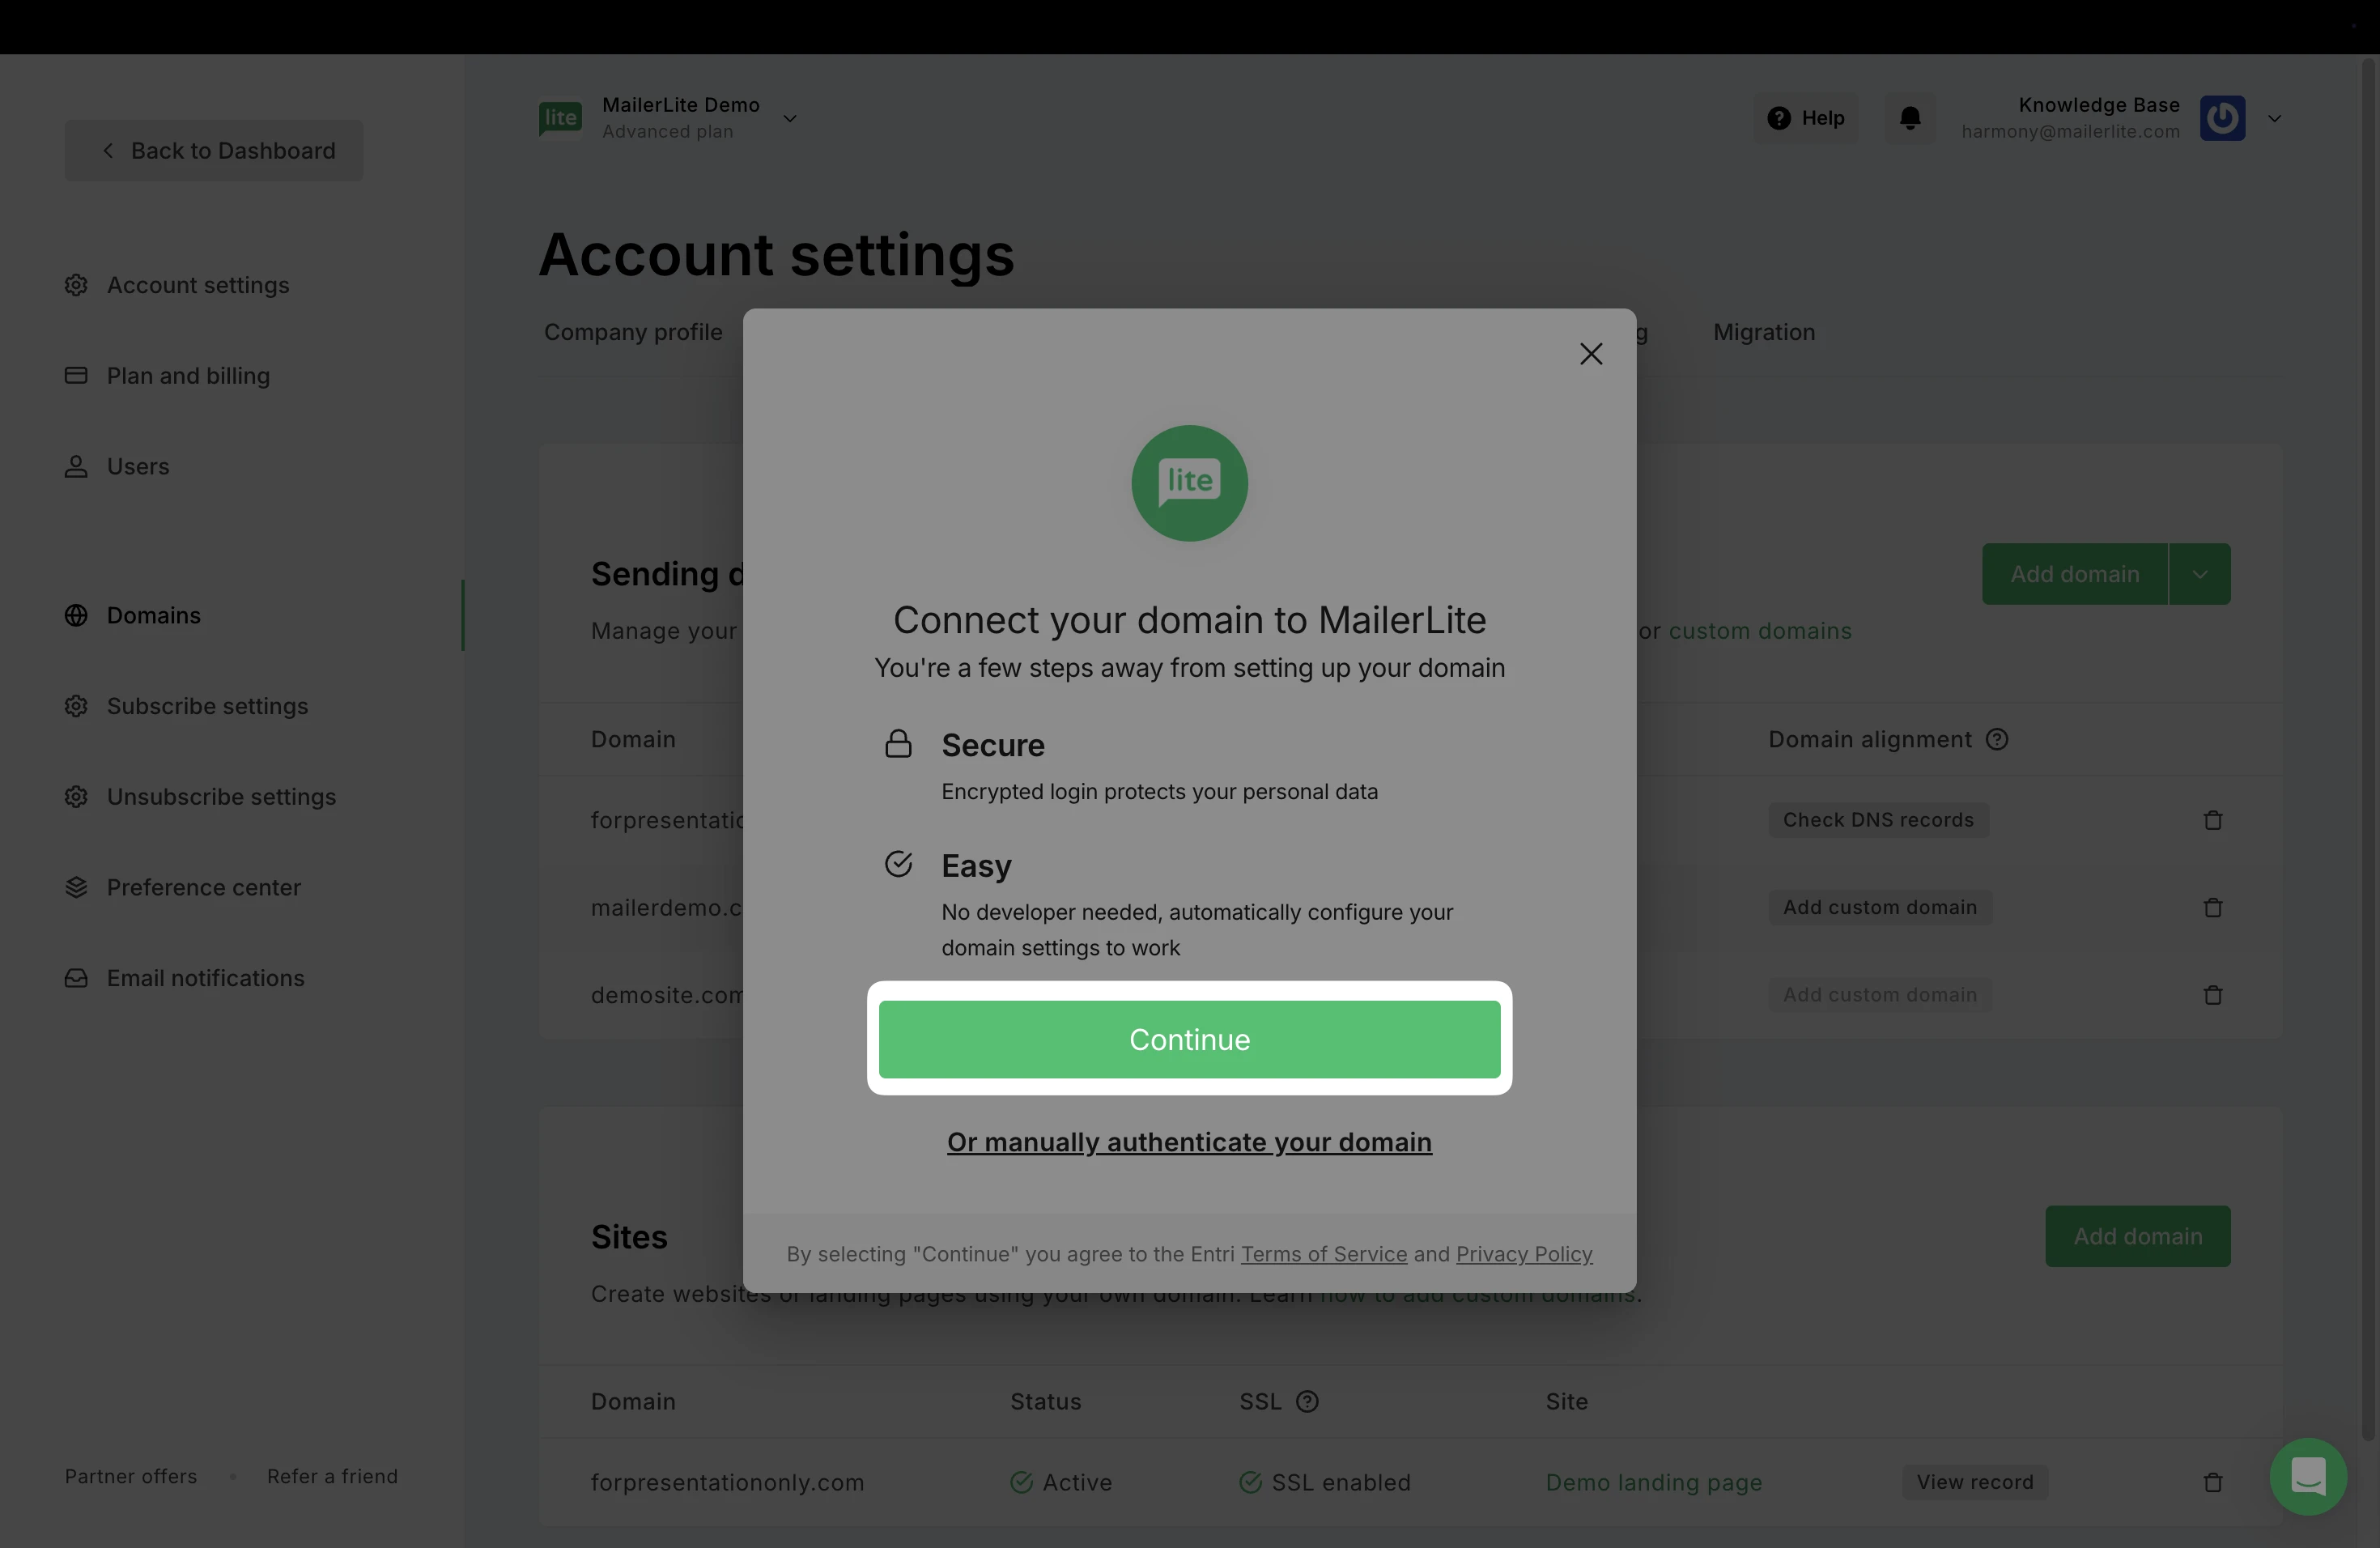
A popup will appear, prompting you to start the authentication process. Click Continue.
This tool will scan your domain, and detect which provider is the host. Once the provider has been detected, follow the instructions to connect to your domain.
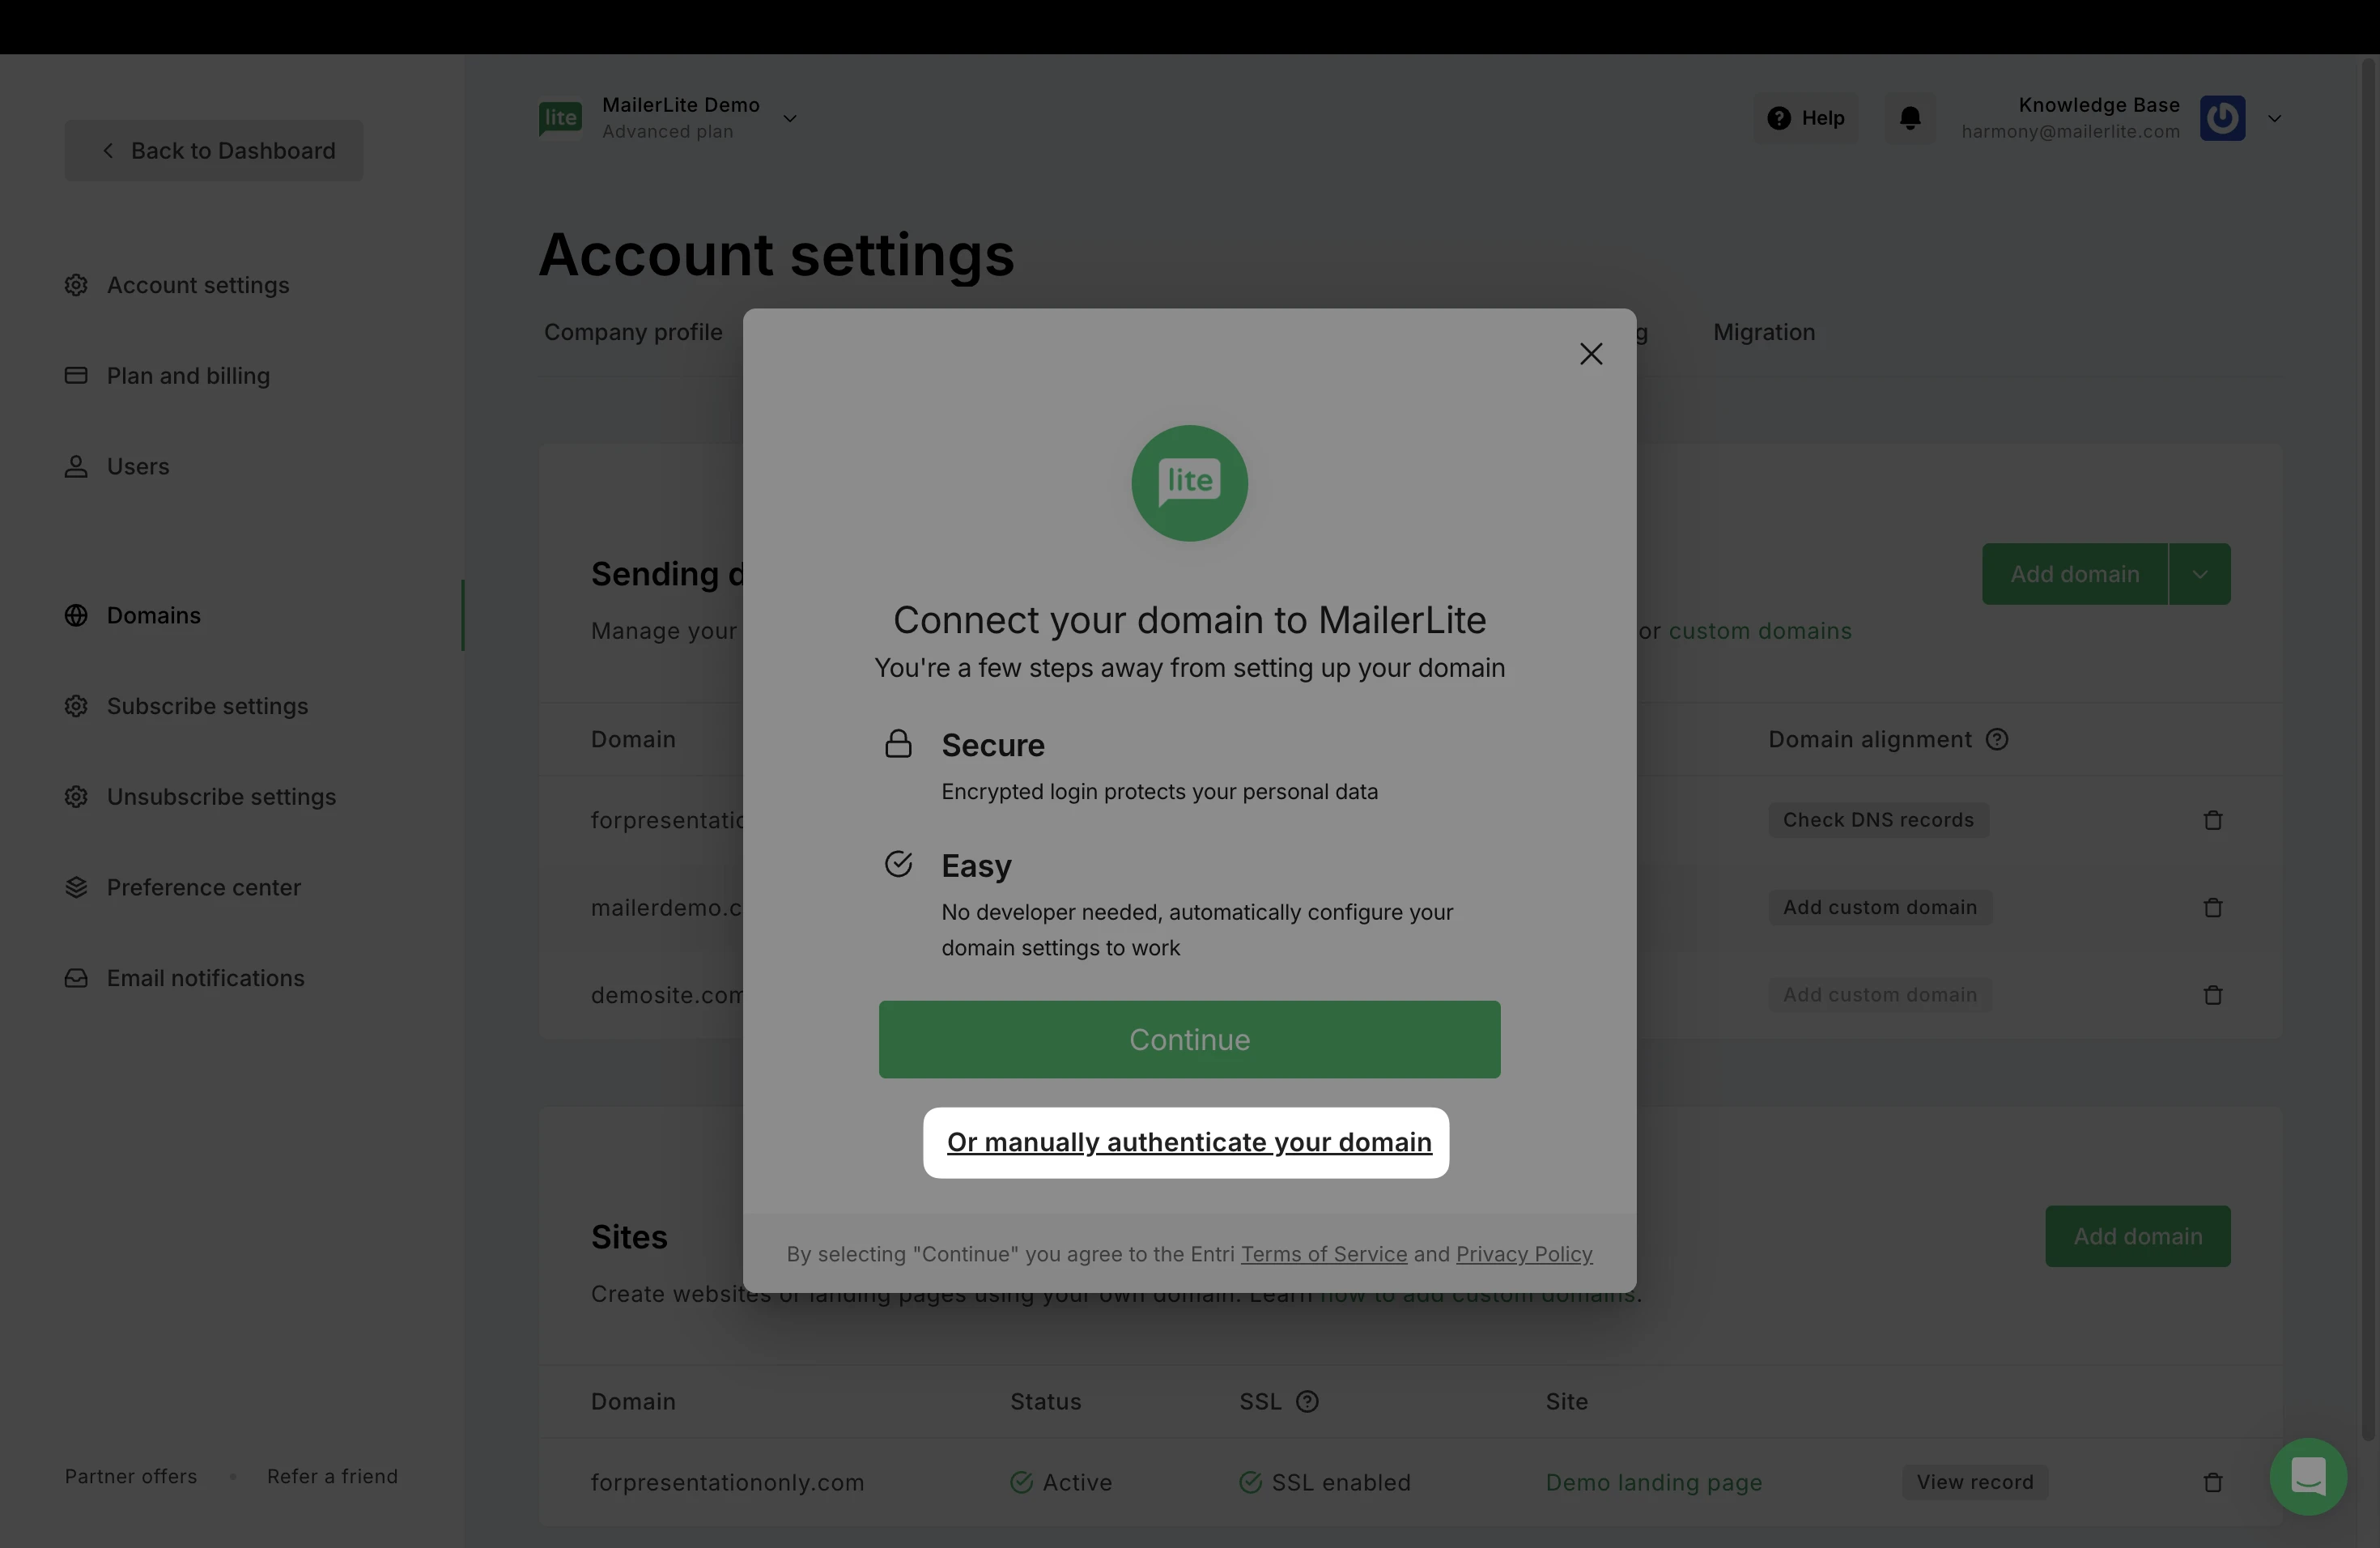
If your provider is not detected using the above method, or if you wish to go through the steps manually, choose the option Or manually authenticate your domain.
From here, select your domain hosting provider from the dropdown menu. Choose Other if your provider is not listed.
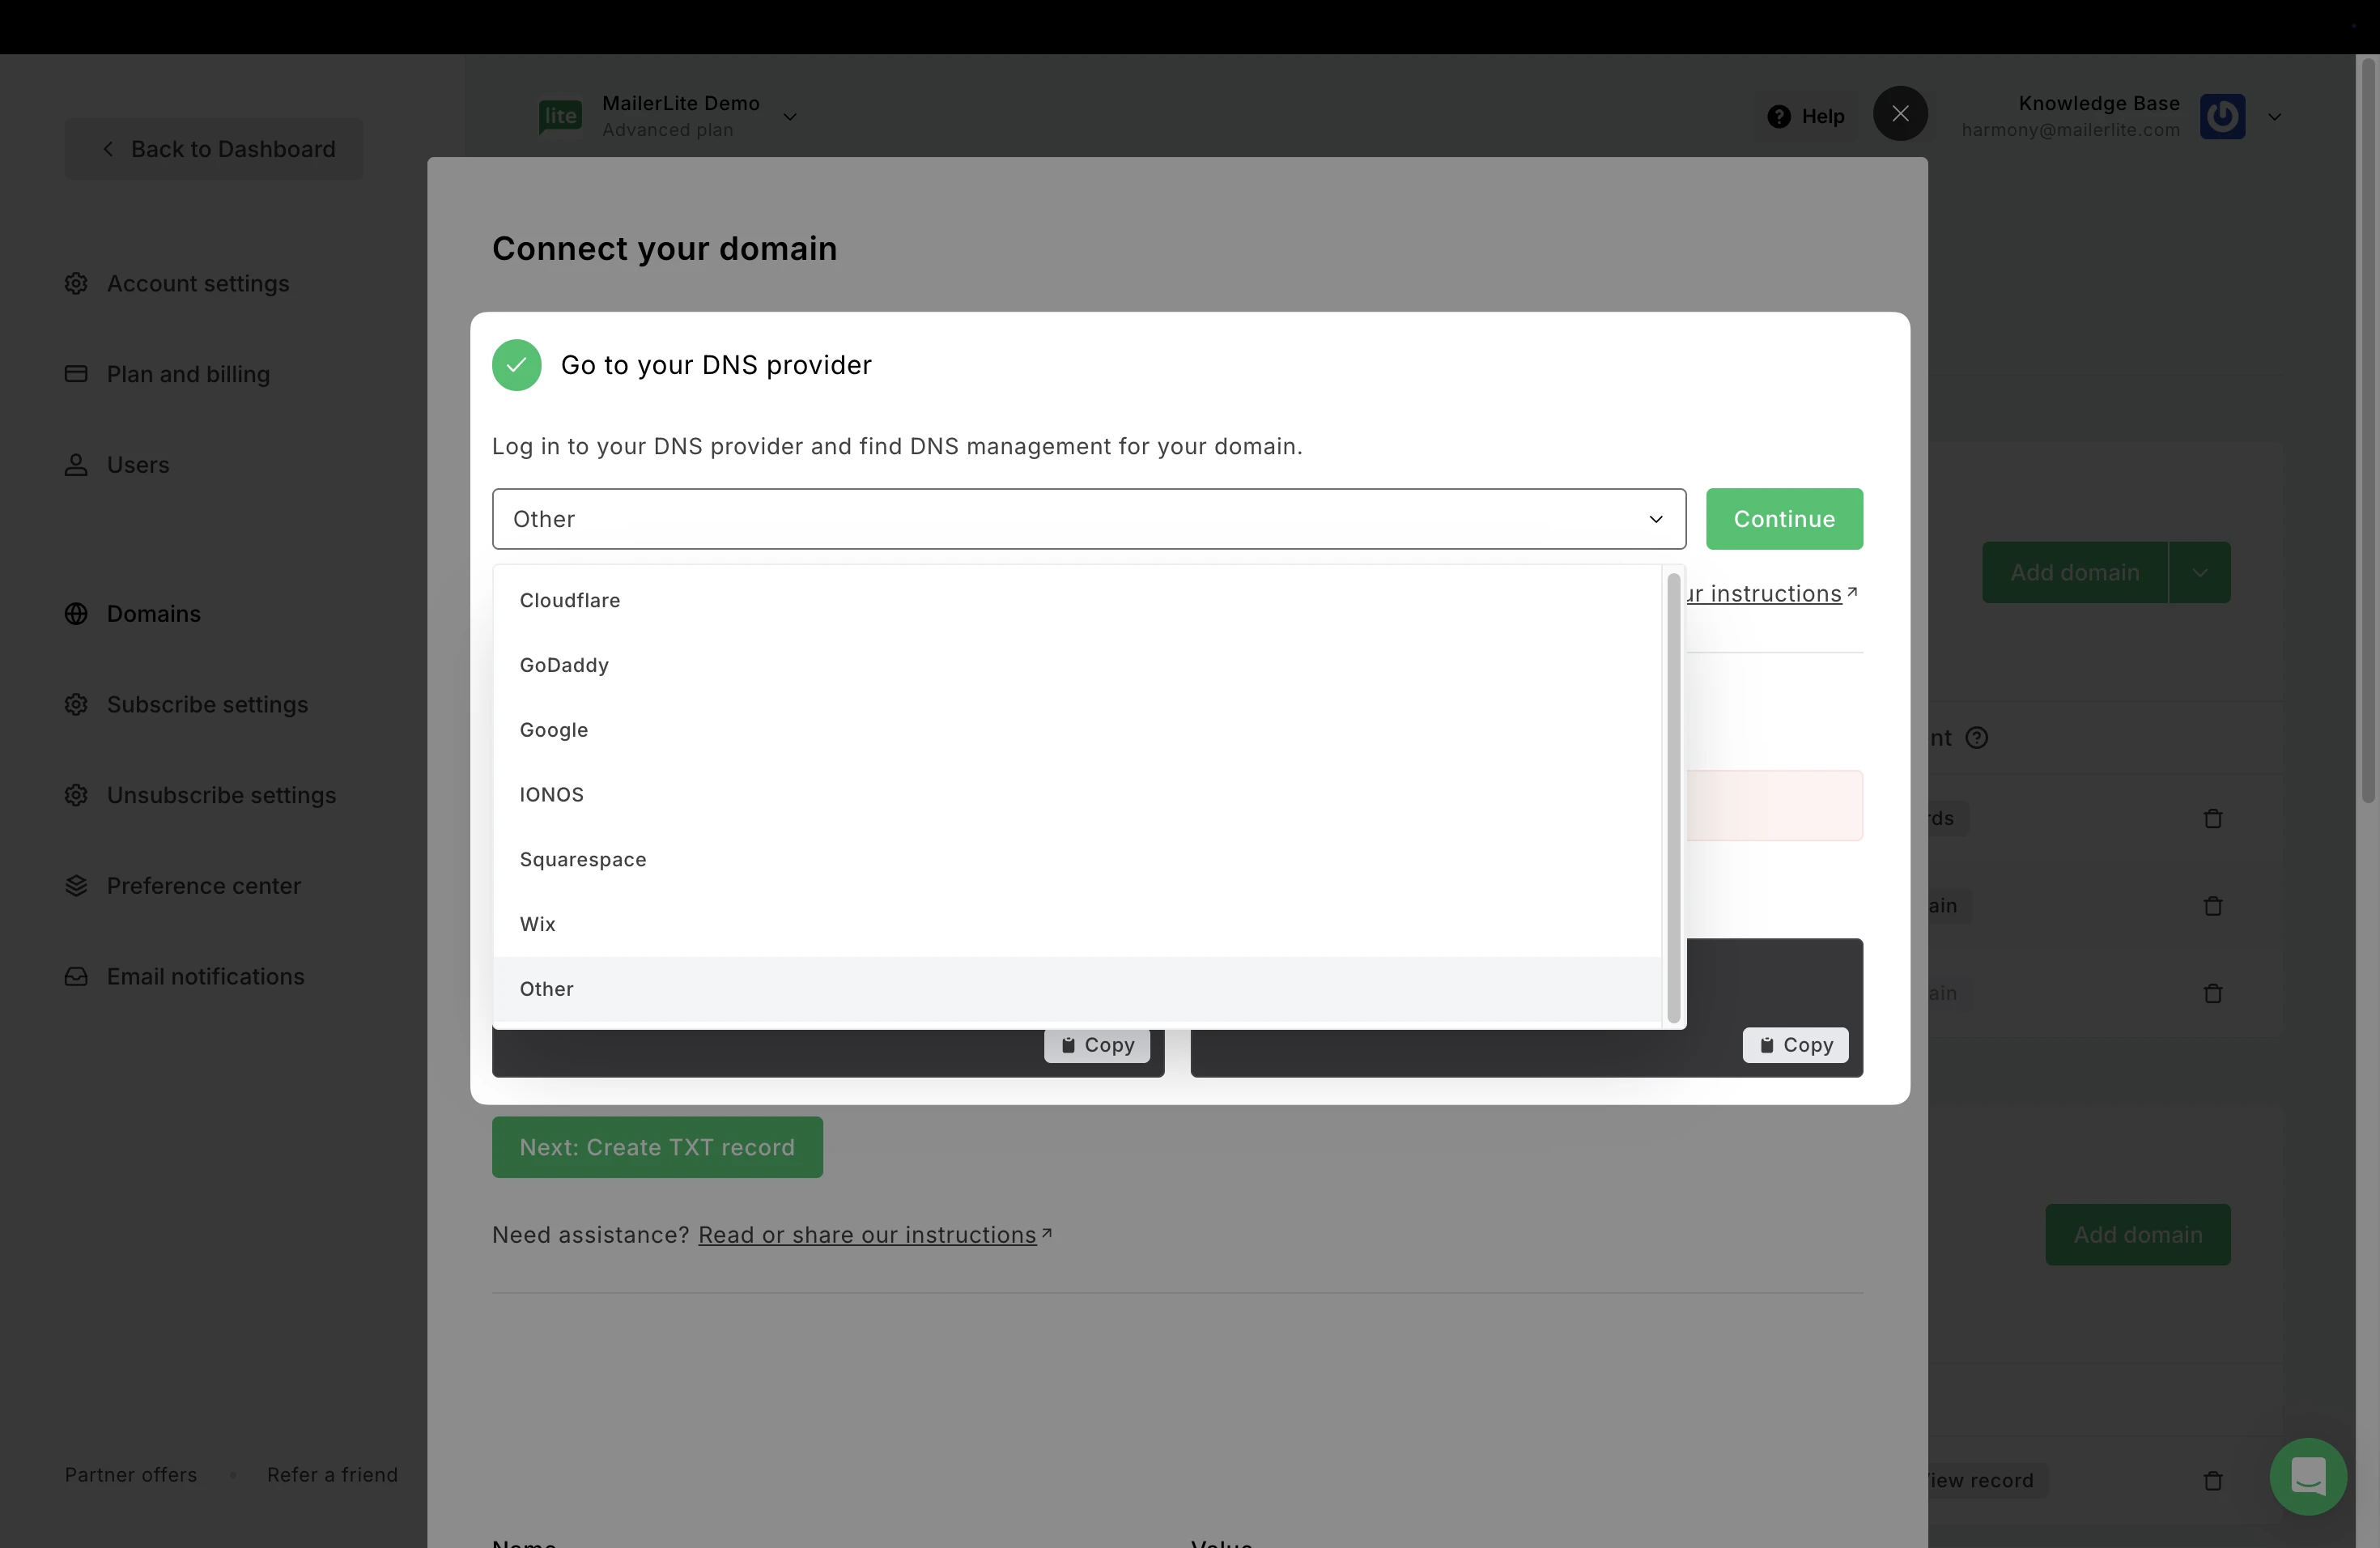
Click Continue.
The Name and Value fields for the DKIM, SPF, and Domain verification records of this domain will show. Keep this page open.
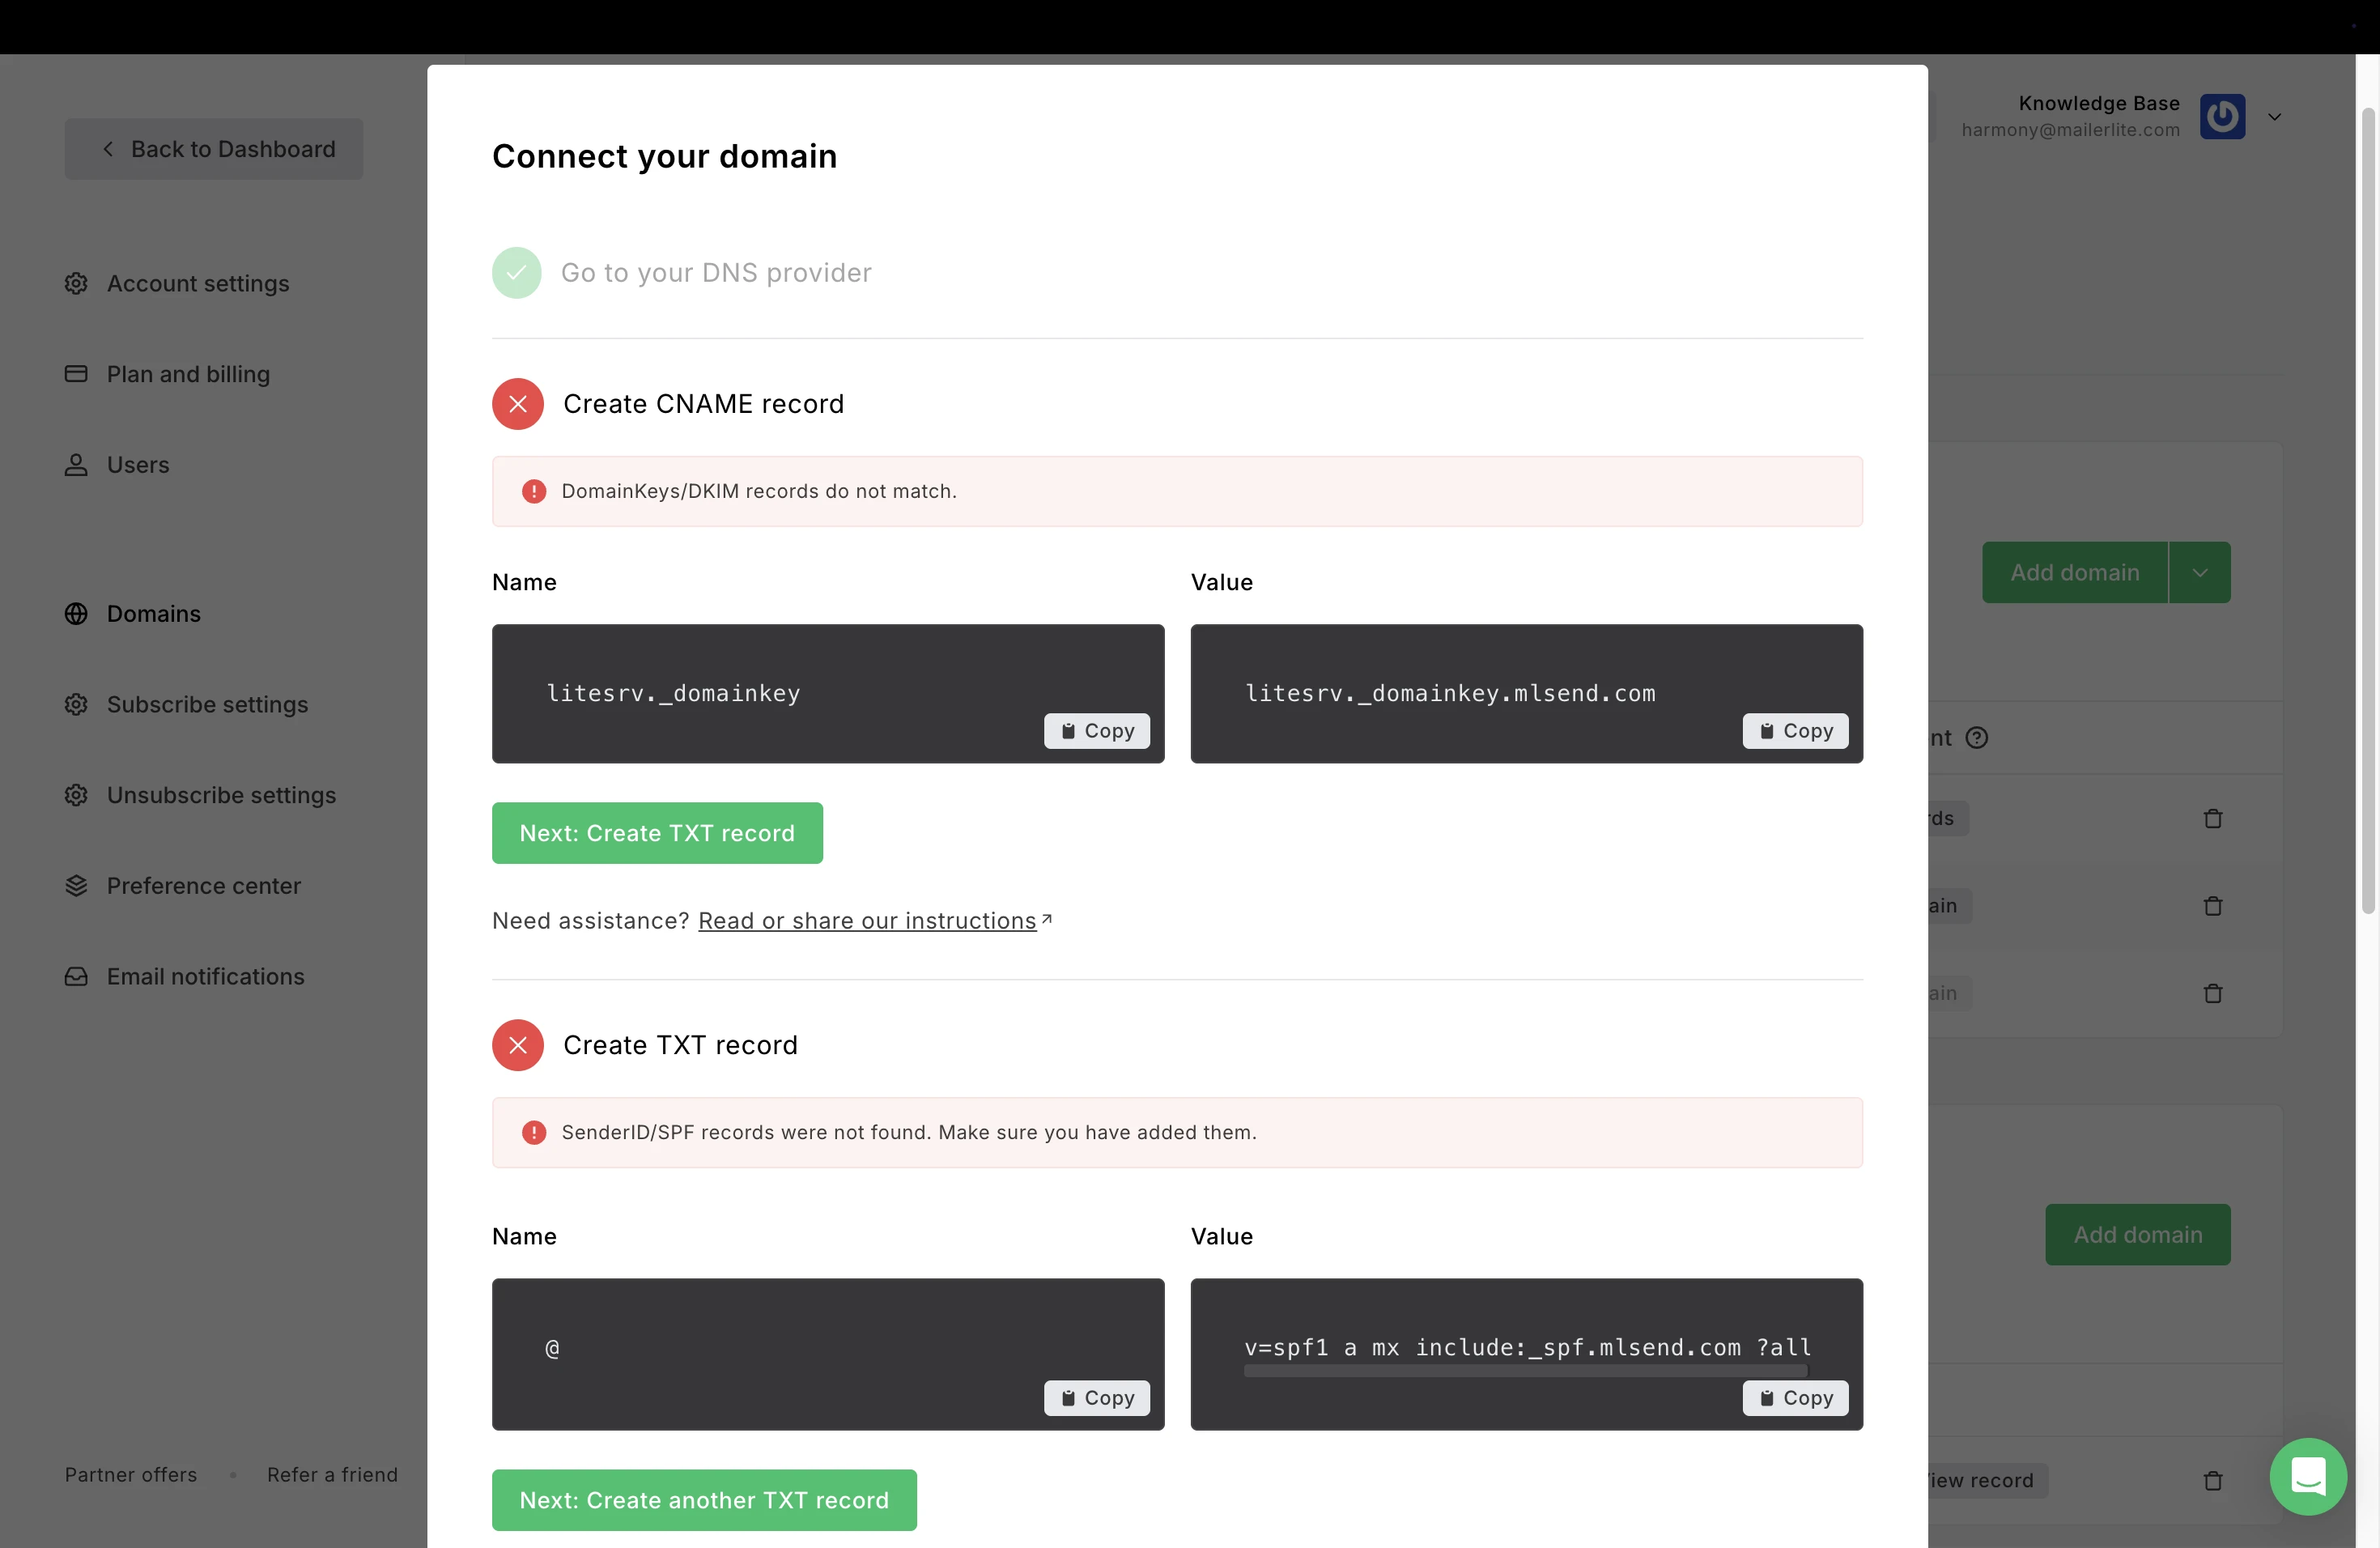
Access the DNS settings of your domain located in the account of your hosting provider. If you don’t know how, contact your hosting provider for further support (in most cases, their Support team can add the records for you).
Add the DKIM as a CNAME record, the SPF as a TXT record, and a Domain verification as a TXT record. Use the Name and Value fields that we provide for you. Please note that these records cannot be modified within MailerLite, so they have to be an exact match.
How to get the DNS records approved
1. Head back to your MailerLite Domains tab and click on the Authenticate button for the domain you want to authenticate.
2. Click on the green Check DNS Records button to check if the DKIM and SPF records match.
If they match, the records will be approved and the domain will be authenticated.
However, sometimes the site will say that the records were not approved, even if all of the information was correctly submitted.
There are 2 reasons why this happens:
It can take the servers up to 24 hours to completely update this information. Most of the time, however, it is approved and updated in a matter of minutes.
Some information has to be re-checked and updated.
Troubleshooting authentication errors
If you encounter any unexpected issues or see that your records haven't been approved right away, don't fret! Give it a little time, and it's likely to sort itself out. Otherwise, we suggest following these troubleshooting steps, or reach out to your hosting provider for help.
Keep in mind, it’s important to ensure you’re adding the records on the platform that actually manages your DNS. This might be your website provider, hosting service, or another service. If the DNS records don’t propagate after 24–48 hours or if your changes aren’t reflected, double-check that you’re adding the records to the correct platform.