Note: If you're a Legacy (Classic) user, please log in to your account to access the dedicated Legacy (Classic) Help Center.
Once you have acquired a custom domain, you can take advantage of our seamless DNS configuration process, allowing you to authenticate your domain in just a few clicks.
Adding a custom domain to MailerLite
Navigate to Account settings.
Click Domains.
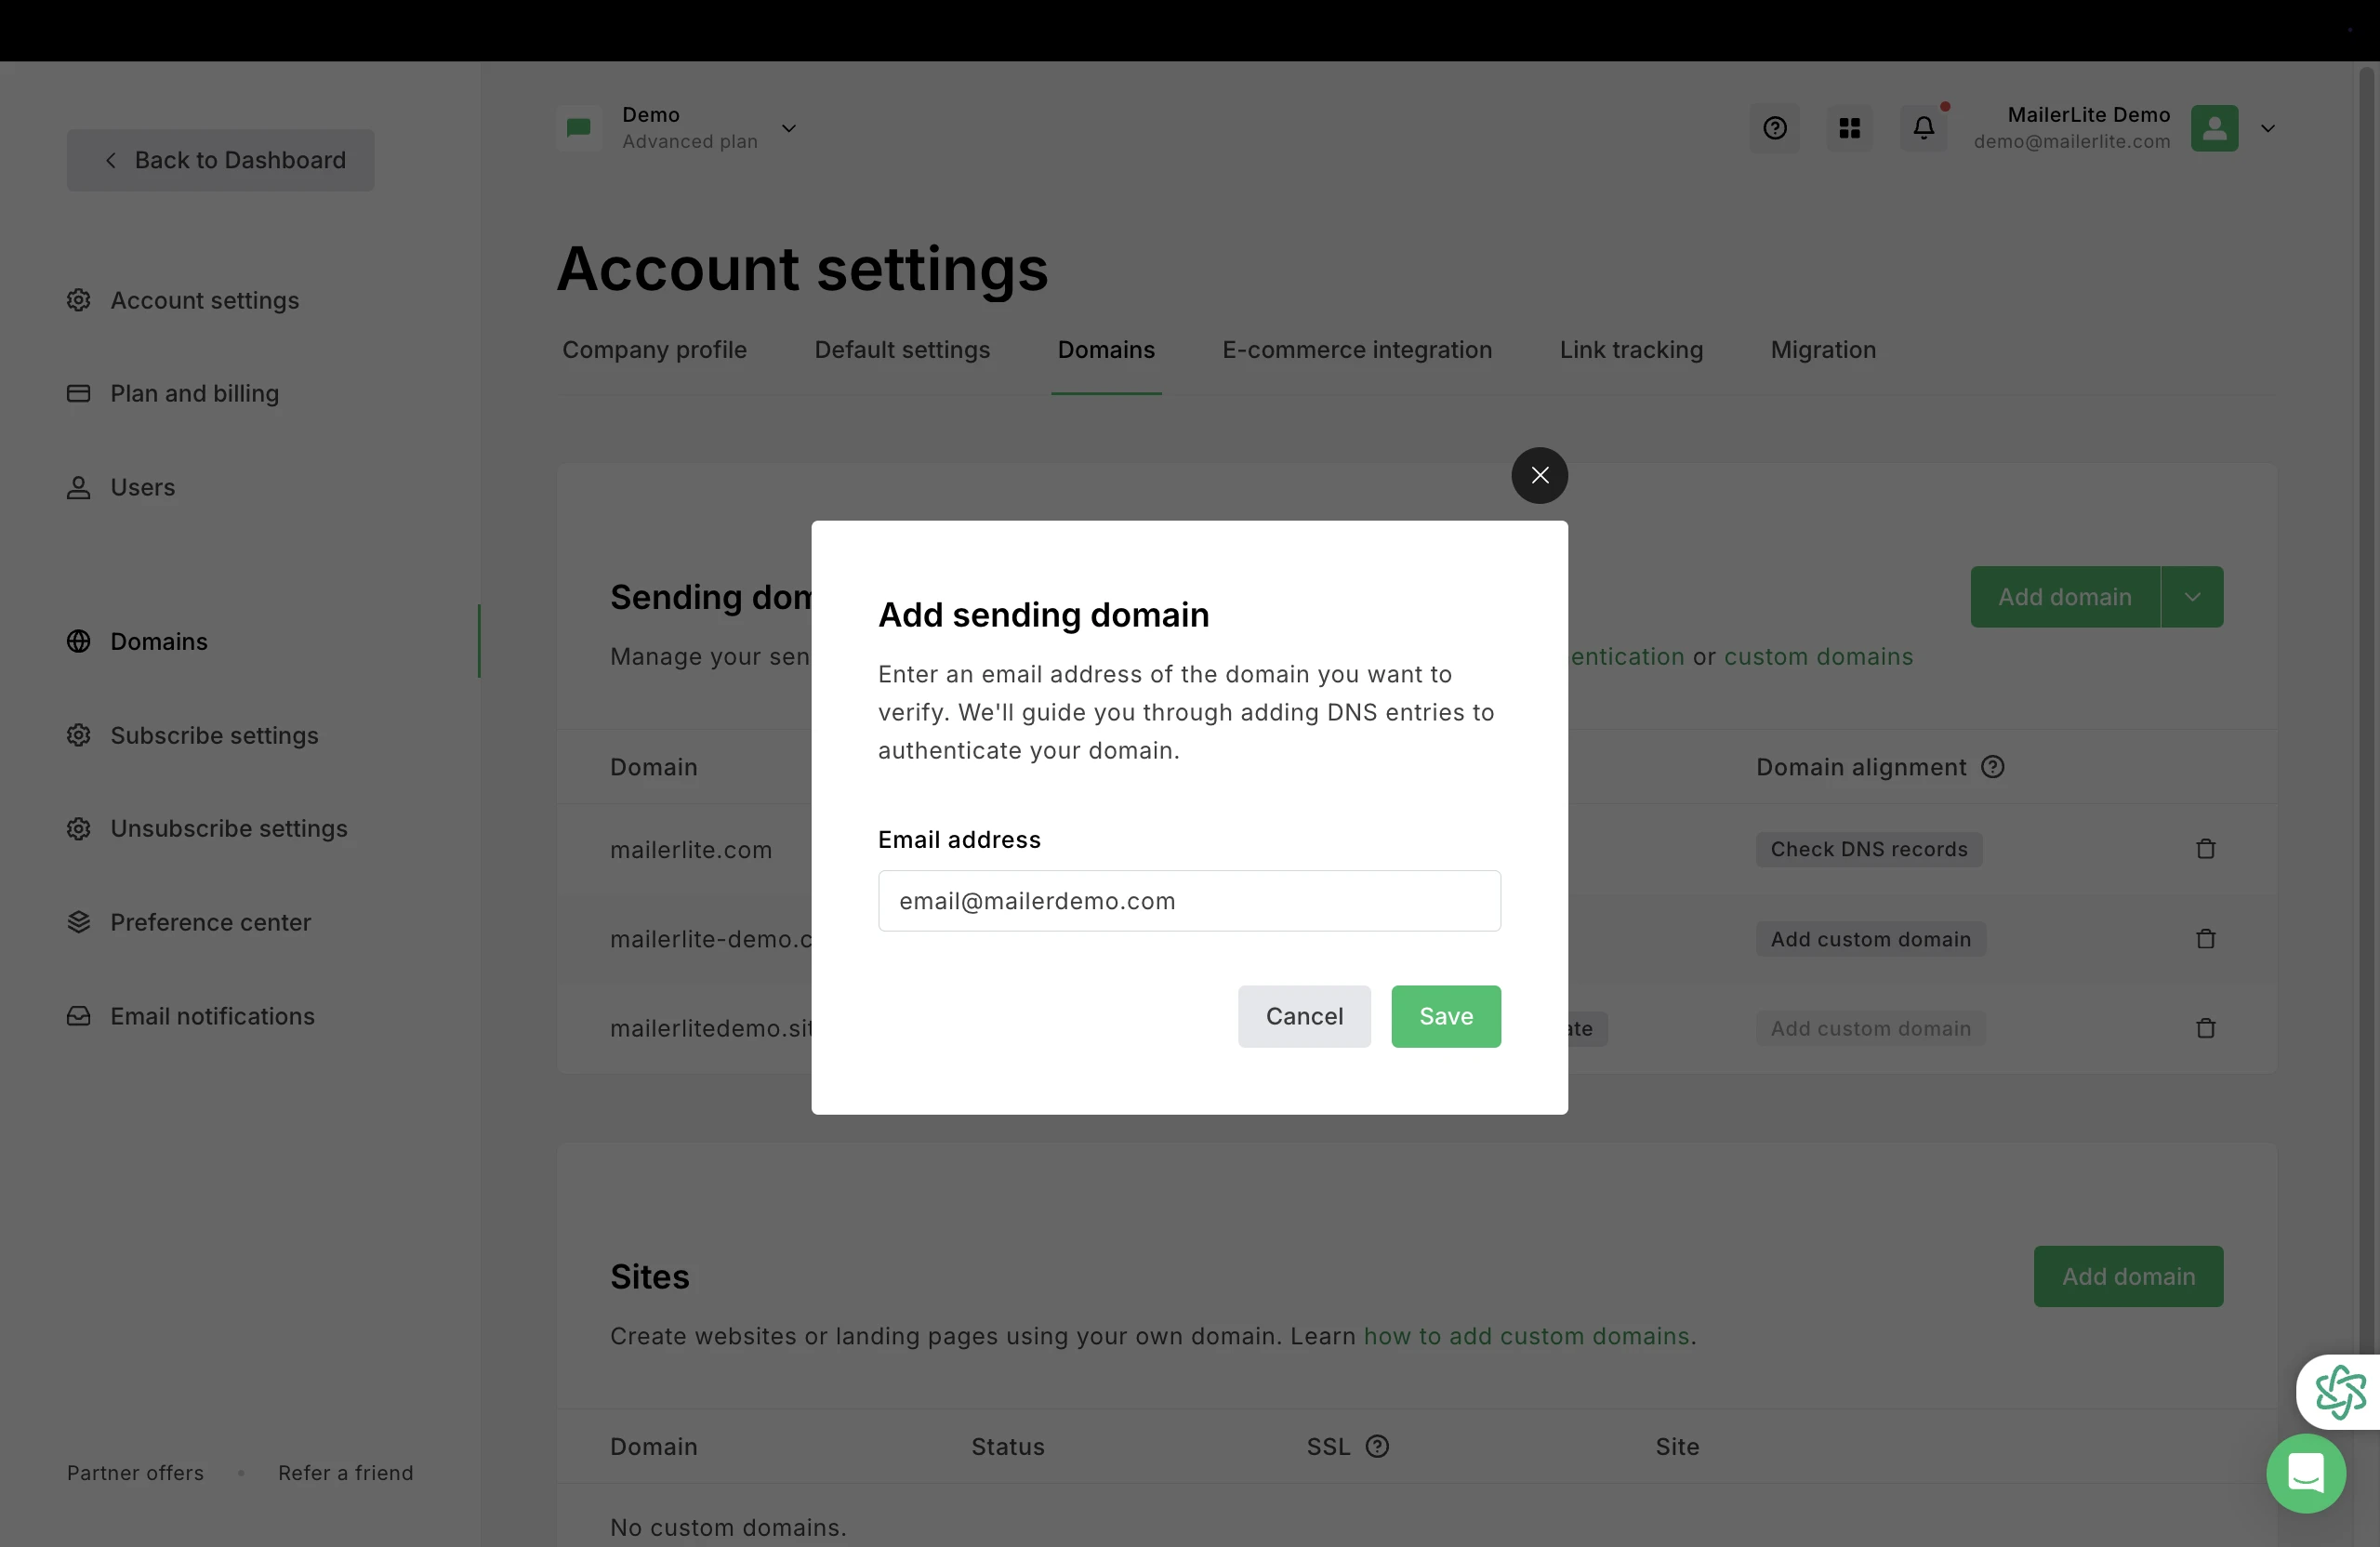
Under Sending domains, click Add domain.
In the provided field, enter an email address that includes your paid domain. This email address will be used as the sender for your campaigns.
Click Save.
6. Once the domain has been added, click on the Authenticate button.
How to use automatic domain authentication setup
A popup will appear, prompting you to start the authentication process. Click Continue.

This tool will scan your domain, and detect which provider is the host.
2. Once the provider has been detected, follow the instructions to connect to your account. You will need to use your login credentials to log into your hosting provider.
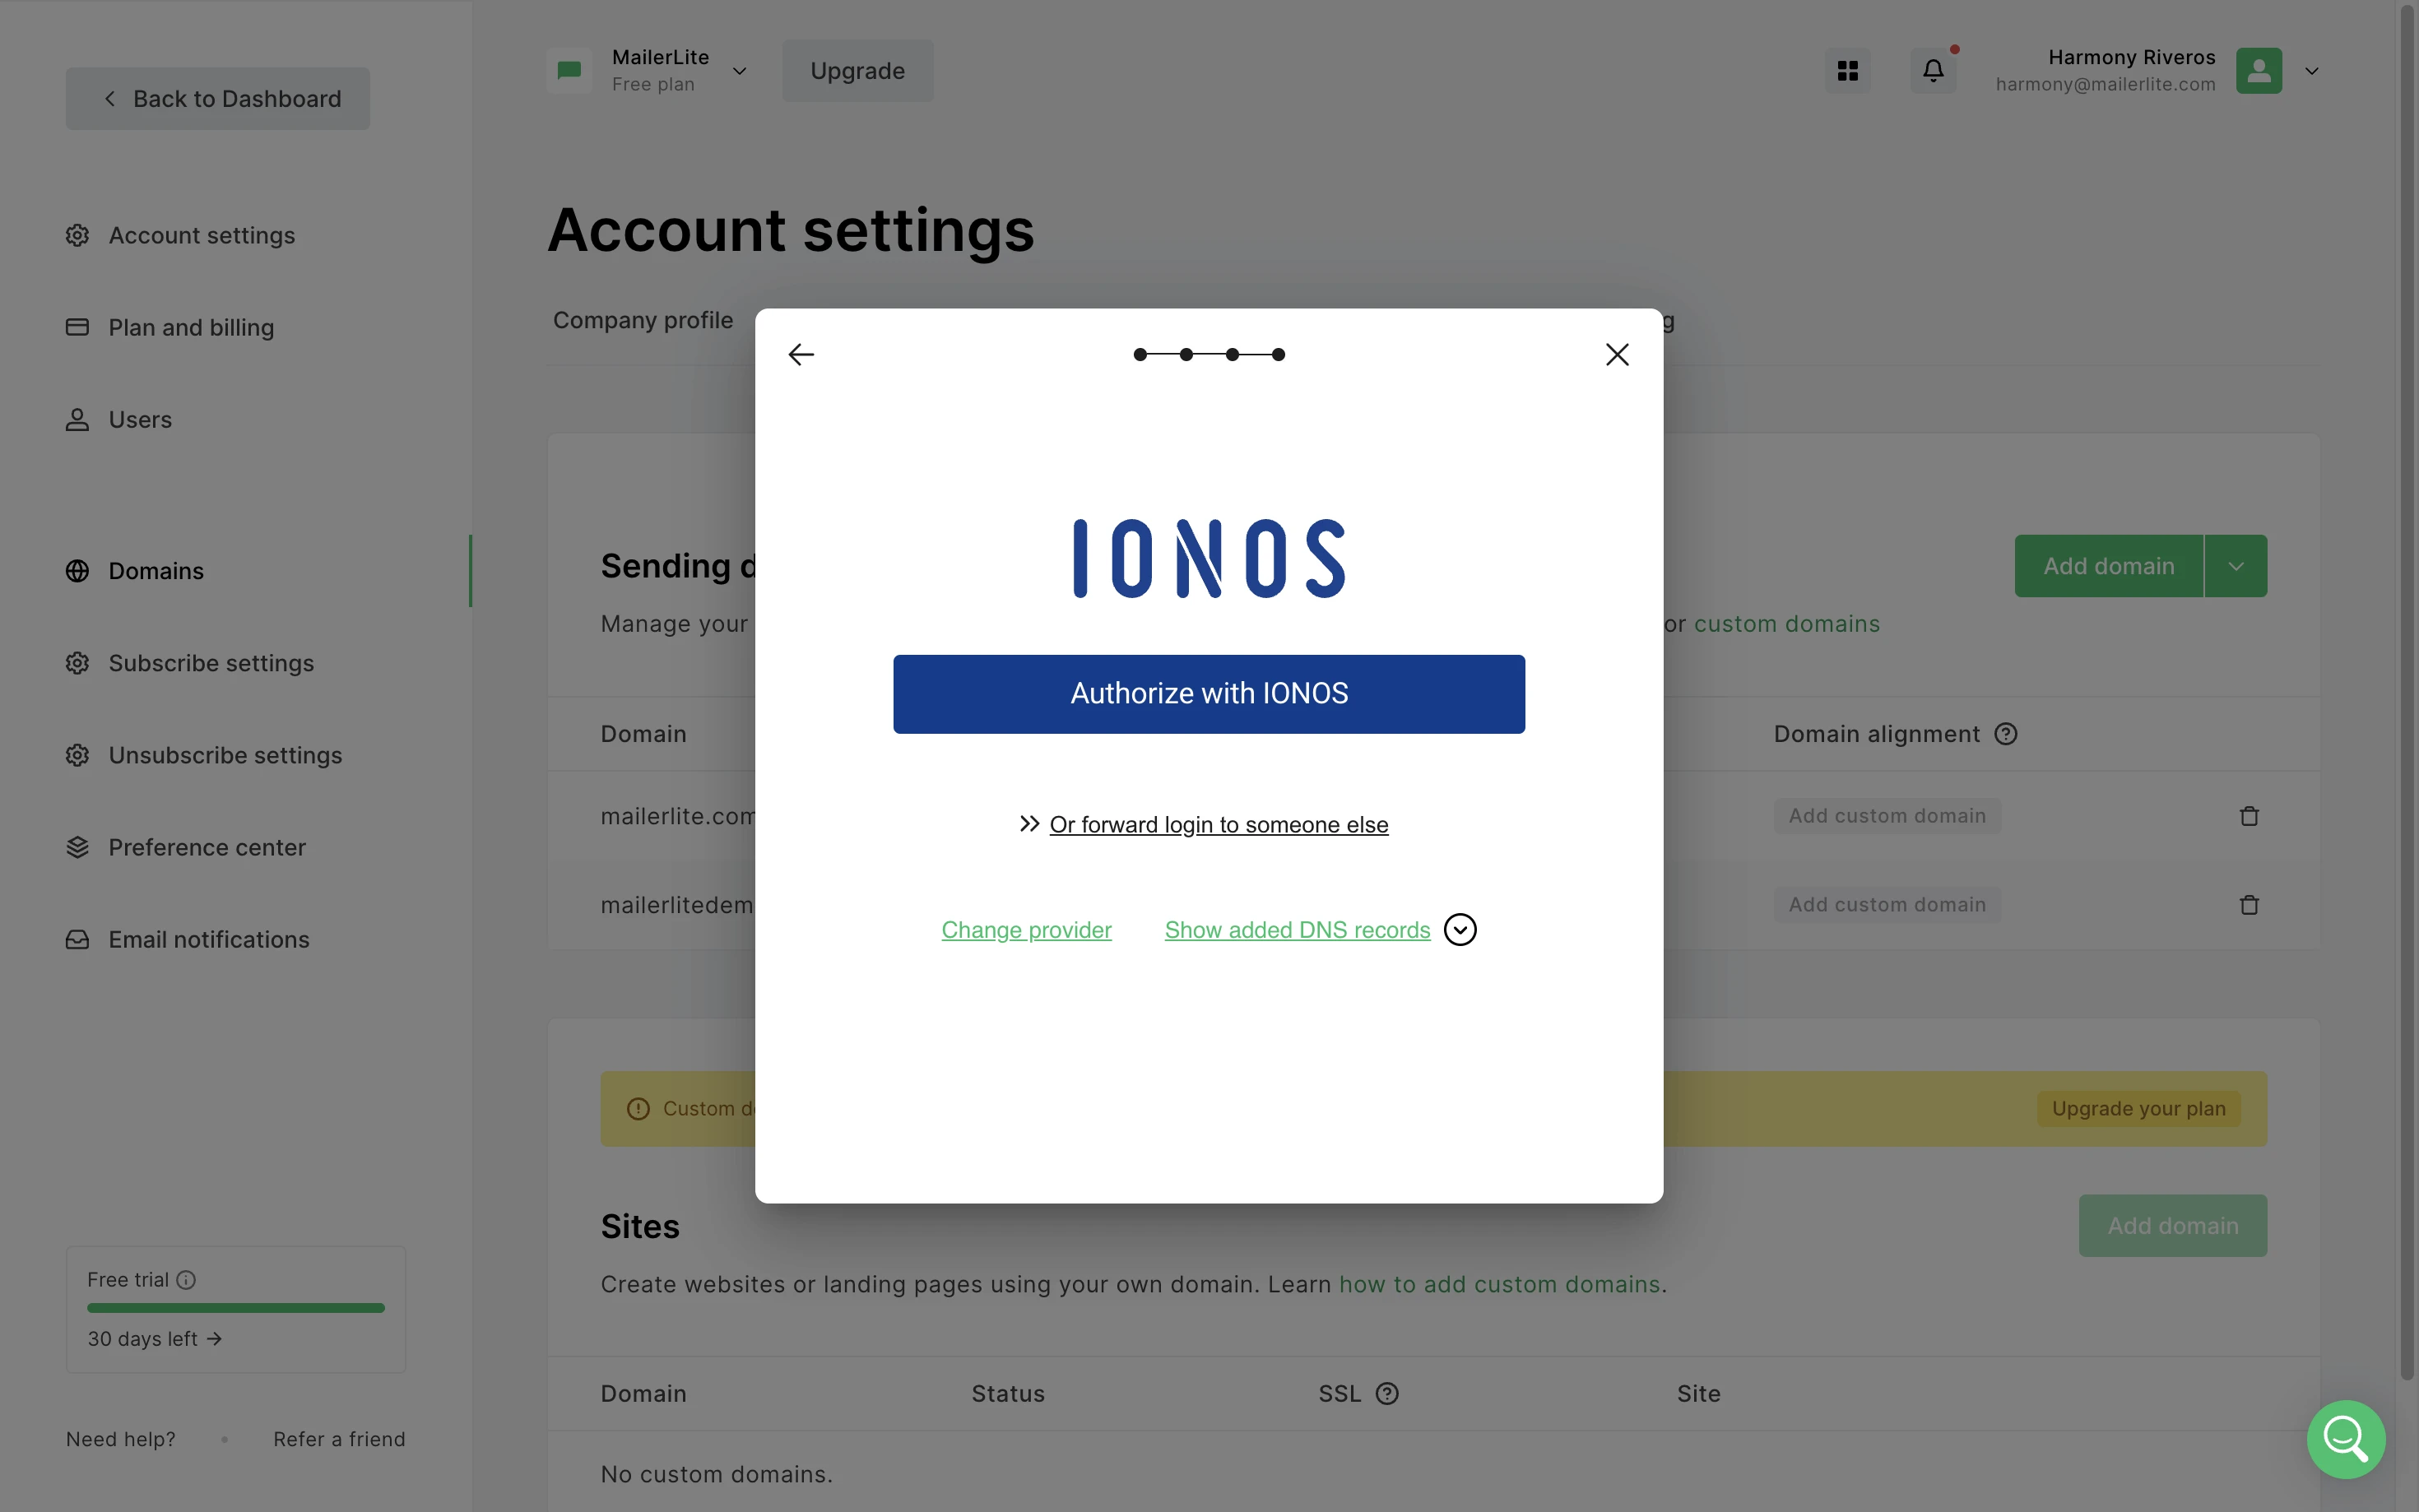
What if I do not have the login details?
By choosing the option to Forward login to someone else, you can share a link with someone who has the details to log in, so they can complete this part of the process.
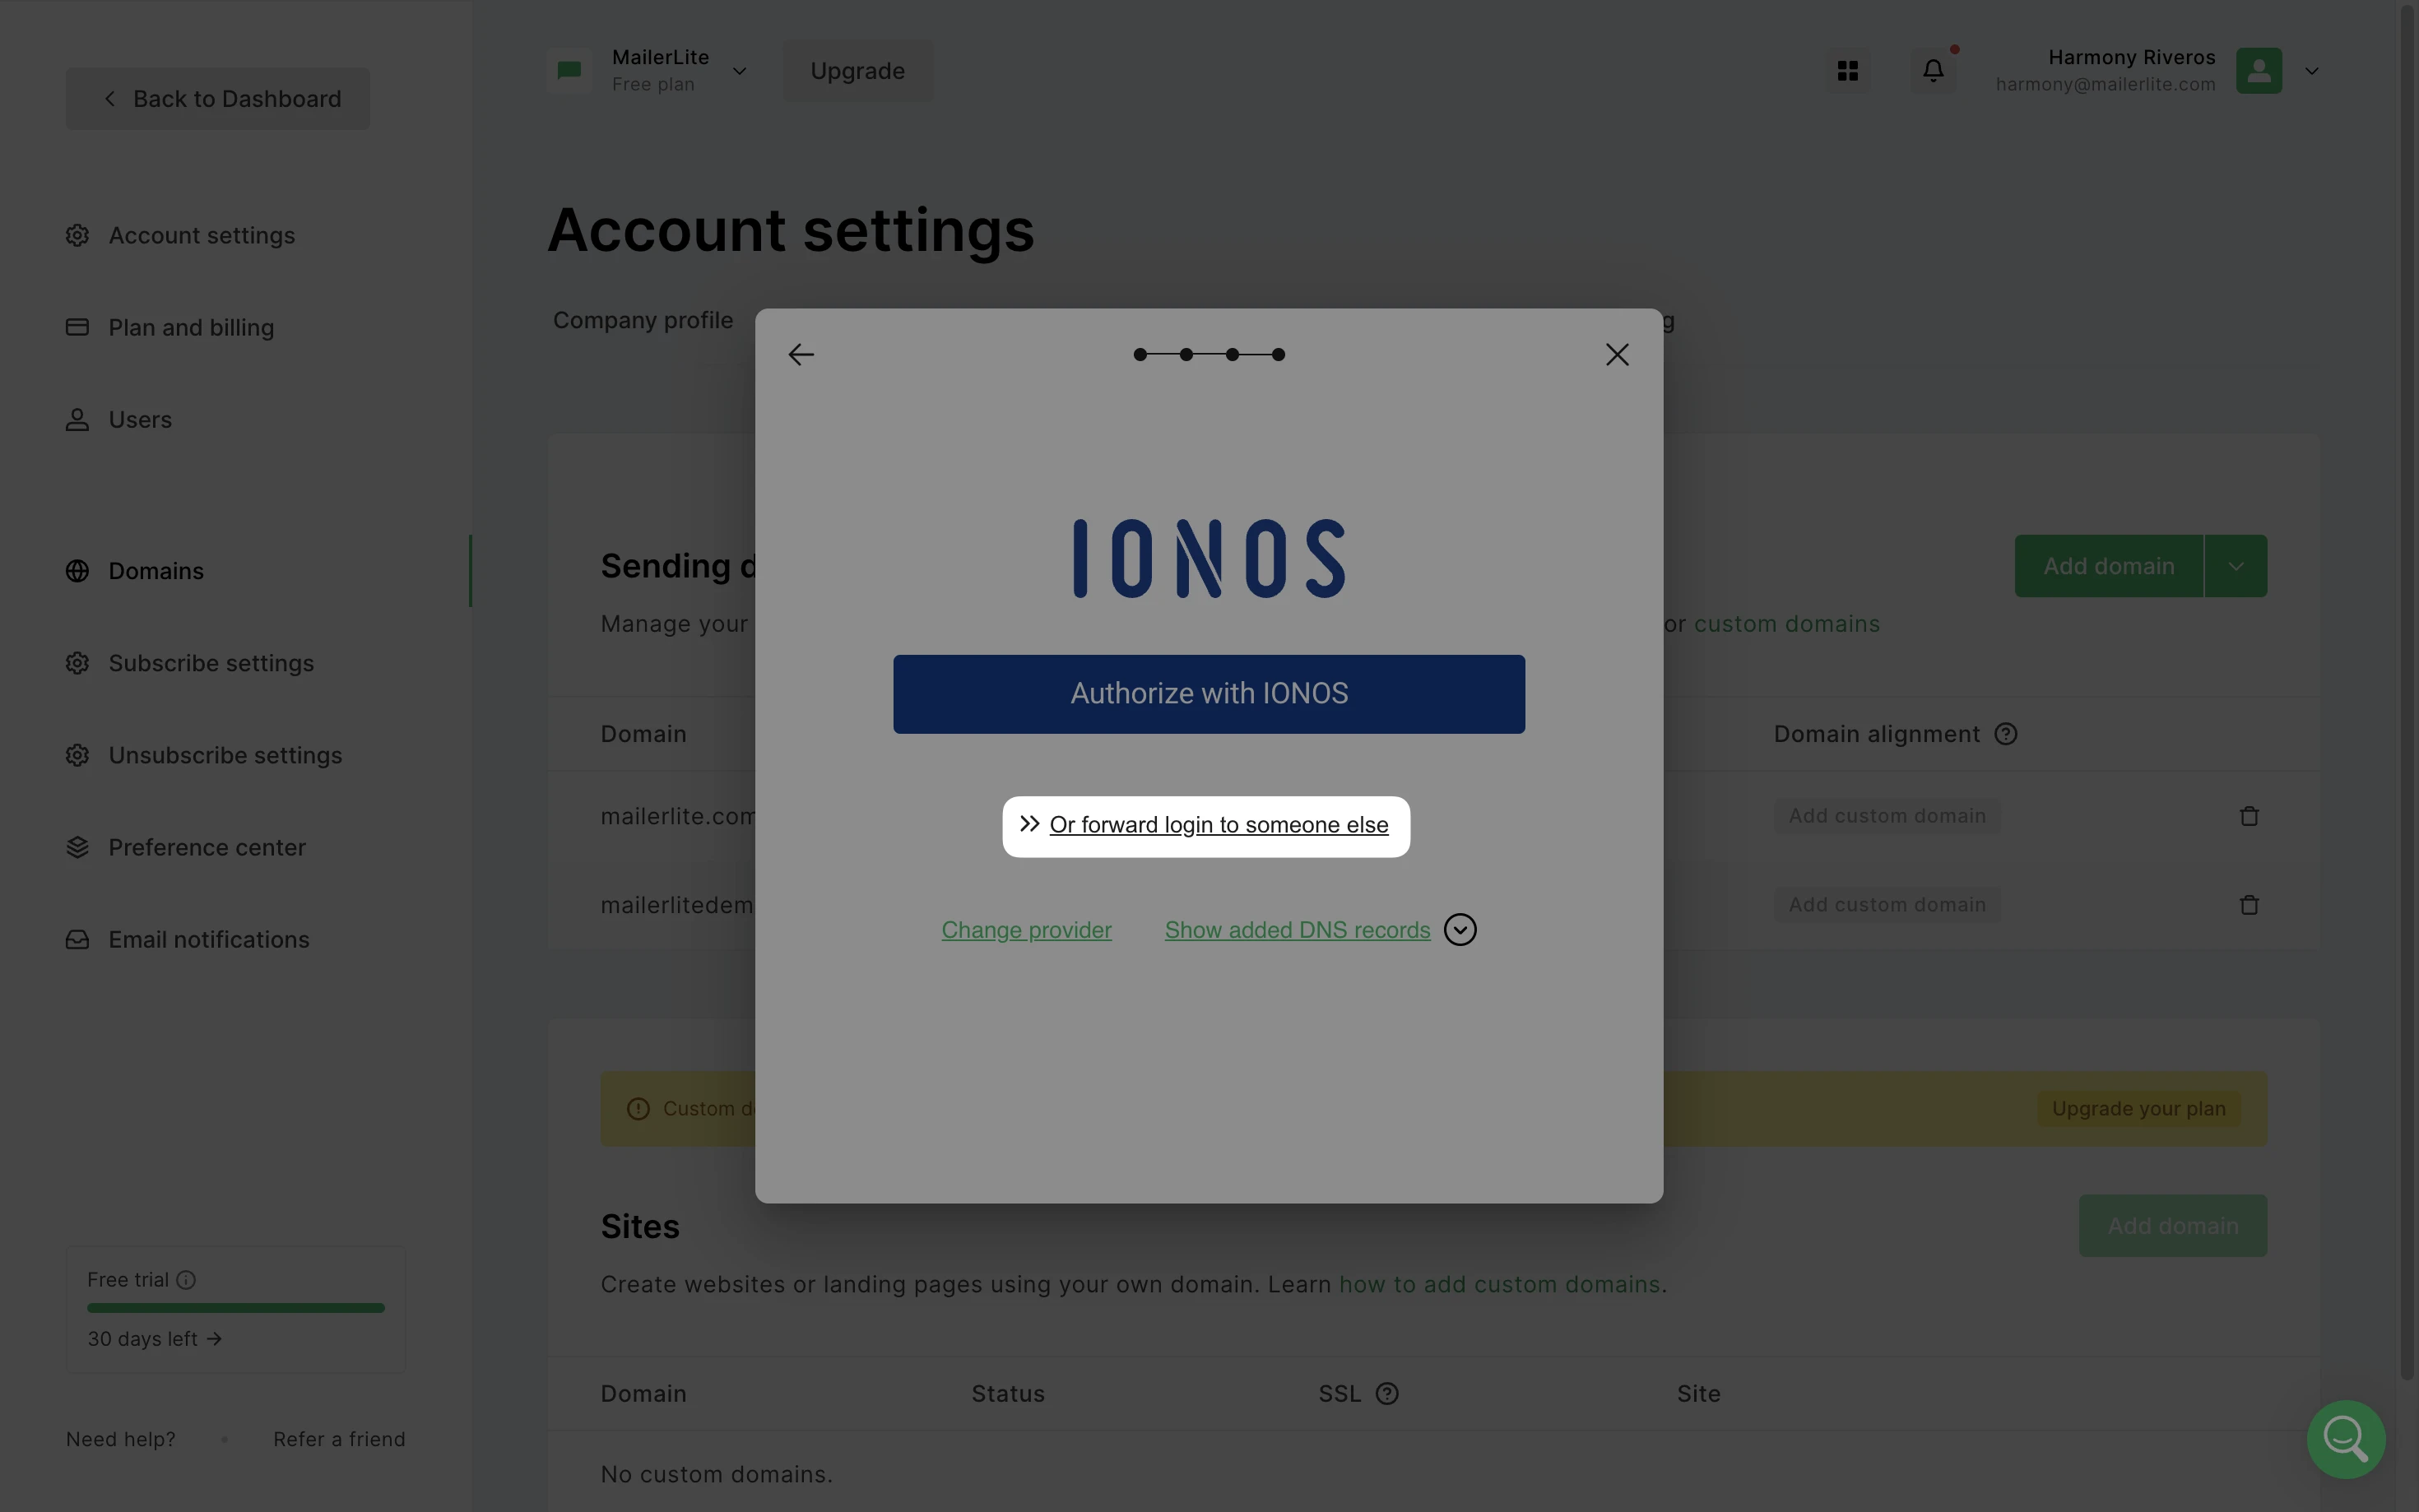
Or, you can choose Go to our manual setup to manually view and add the records. Keep in mind, if you use a social login (such as Gmail) to login into your hosting provider, you will need to choose the manual authentication option, as this type of login is not supported.
3. Next, follow the steps to authorize MailerLite to configure your DNS and add the necessary records.
4. Once the DNS configuration is successful, you will be redirected back to MailerLite. Refresh the page to see the updated status of your domain.

The domain may show as authenticated right away, or it can take up to 24 hours. In this case, you will see Pending next to your domain.
How to use the manual authentication setup
If your provider is not detected using the above method, we've got you covered with manual domain authentication.
After adding your domain, click Authenticate.
Select your provider from the dropdown menu, or click Other.
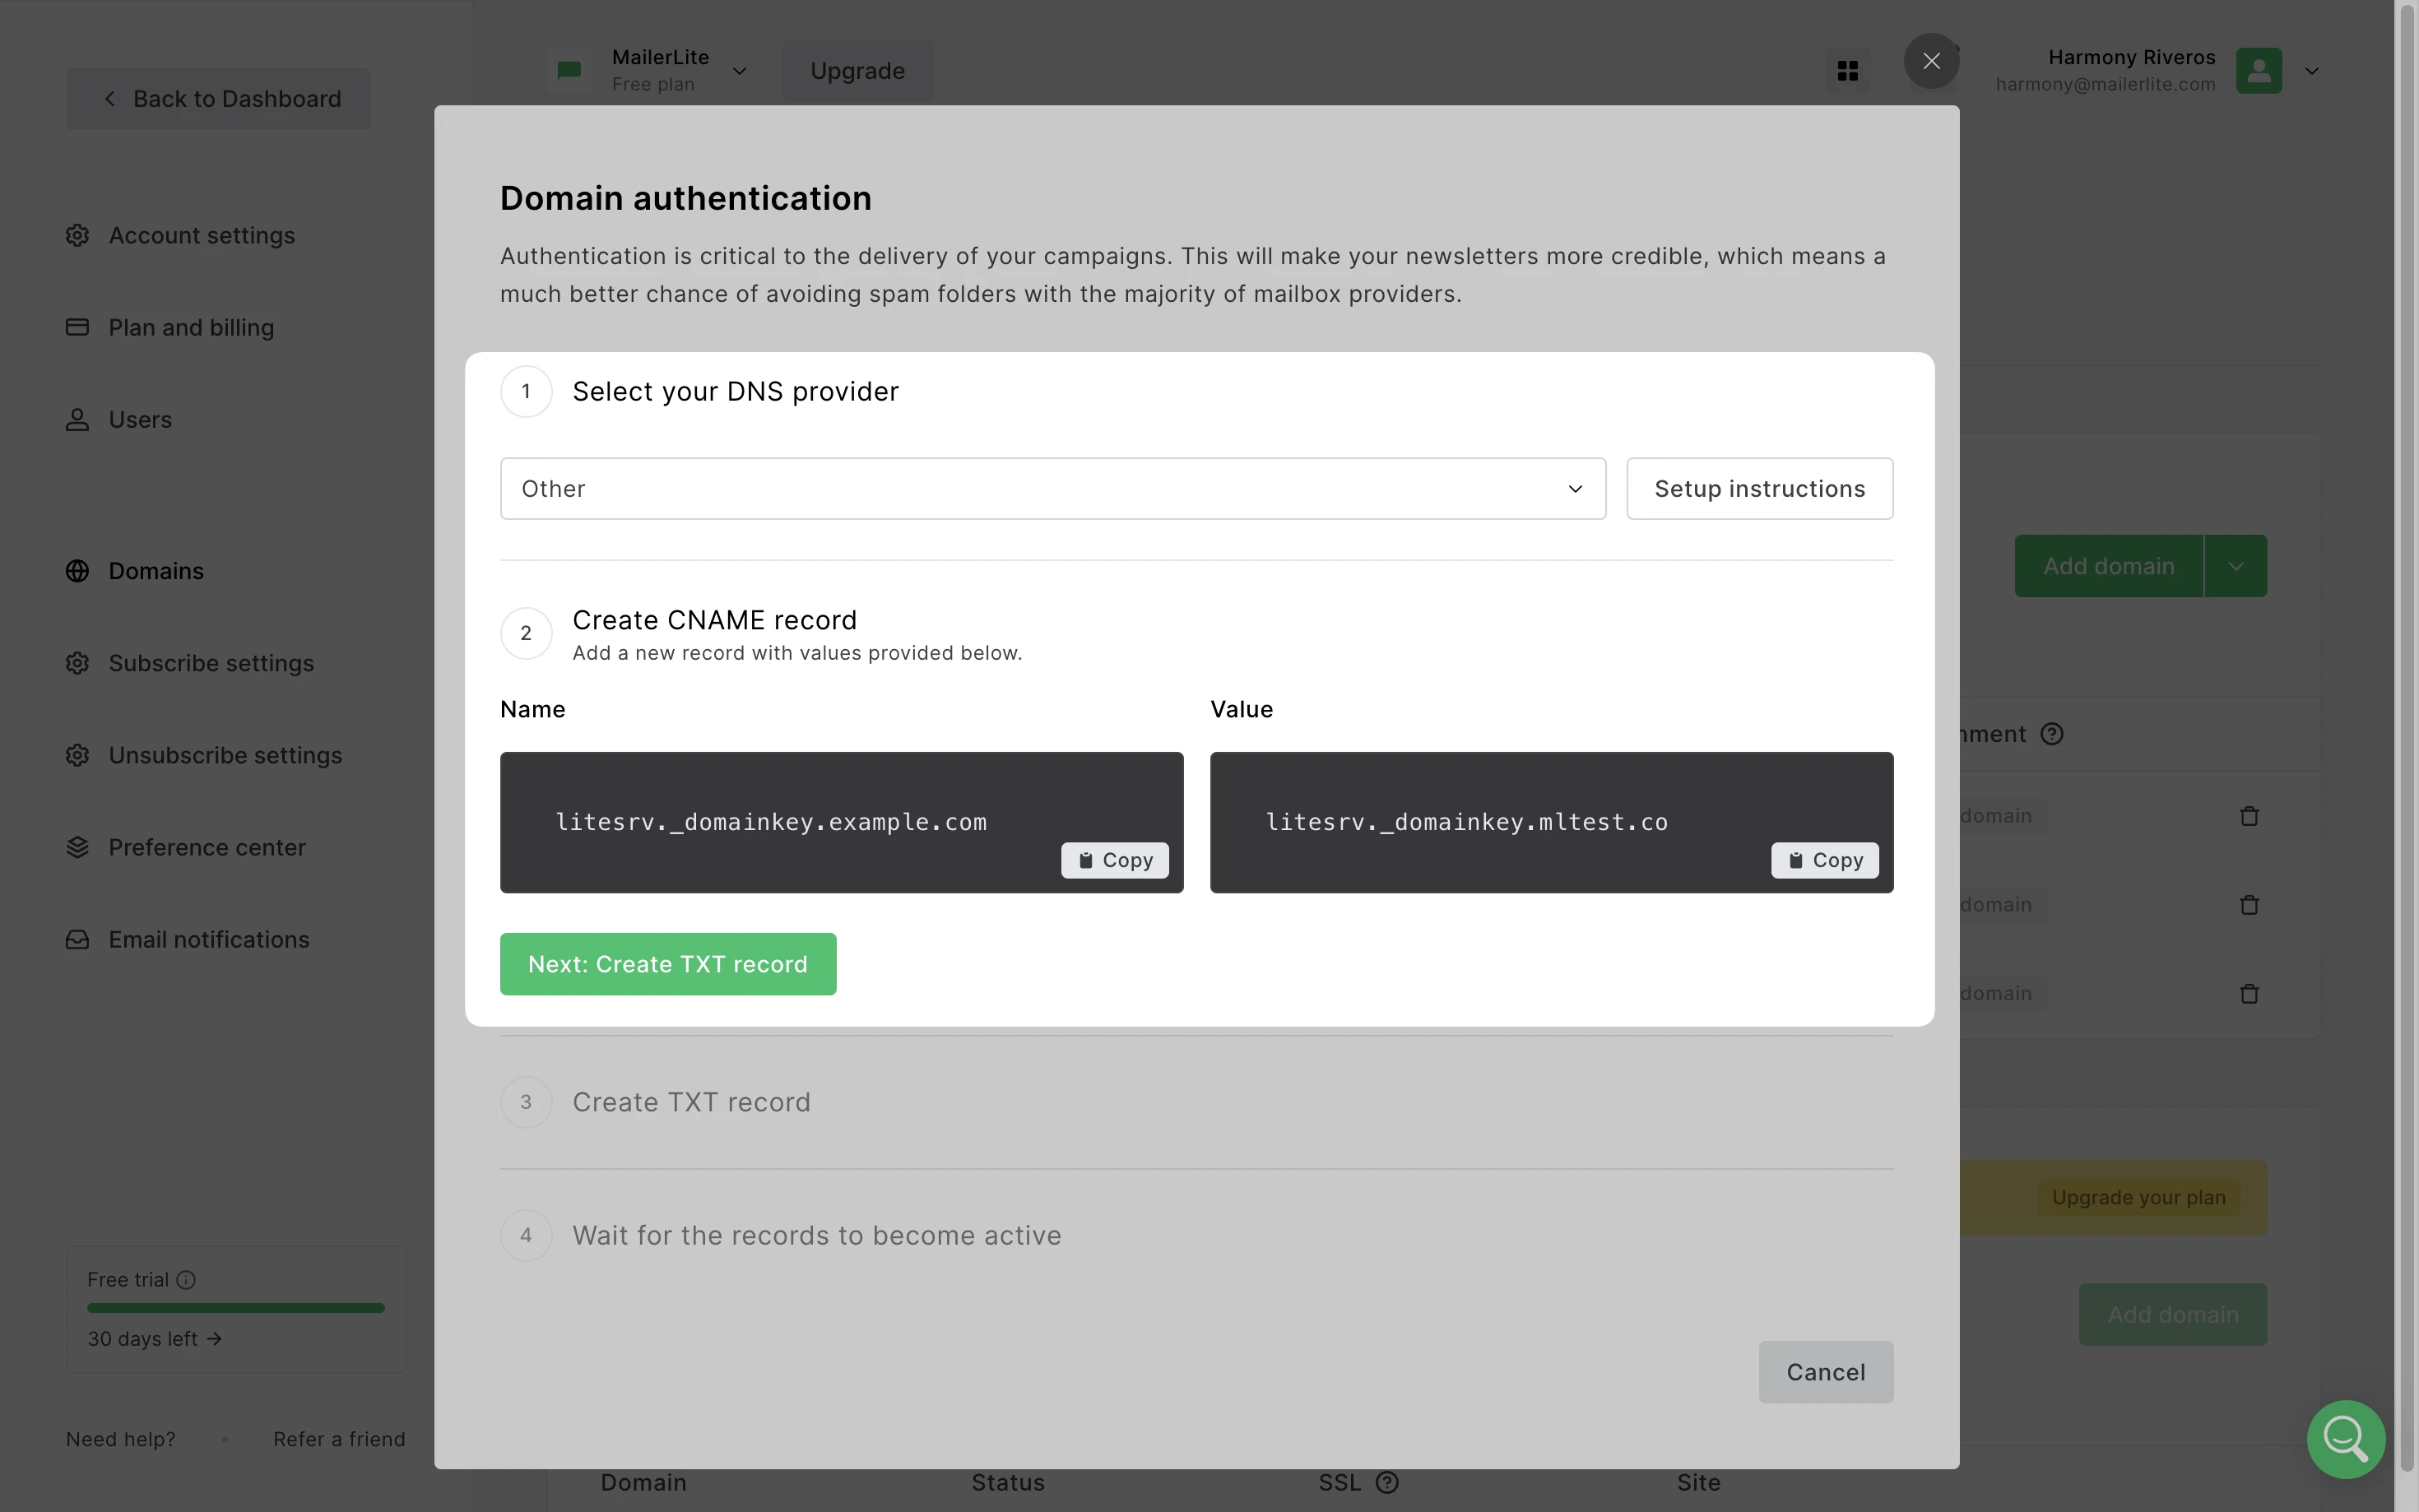
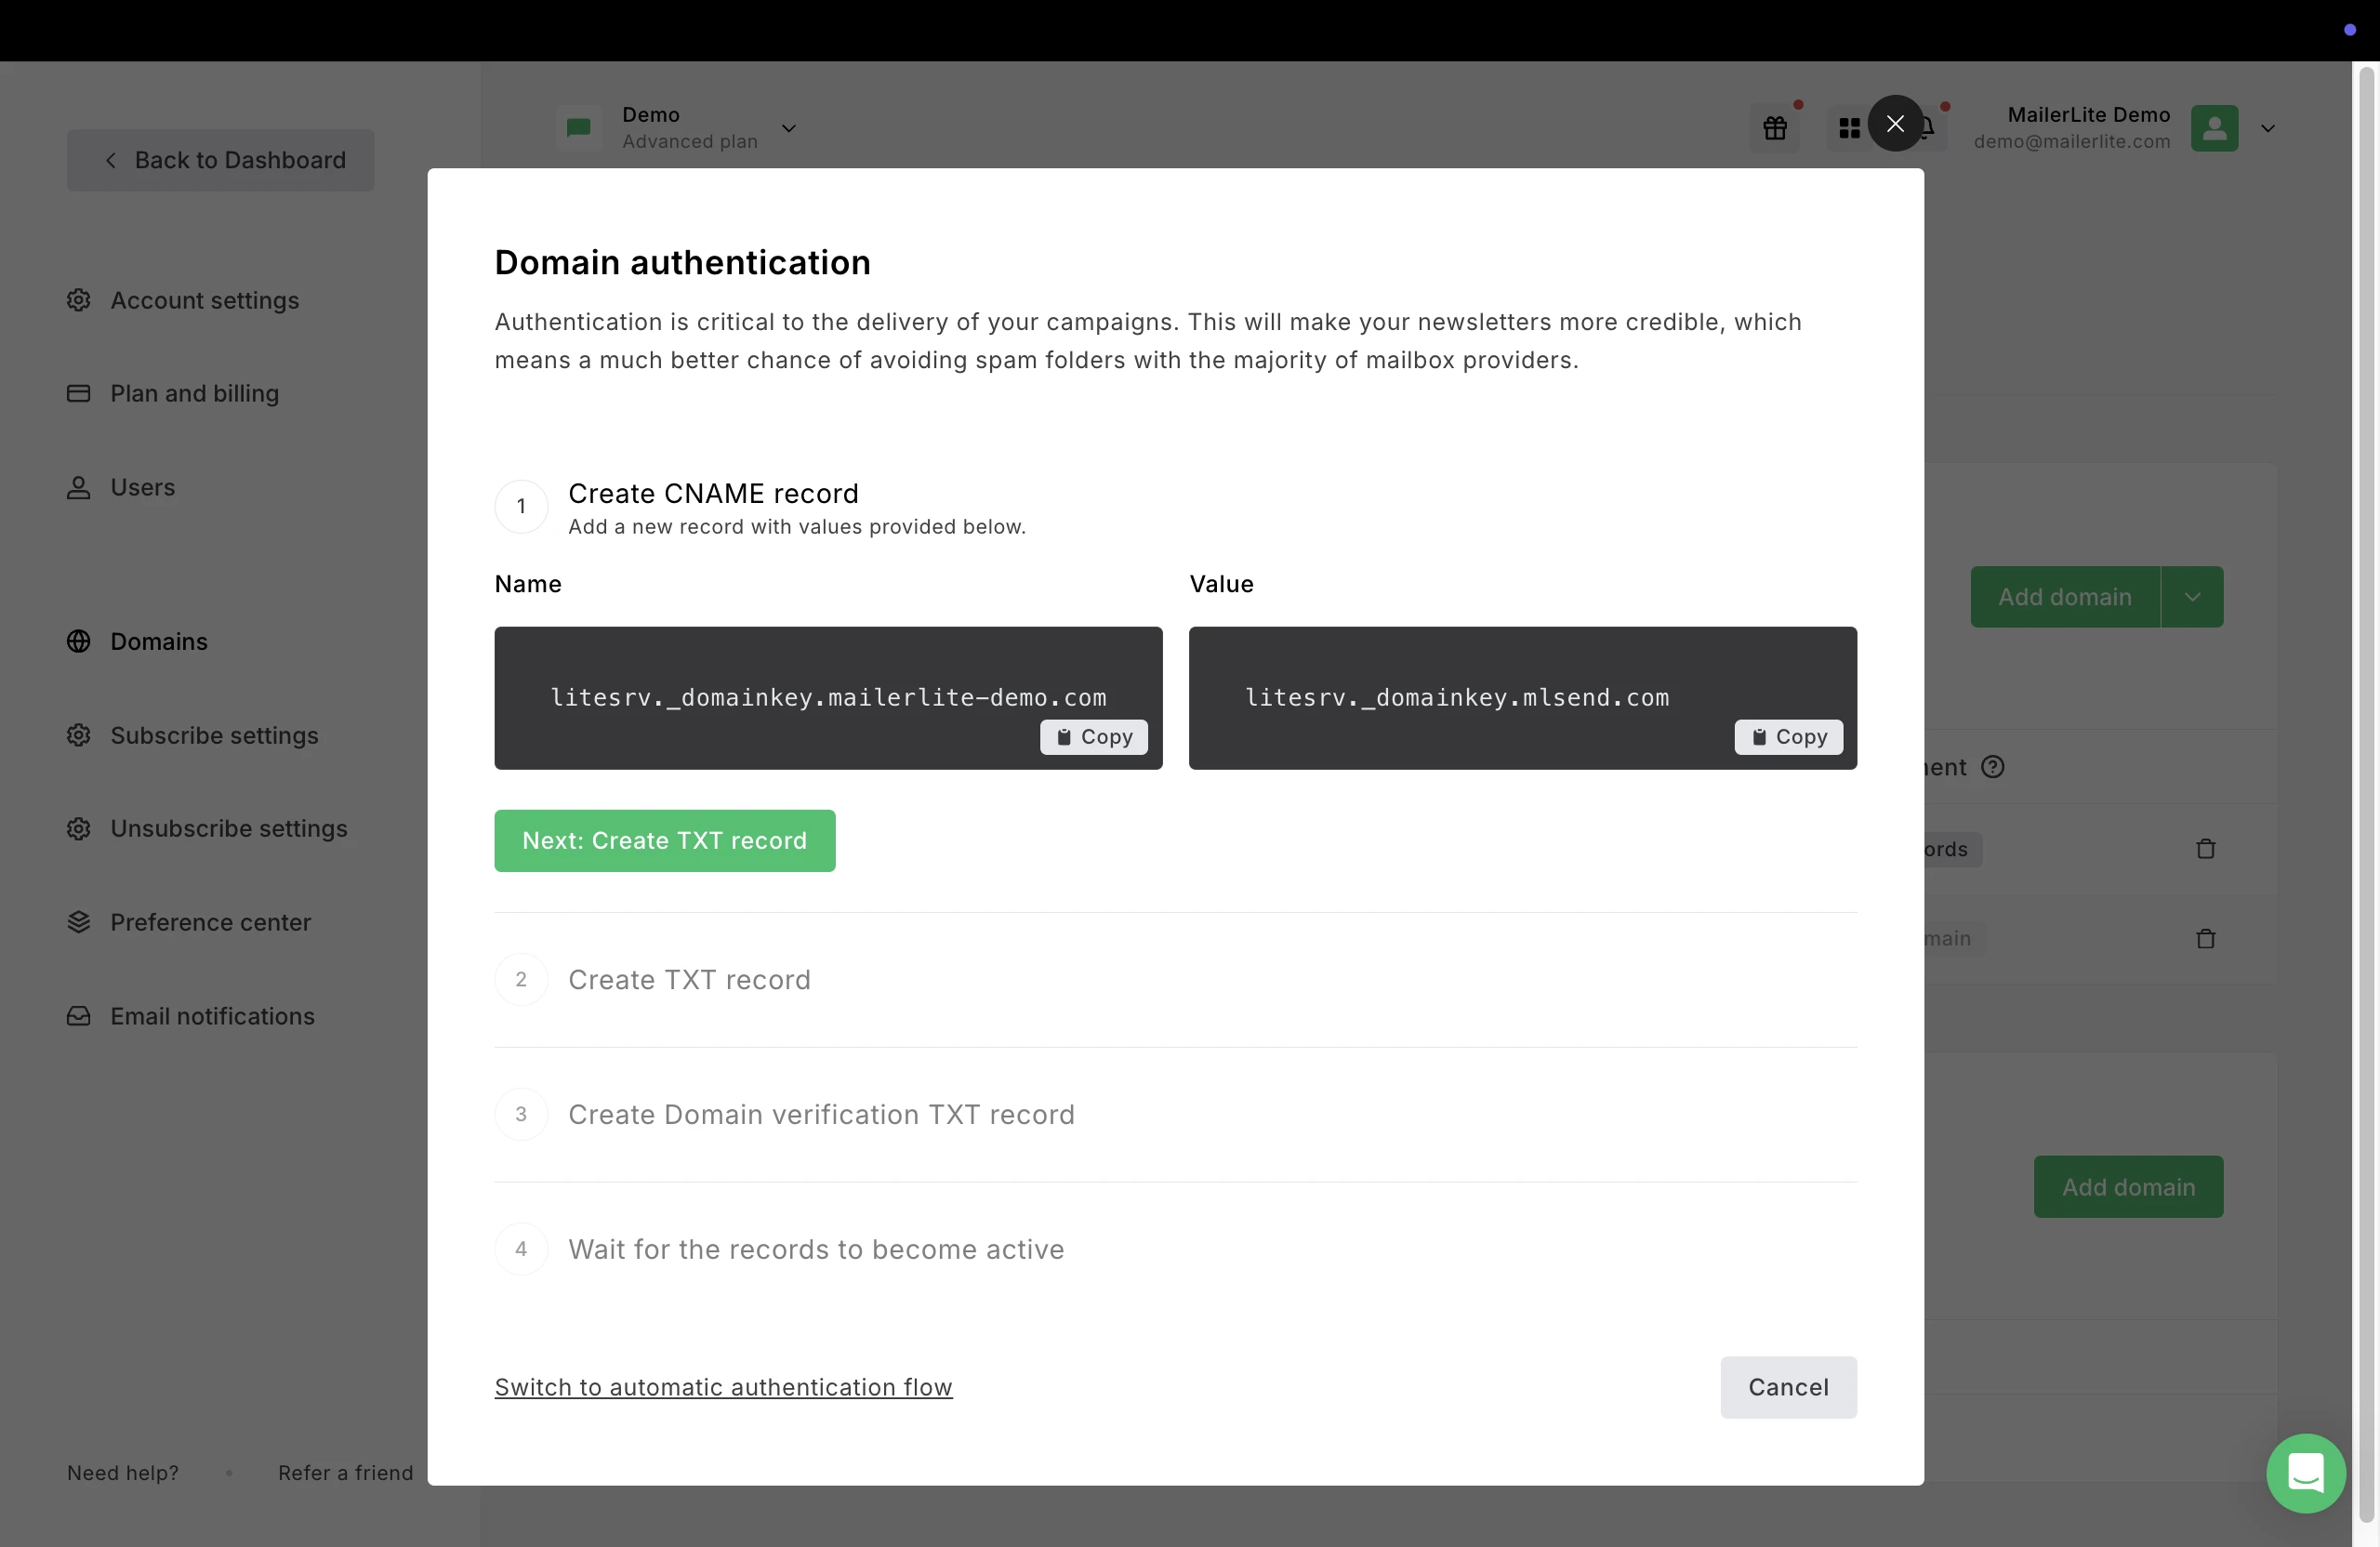
3. Next, you’ll find the Name and Value fields for the DKIM and SPF records of your domain. Keep this page open; you'll need it.
4. Head over to your hosting provider's DNS page. The process of adding records varies depending on your DNS host. If you're unsure, we have helpful articles available that demonstrate how to add these records with some popular DNS service providers.
5. You'll need to add the DKIM as a CNAME record, the SPF as a TXT record, and a Domain verification TXT record. Use the Name and Value fields that we provide for you.
6. After you've added the DNS records to your domain with your hosting provider, return to MailerLite and click the Check DNS button.
7. If everything matches up correctly, the records will be approved, and your domain will be authenticated.
And one more thing to keep in mind – sometimes the site will indicate that one or both records were not approved, even if all of the information was correctly submitted. Here's why this might happen:
It can take the servers up to 24 hours to completely update this information. However, in most cases, the approval and updates happen within just a matter of minutes.
Some information has to be periodically re-checked and updated, which might affect the verification process.
Additional resources
In addition to automatic domain authentication for your sending domains, we also offer comprehensive guides on other essential topics:
How to use automatic domain alignment: Ensure secure email delivery and maintain your brand's reputation by aligning your domain.
How to link your custom domain to your landing pages and websites: Learn how to seamlessly connect your custom domain to your landing pages and websites for a more personalized online presence.