If you're a Legacy (Classic) user, please log in to your account to access the dedicated Legacy (Classic) Help Center.
What is a countdown timer?
A countdown timer is a GIF image that counts down to a specific date and time. They’re great for creating urgency and increasing conversions.
Countdown timers count down to a specific time/date set by you. It will play on a 90-second loop when a subscriber opens your newsletter. This means that the timer will appear to repeat the same 90 seconds if you watch it for long enough. Don’t worry though, if you refresh the page, you will see that the timer is still counting down.
Note: While countdown timers are compatible across all mailboxes, the timer will not count down if your subscriber is using Outlook 07/10/13. The countdown timer will instead appear as a static image.
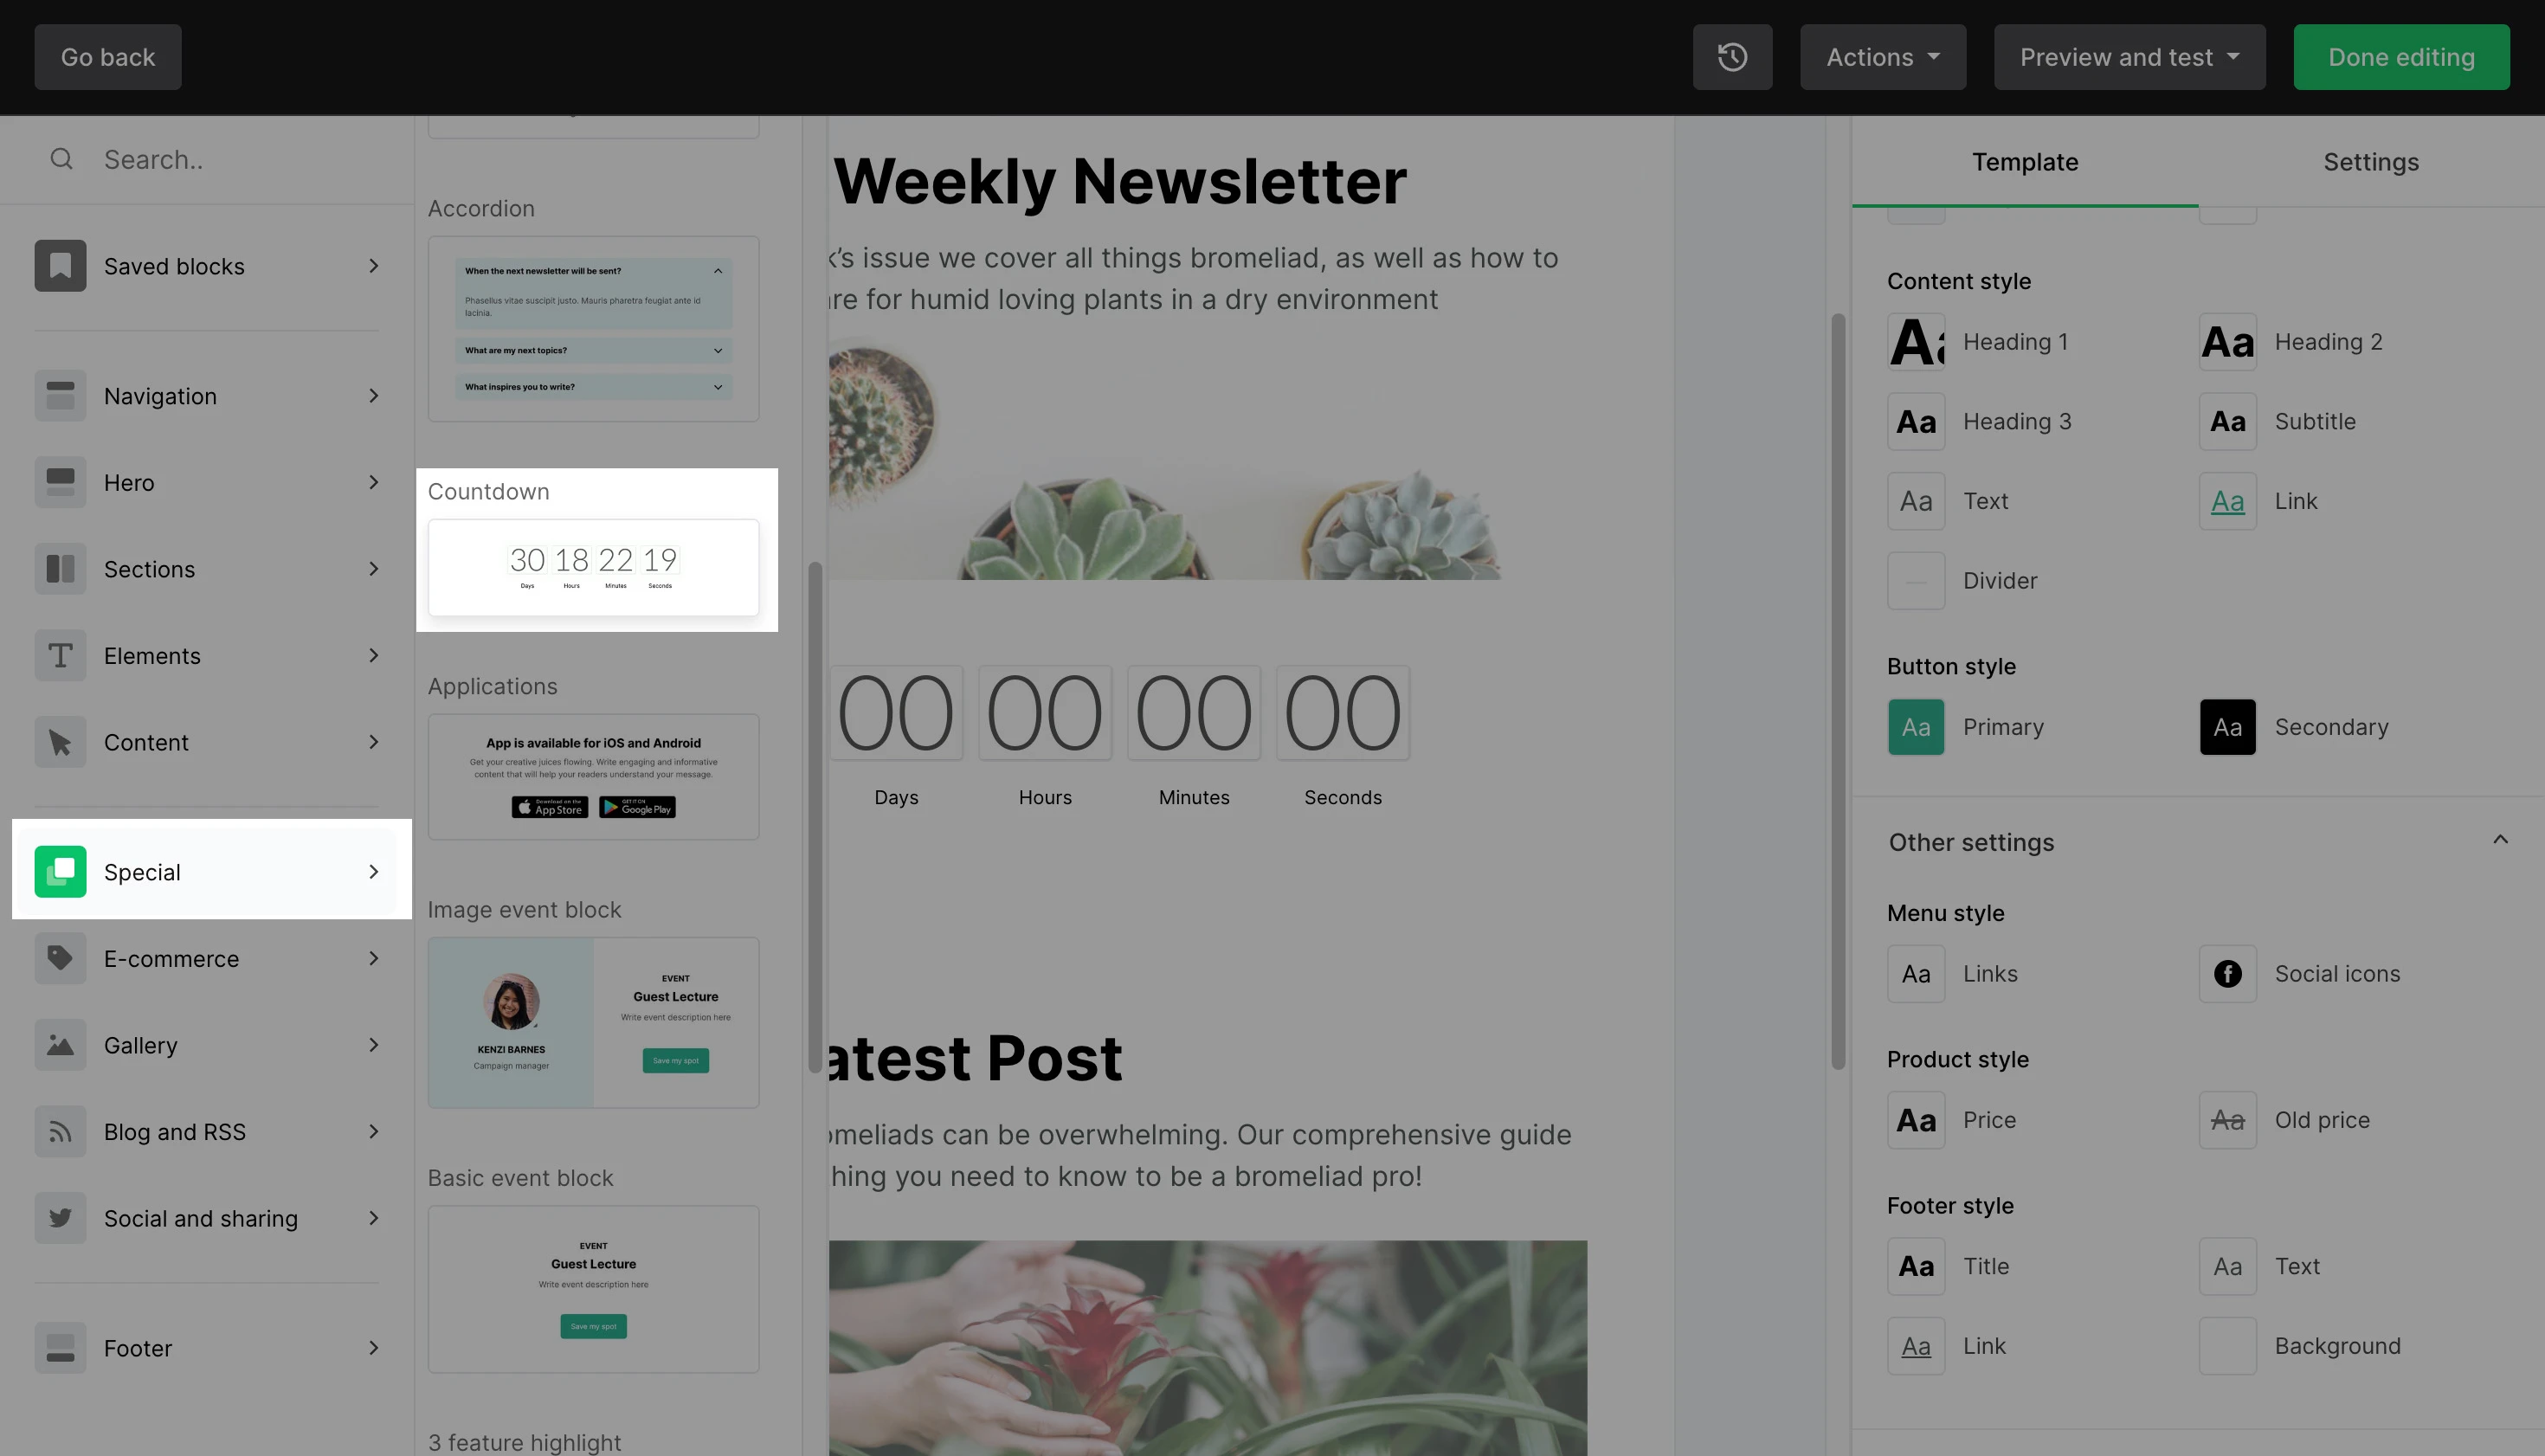
How to add a countdown timer to a campaign
To add a countdown timer to your campaign:
Open your draft campaign in the Drag & drop editor.
In the left-hand sidebar, locate the Special tab and the Countdown block.
Drag and drop the countdown block into your campaign.
Once you’ve added the countdown block to your newsletter, click the countdown block to select it. Then, in the right-hand sidebar, specify the date and time you wish to count down to.
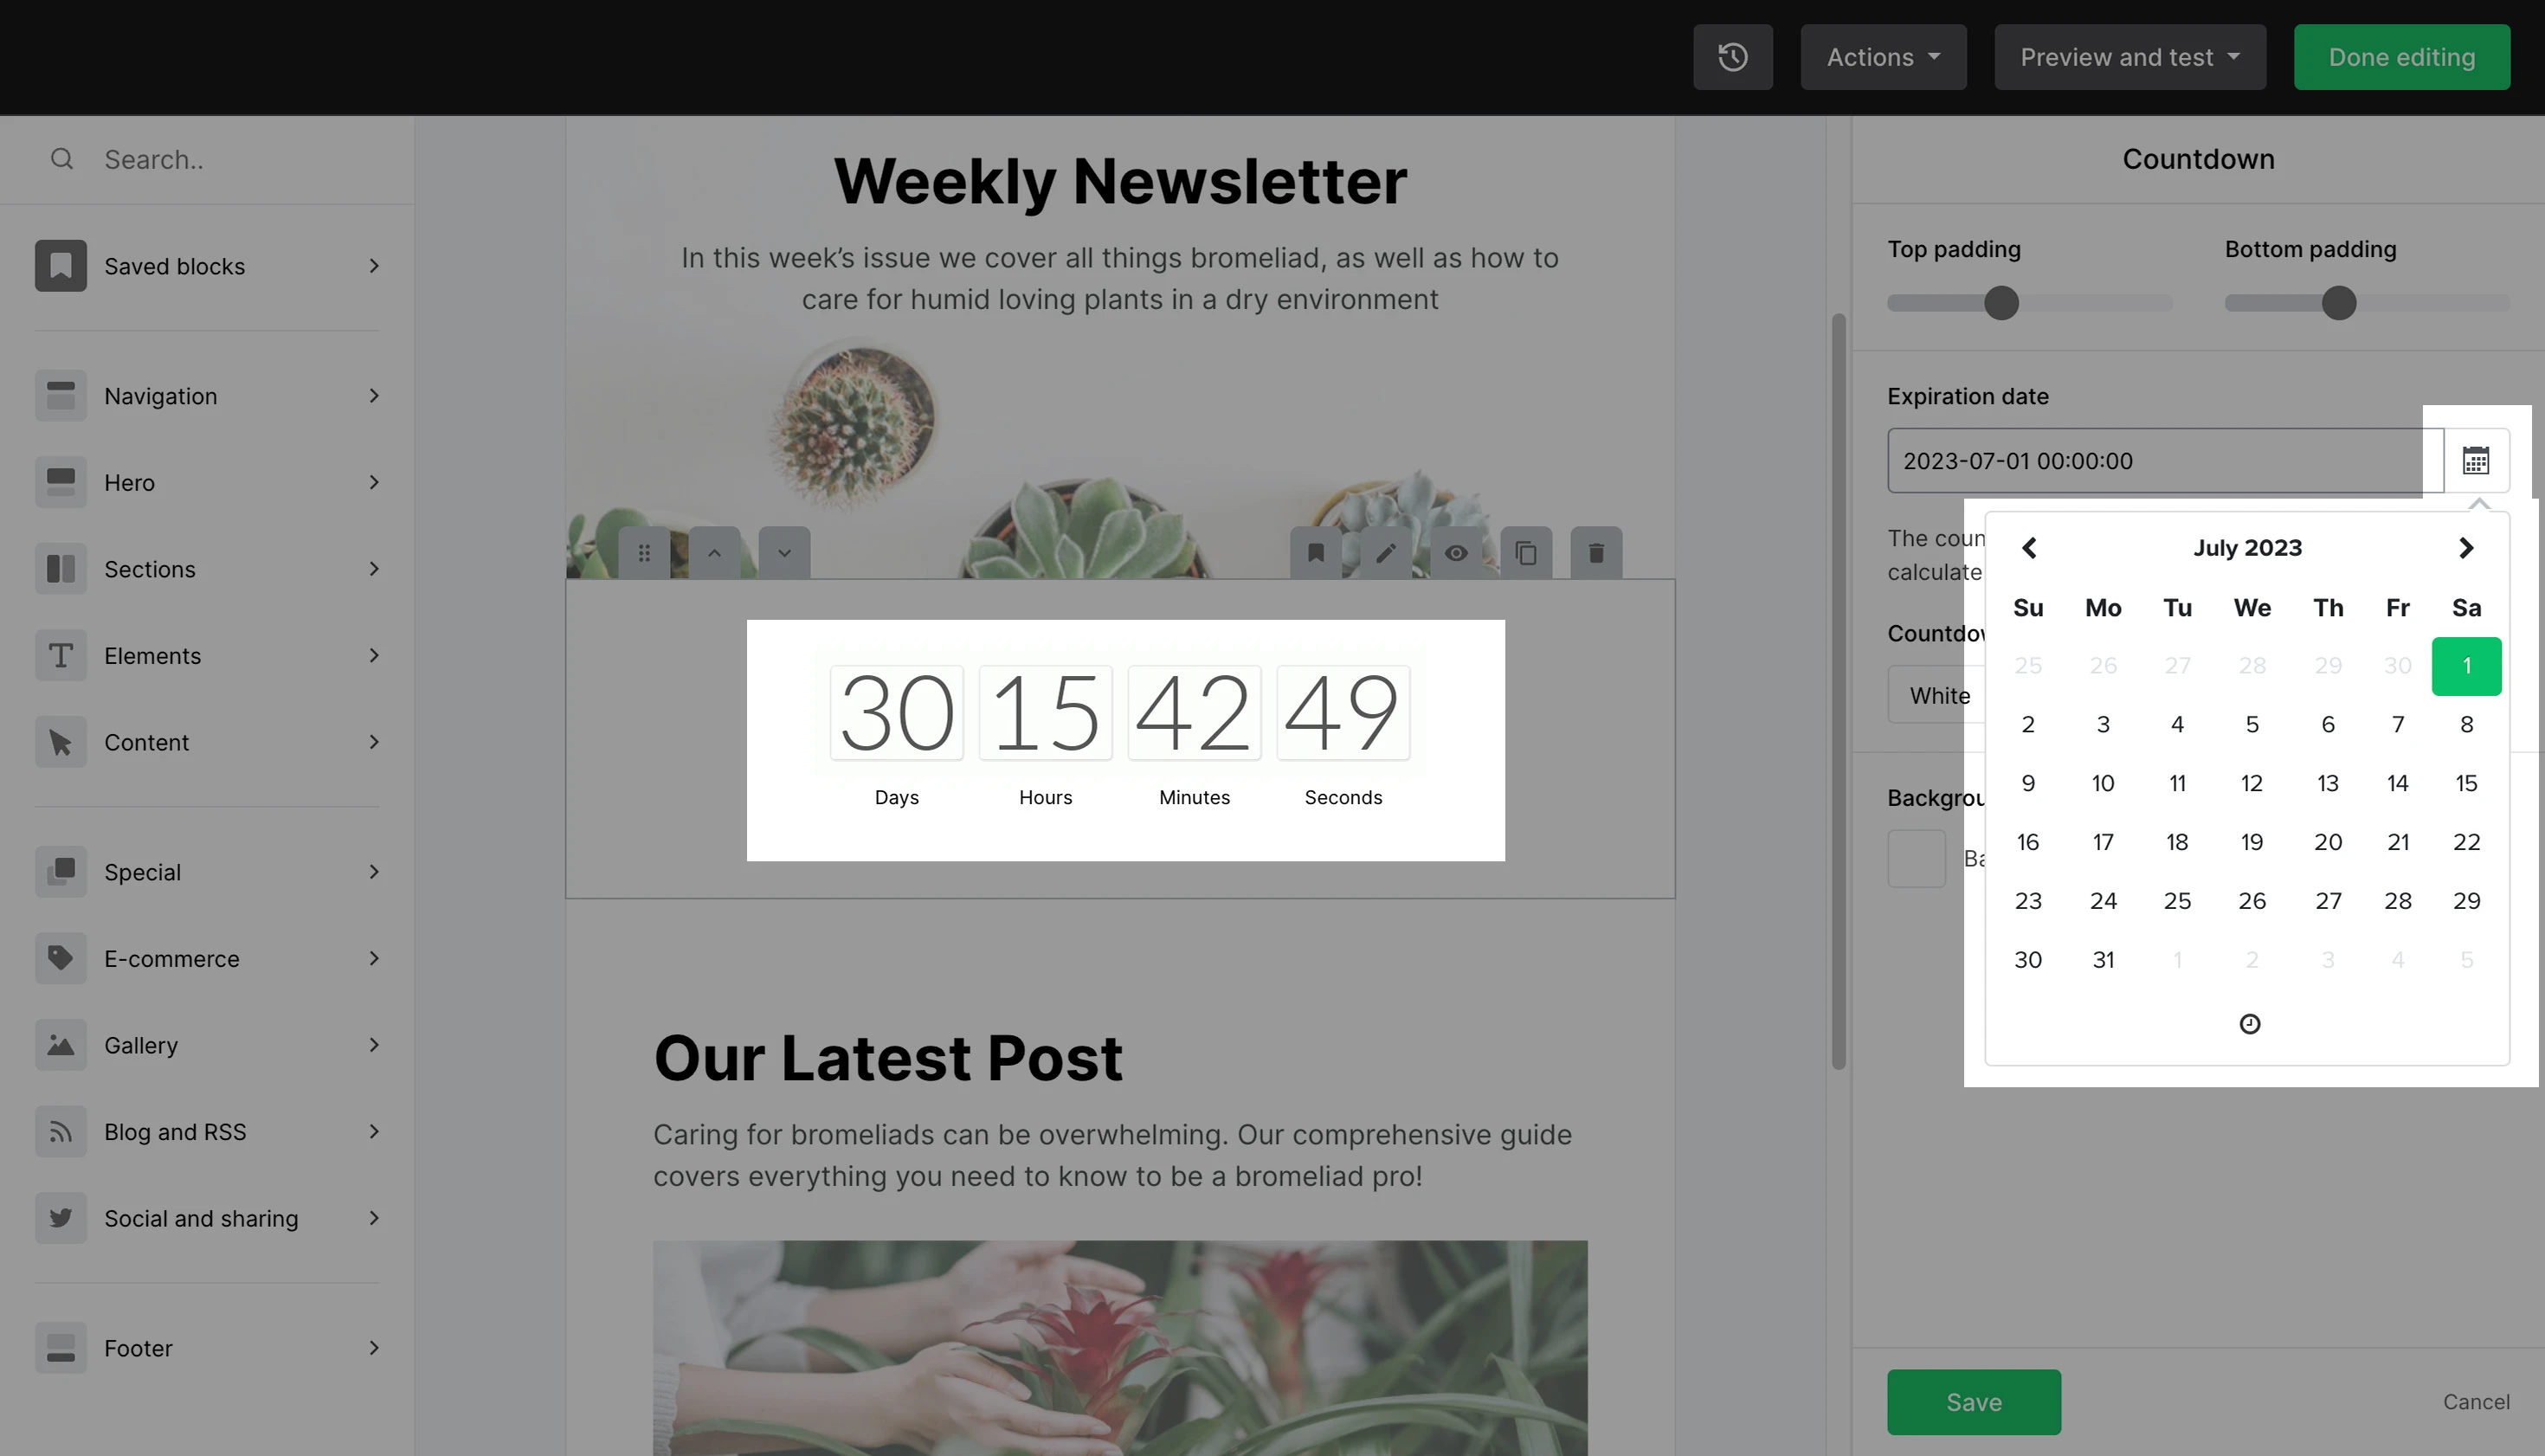
Note: The countdown timer uses your account time zone to calculate the expiry date. You can edit your time zone under Account settings > Company details.
That’s it! Test out how your countdown timer looks by sending a test email.