Note: If you're a Legacy (Classic) user, please log in to your account to access the dedicated Legacy (Classic) Help Center.
What is Stripe?
Stripe is an electronic payment processor. This means that it supports the electronic transfer of money from a customer's bank account into a seller’s bank account, as payment for goods or services bought with a credit card.
All MailerLite accounts under the Growing Business or Advanced plan can sell digital products, recurrent subscriptions, and paid newsletters with Stripe.
How to integrate MailerLite with Stripe
To integrate MailerLite with Stripe:
Navigate to the Integrations page.
Scroll down until you see Stripe and click Use.
Then, click Connect with Stripe.
This will open up Stripe, where you can either instantly create a new Stripe account or log in to an existing Stripe account.
How to create a product in the Stripe dashboard
The products that you sell must first be created in your Stripe dashboard. Then, when integrated with MailerLite, your Stripe blocks will automatically populate with the product information from your Stripe dashboard.
To create a product in your Stripe dashboard:
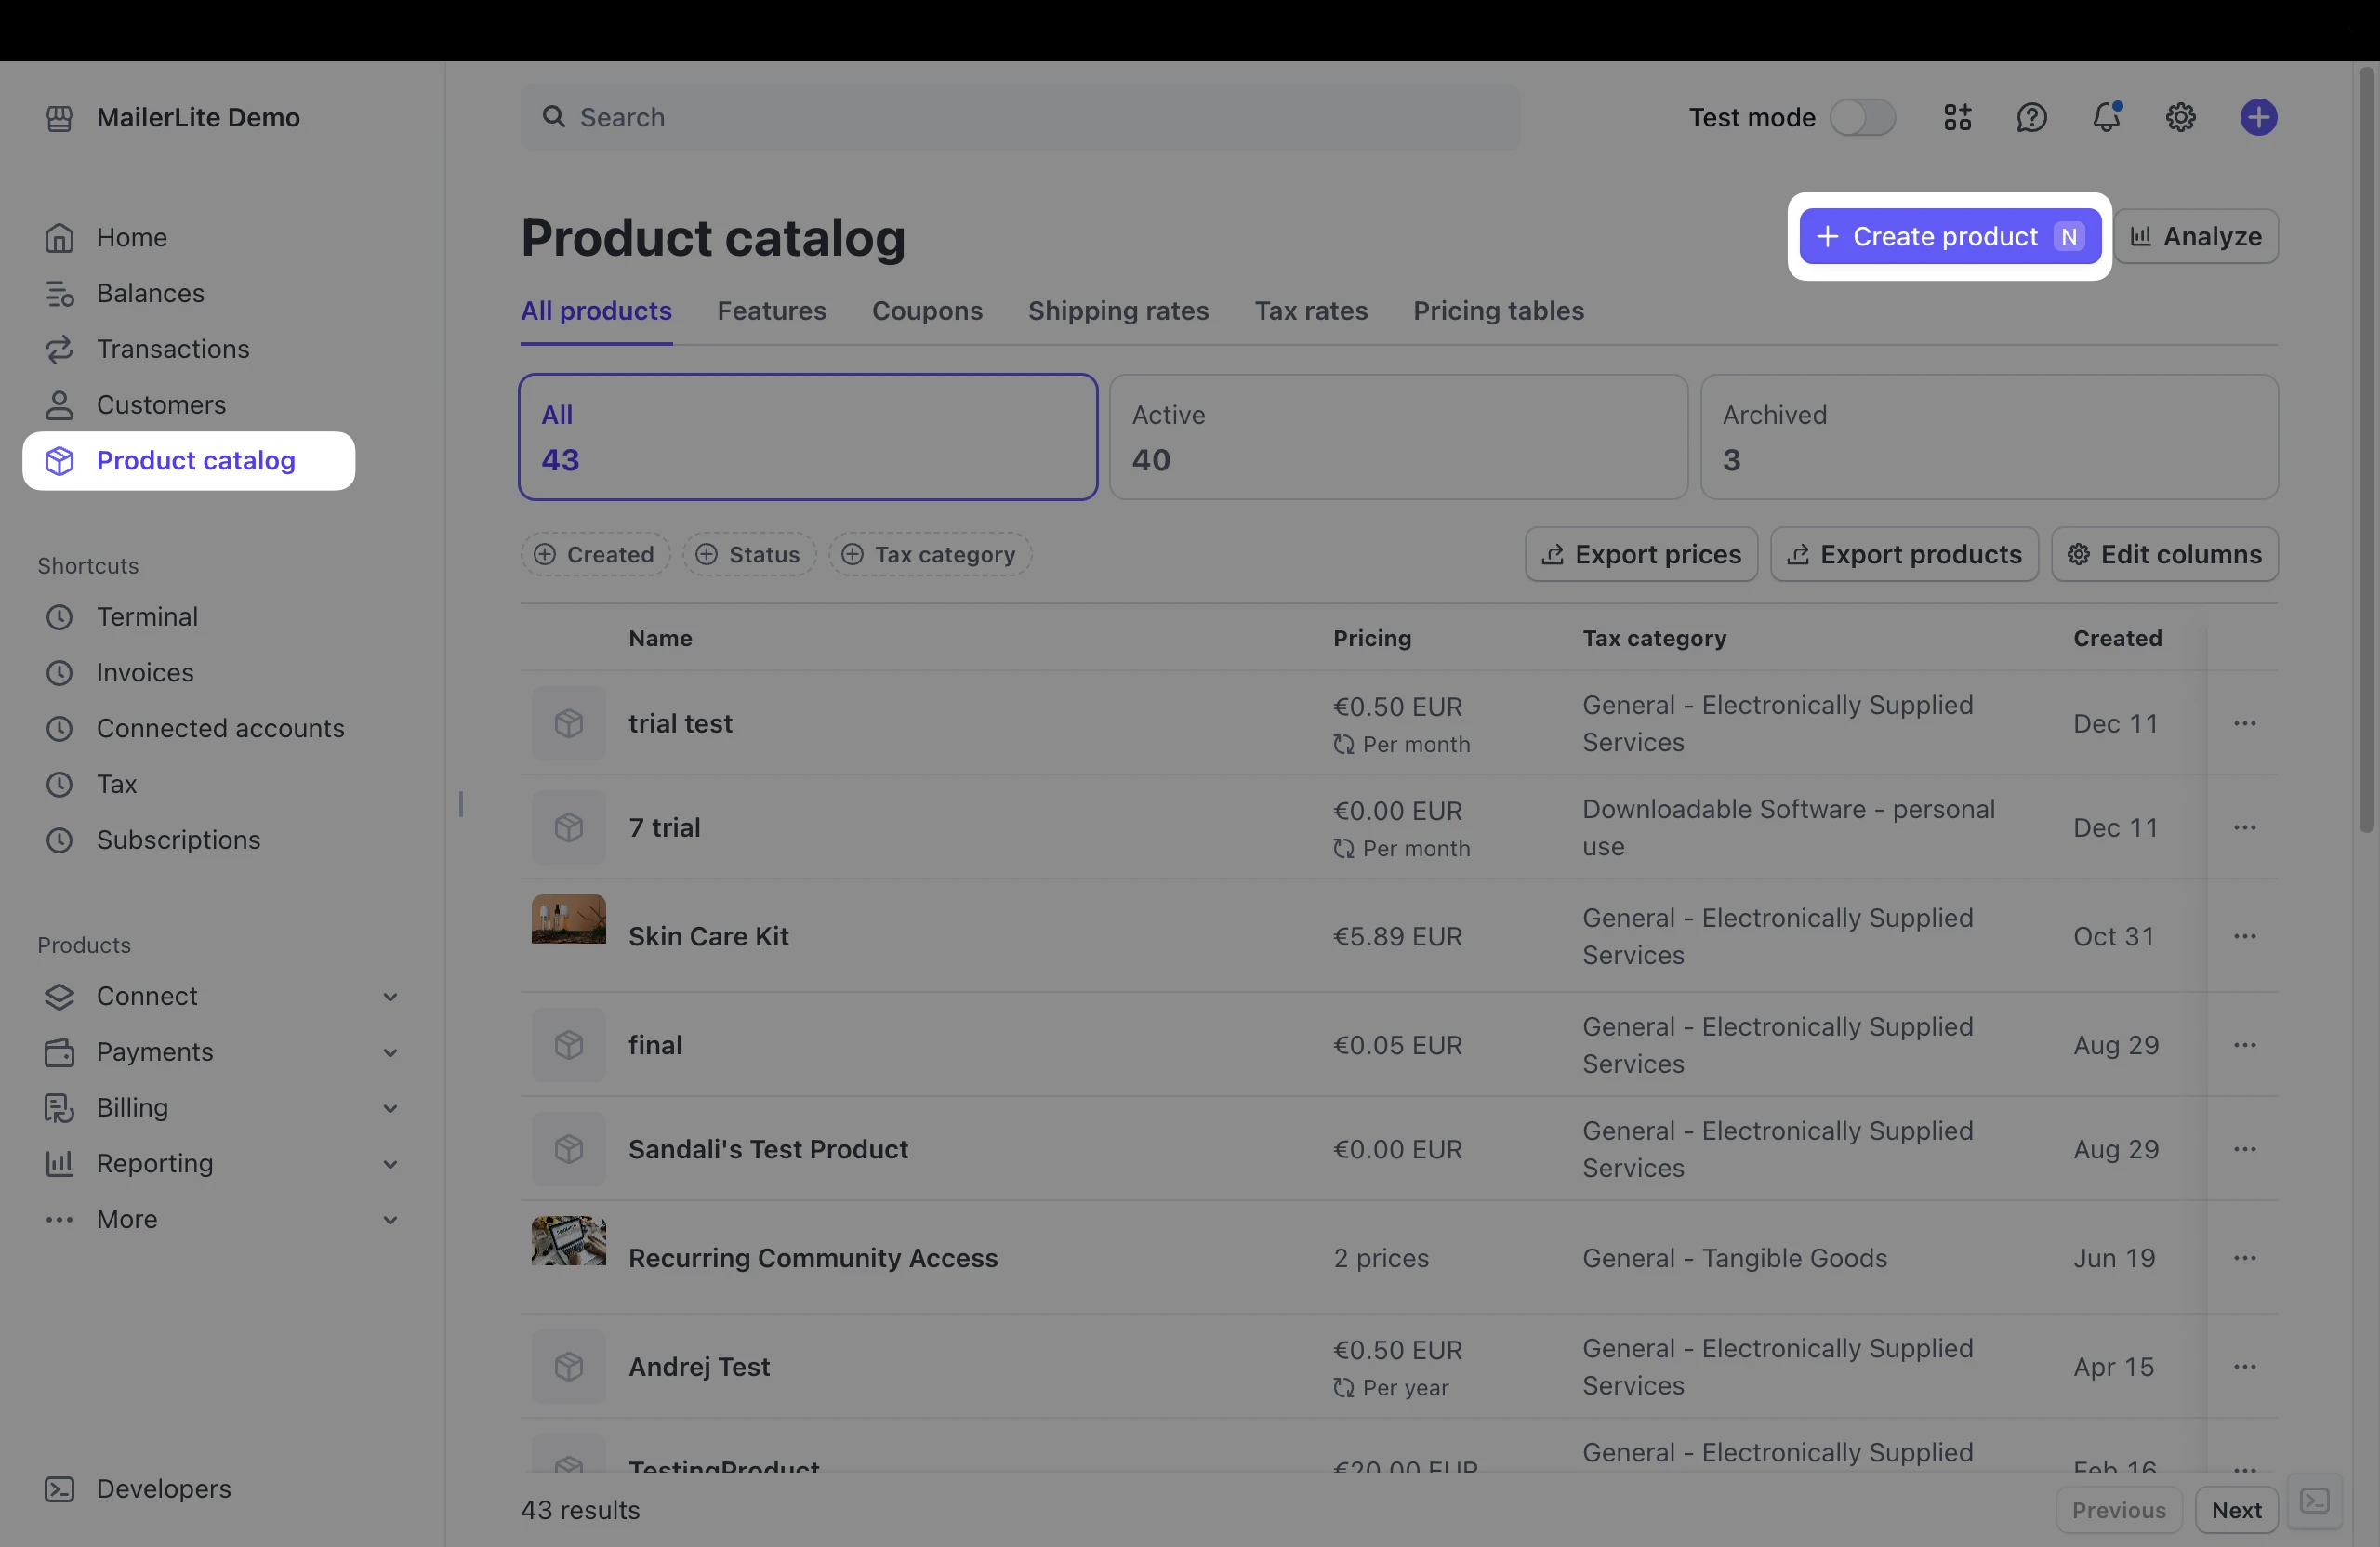
Navigate to your Stripe dashboard, then to the Product catalog page.
Click + Add product.
3. Add a Name, Description, and Image for your product. This information will populate your Stripe product block in MailerLite and can only be edited in Stripe. Product names, descriptions, and images can’t be altered in MailerLite.
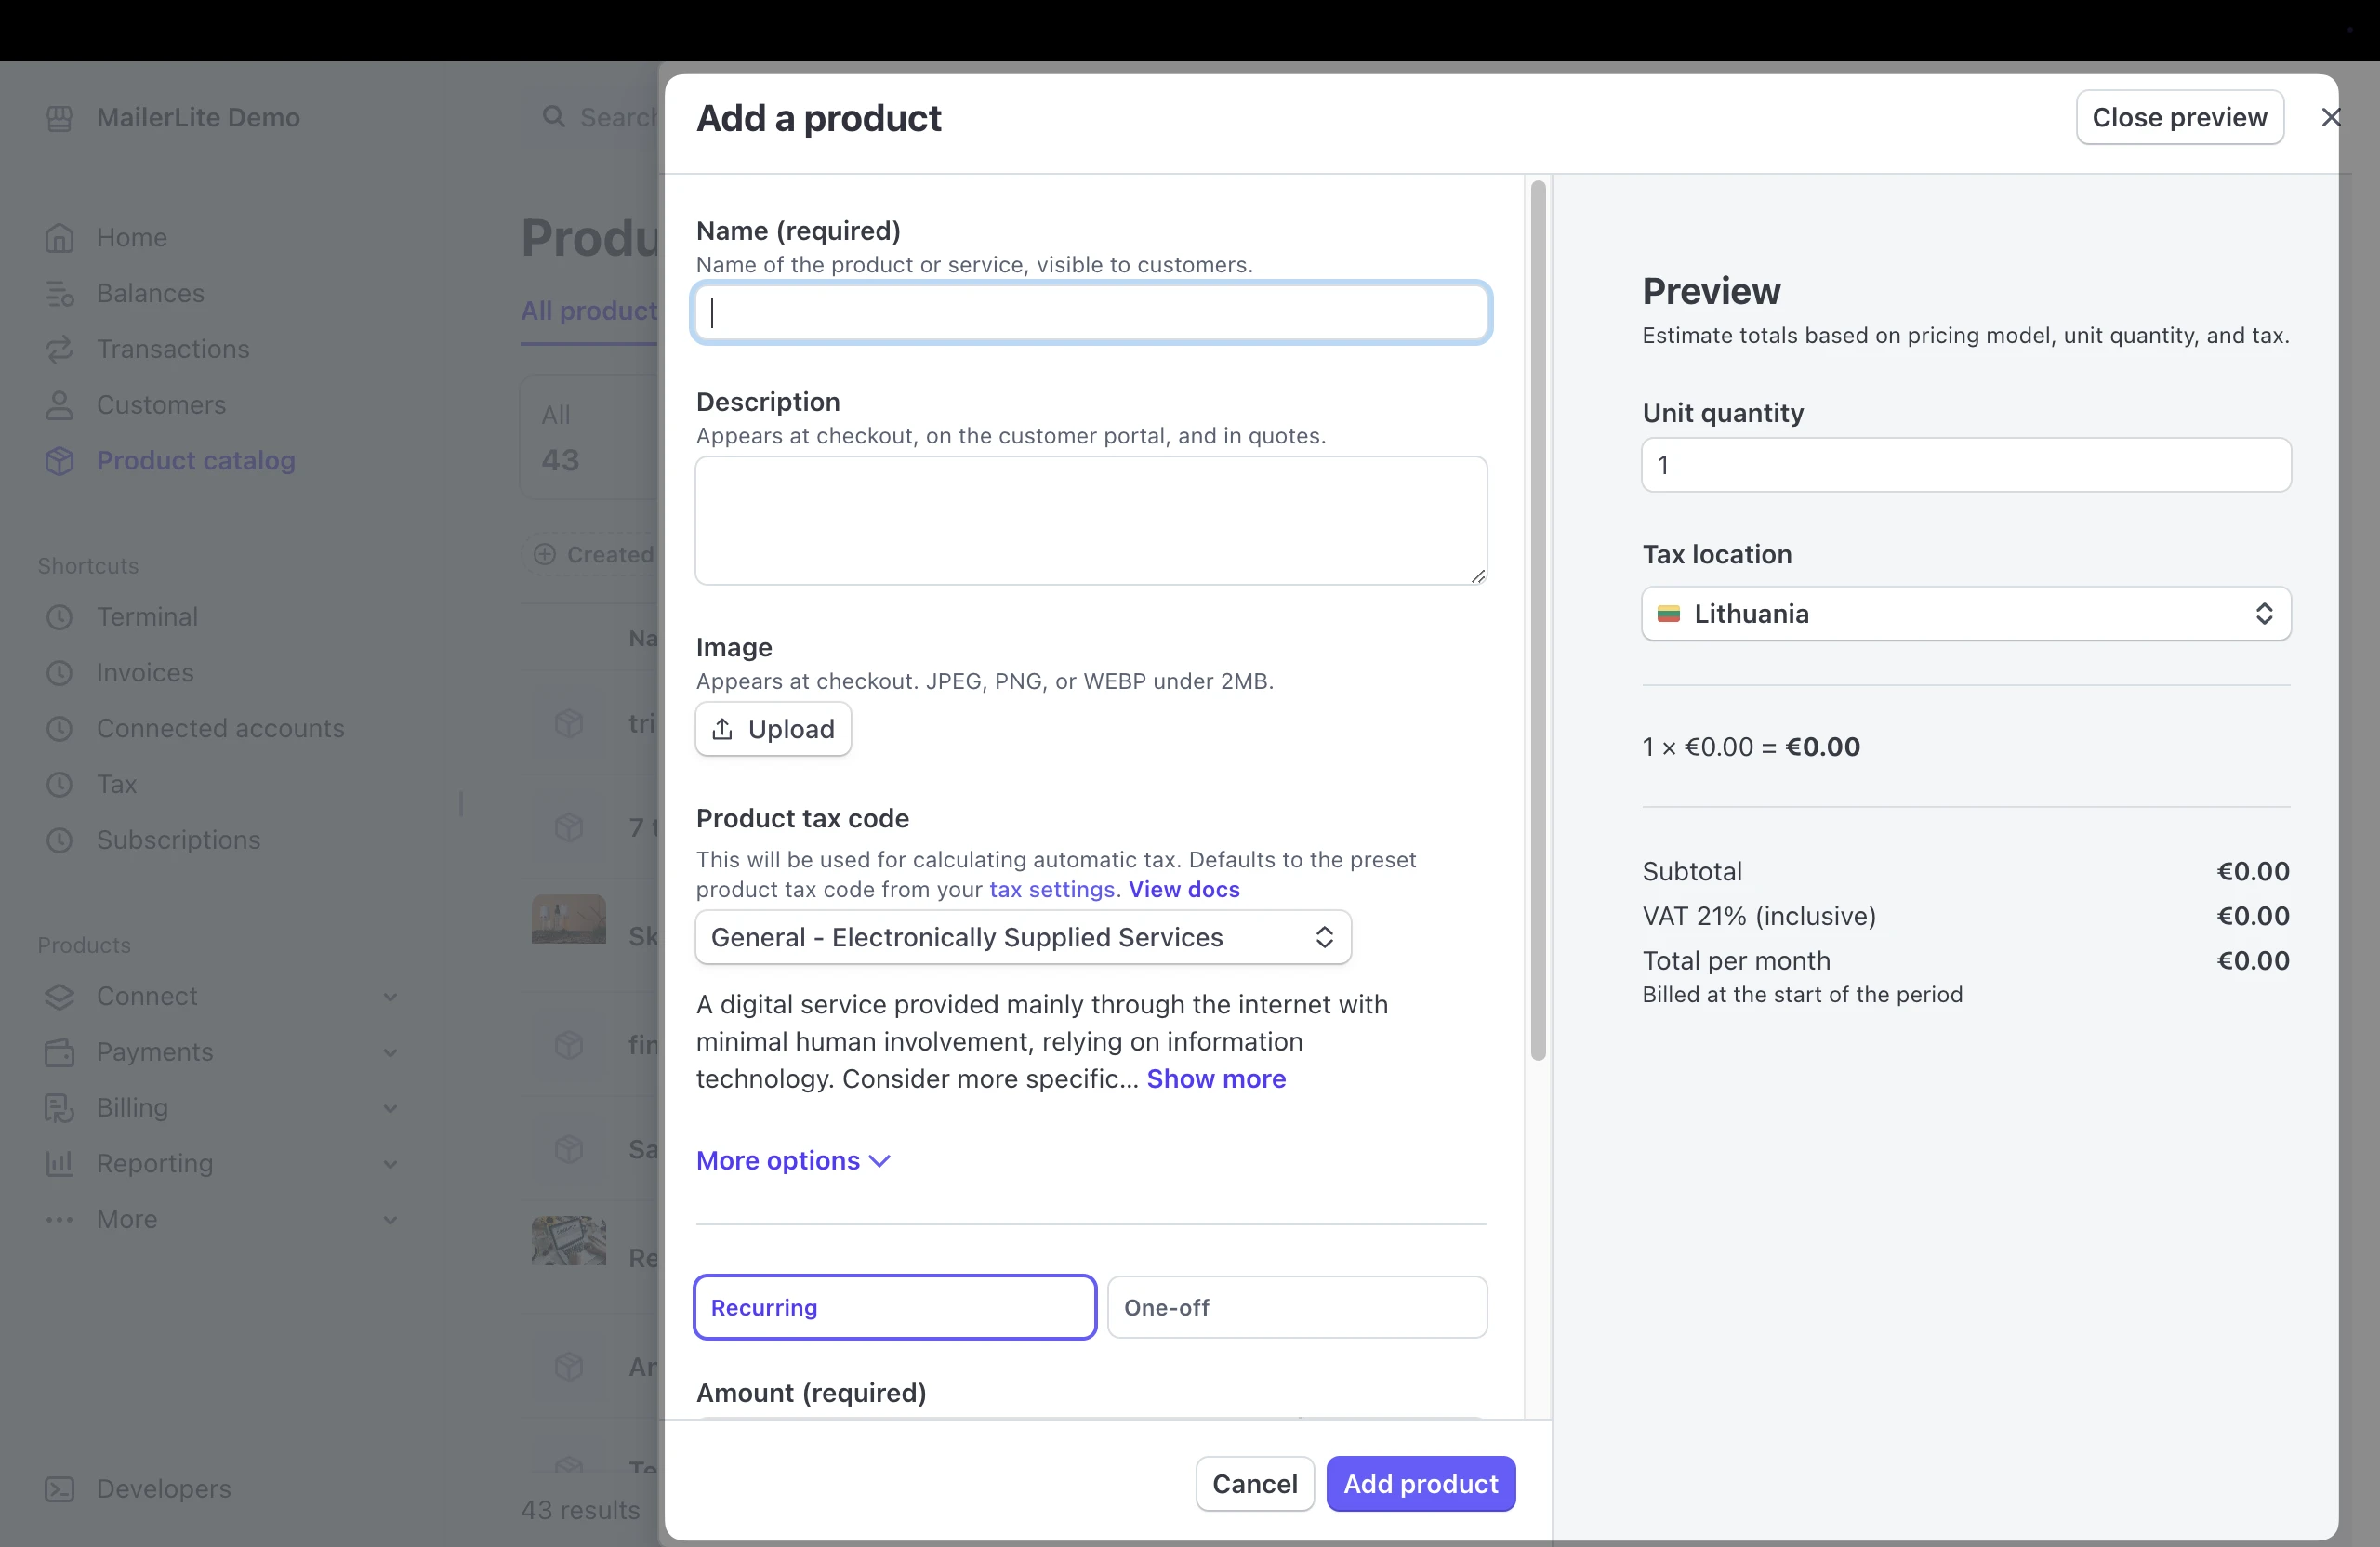
4. Under Pricing, enter the price you want to charge for your product.
Note: The minimum price of the product has to be $0.50 for the integration to work. If the price is lower than this, clicking on the checkout button will display a 1011 error.
The maximum price value supports up to 8 digits (e.g., a value of 999,999,999).
You can read Stripe’s documentation for more information.
5. Click on More pricing options. In the field labeled Choose your pricing model, select Flat Rate or Package Pricing.
🚨 Flat Rate or Package Pricing are the only pricing models compatible with our MailerLite integration. If you choose any other pricing model, your product won't appear as an option in your Stripe blocks in MailerLite.
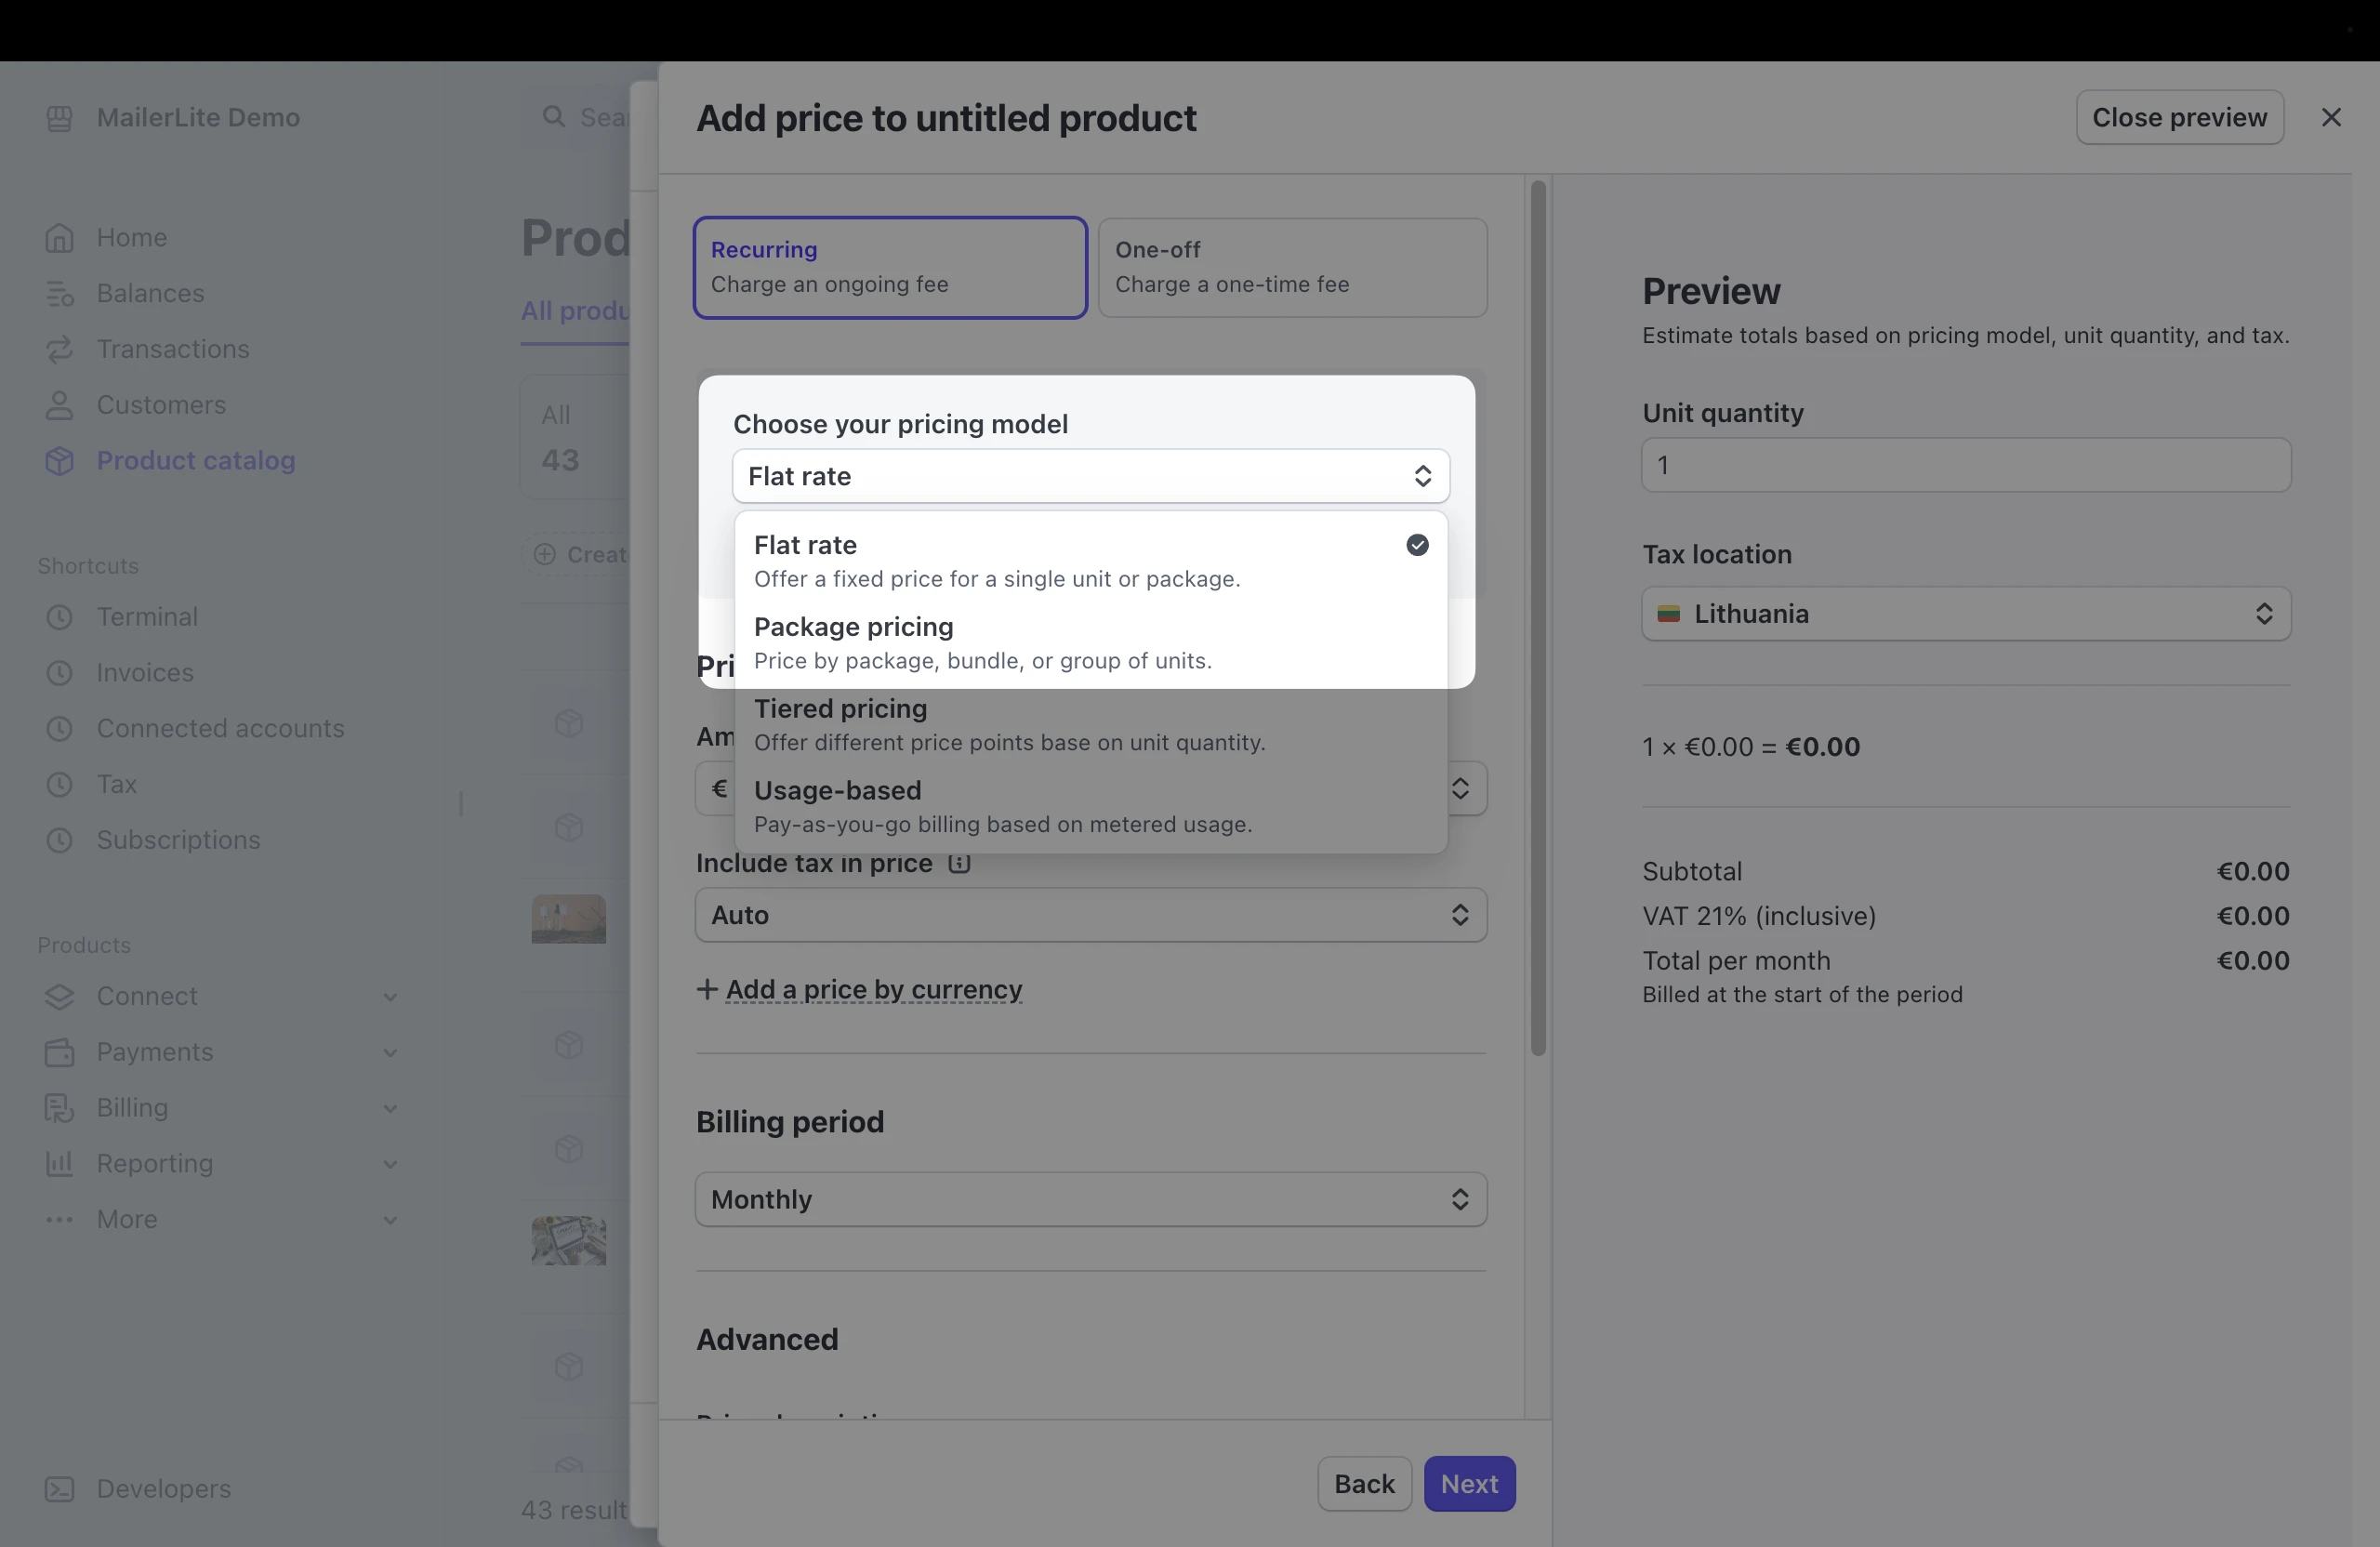
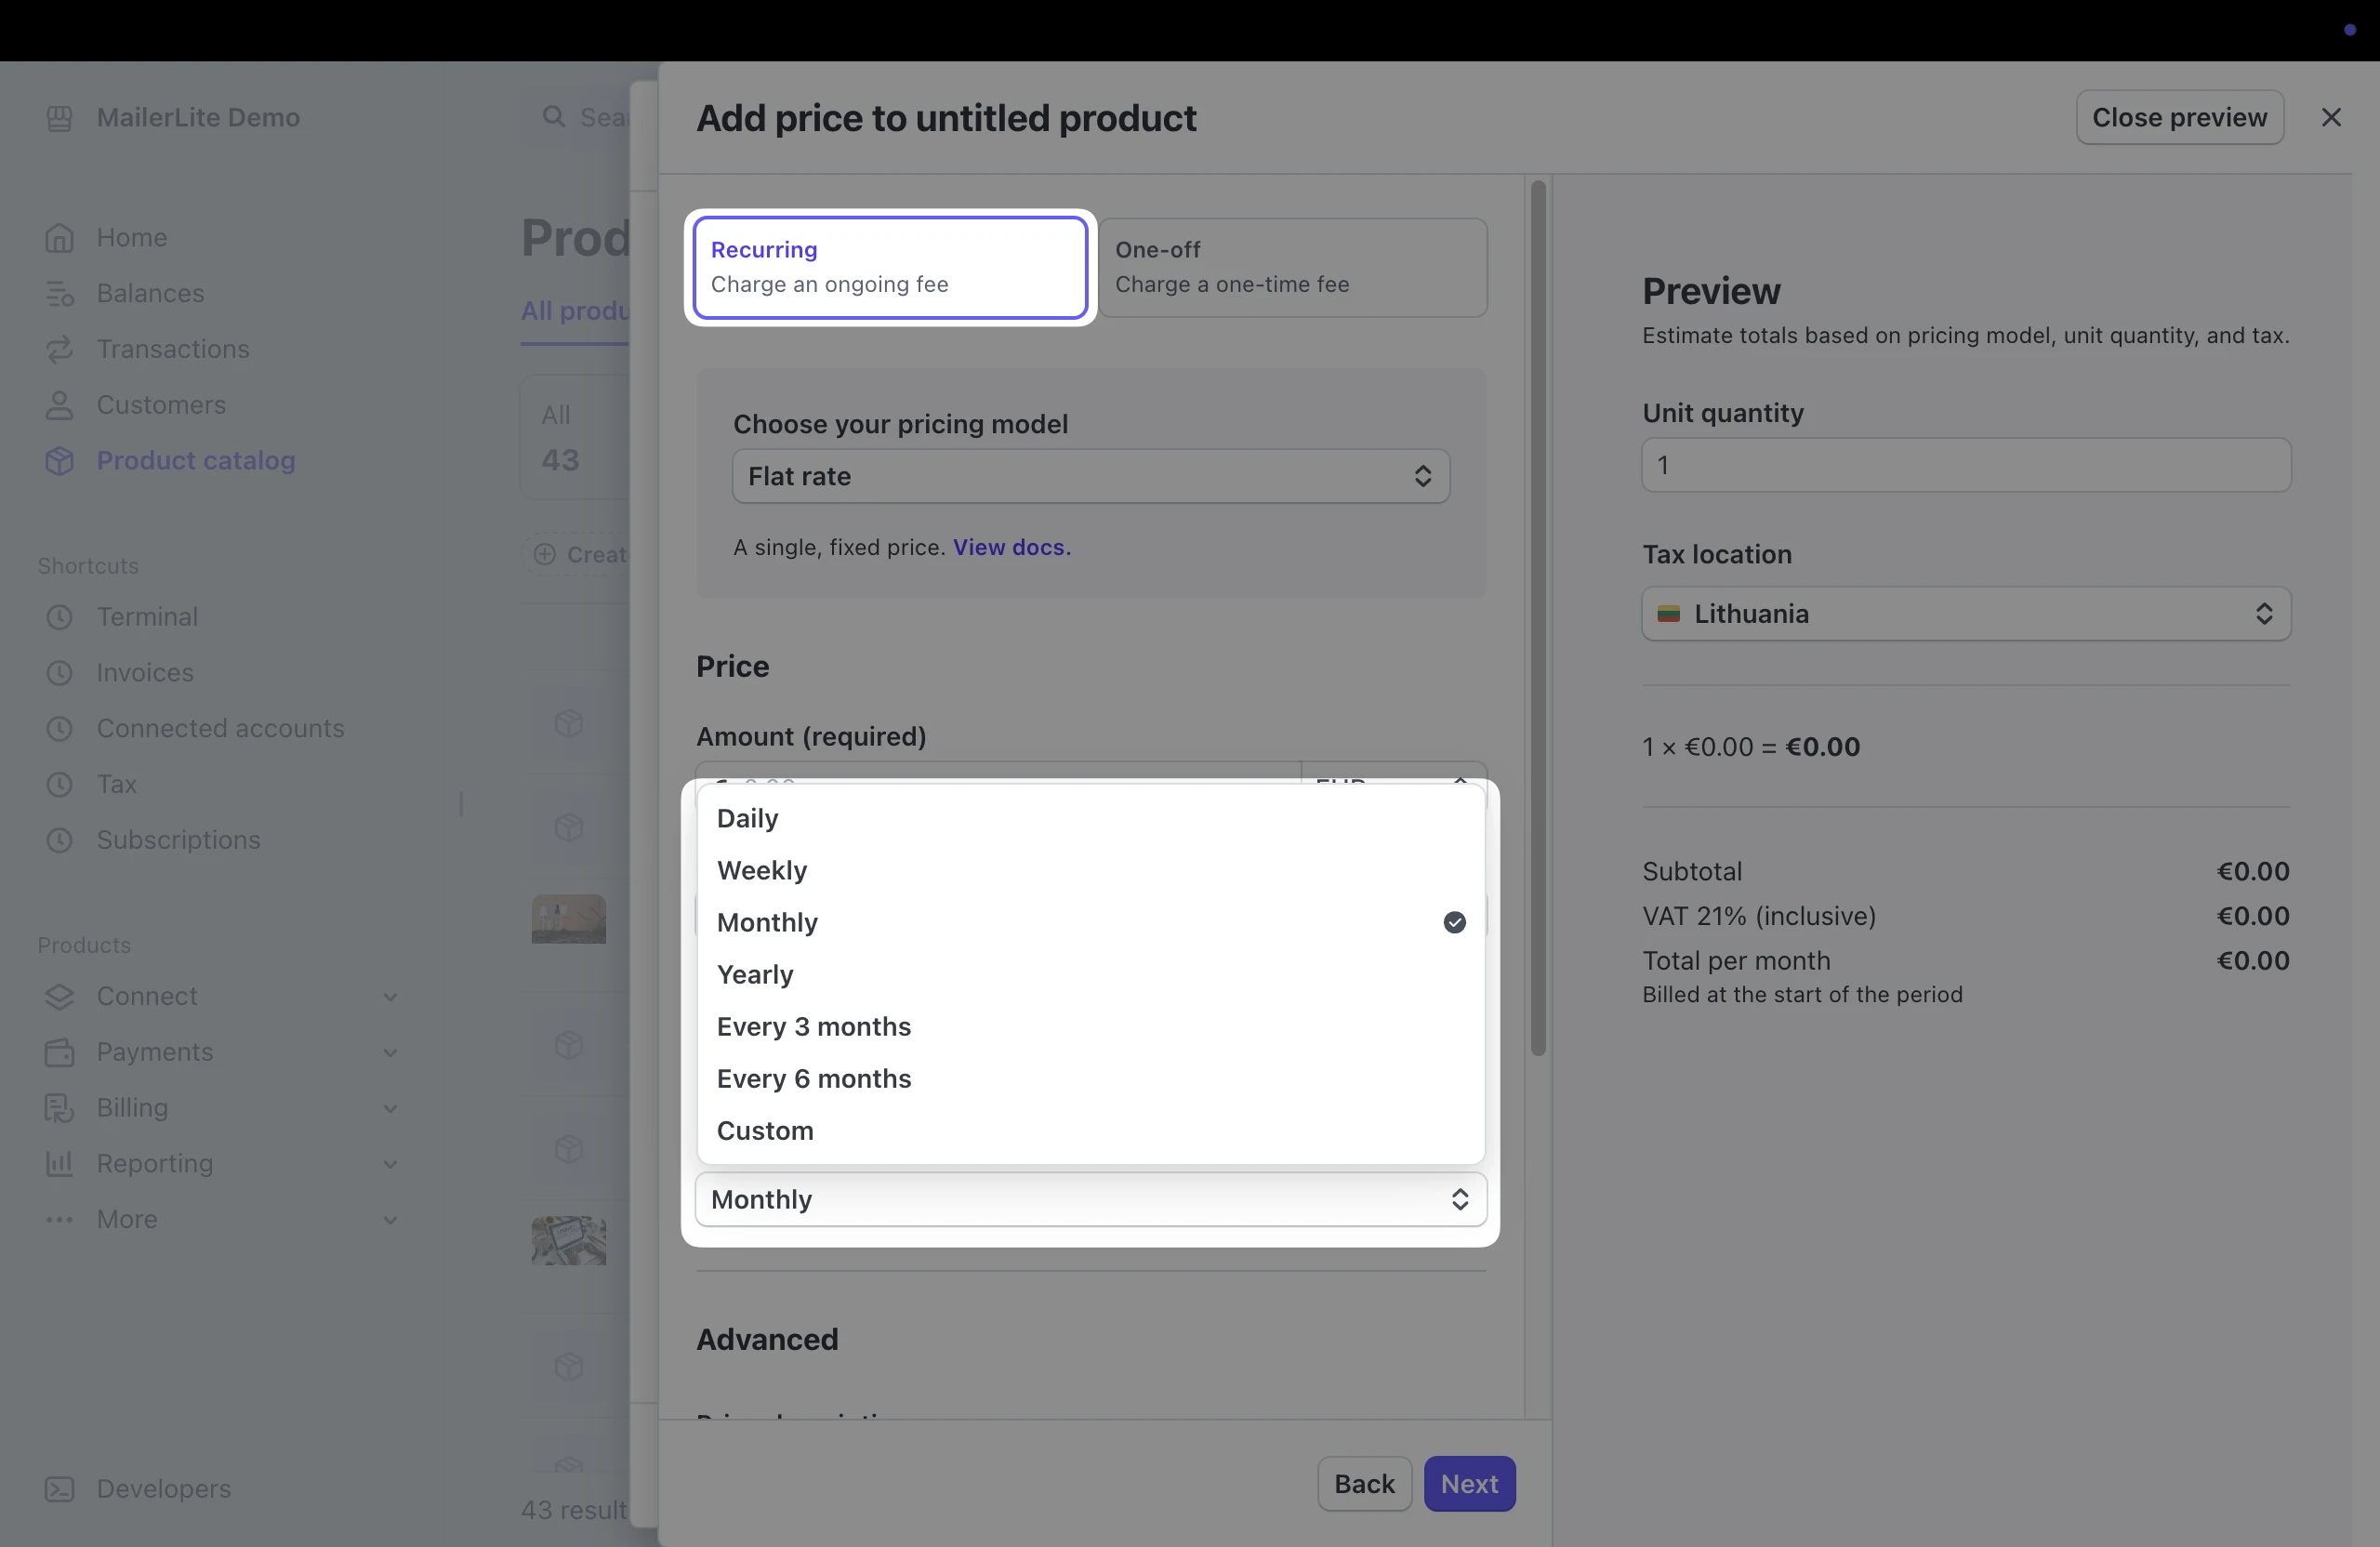
6. Select whether the price you have entered is One time or Recurring.
7. If you selected Recurring, select how often you want the payment to recur in the field labeled Billing period.
🔔 Please note the payment methods accepted by Stripe
• Recurring purchases: Only card payments are accepted.
• One-time purchases: Both card payments and other payment methods (e.g., iDeal, Bancontact, SEPA Incasso, etc.) are accepted.
Once you have completed creating your product, click Add product.
How to add a Stripe product block to your site
In your landing page or website builder, you will find that you can create a Product.
To add a Stripe product to your landing page:
Open your landing page builder.
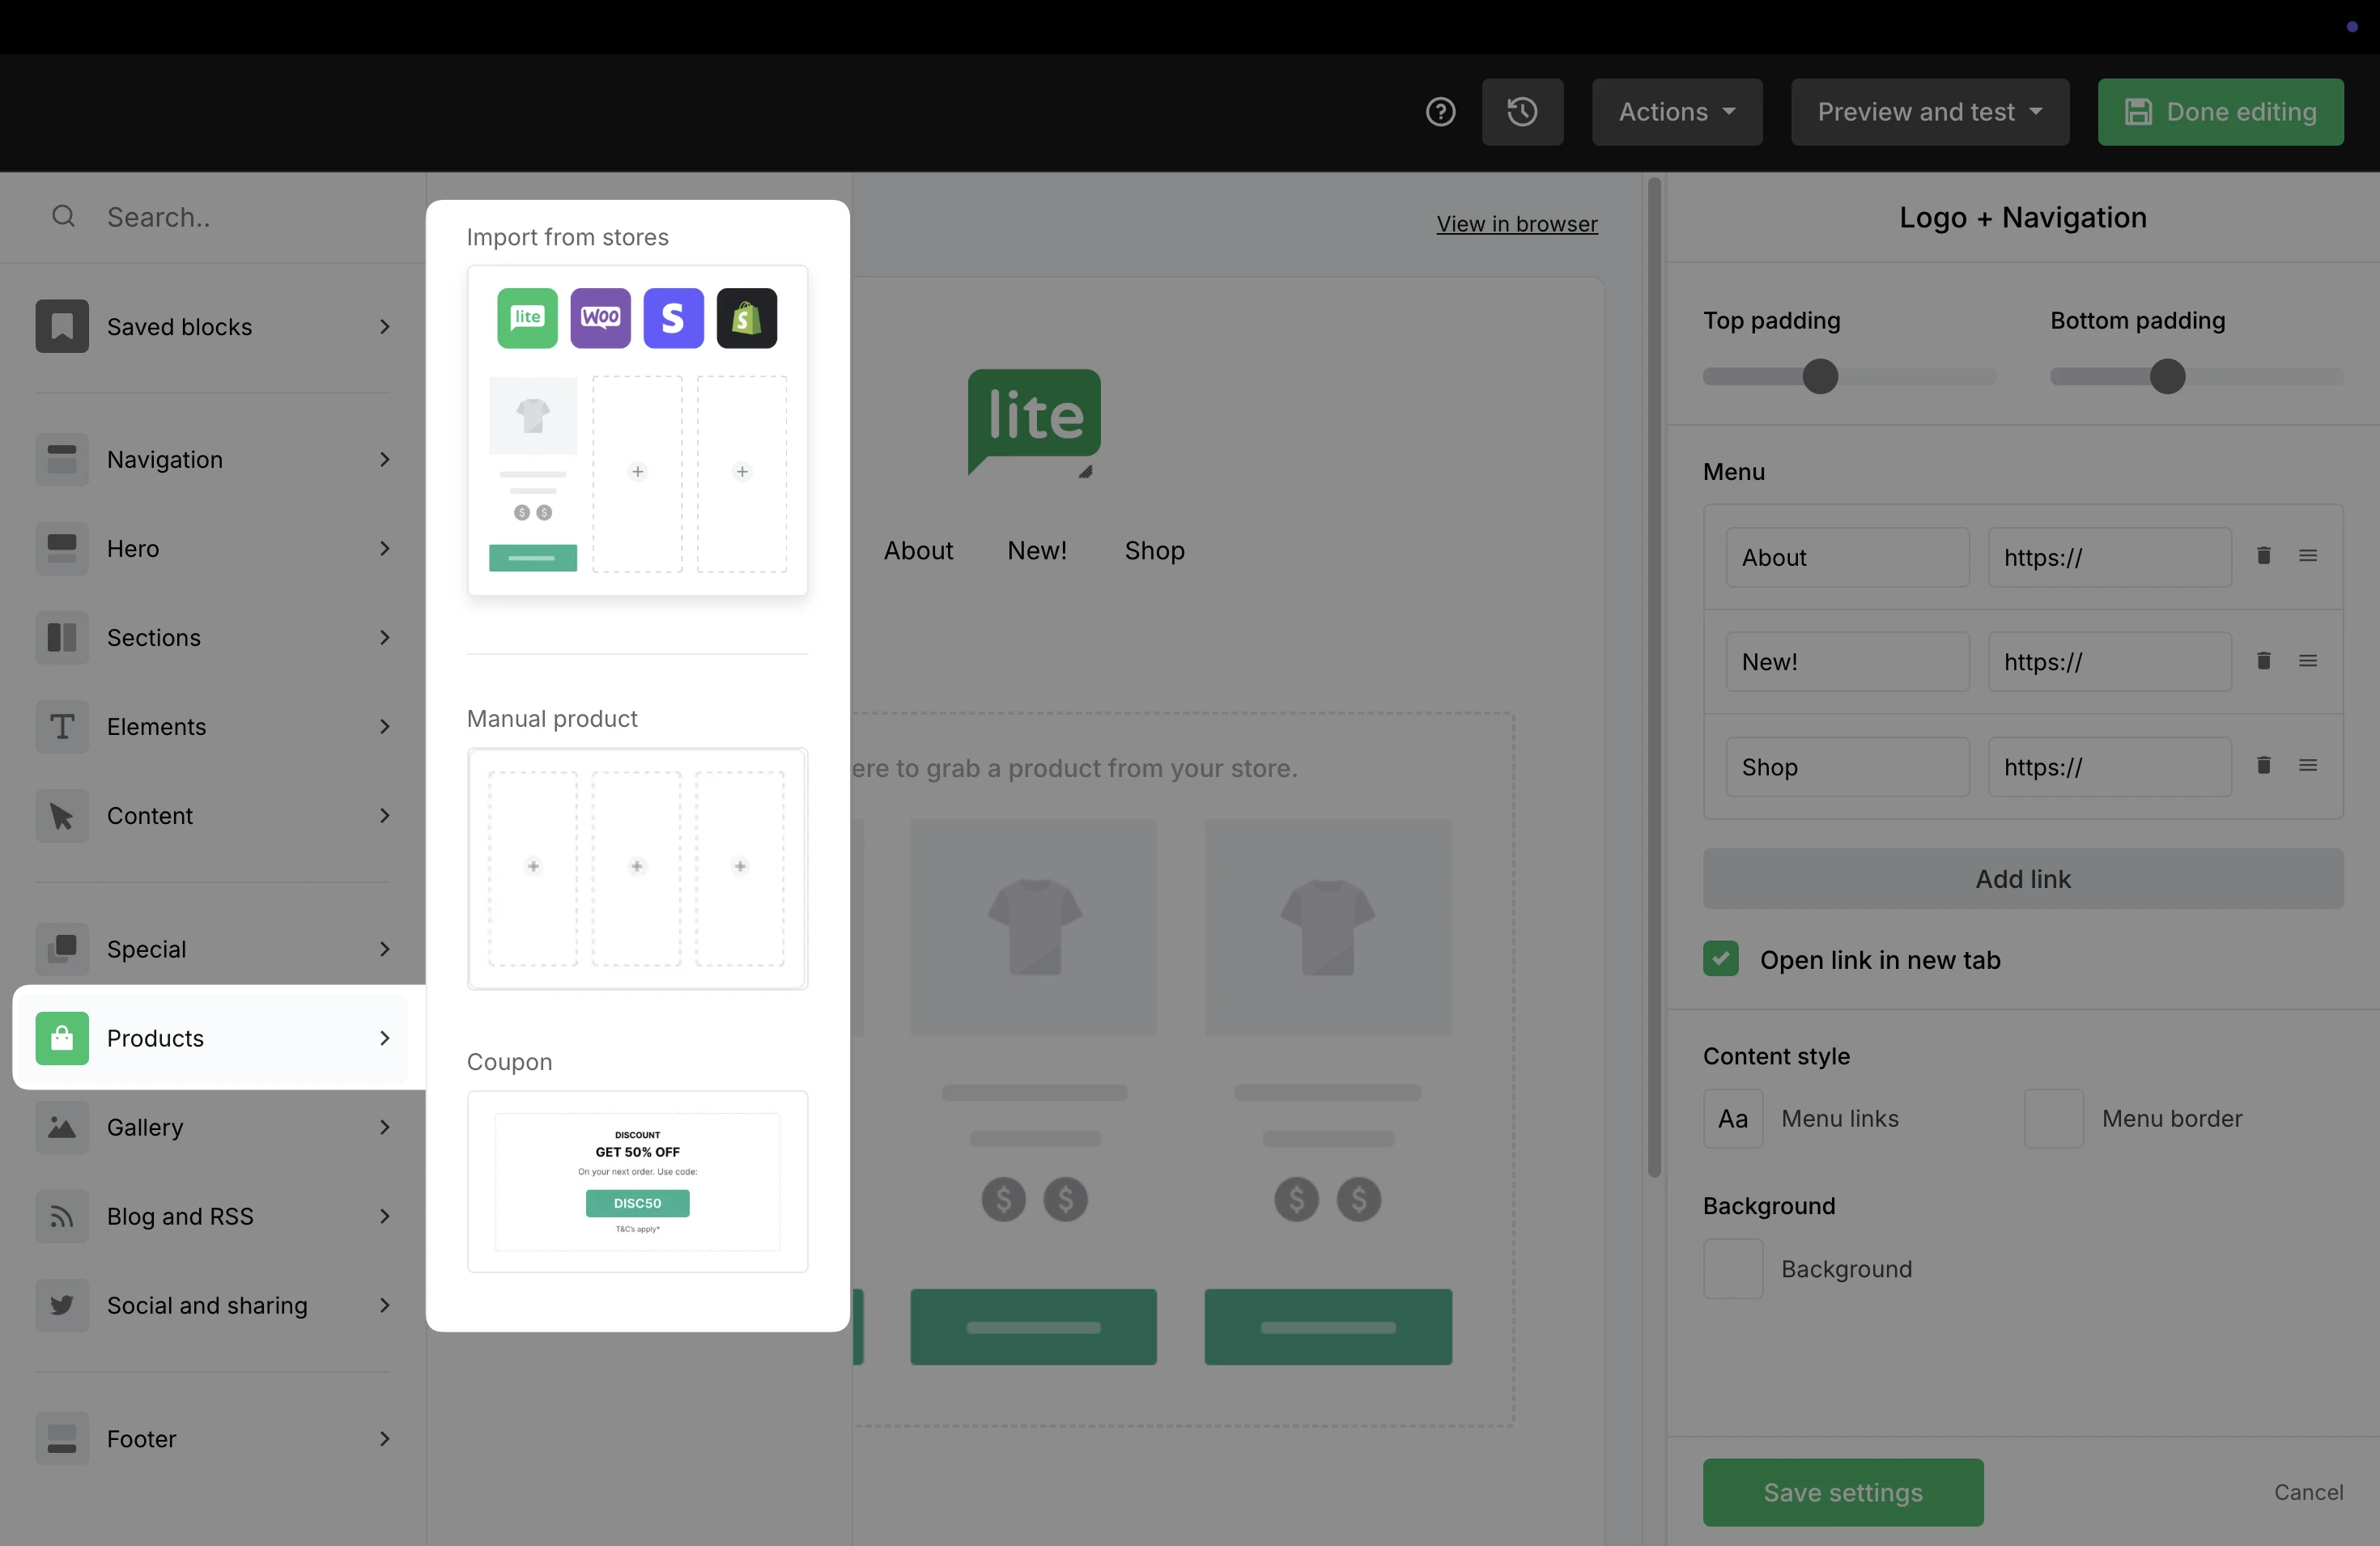
In the sidebar, click the Elements tab.
Locate the Special section.
Drag and drop the Products block into your site.

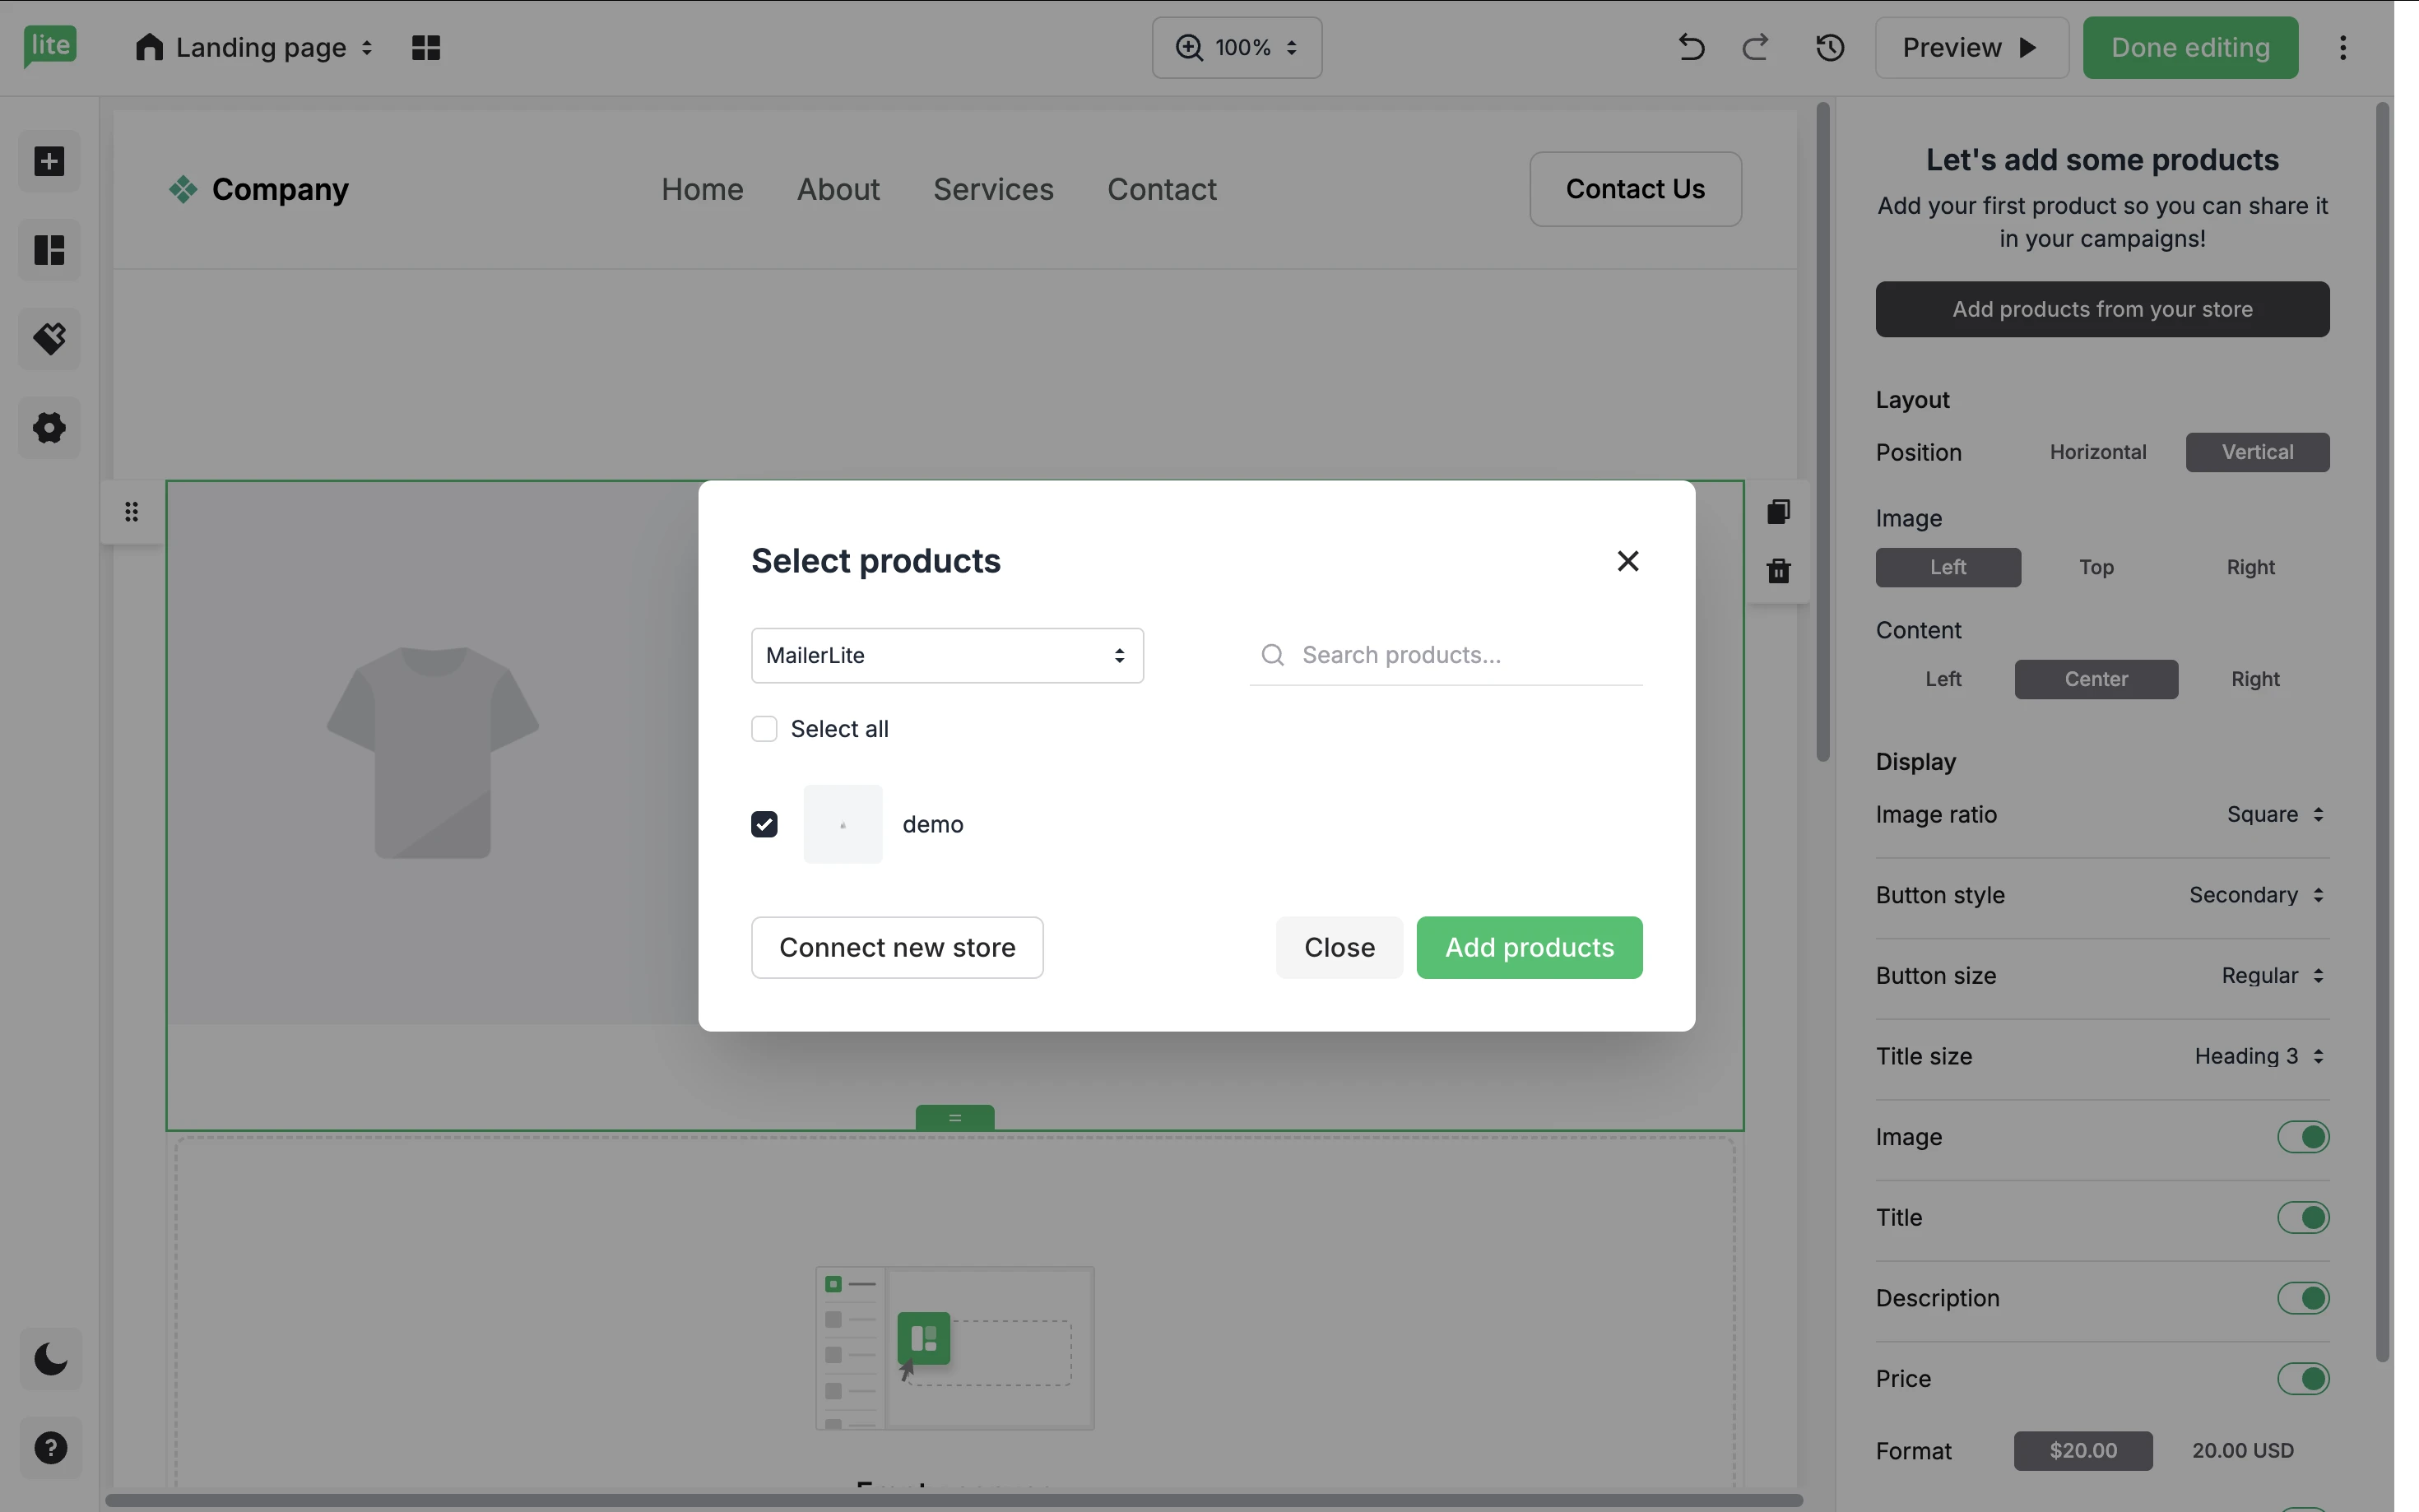
5. Click on Add products from your store.
6. Select the product you want to display in your product block.
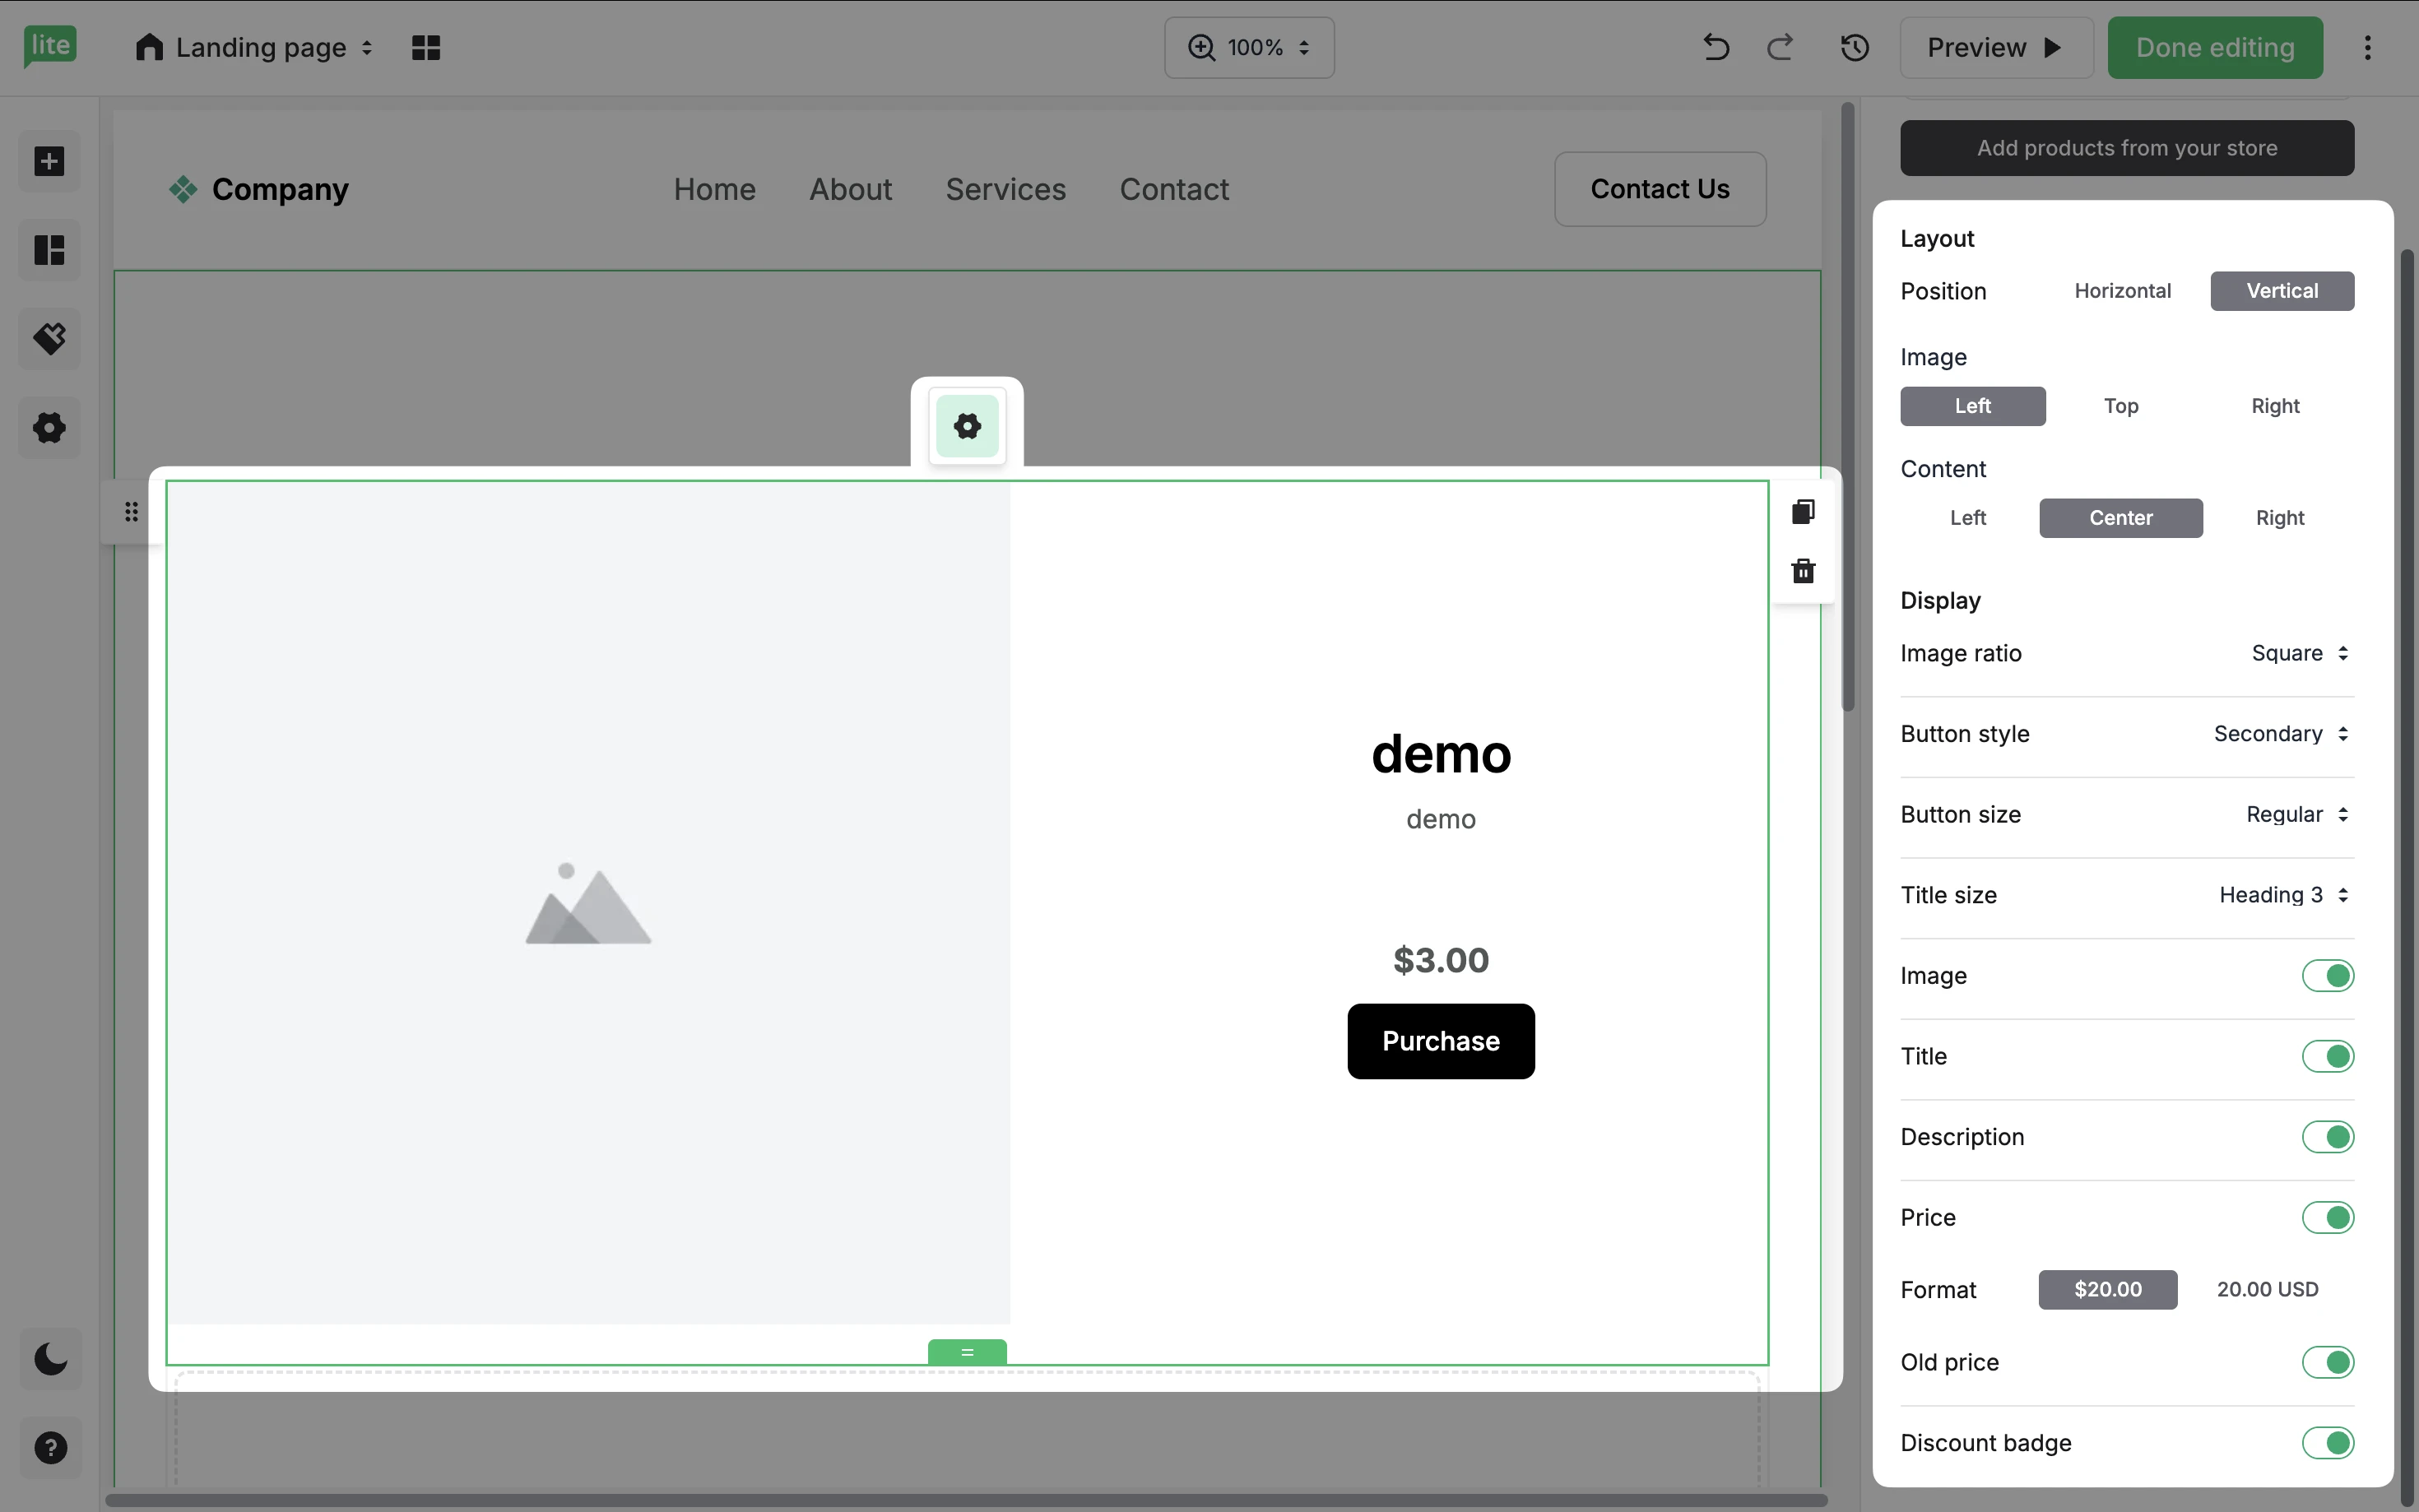
7. In the Settings tab, choose how your product is displayed.
In the Product view tab, select what you want to happen to your subscribers after they successfully purchase your product in the Action after checkout options.
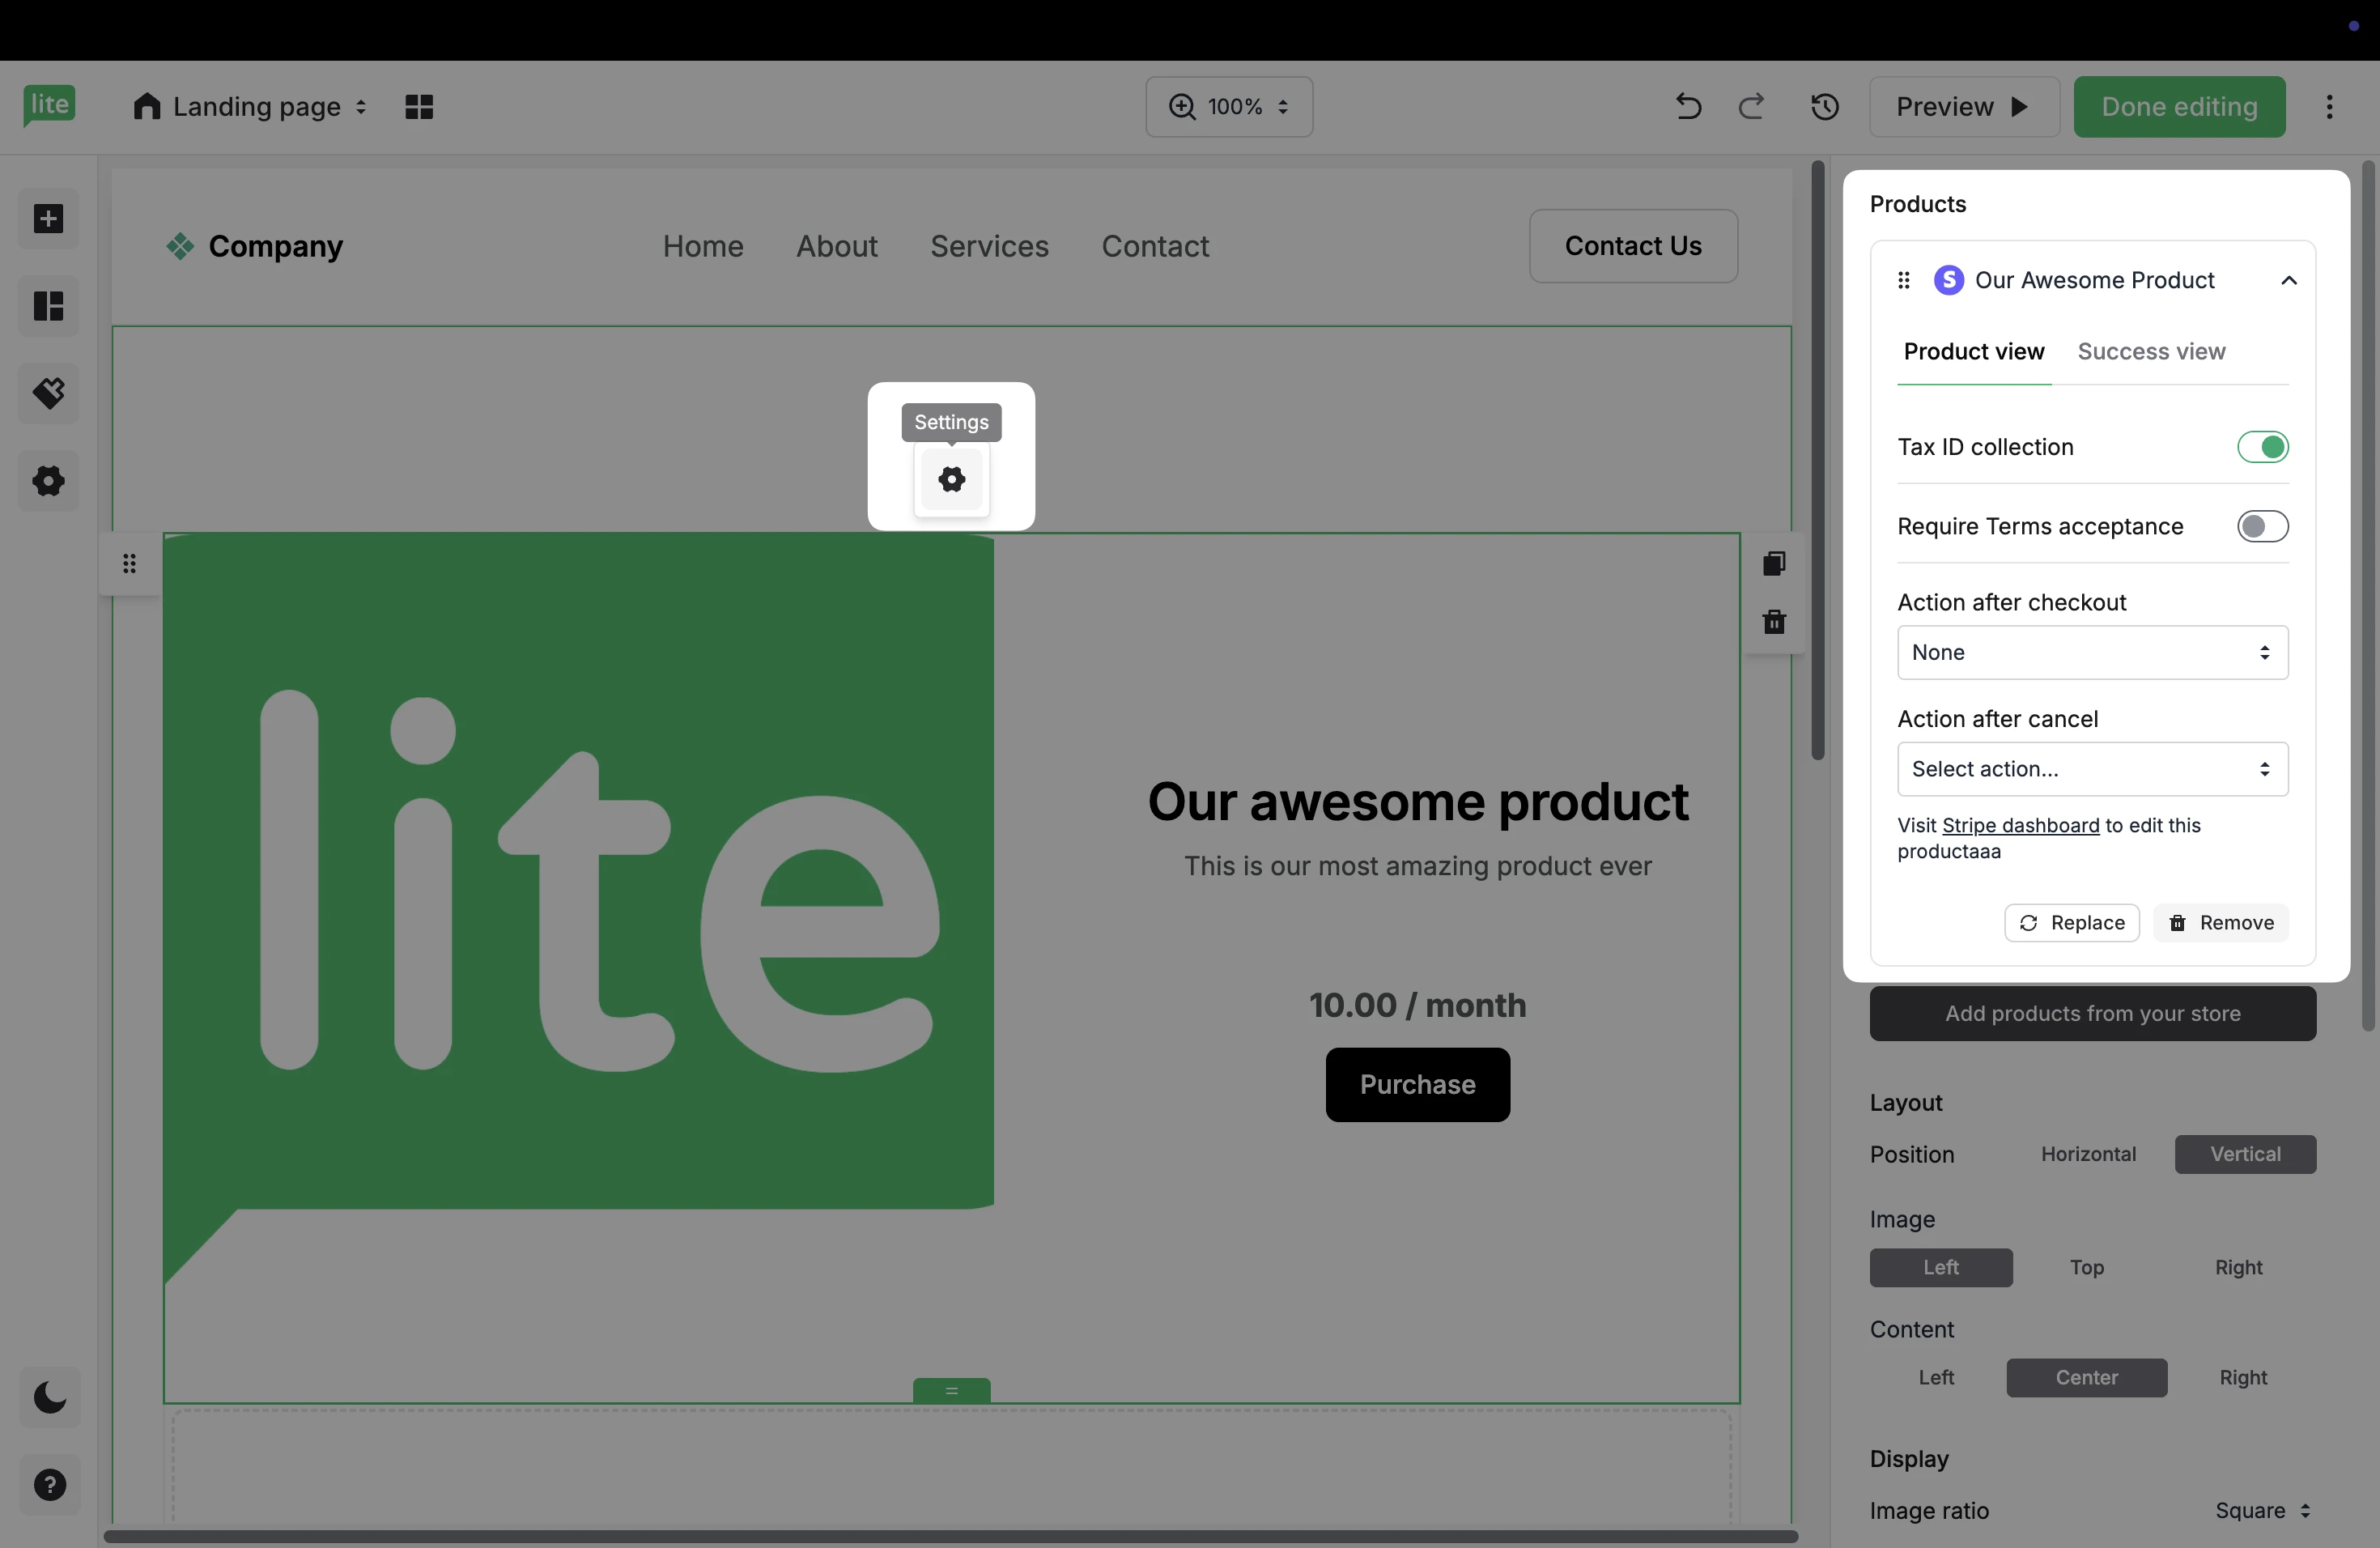
You can choose from the following actions:
None - Nothing will happen with your subscribers when they successfully purchase your product.
Add to group - Select a group into which your subscribers will be added upon successful purchase of your product.
Remove from group - Select a group from which your subscribers will be removed upon successful purchase of your product.
Update custom field - Select a field that will be updated when your subscribers successfully purchase your product with a value that you decide.
If you are using a Recurring purchase product, you must also select Action after cancel. This action will be executed when a customer cancels their paid subscription. It’s recommended that you remove customers who cancel their subscriptions from your subscriber groups.
💰 For more information on configuring digital products, see our guide How to create a digital product on MailerLite.
How to add Stripe products to MailerLite campaigns
Our e-commerce blocks allow you to add your digital product directly into your MailerLite campaigns. To use these, choose the Drag & Drop editor when creating your email campaign.
Under Products, you will find the Import from stores element. Simply drag & drop the element into your email.
Click Add products from your store, to add products from existing stores and/or from the MailerLite store. You can choose to display one product or multiple products.
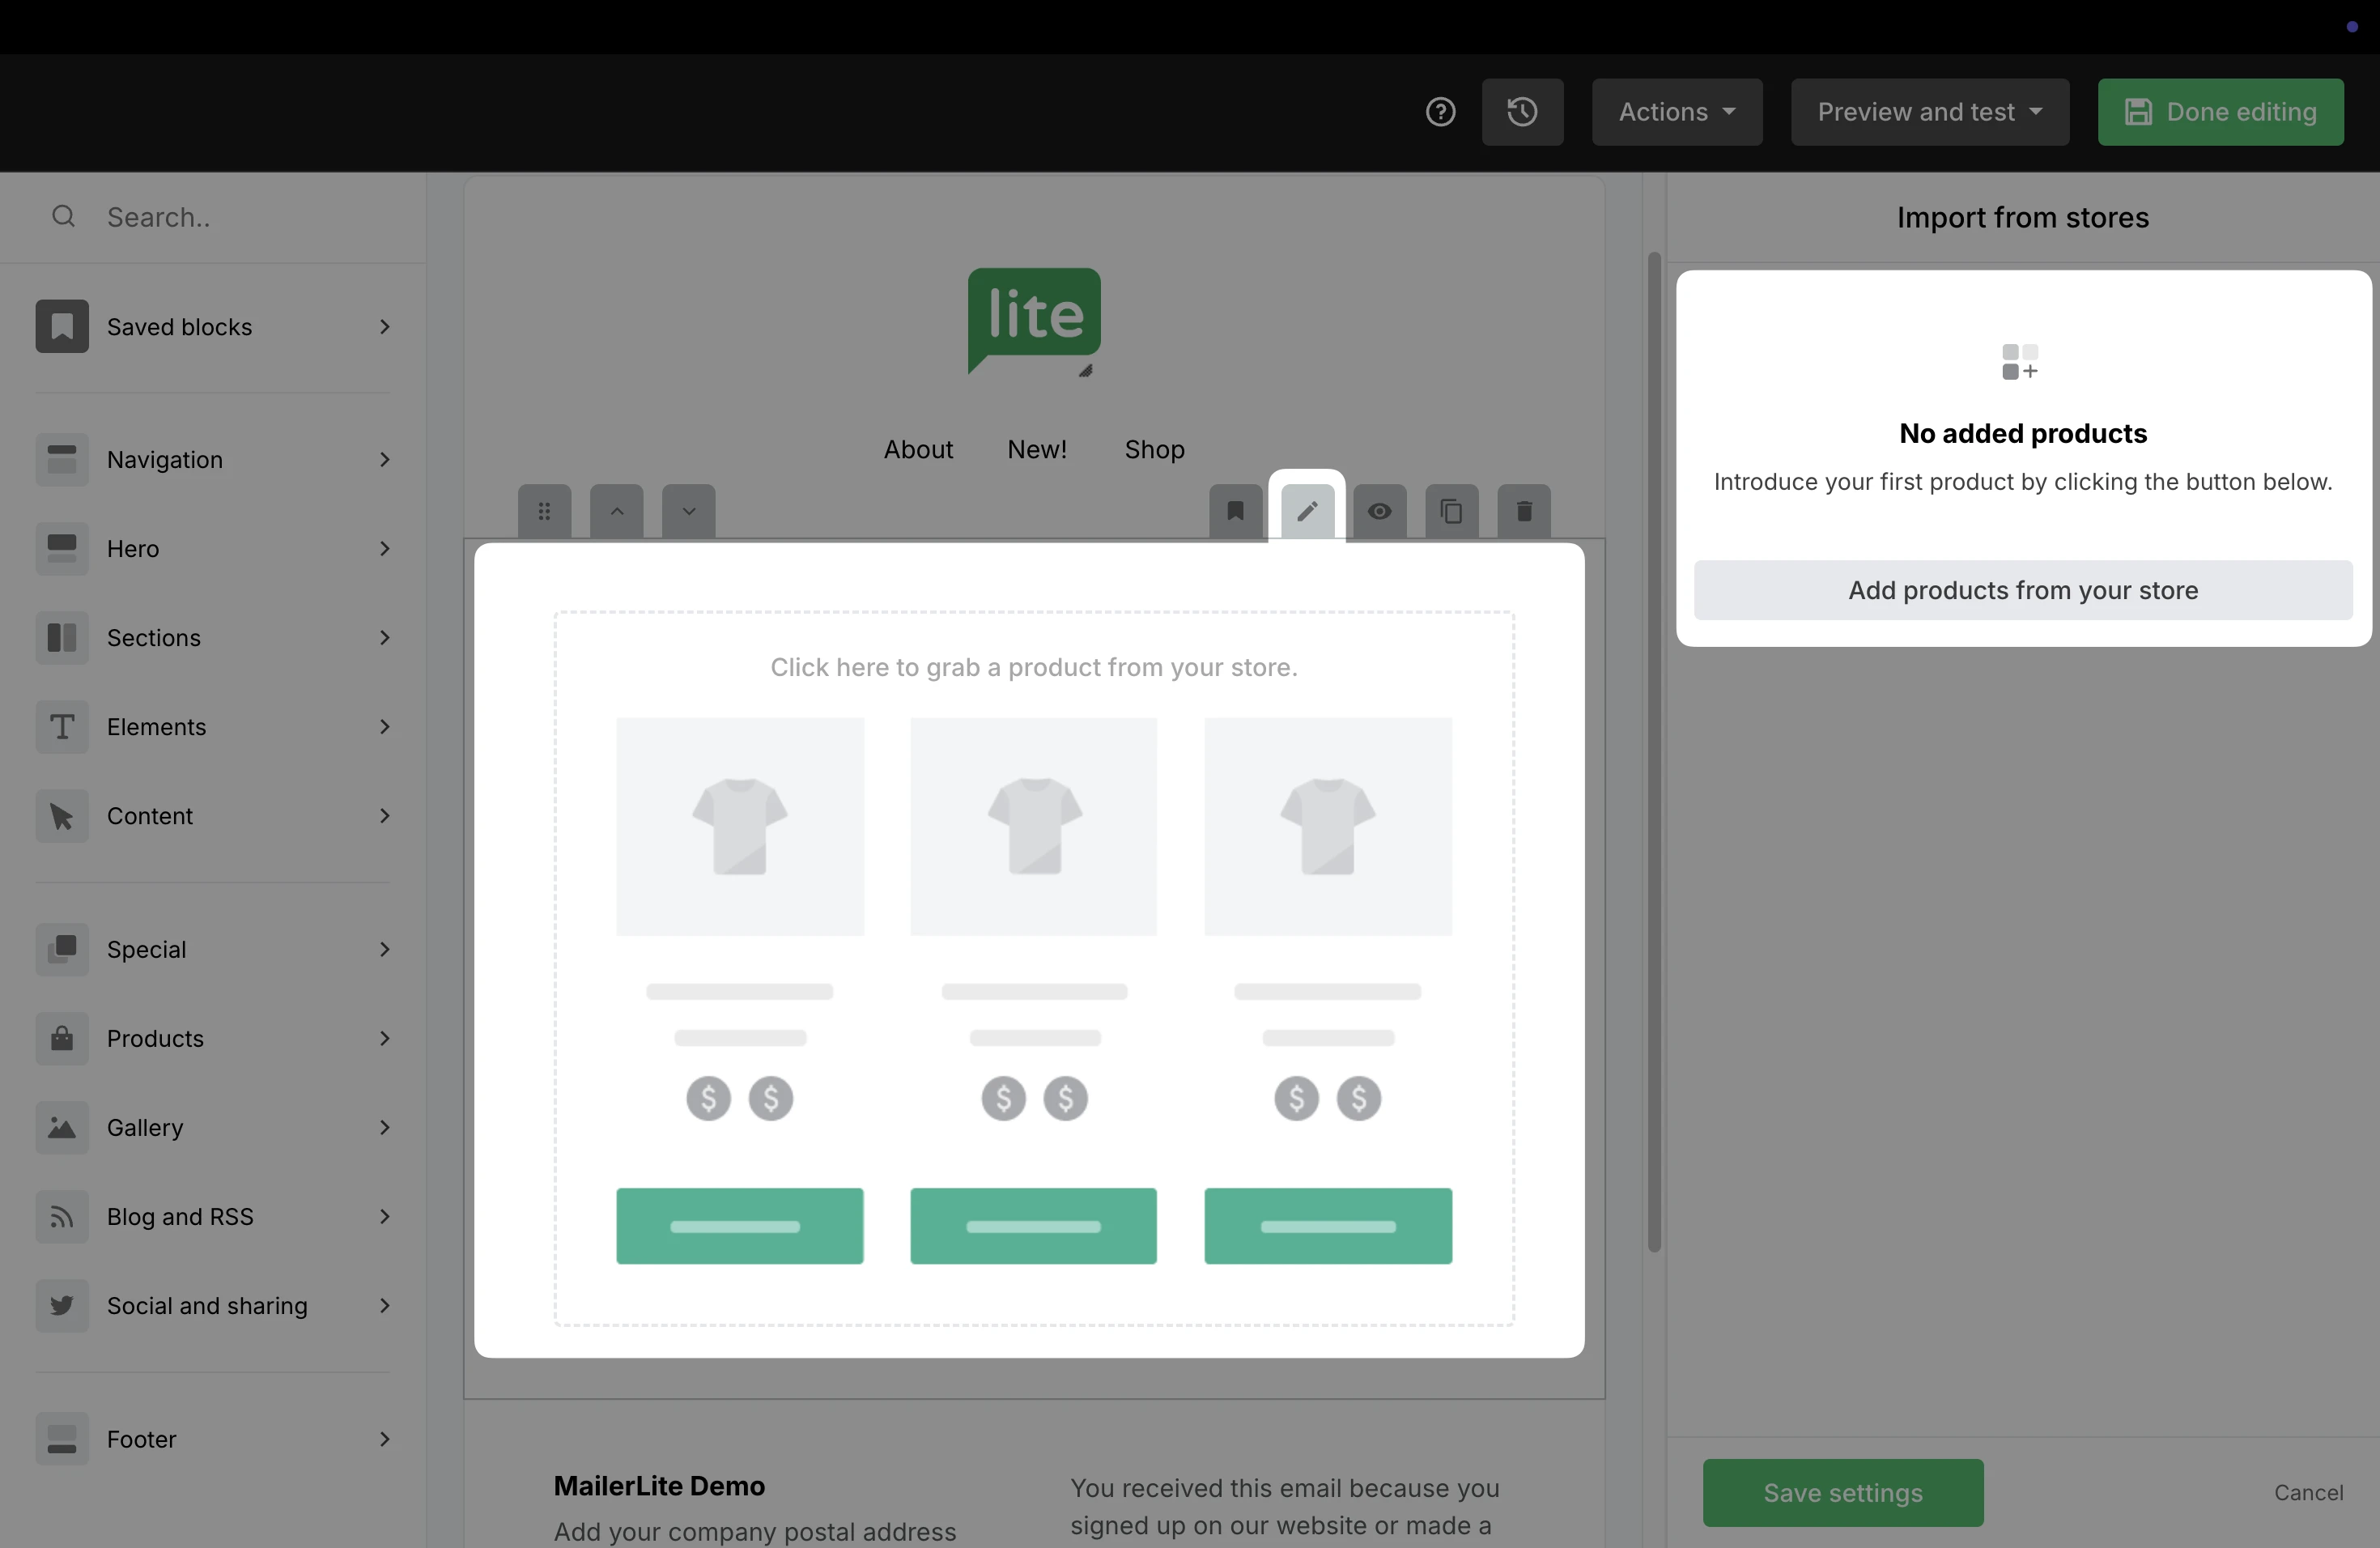
If multiple stores are connected, select the desired store from the drop-down list before selecting products within that store.
How to edit the automatic purchase and subscription emails
When a customer purchases a Stripe product from your website or landing page, they will receive an automatic email notification from MailerLite. The automatic emails include:
Digital product - Sent after a customer purchases a One-time purchase; the email includes details of their purchase.
Subscription started - Notifies customers that their subscription has successfully started after they purchase a subscription from your Recurring purchase block.
Subscription canceled - Sent when a buyer of your recurring purchase cancels their subscription or their payments have failed.
To edit the automatic emails associated with your Stripe blocks:
Navigate to the Sites page.
Click on the title of the landing page or website containing your Stripe block(s).
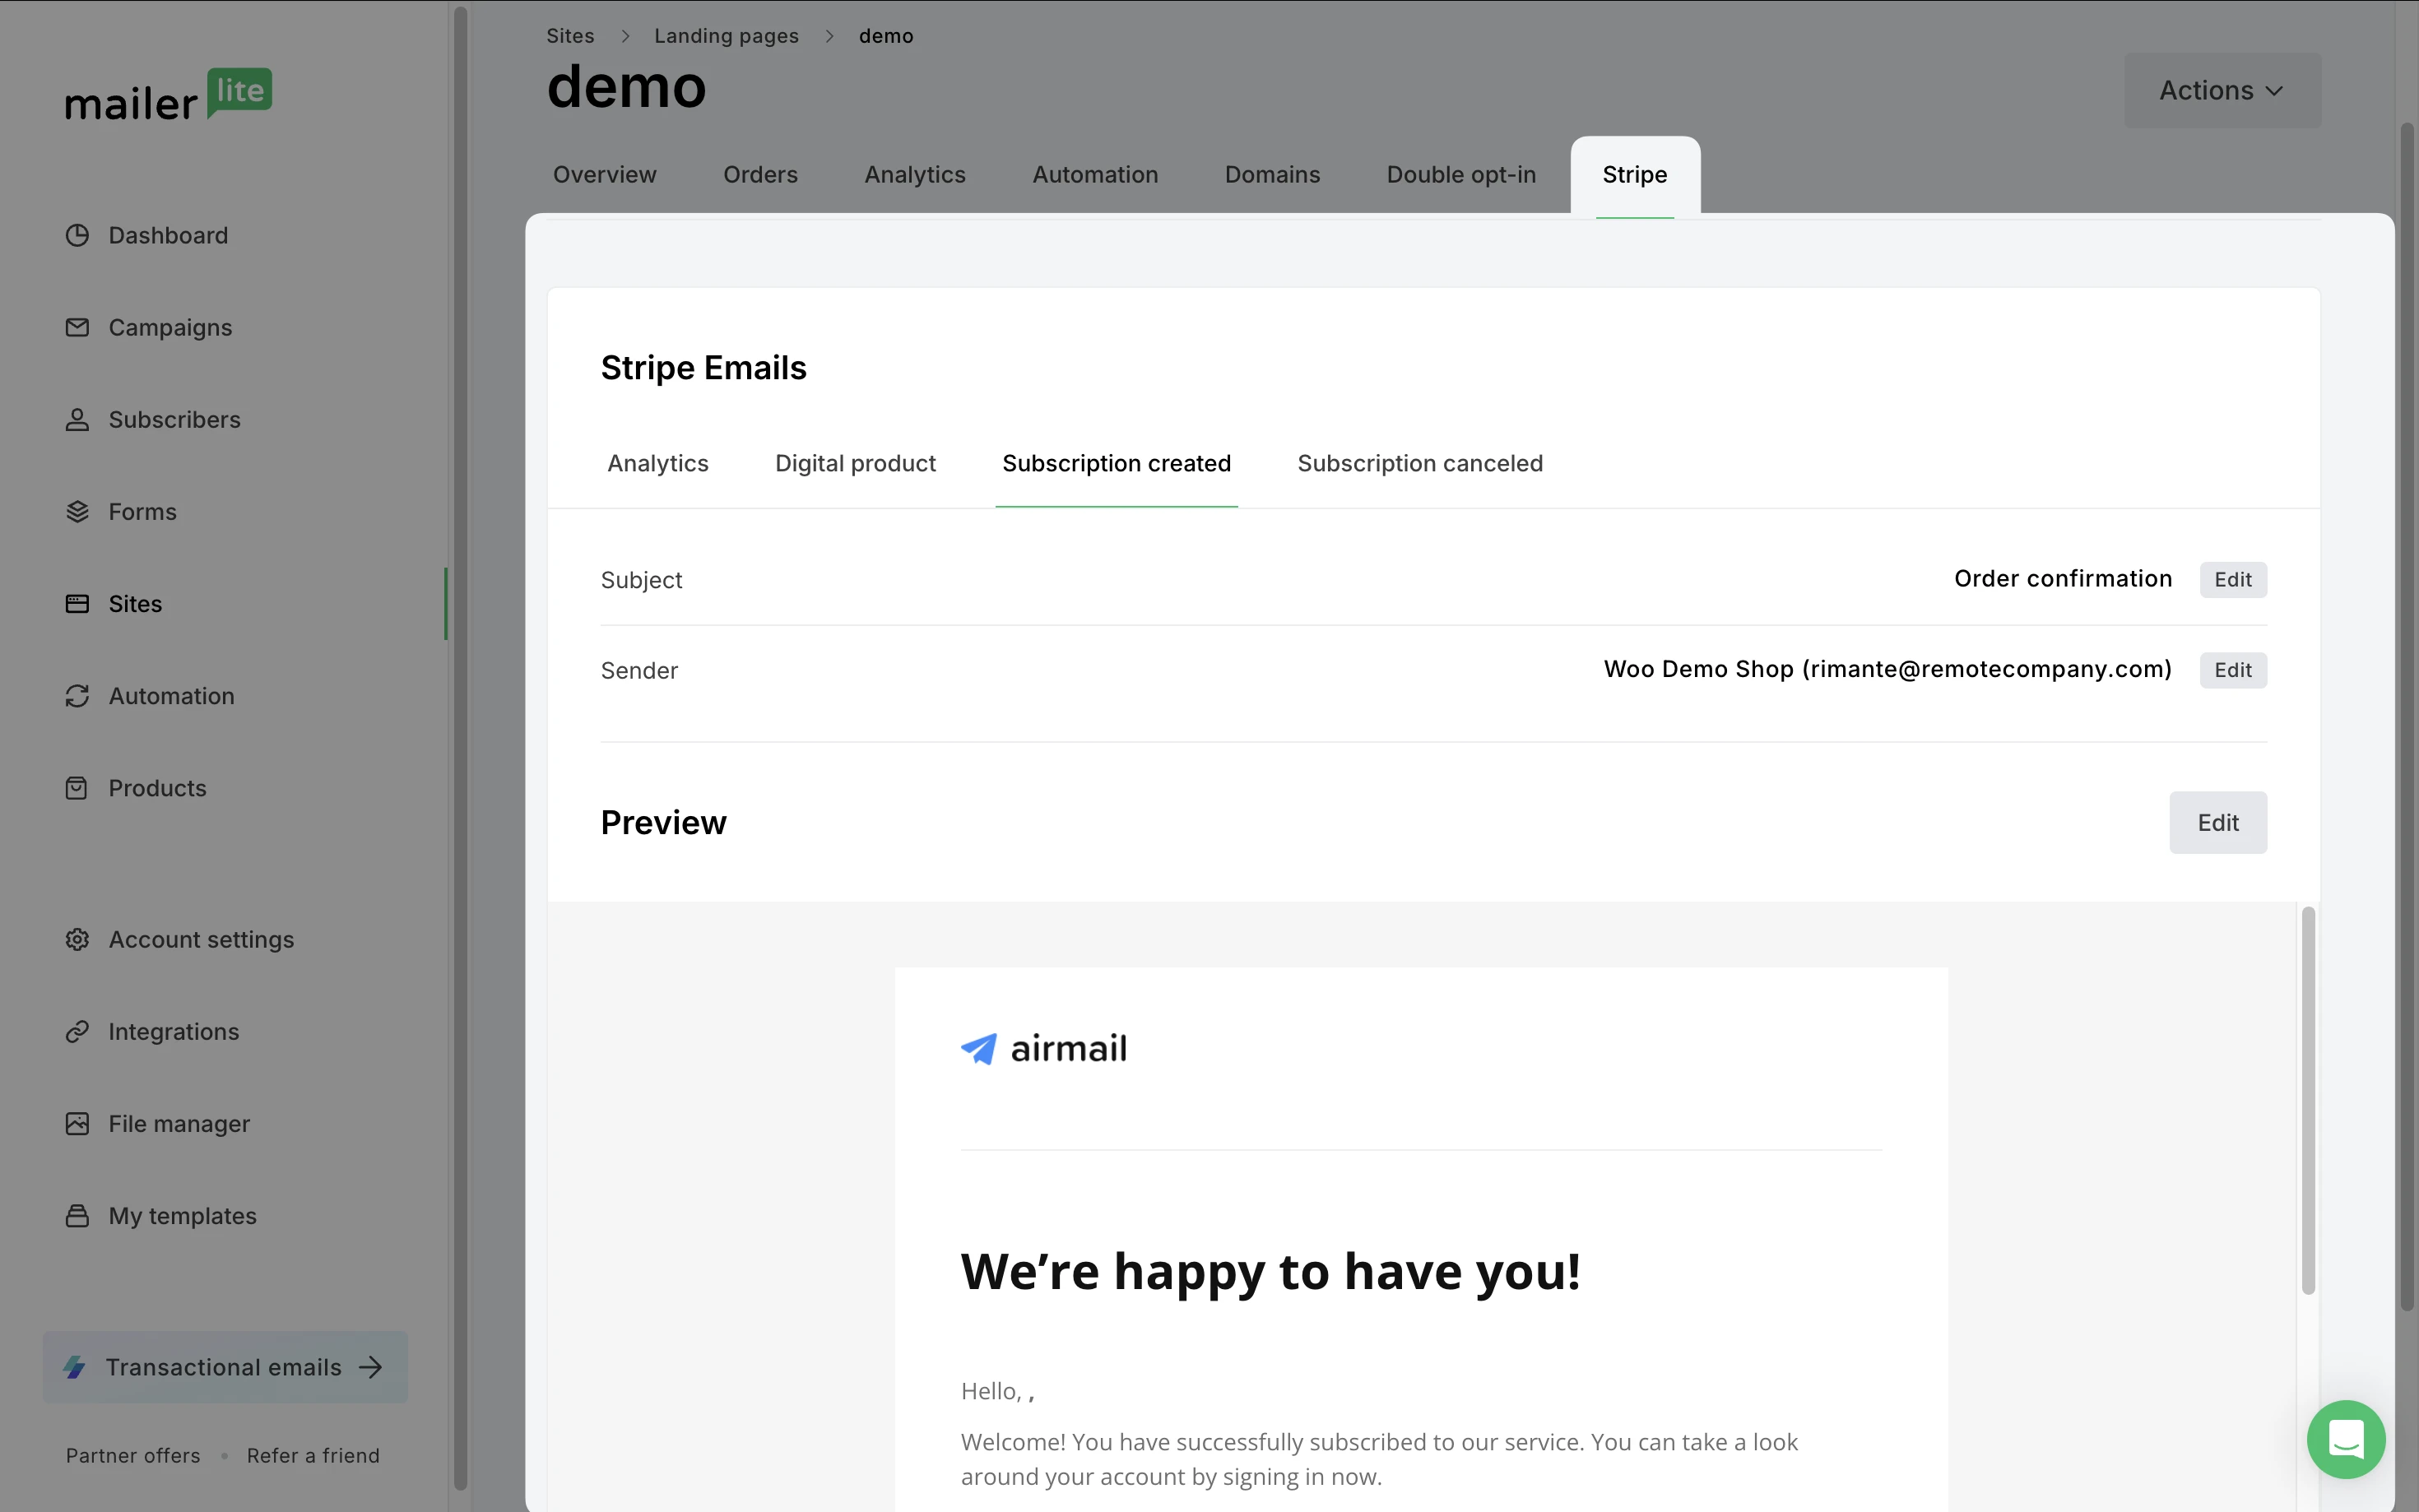
Click on the Stripe tab.
Here you will see four tabs: Analytics, Digital product, Subscription started, and Subscription canceled. Select the tab corresponding to the email you wish to edit.
Click the Edit buttons to edit the Subject, Sender, and Email content.
How to configure your Stripe settings
Once you have set up your Stripe block(s) and created your products in Stripe, we recommend configuring some settings in Stripe.
To access your Stripe settings:
Navigate to your Stripe dashboard.
In the top right, click the Settings button.
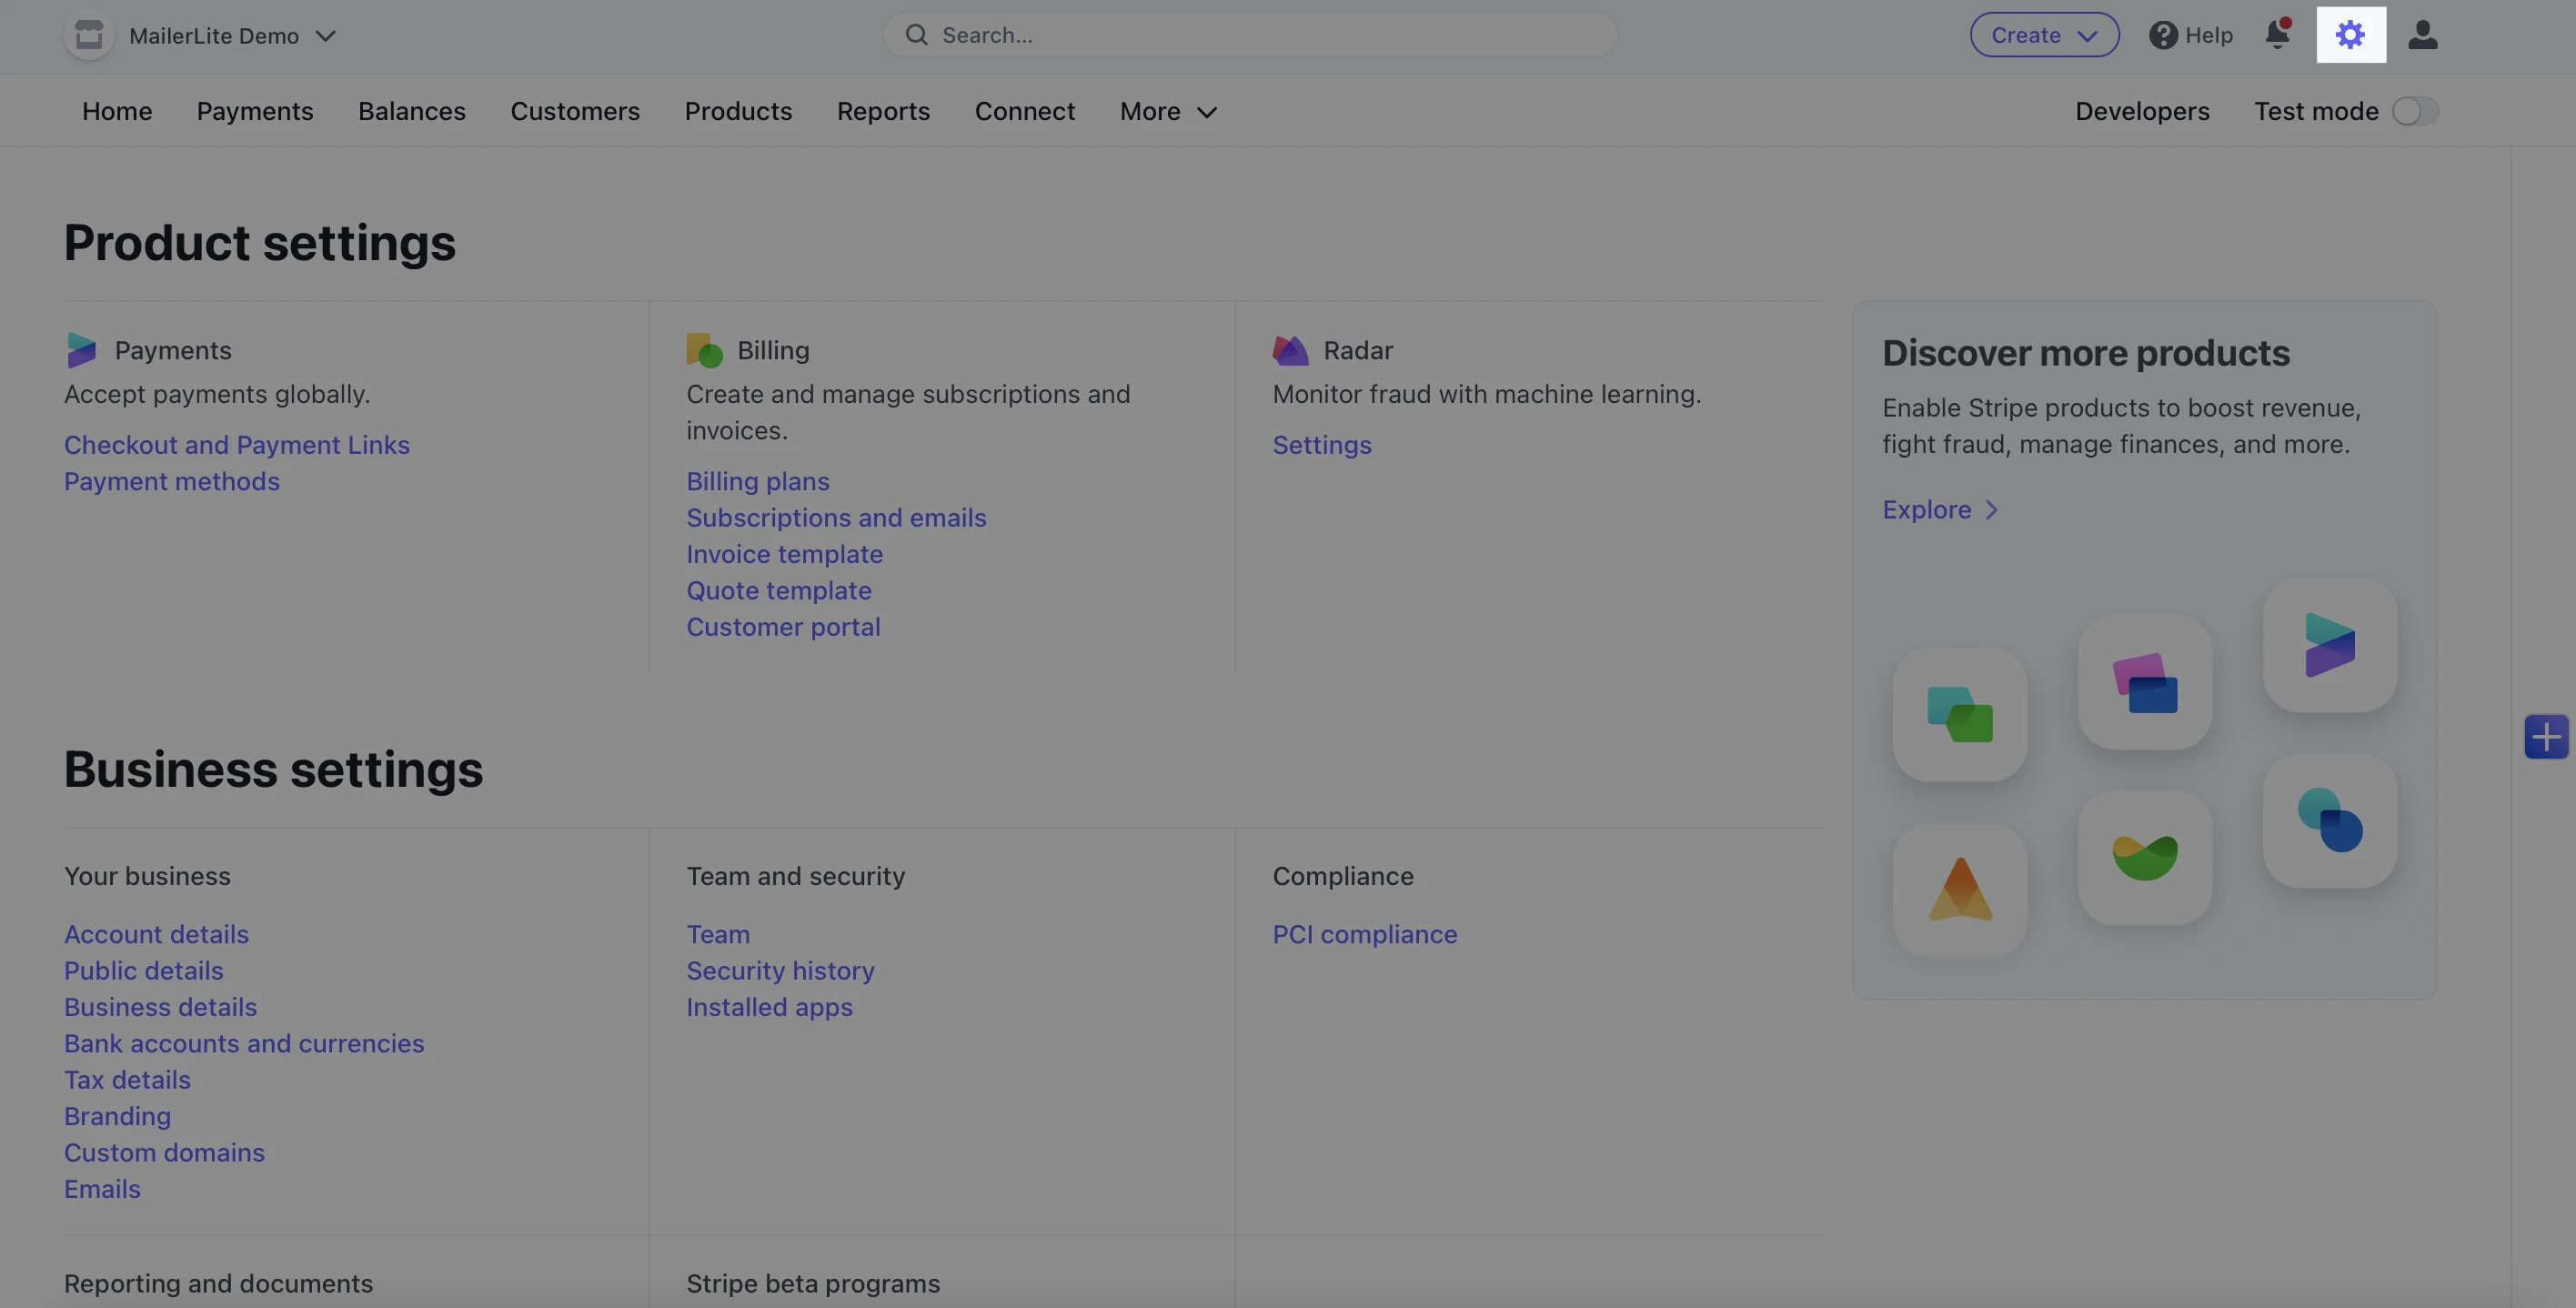
Here you can find Product settings, More products (add-ons), and Business settings. The settings that we recommend you configure can be found under Product settings and Business settings.
Product settings
Under Product settings, you can edit both your payment settings and billing settings.
Payment settings include:
Checkout settings - Customize the appearance and functionality of your checkout.
Payment methods - Configure the payment methods you accept.
Billing settings include:
Subscriptions and emails - Use these settings to manage subscription related actions emails. For example, upcoming payment renewal emails, failed payment actions, payment dispute actions, etc.
Invoice template - This is where you provide the information that will be included in your invoice emails. For example, invoice numbering, default footer settings, and a default memo.
Customer portal - Configure your Stripe hosted customer portal to enable customers to view their billing history, update their payment methods, and manage subscriptions.
We highly recommend configuring your customer portal, as settings within your customer portal determine when action is taken in MailerLite.
For example, it is important to enable customers to cancel their paid subscriptions; but it is up to you whether that subscription is canceled immediately or at the end of the current billing period.
If the subscription is canceled immediately, then the Subscription canceled email from your MailerLite account will be sent immediately.
However, if the subscription is canceled and the end of the current billing period, then the automatic Subscription canceled email won’t be sent until the subscription is actually canceled (at the end of the billing period).
To edit the Cancel subscription settings in Stripe:
Navigate to the Settings page.
Under Billing settings, click Customer portal.
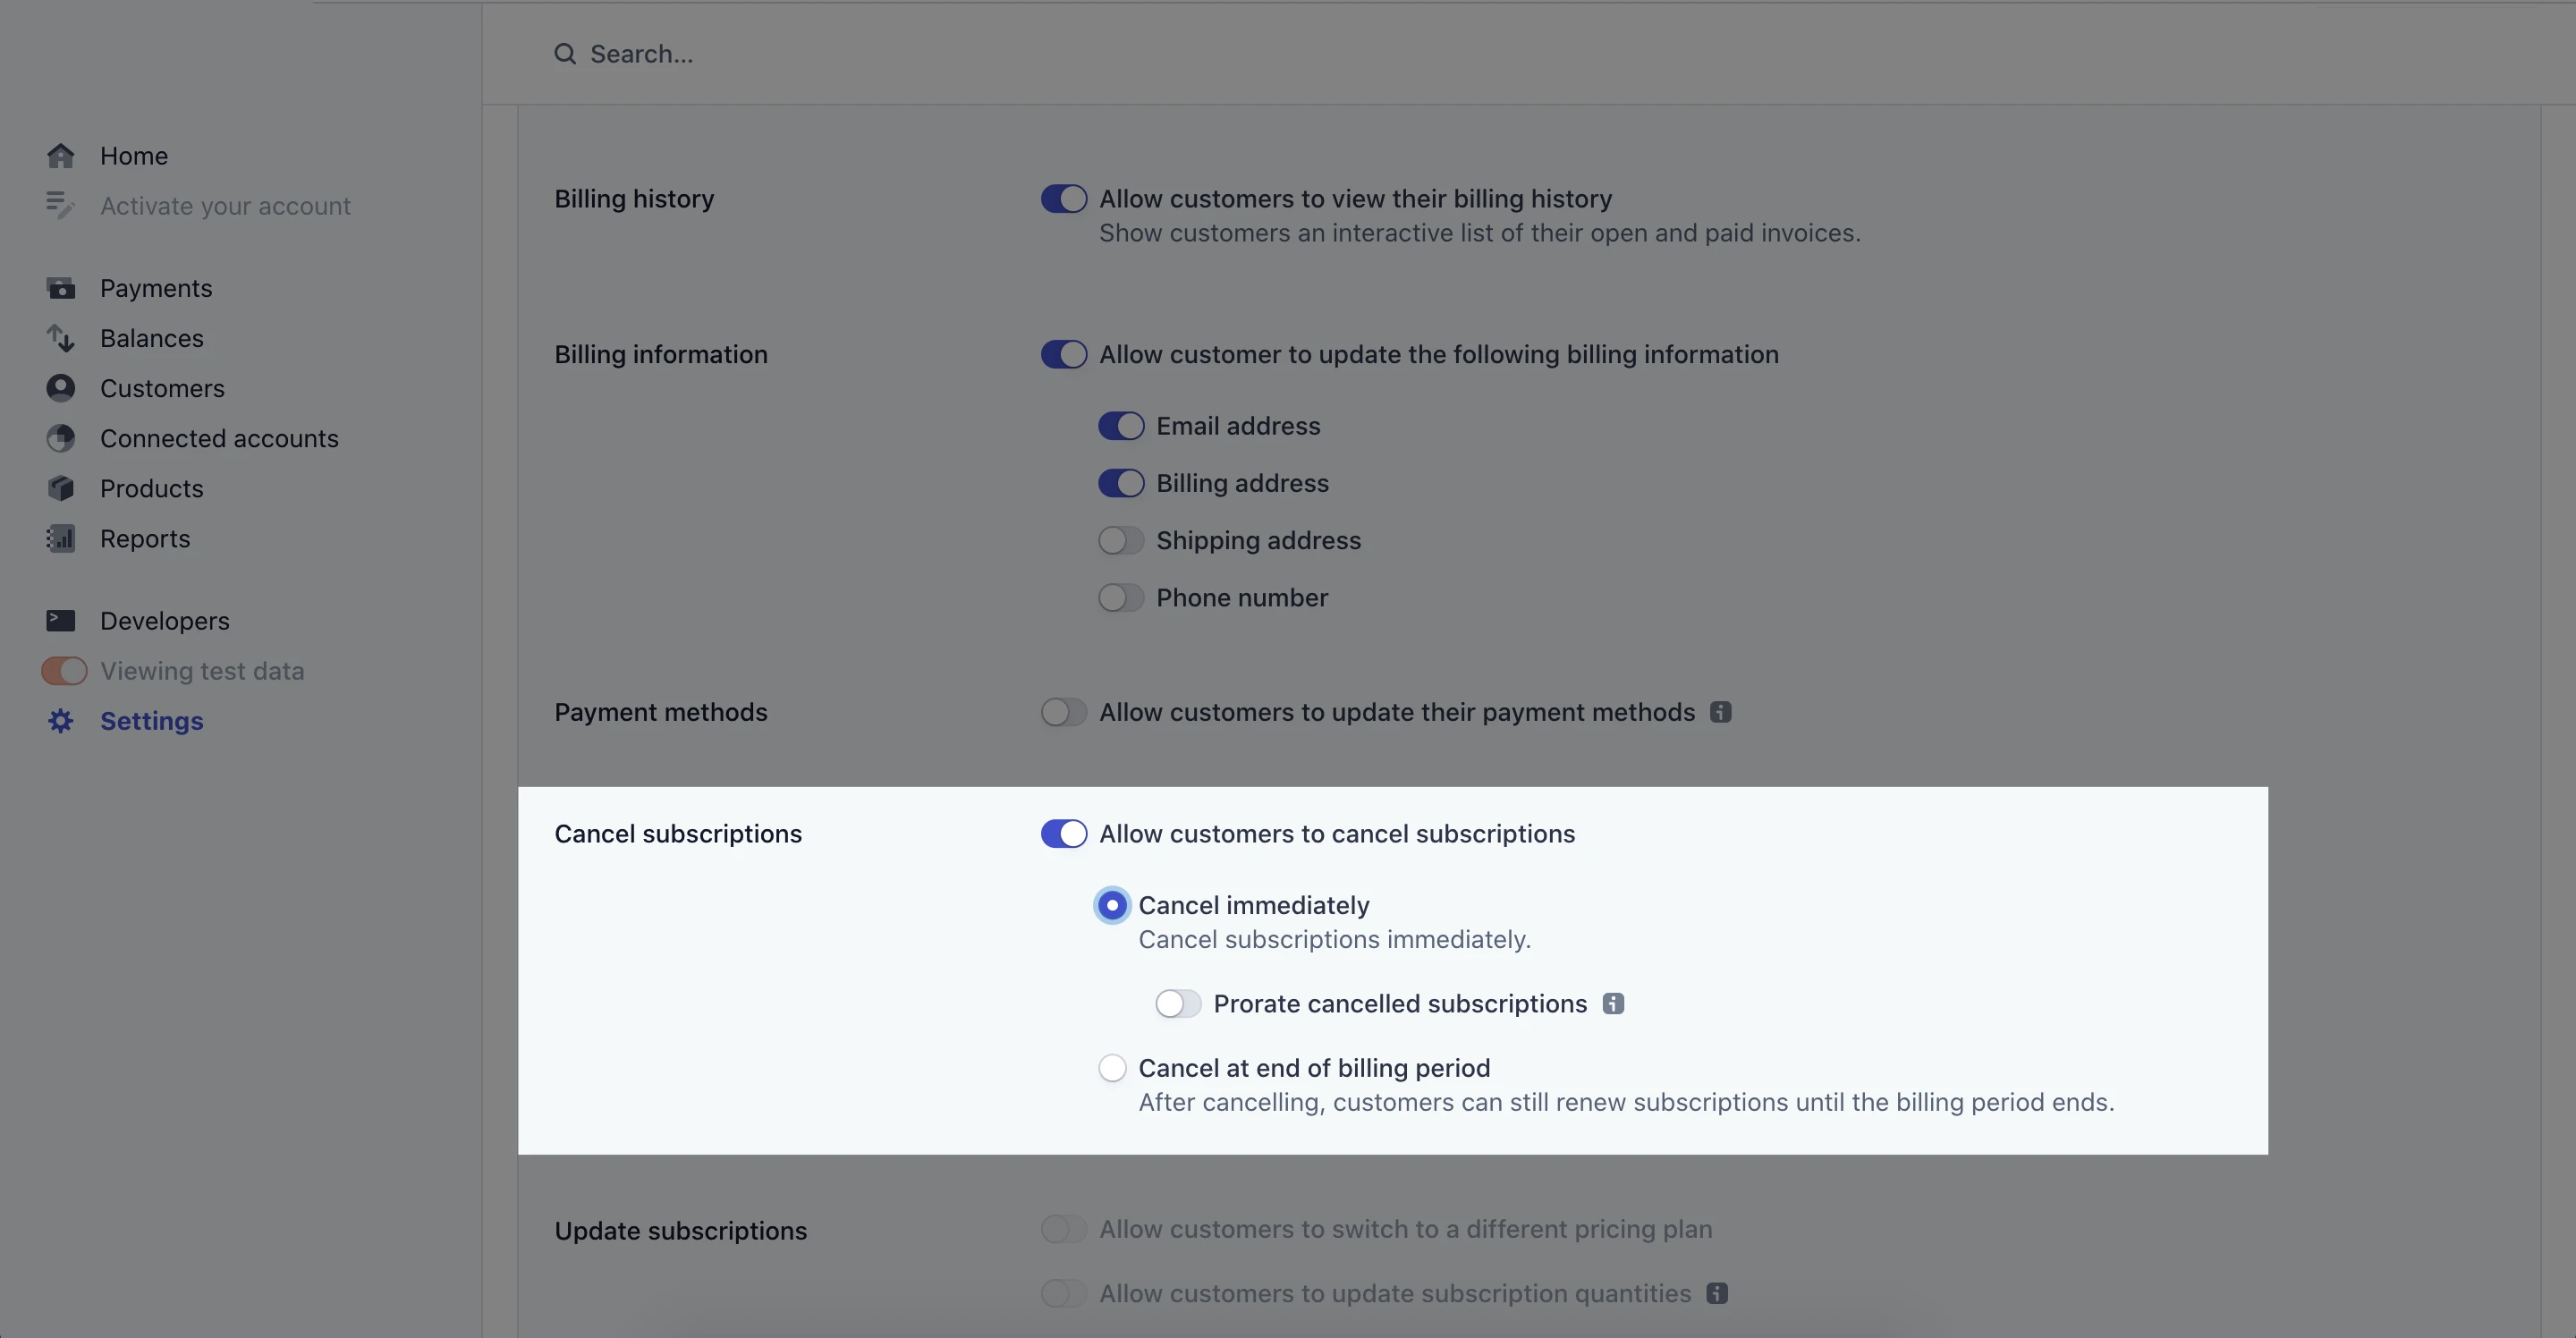
Scroll down to Cancel subscriptions. Ensure this setting is enabled.
Select either Cancel immediately or Cancel at end of billing period.
If you select Cancel at end of billing period, you can also select whether or not you would like to prorate canceled subscriptions.
Business settings
Under Business settings, we recommend configuring the following settings:
Account information - This is the important public information that is displayed on your invoices, digital product emails, subscriptions notifications, and all other Stripe related communications.
Branding - Customize how your brand appears across all of your Stripe content, including email receipts, invoices, the checkout, and the customer portal. You can apply settings such as colors, logos, etc.
Emails - Here is where you manage successful payment and refund emails as well as the email domains your Stripe emails are sent from. We strongly recommend that all users enable Successful payment emails.
For more information about Stripe or your Stripe account, please visit the Stripe support page.
What variables can be used in Stripe emails
Among the regular MailerLite variables you can use to personalize your emails, the Stripe integration comes with its own set of variables.
{$name} - The name your customers enter at checkout.
{$email} - The email address that your customers entered at checkout.
{$account.email} - This variable will pull the default sender address from your MailerLite account. It’s recommended to provide an email address for your customers to contact should they require any support.
{$product.name} - Displays the product title you applied on your Stripe dashboard.
{$product.description} - Populates with the product description you applied to your product in Stripe.
{$product.image} - Inserts an image of the product your customer purchased. This image can be added or changed in Stripe.
Where to find Stripe Analytics
You can find a list of customers who have purchased your digital products in yourStripe Analytics tab. To find the Stripe Analytics tab:
Navigate to the Sites page.
Click the title of the website or landing page containing your digital product.
Click the Stripe tab.
Within the Stripe tab, click the Analytics tab.
Here you will find your customers’ email addresses, a record of their activity, the date of their last recorded activity, and their IP addresses.
Under activity you may find the following records:
Digital product - The customer has purchased a digital product from a One-time purchase block.
Subscription started - The customer has started a paid subscription through a Recurring purchase block
Subscription canceled - The customer has canceled their recurring subscription or their payments have failed.
Note: Now you can sell digital products right in the MailerLite platform. Check out the video below to learn how: