Webinar invitation sequence example

A webinar is a fantastic way to generate leads and build your reputation by inviting people to hear a presentation and discuss a topic through video, audio, and chat.
You can promote your webinar by building a landing page with a signup form. To increase your chances of a high conversion rate:
Describe the topic and introduce the host
List the main key learning objectives with bullet points
Include the webinar details like date, time and format
Check our gallery of real Webinar landing page designs and examples for inspiration!
Once the landing page has been set up, you can start creating your webinar email campaign.
Setup
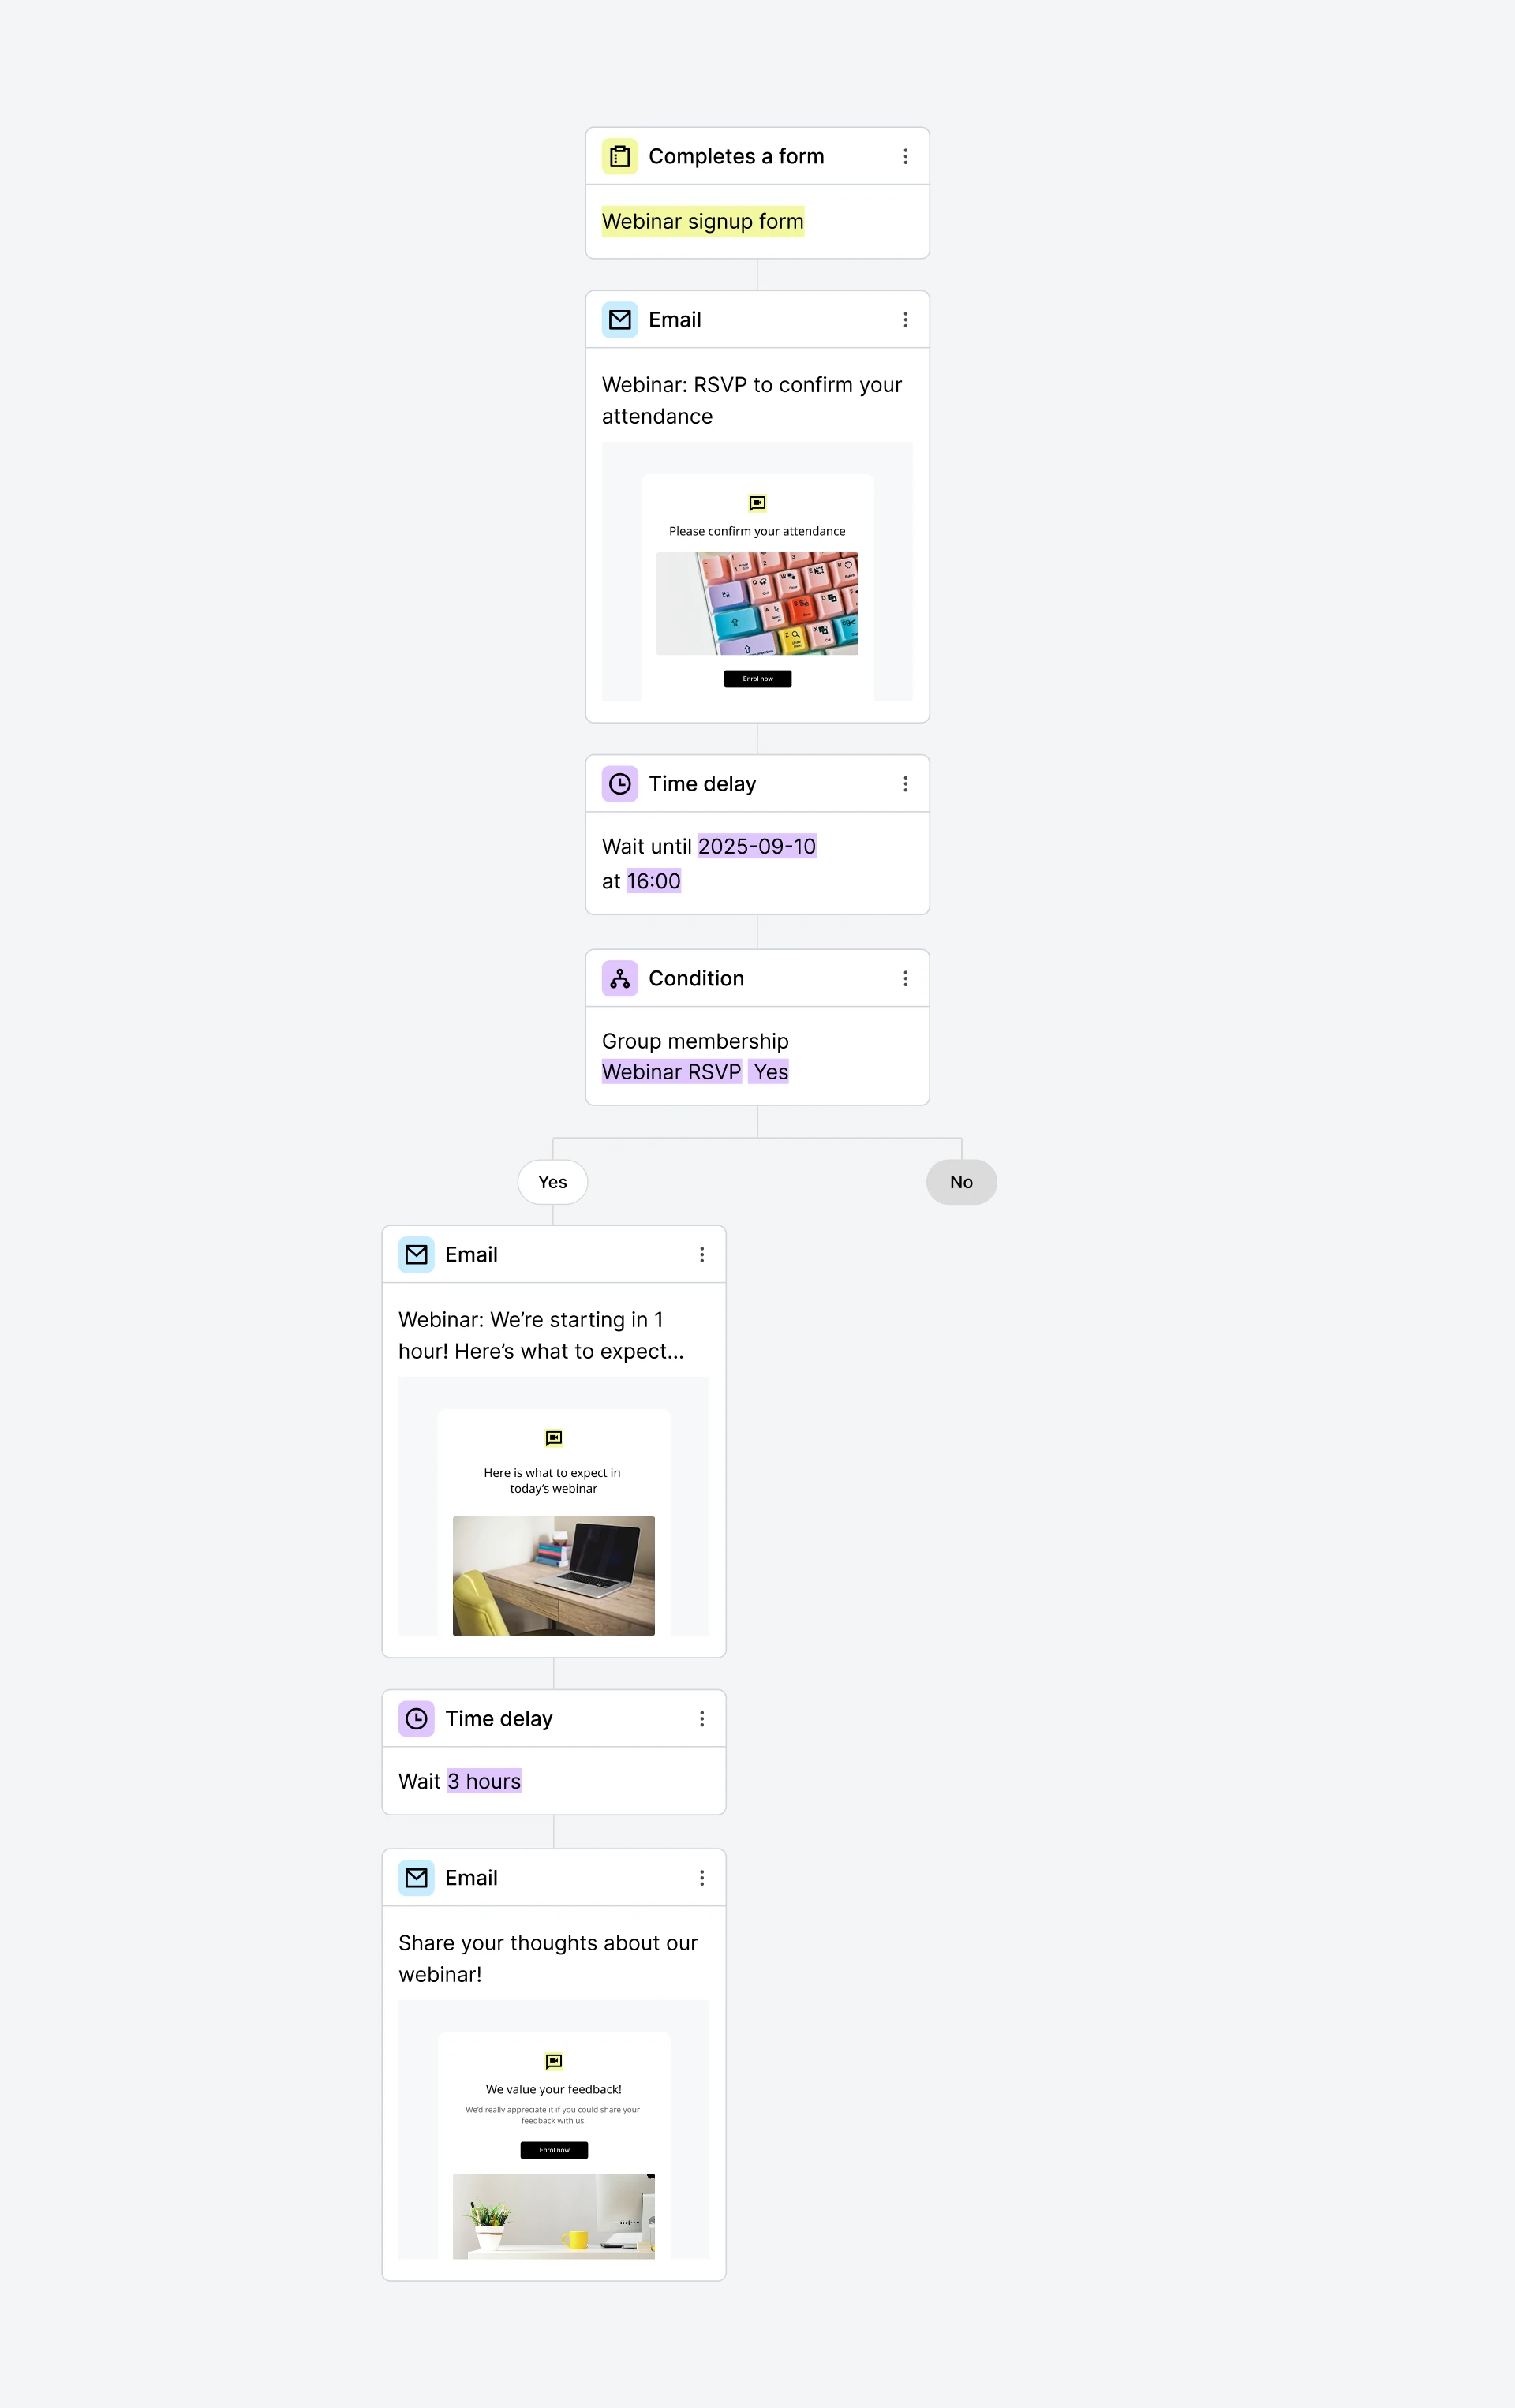
Those who sign up will immediately be added to the workflow. To set this up, you have to connect both the landing page and the automation with the trigger: when subscriber completes a form.
The subscribers will receive 3 emails in this webinar email sequence example:
A webinar invitation email where they can RSVP
A webinar reminder email, which is also a webinar confirmation email, that will be sent 1 hour before it begins
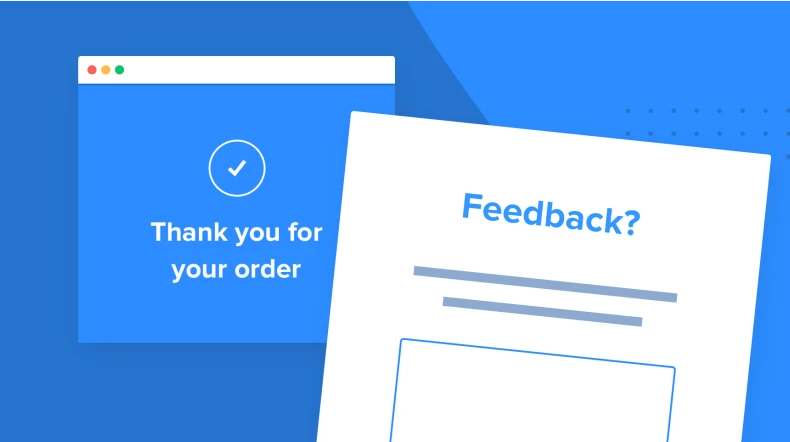
A webinar feedback email that is sent after it ends
Each of these emails are separated by a Delay step to ensure that they reach the subscribers at appropriate times.
Streamline your webinar emails with MailerLite
Sign up for a free MailerLite account to completely automate your webinar emails from announcements to post-event follow-ups.
How do I build this workflow?
Select the trigger: Completes a form and select the webinar landing page
Add a Send email step, fill out the subject, and click Design email
Select the Drag & drop editor and include the Event/webinar block so your subscribers can confirm their attendance and add it to their own calendars
Once the email is designed, click Done editing to go back to the workflow
Next, add a Delay step, select the specific day of the year format, choose the date of the webinar and set the time one hour before it starts
Add a Condition step with rule Group membership to select the group of subscribers who RSVP'd "yes".
Add another Send email step to the Yes path, give it a name that would remind your subscribers about the webinar, and click Design email
Include a Countdown block and a list of anything attendees may need (e.g pen, paper, etc)
Click Done editing once the email has been designed
Now, add the last Delay step, which could be a few hours or 1 day after the webinar ends
Add a Send email step, where you will be requesting feedback and rating of the webinar. Click Design email
Next, add a Survey block
In the survey, choose which kind of question(s) you’d like to include. To ask for feedback, you can use Satisfaction score, Net Promoter Score, Open question, and Like/Dislike. Make sure you select the Outro as the last question to provide a closure to the survey
Once you are satisfied with the feedback email, click Done editing
When all of the steps have been completed, you can turn the workflow on
To find the answers to the survey:
Head to the Overview page of the workflow.
Under the Workflow emails section, click on View report of the email with the survey.
Click on the Survey report tab.
Note: Instead of choosing a Survey block and manually designing the survey email, you could also use our readymade survey email templates.