How to use Canva for email marketing (pro tips and ideas)
 MailerLite founders Ilma and Ignas.
Canva helps email marketers create beautiful newsletters, graphics and lead magnets. But it can’t send emails. For that, you need an email service provider, and MailerLite is the best one to use with Canva.
Here’s why:
Send emails built in Canva with our HTML editor: Use Canva’s tool to design the email, then export the HTML and upload it to MailerLite. The result will look exactly like your Canva design, with all links, images, and text included.
Export graphics directly from Canva to MailerLite’s file manager: Your images will be ready to add to any email, landing page, website, or form in seconds. You’ll save valuable time whenever you create graphics for your marketing campaigns.
Read on to learn how to export Canva emails to MailerLite, how the integration works, and 6 more tips for using Canva in your email marketing.
Here’s how to turn a Canva design into a newsletter
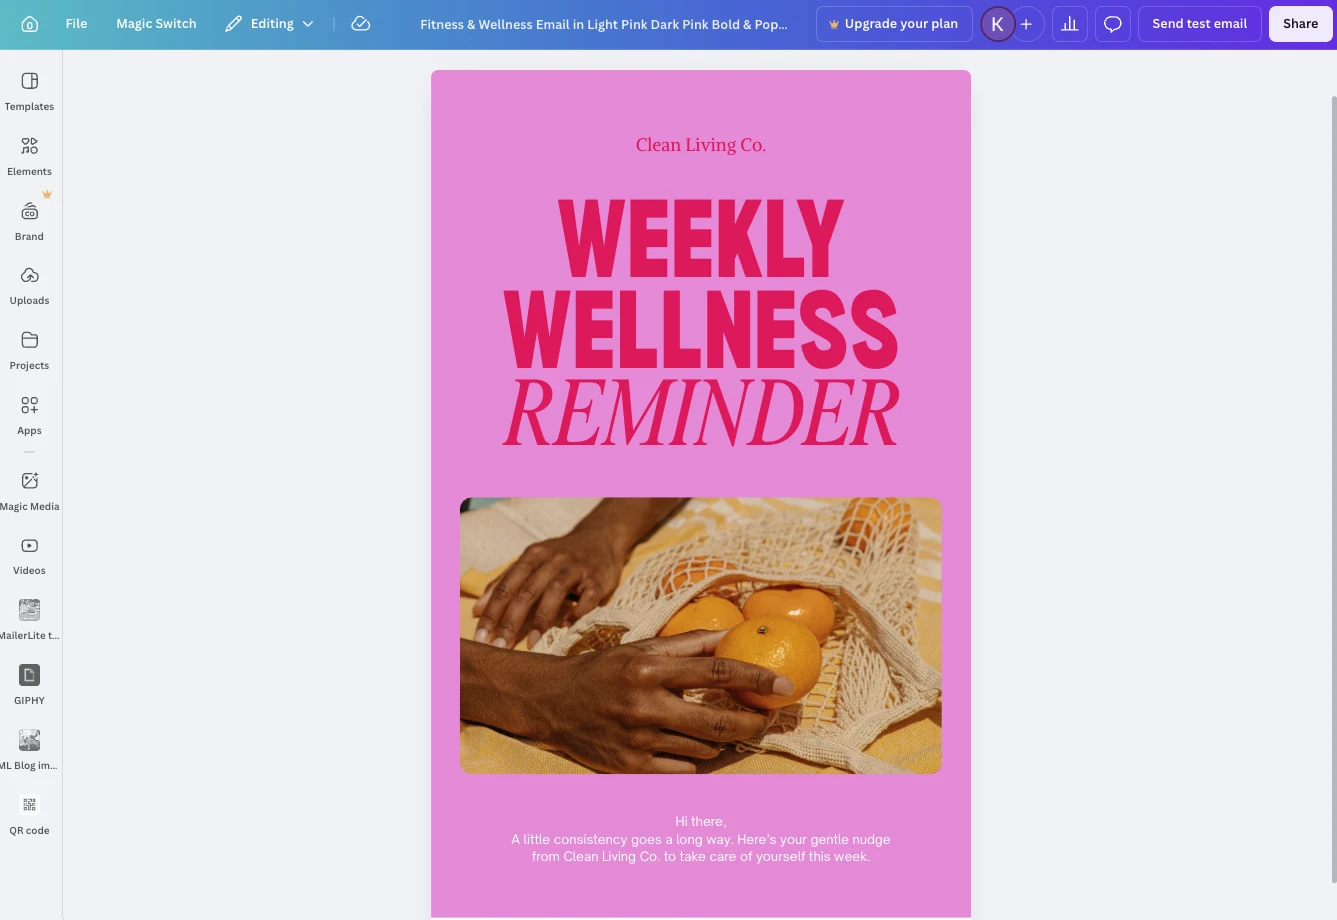
Canva’s email tool lets you create emails and then export the design as an HTML file that you can upload to the MailerLite HTML email editor. From here, you can preview the email, edit the code with AI, and send the email to your list.
To use the feature, click on the Create button in Canva and then choose the option for Emails.
Then either create your design from scratch or choose one of Canva’s pre-built templates, of which there are hundreds! If you’ve ever used Canva before, you’ll know that the platform’s visual tools mean the design process is a breeze.
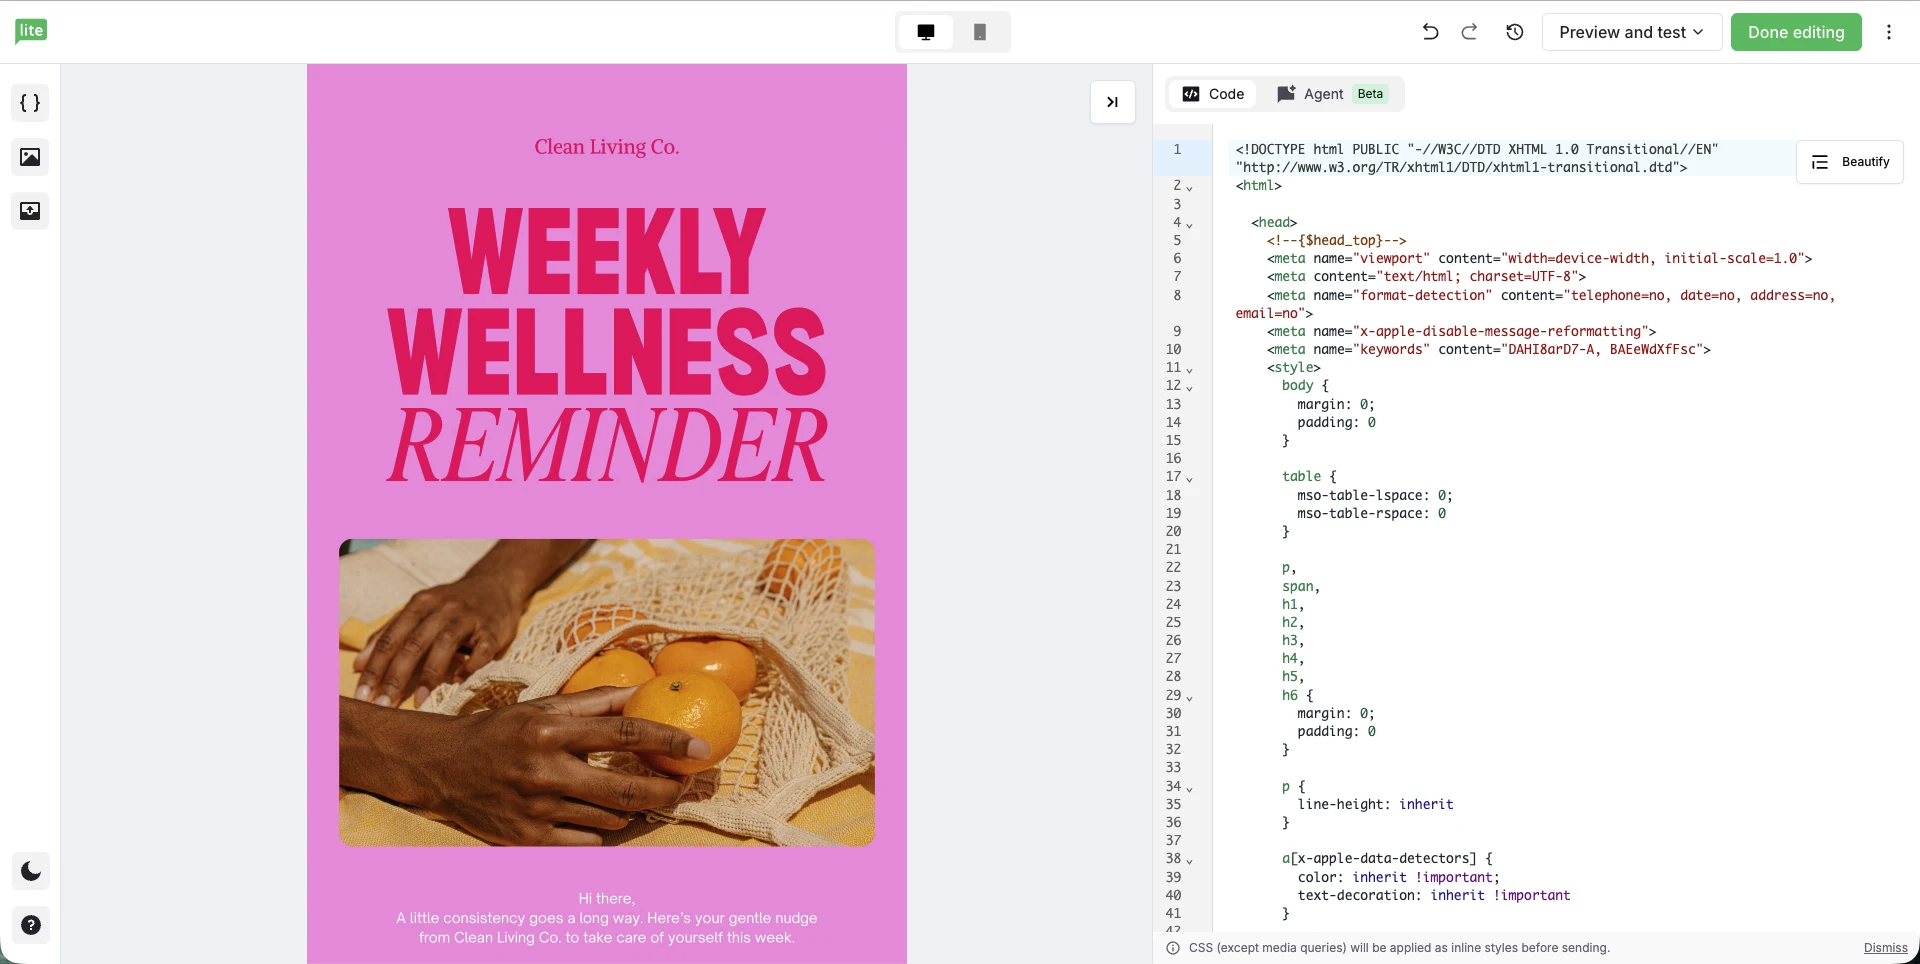
To send the email, you need to add the email’s HTML to MailerLite’s HTML email editor.
To do this, download the email’s HTML as a ZIP file using Canva’s Share options. Then create a new campaign in MailerLite, choose the option for HTML editor, and upload the ZIP file you downloaded from Canva.
The email will show in the preview exactly as you designed it in Canva. Plus, the Unsubscribe, Preference center and View in browser links from the Canva email will be automatically converted to work with MailerLite.
The Unsubscribe link will only be converted if you import the email to MailerLite using the upload HTML file option. Don’t copy and paste the code from Canva to MailerLite.
From here, you can use our AI tools to make further edits or send a test email. We recommend testing your email in multiple inboxes (such as Gmail or Yahoo Mail) as well as on desktop and mobile devices. This will help you spot formatting issues before you hit send.
If you want to make any changes, either adjust the design in Canva and reimport the code, edit the HTML code directly in MailerLite, or ask your AI assistant to make the HTML edits for you.
Once you’re happy with the design, hit Done editing to add your subject line, choose your recipients and send your campaign.
Turn Canva designs into emails for free
Start your free MailerLite trial to send your Canva designs as emails. The free trial gives access to all our premium features, including the Custom HTML editor, digital products and bookings, and visual automations.
Export designs in seconds with the MailerLite + Canva Integration
The MailerLite and Canva integration lets you export graphics and images created in Canva directly to your MailerLite file manager. You can then add these images to emails and landing pages built with MailerLite’s editors.
The integration is a Canva App; you can easily access it within the Canva editor from the Apps tab in the left side menu.
Here is a step-by-step guide to using the feature:
Create your design in the Canva editor.
Hit the Apps button in the left-side menu.
Search for MailerLite.
Hit Open.
Follow the steps to connect your account. You’ll only need to do this the first time you use the integration.
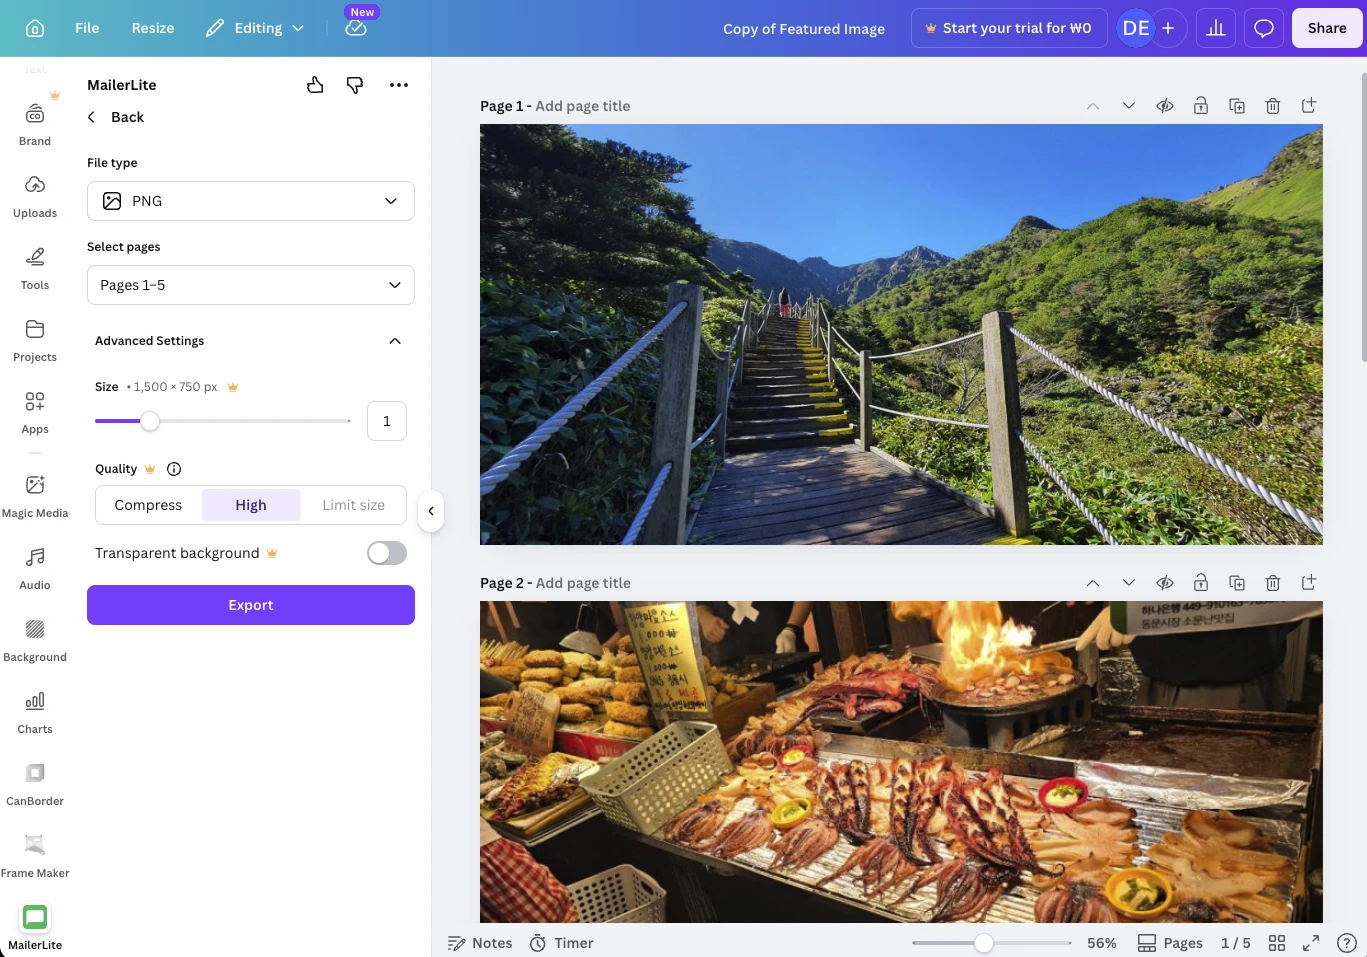
Choose where you want to store the file and hit Continue.
Select your export options, such as file type, pages, and file size.
Hit Export.
The design will now be available in your MailerLite file manager. Use an image block to easily add it to your next email marketing campaign.
You can see a more detailed tutorial about this process in our knowledge base article.
6 more ways to use Canva in your email marketing
Canva is a super useful tool for email marketing as it helps you create visuals to use in your messages. Here are 6 ideas for how to use Canva in your email campaigns.
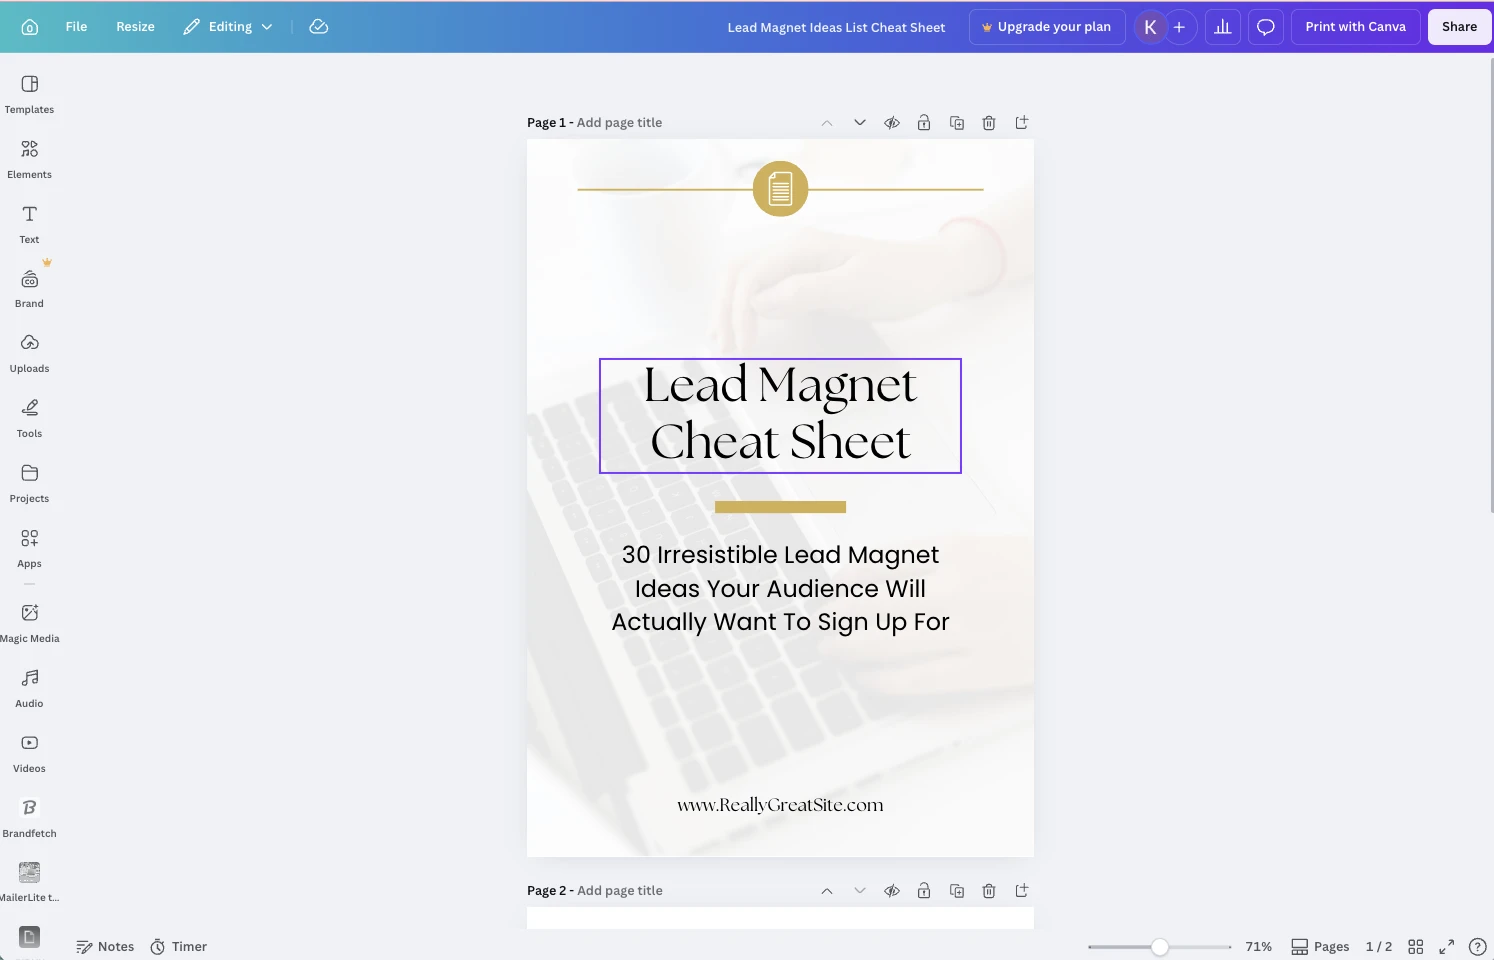
1. Create eye-catching lead magnets
Use Canva’s graphic design tools and templates to create lead magnets you can use to grow your list. The platform has tons of templates you can customize to make your own.
You can then use the Canva and MailerLite integration to export the lead magnet straight to MailerLite as a PDF file.
From here, use MailerLite’s tools to set up a form, link in bio page, or landing page to promote the lead magnet. Then connect this to an automated email that includes a link to the lead magnet.
Check out the video for a full walkthrough of how to set up a lead magnet in MailerLite.
Our research on the best lead magnets shows that learning resources such as webinars, micro courses, and tutorials have the highest conversion rate of any kind of lead magnet, other than giveaways. When building your lead magnet, consider creating one that teaches potential customers something useful.
2. Use Canva’s text-to-image AI generator
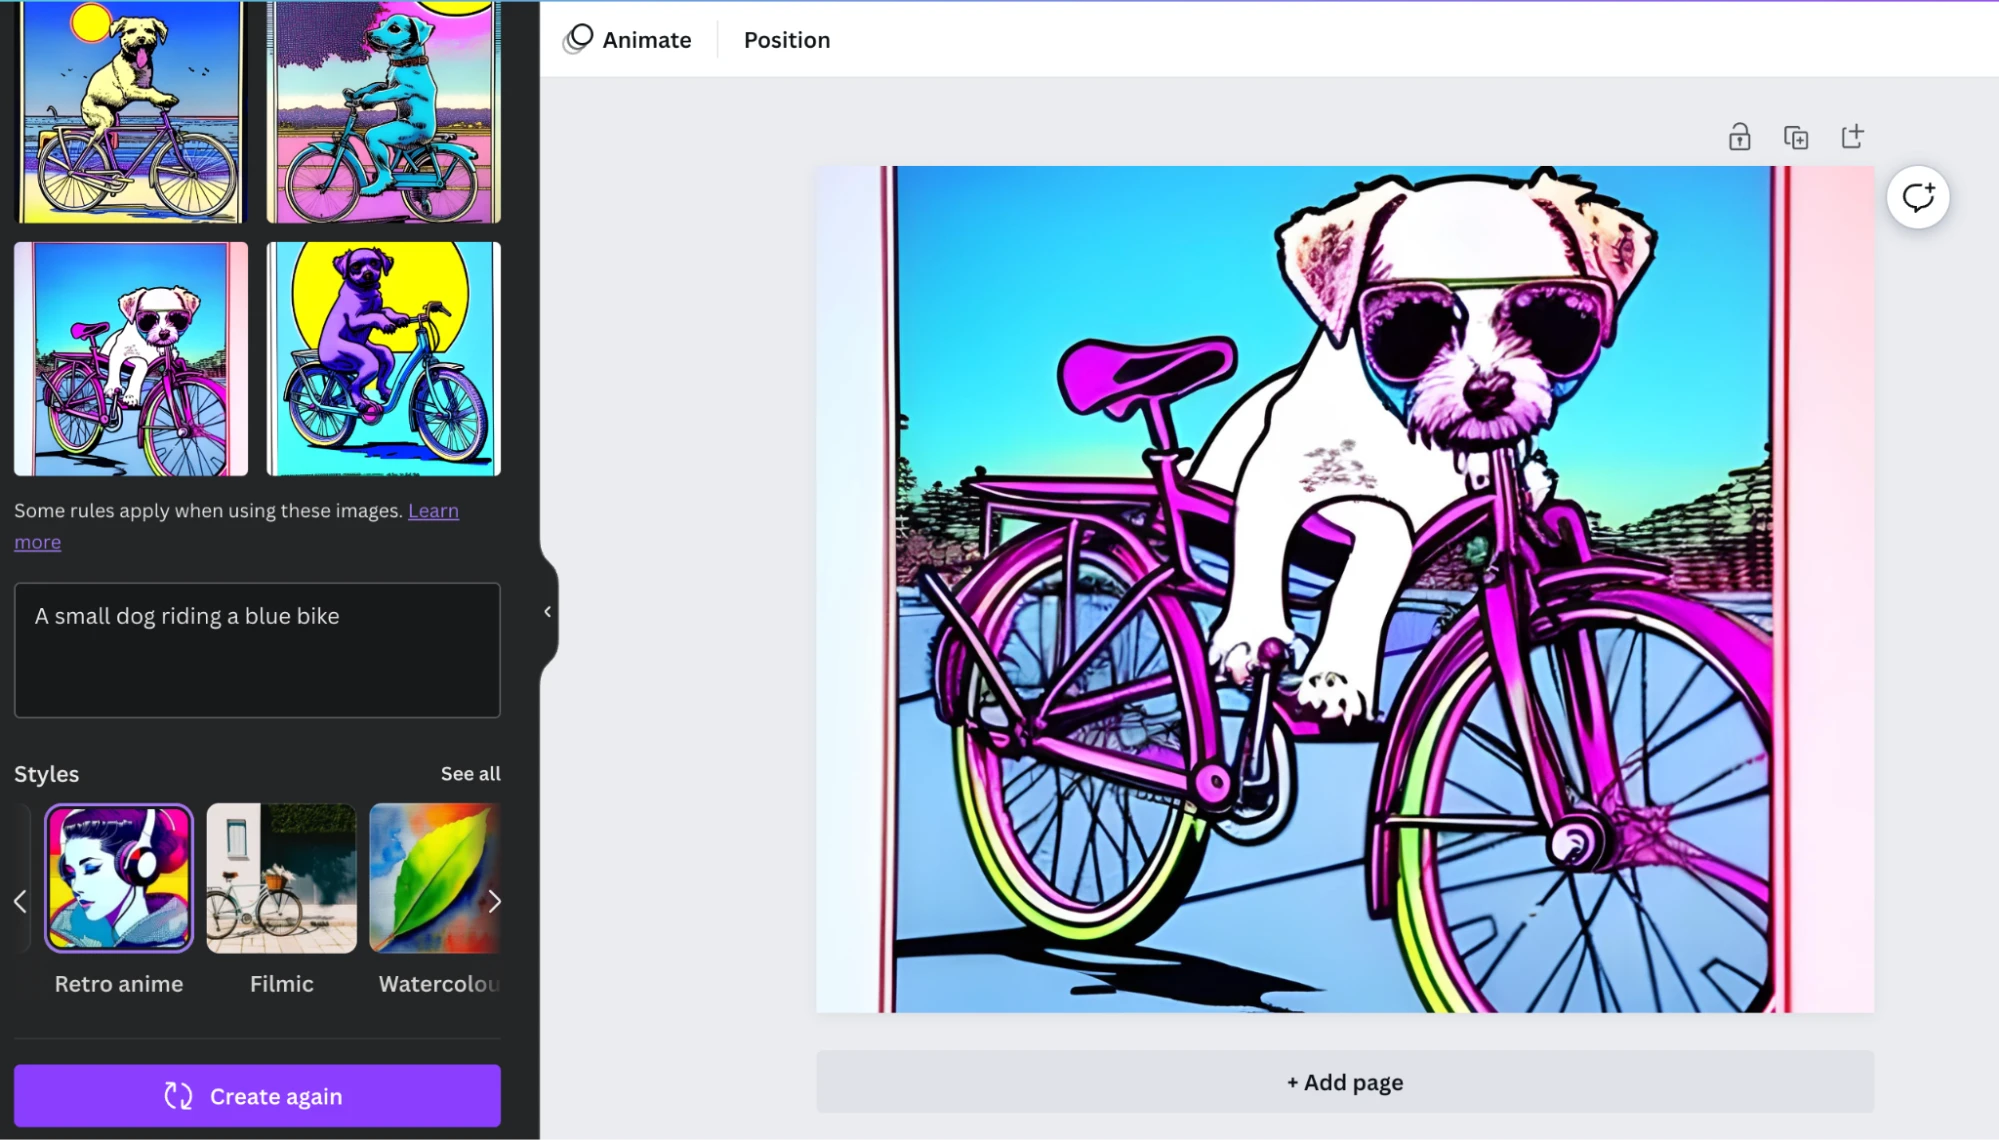
Canva’s AI image generator is the perfect accompaniment to MailerLite’s AI text-generation email feature. Blow your audience away with professional copy written by MailerLite, and use Canva to take care of images and graphics.
Canva’s AI features are easy to use: Just open the text-to-image app within the platform’s editor, describe the image you want to create, choose a style from the available options, and hit create. The tool will generate 4 images, and you can choose the best one!
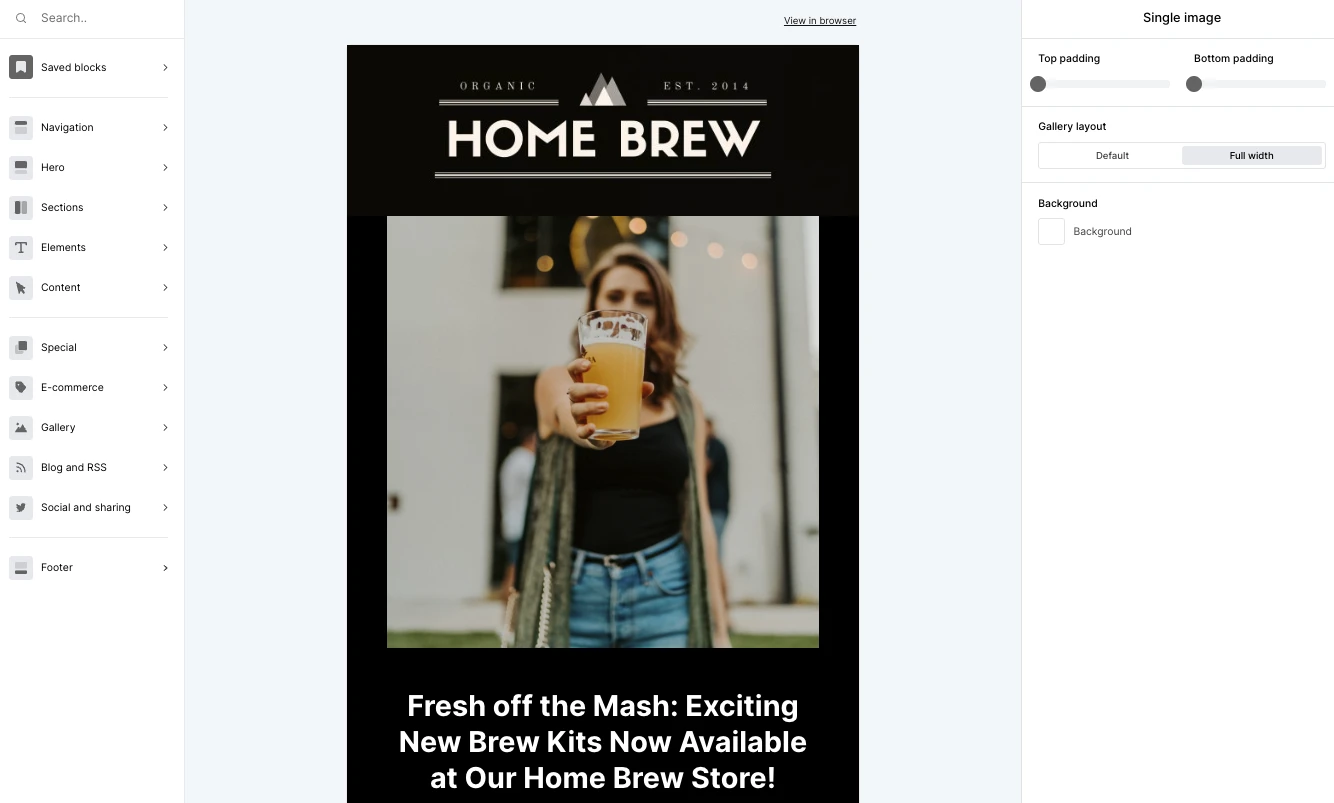
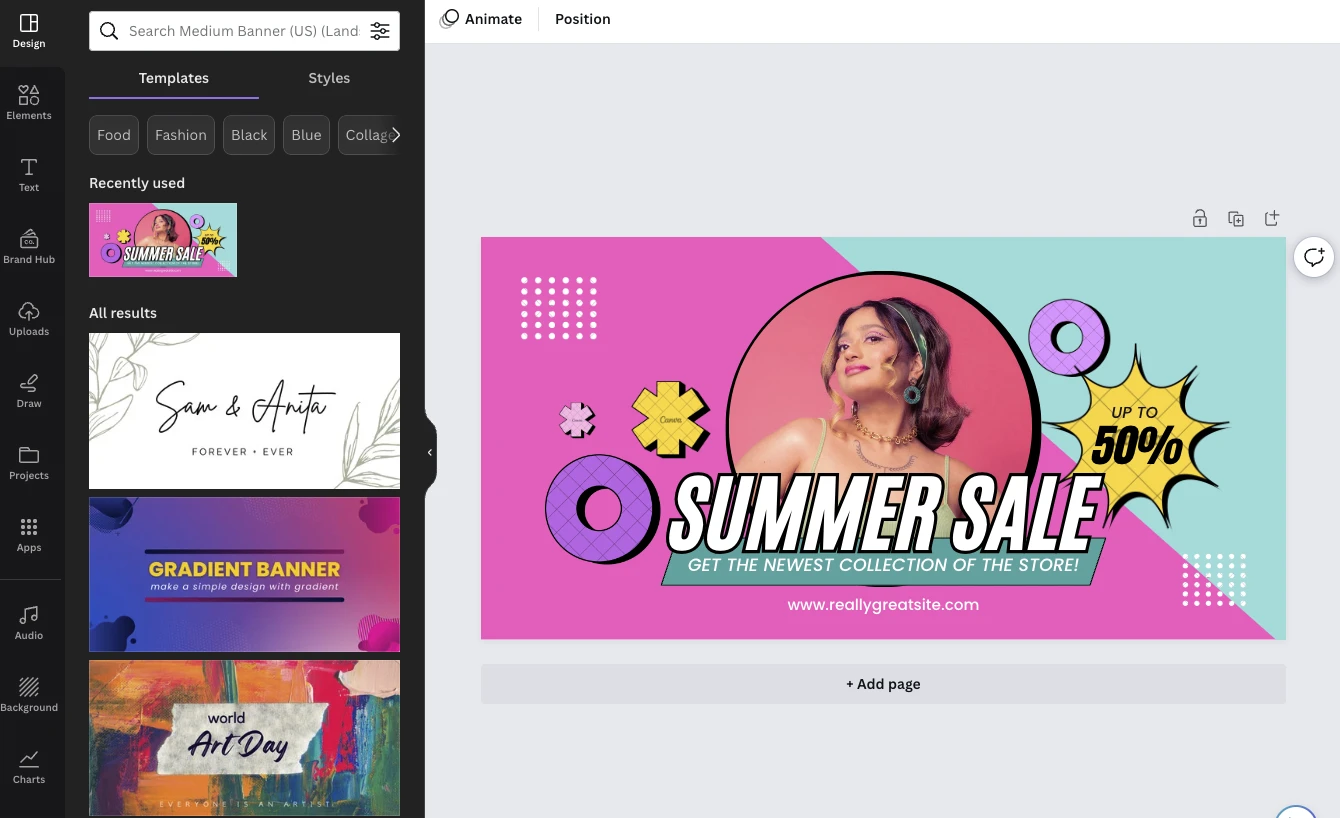
3. Create attention-grabbing email headers
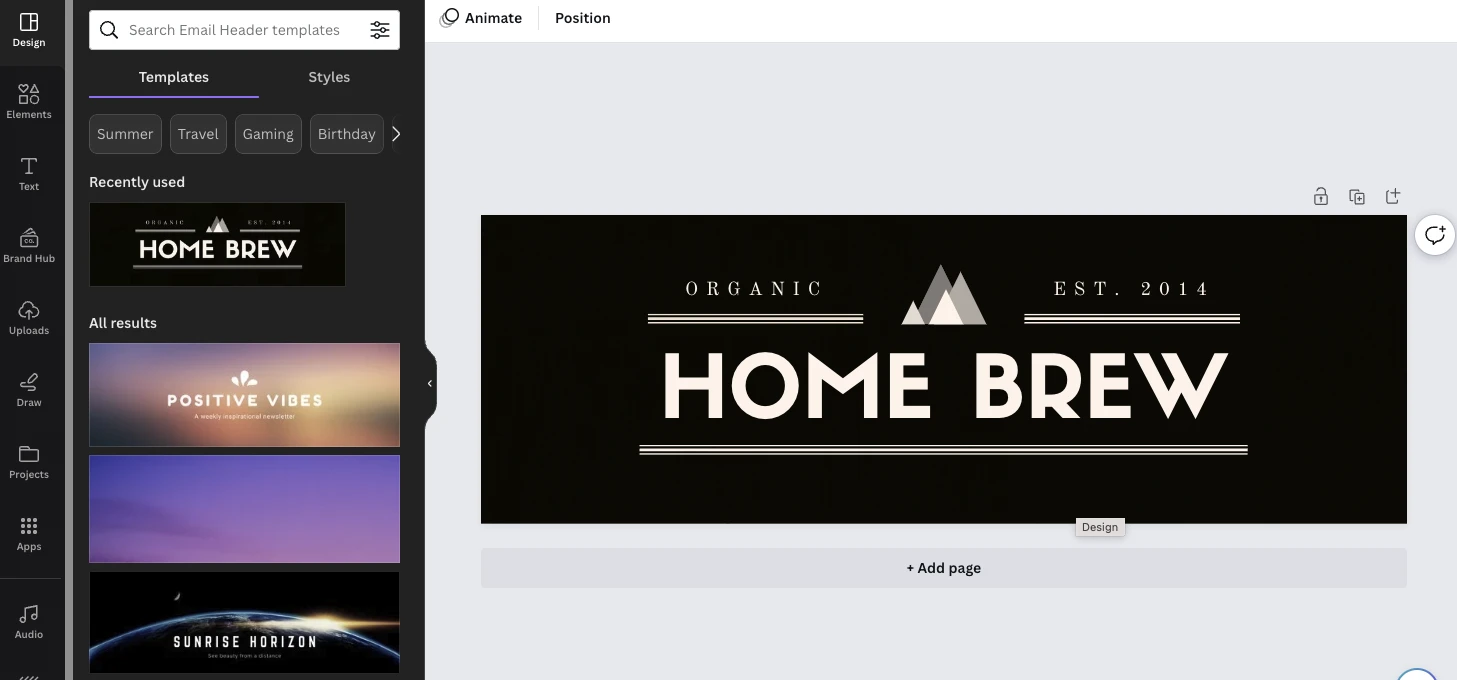
Create a first impression that stands out with a beautiful Canva email header. Choose from one of the hundreds of existing templates or build your own from scratch.
Add the header to your MailerLite email by dragging an image block to the top of your content draft and adjusting its spacing and width to meet your needs. The screenshot below shows how the above Canva email header looks in a MailerLite campaign.
4. Create shareable infographics
Use Canva’s built-in infographic templates to explain complex ideas within your newsletter. These visual designs are also super sharable, which can result in more people reading your emails and ideas. Add these to your emails via the image block.
5. Edit your images for a professional touch
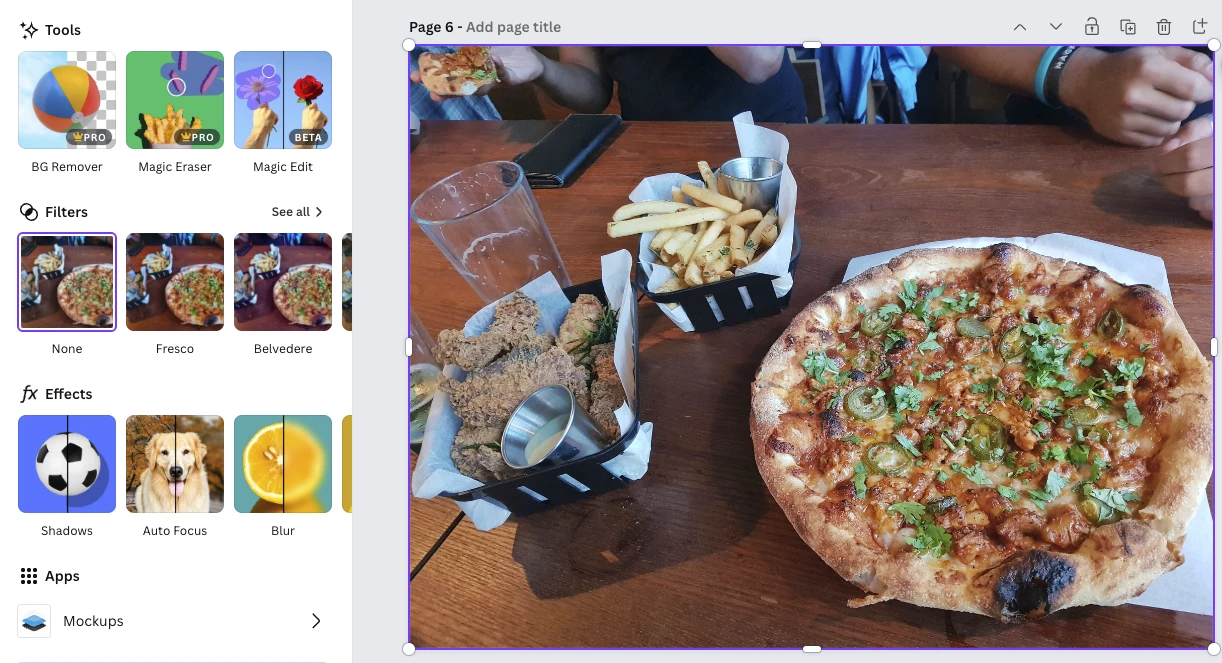
MailerLite already has a built-in photo editor, but Canva users can also add shine to their images before transferring them to the file manager. Add filters and effects, adjust lighting and colors, or add overlays to create images that stand out.
The Canva stock photo library also gives you access to millions of images you can edit and add to your emails.
6. Build beautiful graphics for your newsletter
Creating email graphics is super simple with Canva. Choose from one of thousands of templates and customize them to your needs by changing colors and text or adding photos.
Here are some reasons why you might want to create a graphic to use in your email marketing:
Promote your latest e-commerce offers
Highlight upcoming or new products
Share your latest blog posts or articles
Publicize webinars or events
Generate downloads for your latest lead magnet
Highlight your social media platforms
You can then add these images to your MailerLite emails using any block with an image component. Read this article for more on how to use images in your emails.
MailerLite is the best email tool to use with Canva
Canva is a great tool that makes it easy for anyone to start building better-looking emails that wow their subscribers, and MailerLite is the best tool to make the most of these features. Head over to Canva to start creating and then connect your MailerLite account to streamline the email design process.
Start today with a free MailerLite account
Sign up for MailerLite to connect to Canva and send up to 2,500 emails per month for free. You’ll also access our drag-and-drop email designer with AI features, and a whole suite of powerful email marketing tools.