Note: If you're a Legacy (Classic) user, please log in to your account to access the dedicated Legacy (Classic) Help Center.
How to upload images to the file manager
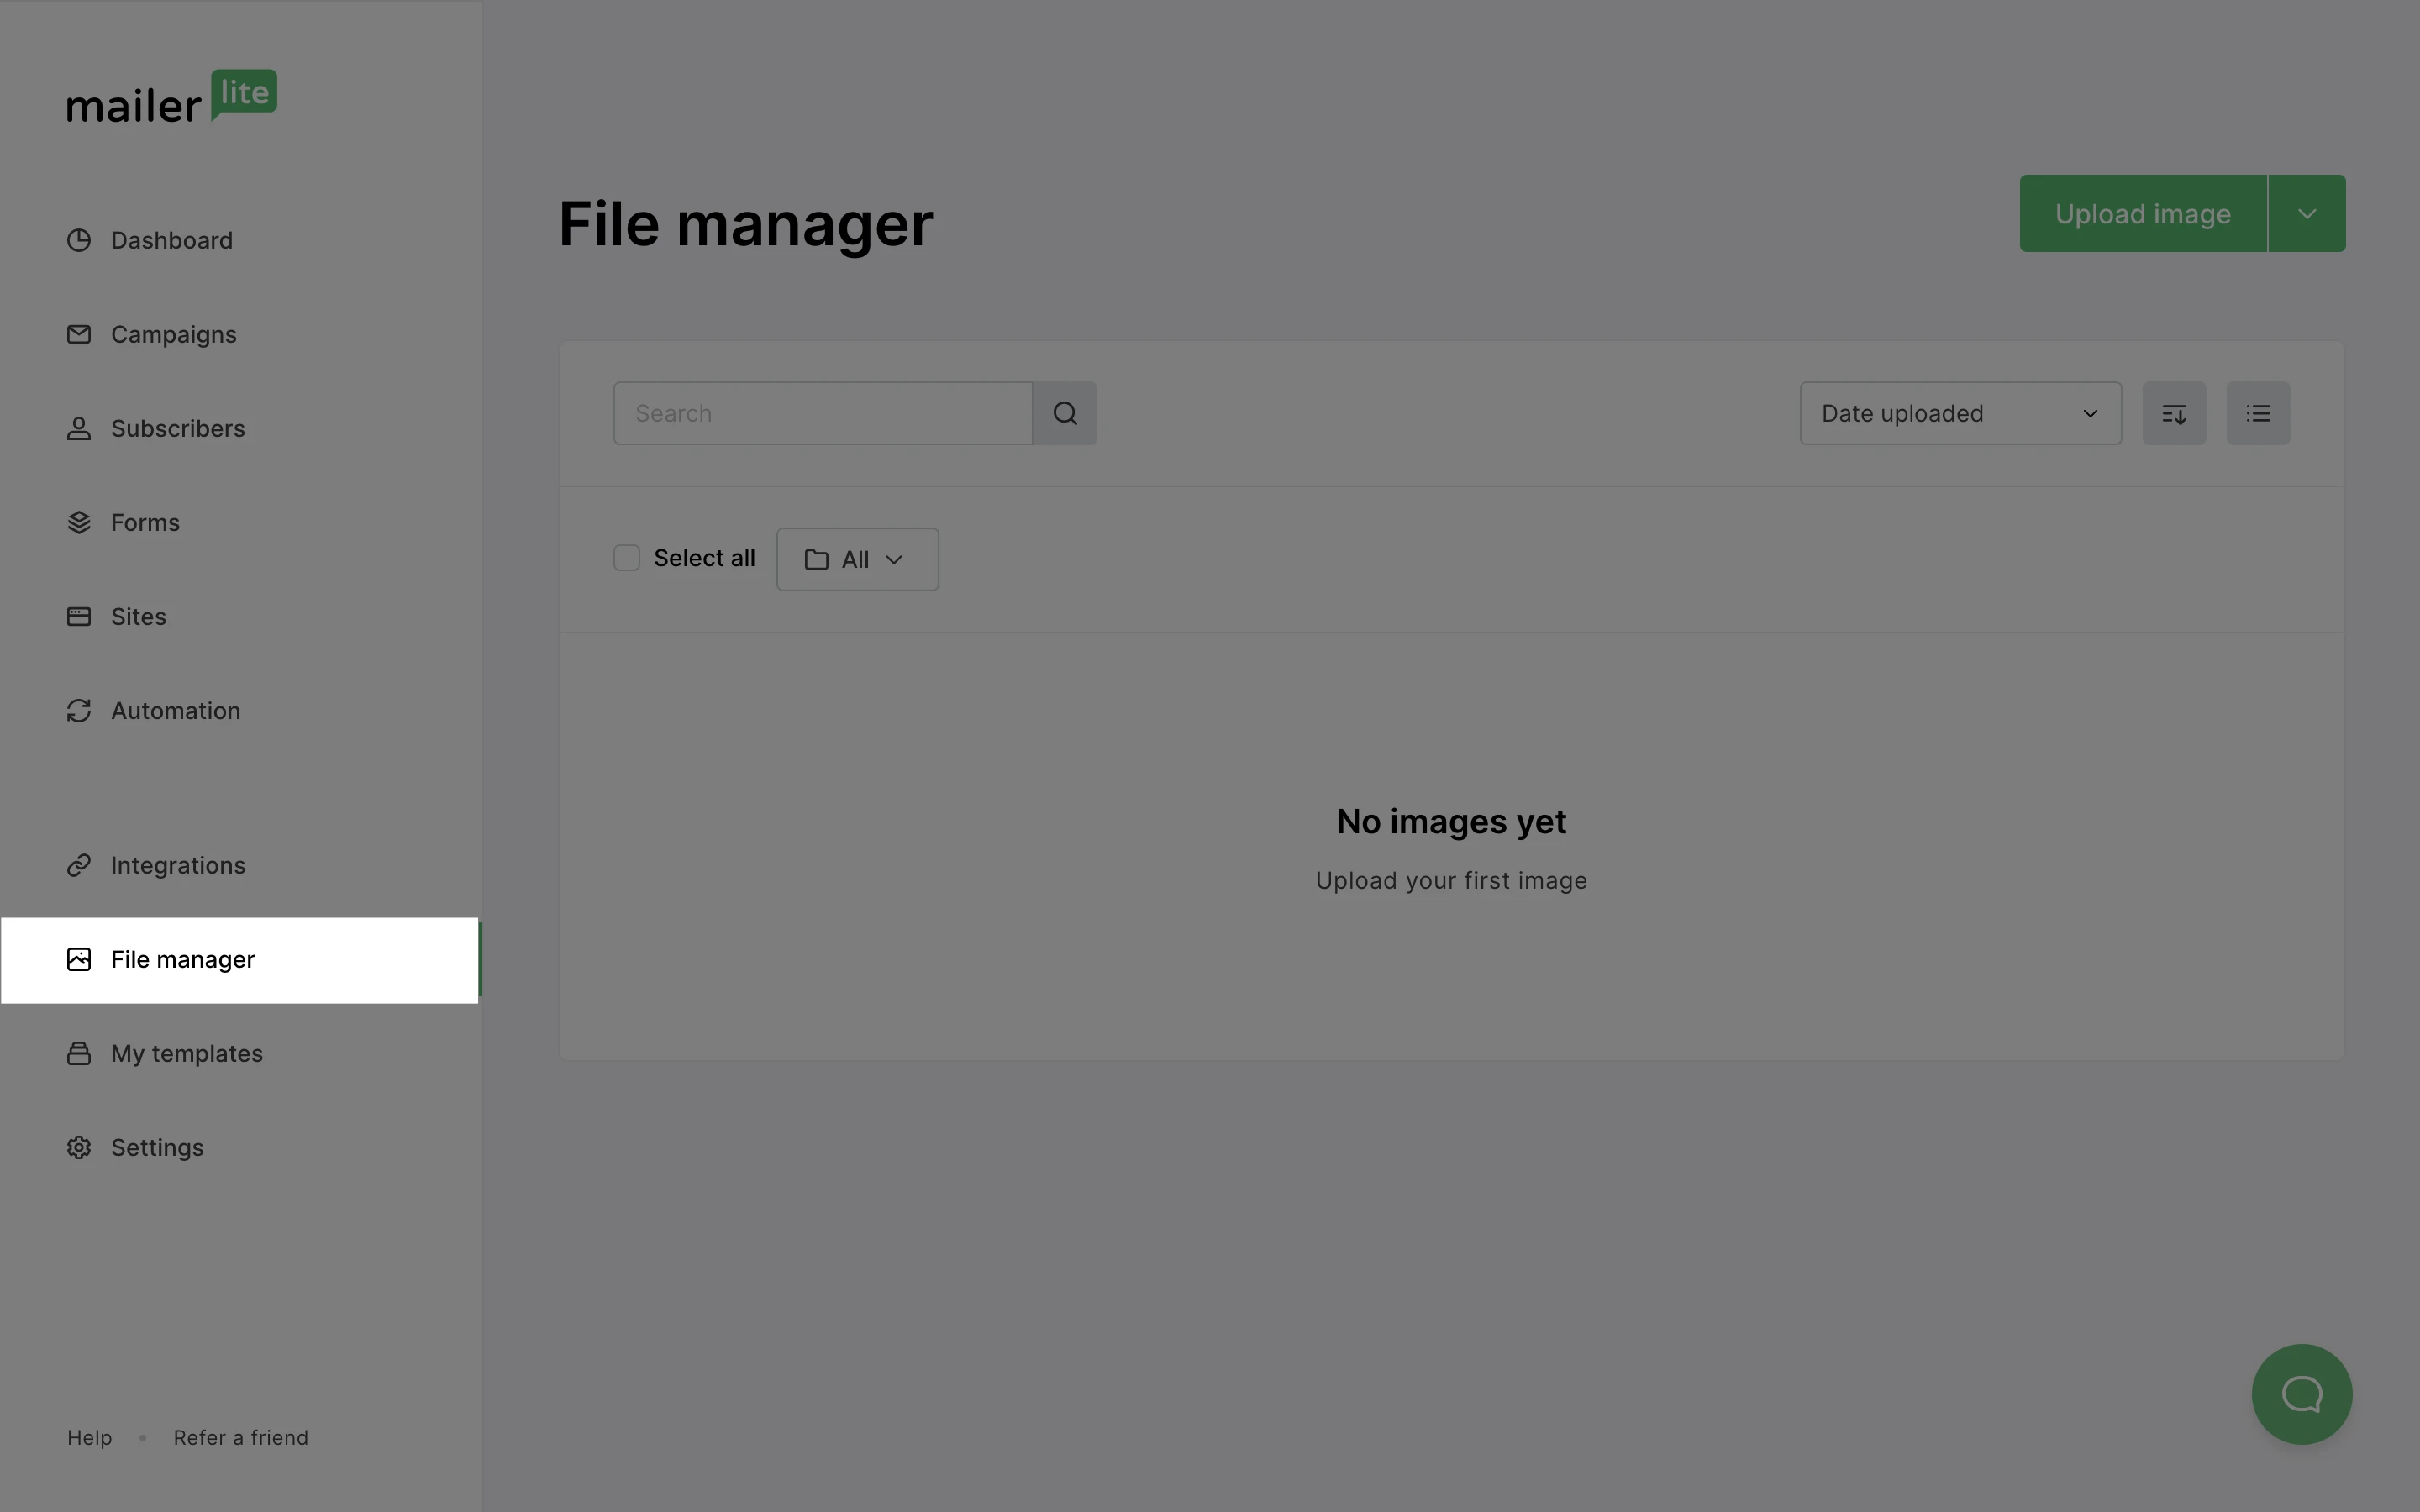
Your File manager is where you store all the images that you upload and use in your campaigns and forms. It can be found in your dashboard sidebar.
Here, you can click the Upload image button to import an image from your computer into your file manager. Or, you can click the downward-pointing arrow on the right-hand side of the button to import an image from a URL, Google Drive, Tenor or Iconfinder.
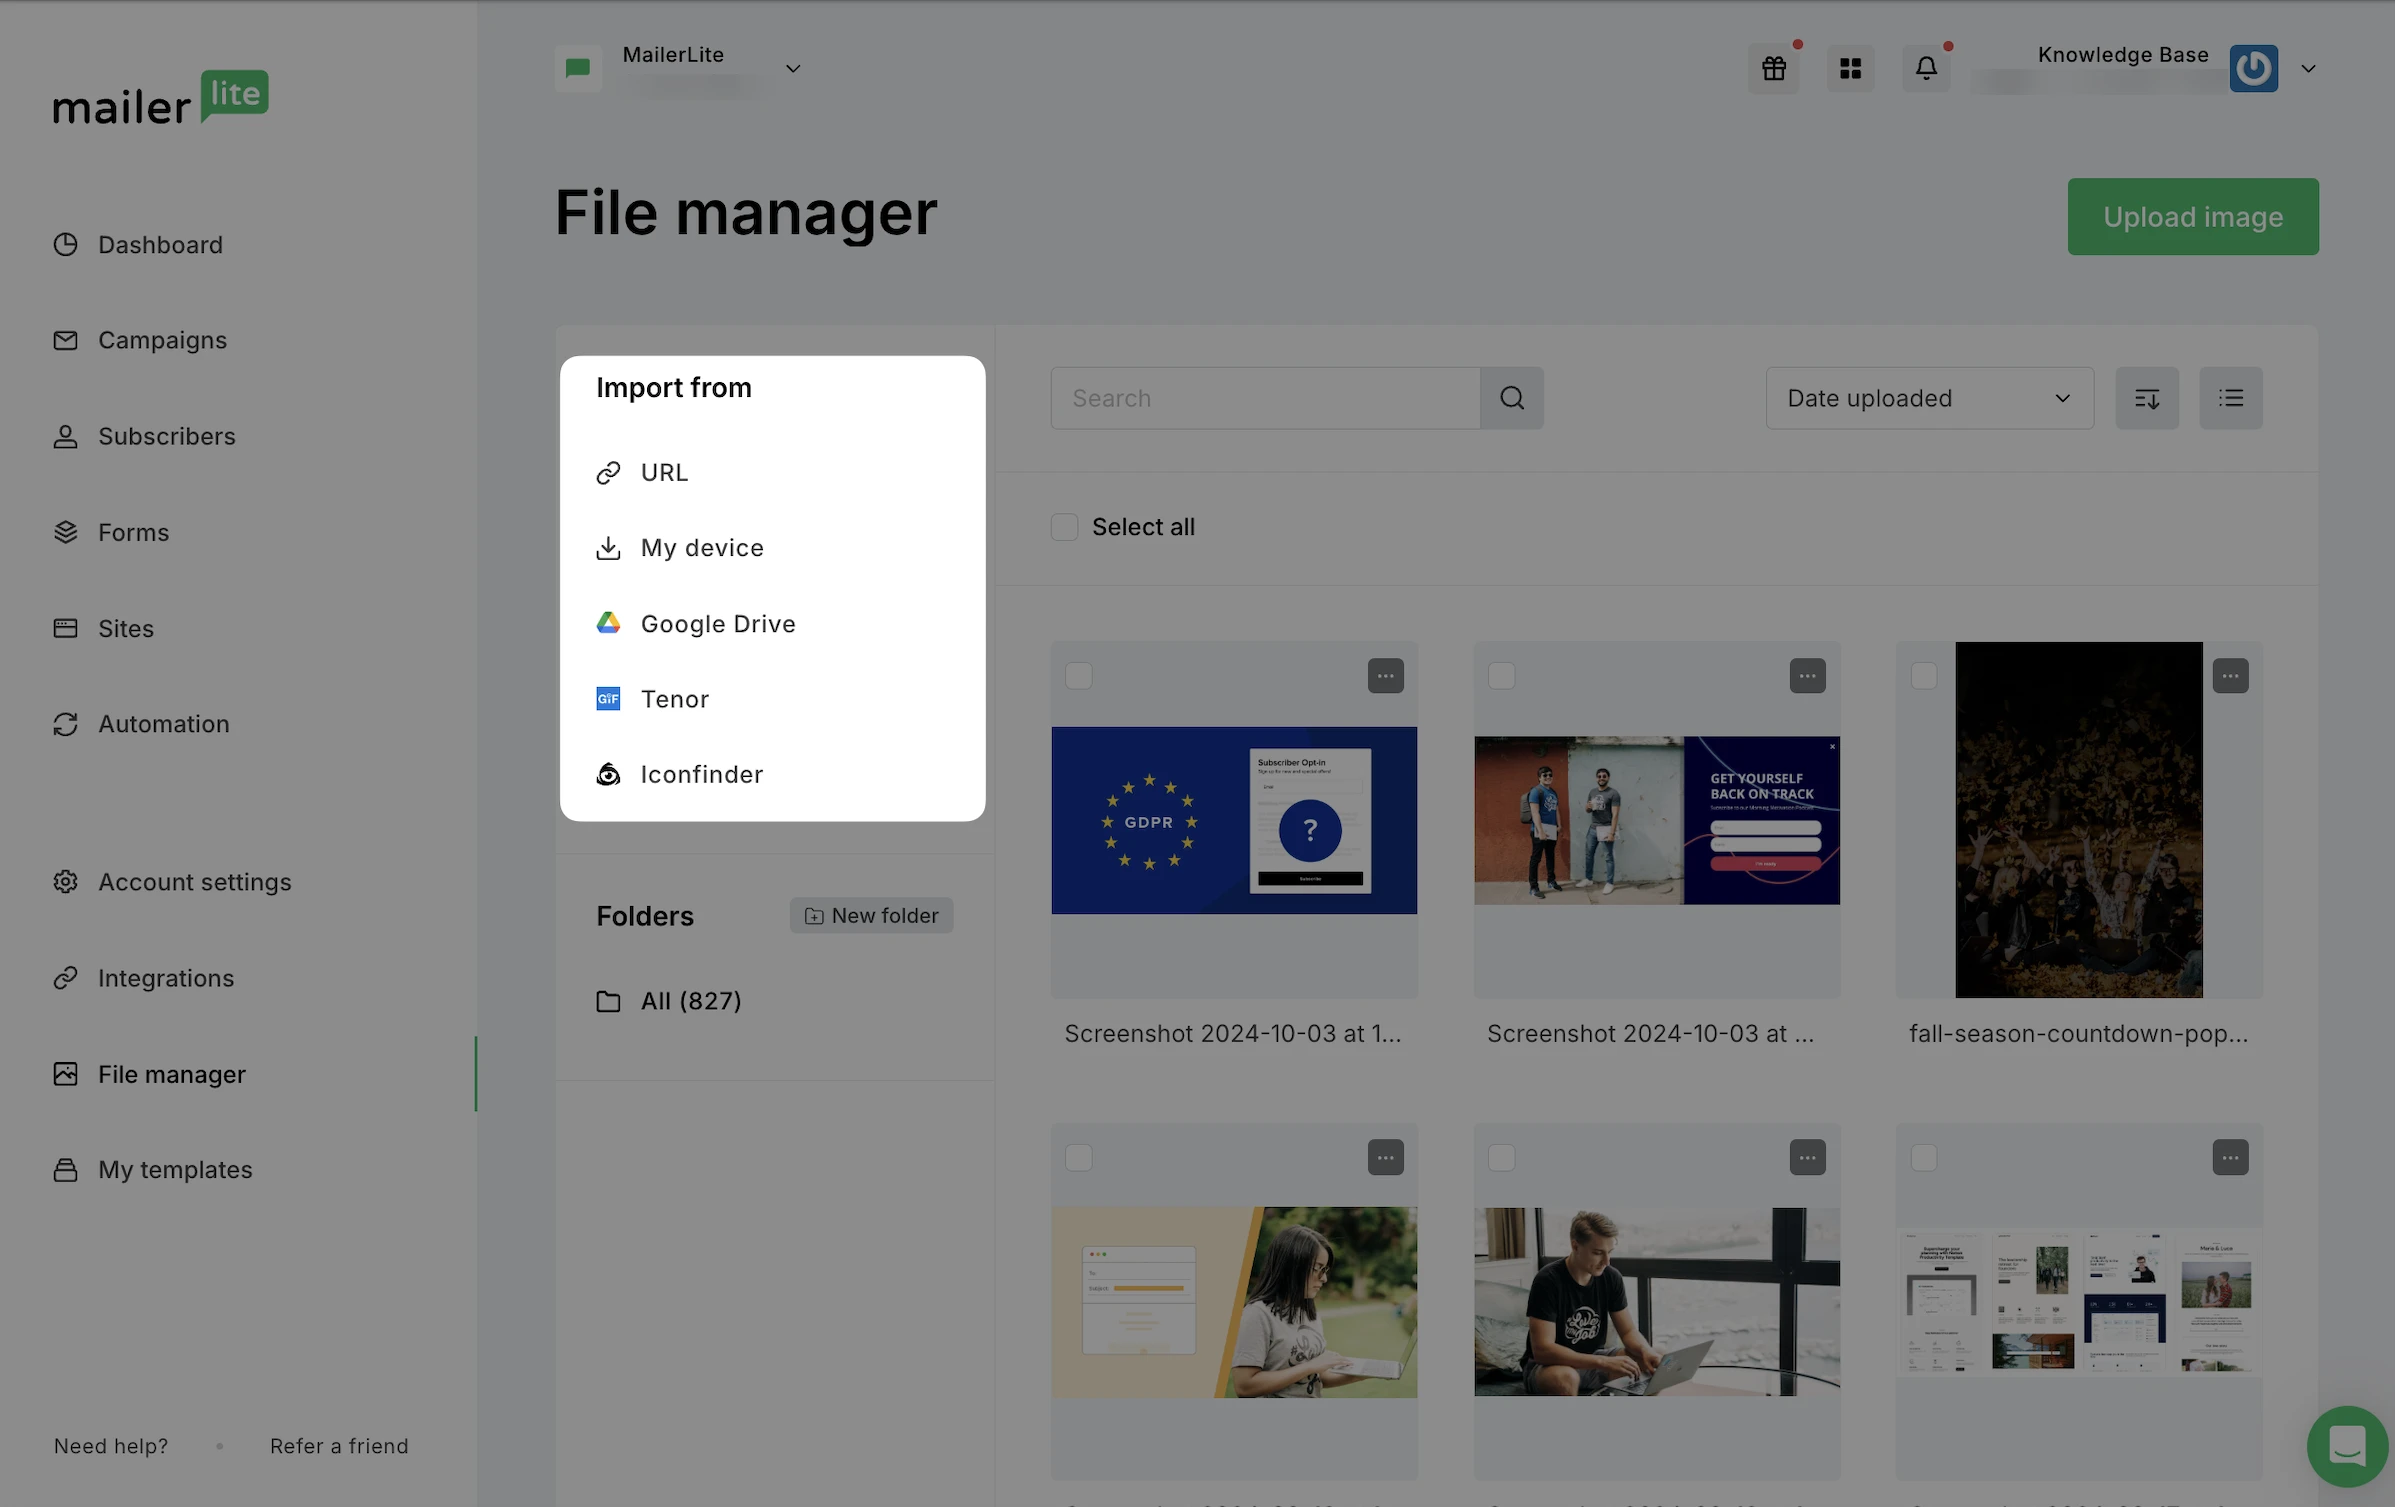
URL: A window will appear where you can paste the URL of your chosen image to import it.
Google Drive: A window will open, allowing you to log in to Google Drive and select images directly.
Tenor: Tenor provides a vast collection of GIFs to bring your emails to life with engaging and dynamic visuals. For tips on using GIFs, refer to our guide on incorporating GIFs in emails.
Iconfinder: This platform serves as a marketplace for icons, illustrations, and 3D illustrations available in AI and PNG formats.
Supported file formats
Our file manager is compatible with several image file formats to suit your various needs. Here are the formats you can use:
JPEG (.jpeg): Ideal for photographs and images.
PNG (.png): Great for images that require transparency and high-quality details.
GIF (.gif): Perfect for animations and small, simple graphics.
ICO (.ico): Used mainly for favicons or branding icons in web contexts.
PDF (.pdf): Great for sharing templates, resources, guides
ePUB (.epub): Easily share workbooks, guides, ebooks
File size limits
Larger images load slowly in your subscribers' inboxes. Also, if they're using their mobile internet, larger images result in bigger data usage. Additionally, the smaller the image, the less likely your newsletter will land in spam or the promotions tabs. For this reason, your images must be under 10 MB.
However, keep in mind that if you are importing an image larger than 10 MB, it will be automatically resized to 10 MB.
How to add images in the Drag & drop editor
To add an image directly to your newsletter, first, drag the image block of your choice into your newsletter template from the left-hand sidebar.

Then, click the image block and click the Image icon.
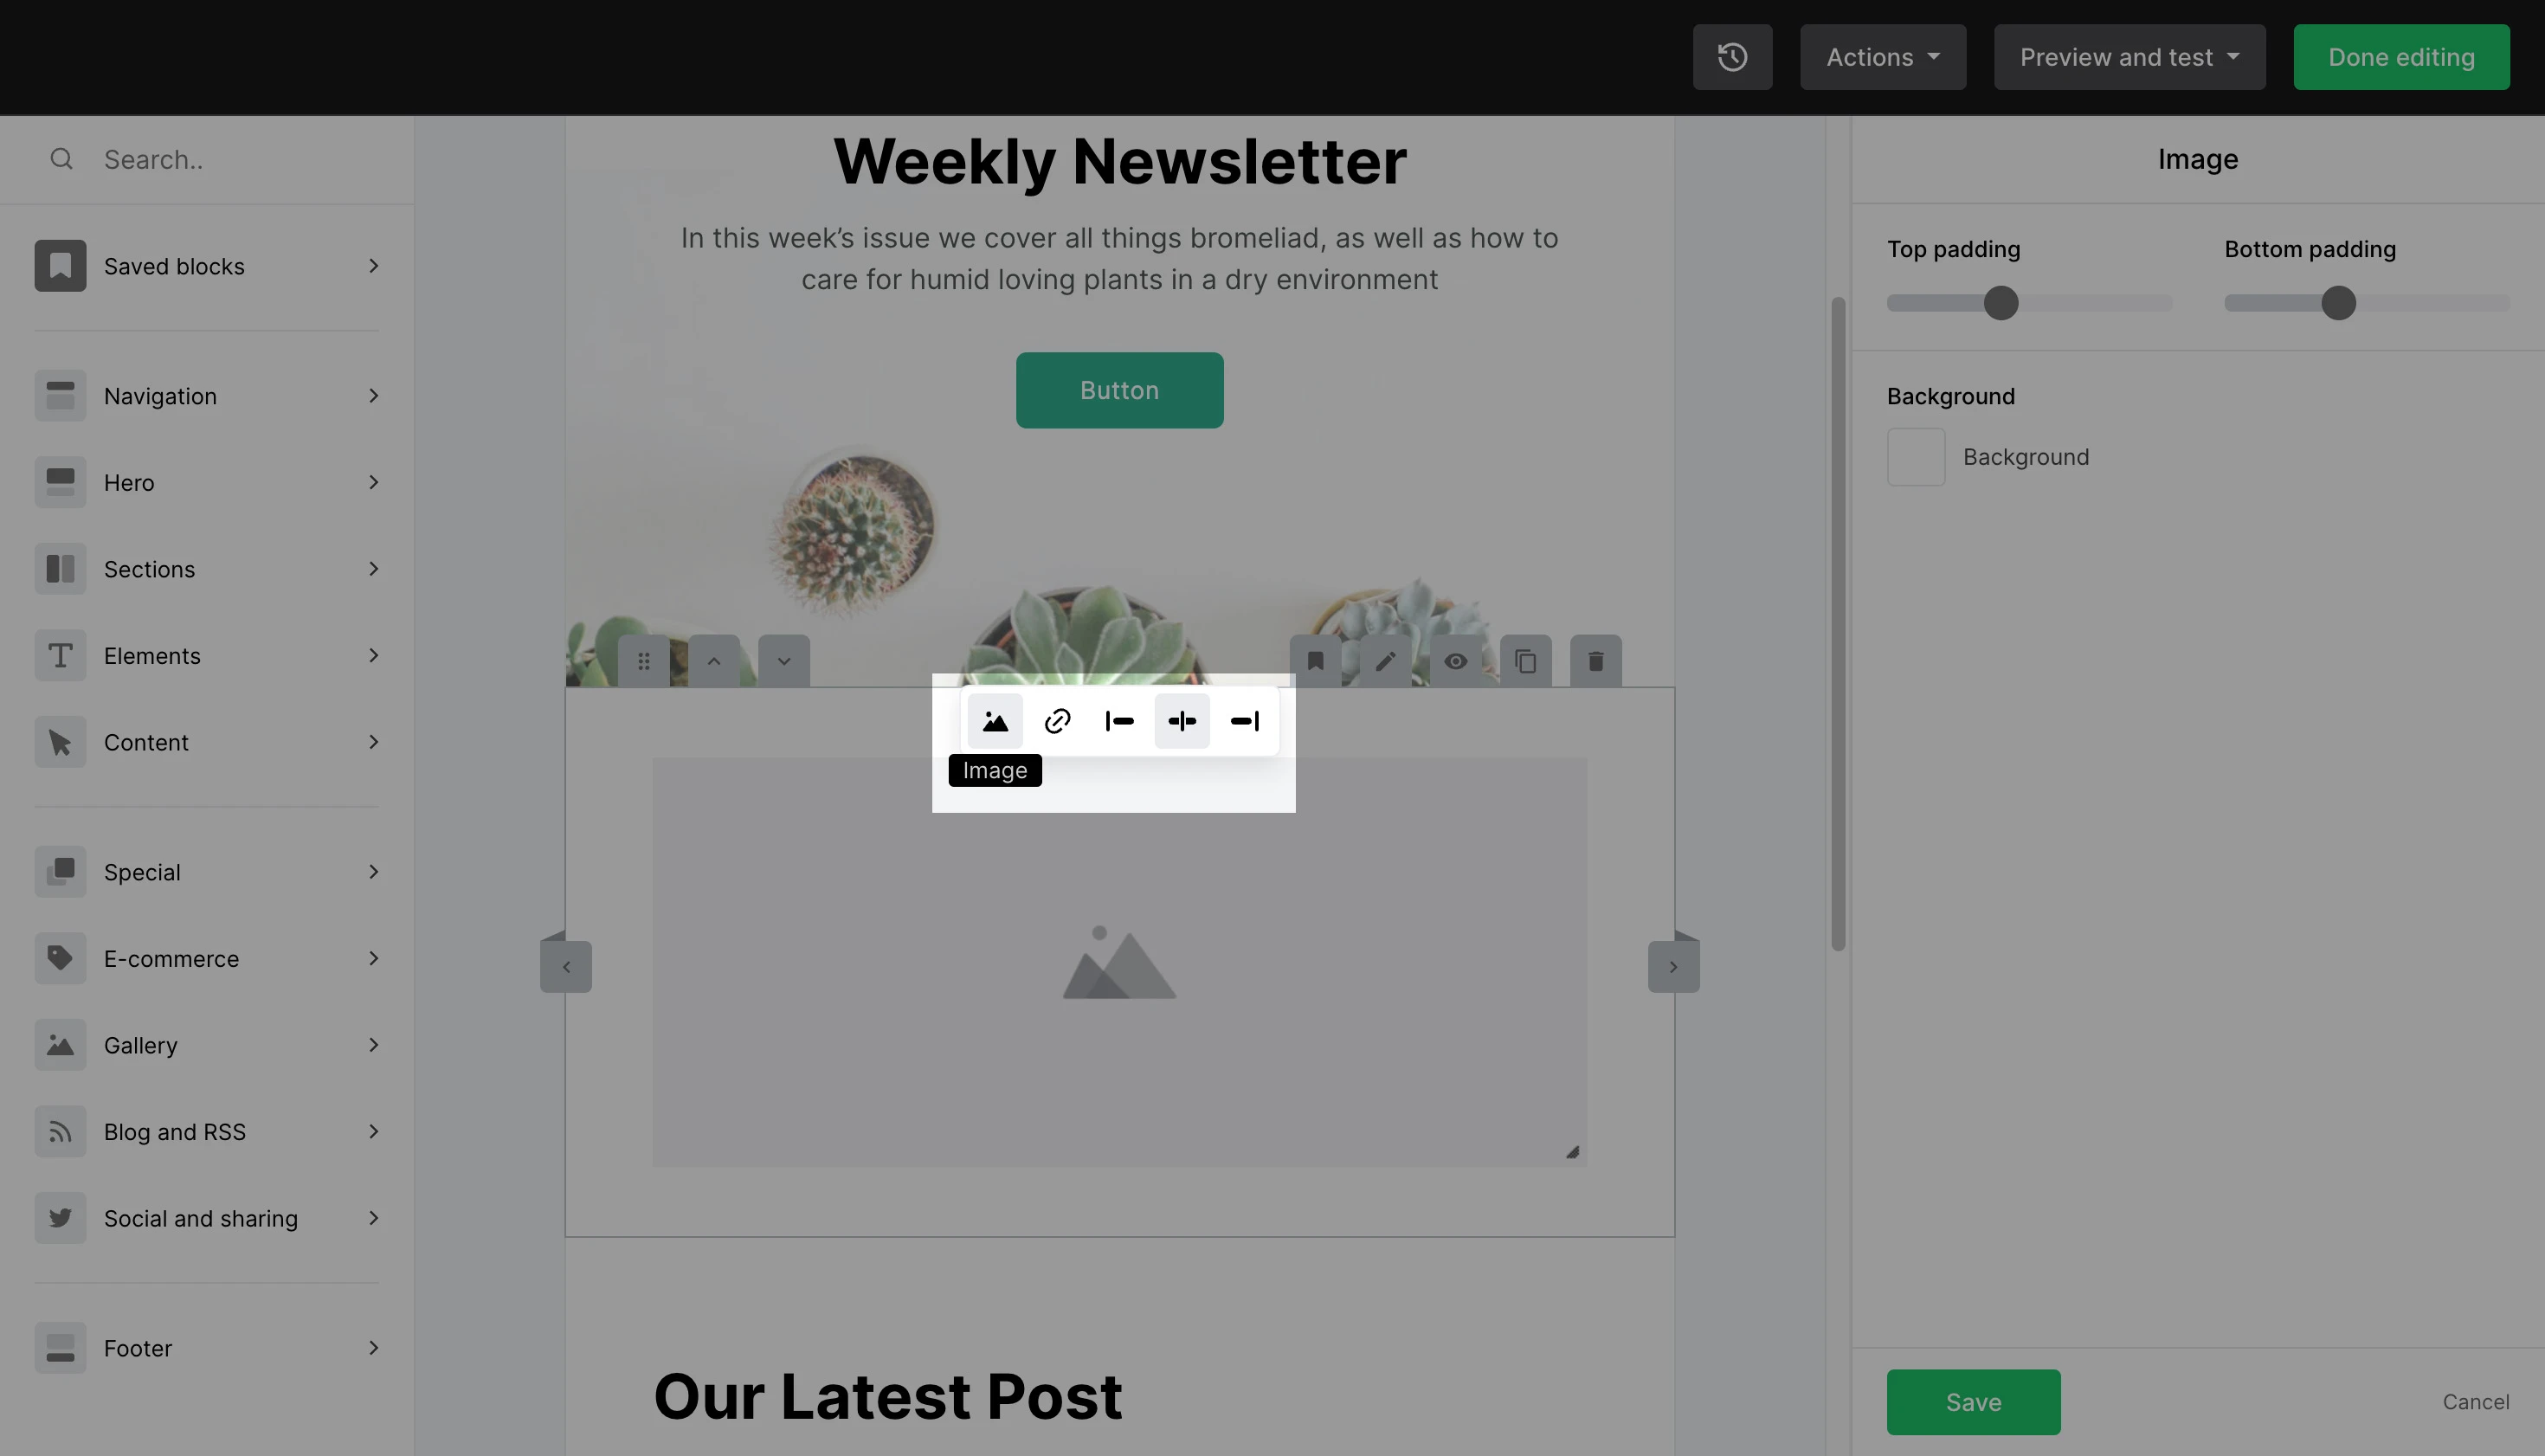
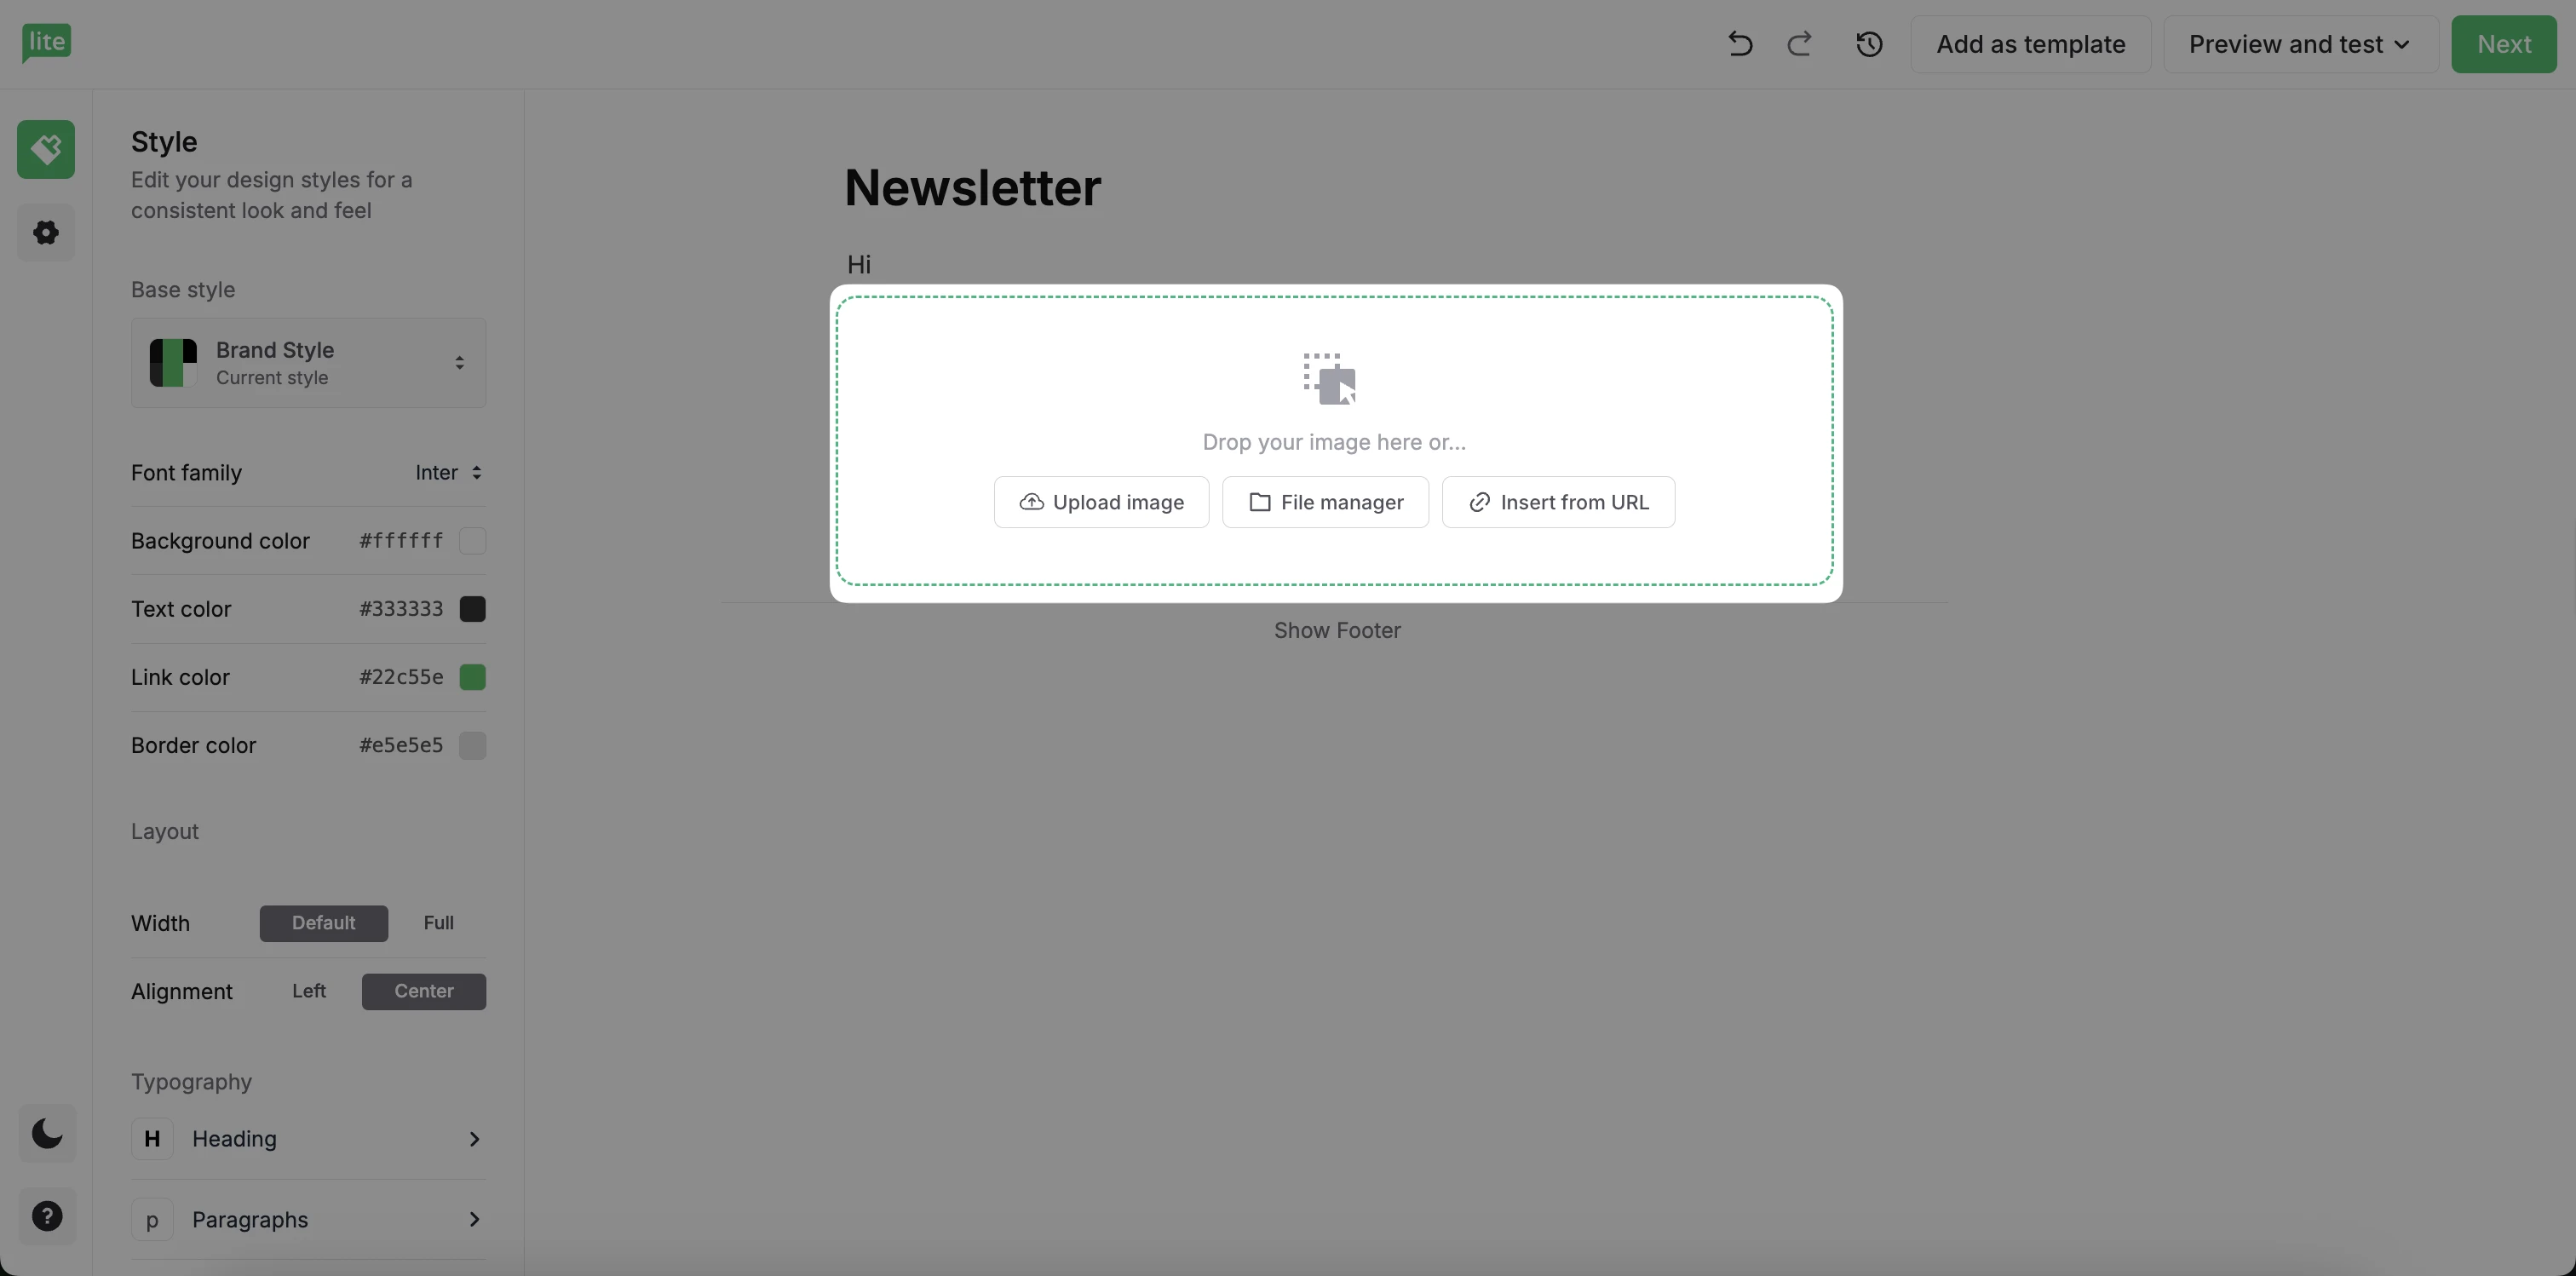
This will open your File manager. From here you can select an image you have already imported, or you can upload a new image to add to your newsletter.
How to add an image block using the Simple editor
To add an image to your newsletter created with the Simple editor:
Hover over the + symbol to the left of your content or use the / keyboard command.
Choose Image from the dropdown.
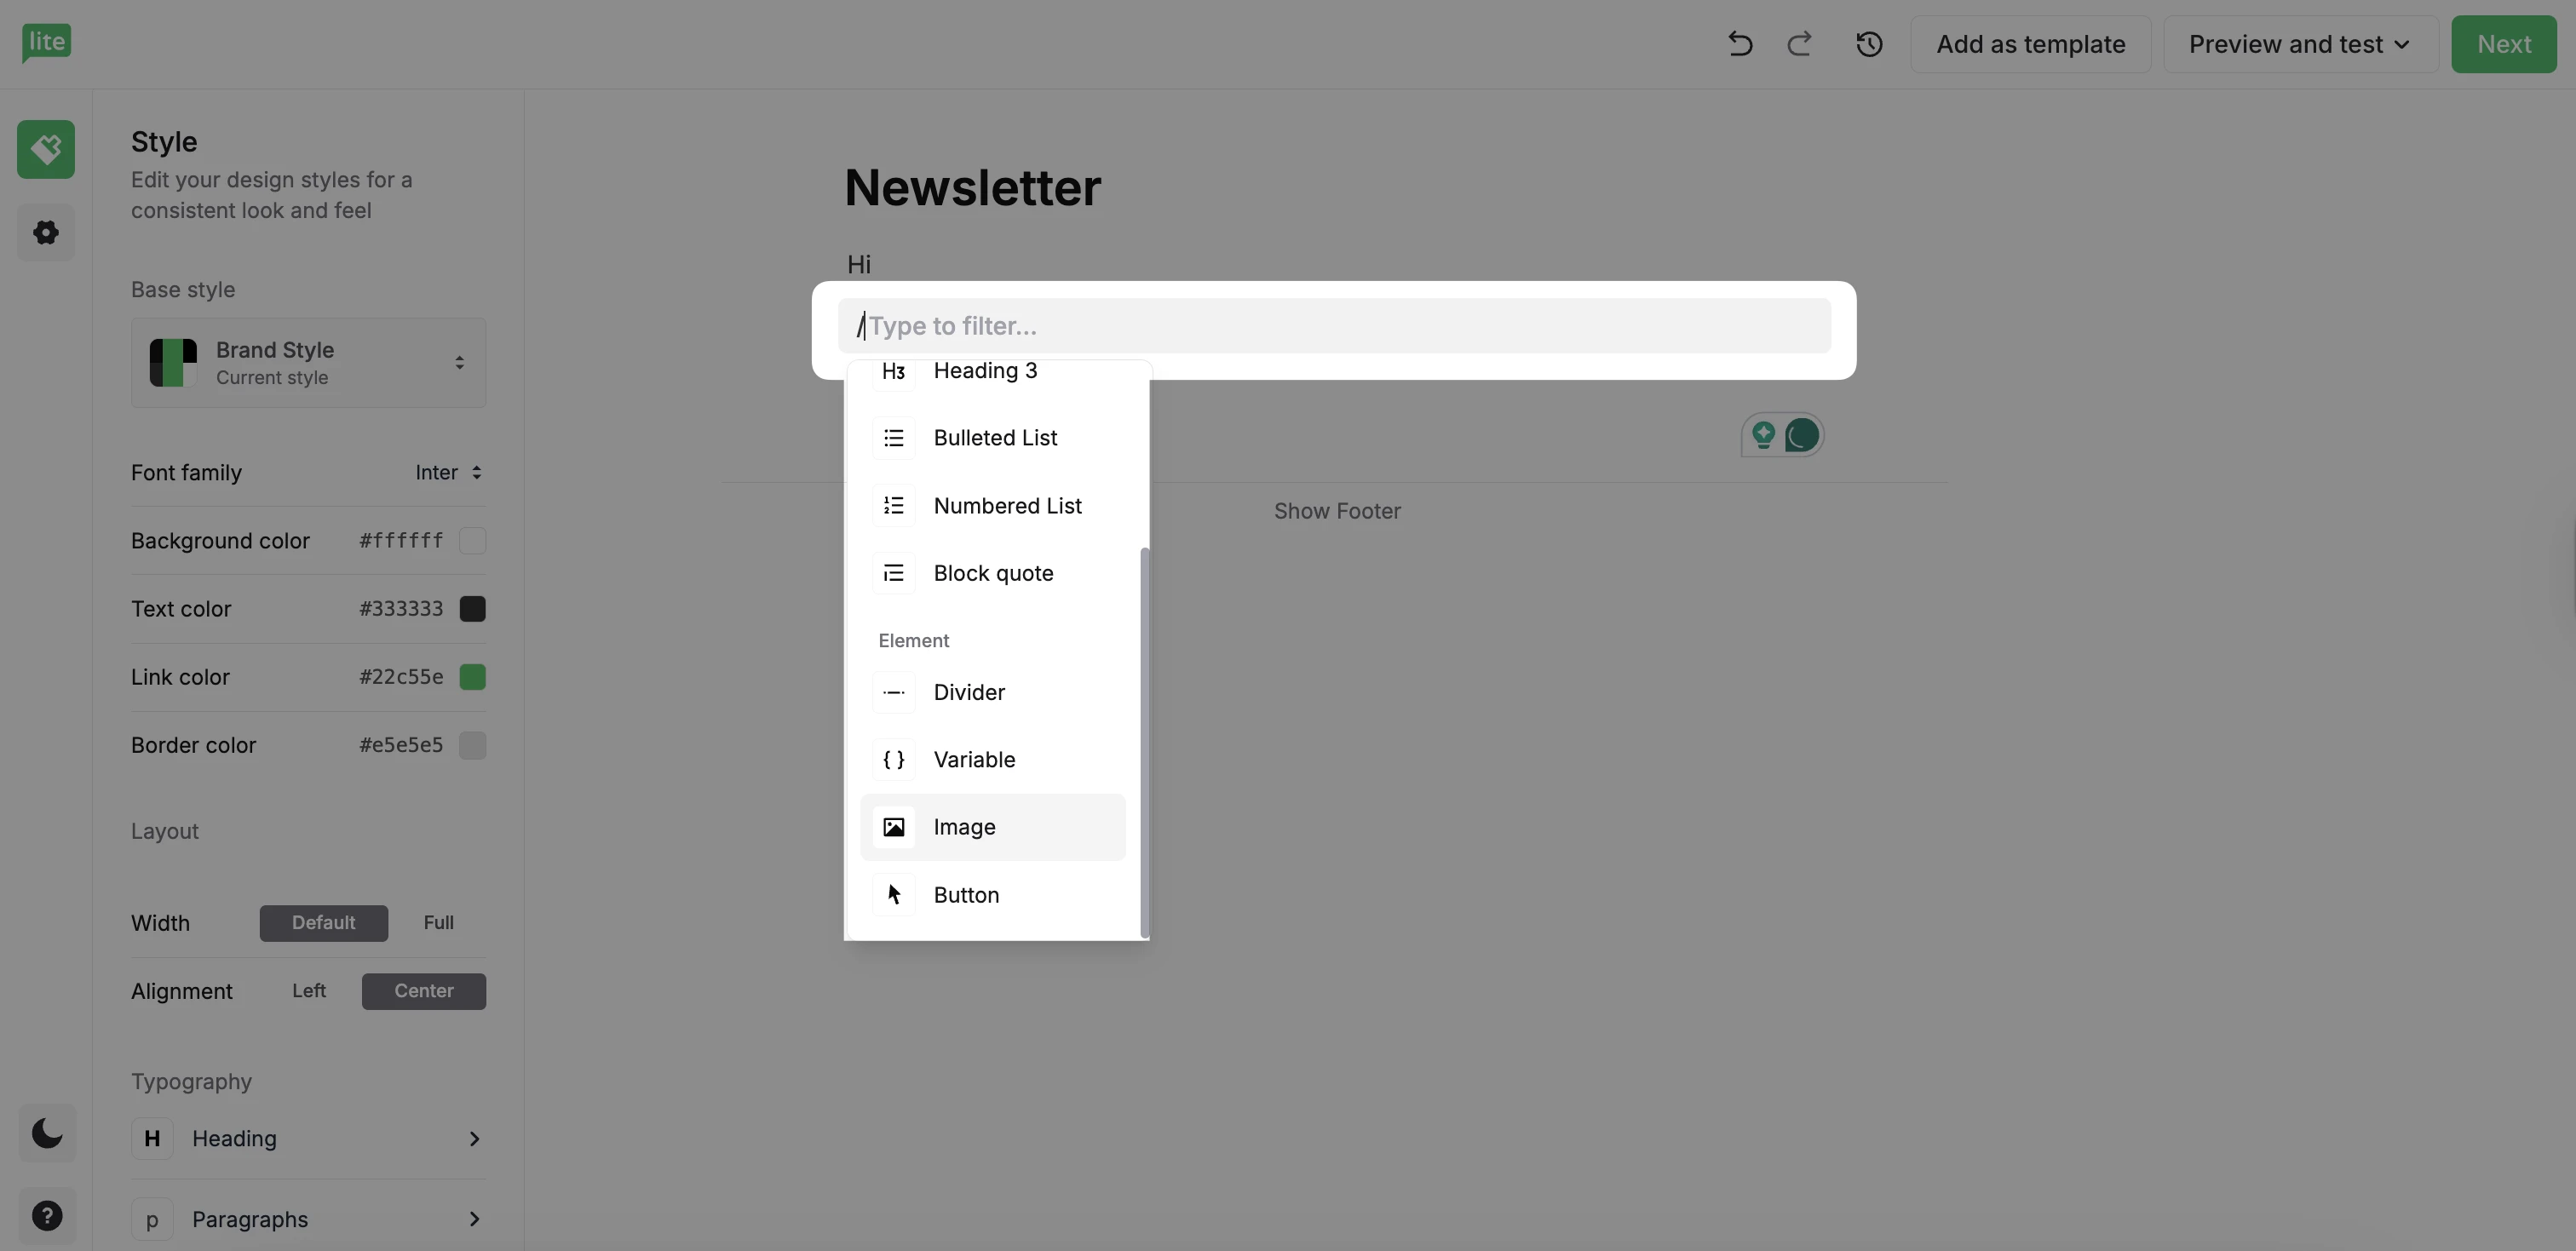
This will add an image element to the body of your newsletter. Drag and drop the image file into the element or upload it directly from your device, the File manager, or a URL.
How to resize an image in a campaign or site
You can resize images within all your MailerLite campaign and landing page editors.
To resize an image in your campaign or landing page editor:
Select the image block.
Click the arrow in the bottom right-hand corner of the image and drag it inward to adjust to your preferred size.
How to use the image editor
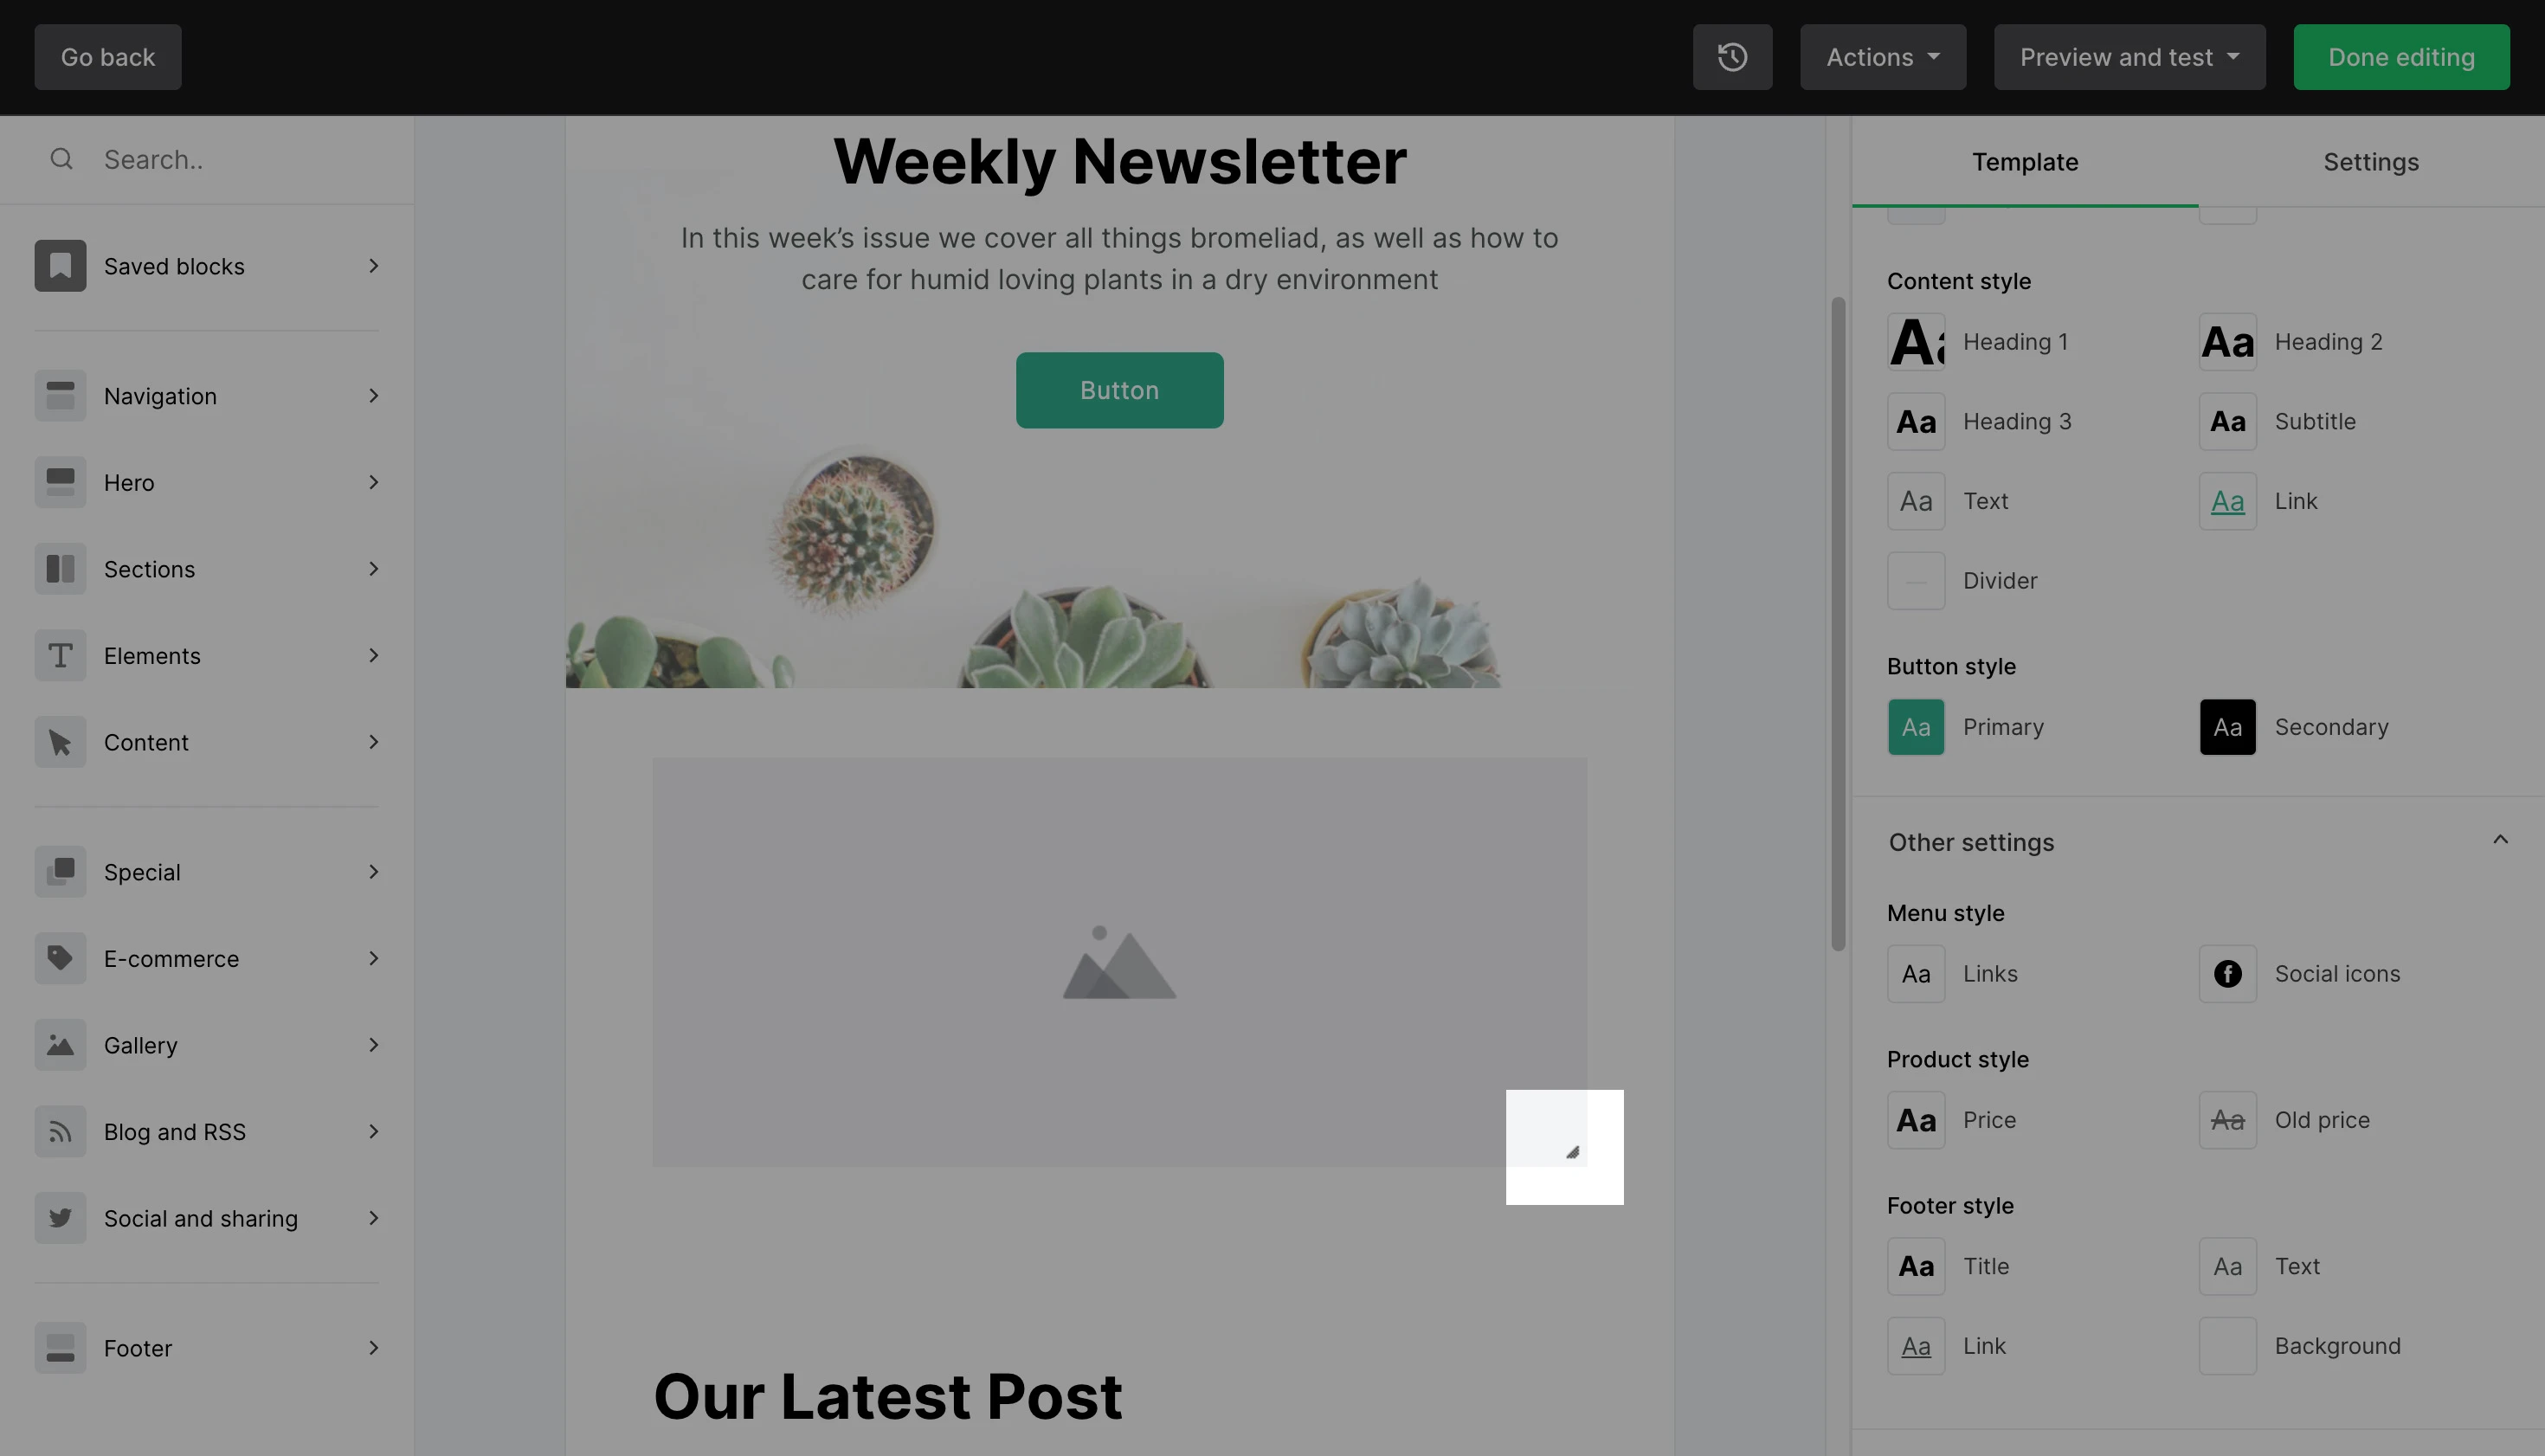
Background images for each block have the option to be edited using our image editor. To open the image editor, select the image block containing the background image you want to edit. Then, in the sidebar, click Edit image.

Hover over any icon on the left-hand side of the image editor to see each menu item.
The image editor contains the following features:
Filter: Apply any of 18 built-in filters (blur, brightness, grayscale, etc.) and adjust their intensity. Enable or disable filters and even add your own.
Frames: Select from responsive frames that adapt to your image size. Adjust frame width and choose which frames to offer to your users.
Stickers & Shapes: Enhance images with shapes and stickers—like arrows, stars, speech bubbles, or emoticons. Adjust sticker colors, shadows, and opacity. You can add custom stickers, categories, or let users upload their own.
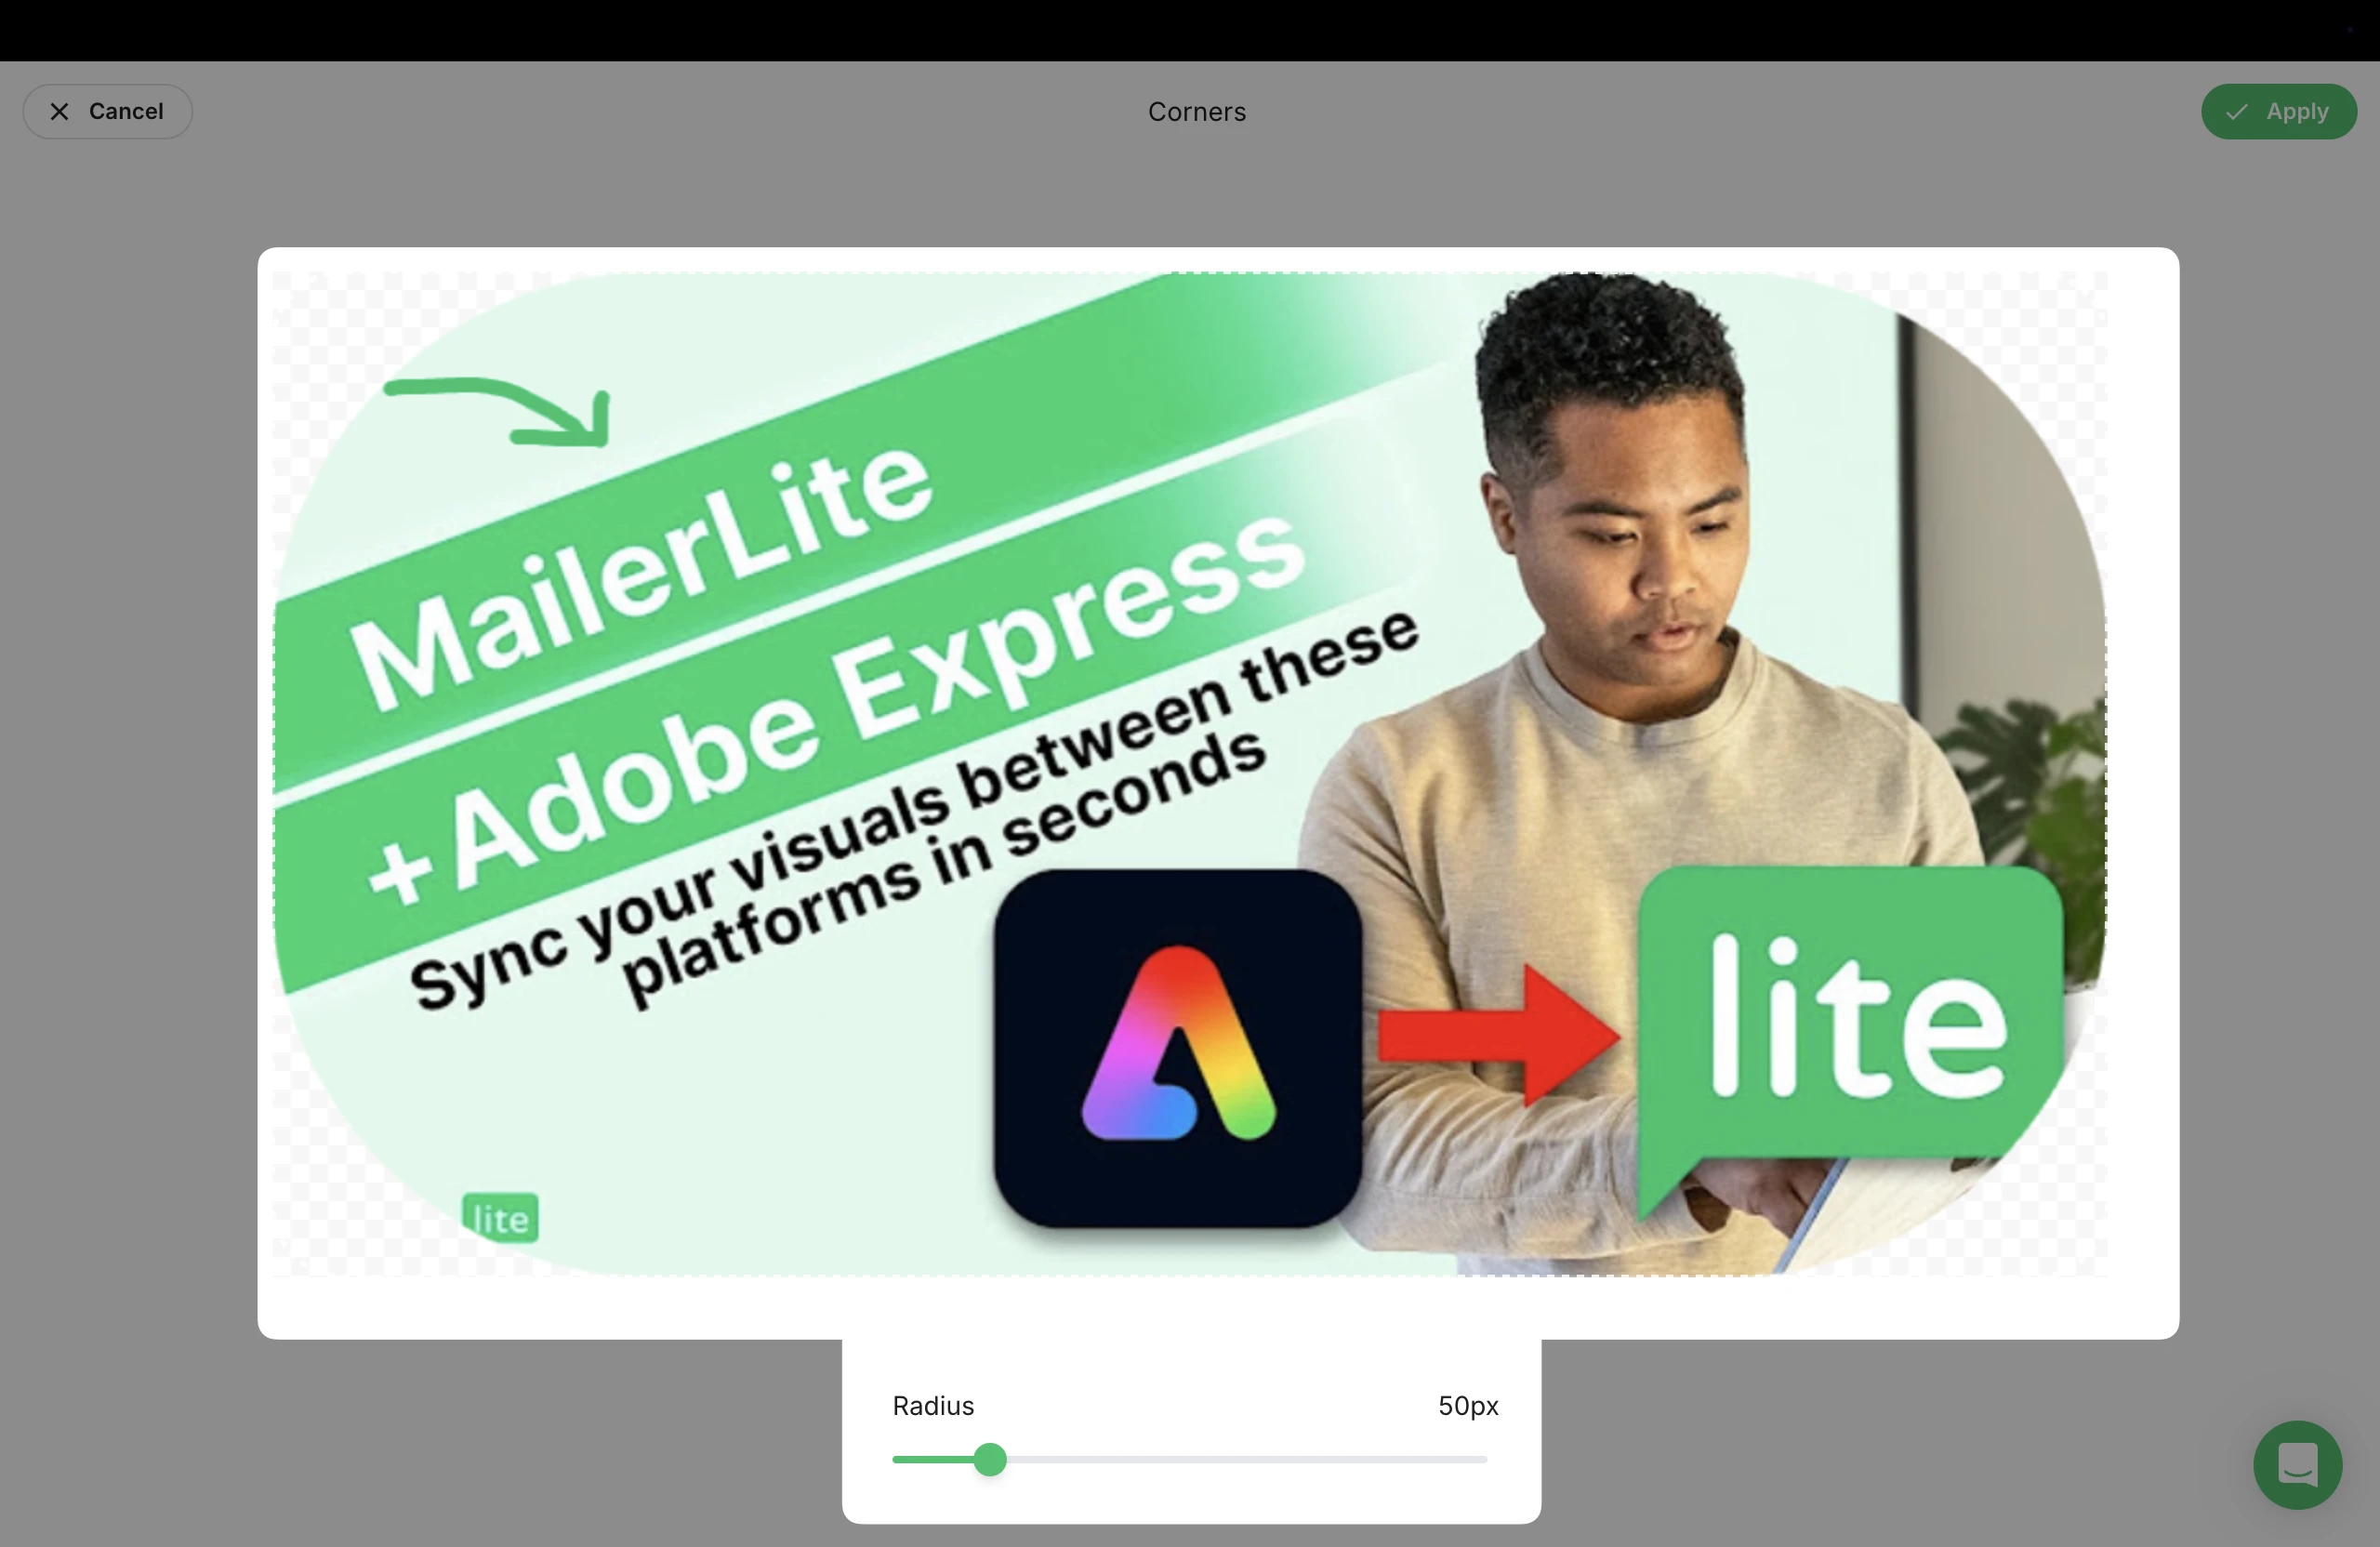
Resize & Round: Quickly resize your images while maintaining aspect ratios, or create rounded corners. Enforce minimum and maximum dimensions or set exact sizes.Text - Use this tool to add text to your image
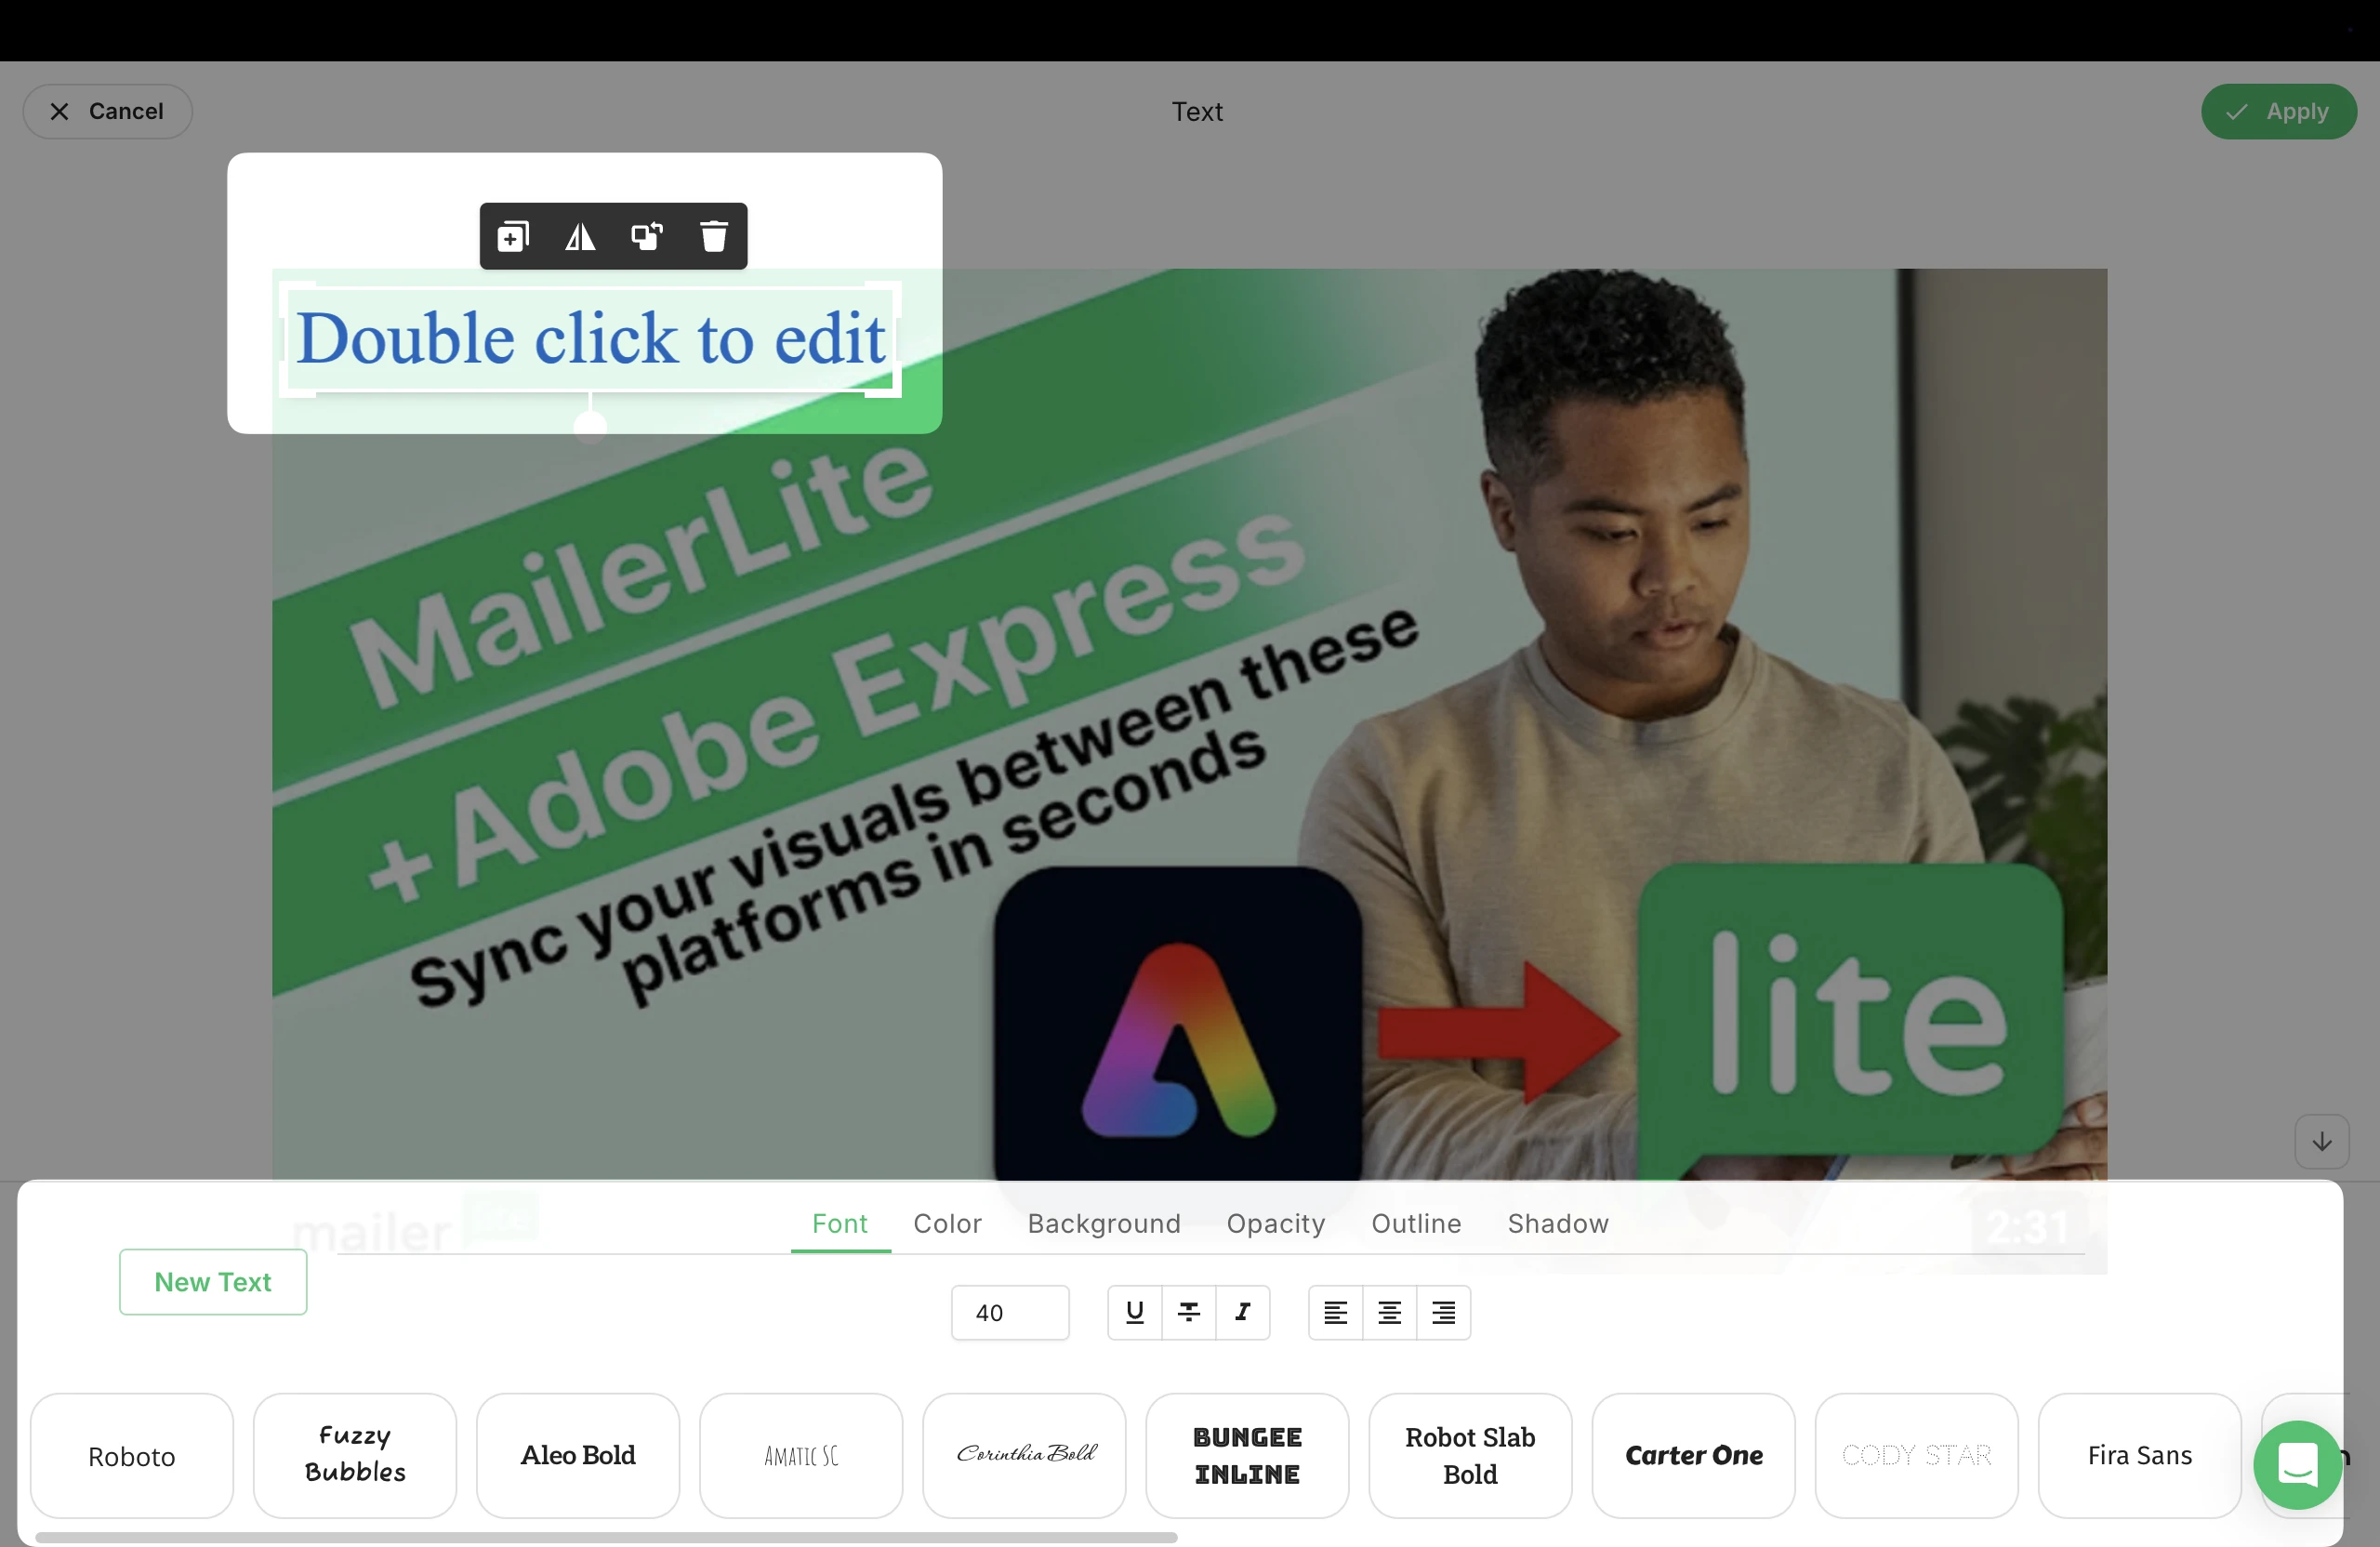
• Text: Add text with customizable fonts, sizes, colors, backgrounds, borders, shadows, and more. You can also upload custom fonts to match your brand.
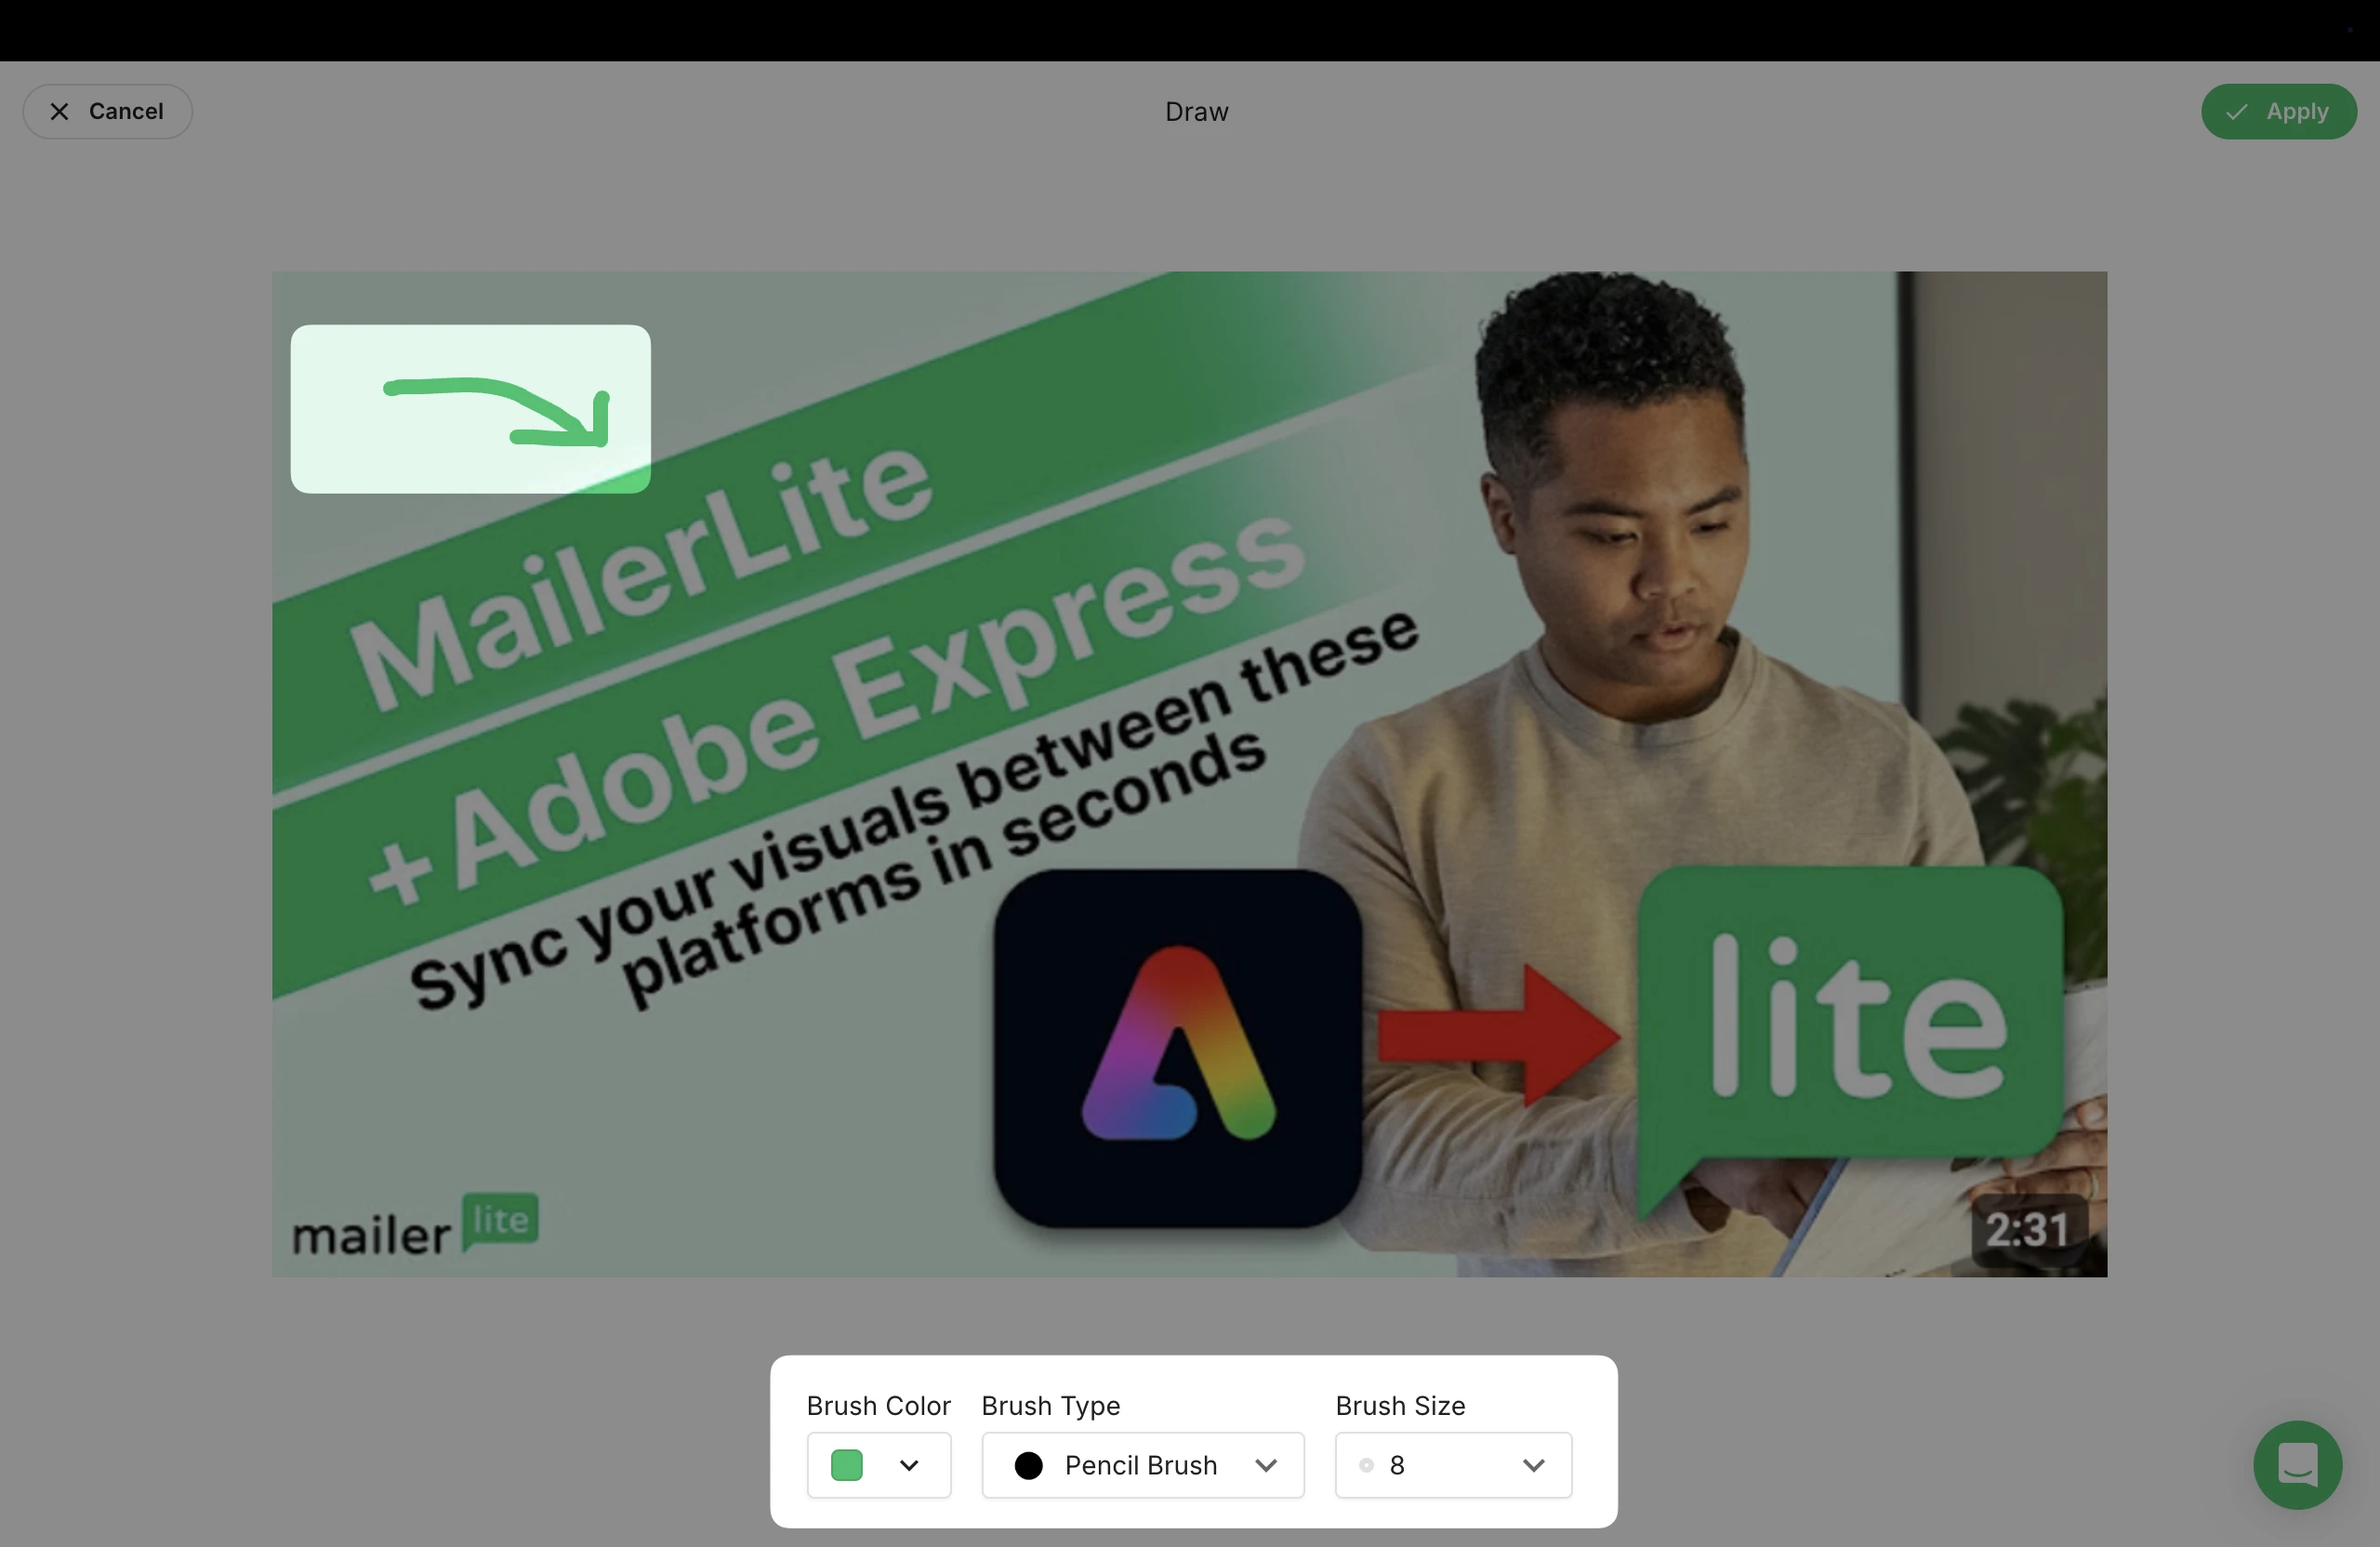
Drawing: Easily draw on images with brush tools in various sizes, colors, and types—perfect for highlighting details or adding artistic flair.
How to crop an image
If you’d like to crop an image:
Select the image block.
In the right-hand sidebar, click Edit image.
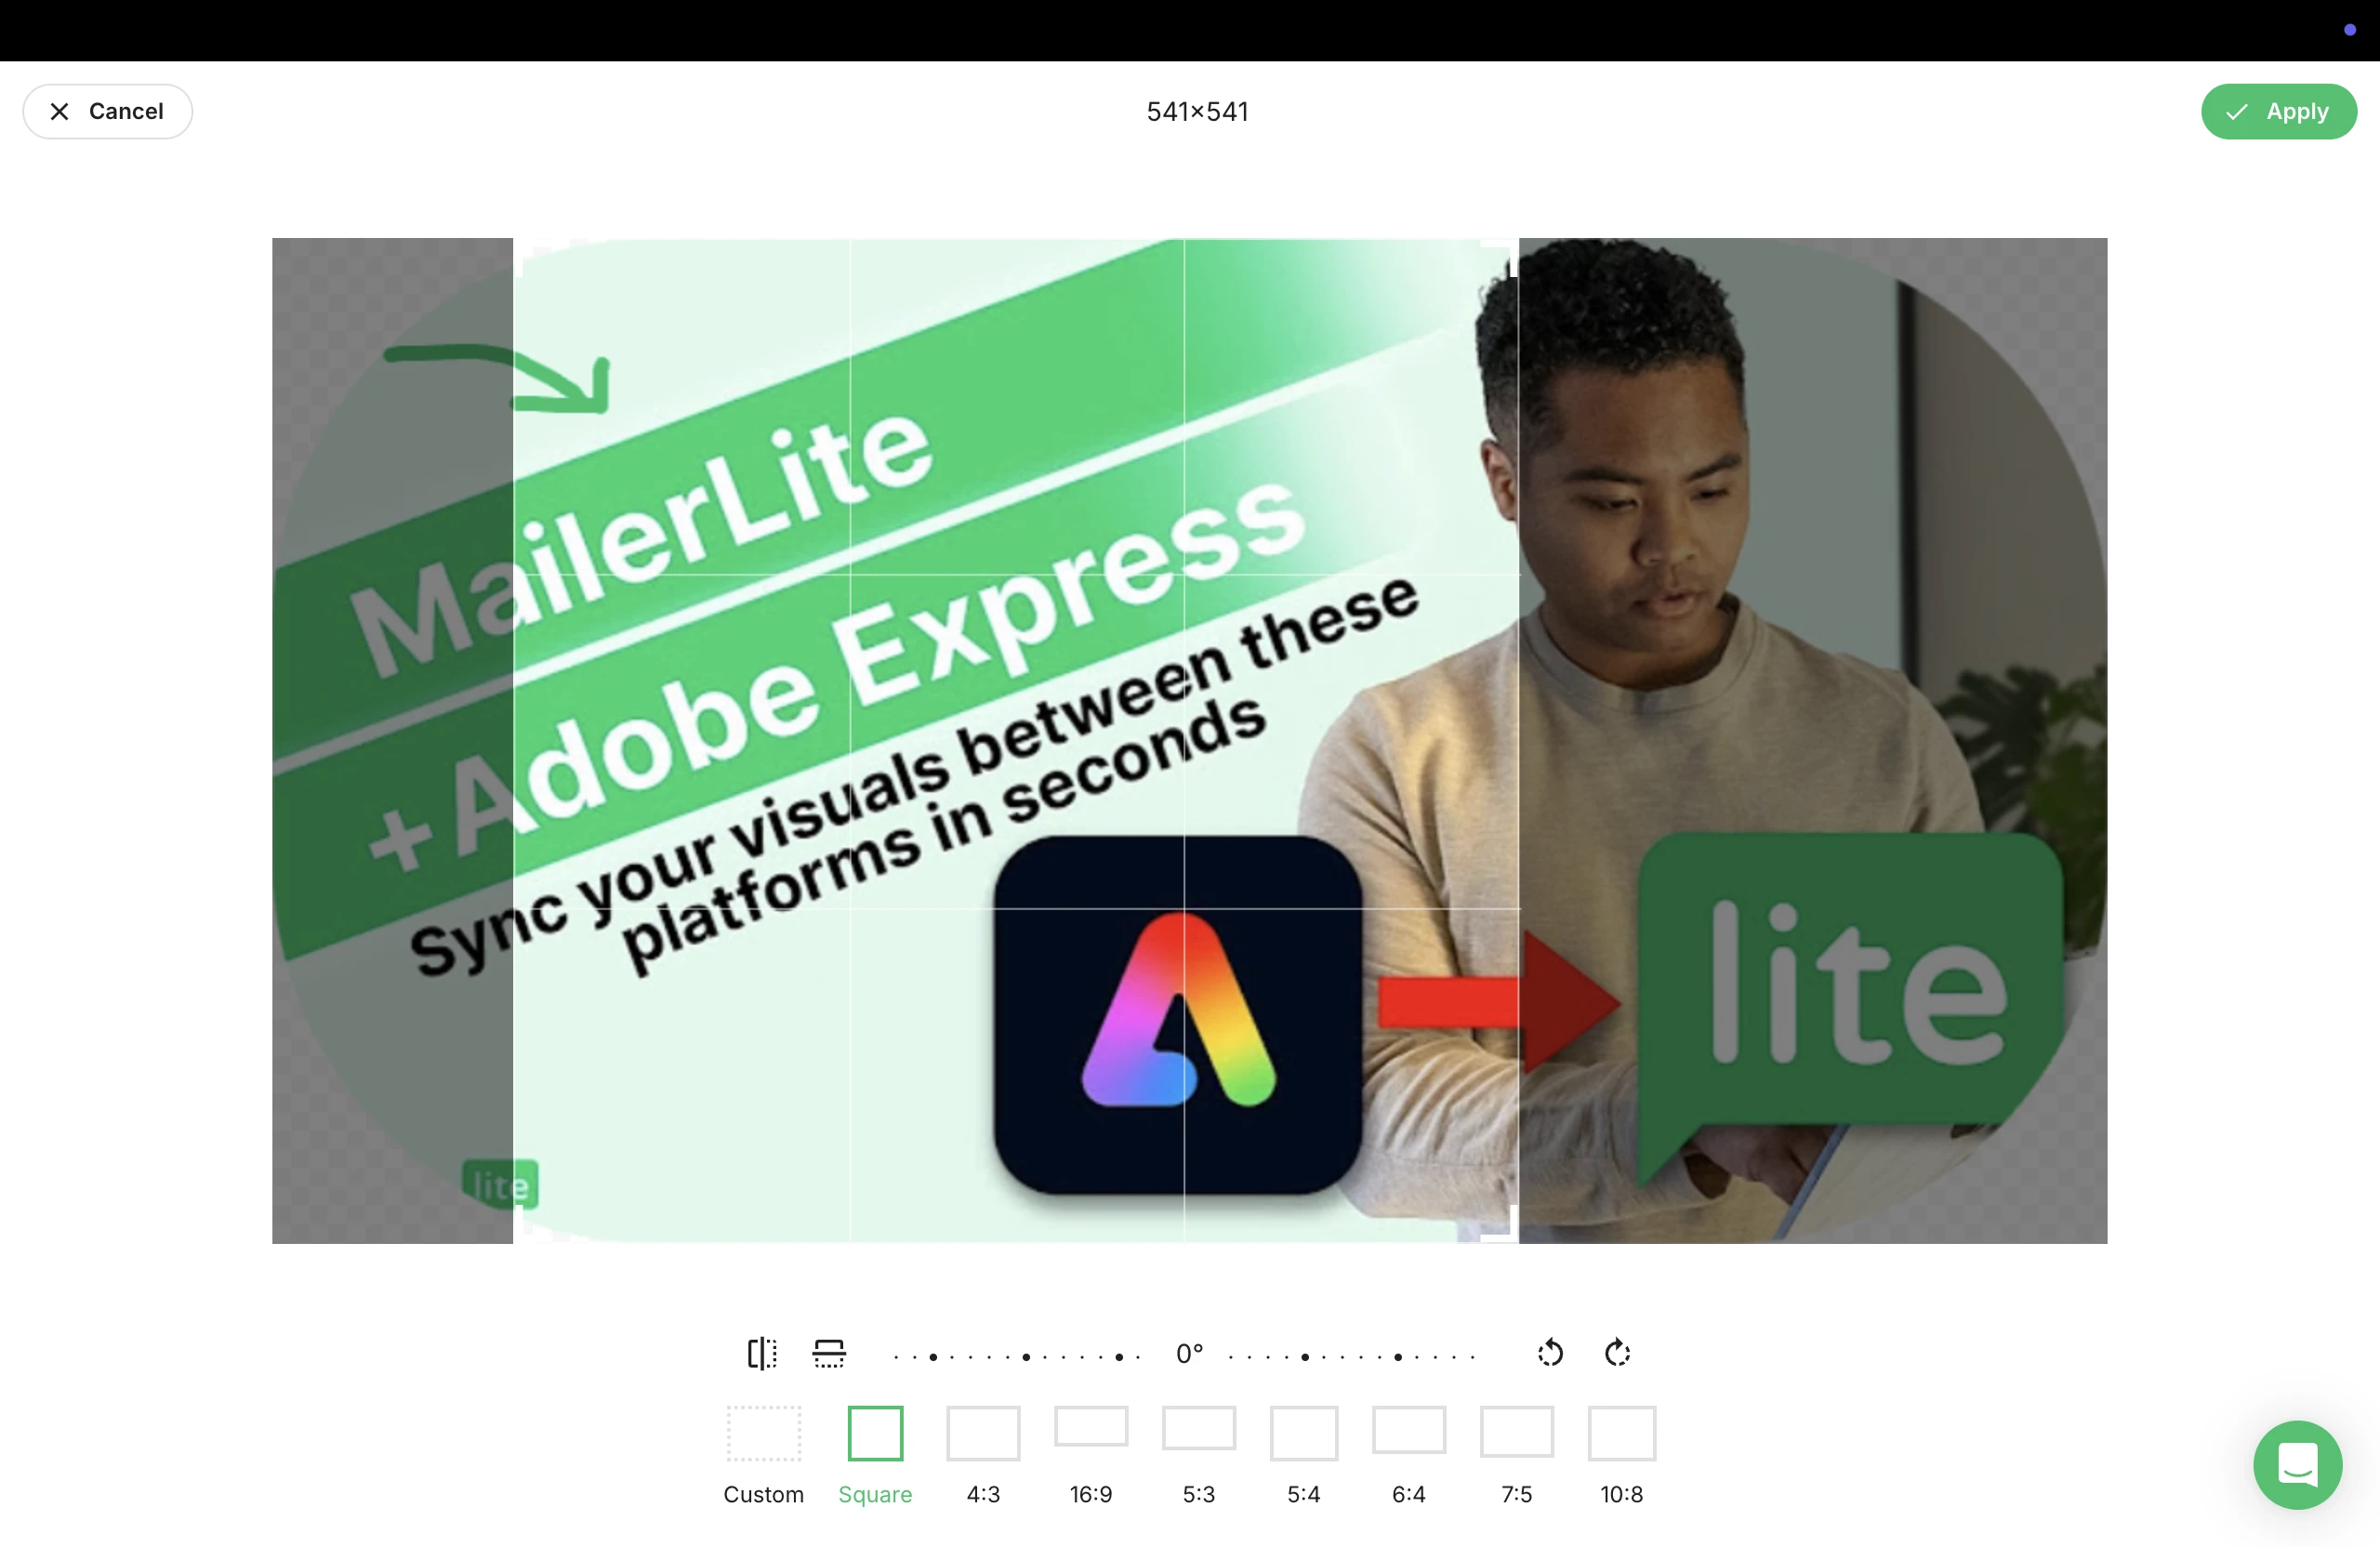
In the image editor, select Crop.
Crop, flip, rotate, or straighten your image. Choose from various aspect ratio presets or add your own.
Click Apply.
What is “ALT” text?
In the Drag & drop editor and Simple editor, you can see that there's an icon for entering the ALT value, which is an alternative text displayed if the image file cannot be loaded. Click the ALT icon to edit the alternative text.
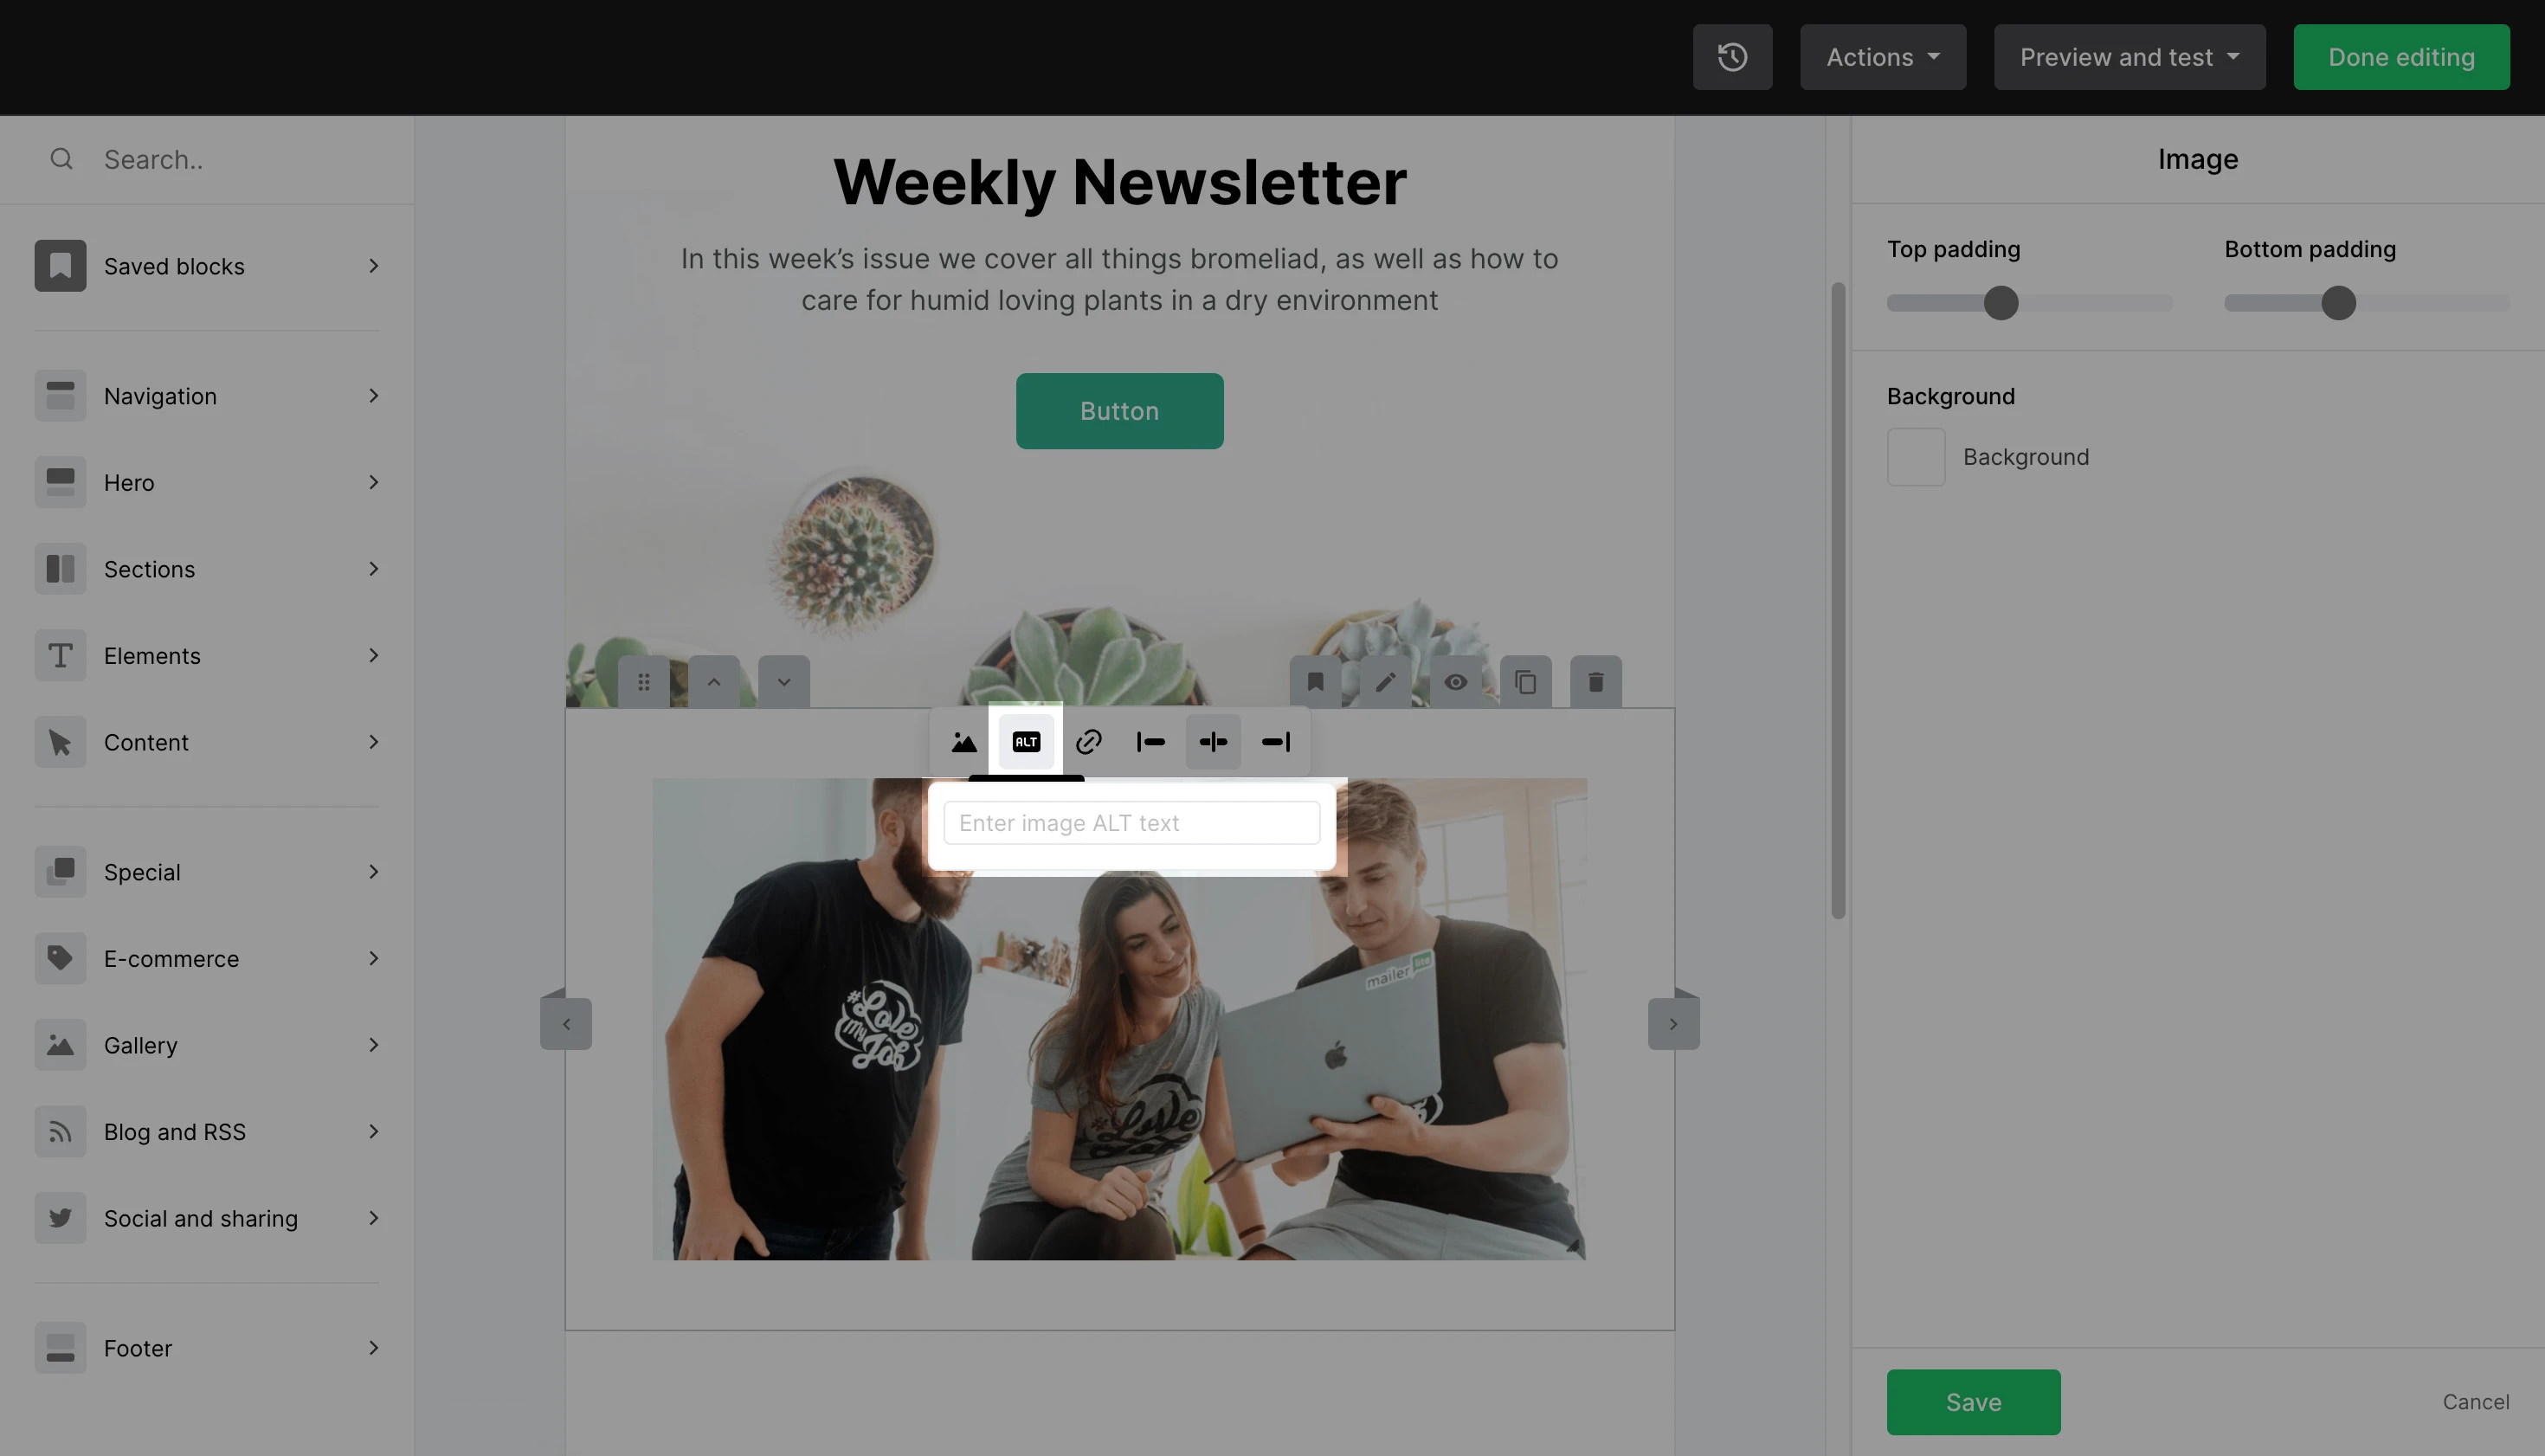
This text explains to your readers what the image is about. You can use a descriptive ALT text, or get more creative and use this piece of text as a CTA.
For more information on the best practices for using images in email newsletters, check out the Best practices for using images in email newsletters.