🛎️ Note
In May 2026, the Rich-text editor was replaced with an improved Simple editor. The following article is for the previous (legacy) version of the editor. Check out our instructions for the new Simple editor here.
Also, if you're a Legacy (Classic) user, please log in to your account to access the dedicated Legacy (Classic) Help Center.
Our Rich-text editor has a similar design to the Drag & drop editor but with the simplicity of using plain text and images. All of our newsletters built in this editor have a responsive design.
Note: To better understand how each of these features works, we highly recommend playing around with the editor as you read along.
Navigation
The black navigation bar across the top of your Rich-text editor has several options:
Go back - Use the Go back button to go back to the previous page.
Restore version history -The anti-clockwise clock icon allows you to view the recent changes you’ve made and undo a specific action. It also allows you to view and restore past saved versions of the newsletter. You can even use key shortcuts like Ctrl + Z for undo and Ctrl + Shift + Z for redo (Cmd + Z and Cmd + Shift + Z for Mac).
Action - Save the newsletter as a template.
Preview and test - Preview the desktop and mobile versions of the campaign and send a test email so you can see how it will appear for your subscribers.
Done editing - This button can be clicked when you’re satisfied with the design of your newsletter. You can also click here to save your unfinished work and come back to it.
How to add a block
In this editor, each line is a block. We’ll explain the functionalities that can be applied to each line block.
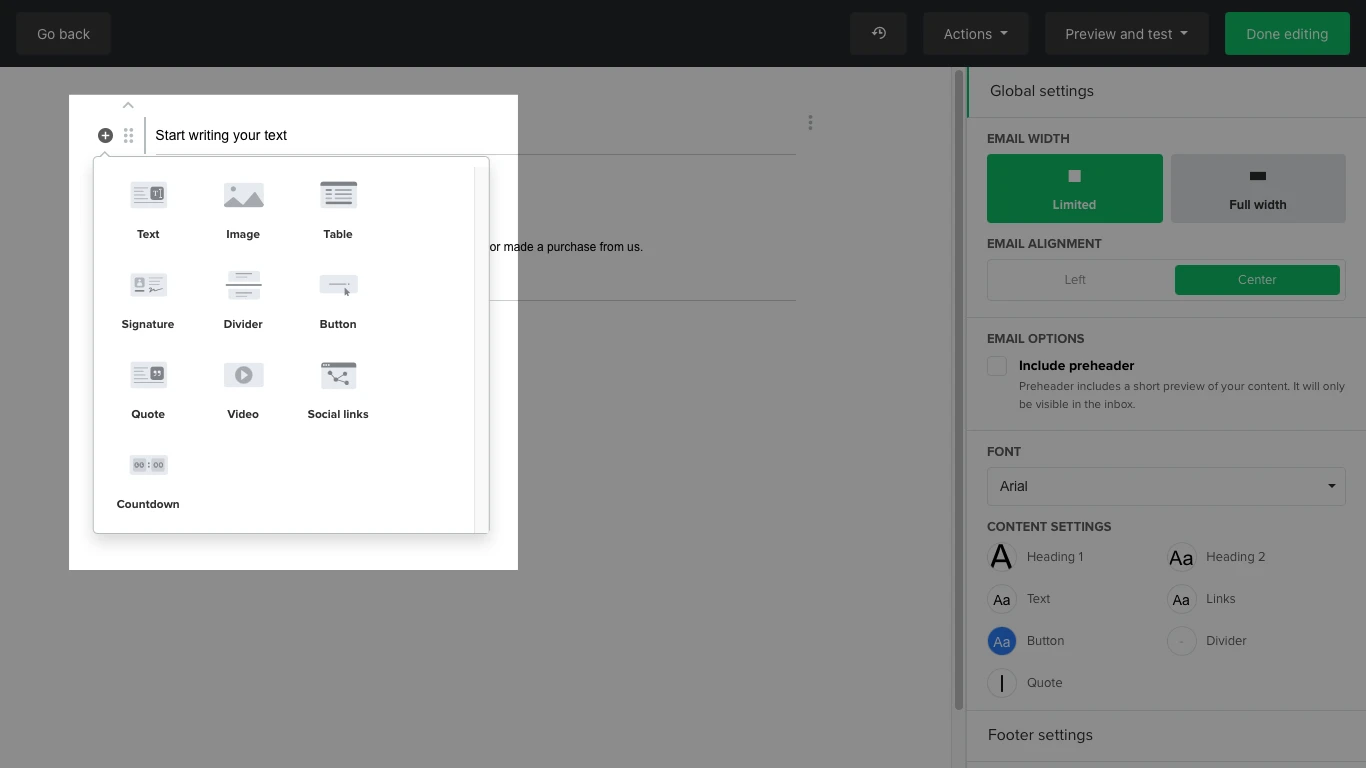
To add a new block, hover over an existing line and click on the plus (+) sign. The ten blocks available are Text, Image, Table, Signature, Divider, Button, Quote, Video, Social links, Countdown.
Text
Start out by typing your text. Highlight or double-click it to view the settings you can apply. Bear in mind that these settings are text-specific, meaning that they will only apply to the highlighted text. If you want to apply a change to the entire text within the newsletter, use the global settings.
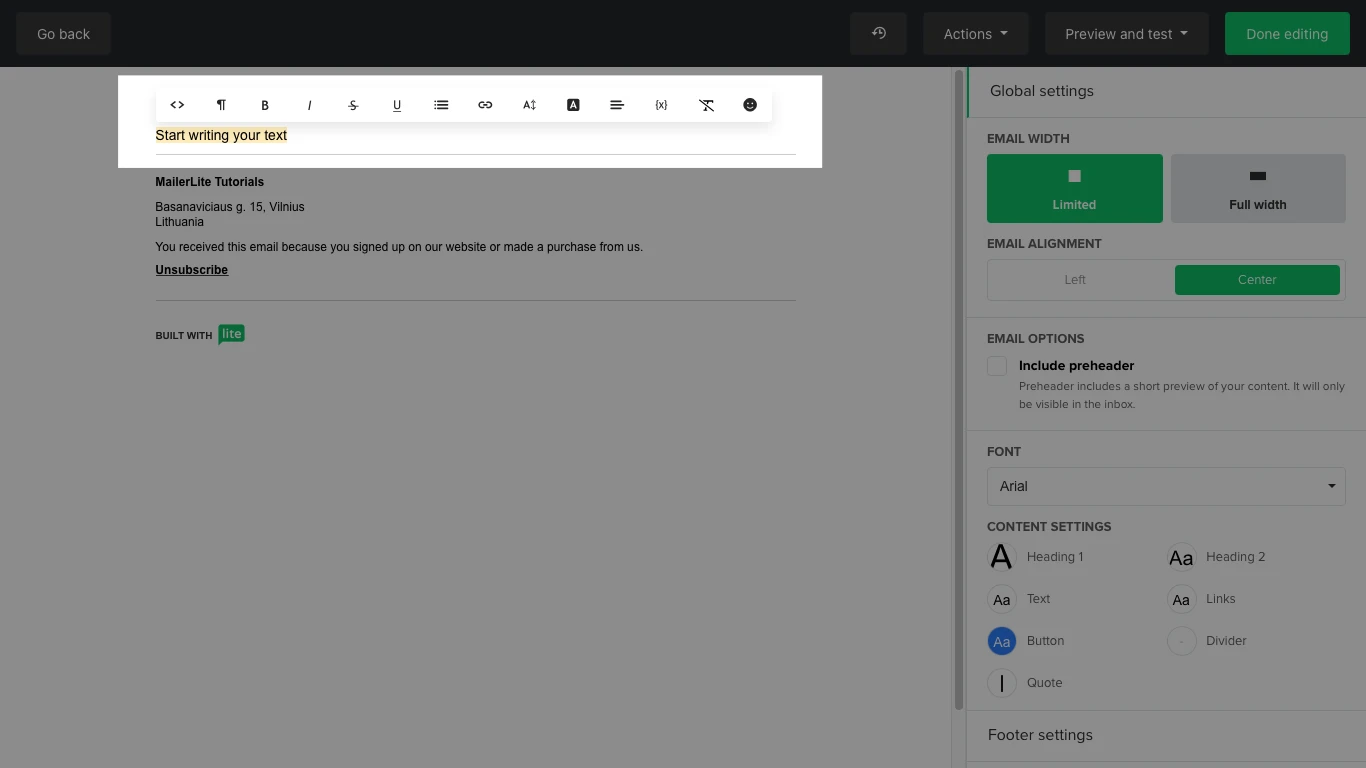
The features explained from left to right:
Source code - Depicted by the less-than and more-than signs (< >). This feature allows you to write your content in HTML format (JavaScript cannot be used because most email clients do not support it).
Formats - Change your text to Heading 1, Heading 2, or keep it normal.
Bold - Make your text bold.
Italics - Make your text italic.
Strikethrough - Make your text have a horizontal line over it.
Underline - Underline your text.
Lists - Choose a bulleted or numbered list.
Insert/edit link - Hyperlink your text with a URL.
Font size - Set the size of a specific text from 10px to 30px (note that this is different from the size setting found in the Global settings sidebar, which applies to all of the text in the body of the newsletter).
Text color - Select a color for a specific text using the RGB color scheme.
Alignment - You can align your text to the left, center, right, or justify it.
Variable - Personalize your newsletter by giving it a personal touch with custom variables.
Clear format - Remove all formatting from the text.
Emoji - Add an emoji to your newsletter.
Image
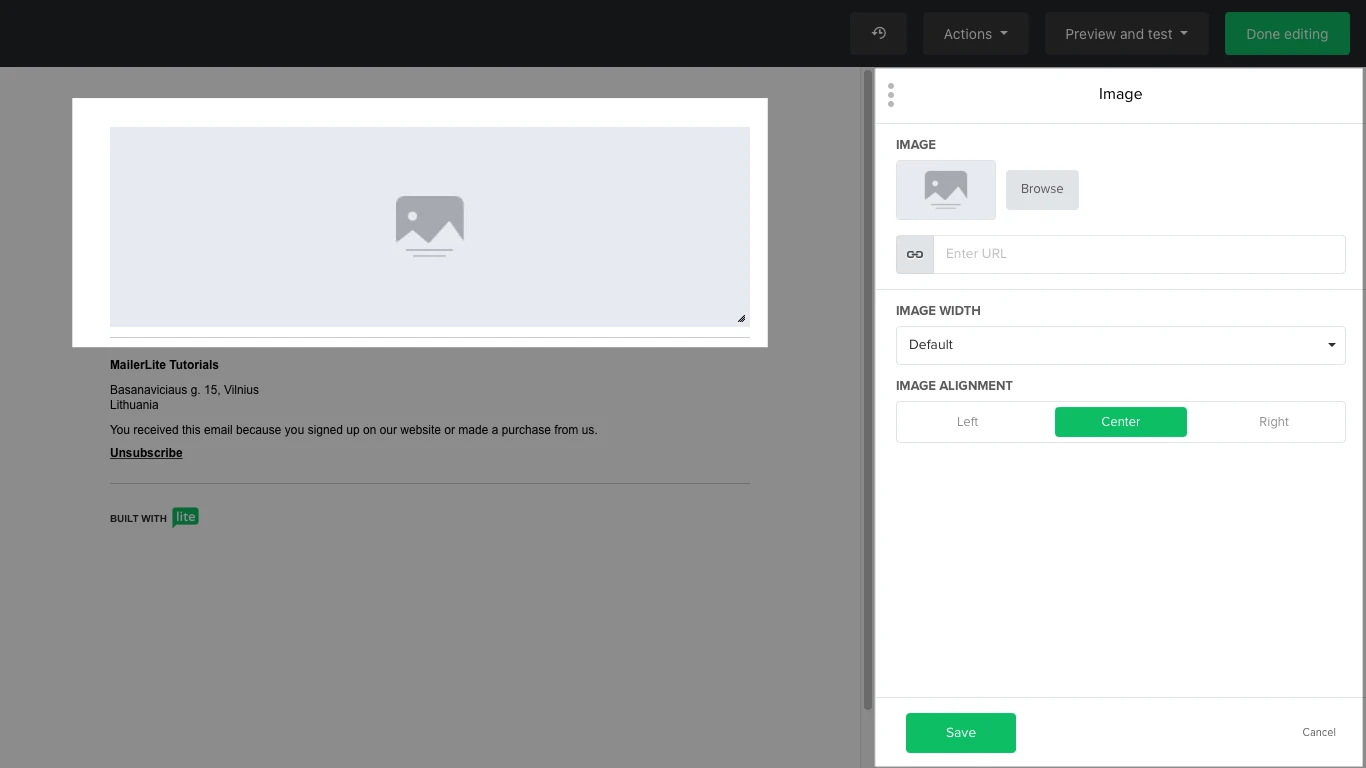
Select the Image block to add a line with an image. Hover over the grey default image and click on the pencil icon to open the Image sidebar. Then add an image via the File manager, hyperlink it to a specific URL, and set its width and alignment.
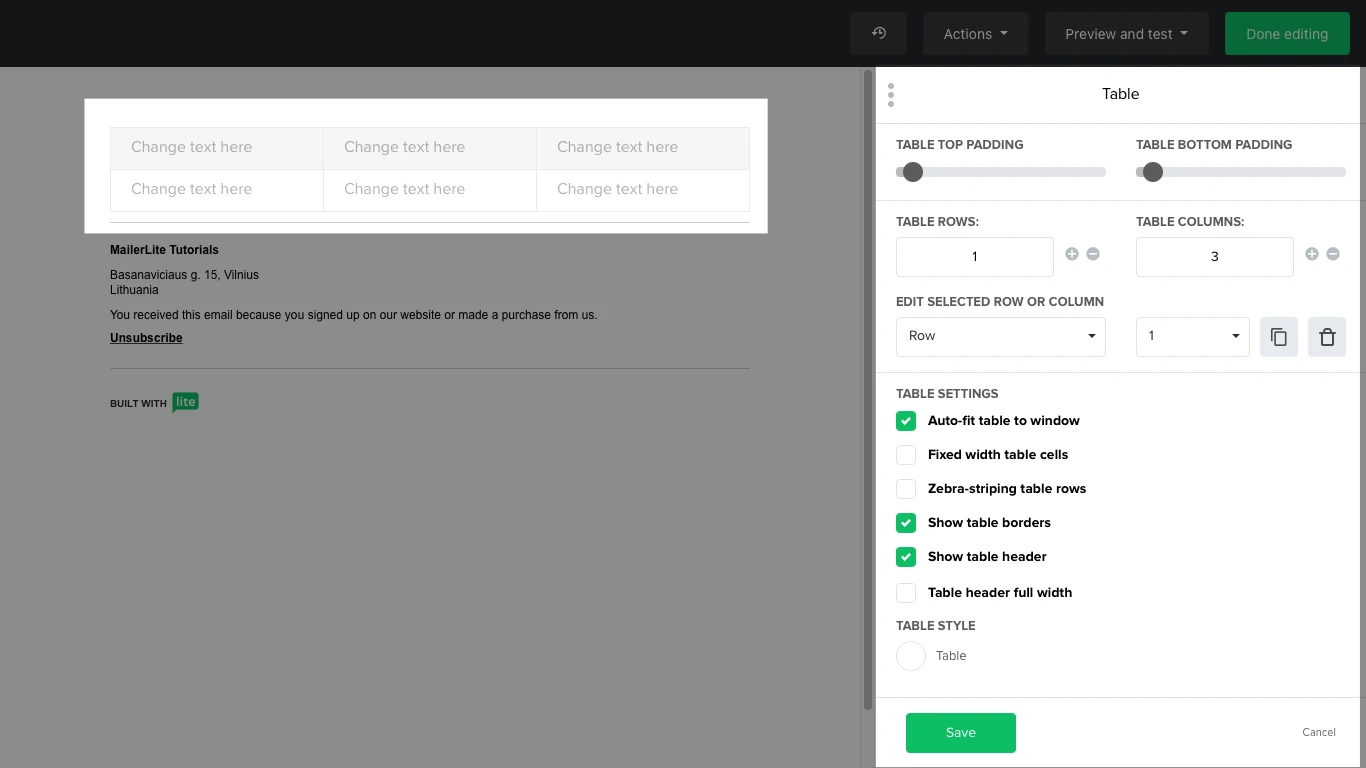
Table
Add a table block to add organized data in your newsletter. To edit the table's settings, click on it to open the Table sidebar. You can add up to ten rows and five columns in one table. You have the options to make the table auto-fit to the subscriber's window, make the cells have a fixed width, give the rows a zebra-stripping design, add borders, include headers, and make the header full-width.
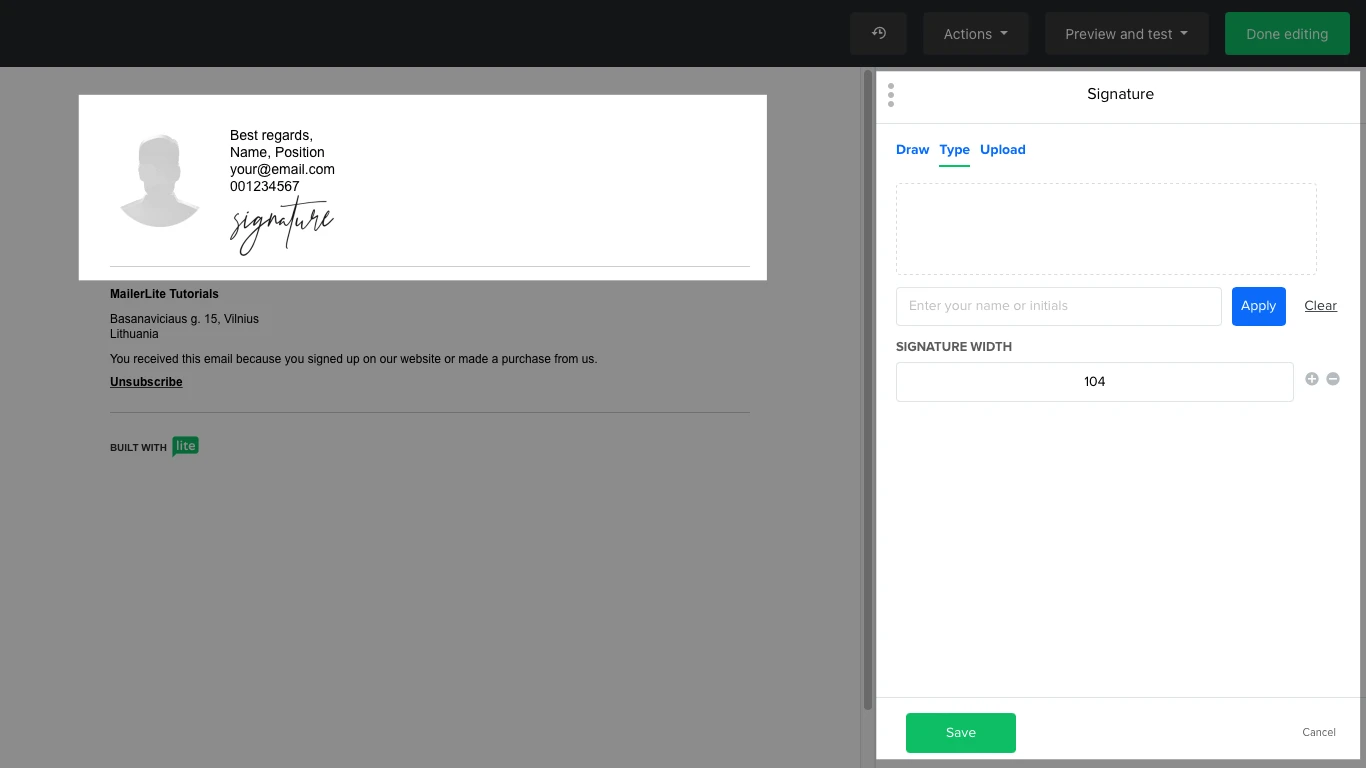
Signature
If you want to make it classy, choose the Signature block. You can include a picture along with your personal or company details. Hover over the image and click on the pencil icon to open the sidebar where you can add the image from the File manager, and change its size and radius.
Divider
Select the Divider to place a horizontal line. Useful when you want to separate elements from each other.
Button
Add a Call-To-Action (CTA) Button to your newsletter to link your subscribers to a specific URL. Choose whether you want it to open in a new tab or not.
Quote
The Quote block is just like the Text block, except that it has a bolded vertical line on its left side. This block doesn't have a sidebar when you click on it. Instead, highlight the text to edit its format.

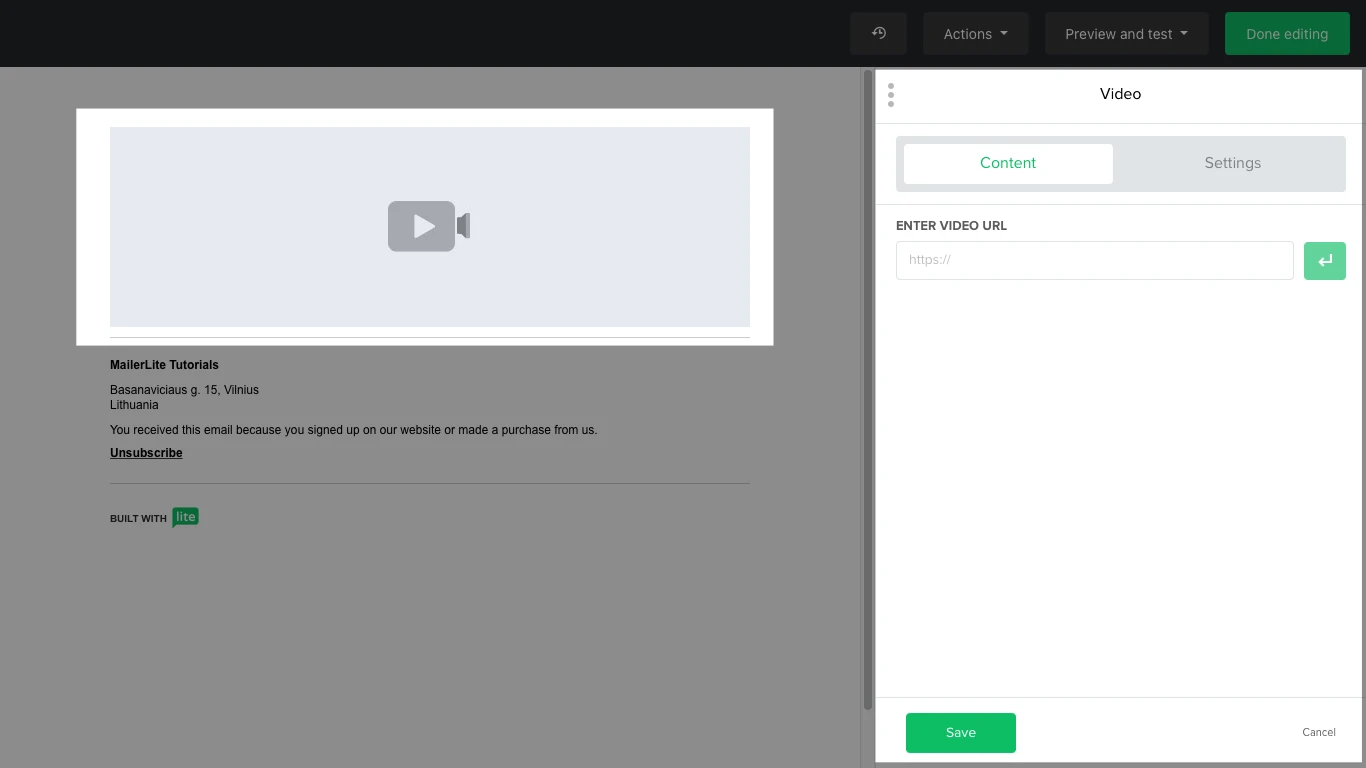
Video
Make your newsletter interactive by embedding a video in it with the Video block. Currently, the Video block only supports YouTube and Vimeo videos. All you have to do is paste the video URL on the block's sidebar and click on the green arrow. You can have the block have an animated image or a static image, which you can upload from the File manager if you want. The block can link to the video itself or to another website, such as a landing page where the video can be watched.
Social links
Include your social media accounts in your newsletter to increase your followers or to have them check out your content. You can add Facebook, Twitter, Instagram, YouTube, WordPress, Spotify, Slack, and many more.
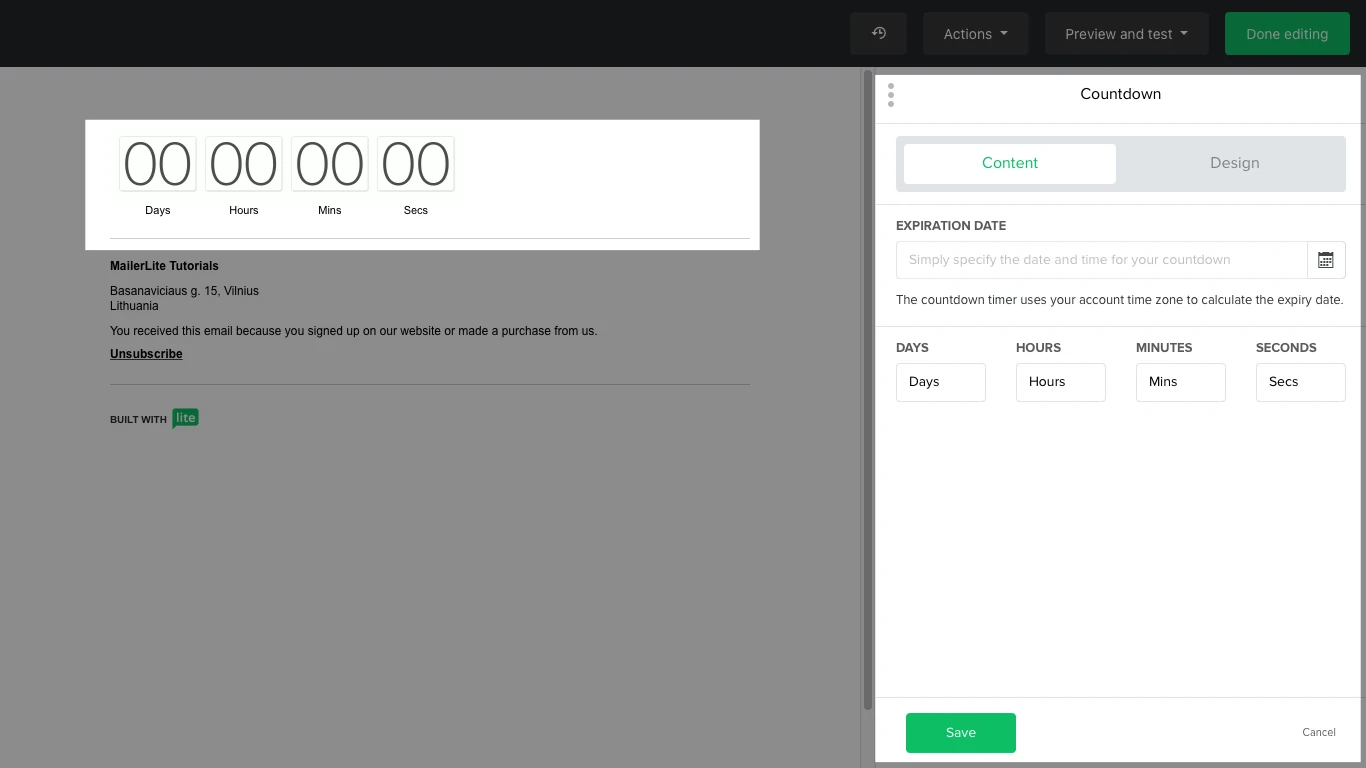
Countdown
Add a Countdown block to create a timer for a specific event. On the blocks sidebar, you add an expiration date and time of the event. It uses your account time zone to calculate the expiry date for your subscribers.
How to move a block
To move a block, hover over it. On the left side, you’ll see six dots between two arrows. Use the arrows to move the line block up or down, or use the six dots to drag the line block across the newsletter.
Dynamic content
You can set the visibility for any line block to be shown only to specific subscribers. To do this, hover over the line block until you see three vertical dots all the way to the right, and then click on the eye icon.
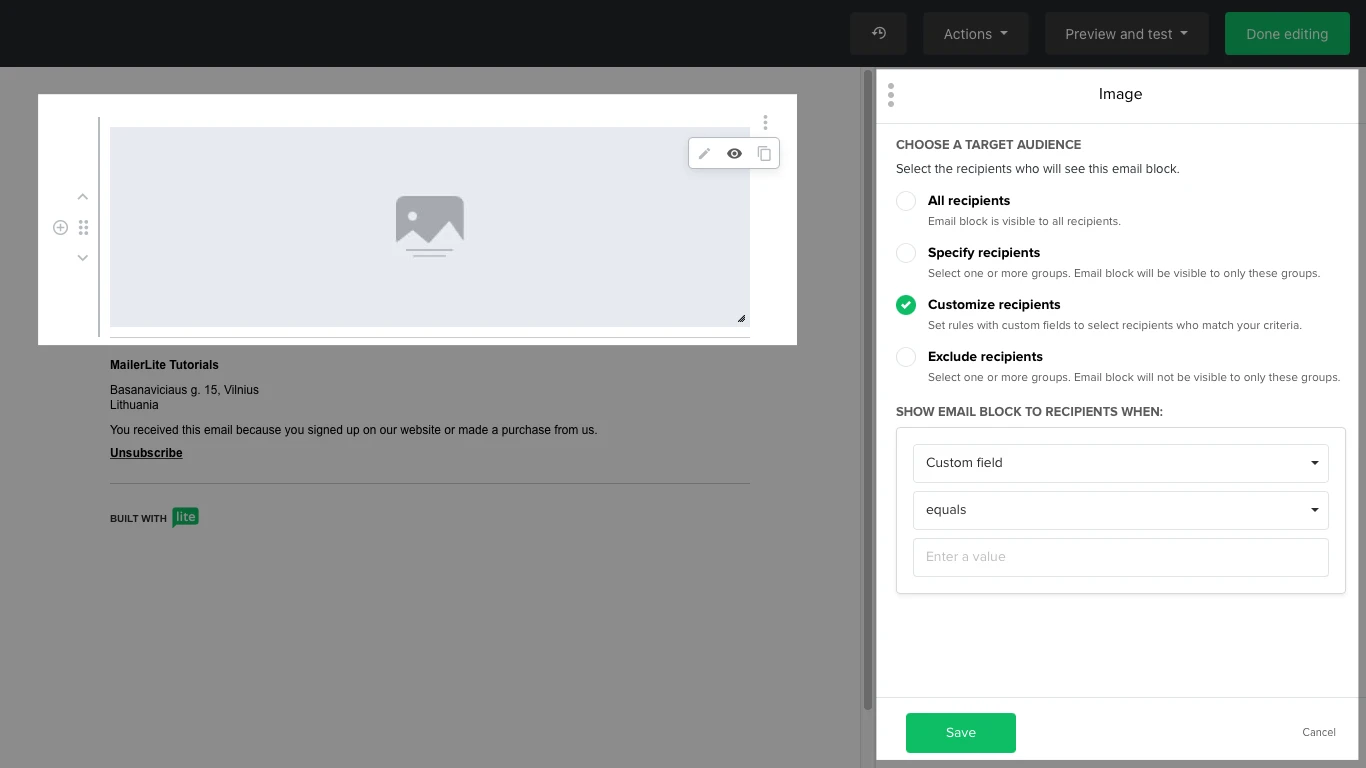
Choose whether you want the specific block to be shown to all recipients, to specific groups, or to subscribers who meet certain rules. To exclude a group, simply do not select them as recipients.
You can read more about dynamic content here.
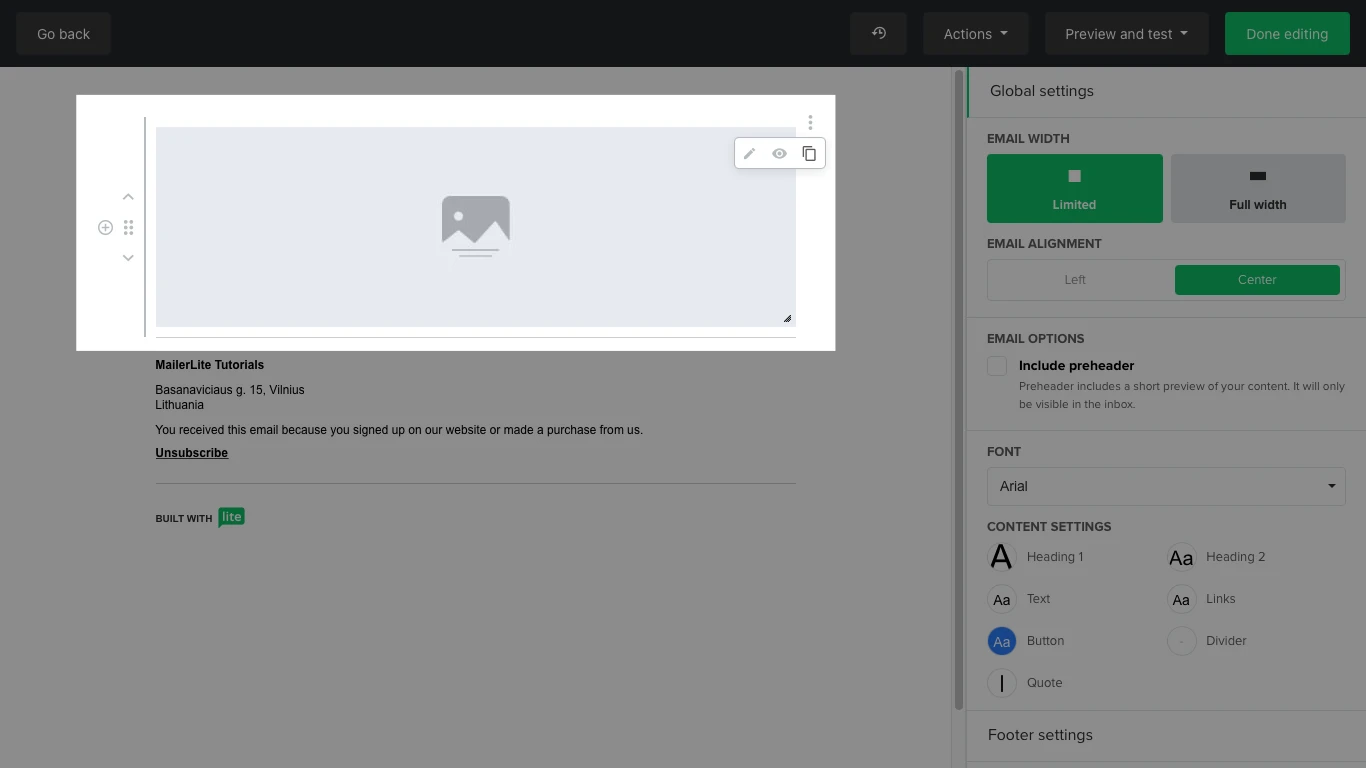
How to duplicate a block
Hover over a block, click on the three vertical dots to its right, and click on the icon with two sheets of paper to duplicate the block.
How to remove a block
Hover over the block and click on three vertical dots to its right, and then click on the trash icon to remove the block from your newsletter.

Note: There must be at least two blocks for the trash icon to appear. If there is only one block, then it will not show.
Sidebar settings
The sidebar includes two types of settings that apply to the entire newsletter rather than specific parts: Global settings and Footer settings.
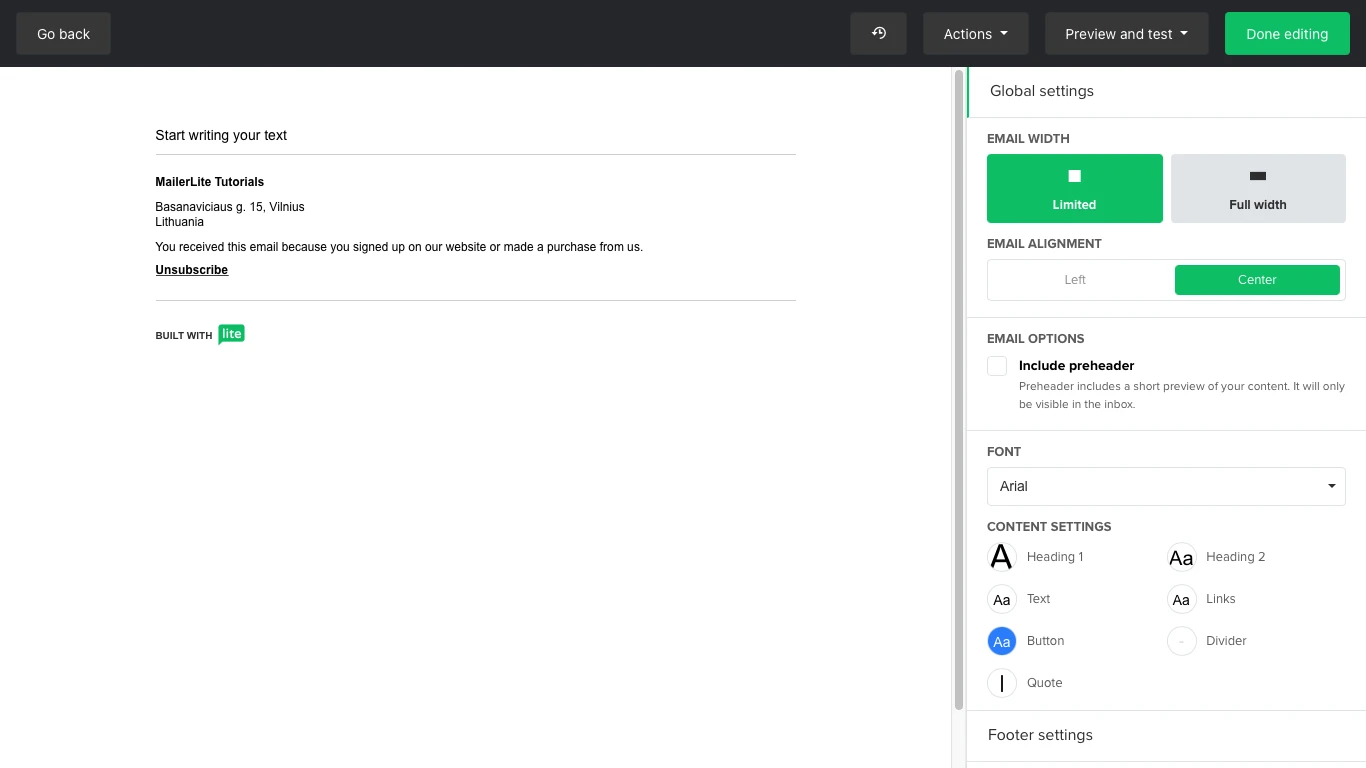
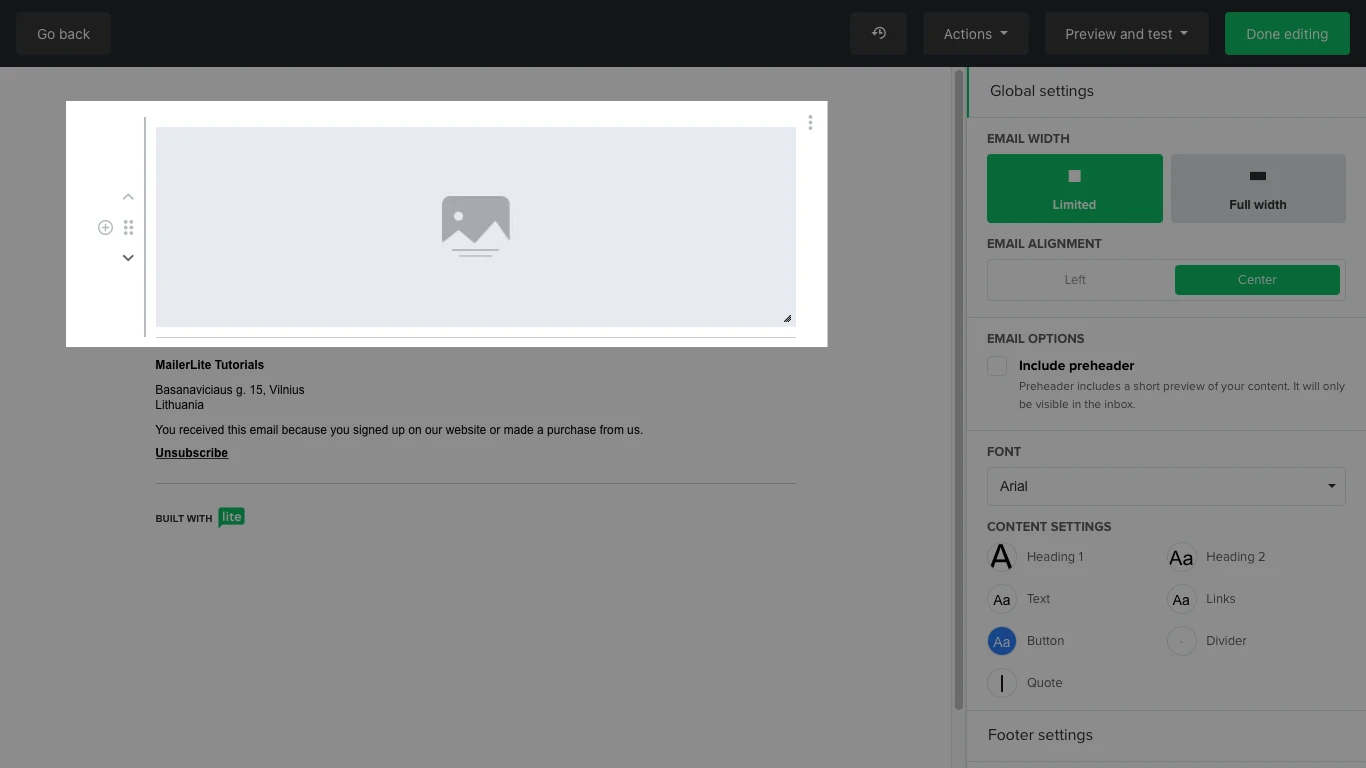
Global settings
Set the width of the email from full width to limited, and with it, its alignment. You can also set the main font and change the style formats for each type of text content.
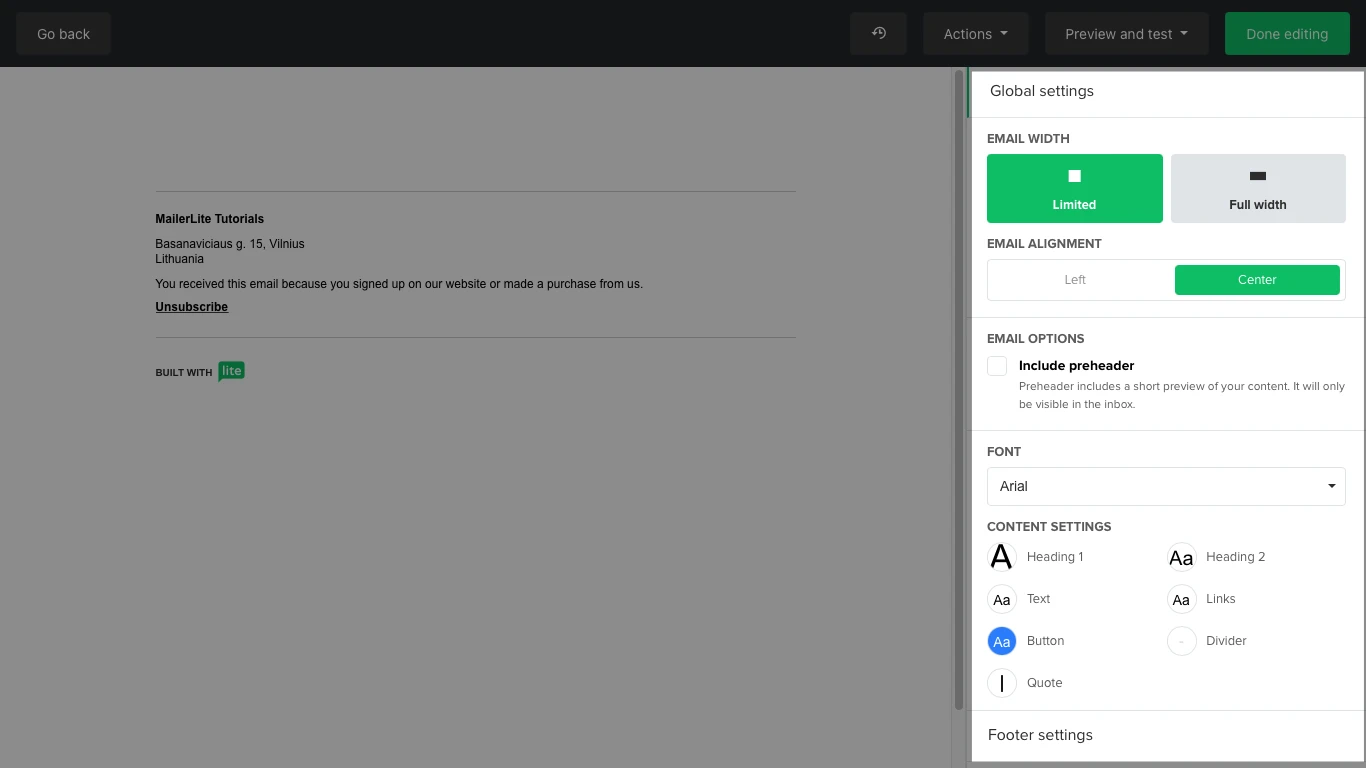
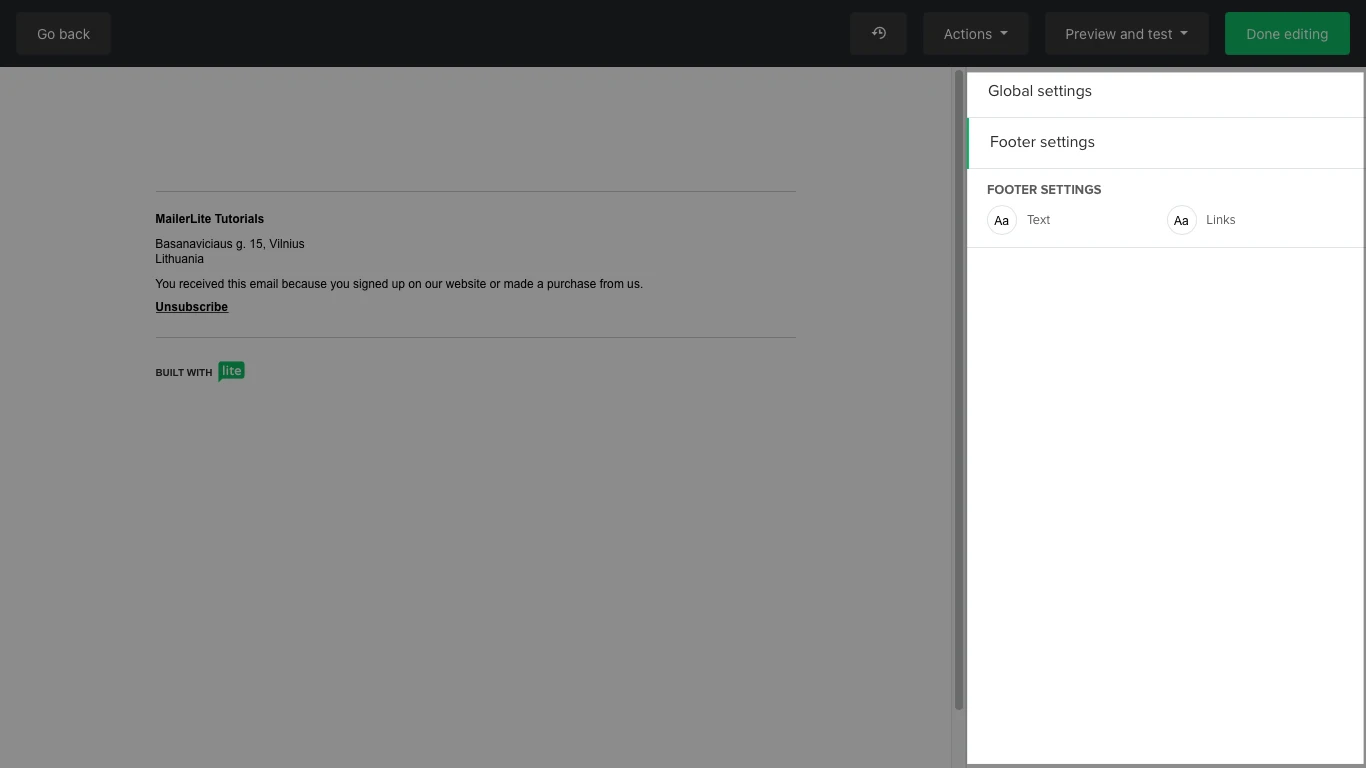
Footer settings
Set the font style and link color for the footer.
What should be included in the footer
By default, the footer will always include an unsubscribe link and will auto-populate with the information set up in your Account settings page, which you can change at any time.
Additionally, you cannot remove your physical postal address as this goes against our Terms of Use. We understand if you don’t want to use your real address, so in this case, you can use the address of your nearest post office or a private mailbox.
Lastly, you also cannot remove the unsubscribe link as this goes against our Terms of Use, Anti-Spam Policy, and the CAN-SPAM Act. An opt-out link must always be included at the footer of a newsletter. You can, however, add an additional unsubscribe link to your newsletter.
To verify that you comply with all the norms, check the Email format section on our Terms of Use page.
The MailerLite logo will always appear at the bottom of the newsletter on our forever-free plan. If you wish to remove the MailerLite logo from your newsletter, your account must be under the Comfort or Power plan.