Note: If you're a Legacy (Classic) user, please log in to your account to access the dedicated Legacy (Classic) Help Center.
The custom HTML editor allows HTML beginners and experts to create and send custom newsletters created from scratch.
To create a campaign using the custom HTML editor:
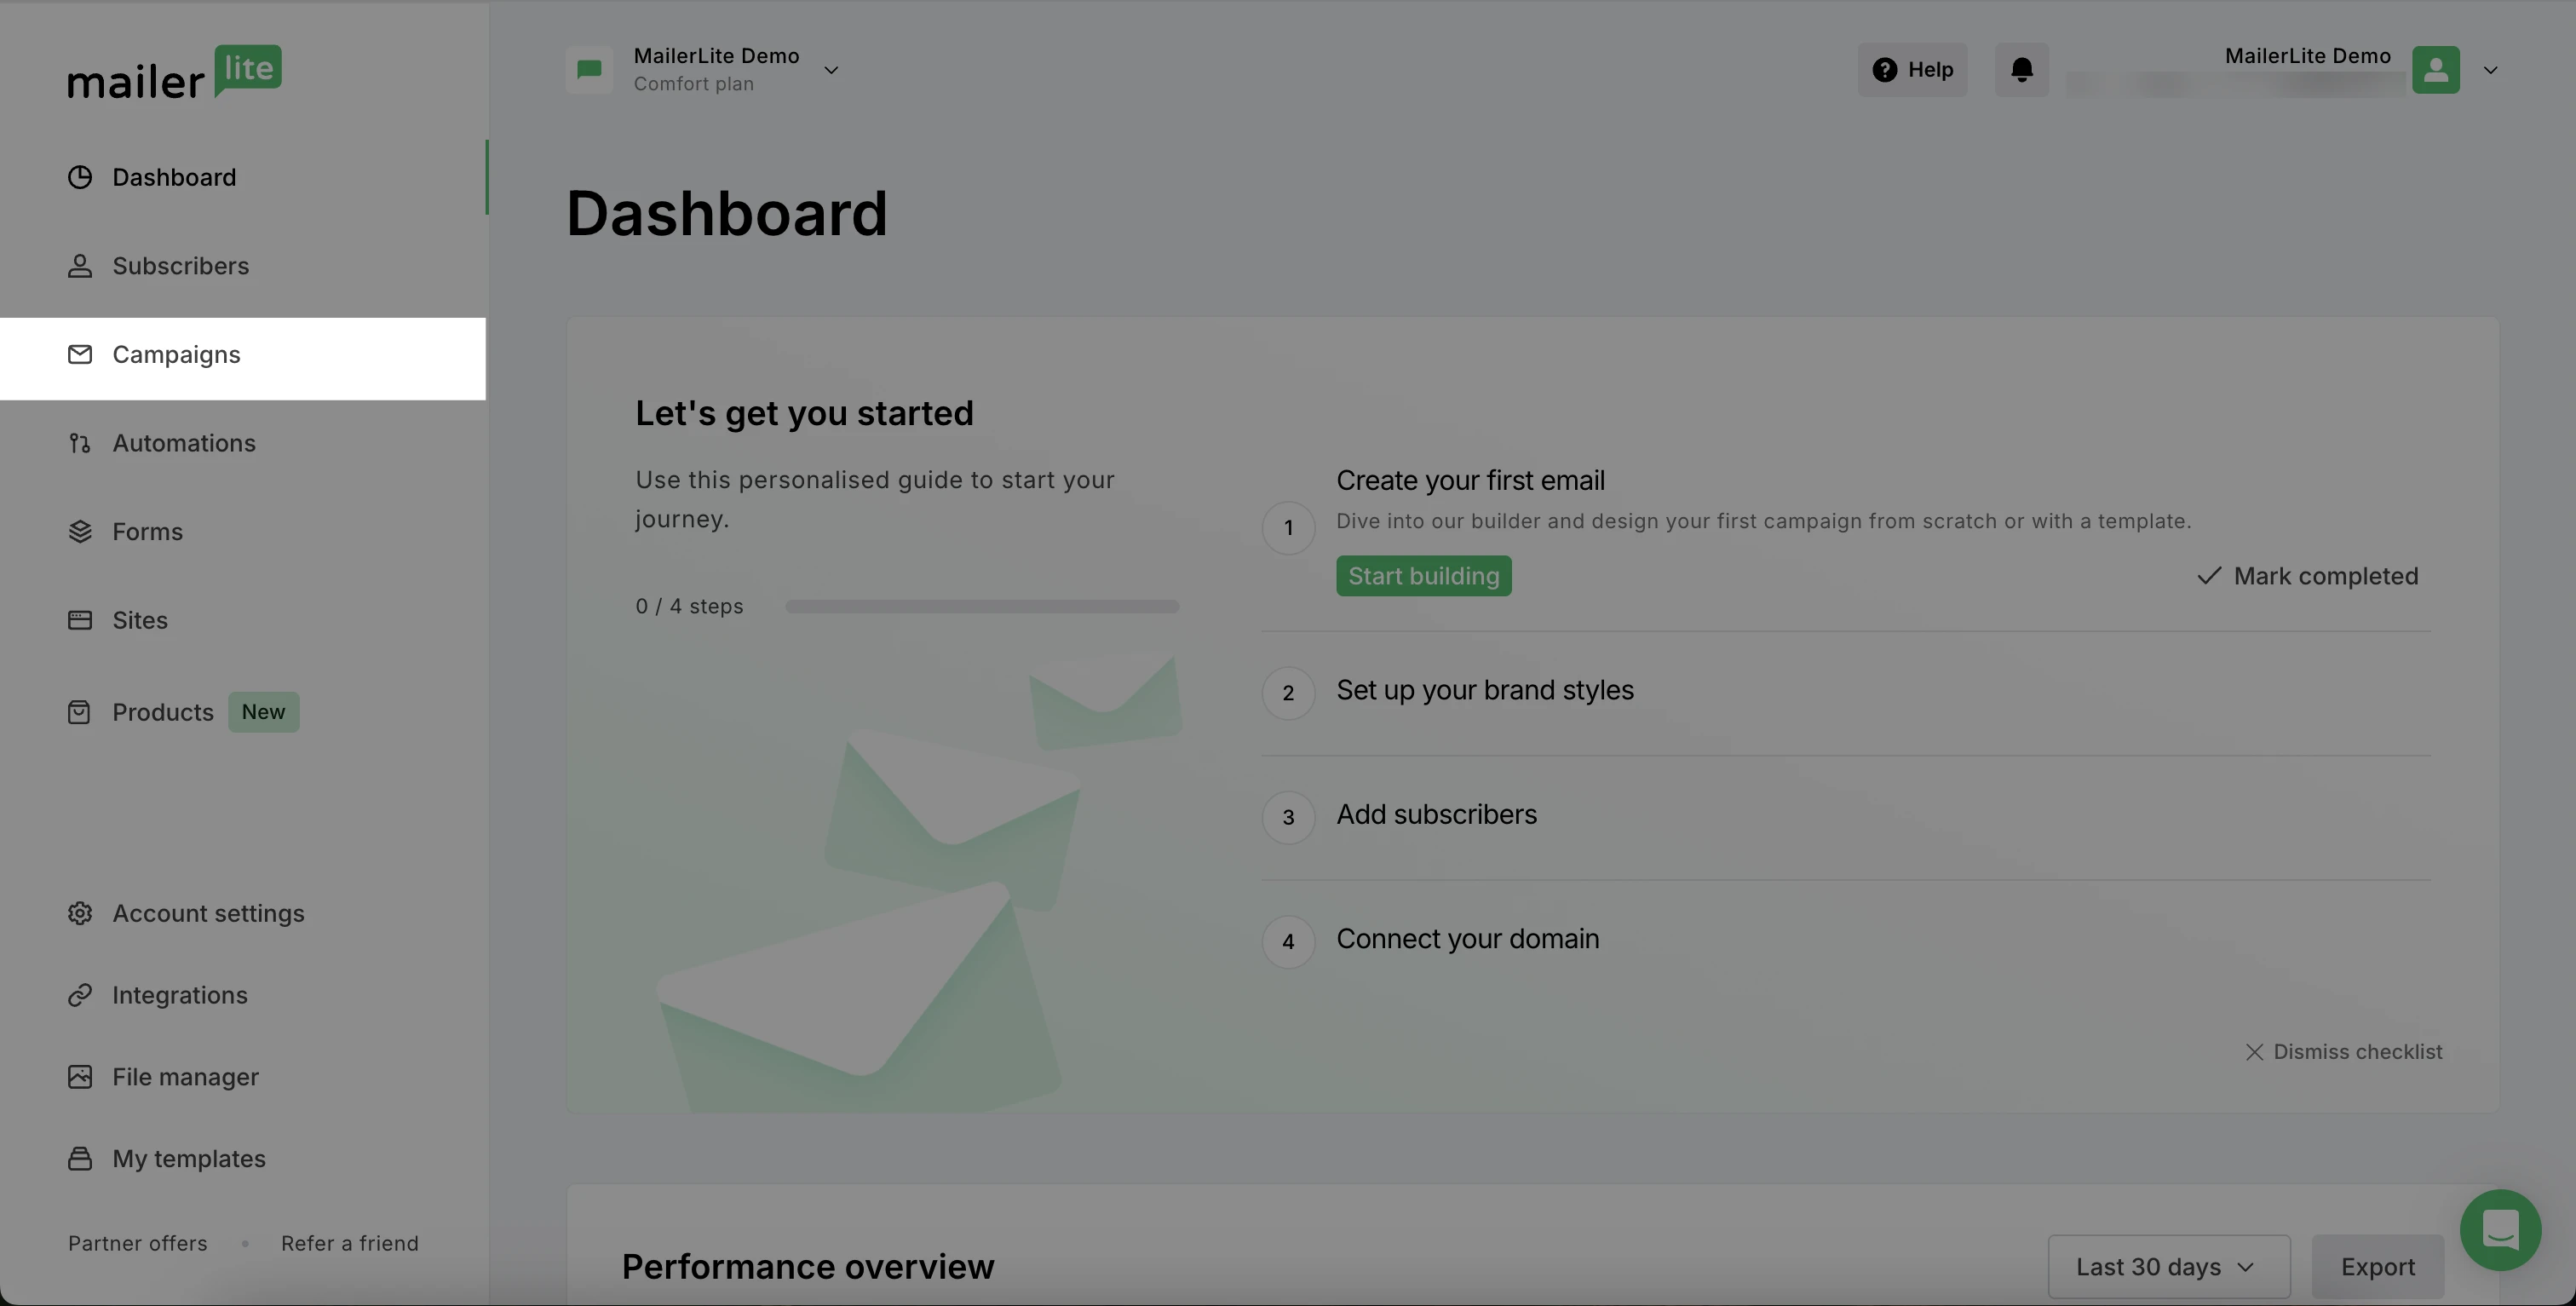
From the Dashboard, navigate to the Campaigns page.
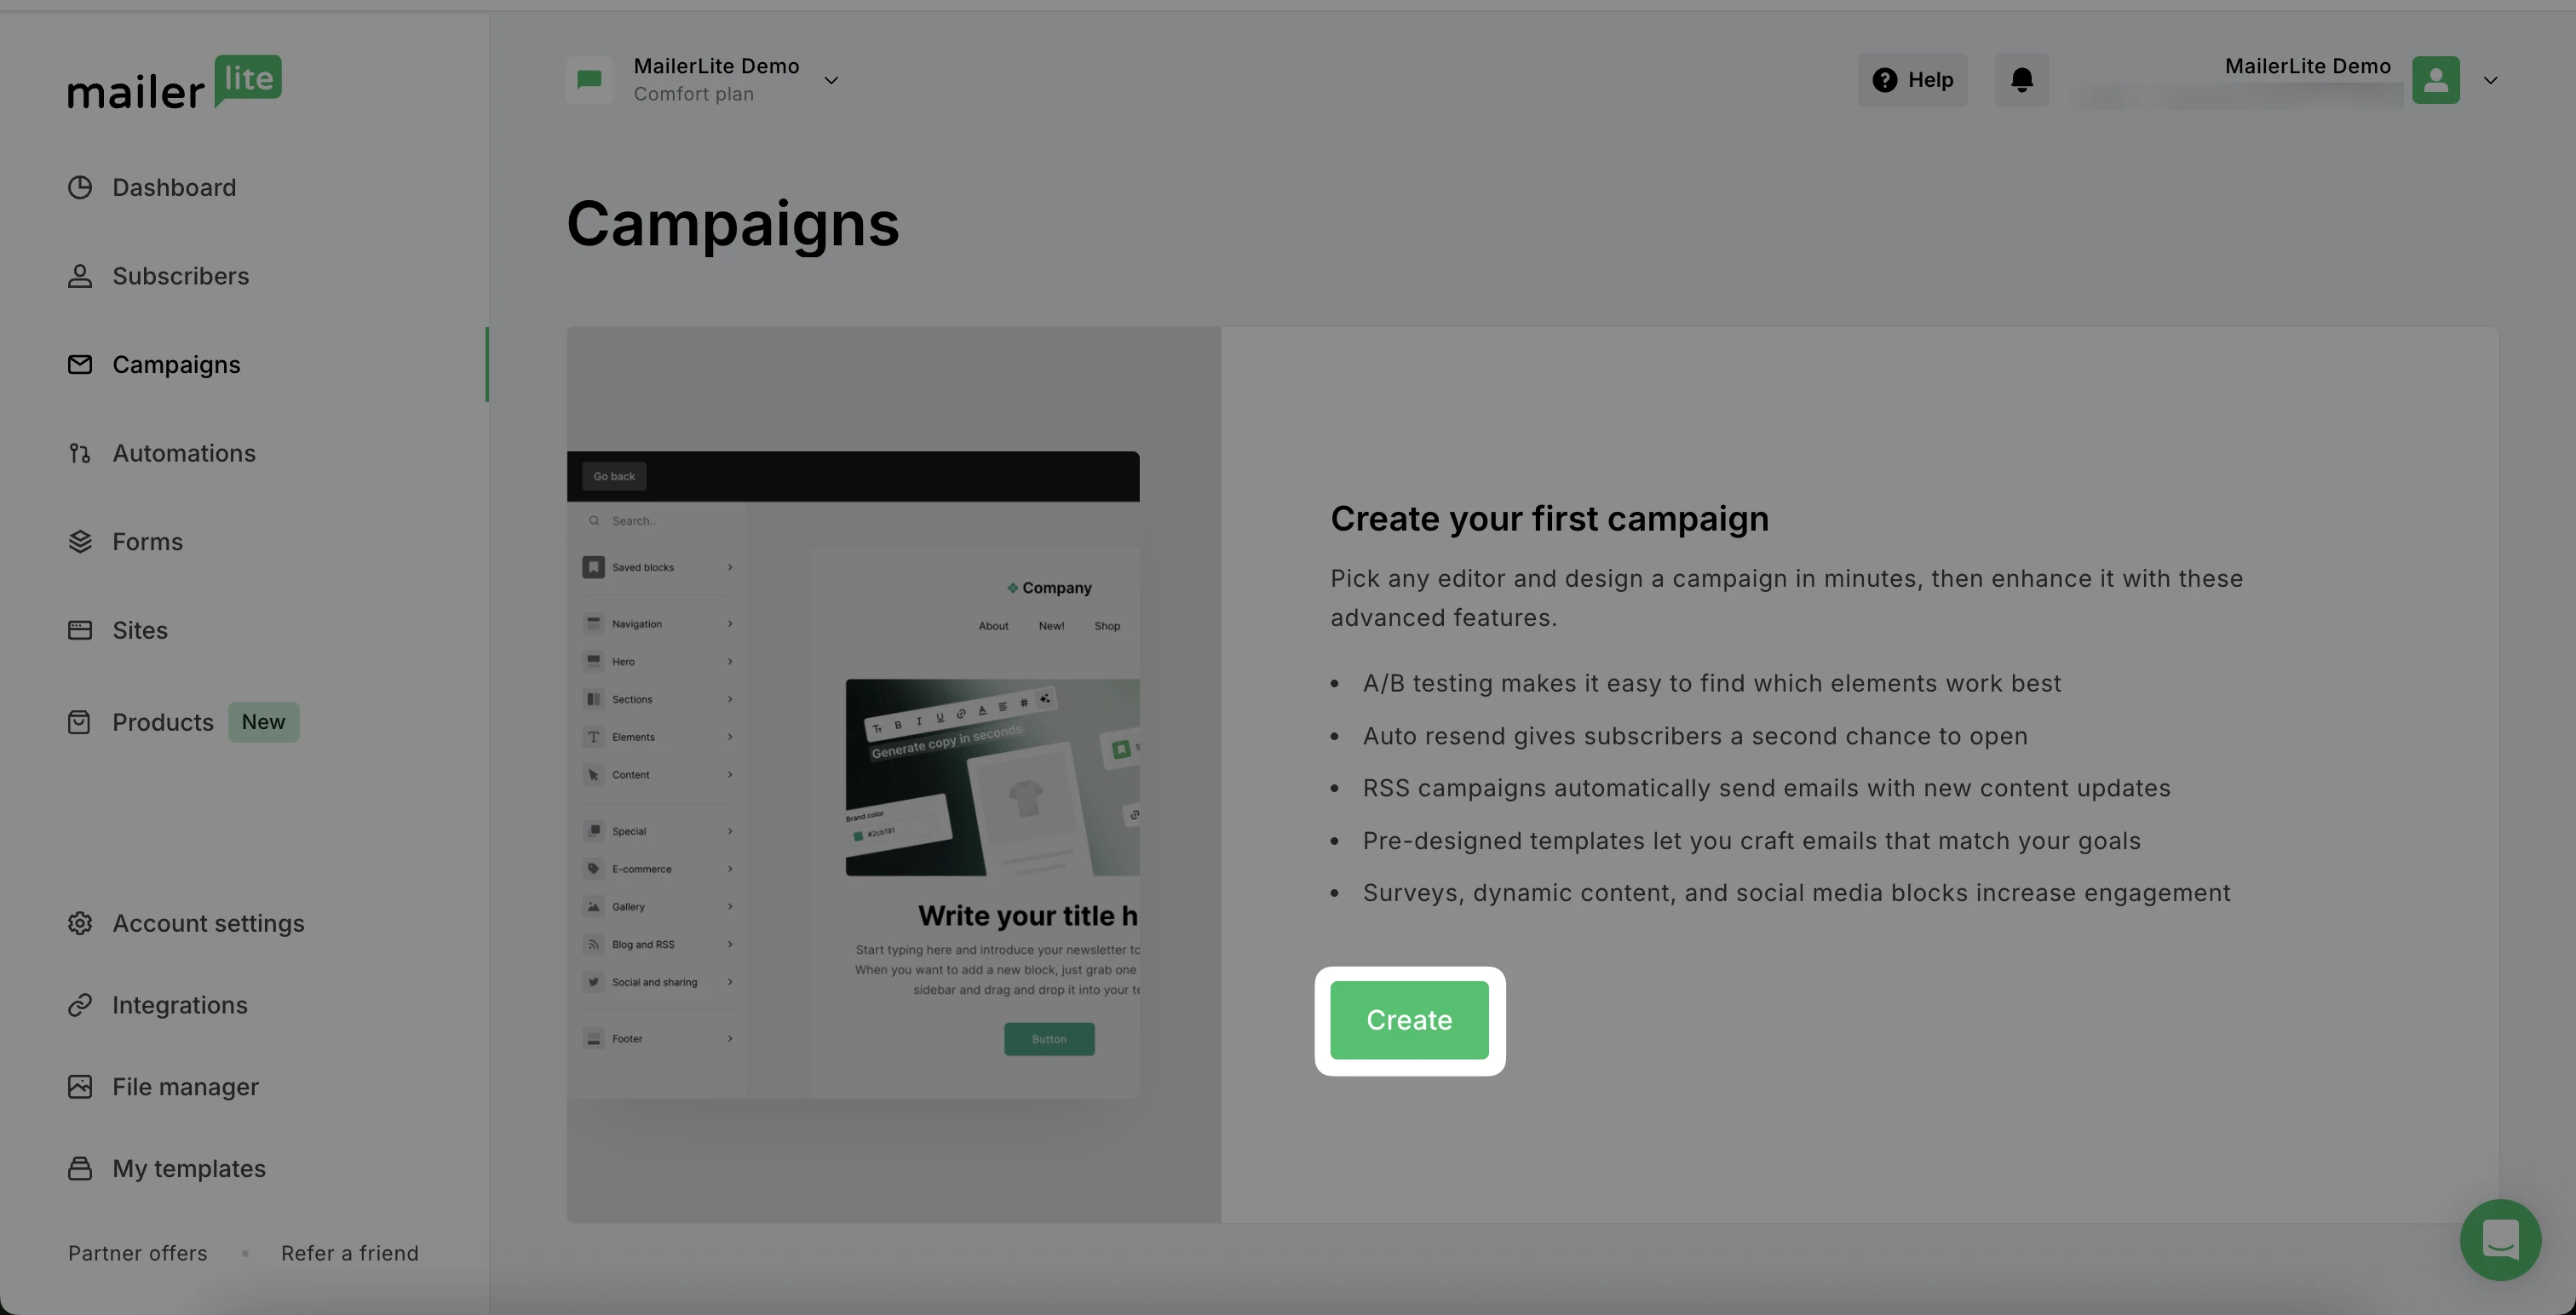
If on the Campaigns page, click Create.
3. Select your chosen Campaign type.

Regular campaign - A regular campaign is the most straightforward type of email campaign. It involves sending a single email to a specific group of subscribers.
A/B split campaign - A/B split campaigns allow you to test two variations of an email to see which performs better before sending the most effective version to the larger audience.
Auto resend - Auto resend campaigns help increase the reach of your emails by automatically resending your message to recipients who did not open the first email.
RSS - RSS campaigns are automated emails that are sent to subscribers whenever new content is published on your RSS feed. This is particularly useful for blogs or websites that update regularly.
Multivariate testing (available on paid plans) - Multivariate campaigns allow you to test multiple campaign elements such as subject lines, sender names, content, and sending times in a single go.
Choose to Start from scratch.

Select Custom HTML editor.
Next, select how you would like to build your newsletter:
Generate email: The AI Agent lets you create and edit email campaigns using plain English, no coding required. Instead of writing HTML yourself, you can simply describe what you want, and the AI will generate or update your campaign for you.
Import HTML Code: Choose to import code from a ZIP file.
Code from scratch: Type or paste your HTML code directly into the editor to create your email.
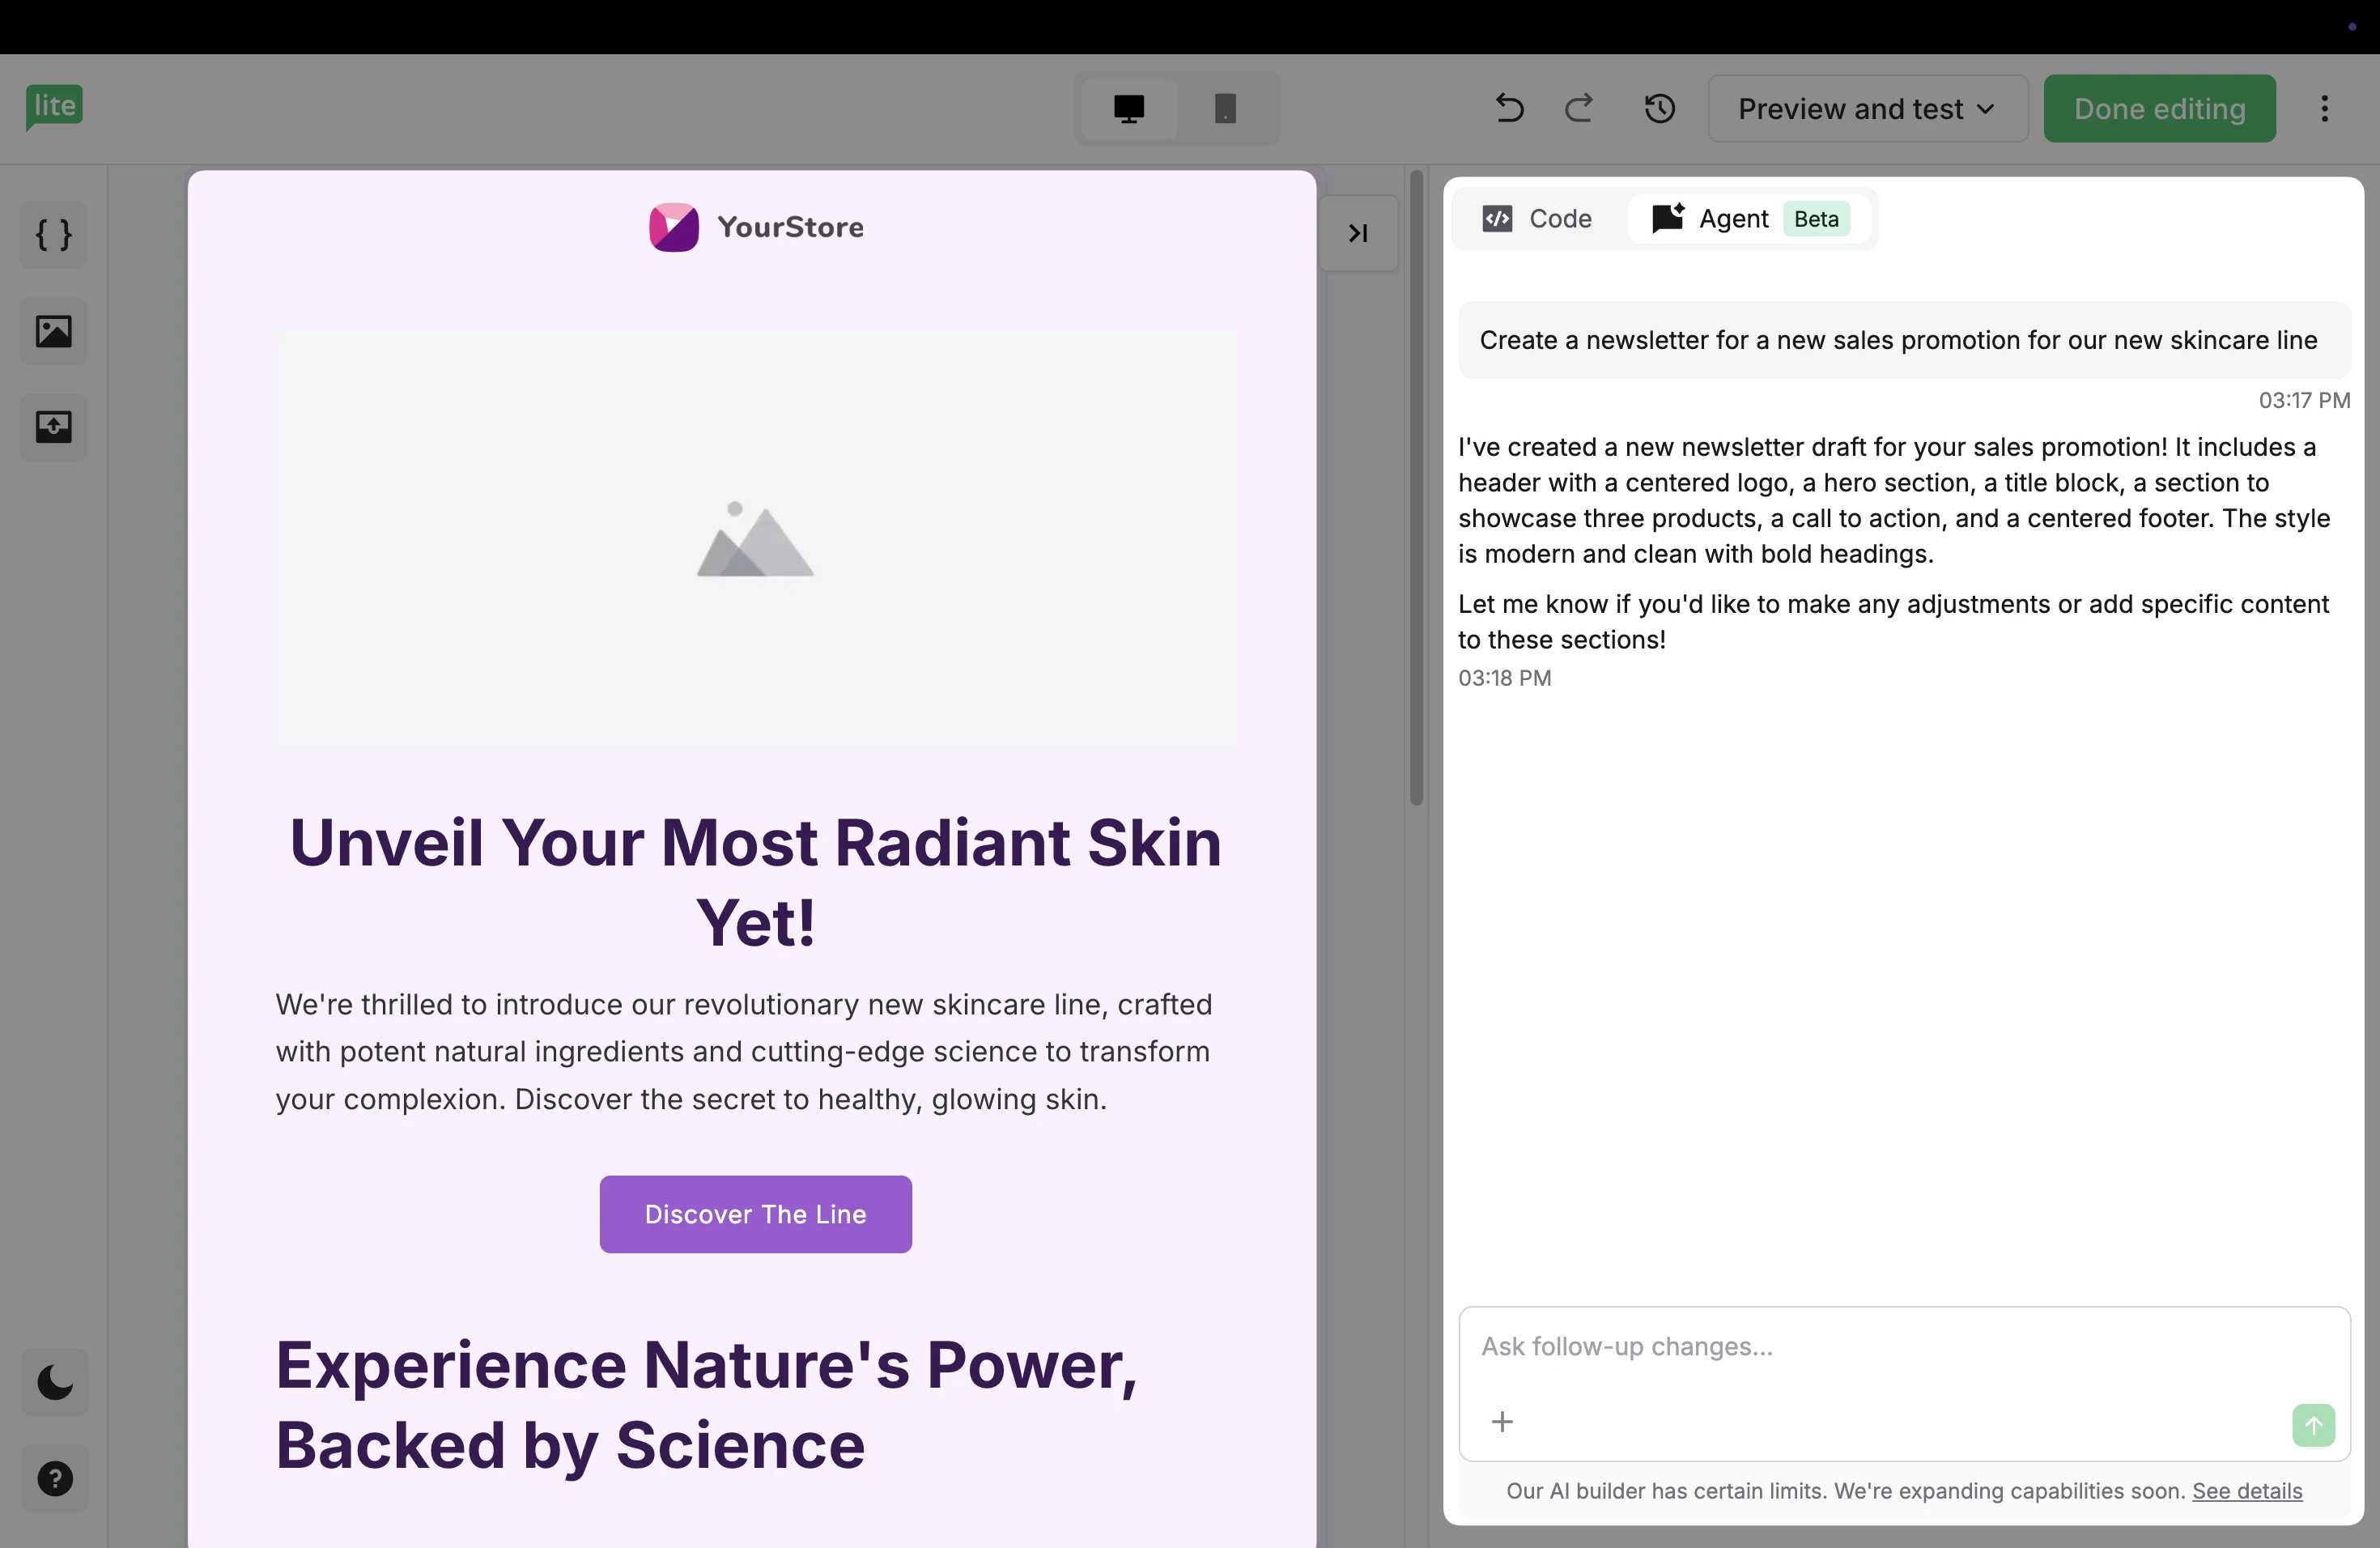
Generate a campaign using the AI agent
The AI Agent allows you to build and update email campaigns by simply describing what you want, no technical skills or coding required.
How it works:
Type instructions like “Create a promotional email for our next skincare campaign.”
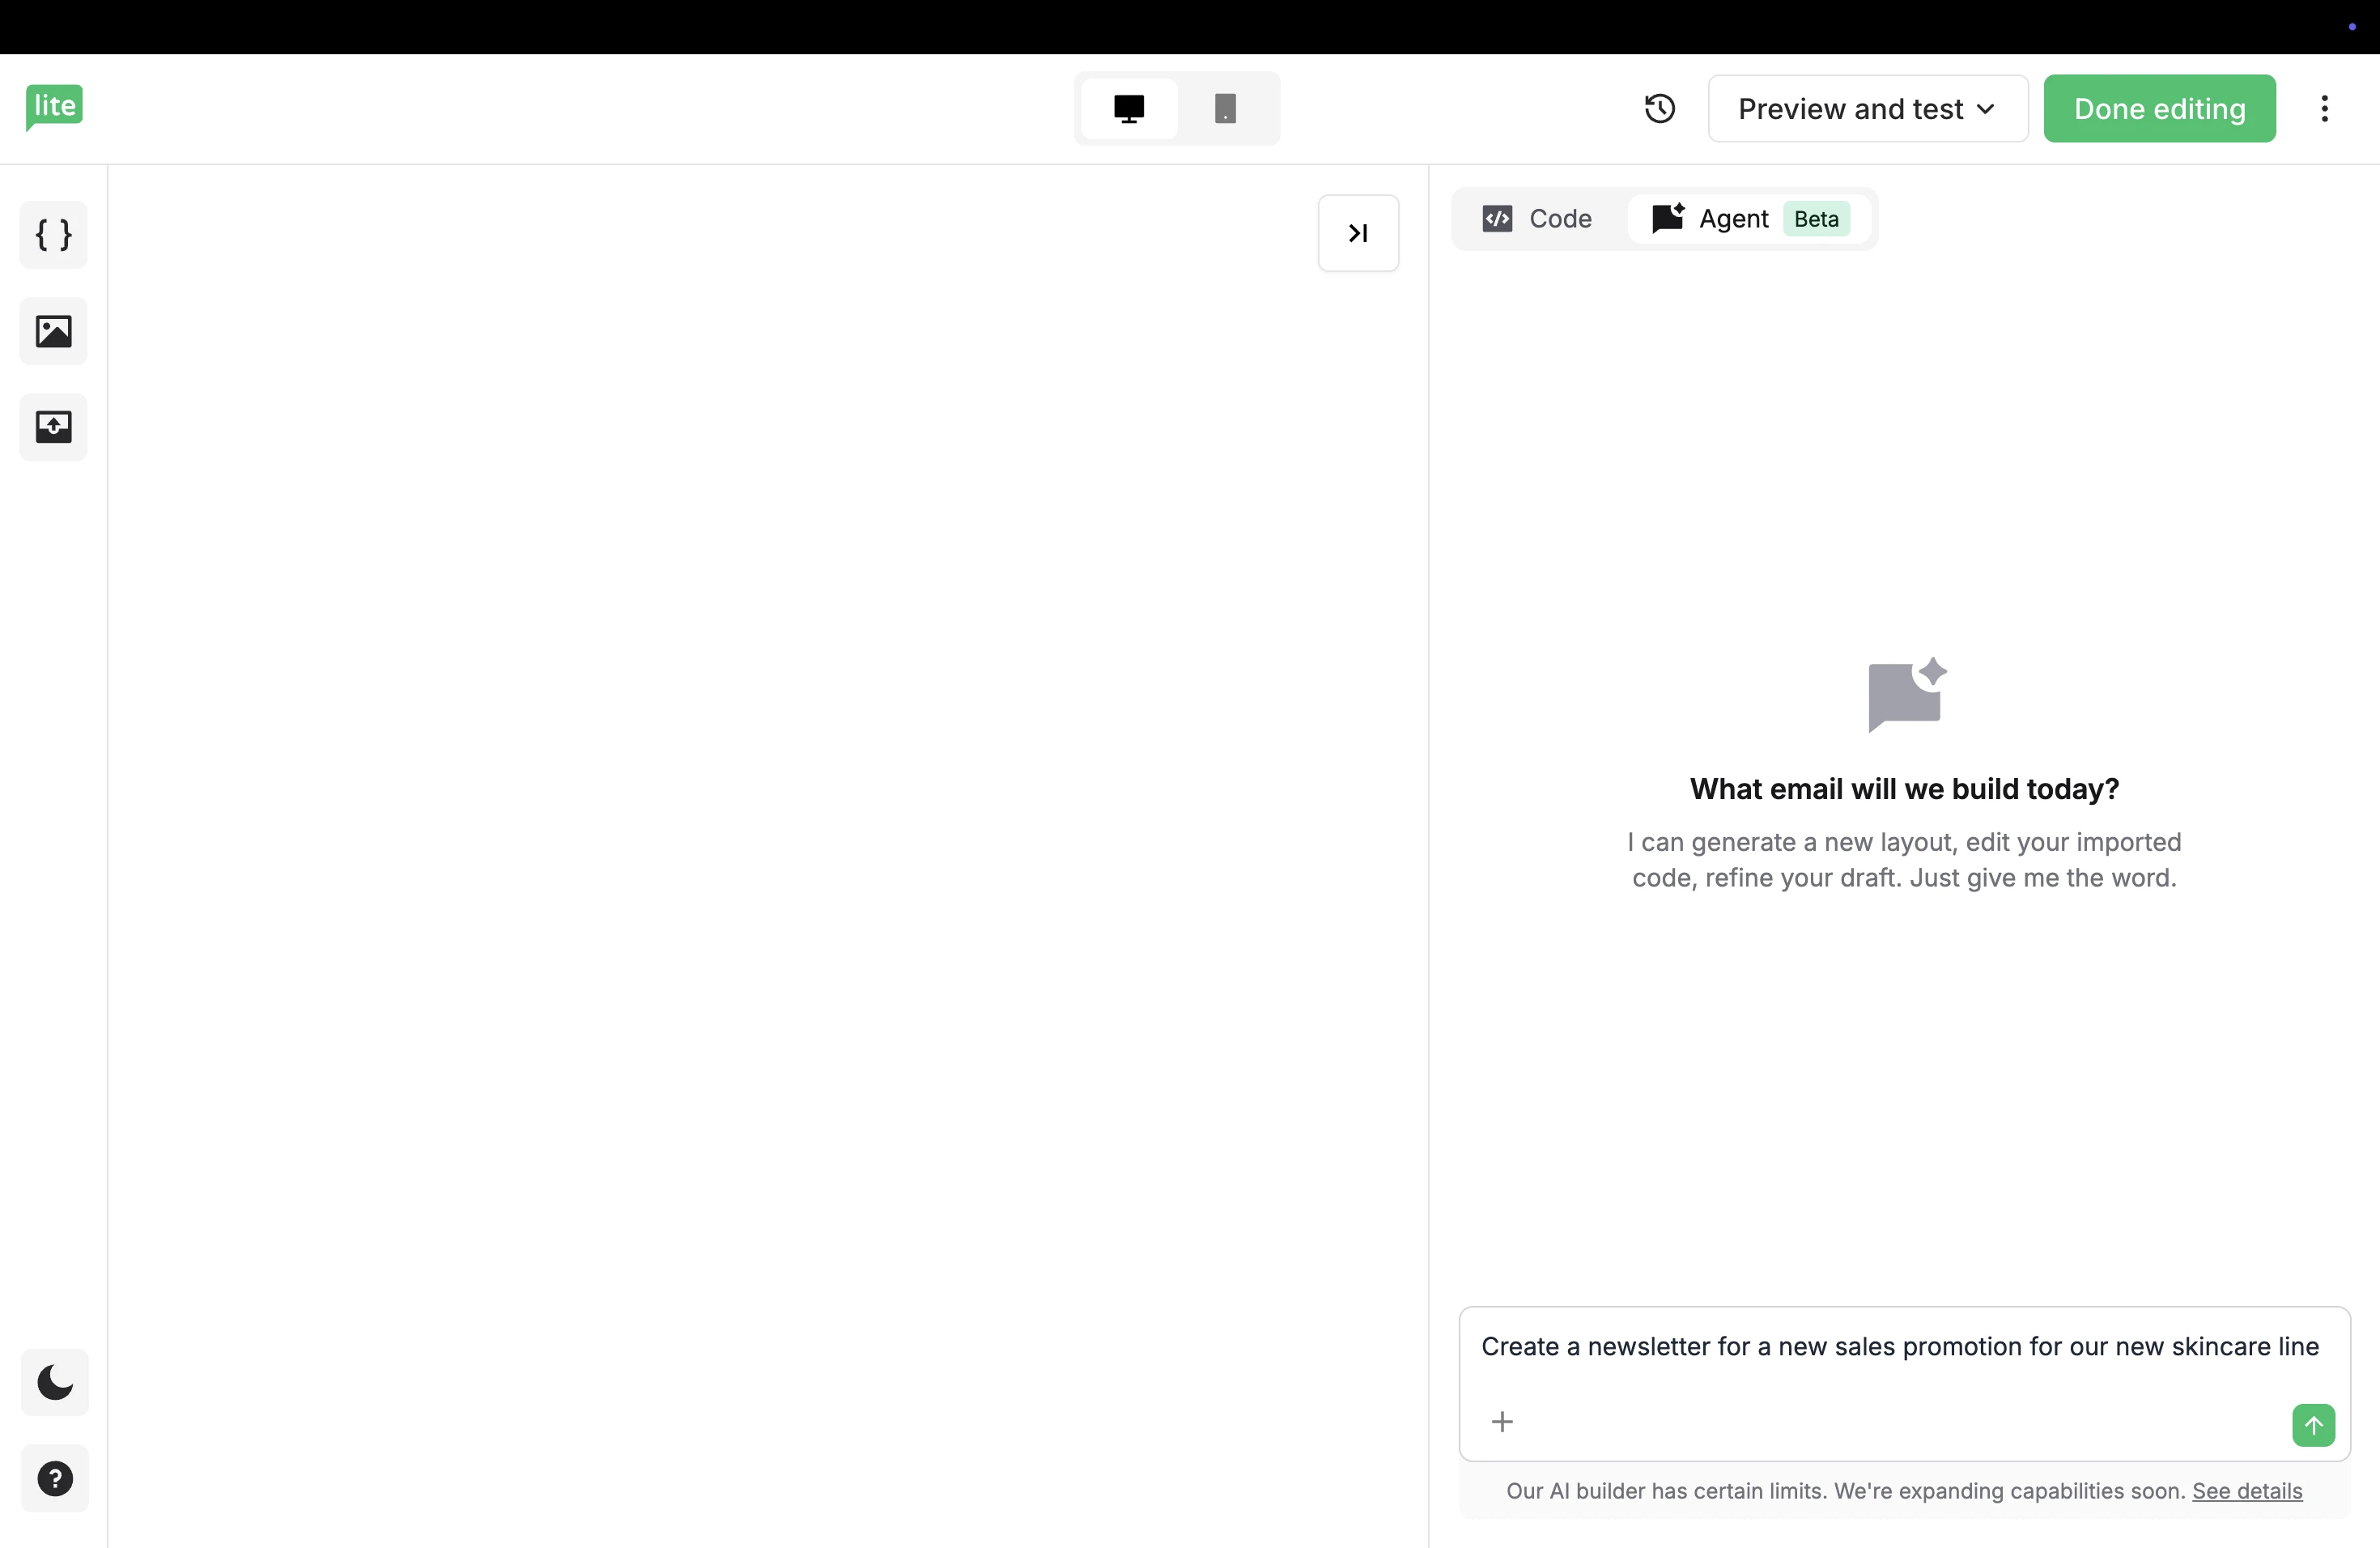
2. The AI translates your request into a structured email layout, which you can refine by asking for changes, just like a conversation.
Current limitations
As this feature develops, a few features are not supported yet:
Advanced components: quizzes, countdown timers, social feeds, and surveys are not available.
Live web access: the AI cannot pull in real-time data, news, or external content
Images: the AI cannot generate images, search for new ones online, or analyze uploaded images
Think of the AI Agent as a helpful starting point that can handle the heavy lifting, while you stay in control of the final result.
Import code
To import HTML code from a ZIP file, choose Import HTML at the start of the campaign creation, or select Import HTML anytime from the right sidebar.
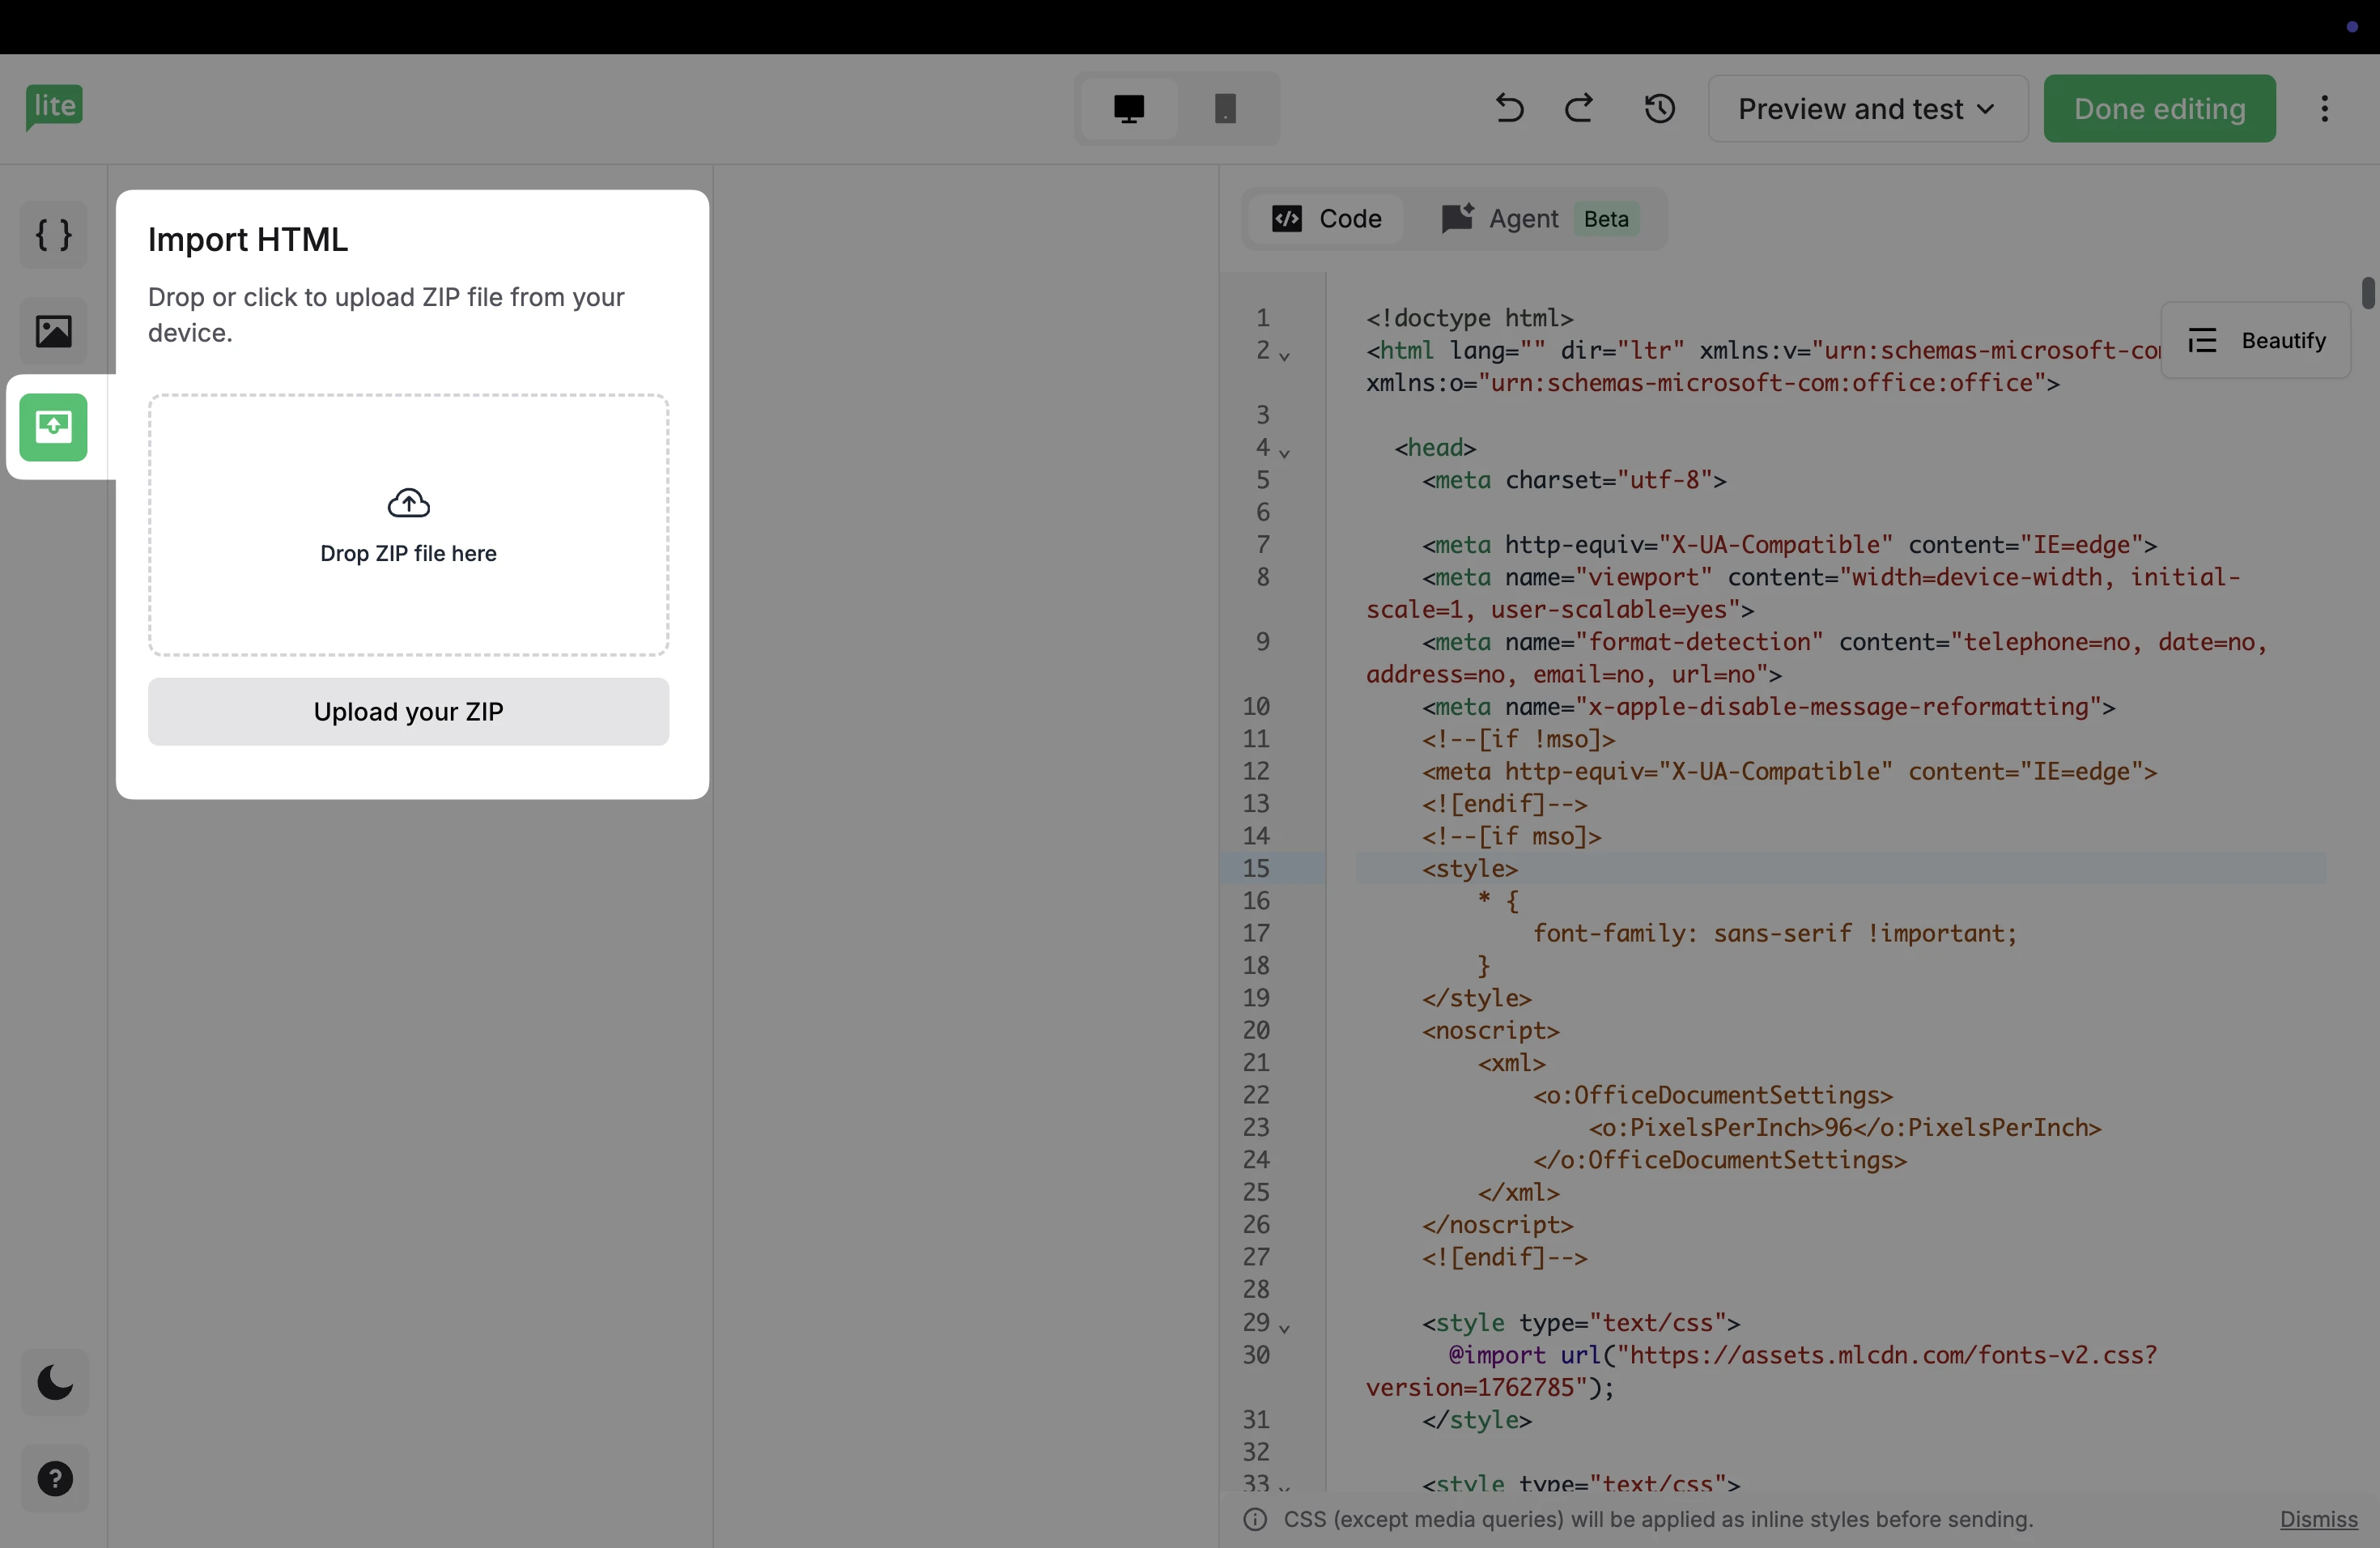
Drag in the Zip file to import, and click Upload your ZIP.
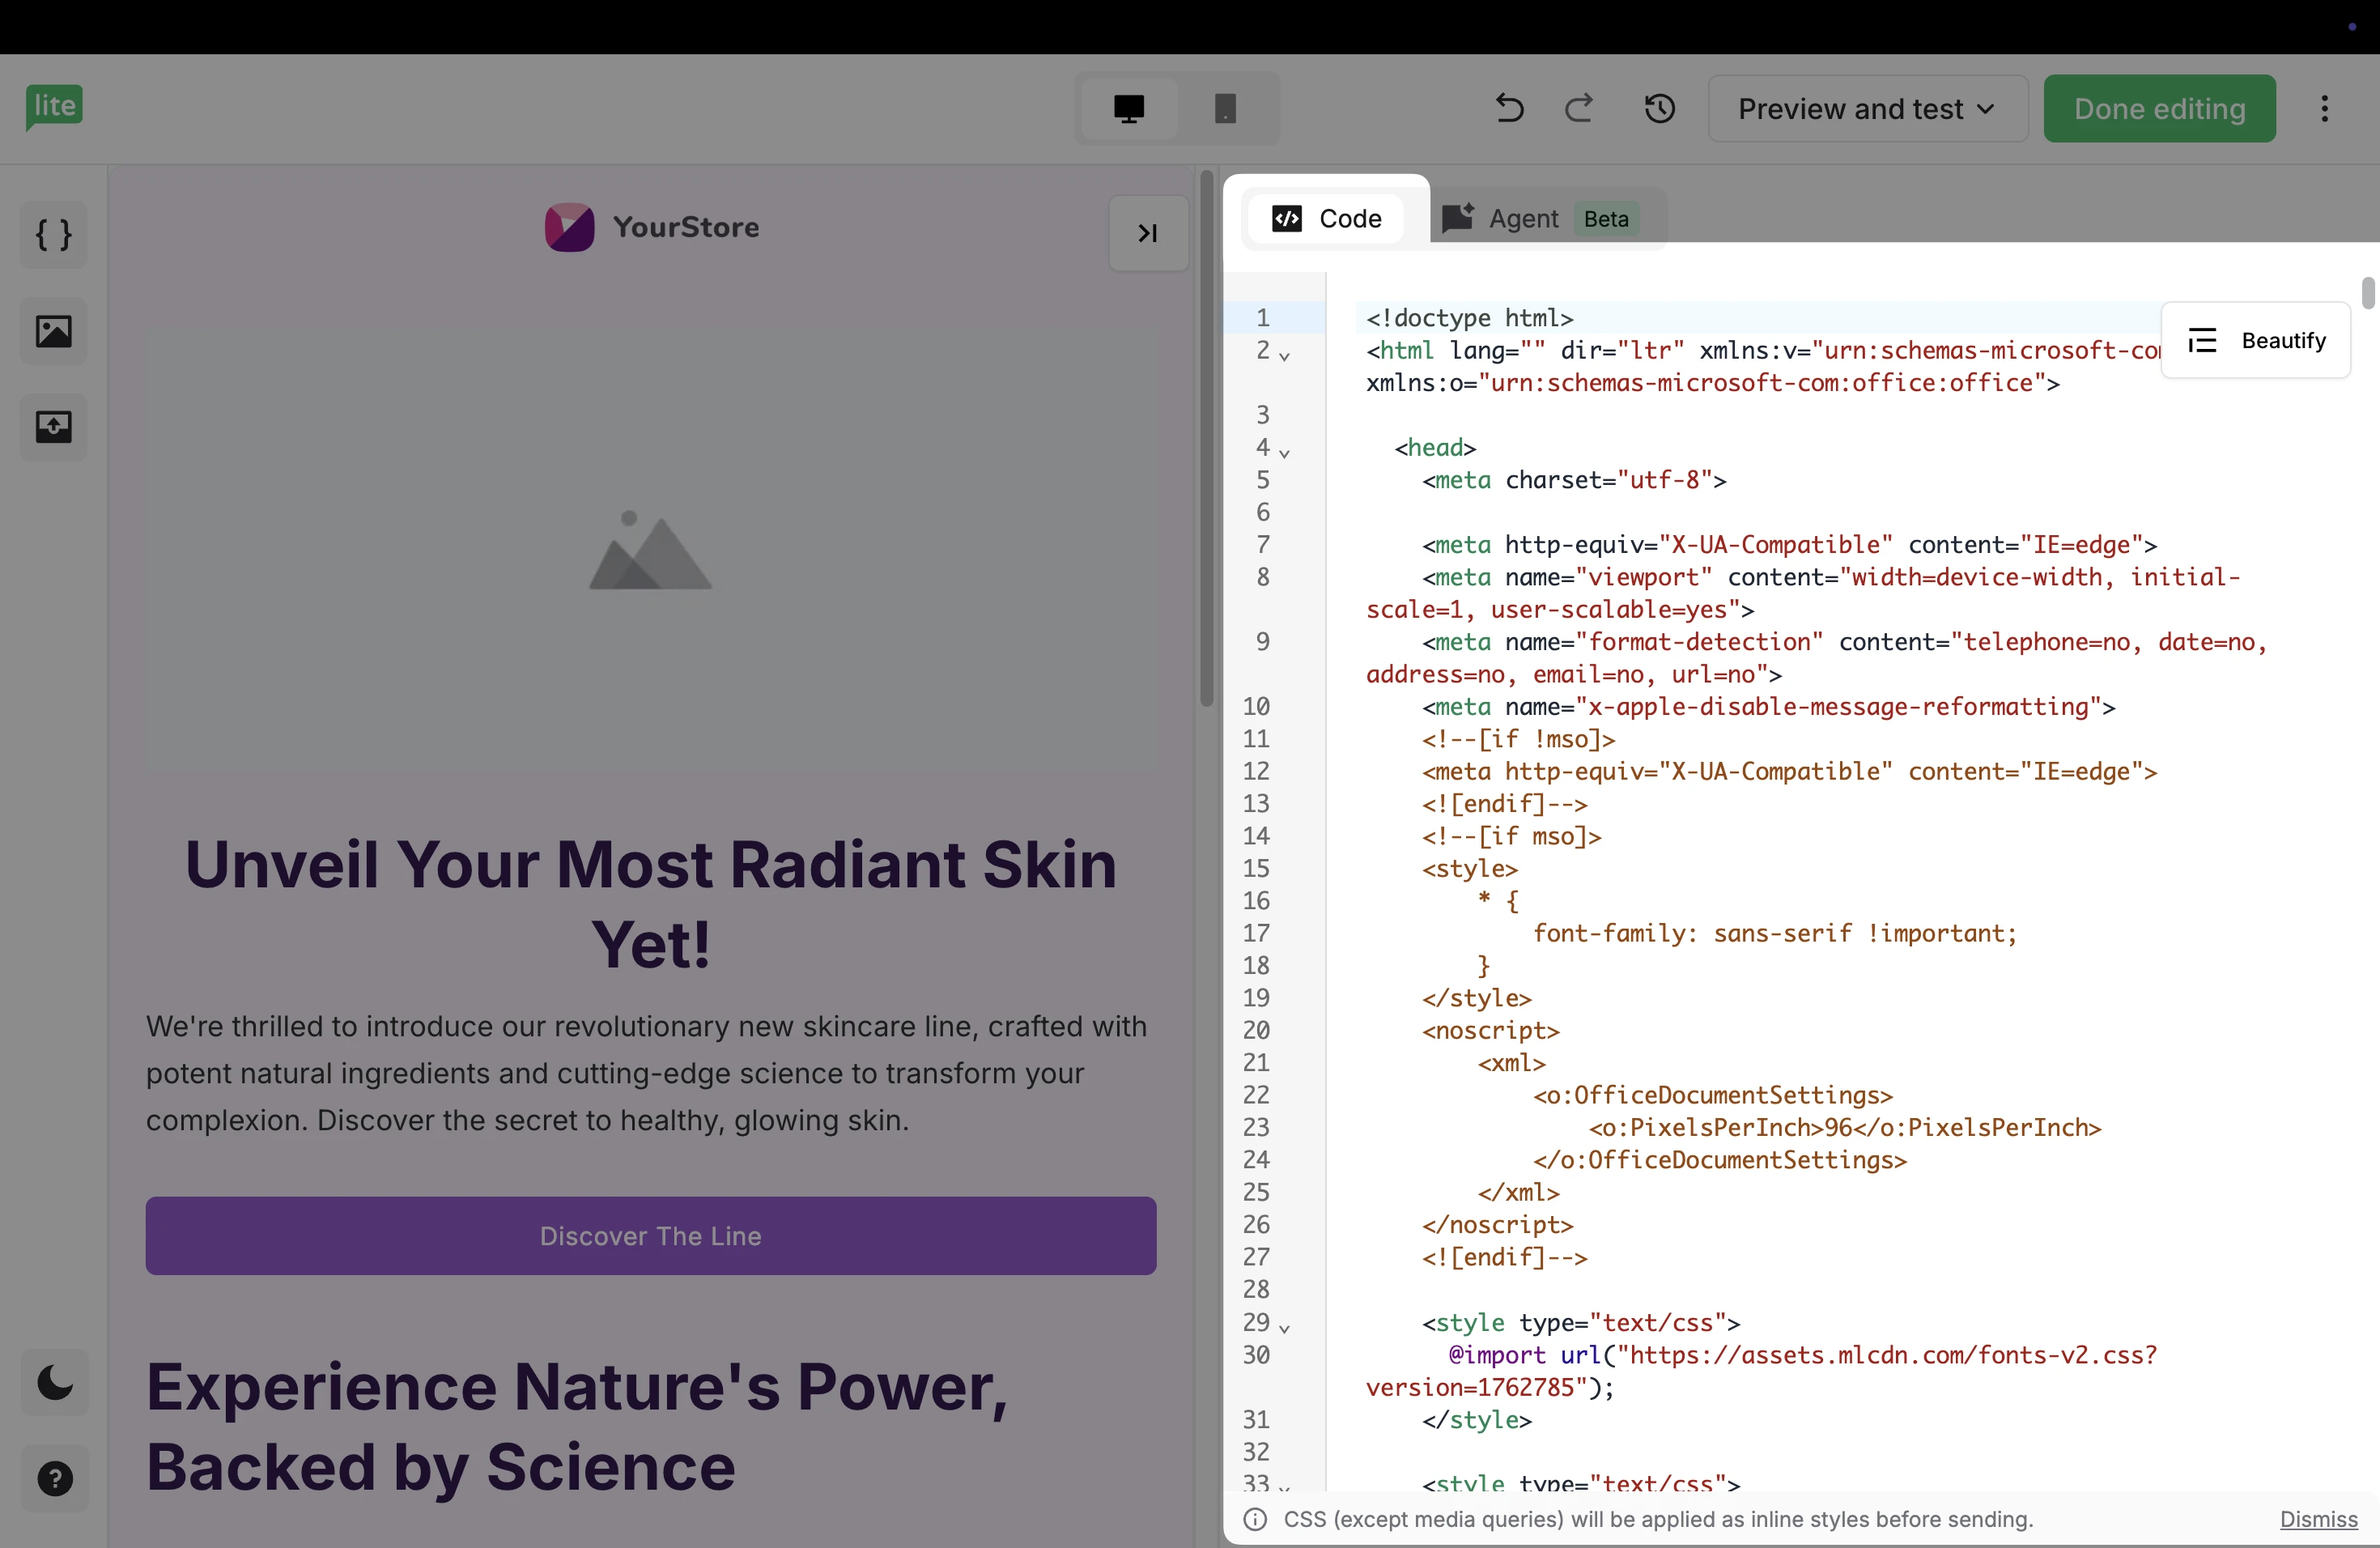
Code from scratch
When you choose Code from scratch, the HTML editor will appear blank. From here, you can type in or paste your code. It is also possible to switch to the Code tab anytime during the campaign creation.
A preview of your campaign will be shown on the left side as you are writing the code. For any image blocks, simply hover over the image and click Select image to open the File manager and choose an image to replace it with.
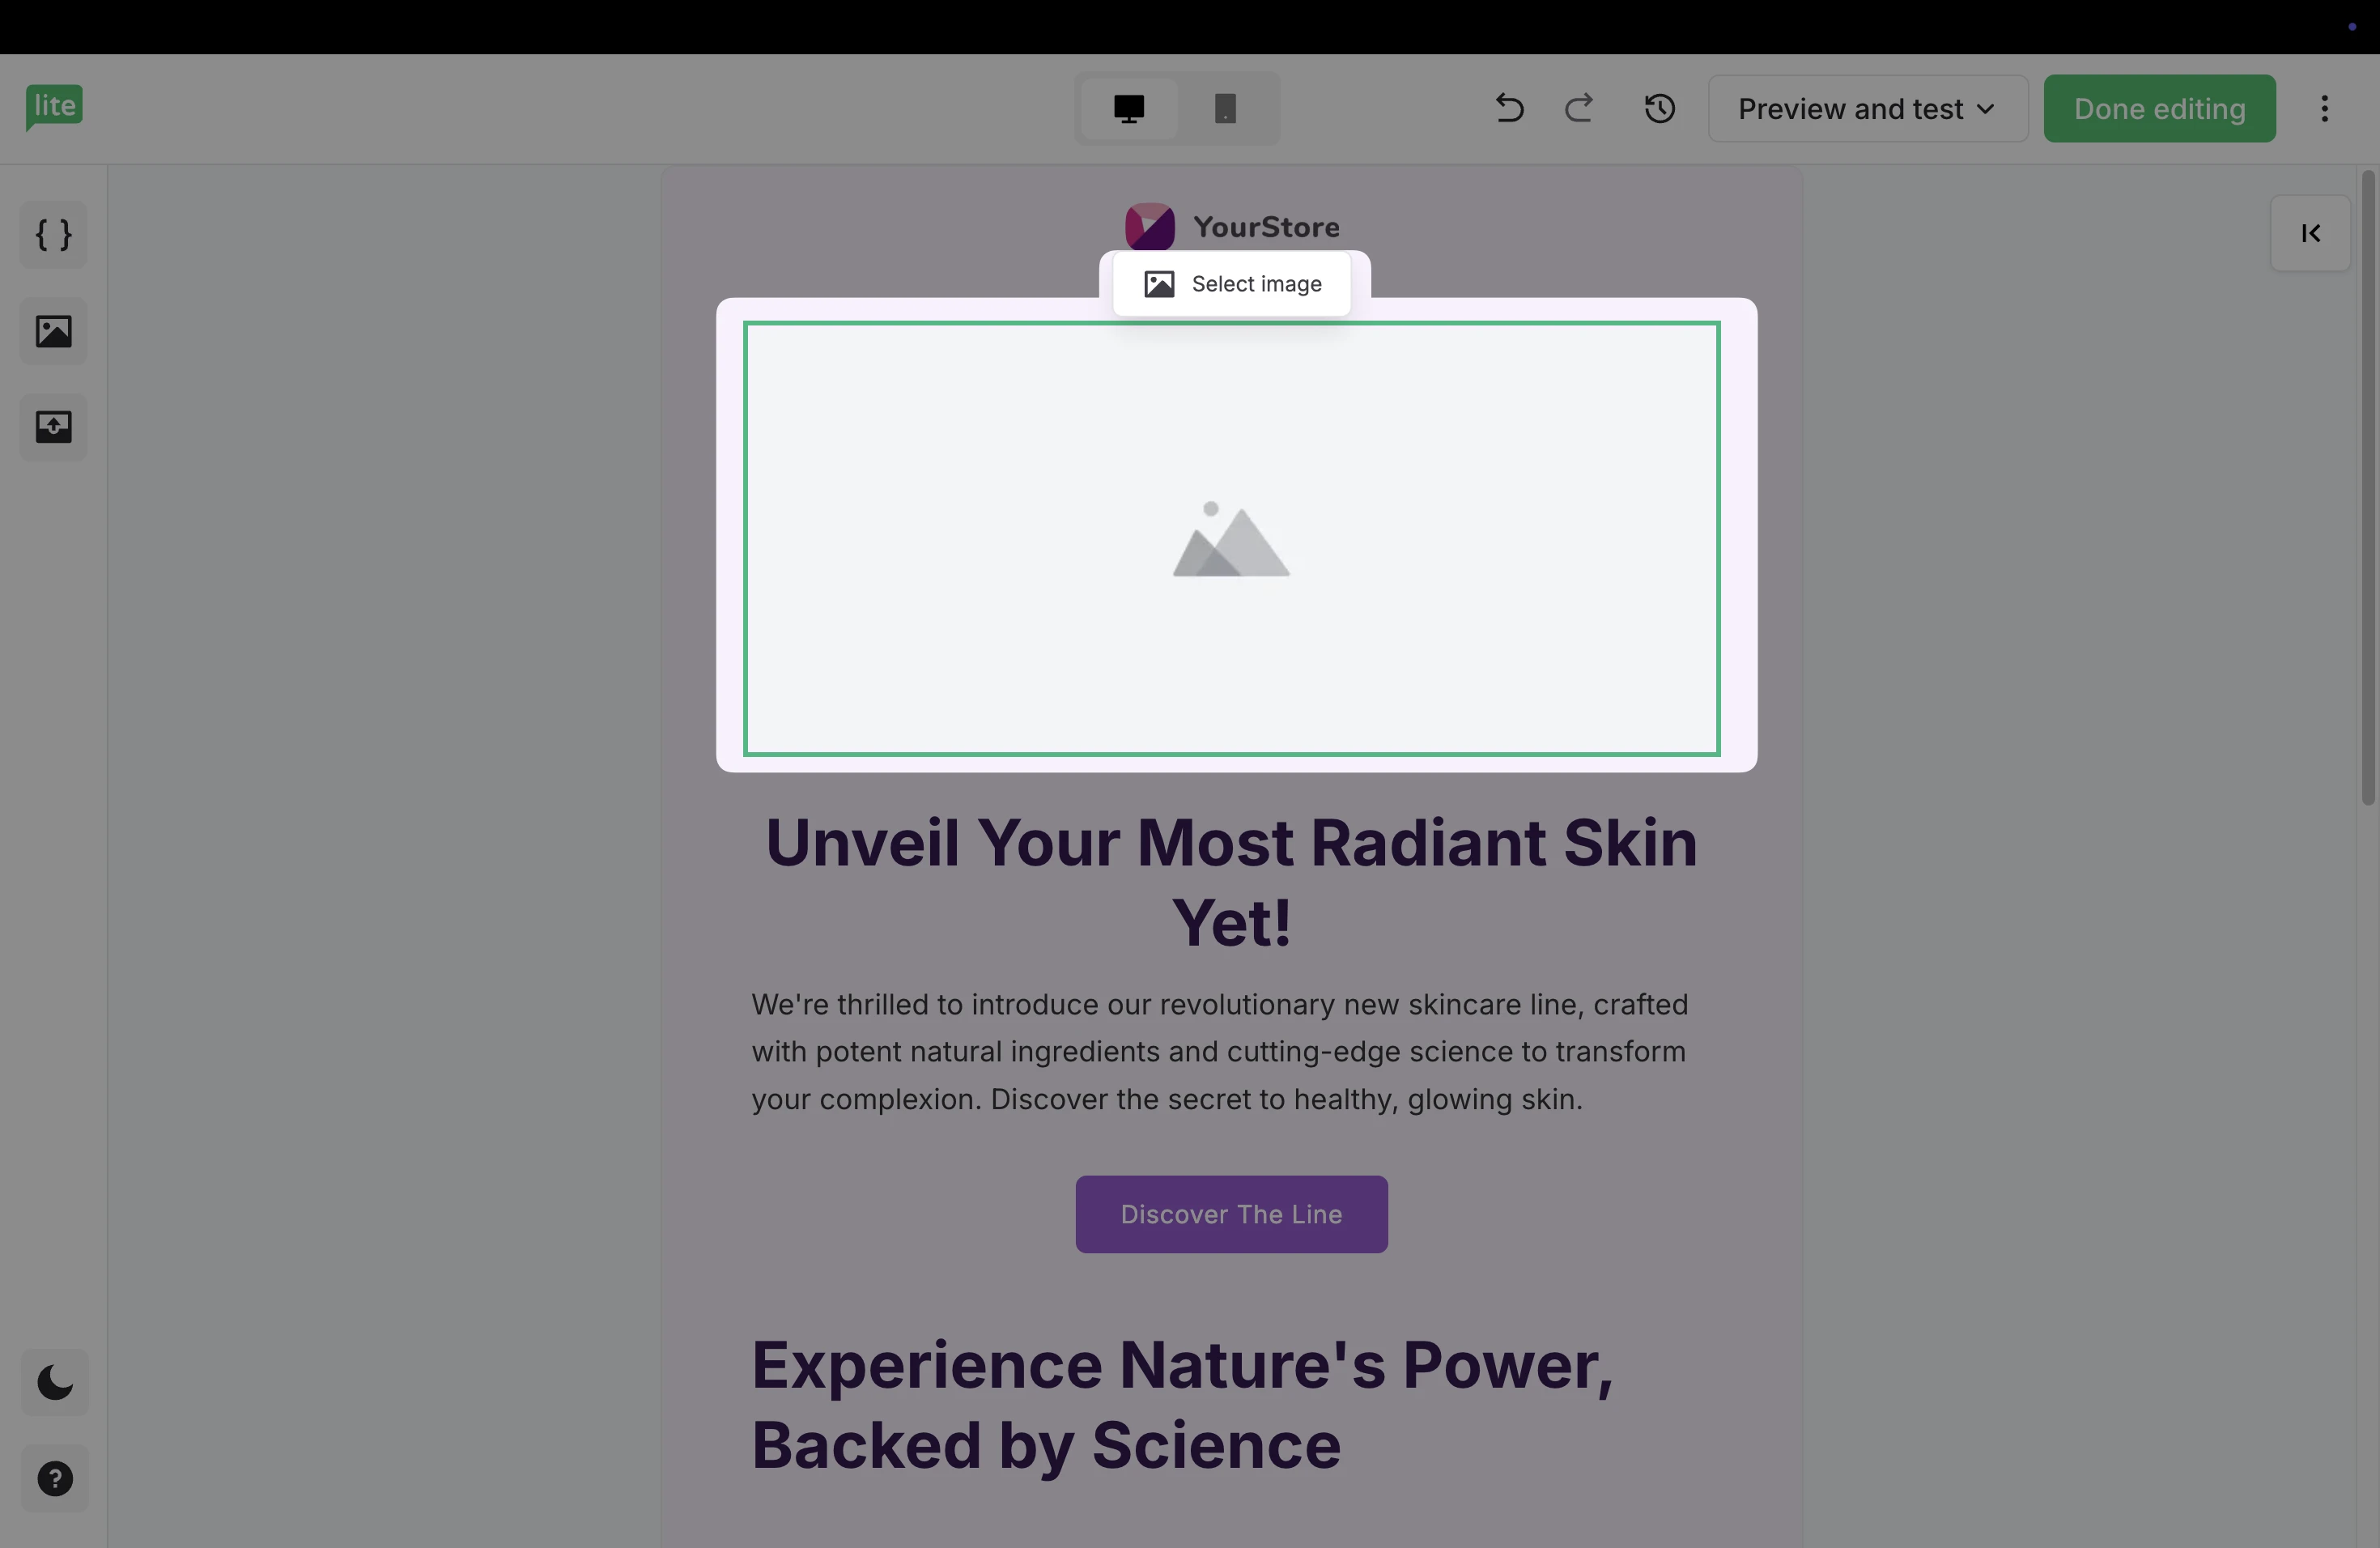
You can also access the File manager directly from the left side-bar.
How to add variables and custom fields to your campaign
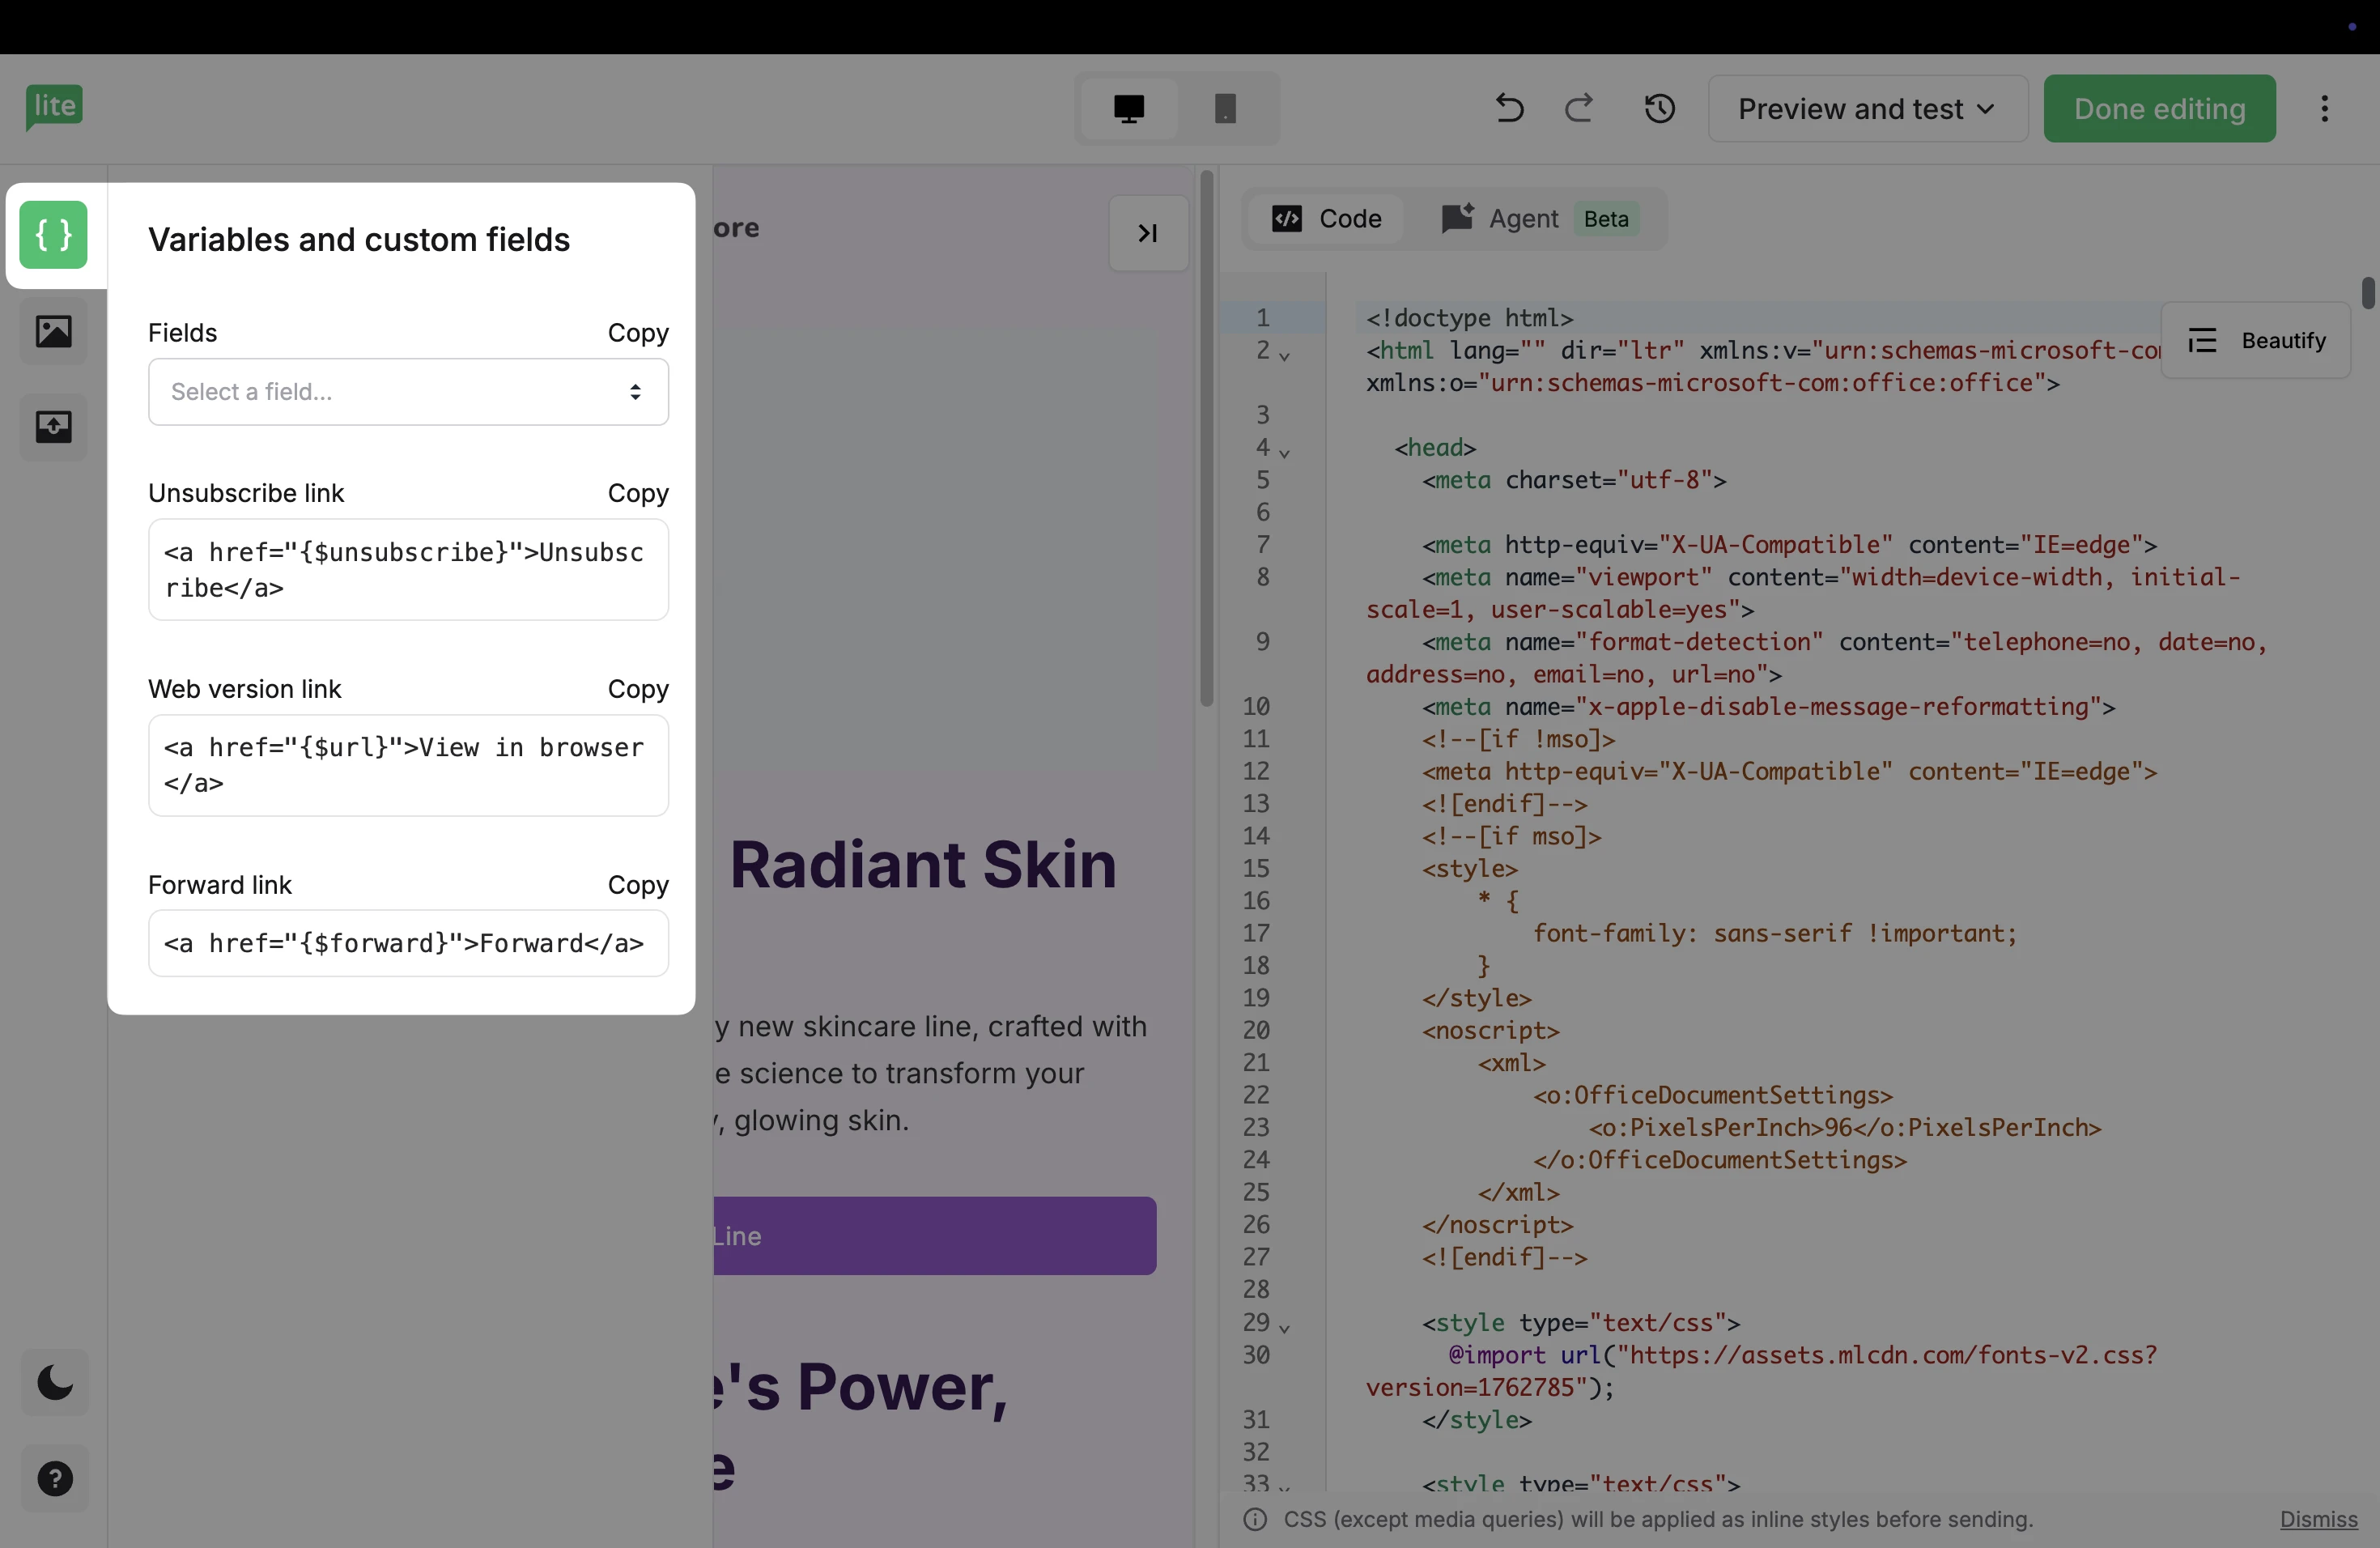
Variables are pieces of information included in your content that may vary depending on what data is available. In the sidebar under Fields and variables you will find two kinds of variables: custom field variables and link variables.
Custom field variables
Custom variables are used to better target and personalize your newsletter to improve engagement. To add custom variables to your campaign:
In the sidebar, click the Fields and variables tab.
Under Fields, use the dropdown menu to select the field that corresponds with the data you want to include in your campaign.
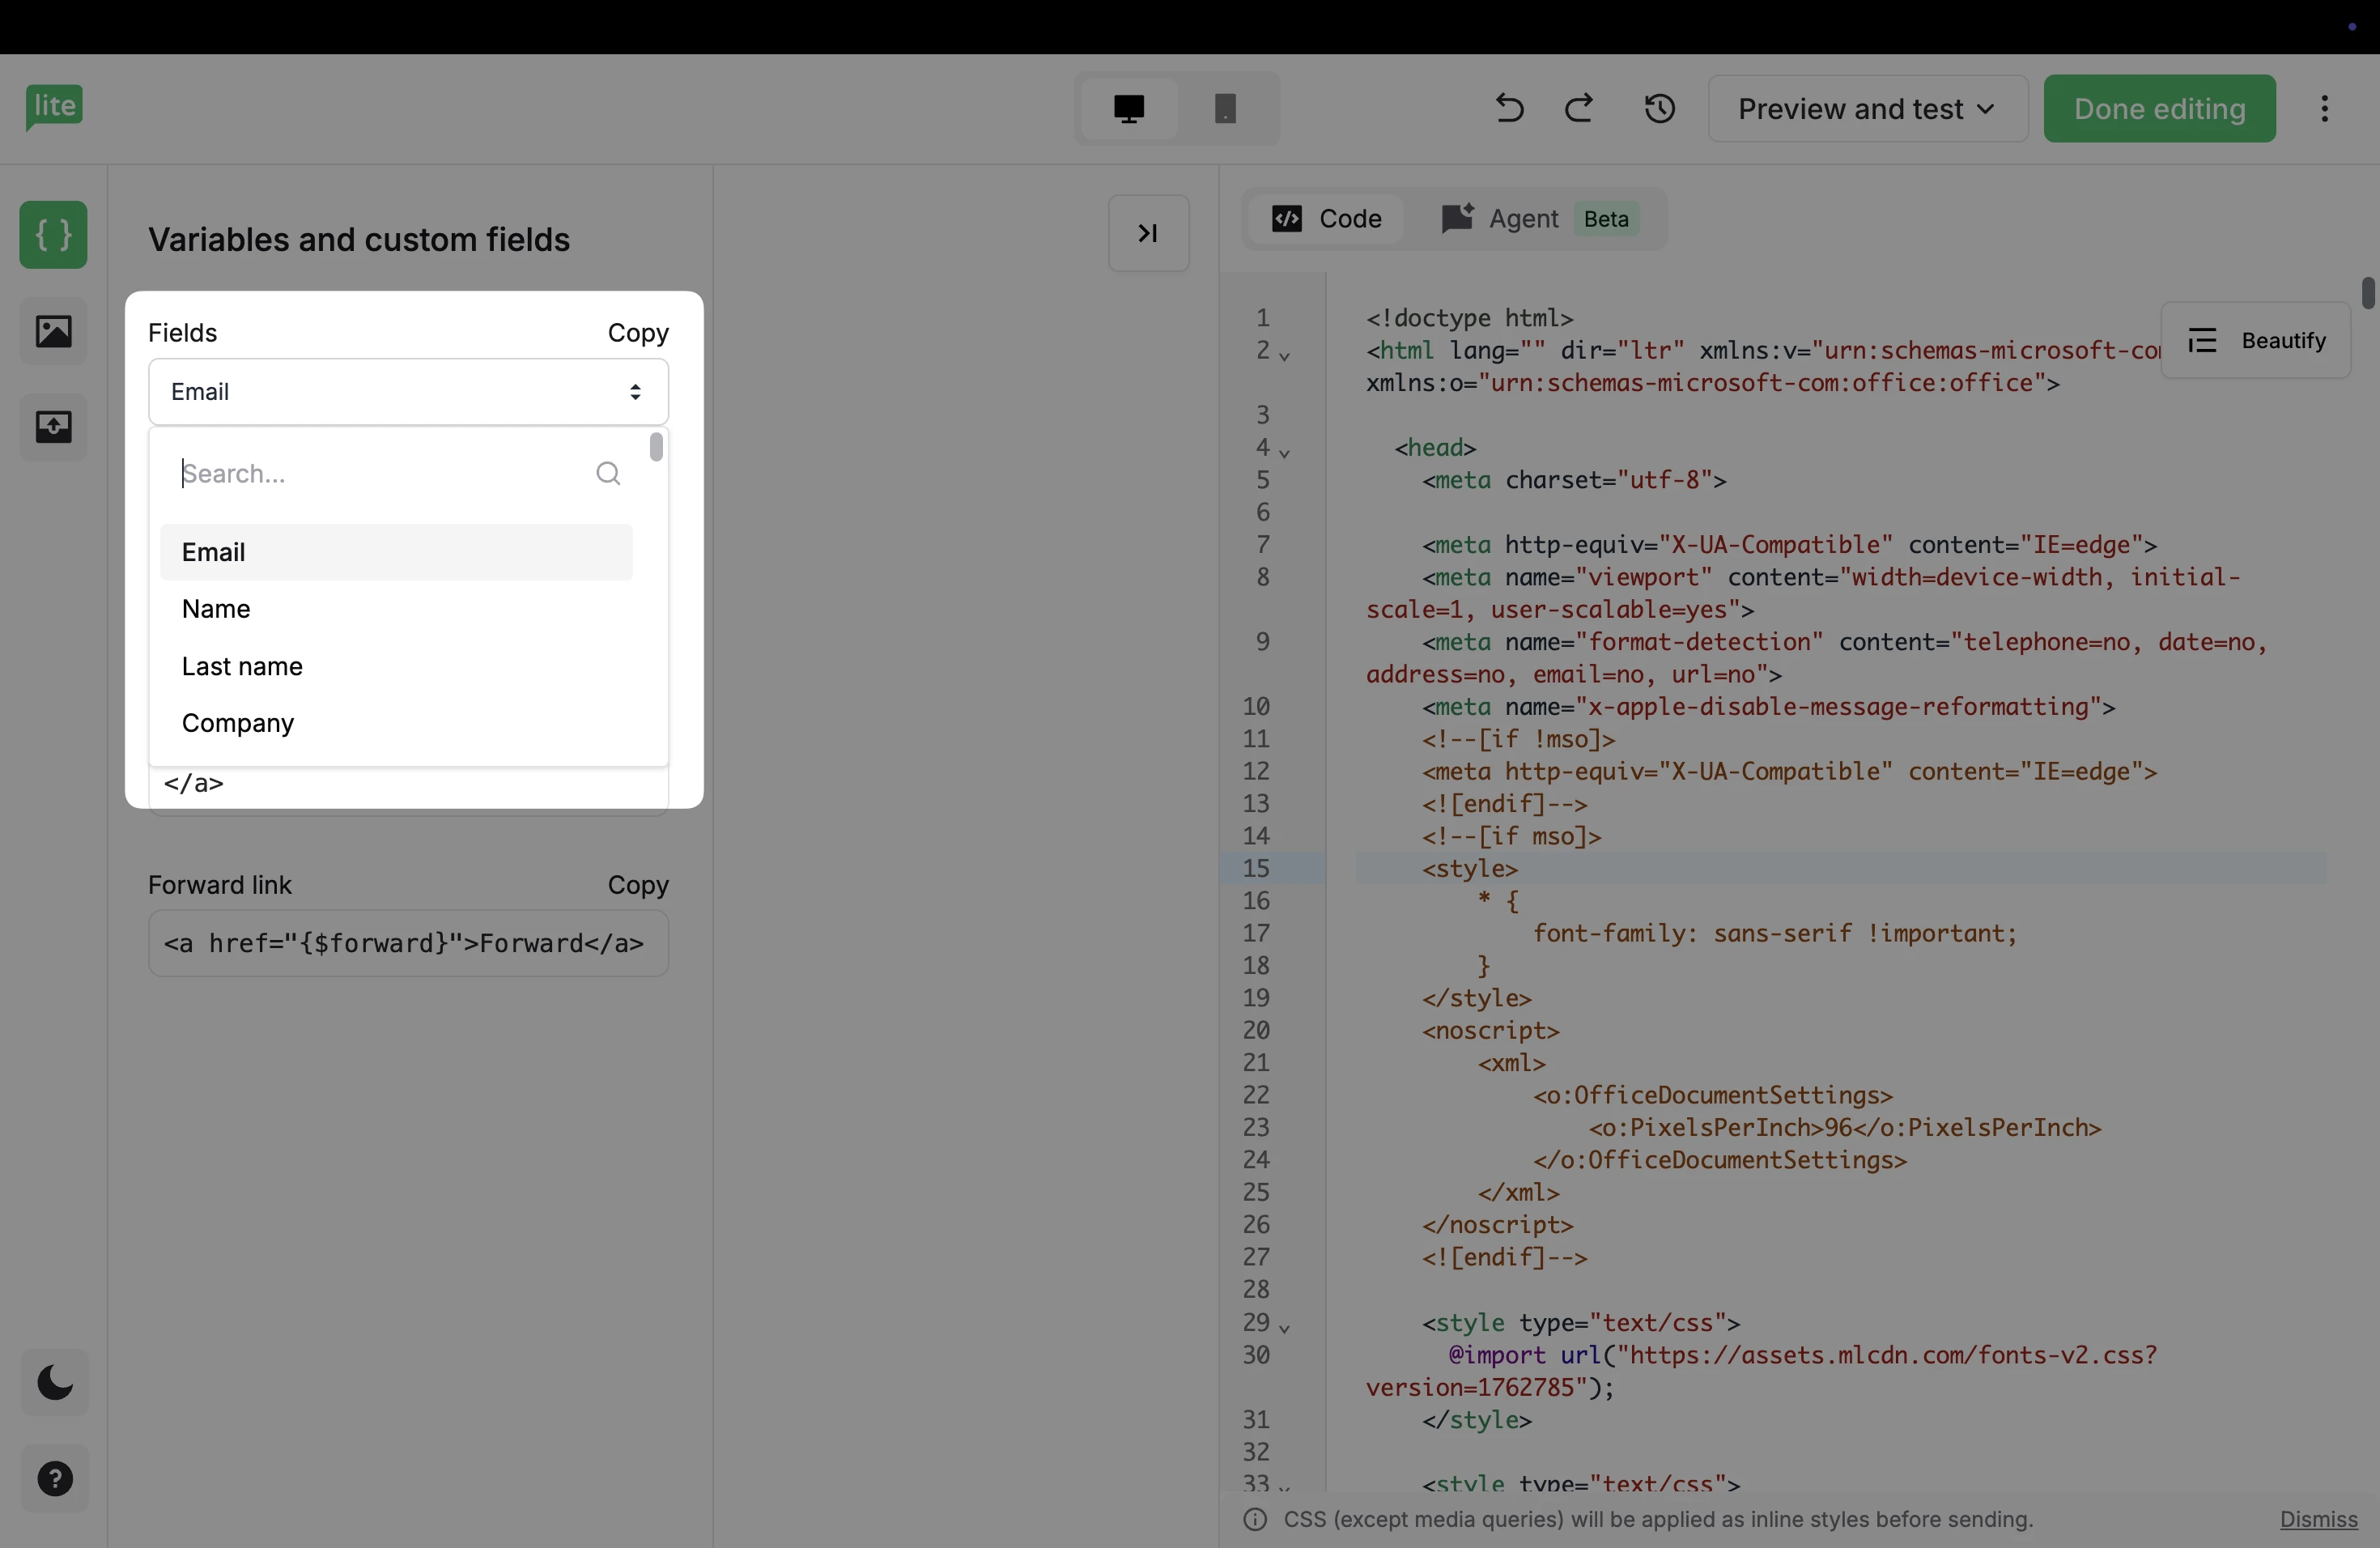
3. Click Copy and paste the merge tag into the content section.
If a subscriber doesn’t have a value in the field that corresponds with the merge tag you added to your campaign, the space in which the merge tag was added will appear blank unless you add a default value. Read this article to learn more about what variables you can include in your campaign.
Link variables
Link variables generate a clickable link unique to each individual campaign. Here you will find three link variables:
Unsubscribe link - Subscribers are redirected to your unsubscribe page. It’s mandatory to include a visible unsubscribe link in all campaigns.
Web-version link - Subscribers can use this link to view your campaign in their web browser. This is particularly useful for longer campaigns that may be clipped by your readers’ email clients.
Forward link - Subscribers can click to forward your campaign to their friends using the Forward to a friend feature.
Inline CSS
When you save your email in the Custom HTML builder, MailerLite automatically converts any CSS written inside <style> tags into inline styles that are applied directly to each element. This process happens in the background, so there is nothing you need to turn on or manage yourself.
Inline styles are the most reliable way to ensure your email displays correctly across different email clients. Some clients limit or remove embedded and external CSS, which can cause designs to break or appear inconsistent.
By applying styles inline at the moment you save, MailerLite helps preserve your layout and formatting so your email looks as intended for every recipient.
How to beautify your code
After copying and pasting multiple elements into your newsletter, you may need to clean up your code (for your own sanity). To tidy up your code, simply click the Beautify button.
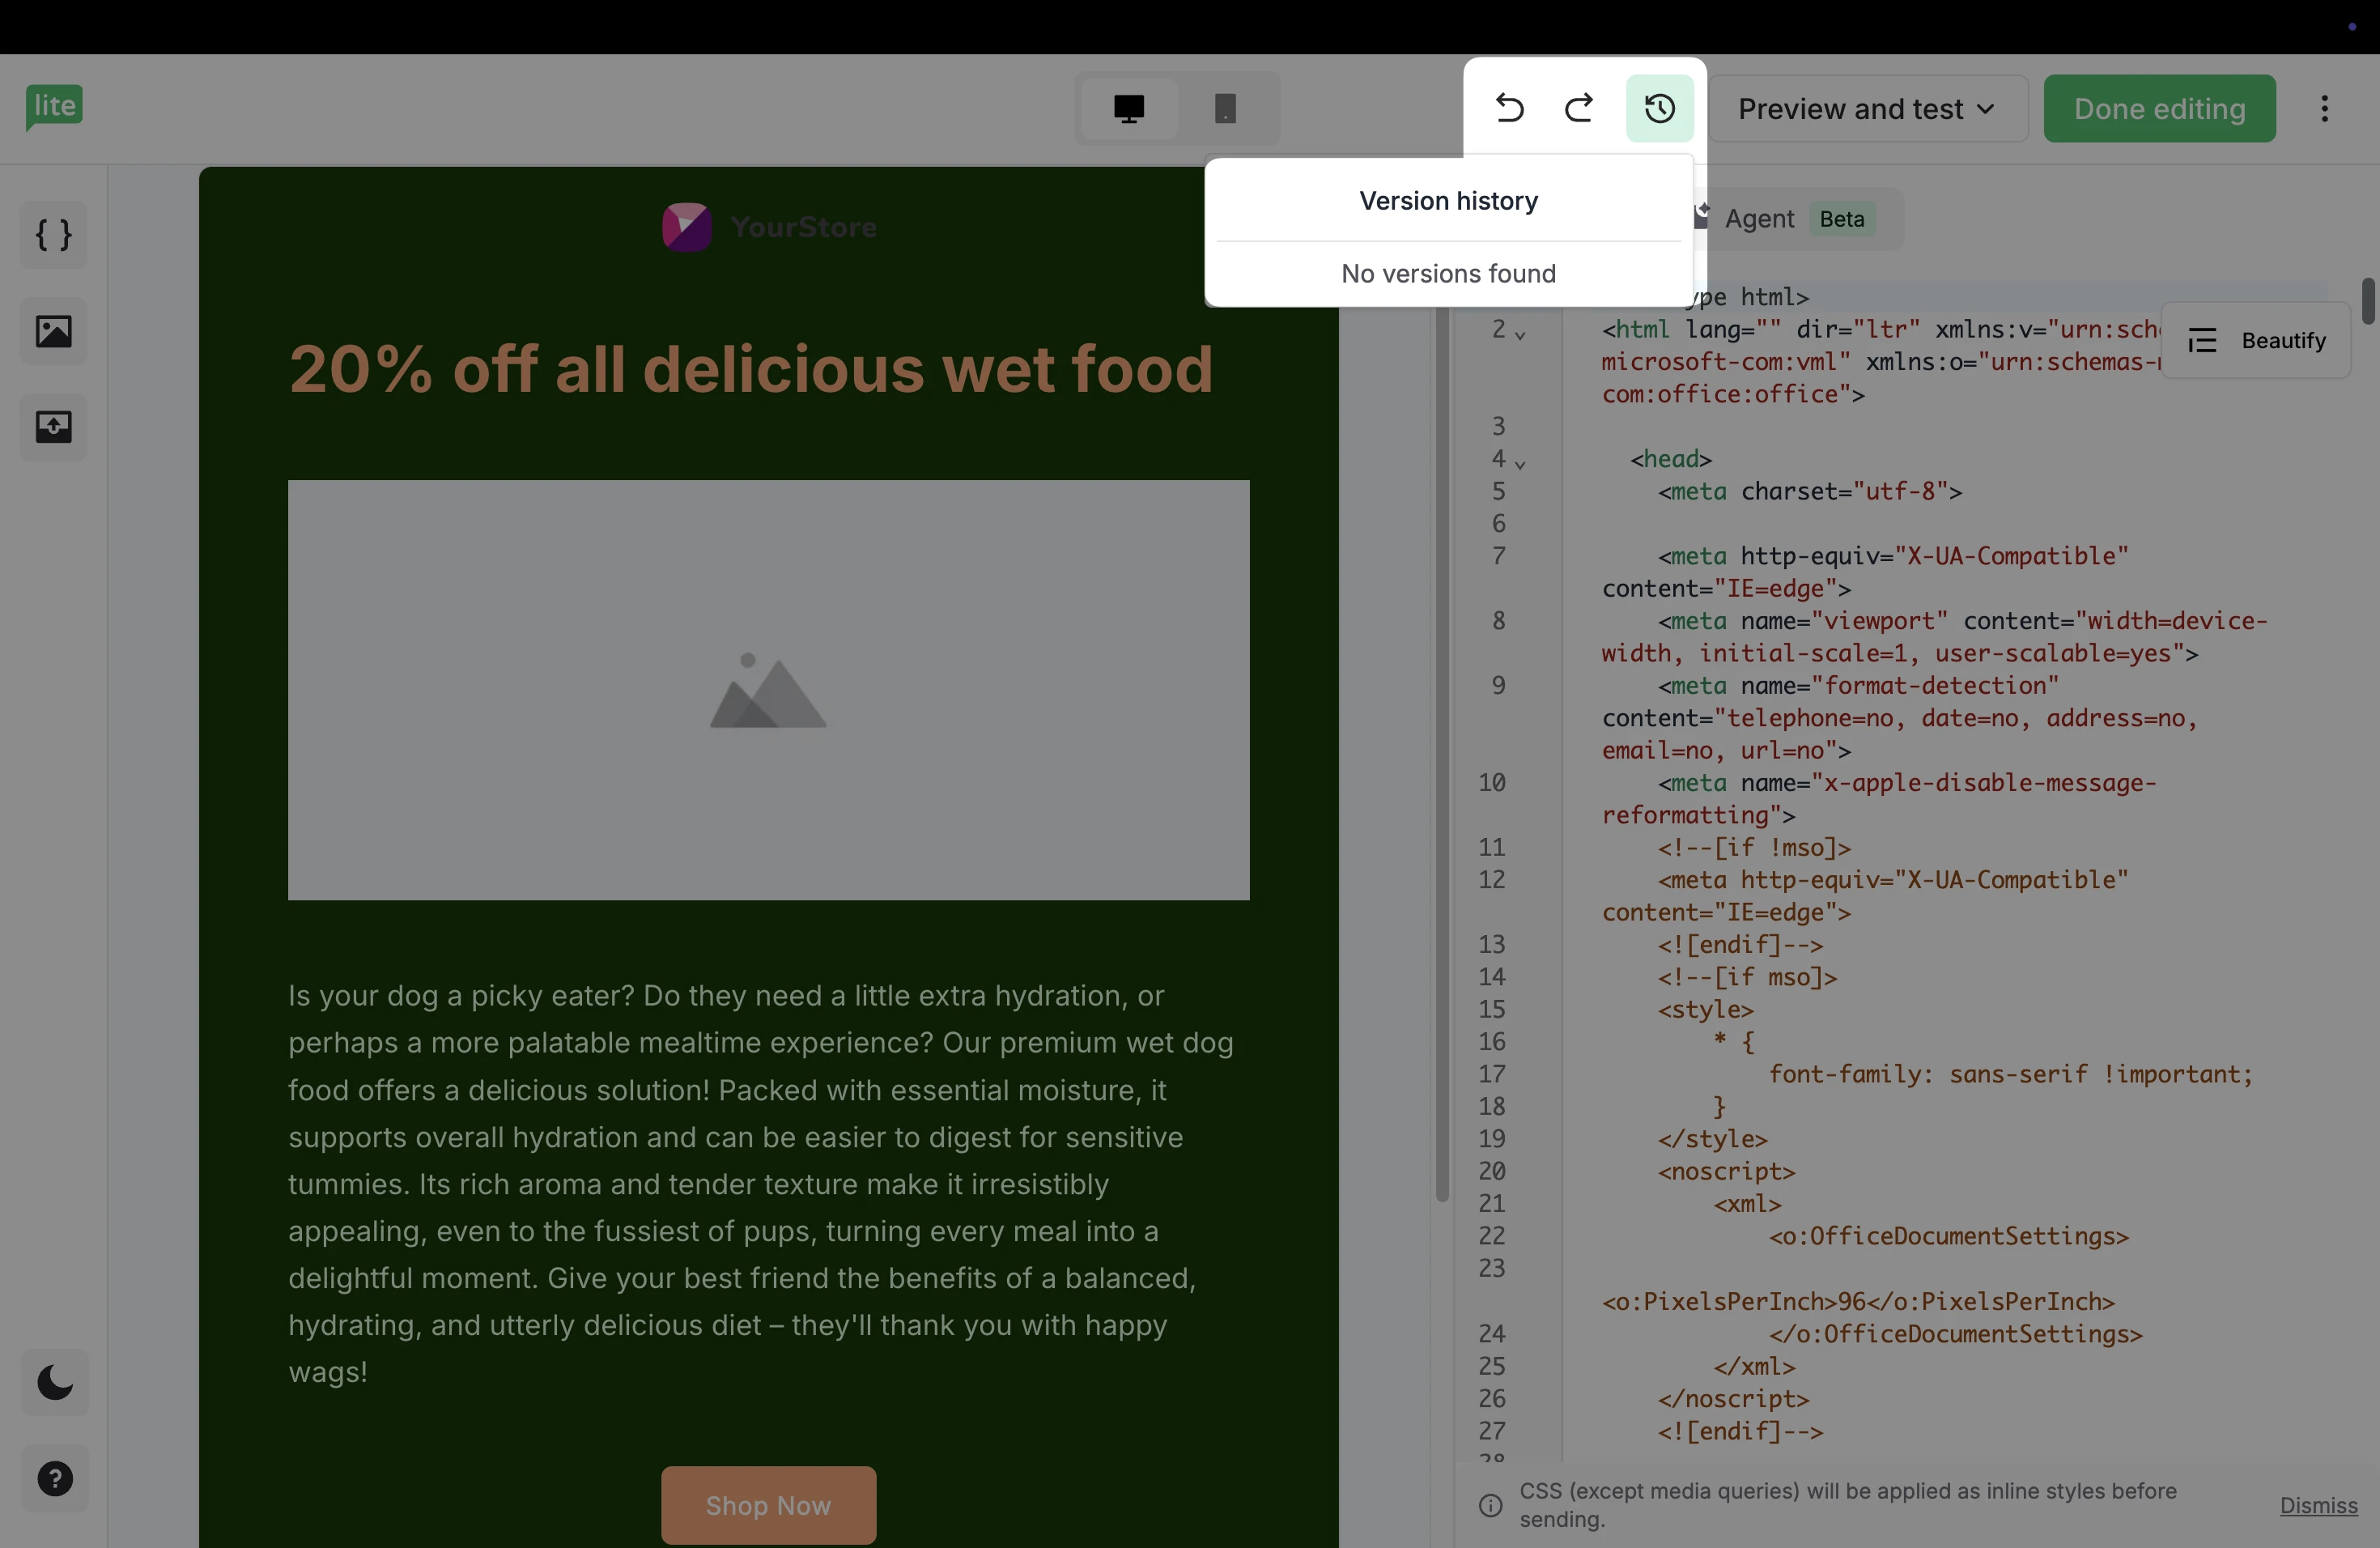
How to restore a previous version of your campaign
To undo your last action, or restore a previous version of your campaign:
Click the undo icon at the top of your custom HTML editor.
Click the Recent changes icon to undo recent changes or click the Version history tab to restore a previously saved version of your campaign.
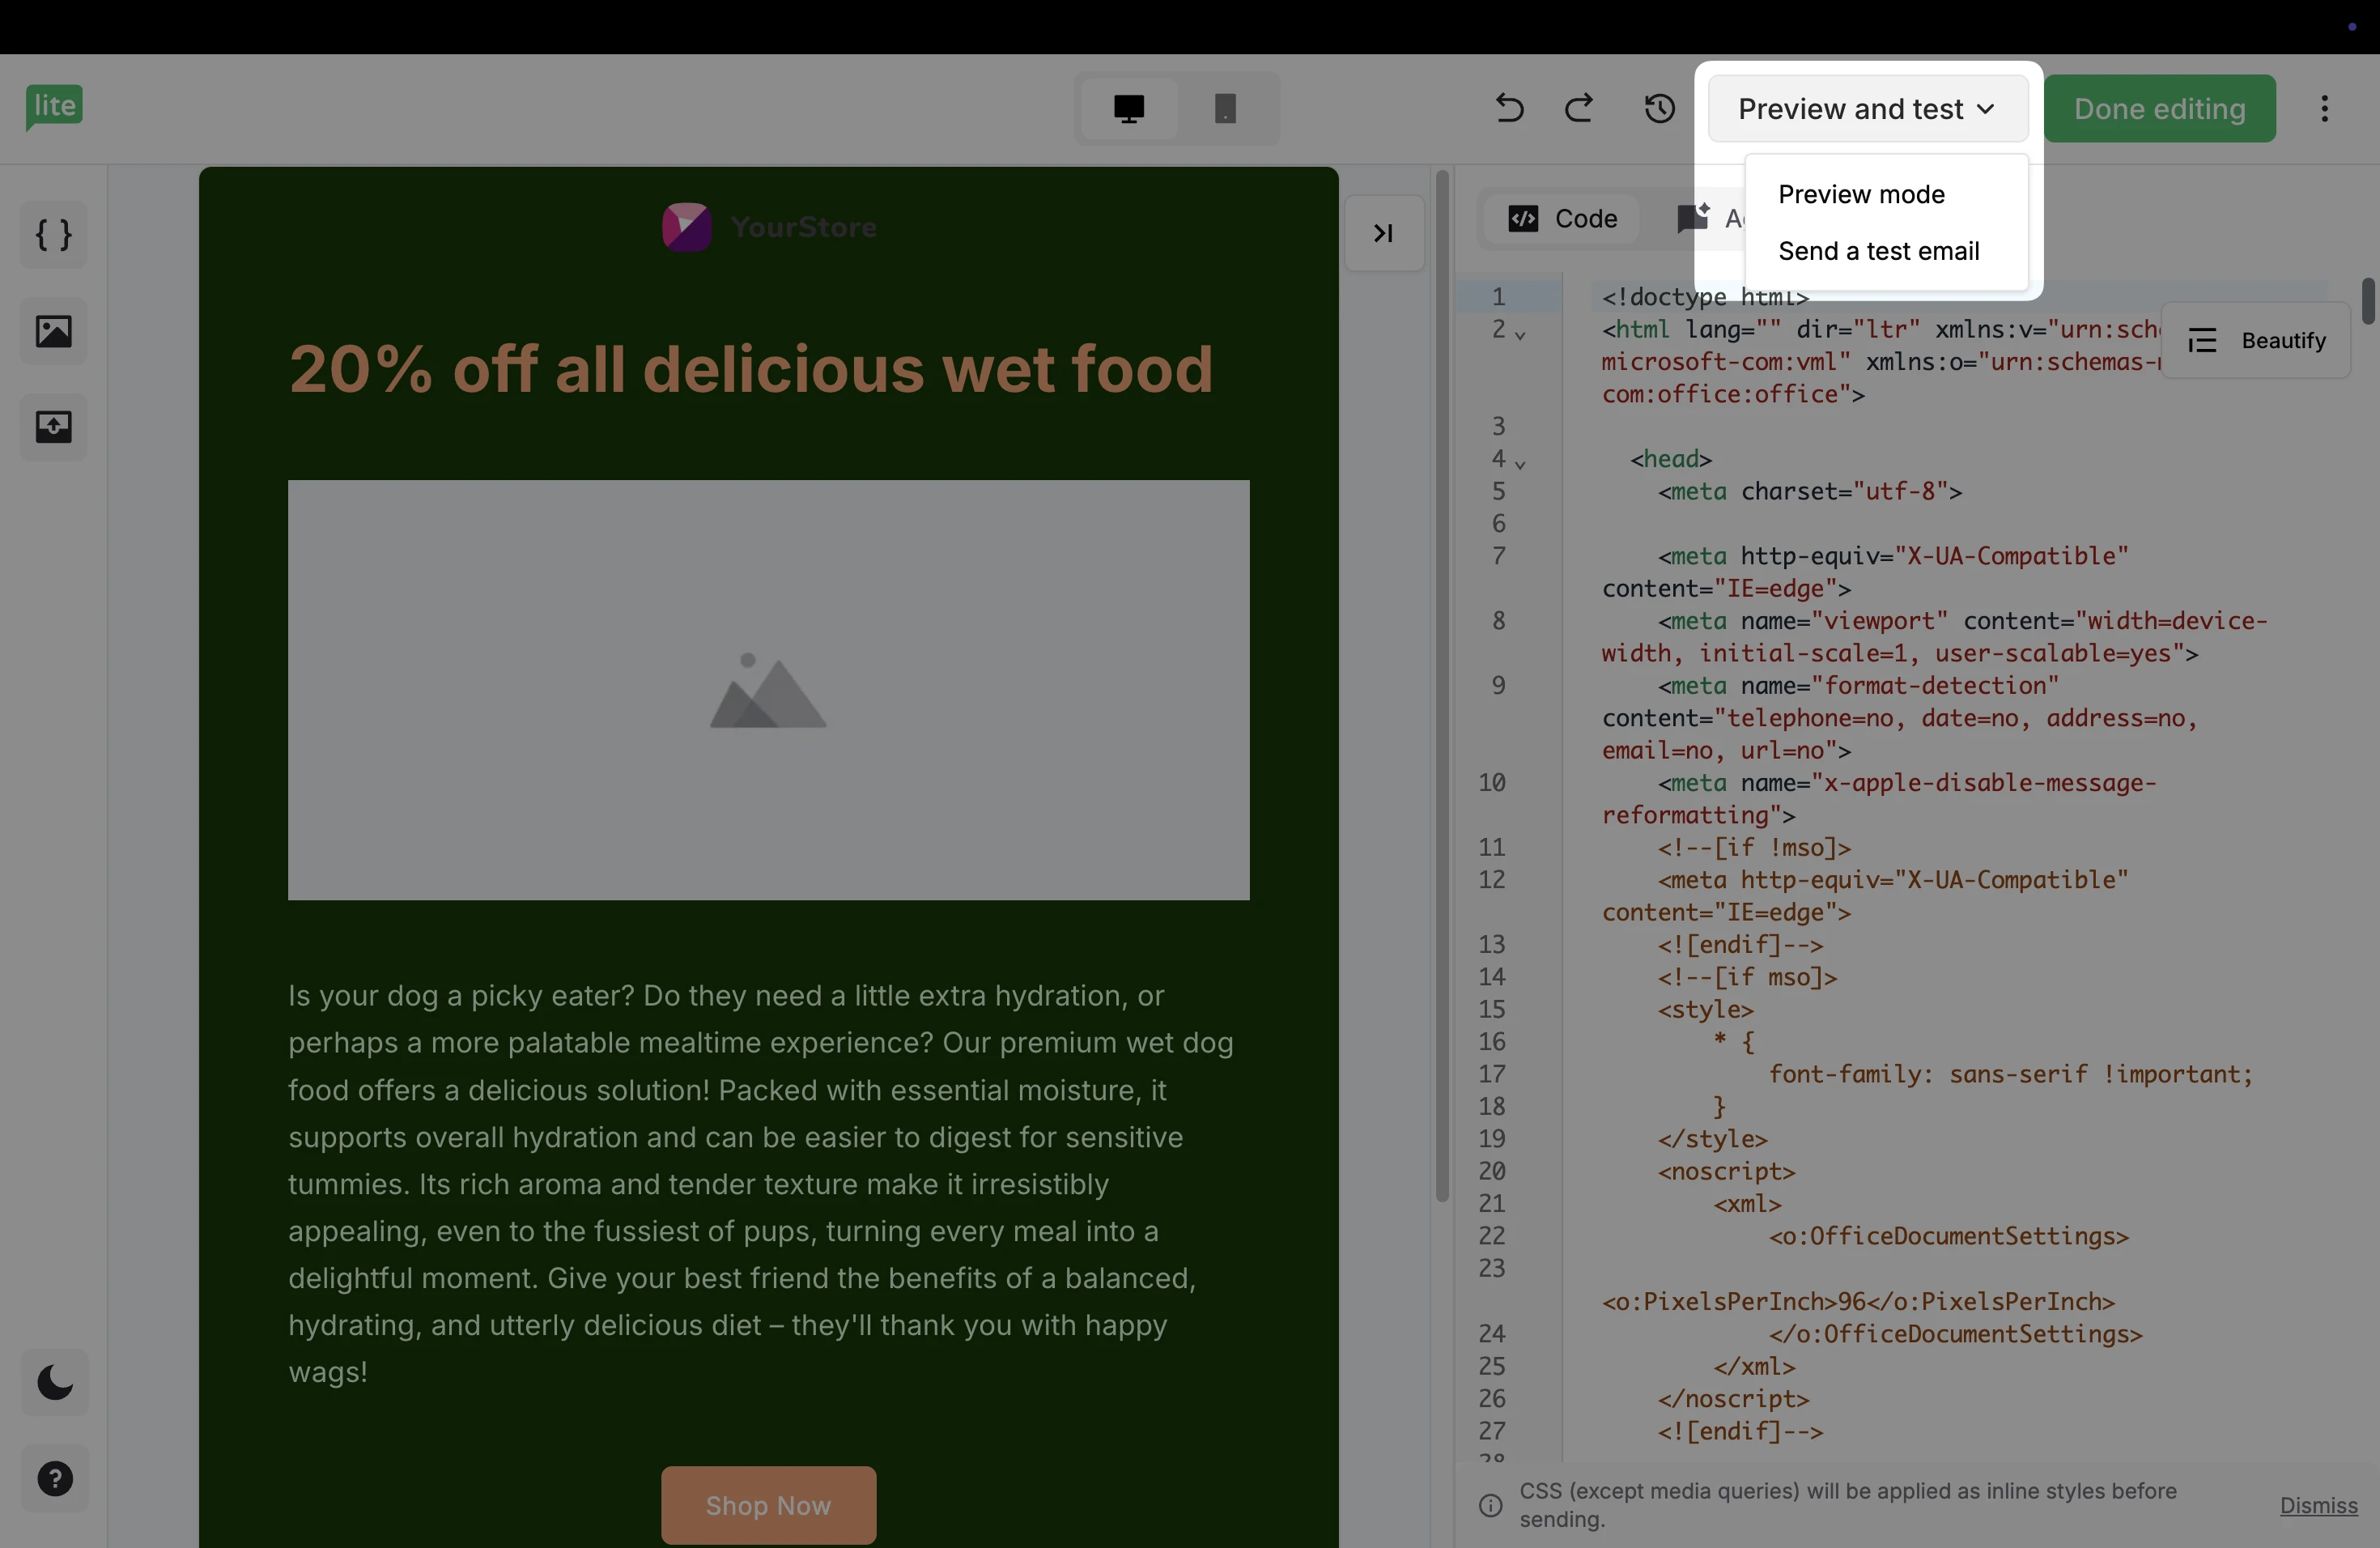
How to preview and test your campaign
To preview or test your campaign:
Click the Preview and test button at the top of your custom HTML editor.
Select Preview mode to preview your campaign for browser and mobile.
Select Send a test email to send a test version of your campaign to yourself or a collaborator.