Custom HTML email builder with an AI coding agent
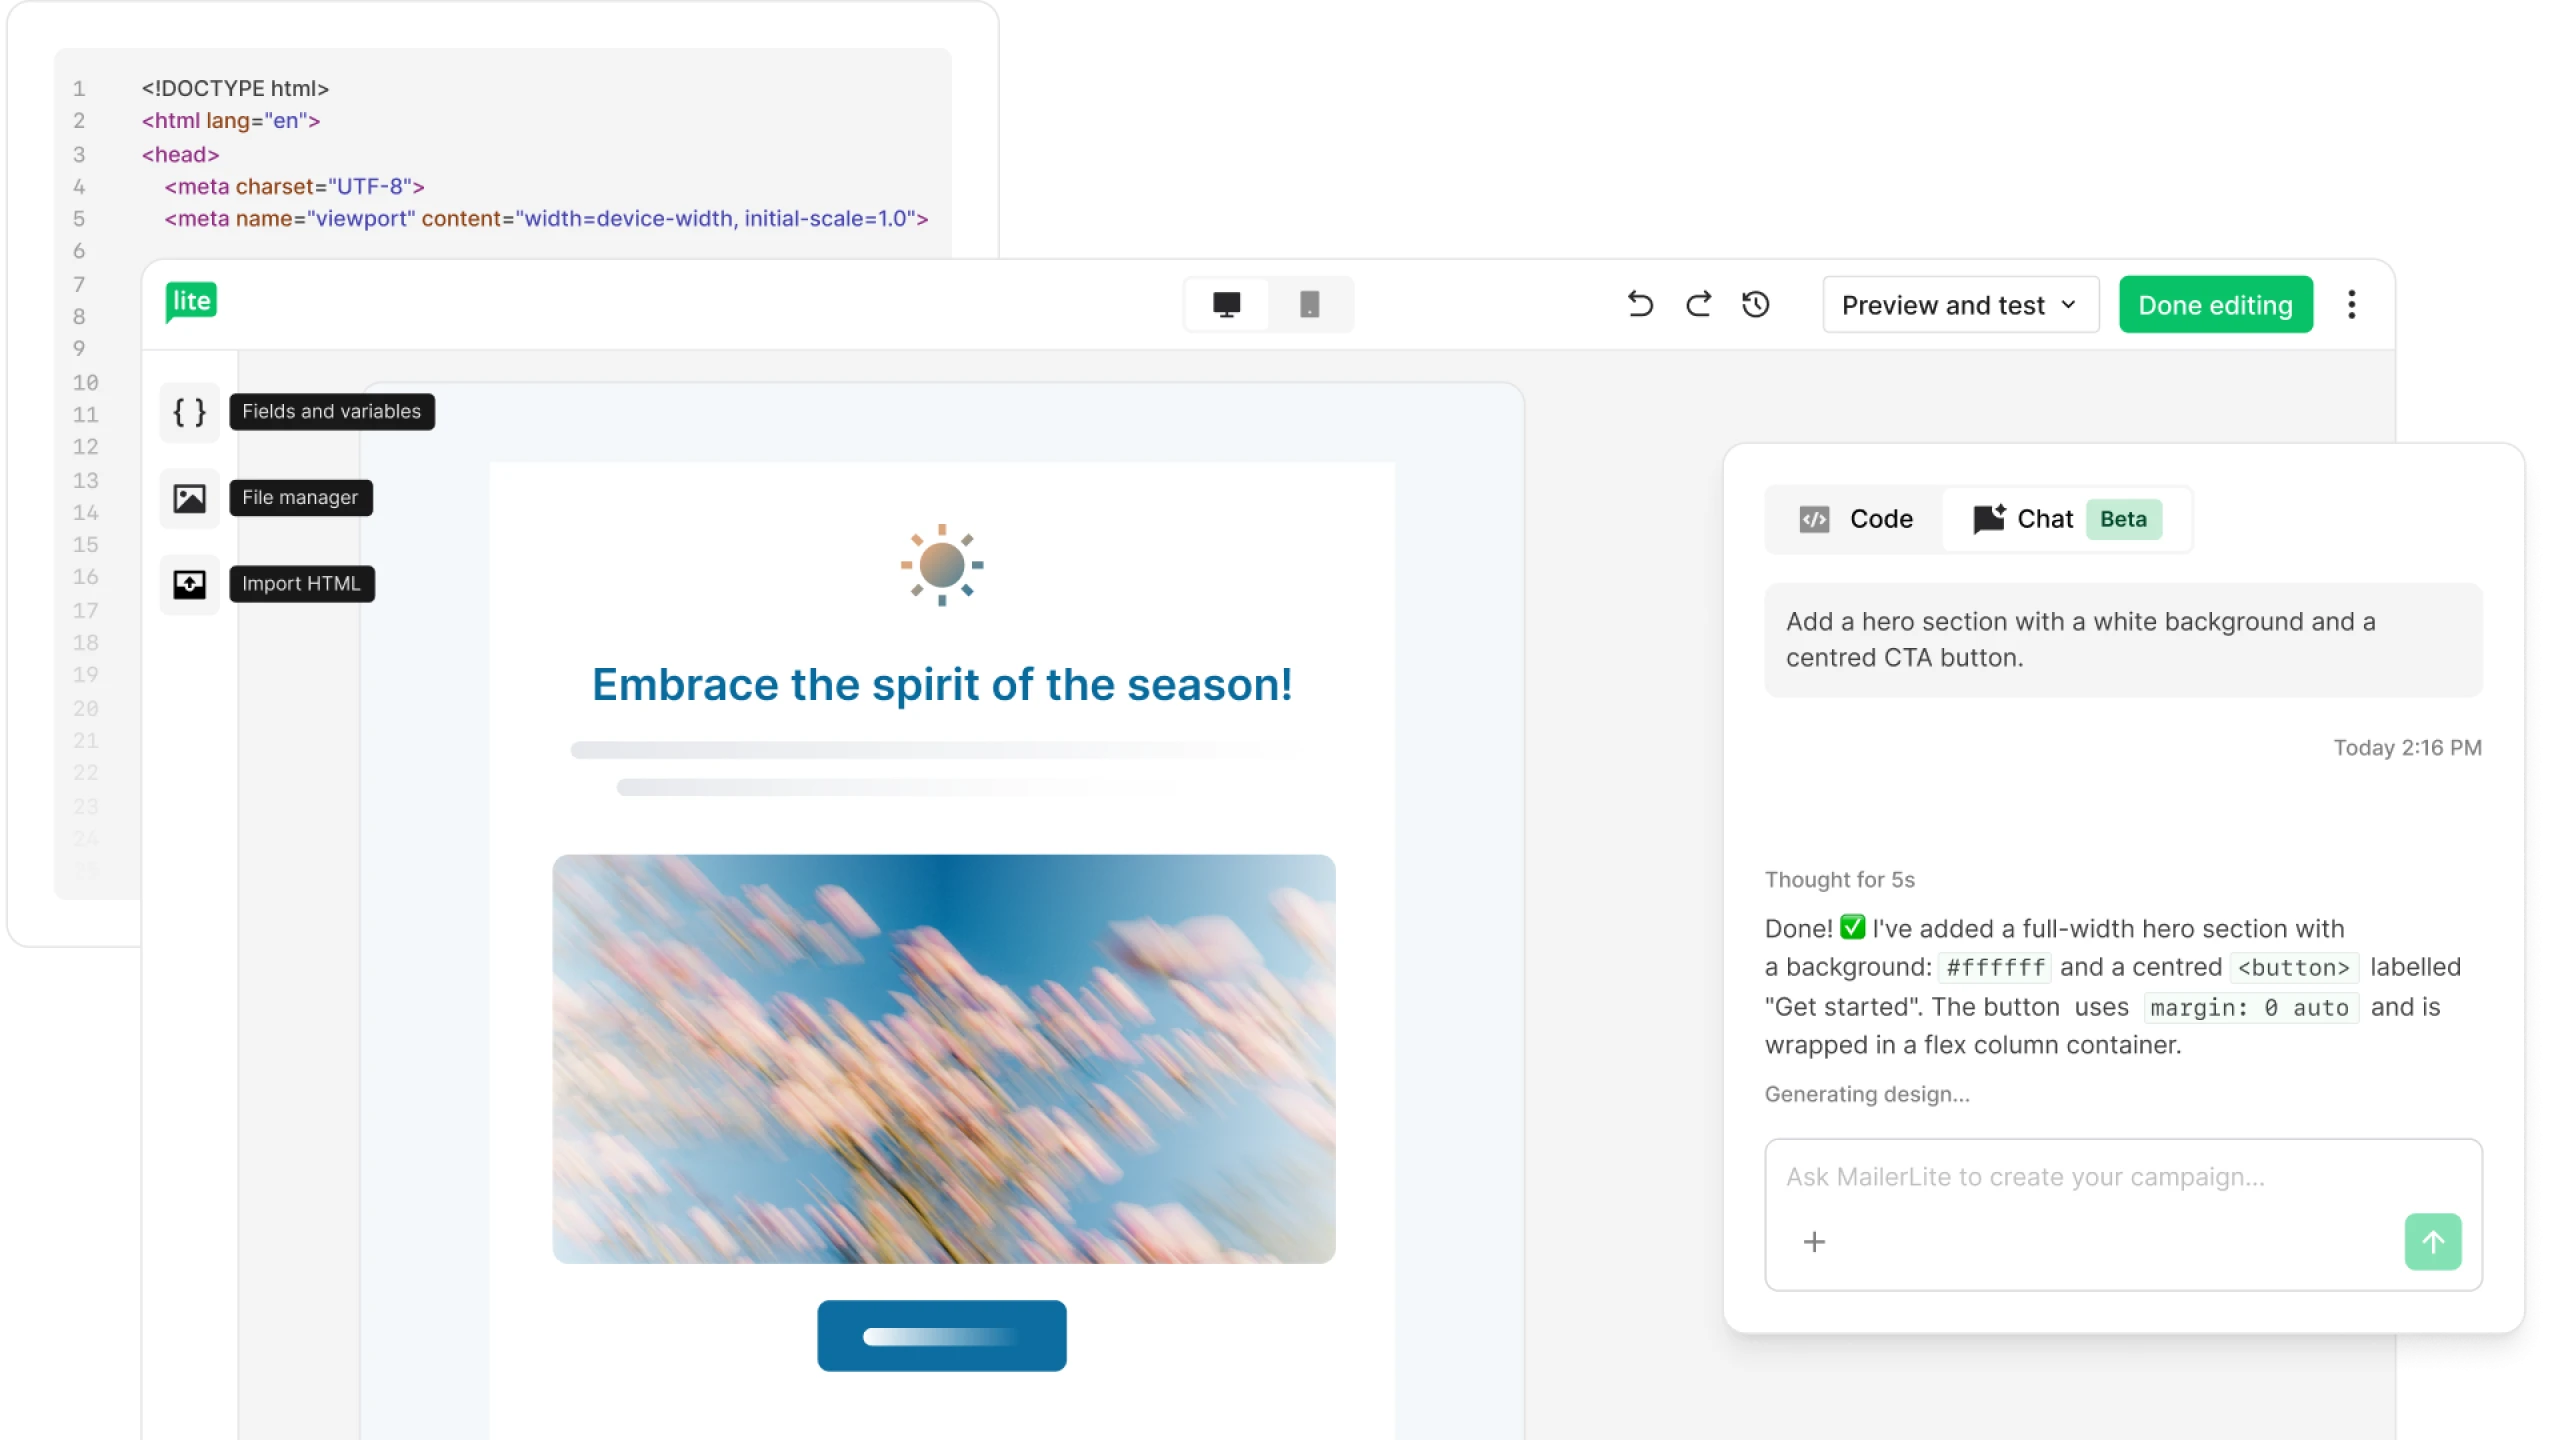
Build custom HTML campaigns in a flow stateWhether you’re a developer who wants full control or one who prefers an AI agent on call, our new high-performance HTML email editor is built for you. Describe what you want in plain English to our integrated AI agent, or write the code yourself. No more context-switching, just pure creation.
Start a 14-day trial of premium features | No card required
Pro specs for serious coding
A purpose-built HTML editor for email, with everything you need built in:
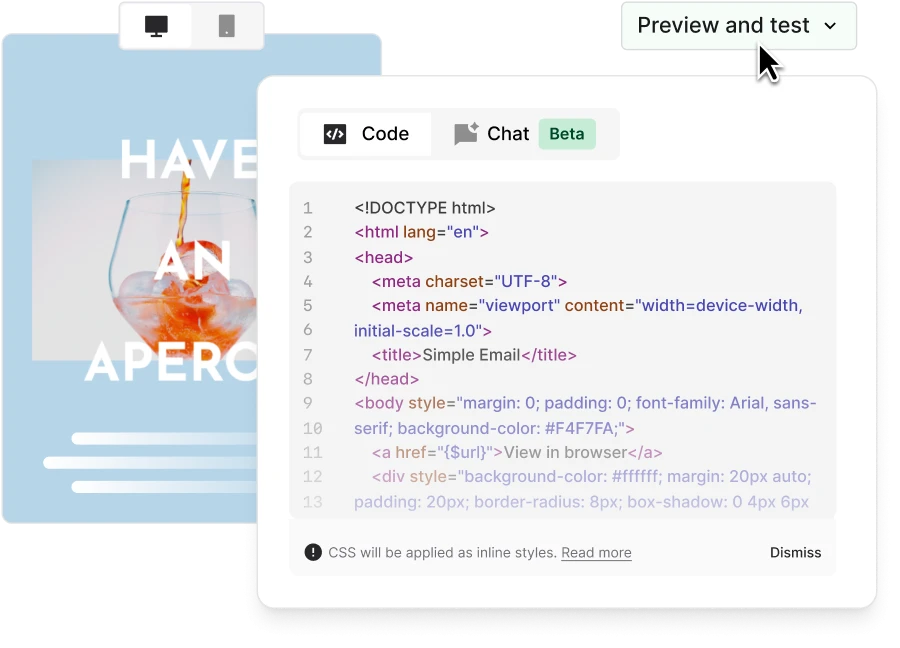
Live preview as you work
Syntax highlighting and real-time code validation
Search & replace and one-click code formatting
Automatic CSS inlining for email client compatibility, on by default
Undo/redo (Ctrl+Z) so every edit is a safe edit
An AI agent in your editor when you need it
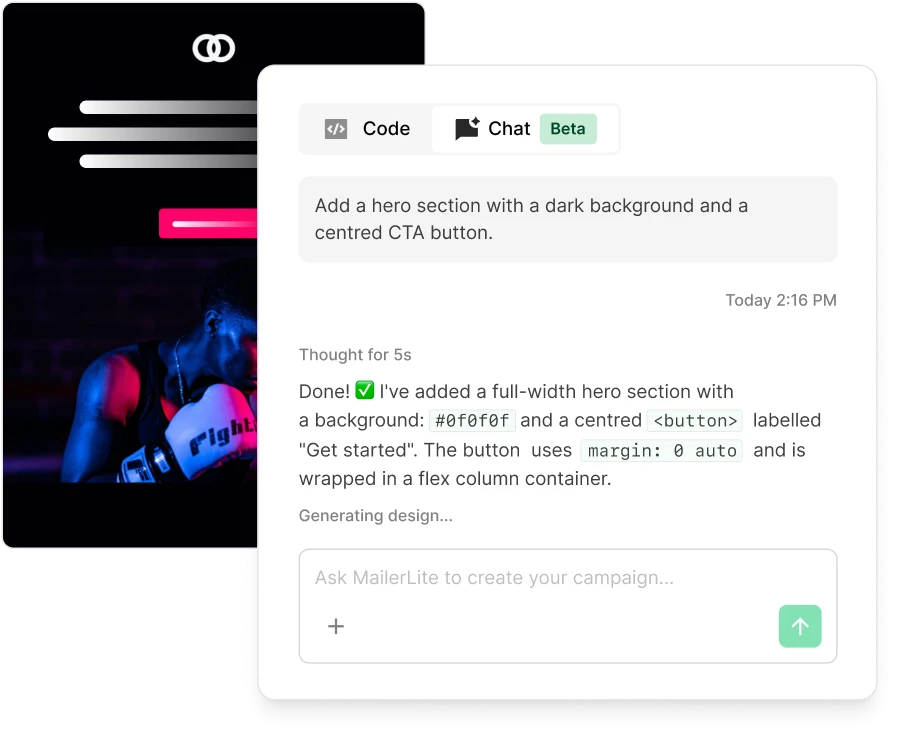
Want to build, edit, or sanity-check your code? Just tell the AI what you want in plain English and it gets it done.
"Add a hero section with a dark background and a centred CTA button." Done ✅
"Fix the padding on the CTA to 16px top/bottom and 32px left/right, make the font bold." Done ✅
"Check this code for broken tags and missing alt text." Done ✅
No copying and pasting between tools. Just you and the editor, immersed in meaningful work.
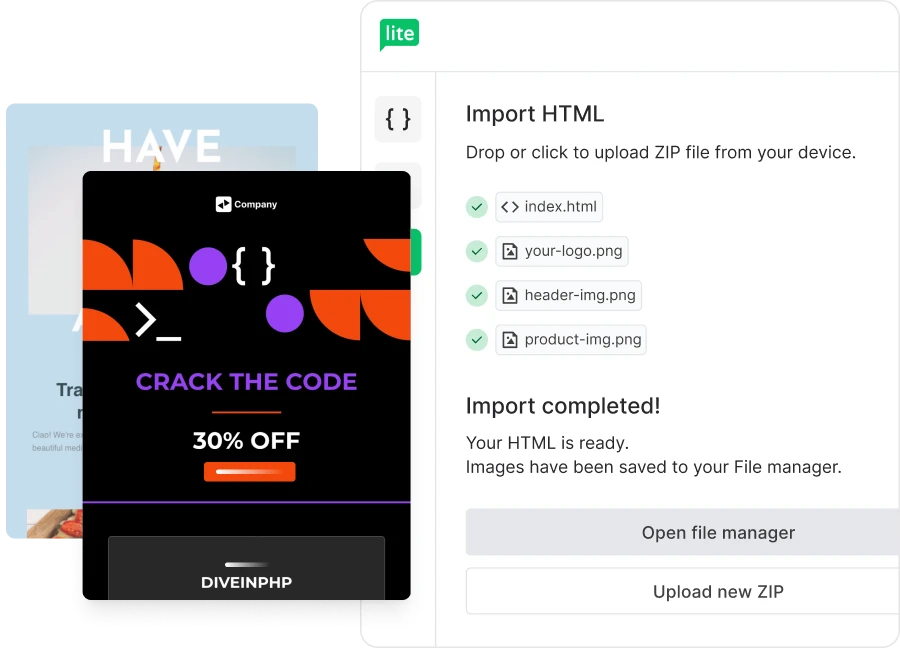
From Canva to campaign…in no time!
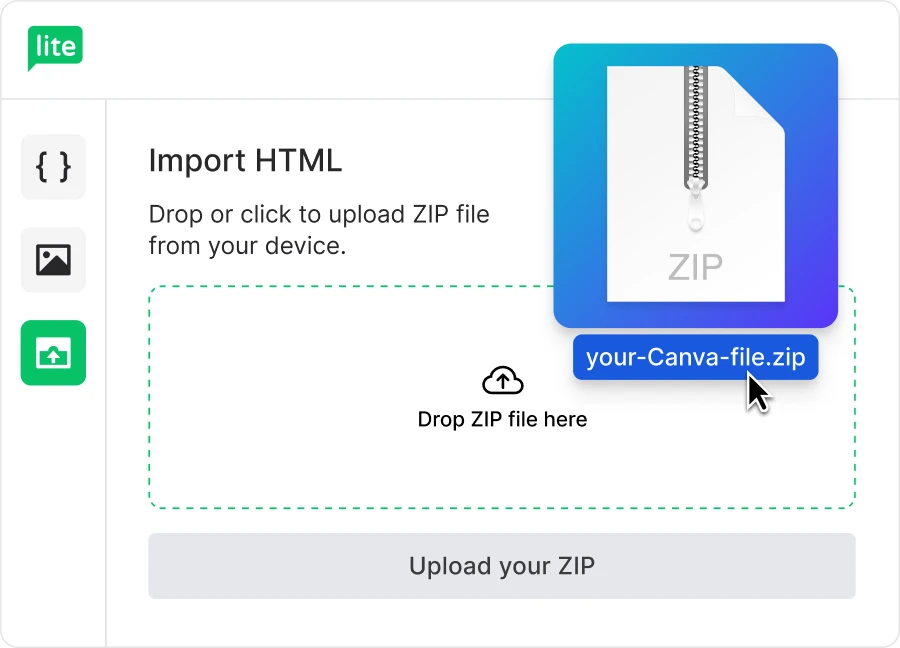
Design in Canva, send from MailerLite. Export your design as a ZIP file and drag it straight into the editor. ZIP imports support up to 10MB, so high-res designs upload without a fuss.
Images are automatically saved to your MailerLite file manager and your design is ready to send.


“The UI is the selling point. MailerLite is more intuitive than other tools I’ve tried.”
The minimalist HTML email creator
A minimalist editor built around your code. Clean lines, live preview, and space for your best work. Everything happens in one tab. No external LLMs, no broken Canva imports, no fighting your editor.

Moving from another ESP?
Bring your existing HTML email templates with you. Paste HTML straight in, drag in a ZIP, or import from a URL—nothing gets stripped or rewritten. Most people moving from Mailchimp, ActiveCampaign, or Klaviyo are up and sending within a day.


“I kissed quite a few frogs before I found MailerLite. I was with Klaviyo, ActiveCampaign, MailChimp and a few others. But I had so many problems. MailerLite is the first platform that is techy enough to do what I need, but easy enough that I don’t end up making massive mistakes, which I have done with other platforms. MailerLite has 100% worked.”
Get started in 3 steps
Sign up for a free MailerLite account
Open the Custom HTML editor from your campaign dashboard.
Import, paste, or describe what you want to the AI agent.
Start coding smarter emails minus the friction
Whether you want to write every line of CSS or use an html email generator powered by AI to do the heavy lifting, our builder adapts to your workflow.
Custom HTML email builder FAQ
Still got questions about our custom HTML editor? Check out the most common questions and answers below.
How do I use the HTML email builder on a free plan?
The Custom HTML email builder is part of our Advanced plan. You can try it—and every other premium feature—free for 14 days, no credit card required. Just sign up and start building.
Can I import my existing HTML email templates?
Yes. You can paste HTML straight in, drag and drop a ZIP file (up to 10MB), or import from a URL. Moving over from Mailchimp, ActiveCampaign, or Klaviyo? Bring your existing HTML email templates with you—nothing gets stripped or rewritten.
Does the HTML email editor work with Canva?
It does. Export your Canva design as a ZIP file and drag it straight into the editor. Images are automatically saved to your file manager, and your design is ready to send.
Do I need to know how to code to use the AI agent?
No. You can describe what you want in plain English and the AI agent will generate the HTML for you. That said, the agent is built as a companion for developers, and it’s great for quick edits, sanity checks, and generating boilerplate faster.
Can I use merge tags and custom variables?
Yes. Personalize your emails with custom variables and merge tags, all available from one library inside the editor.
I used the old HTML editor—will my existing emails still work?
Yes. Your existing HTML emails are not affected. The new editor powers all your future custom campaigns.
What if I prefer a drag & drop builder?
Not every email needs custom HTML. If you'd rather design visually, our drag & drop email editor is ready for you. You can also explore our email templates for a head start.
More features to explore
MailerLite is packed full of features that help you save time and grow your business.