Note: If you're a Legacy (Classic) user, please log in to your account to access the dedicated Legacy (Classic) Help Center.
Anyone can become a professional email designer with our upgraded Drag & drop editor. Just choose a block, position it, then fill in the blanks and edit seamlessly–no coding skills needed!
To better understand how each of these features works, we highly recommend playing around with the editor as you read along.
How to build a newsletter
To build your campaign, simply drag and drop the blocks on the left-hand sidebar into the body of your newsletter.
On the left-hand sidebar, search for any block, such as a header, a text box, an image, or a button. Or, use the categories to find any block elements.
2. Drag and drop the block on any place in your newsletter.
3. Edit its content and settings on the right-hand sidebar.
Once you are done editing your newsletter, click on the green Done editing button.
How to use the top navigation bar
The black navigation bar across the top of your Drag & drop editor has several options:
Go back - Allows you to go back to the previous page.
Restore version history - The anti-clockwise clock icon allows you to view the recent changes you’ve made and undo a specific action. It also allows you to view and restore past saved versions of the newsletter. You can even use key shortcuts like Ctrl + Z for undo and Ctrl + Shift + Z for redo (Cmd + Z and Cmd + Shift + Z for Mac).
Action - Save the newsletter as a template (which you can find here) or remove all content blocks. To remove them all, you will be prompted to type REMOVE to confirm this action.
Preview and test - Allows you to preview the desktop and mobile versions of the campaign and to send a test email so you can see how it will appear for your subscribers.
Done editing - Click it when you’re satisfied with the design of your newsletter or to save your unfinished work and come back to it.
How to use the editing features
You can add content to your newsletter by dragging and dropping pre-made content blocks, which you can edit on the right-hand sidebar. To add your email copy, simply click on some text and start typing! Highlight specific text to access editing features.
Blocks
There are numerous blocks on the left-hand sidebar that you can drag and drop into your newsletter and later edit to fit your brand. These blocks are:
Navigation - Add a logo, navigation bar, links, or all in one block.
Hero - Main image and title.
Sections - Divide your newsletter into columns, and drag other elements into those sections.
Elements - Add blocks for titles, subtitles, images, videos, text boxes, links, and page dividers.
Content - These are pre-designed content blocks made up of images, text and buttons.
Special - For miscellaneous features.
Survey and quiz - Have your subscribers fill out a survey or complete a quiz. Their results can be viewed in the campaign’s report and in each subscriber’s profile.
Add a Signature block to show a personal side of yourself or your company.
Use the Accordion block to create an FAQ section.
Generate urgency with a Countdown timer
Use the Applications block to provide download links of your application in iOS and Android stores.
Announce an event or webinar with our Event block.
Feature highlights let you showcase your product or services’ main features.
Add a Code block to insert HTML. JavaScript and codes such as embed, frame, iframe, form, input, object, and textarea are not allowed.
Products - If you have an online shop, you can include products in your newsletter using the Import from stores element or create a discount using the Coupon element.
Gallery - Add images in your newsletter in an orderly fashion.
Blog and RSS - Add an RSS block to your newsletter to show the latest posts from your blog.
Social and sharing - Link your social media pages, enable subscribers to share your newsletter to their social media pages, or share any post from your Facebook, Twitter, or Instagram account. See How to embed social posts and events to learn more.
Footer - Every campaign has a footer block by default. You can choose from four different designs. Scroll down to the Footer section below to learn what should be included here.
Sidebar
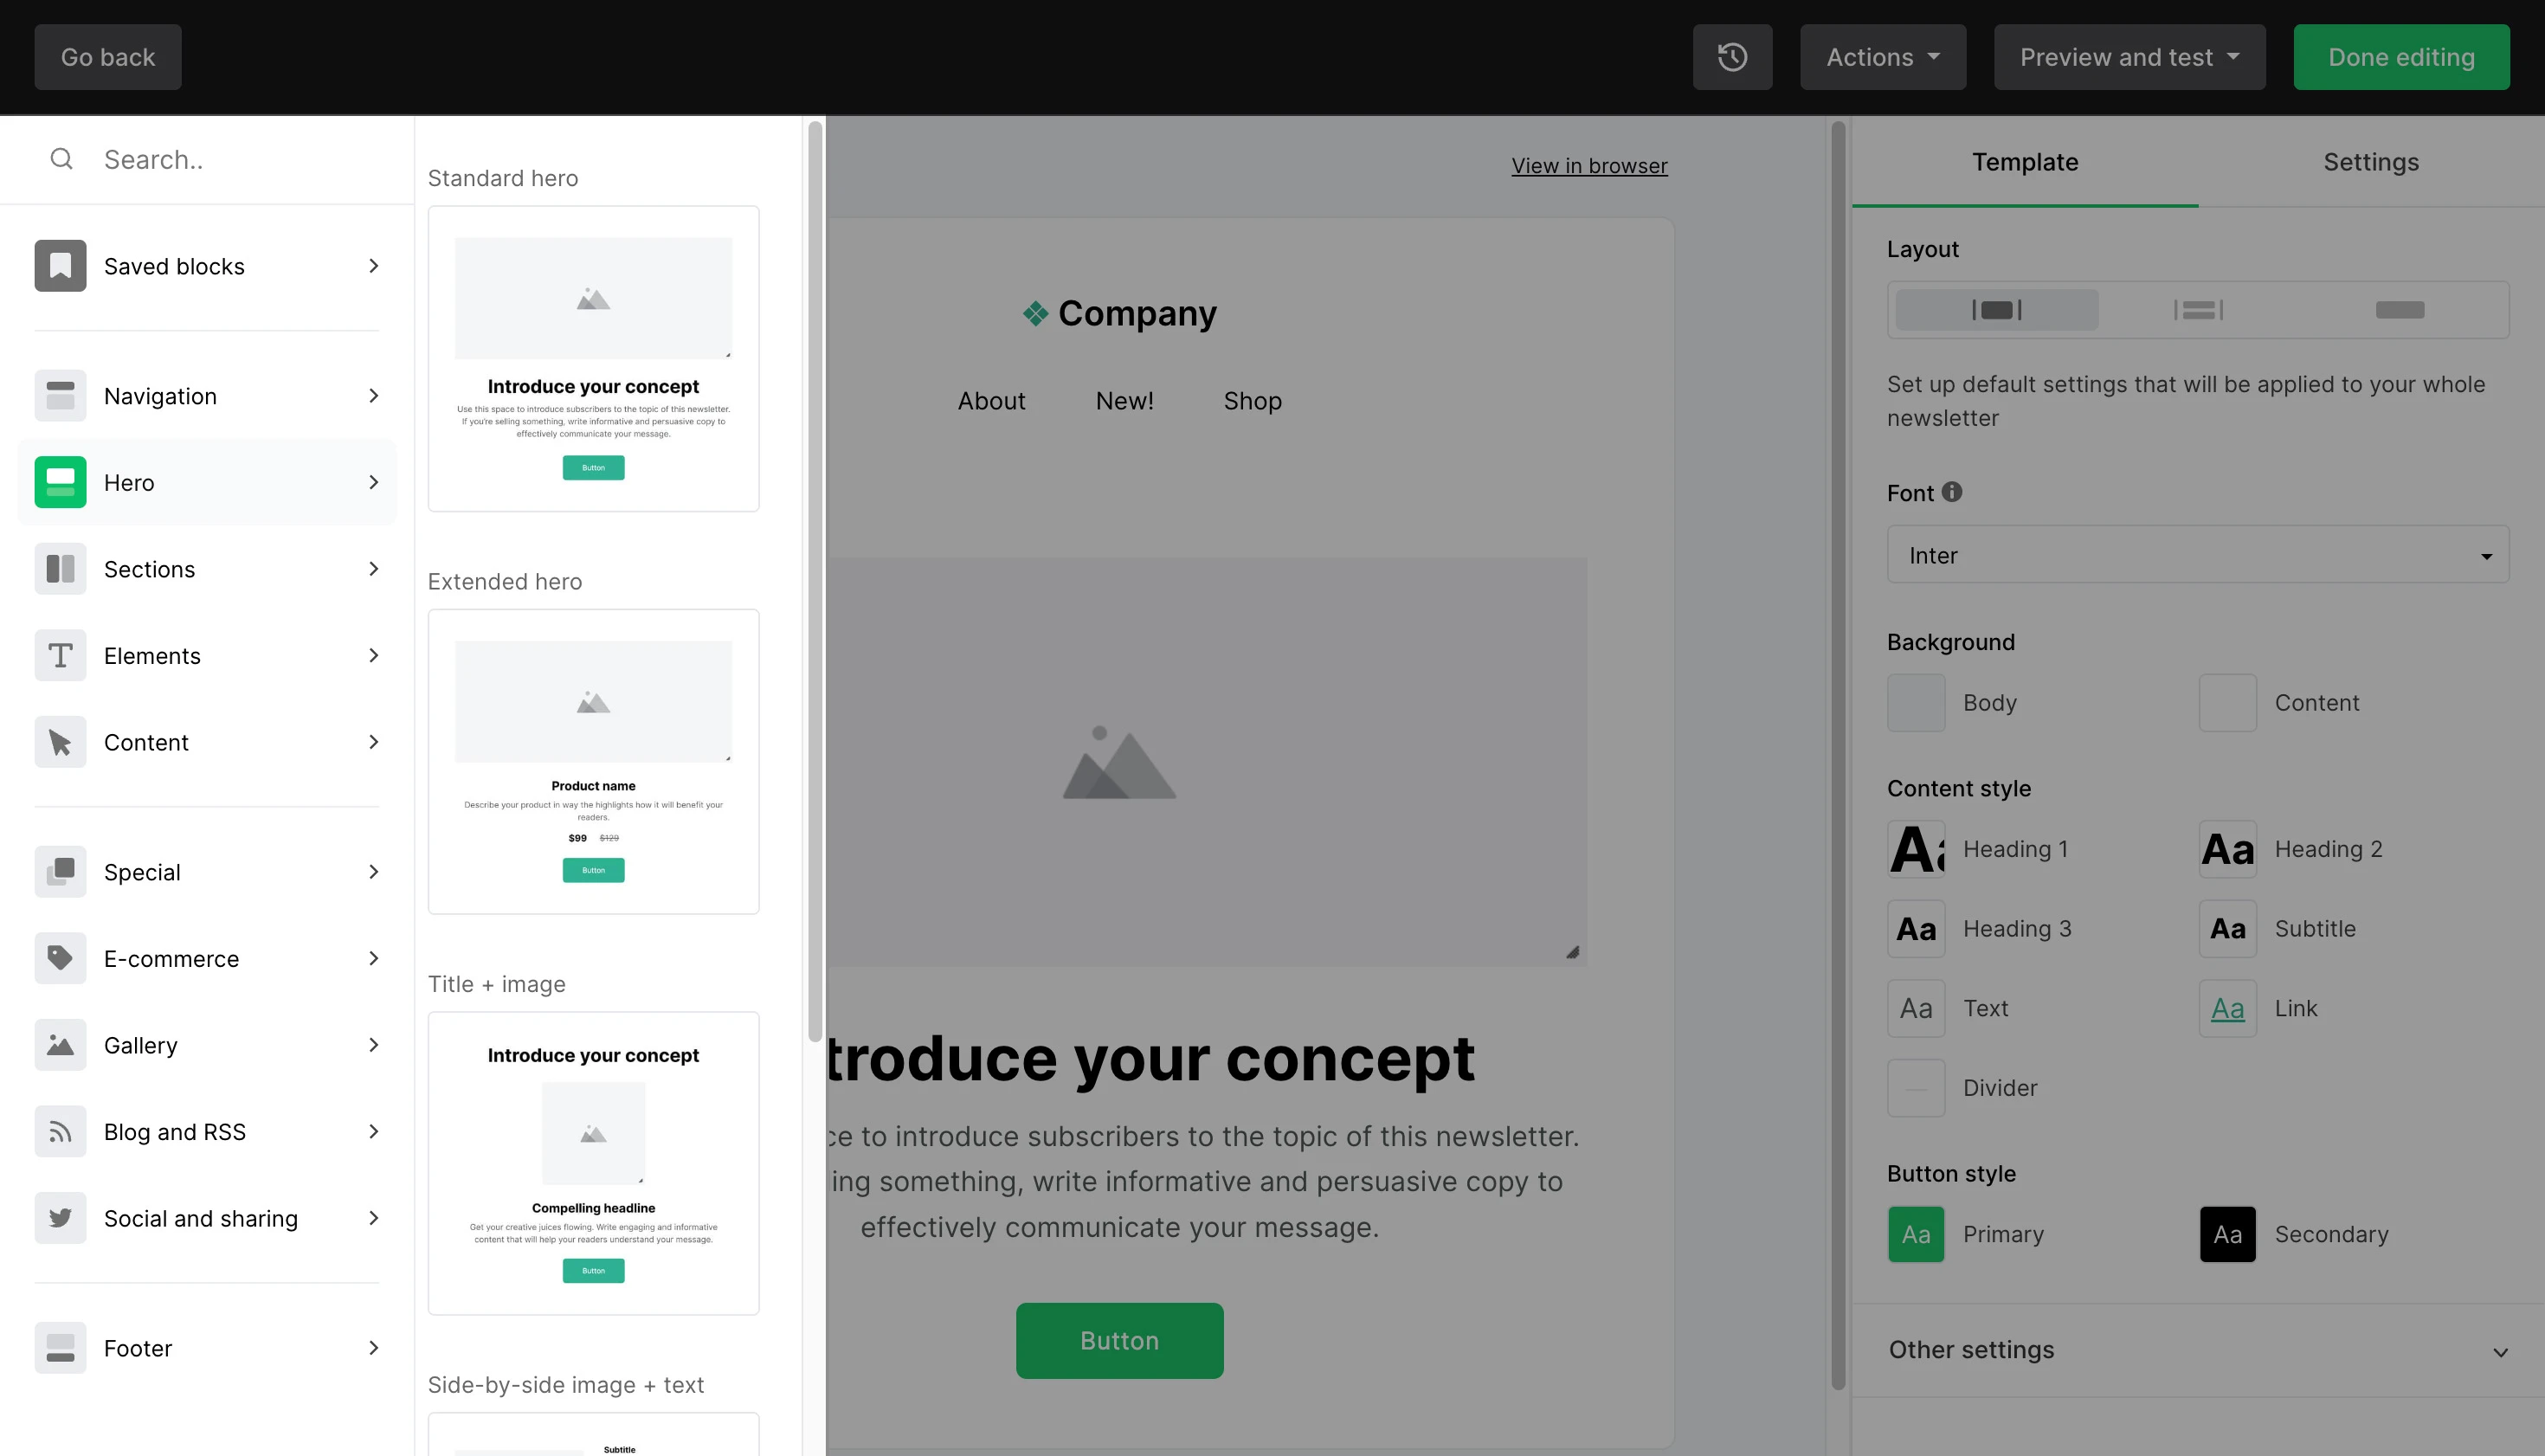
On the right-hand sidebar, you can edit the general settings for the entire newsletter or each specific block when selected.
To edit the whole template elements, such as the font or background, make sure no block is selected.
Under the Template tab, you’ll find Template, Layout, Content style, and Button style settings.
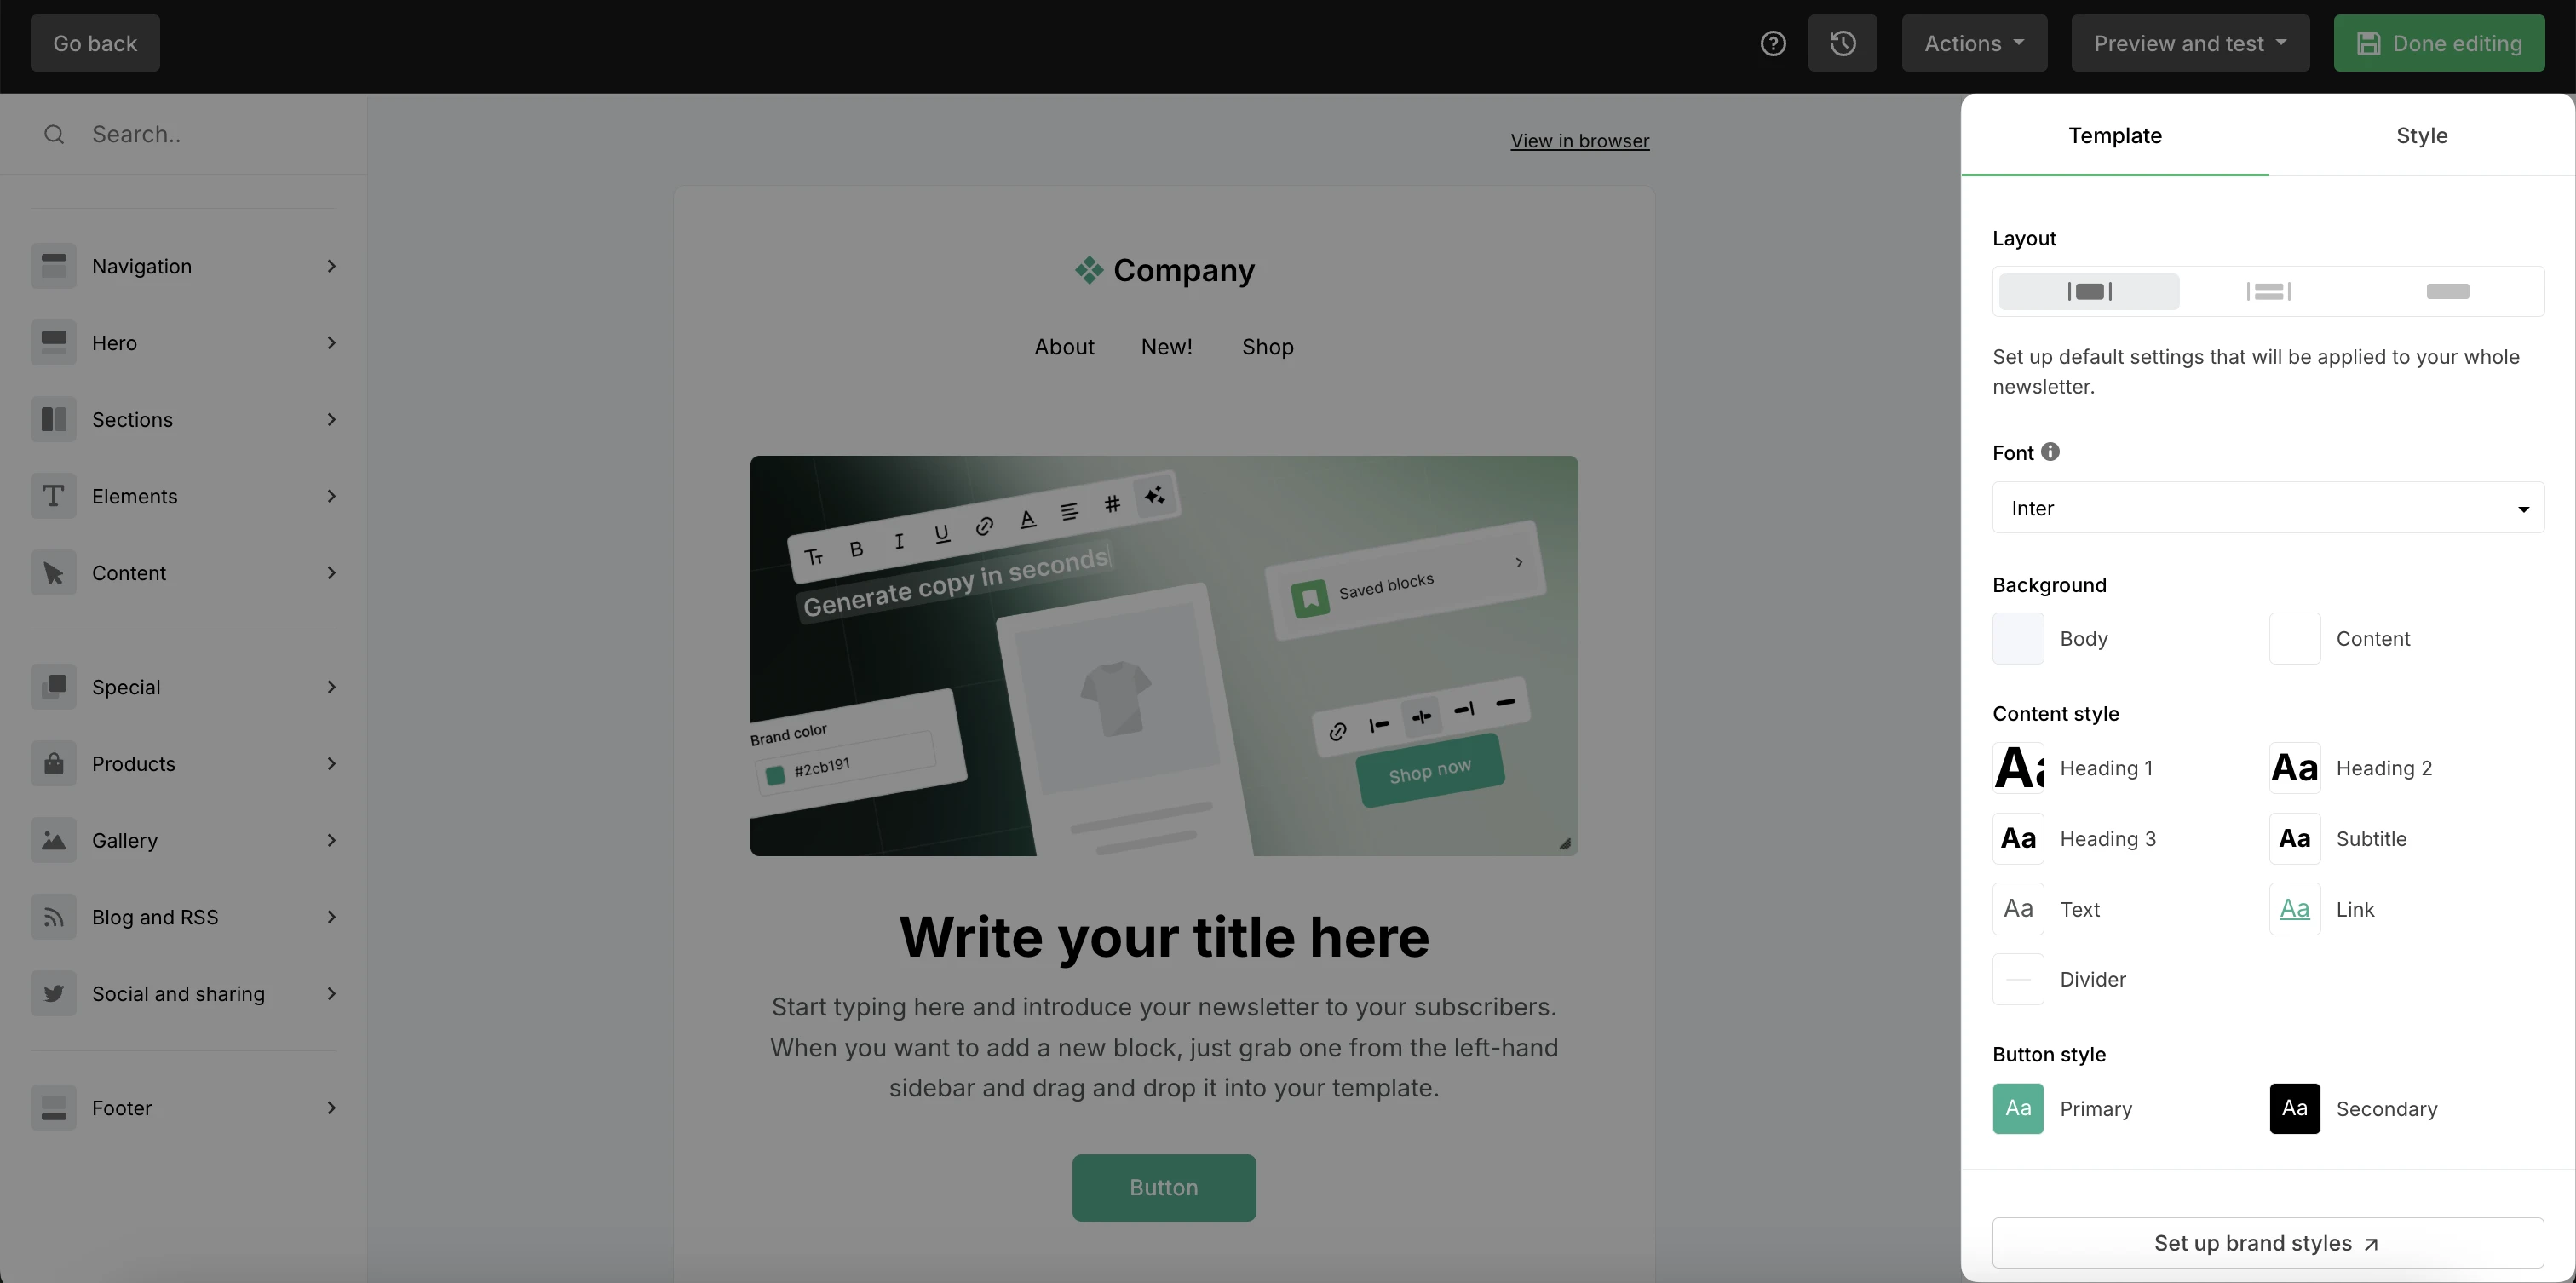
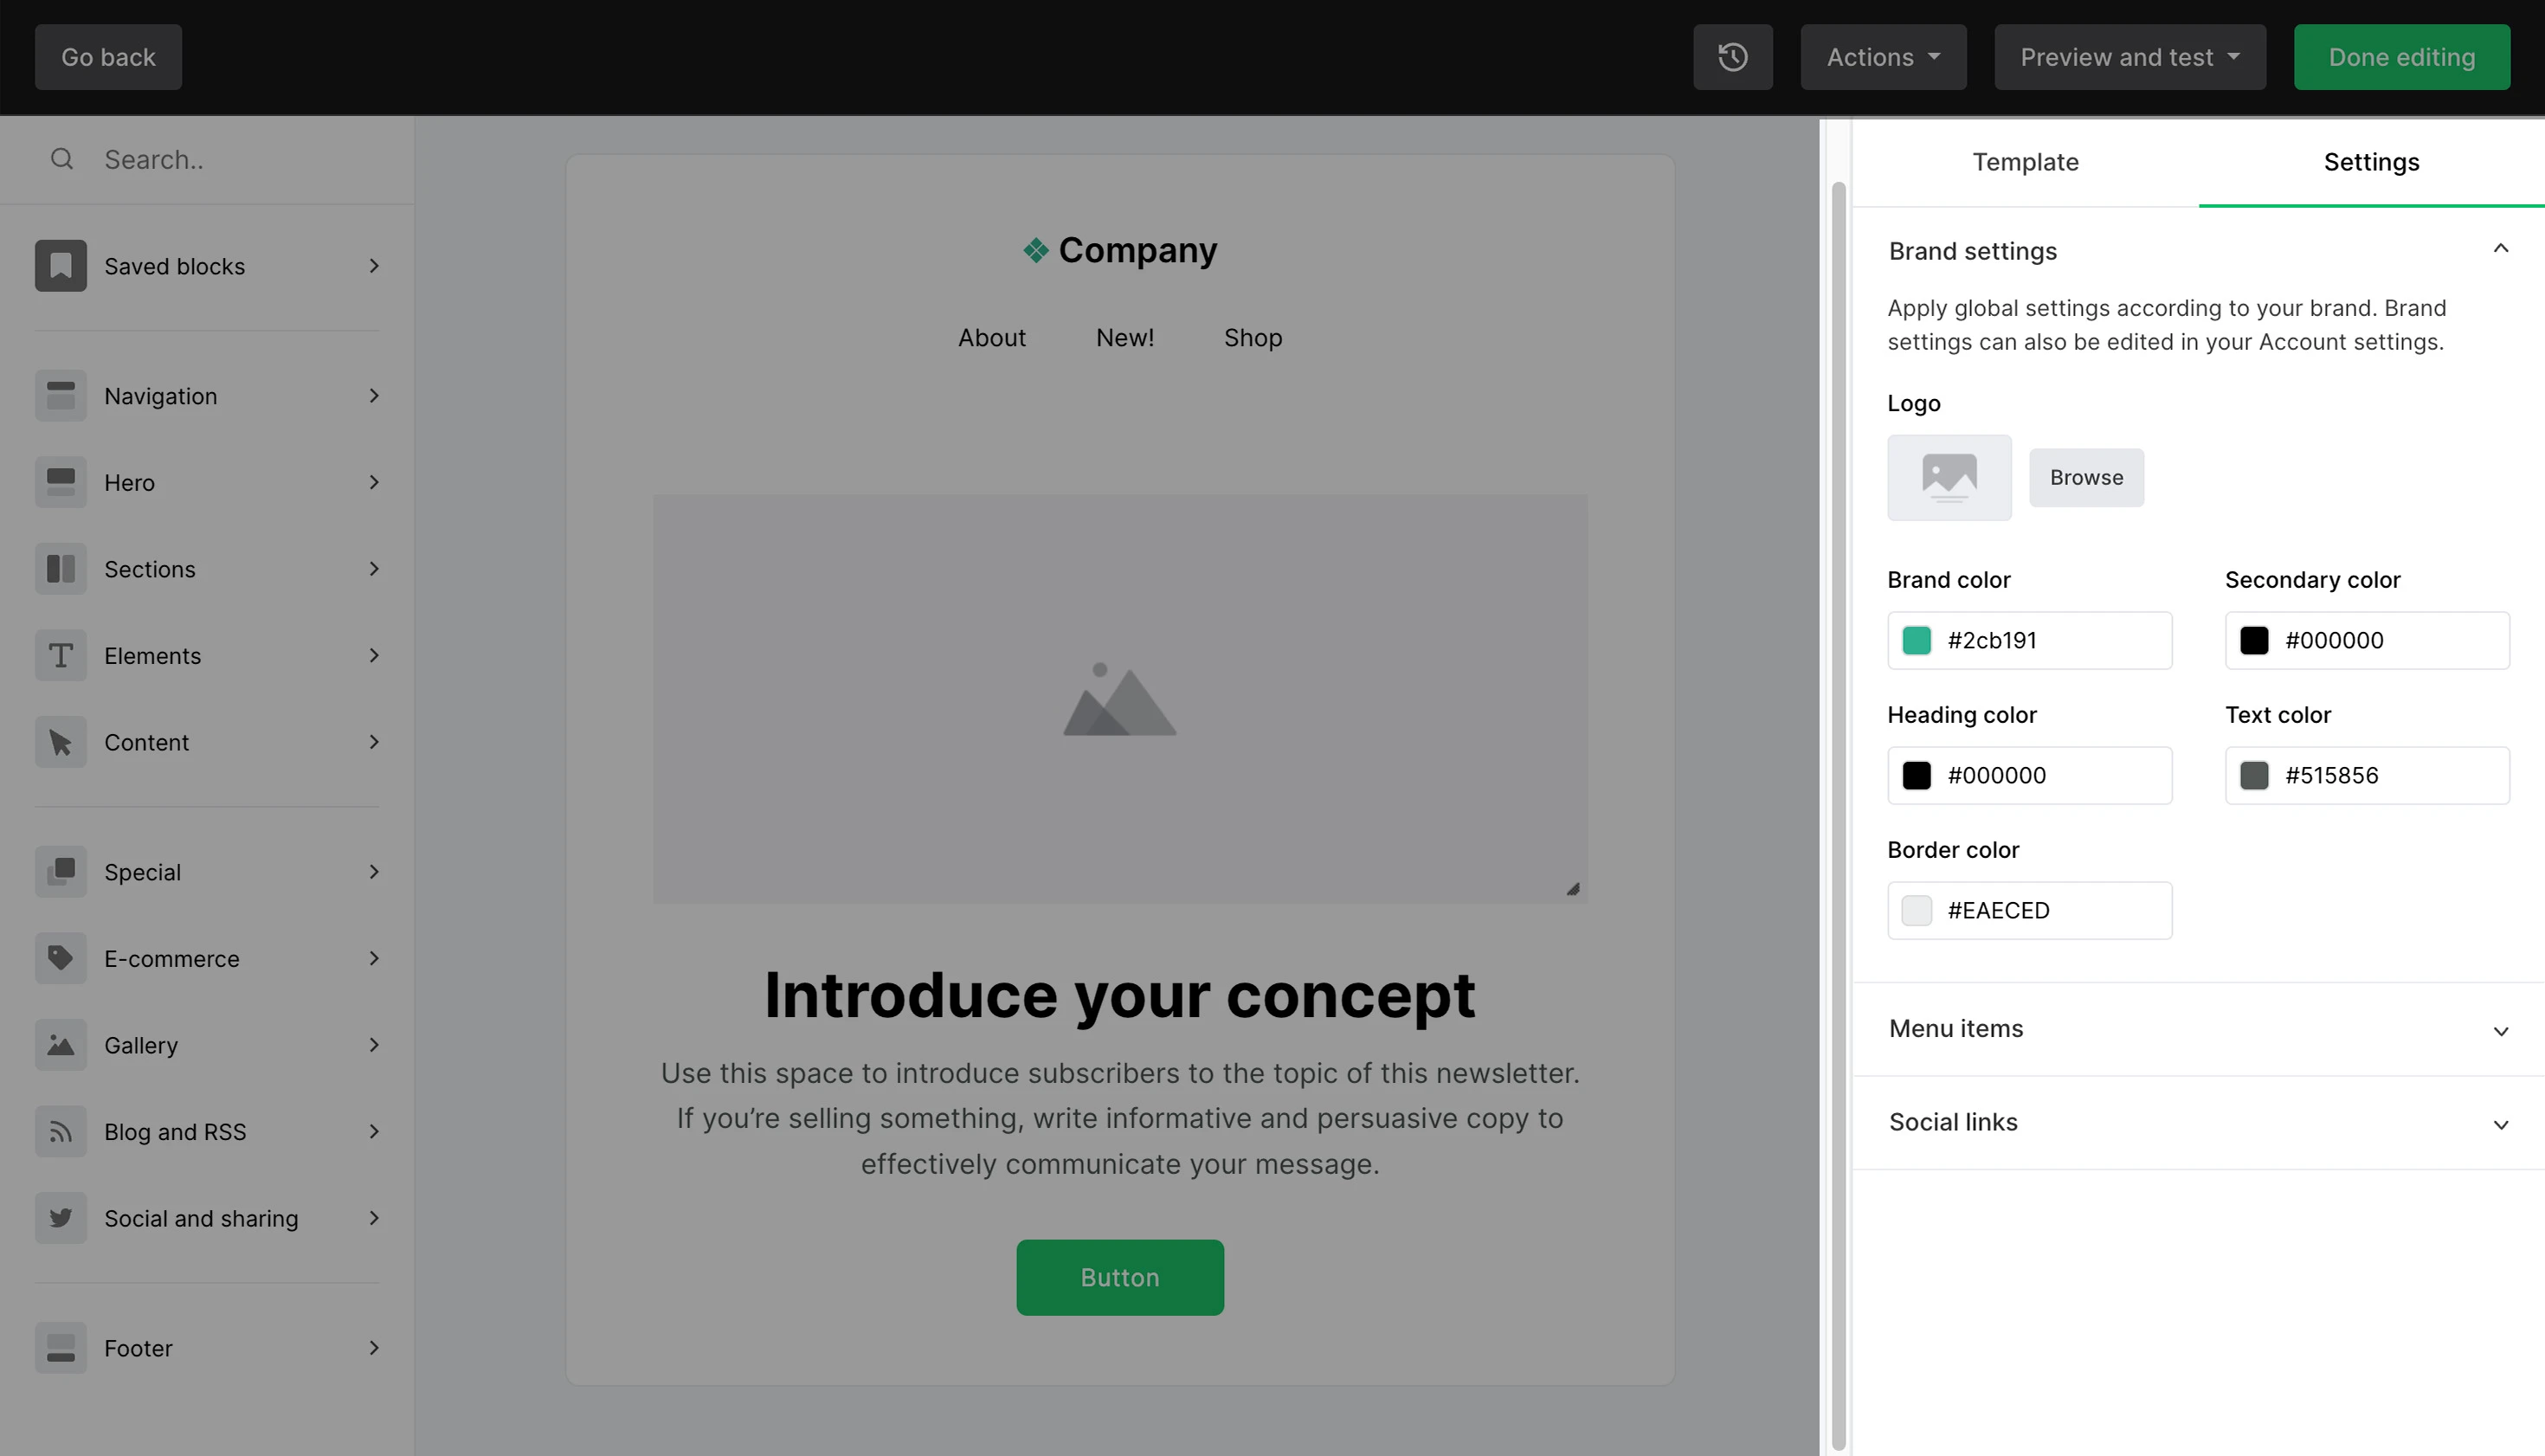
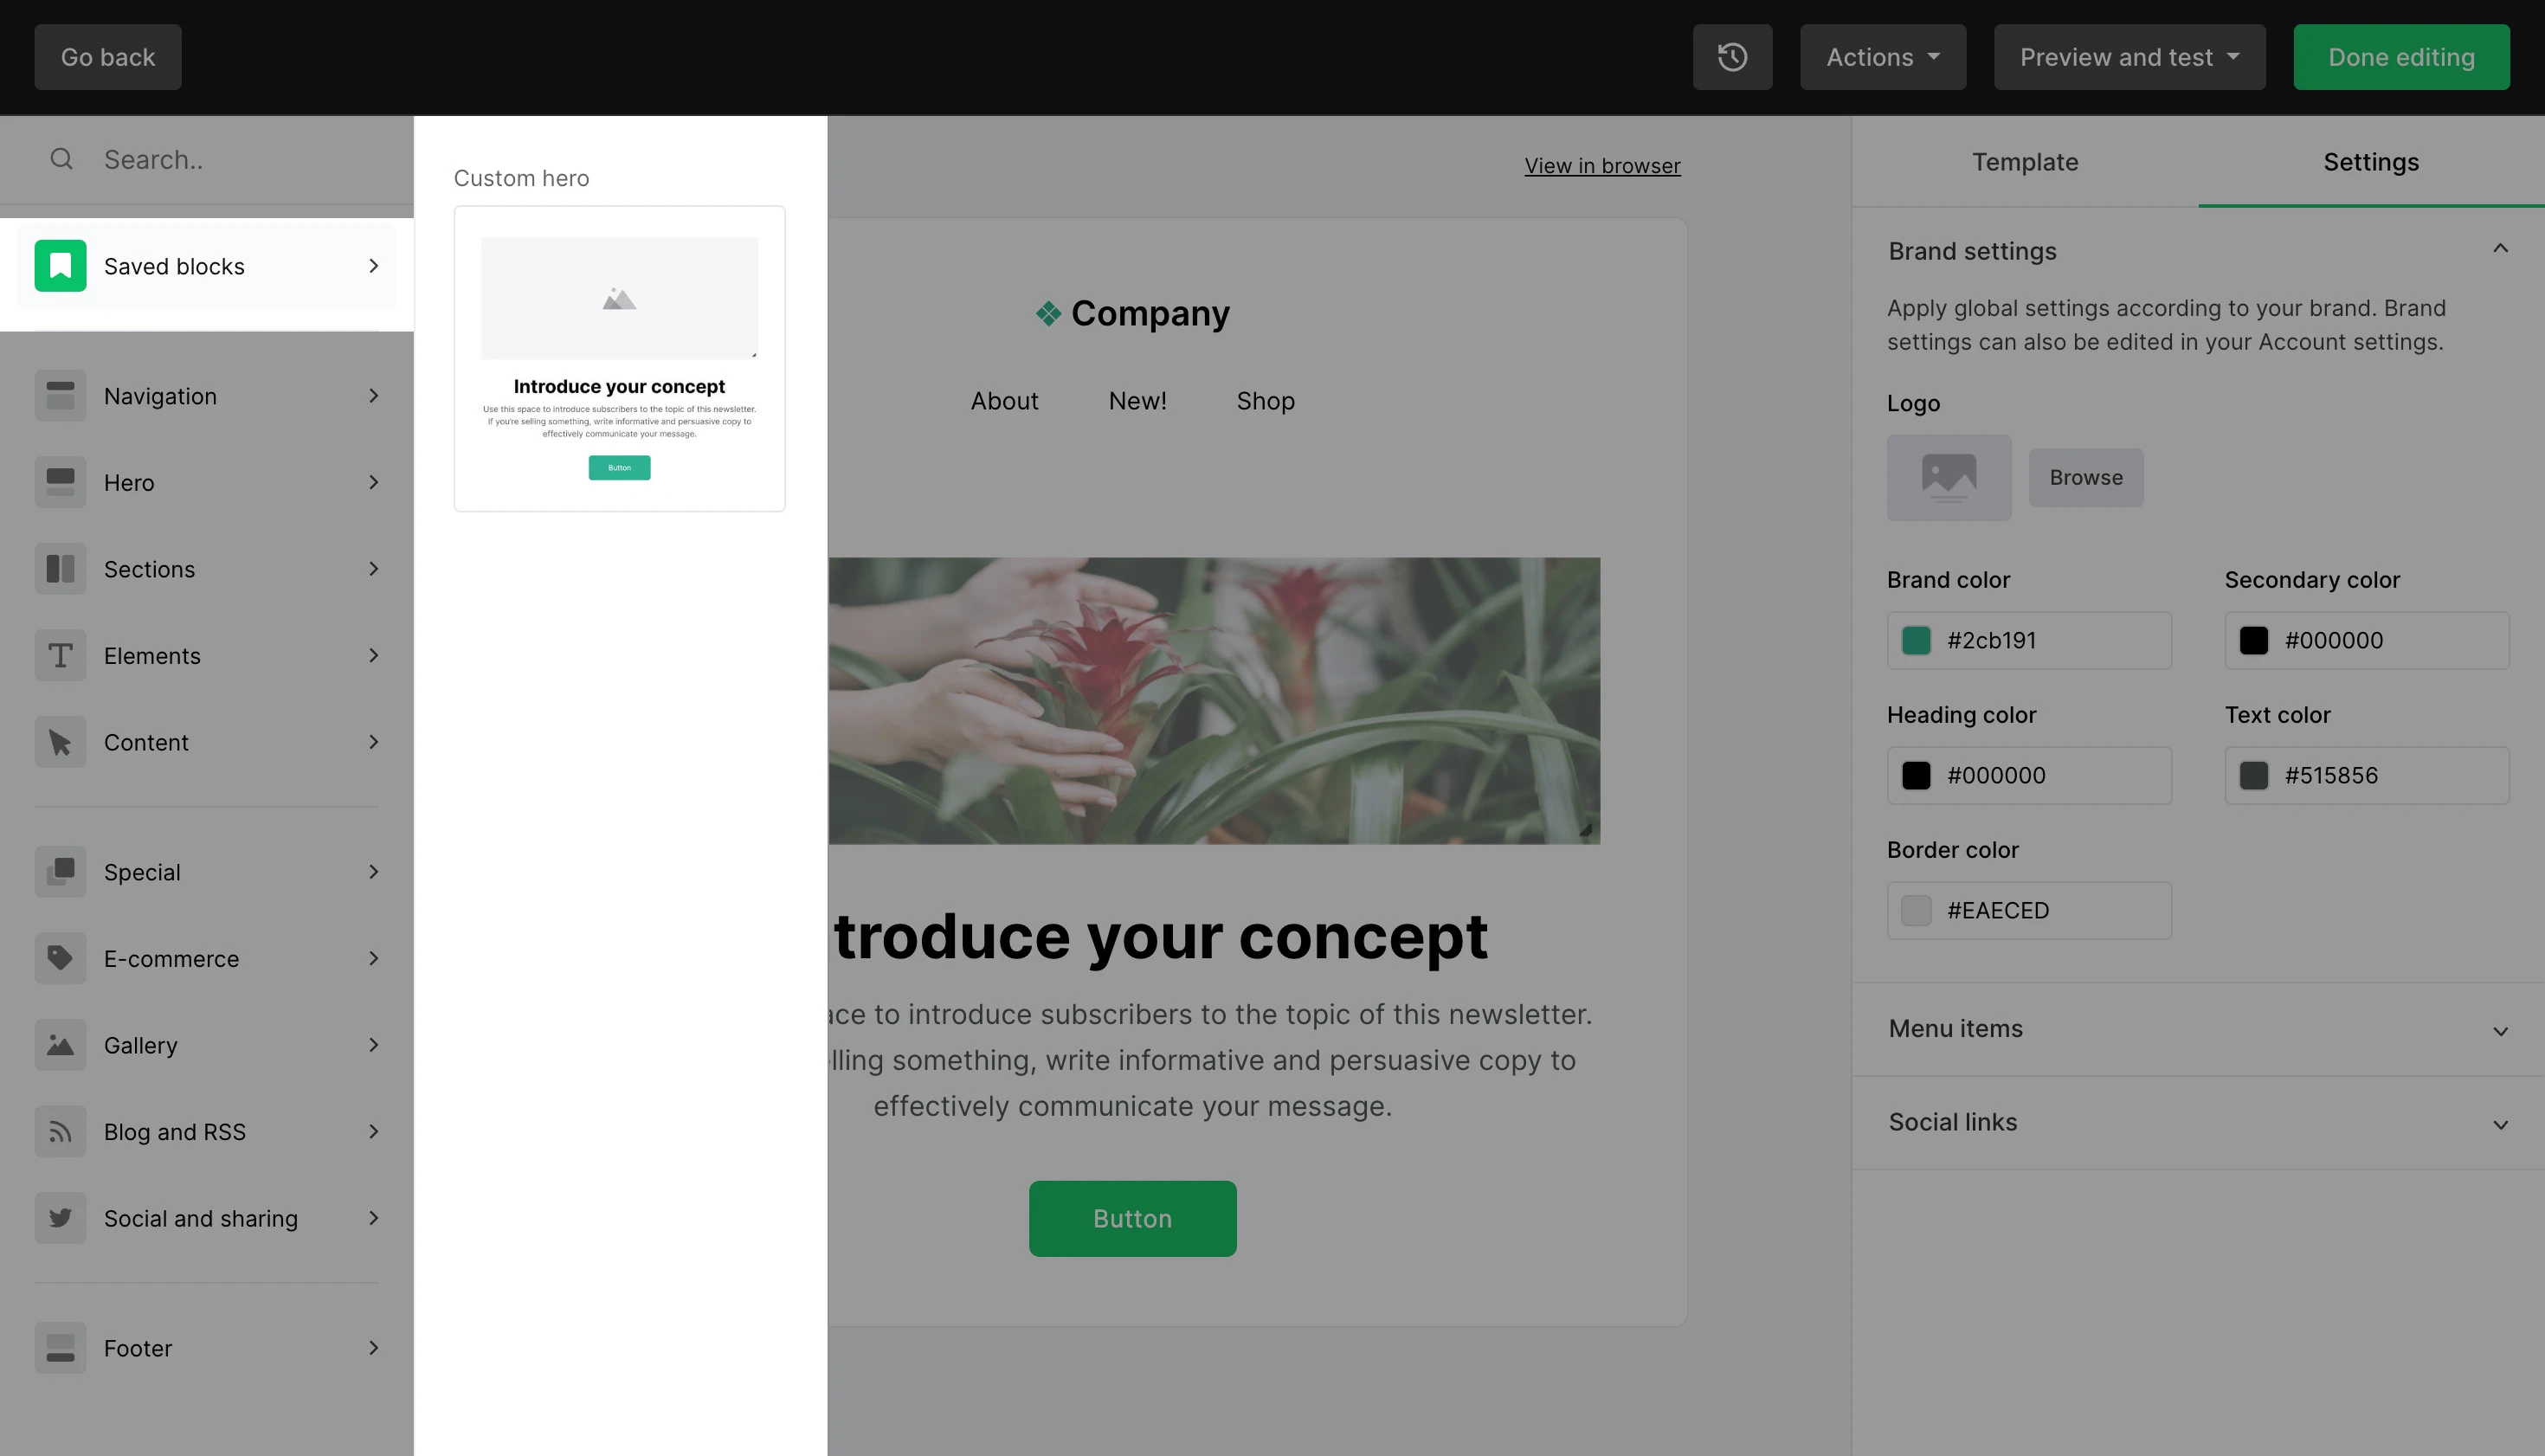
Under the Style tab, you’ll find your Brand style settings. Here you can apply global styling following your brand’s visual identity. Learn more here: How to use Brand styles
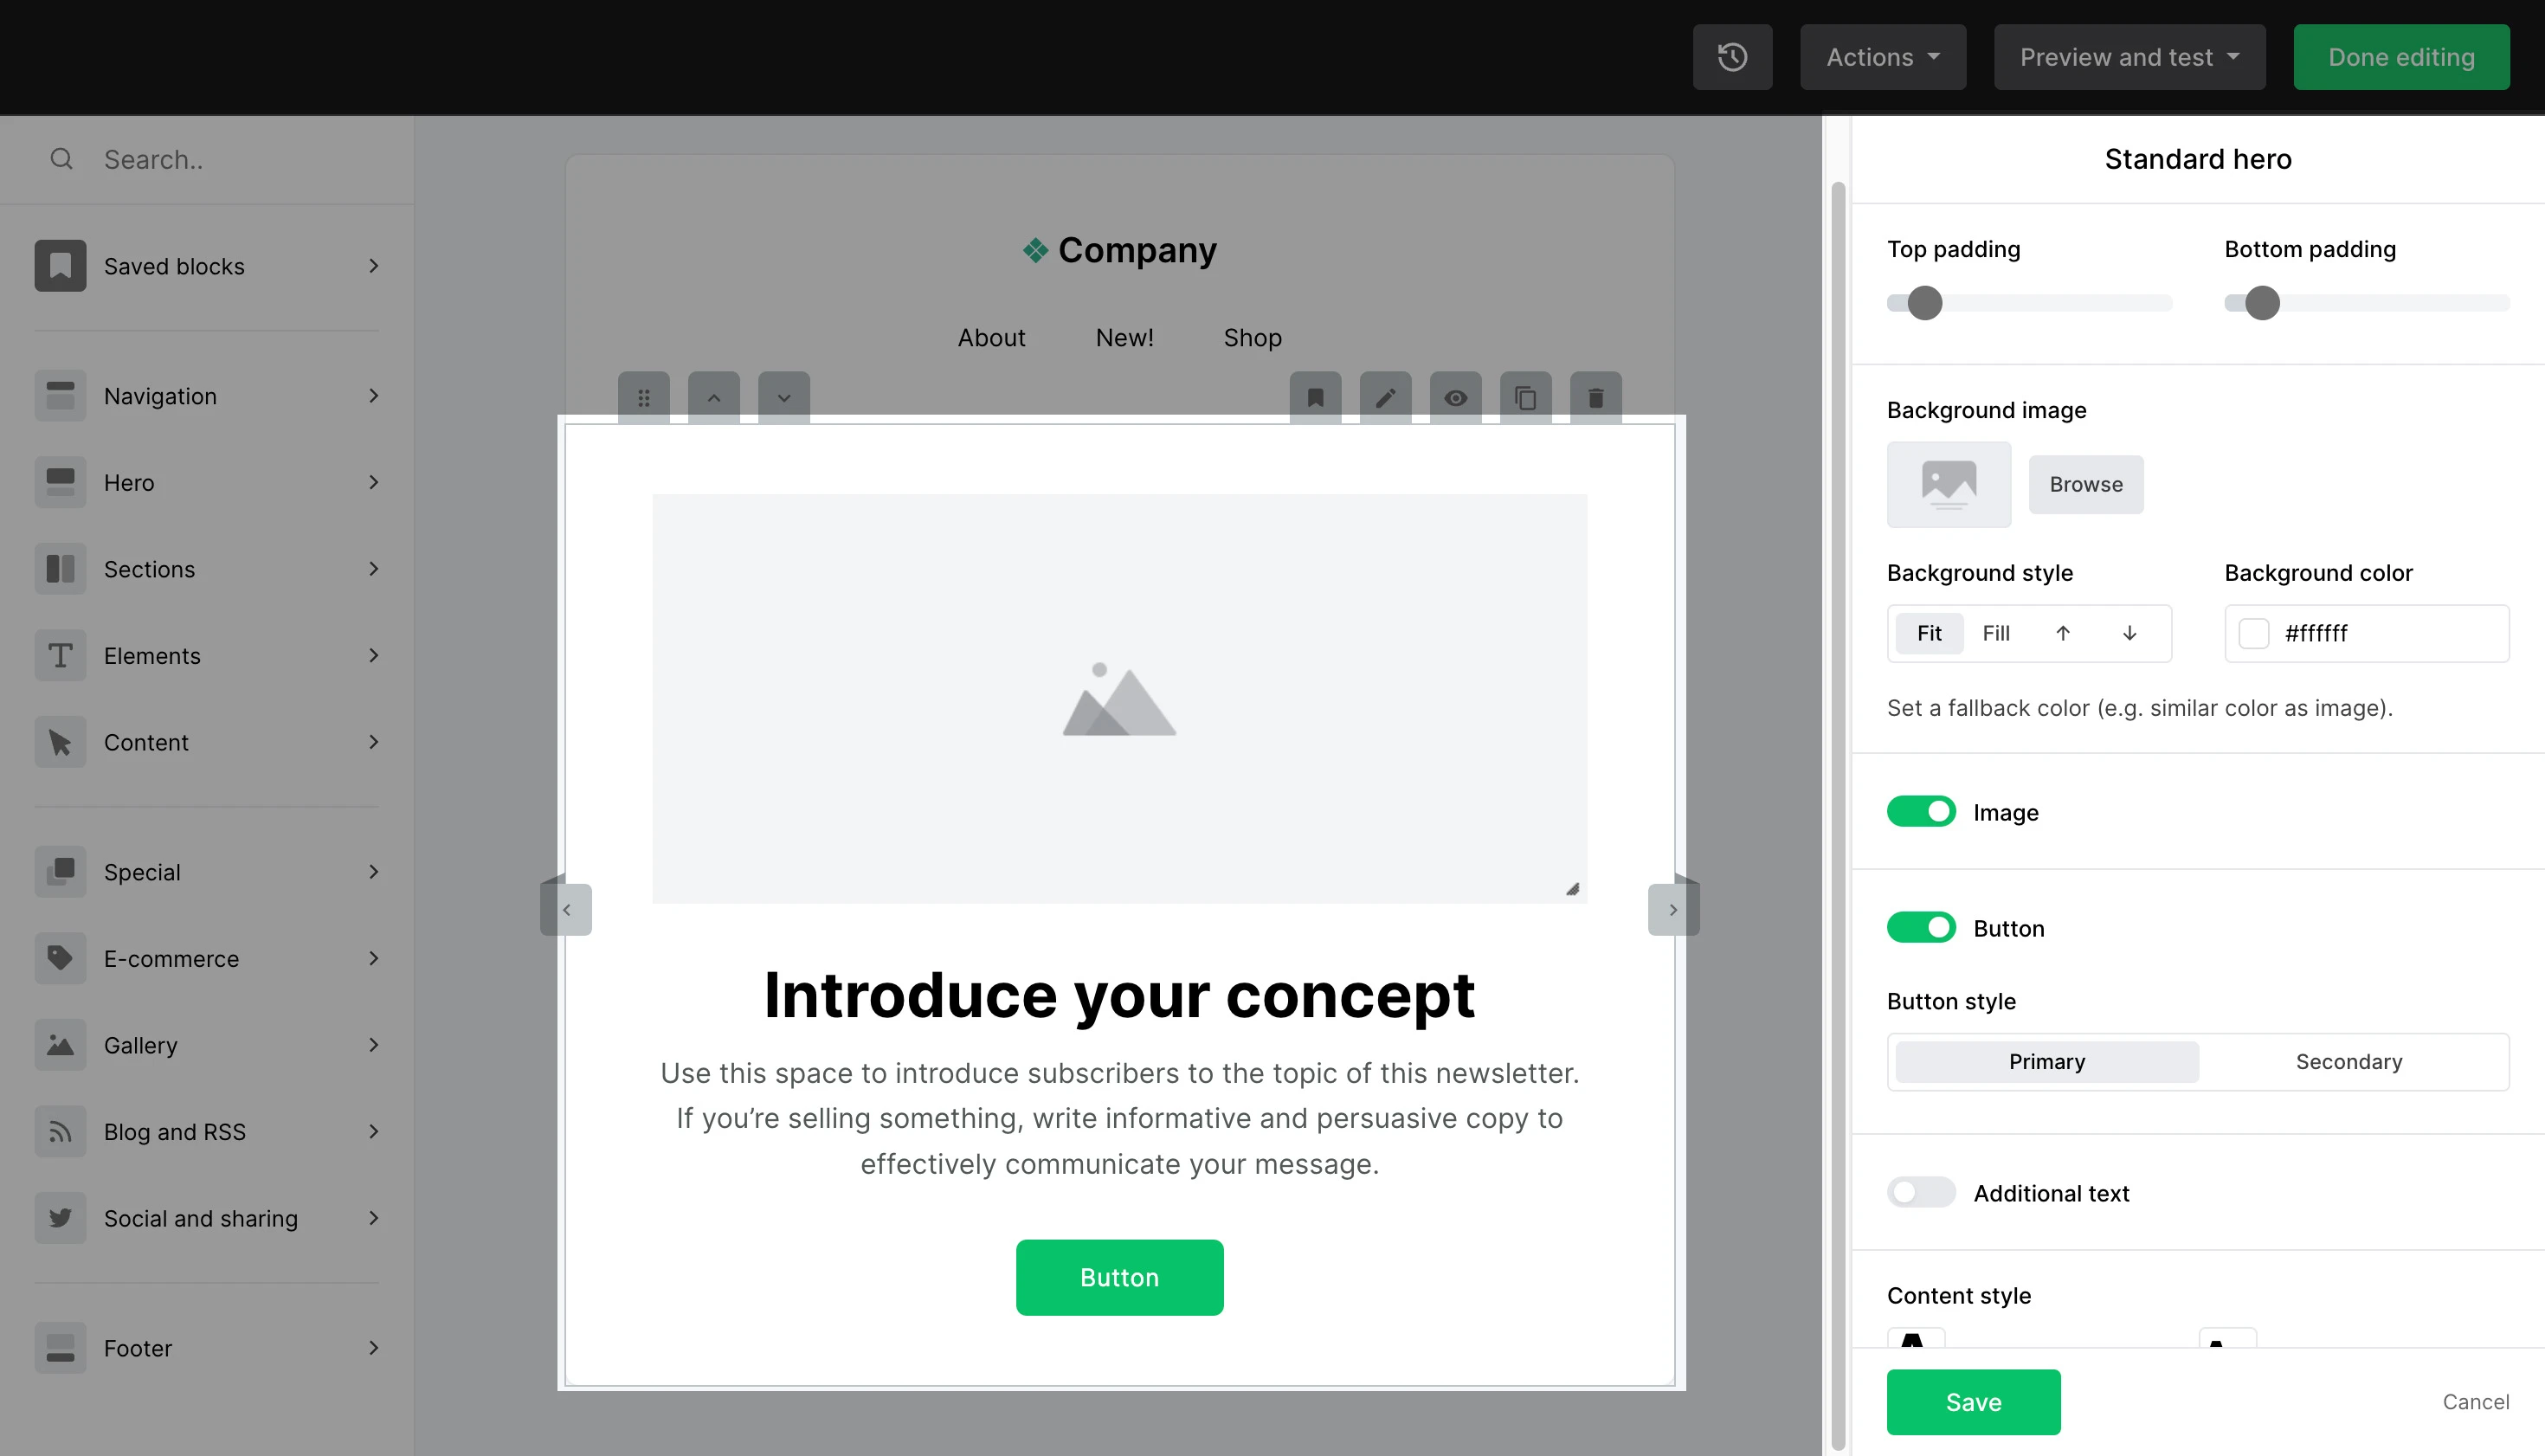
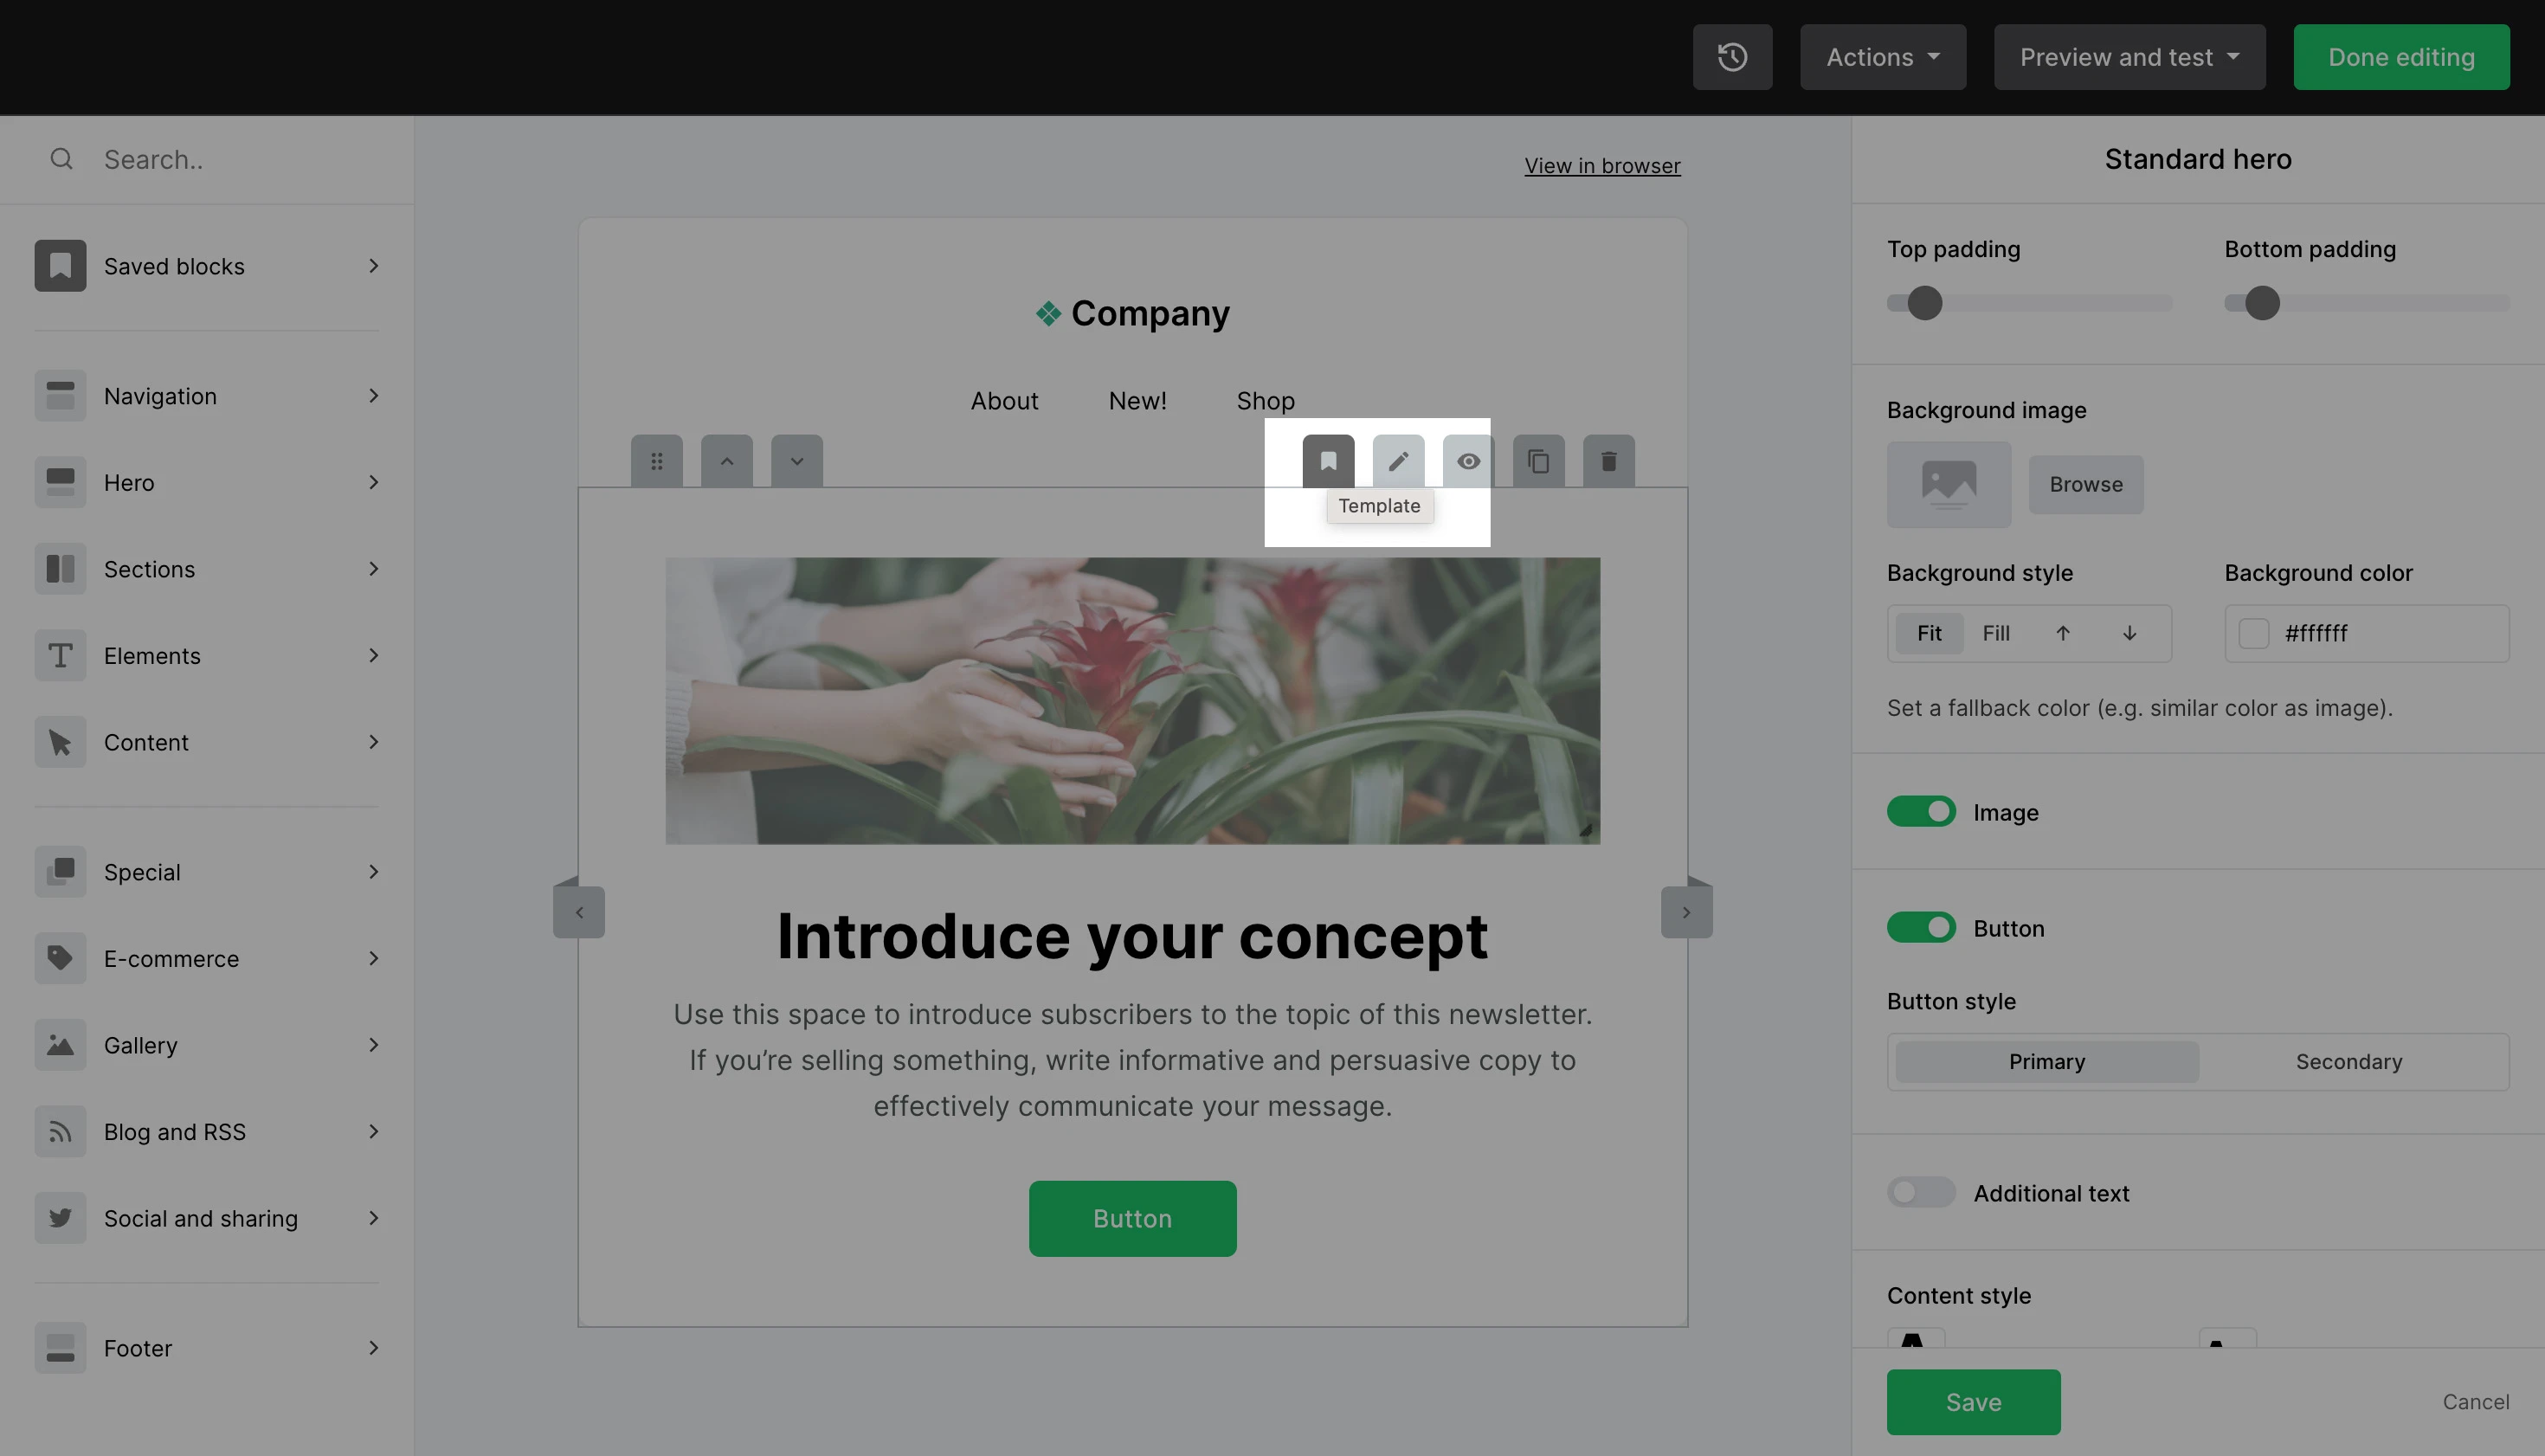
To edit specific block settings:
Hover over the block until you see gray icons.
Click on the pencil icon to open the block’s settings in the sidebar.
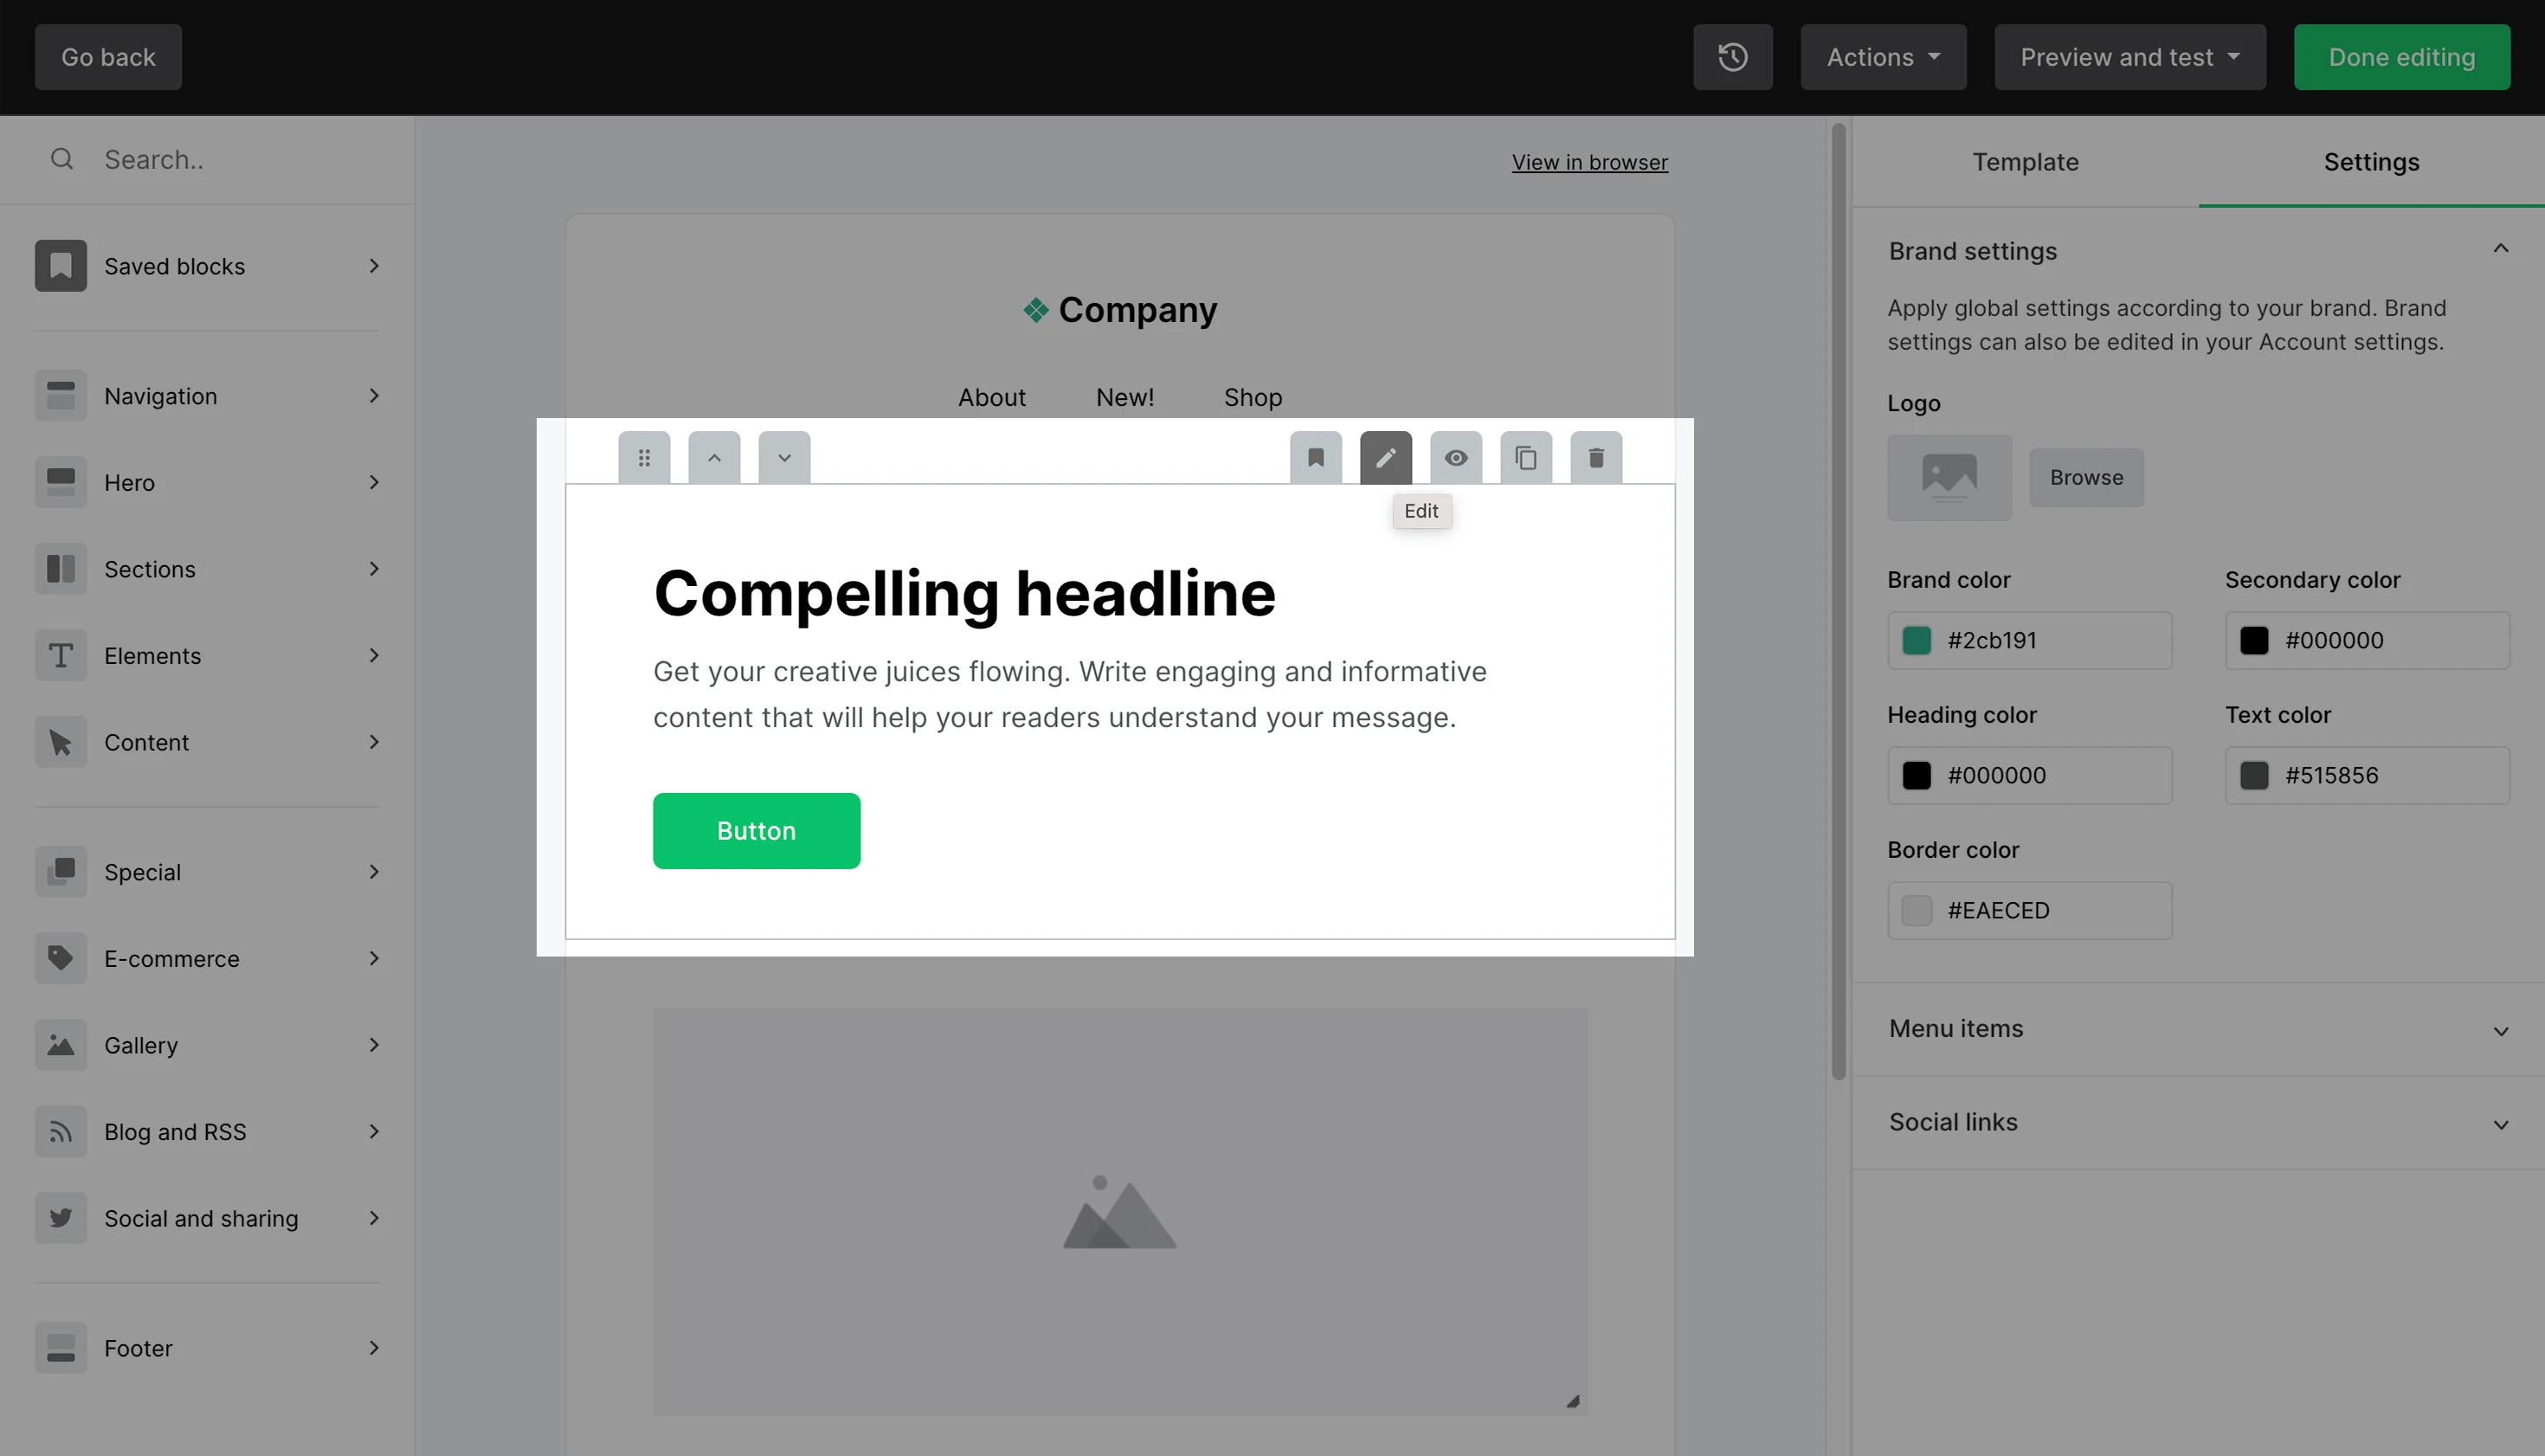
You’ll see the editing tab of the block, where you can include all of the information for the content block—including texts, URLs, and images. The sidebar can be different for every block, depending on the block’s functionalities.
To add a new image to an Image block:
Hover over the block until you see gray icons. Click the Image icon.
Choose your image and it’ll be added to your newsletter.

There are many ways you can design your blocks using the right-hand sidebar’s settings. Feel free to explore and play around with the settings and features.
Always click on the green Save button located at the bottom of the sidebar every time you make a change on a block. Otherwise, your changes might not get saved.
Editing text
To edit specific text elements, double click on the text you wish to edit to reveal the Inline toolbar.
Here, you will see options to format your text, add hyperlinks, and undo/redo edits made to text.

Dynamic content
You can set the visibility for any block so it shows only to specific subscribers. You could use this feature when you want to send the same newsletter to both free and paying customers, but only want the paying customers to see a specific content block of the newsletter.
To do this, hover over the block until you see a few small icons and select the eye icon.
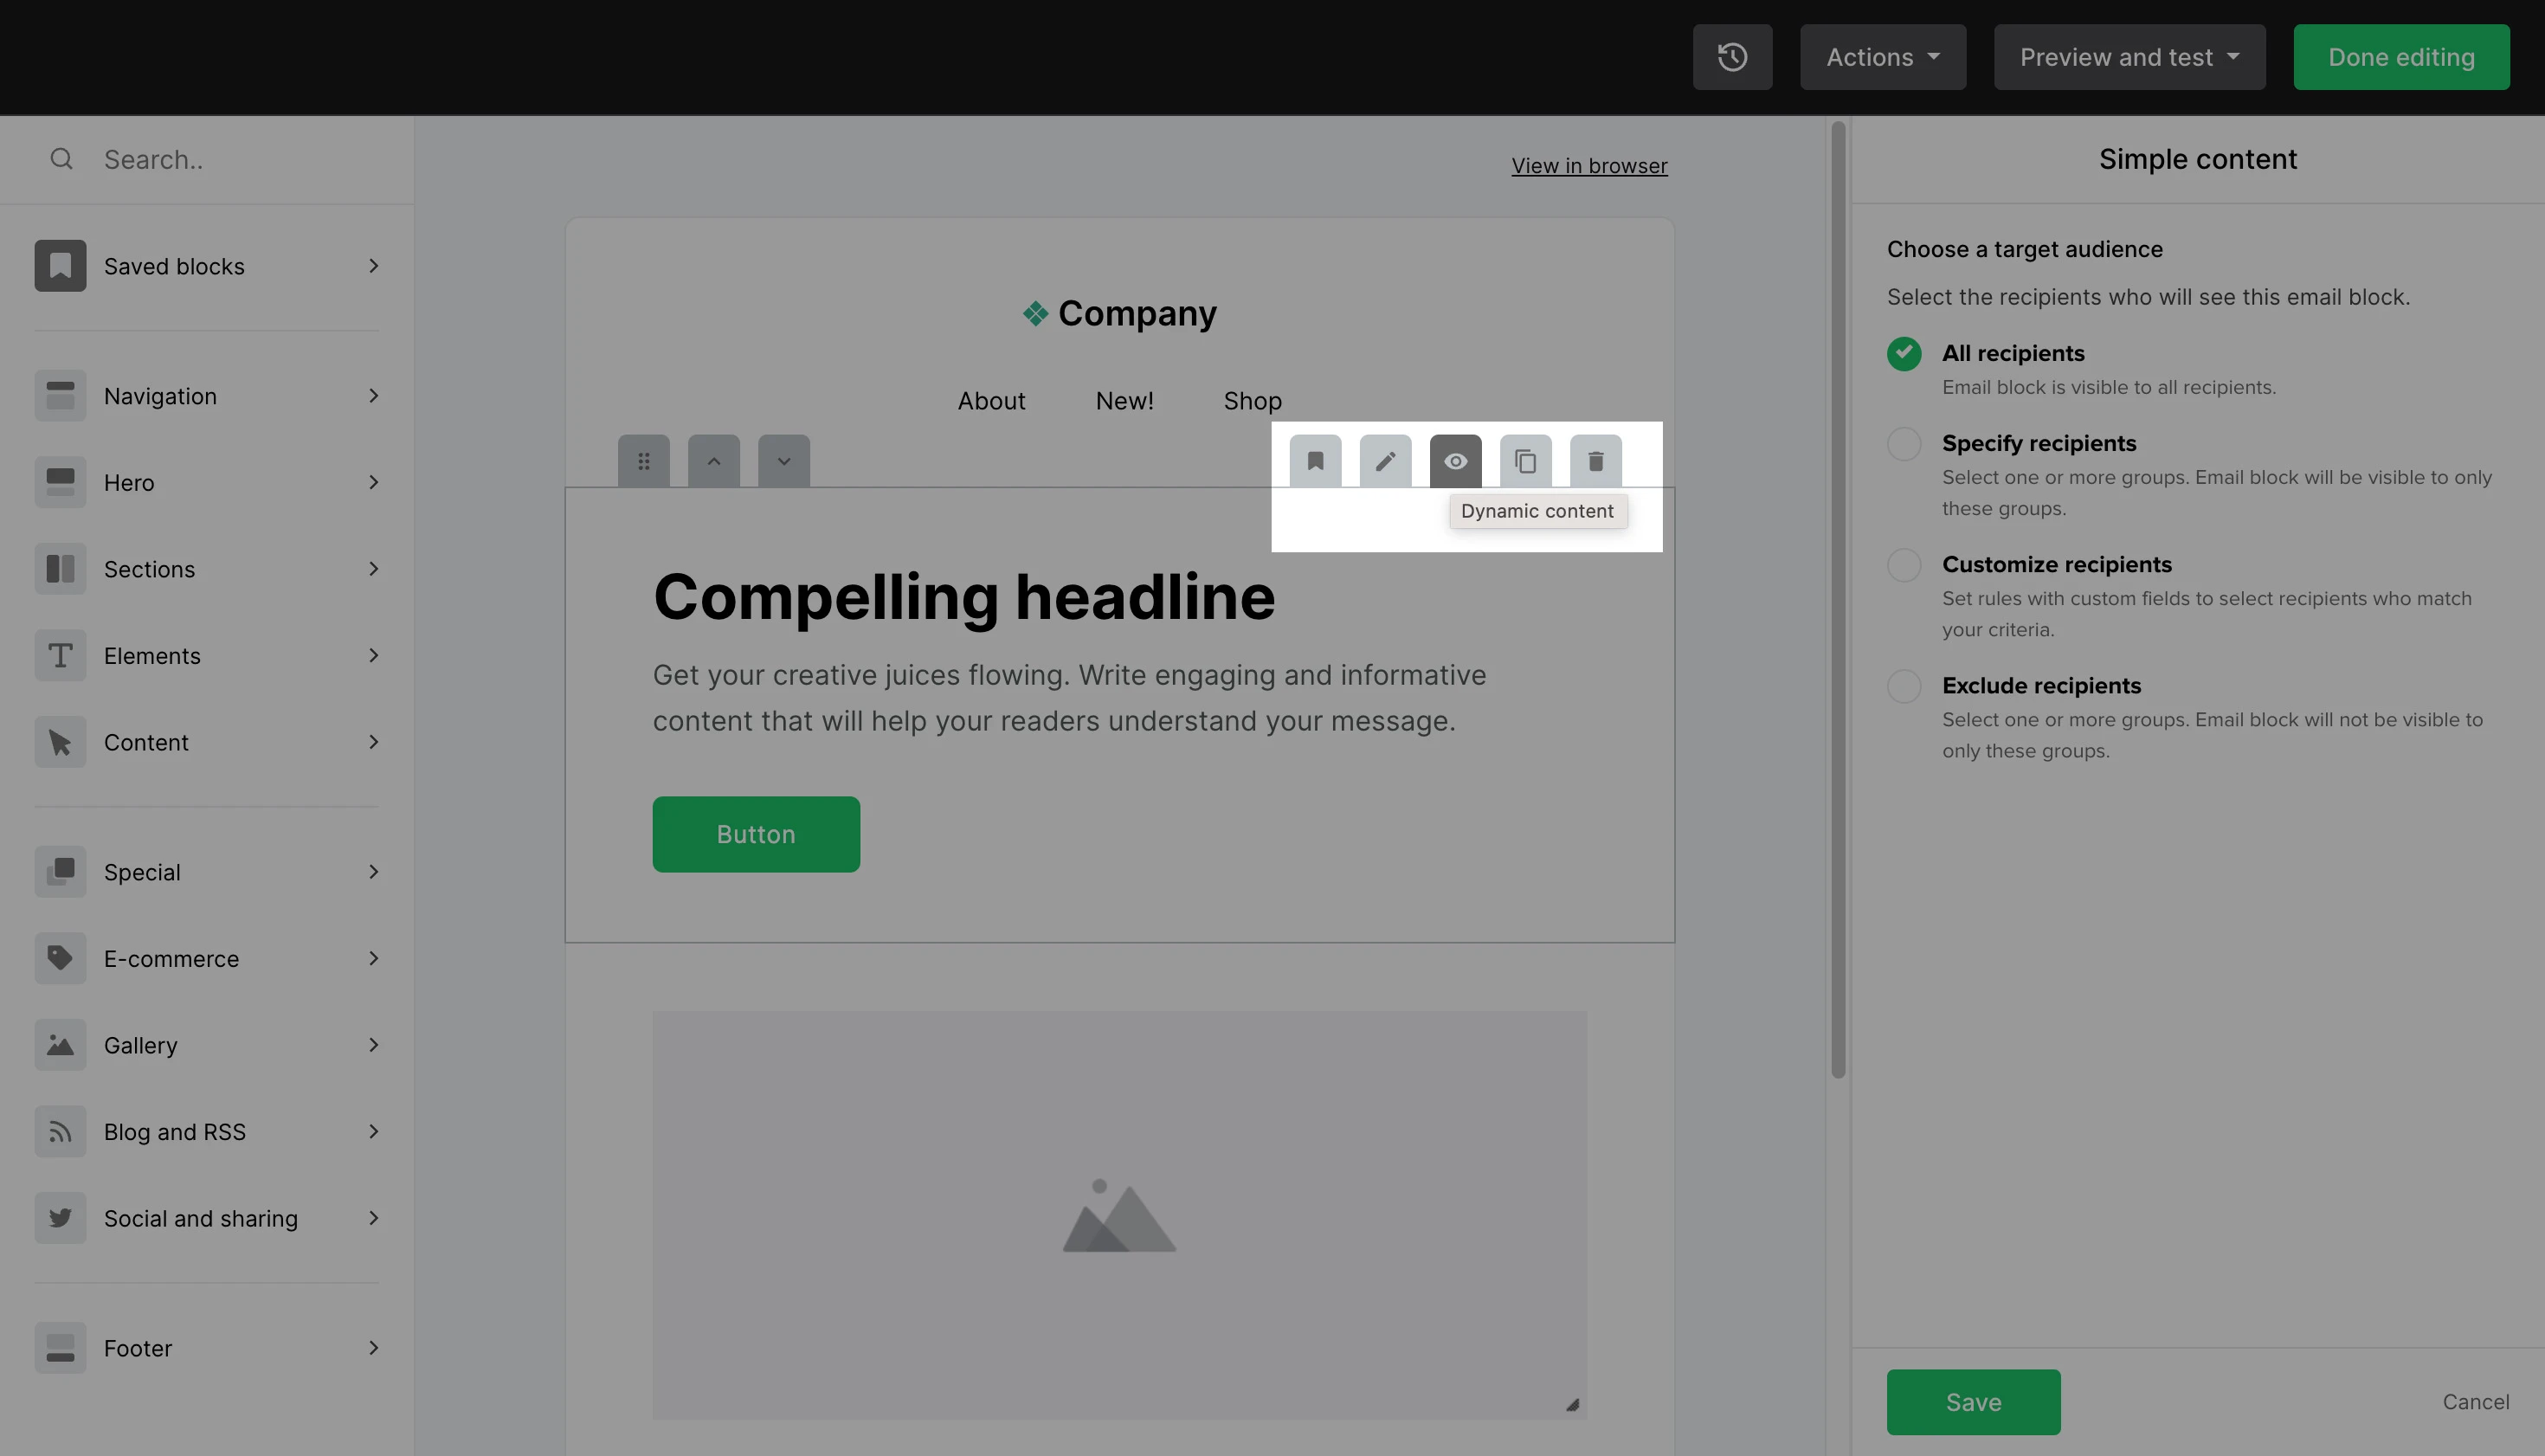
Choose whether you want the specific block to be shown to all recipients, to specific groups, or to subscribers who meet certain rules. You can also choose to exclude one or more groups from viewing the block.
You can read more about dynamic content and how it works.
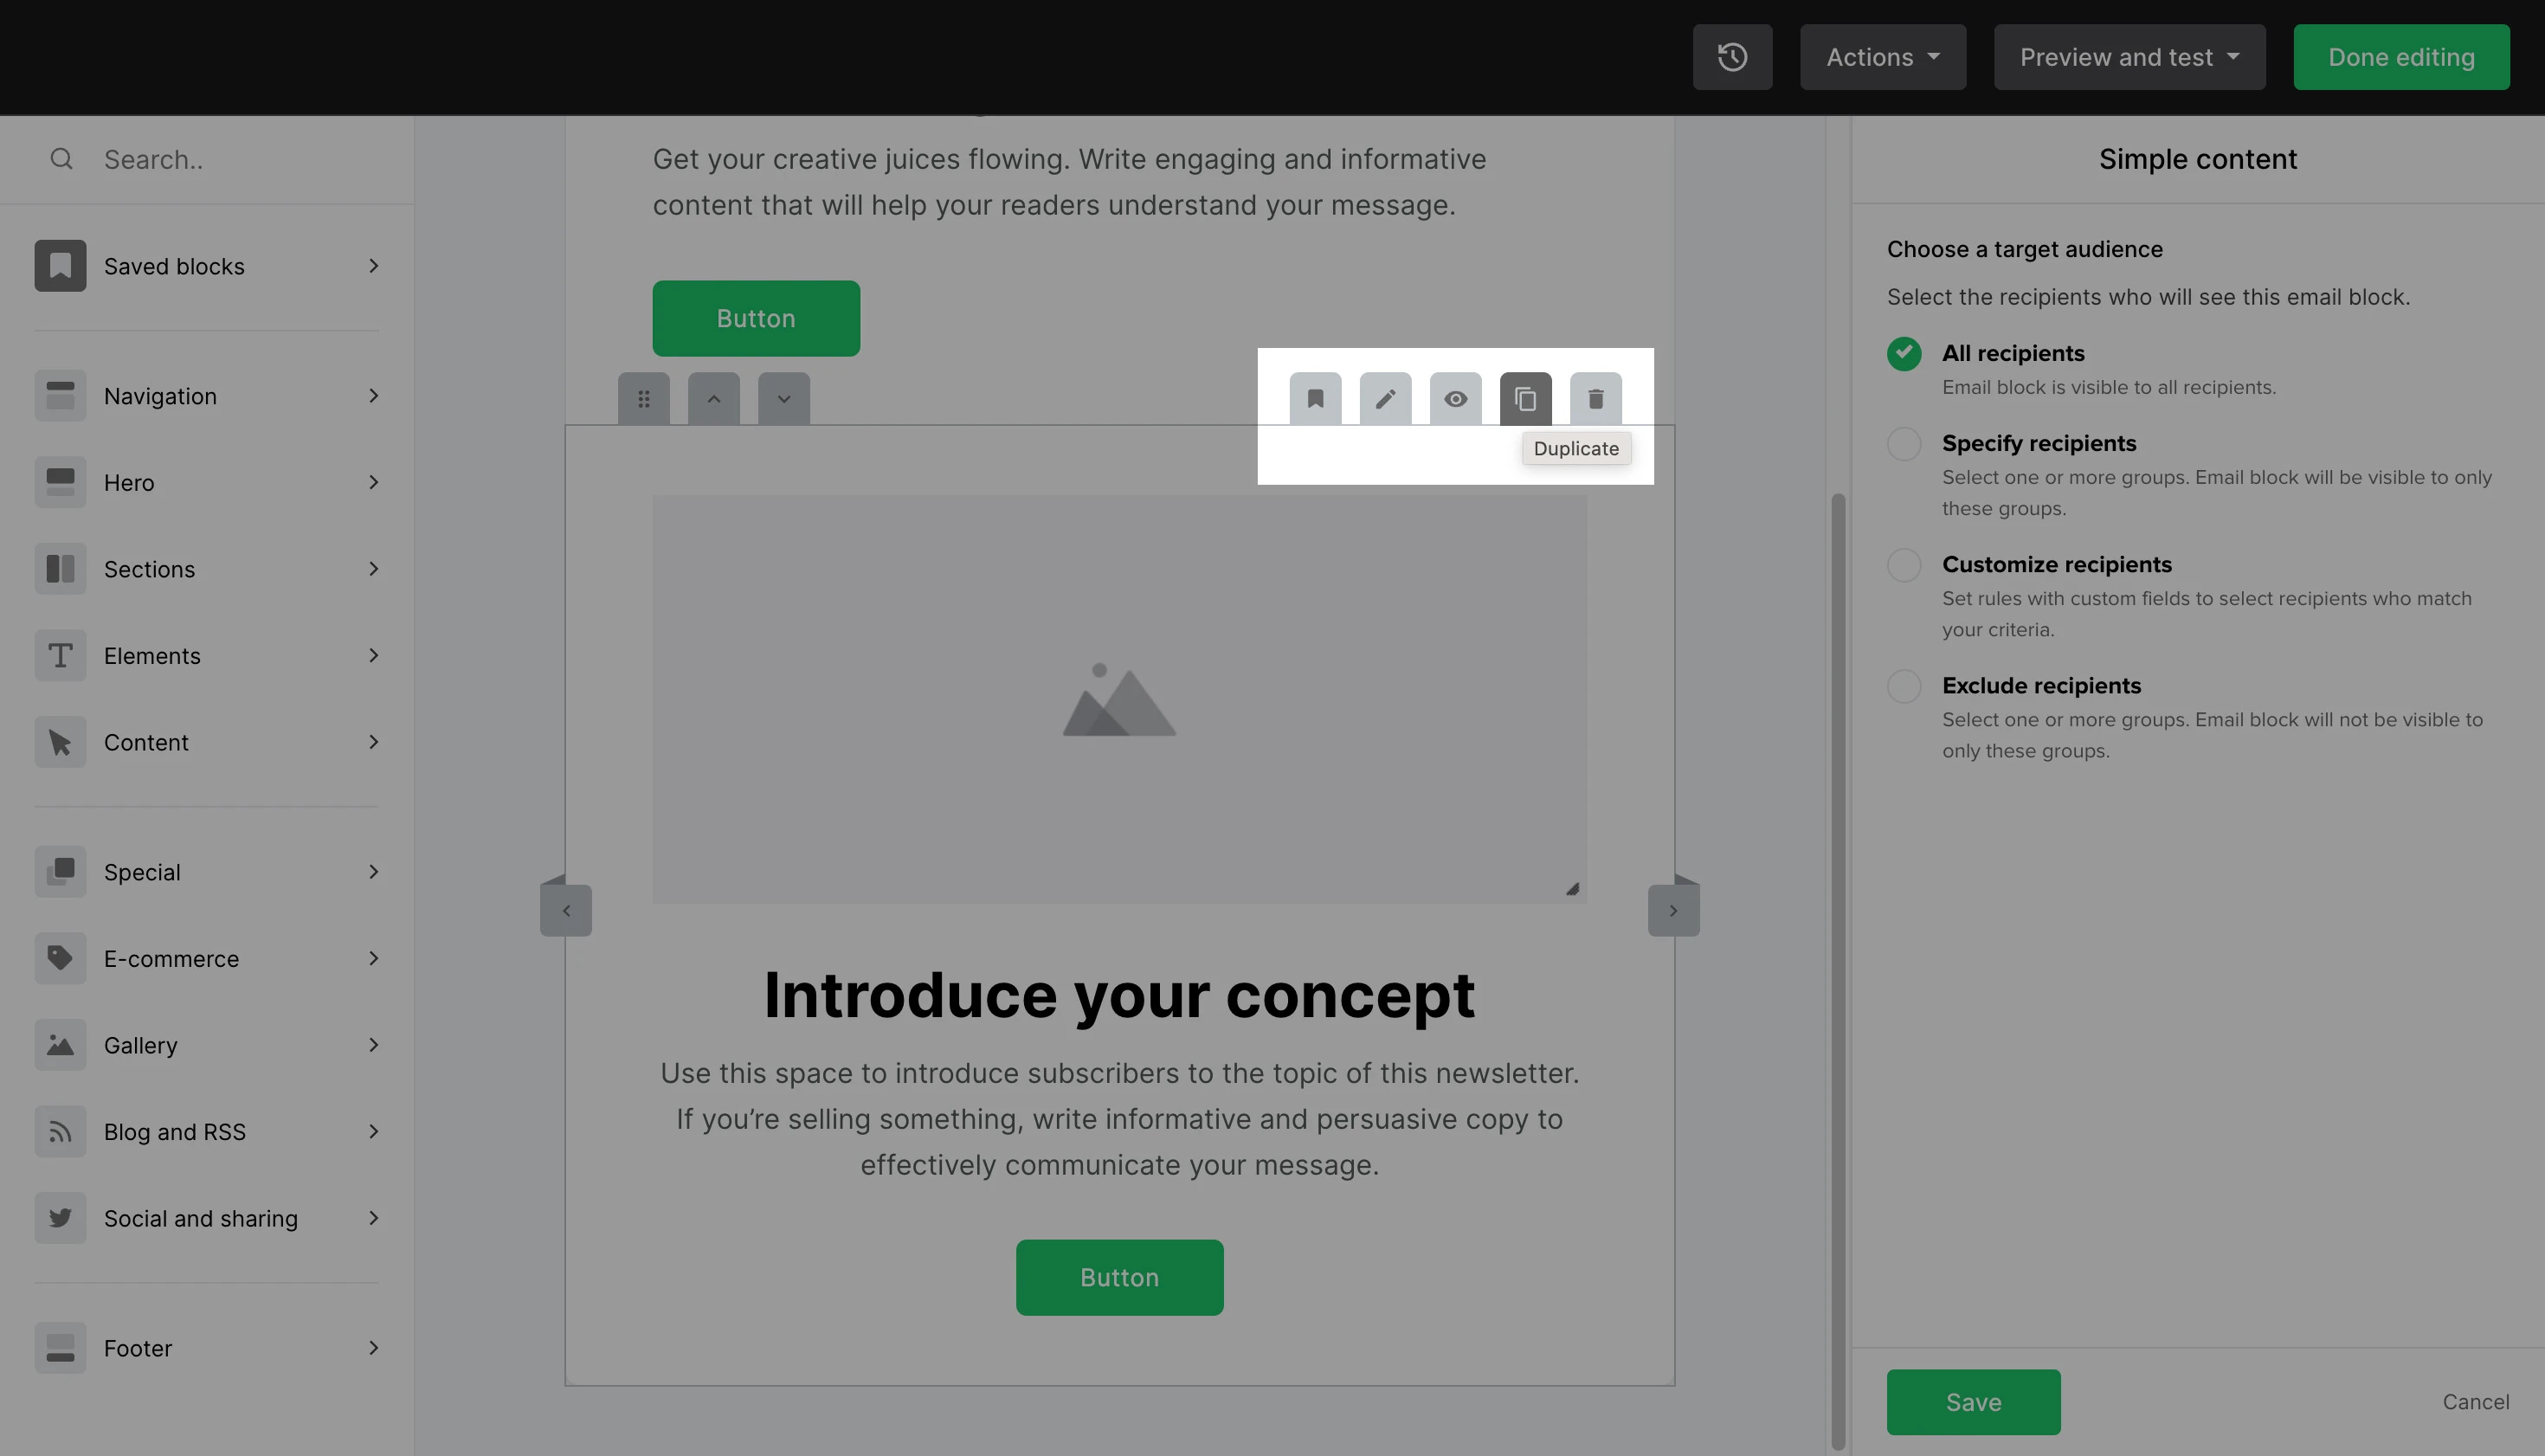
How to duplicate a block
Hover over a block and click on the two-paper-sheets icon to duplicate it.
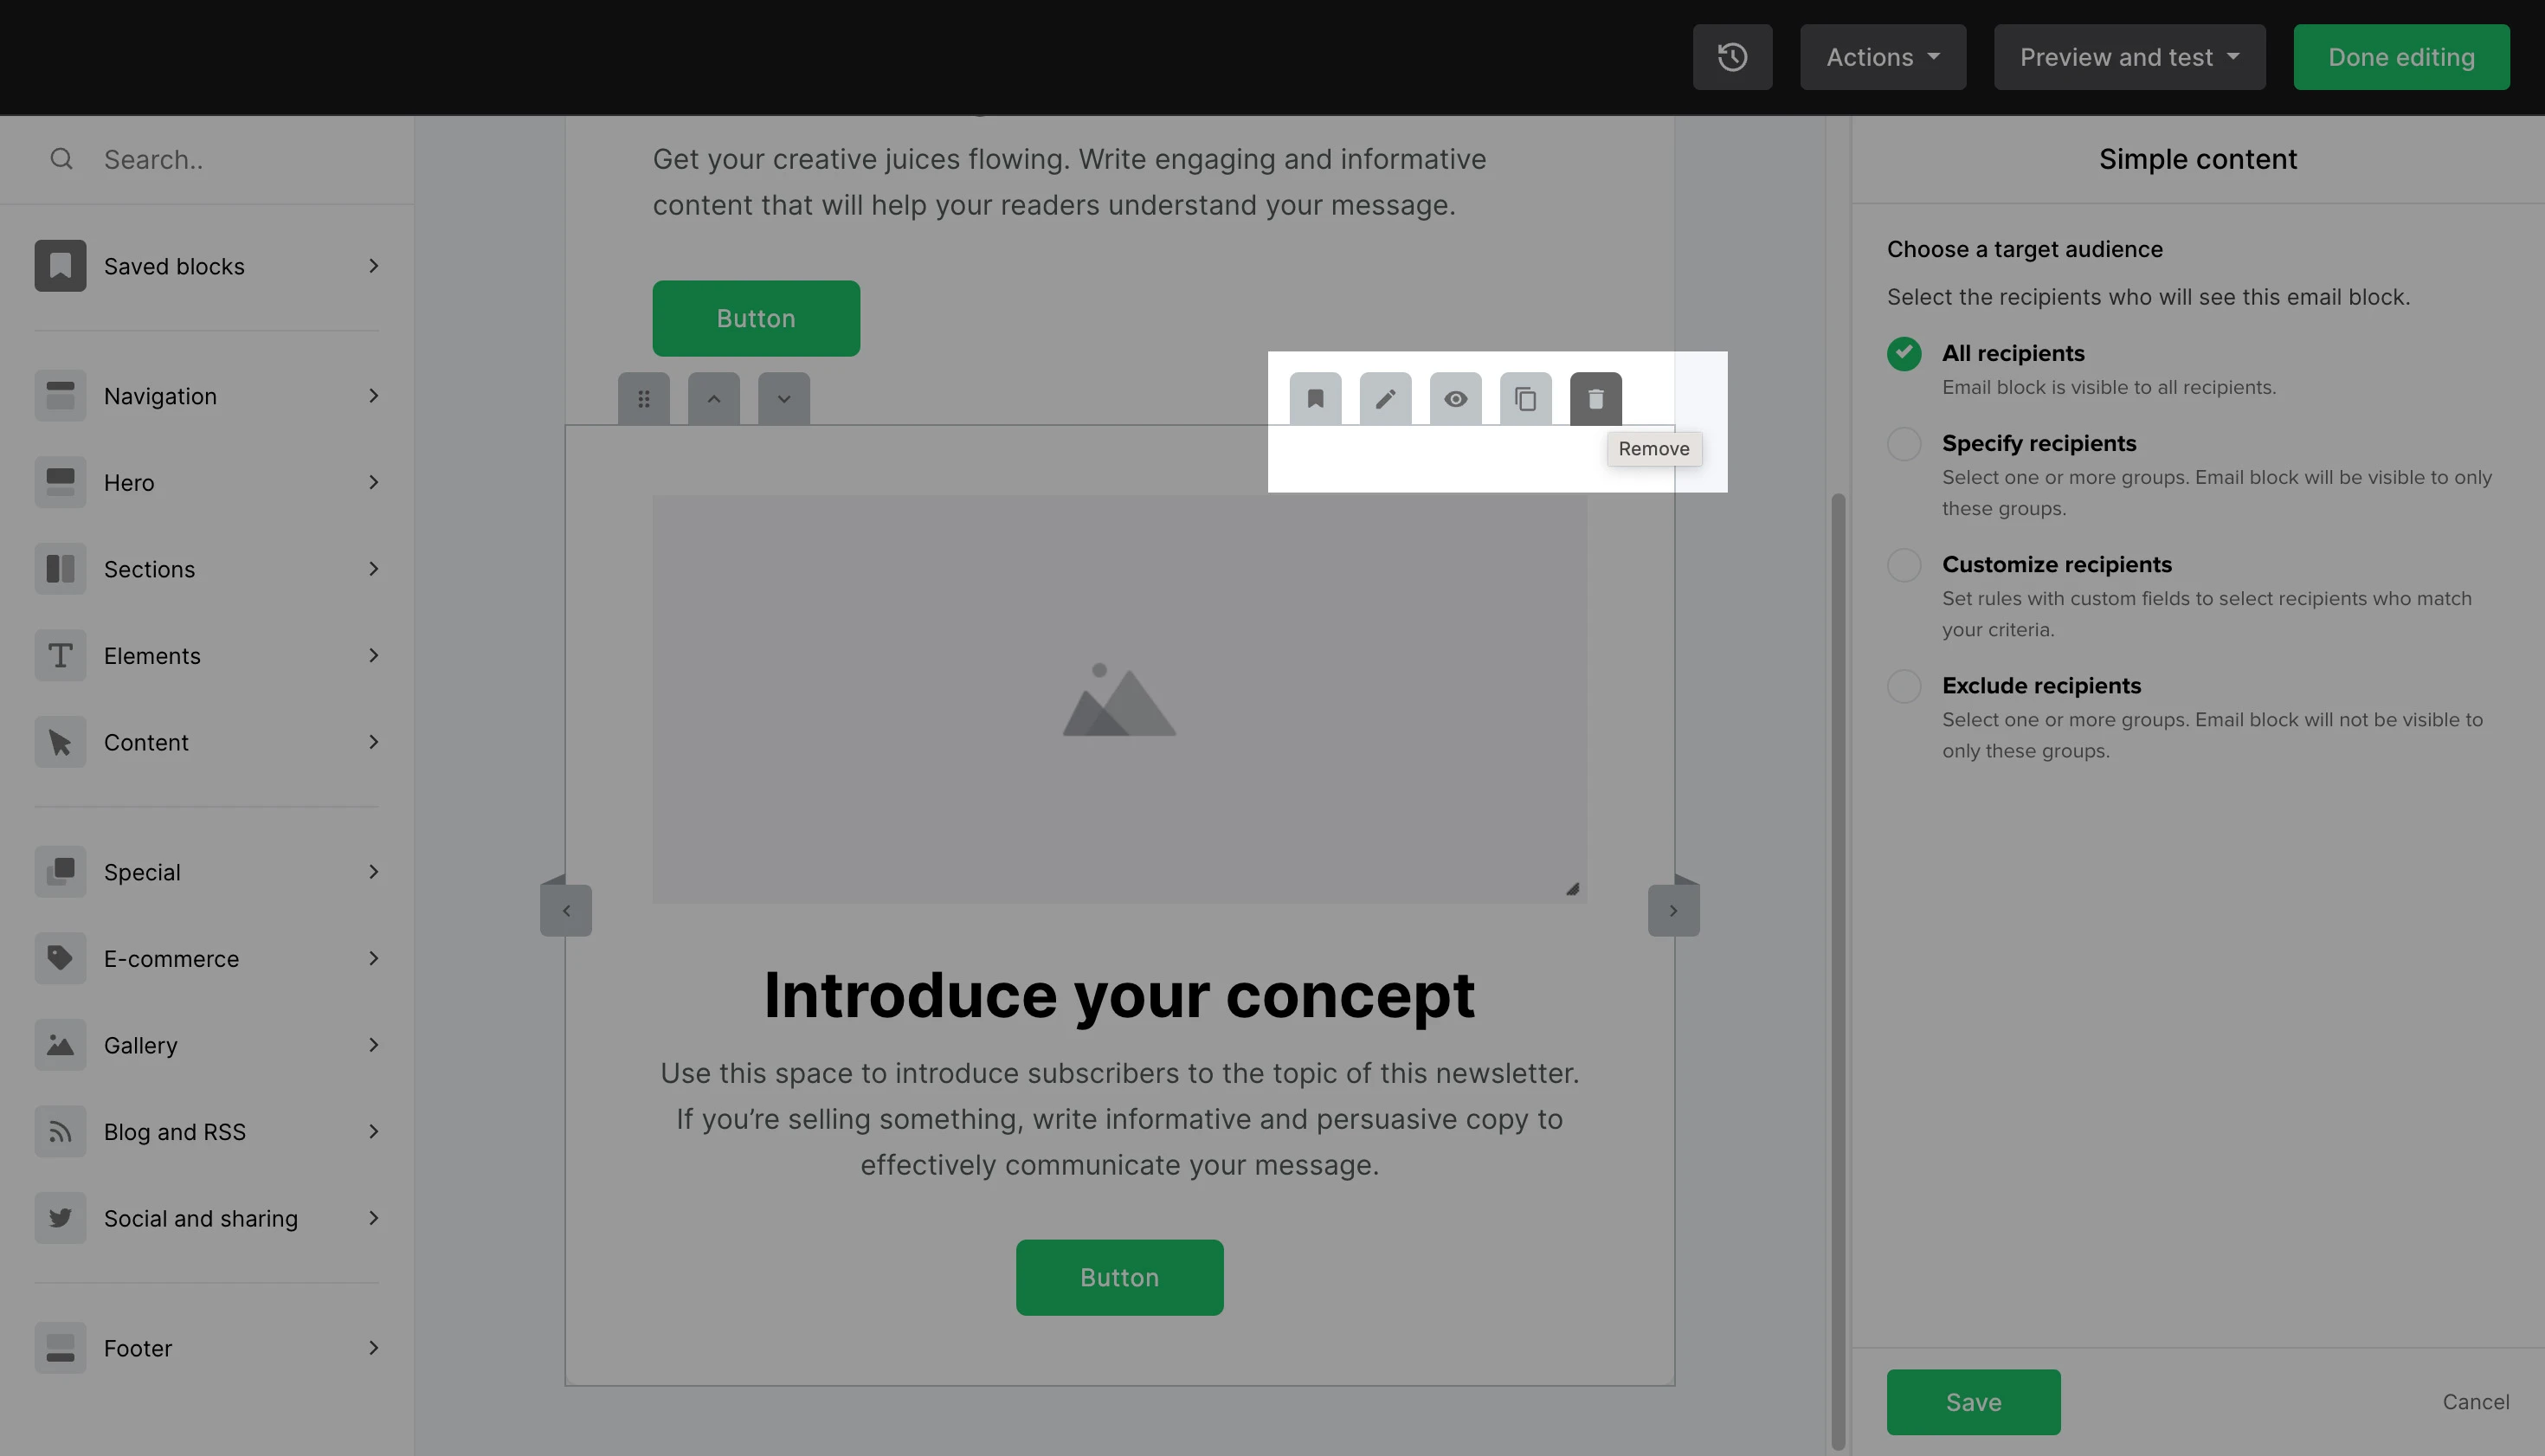
How to remove a block
Hover over a block and click on the trash icon to remove it from your newsletter.
How to save a custom block for later
You can now save your custom block templates directly in your editor. This is great for cutting down newsletter build time and maintaining consistent branding.
To save a custom block template:
Hover over your desired block.
Click the Save icon.
You can find all your saved block templates in the left-hand sidebar under Saved blocks.
AI writing assistant
Paid plan users can take advantage of the new AI writing assistant to increase productivity, improve message clarity and write high-quality emails in seconds.
Check out this article to learn more about the AI writing assistant.
What should be included in the footer
By default, the footer will always include an unsubscribe link and will auto-populate with the information set up in your Account settings page, which you can change at any time.
The MailerLite logo will always appear at the bottom of the newsletter on our Free plan. If you wish to remove the MailerLite logo from your newsletter, your account must be under the Comfort or Power plan.
Additionally, you cannot remove your physical postal address as this goes against our Terms of Use. We understand if you don’t want to use your real address, so in this case, you can use the address of your nearest post office or a private mailbox.
Lastly, you also cannot remove the unsubscribe link as this goes against our Terms of Use, Anti-Spam Policy, and the CAN-SPAM Act. An opt-out link must always be included at the footer of a newsletter. You can however add an additional unsubscribe link to your newsletter.
To verify that you comply with all the norms, check the Email format section on our Terms of Use page.