Note: If you're a Legacy (Classic) user, please log in to your account to access the dedicated Legacy (Classic) Help Center.
What can I do with Facebook Lead Ads and MailerLite?
Using Zapier to link Facebook Lead Ads and MailerLite unlocks powerful email marketing automations.
Key benefits:
Auto-add new leads to MailerLite: Every time a new lead submits your Facebook lead form, Zapier can instantly add them as a subscriber in MailerLite
Send immediate welcome emails: Greet new leads right away! You can create a MailerLite automation to send an instant welcome or thank you email as soon as the lead is added
Nurture leads with automation: Automatically trigger an email sequence for every new Facebook lead
Segment by ad campaign for targeted follow-up: The integration lets you segment leads based on the Facebook ad campaign or form they came from. This way, you can send tailored follow-up emails to each list for better engagement
Before you begin
Make sure you have the following ready before setting up the integration:
An active MailerLite account and access to your MailerLite API key
A Facebook page that’s running Lead Ads, with at least one active lead form. You will need to be an admin of the page to grant Zapier access
A Zapier account if you don’t have one. Zapier is the tool that will connect Facebook Lead Ads with MailerLite (no coding needed!)
How to set up the Facebook Lead Ads → MailerLite Zap
To connect Facebook Lead Ads to MailerLite using Zapier:
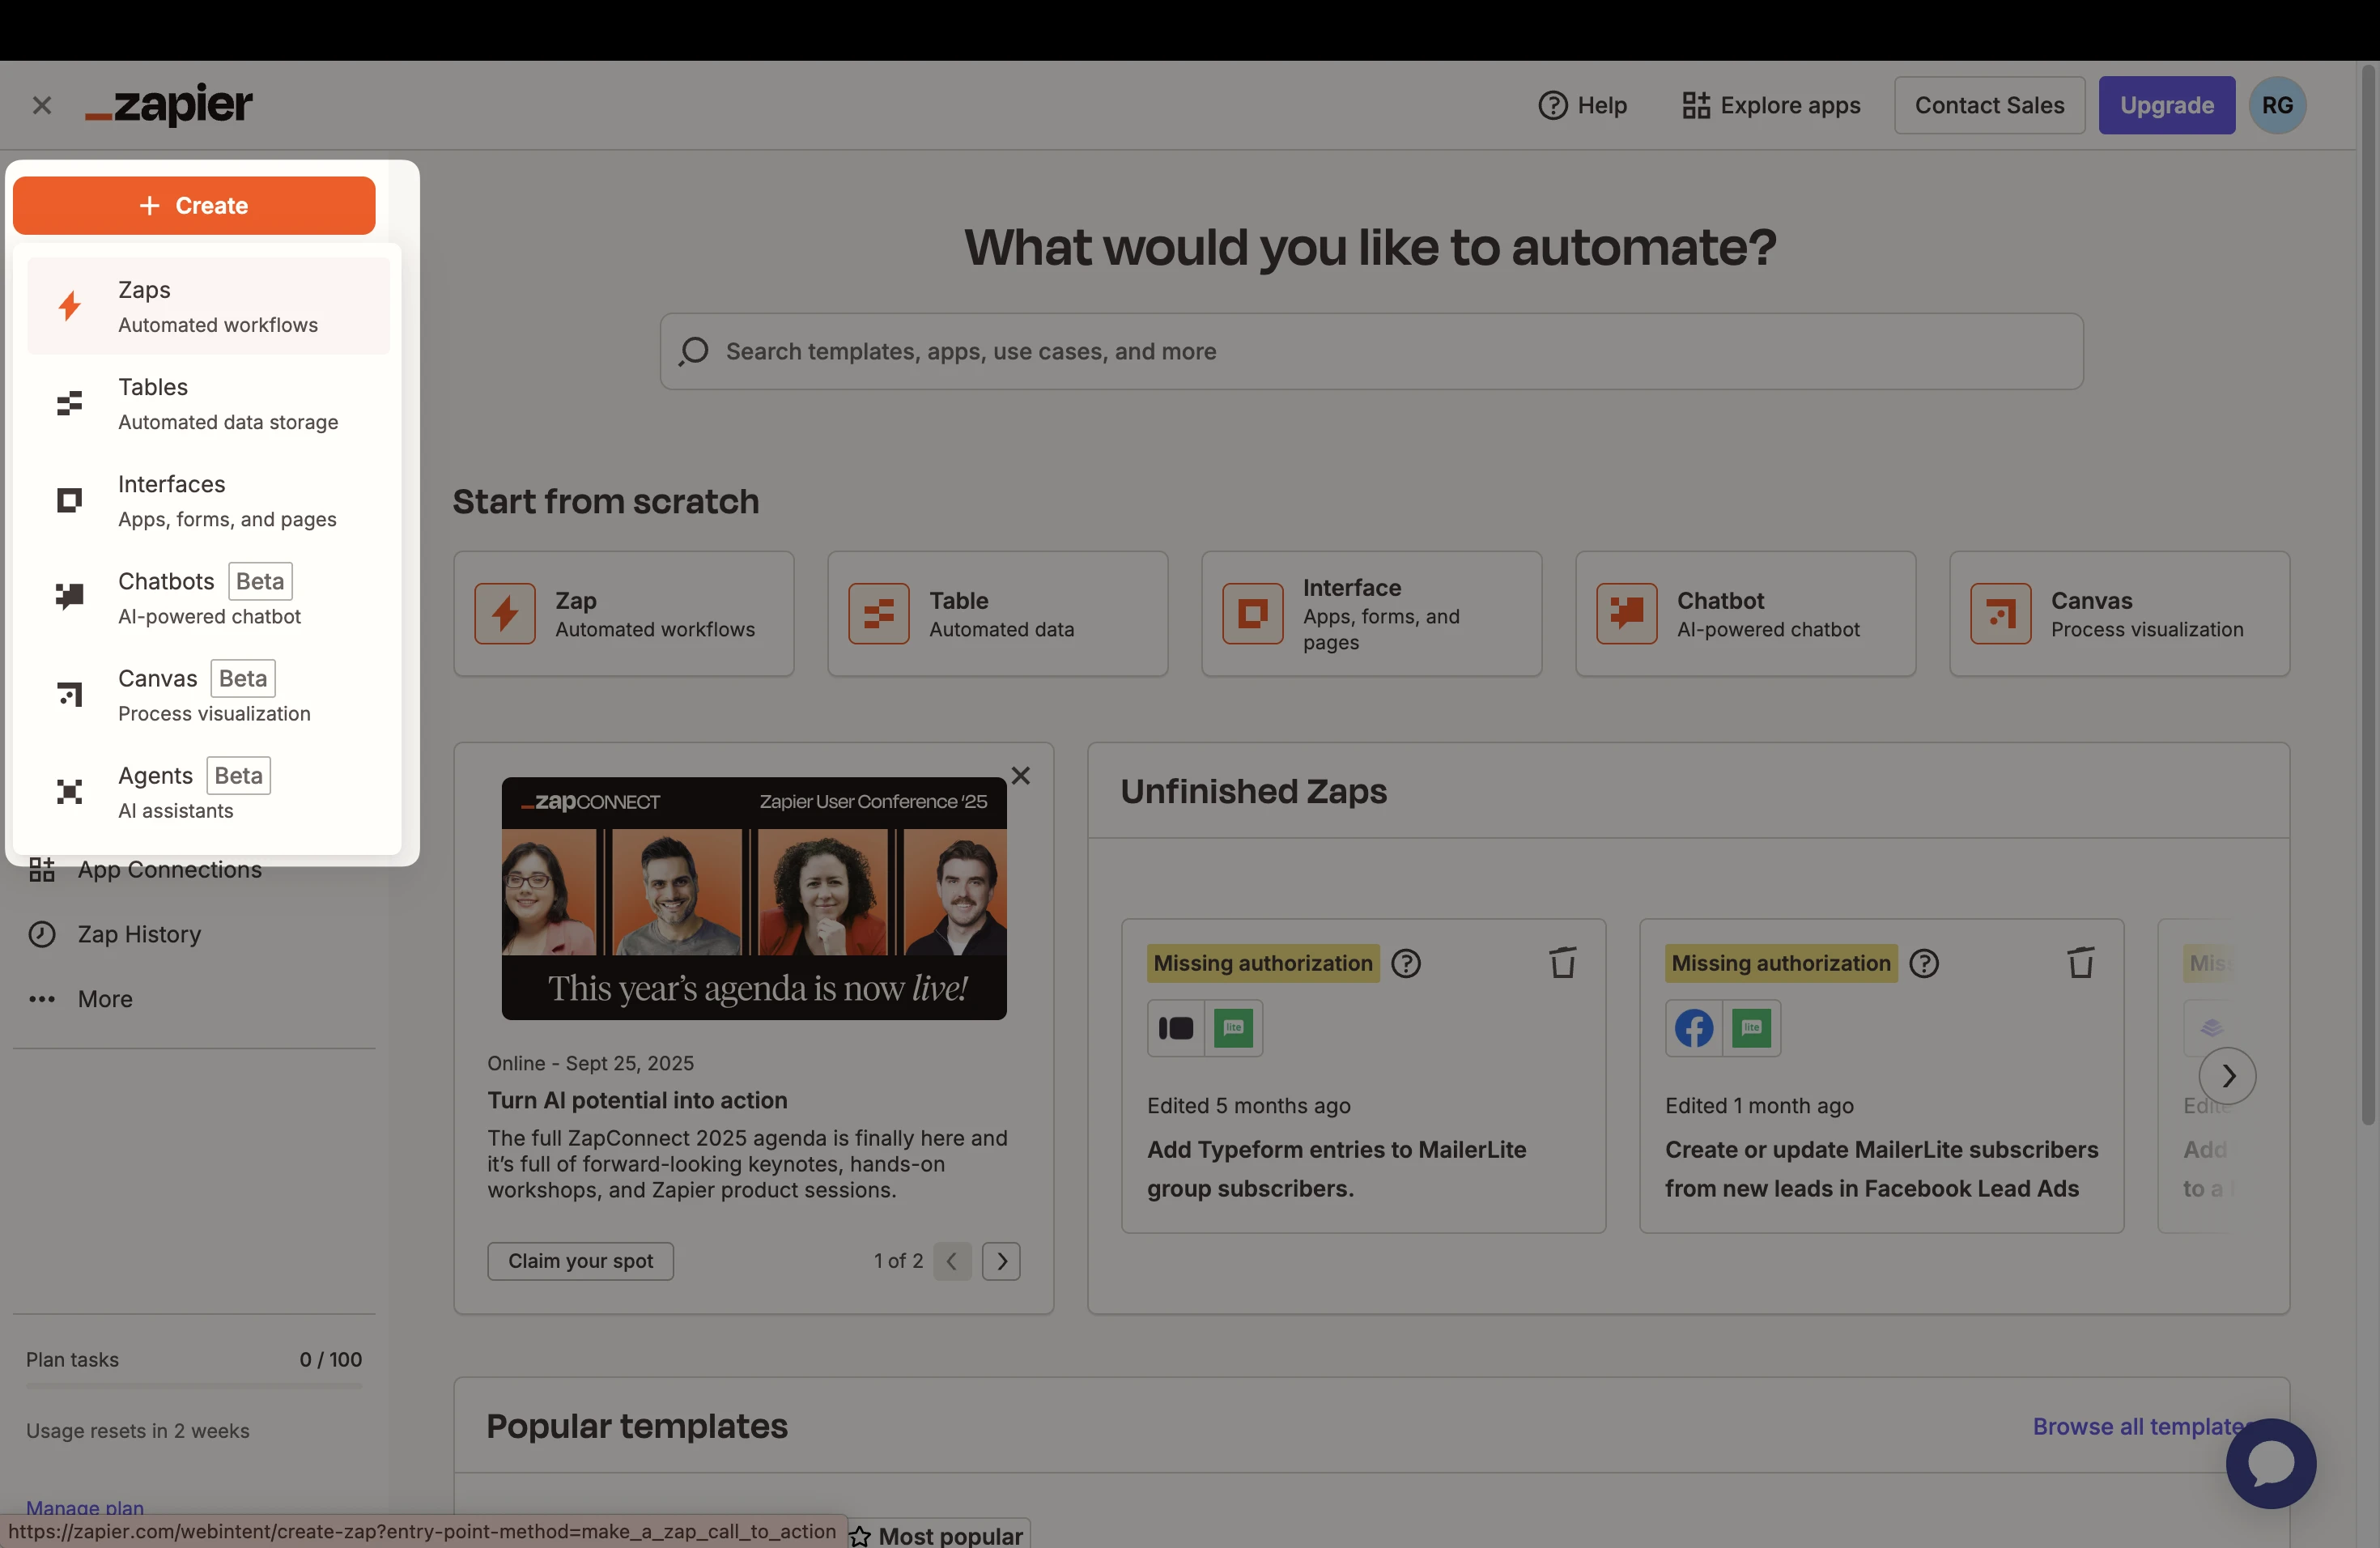
Create a new Zap: Log in to your Zapier account and click Create Zap to start a new integration. (Looking to move faster? Check out these pre-made Zaps)
For the Zap trigger, choose Facebook Lead Ads as the app, and select New Lead as the trigger event.
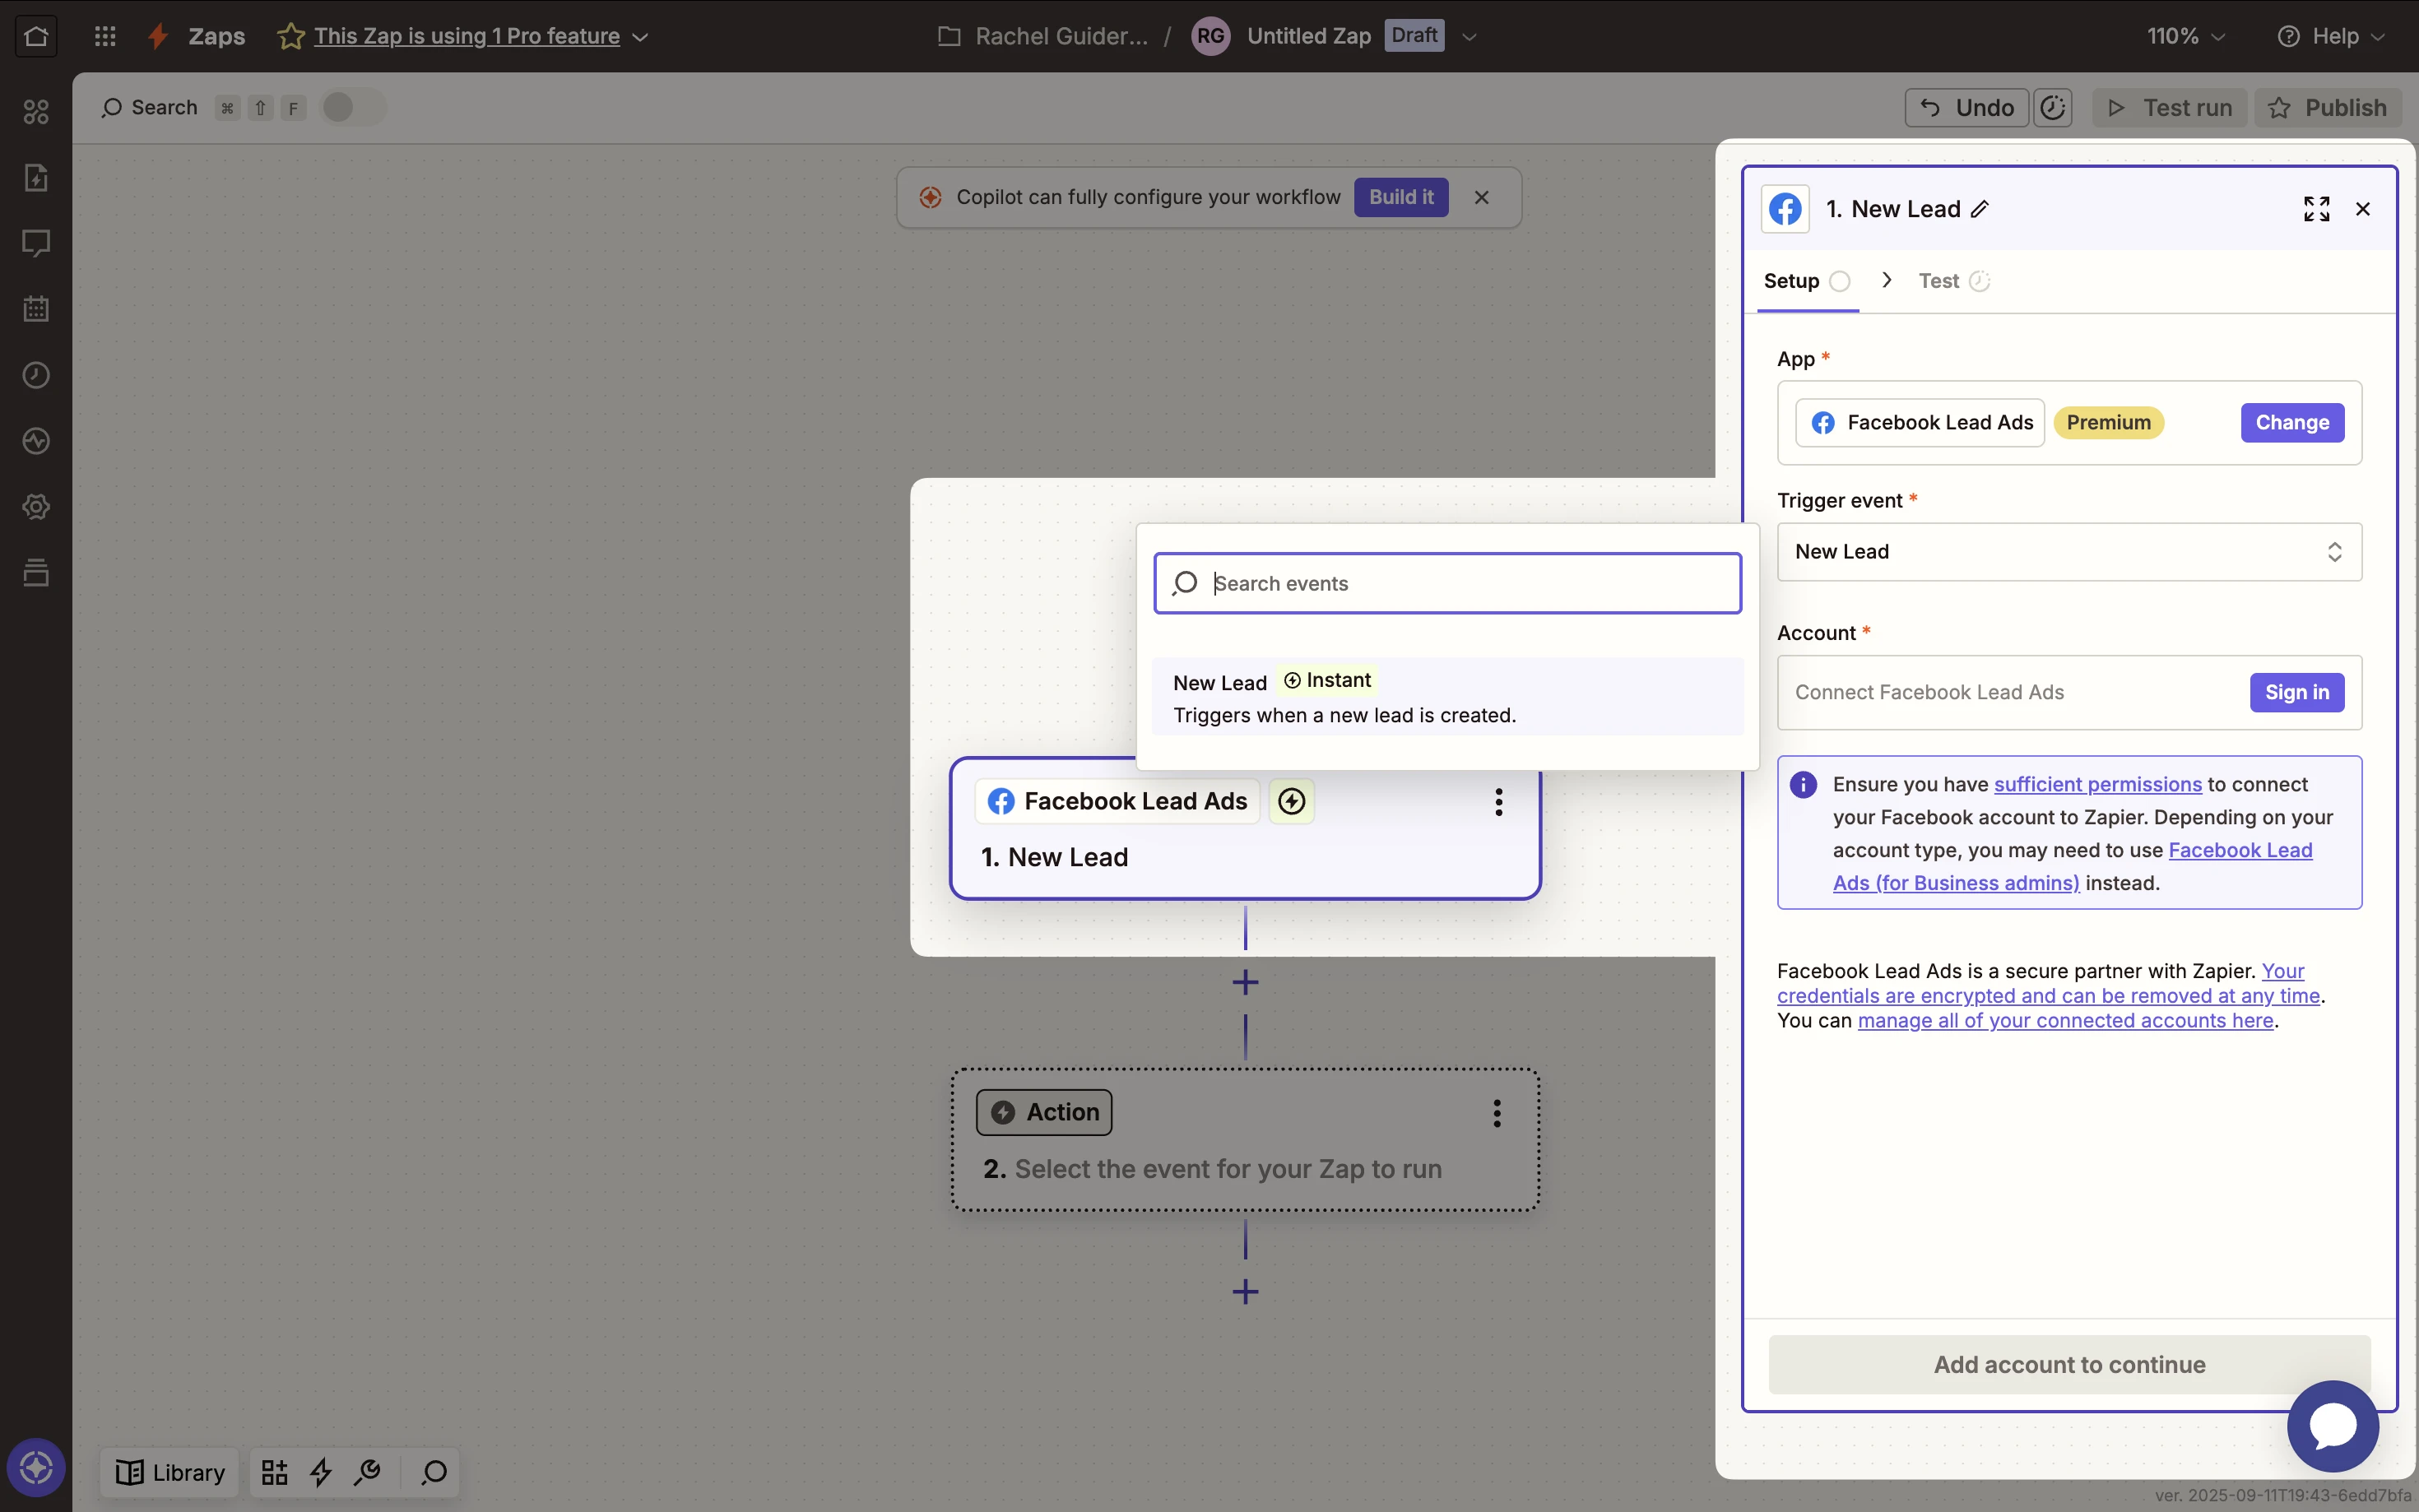
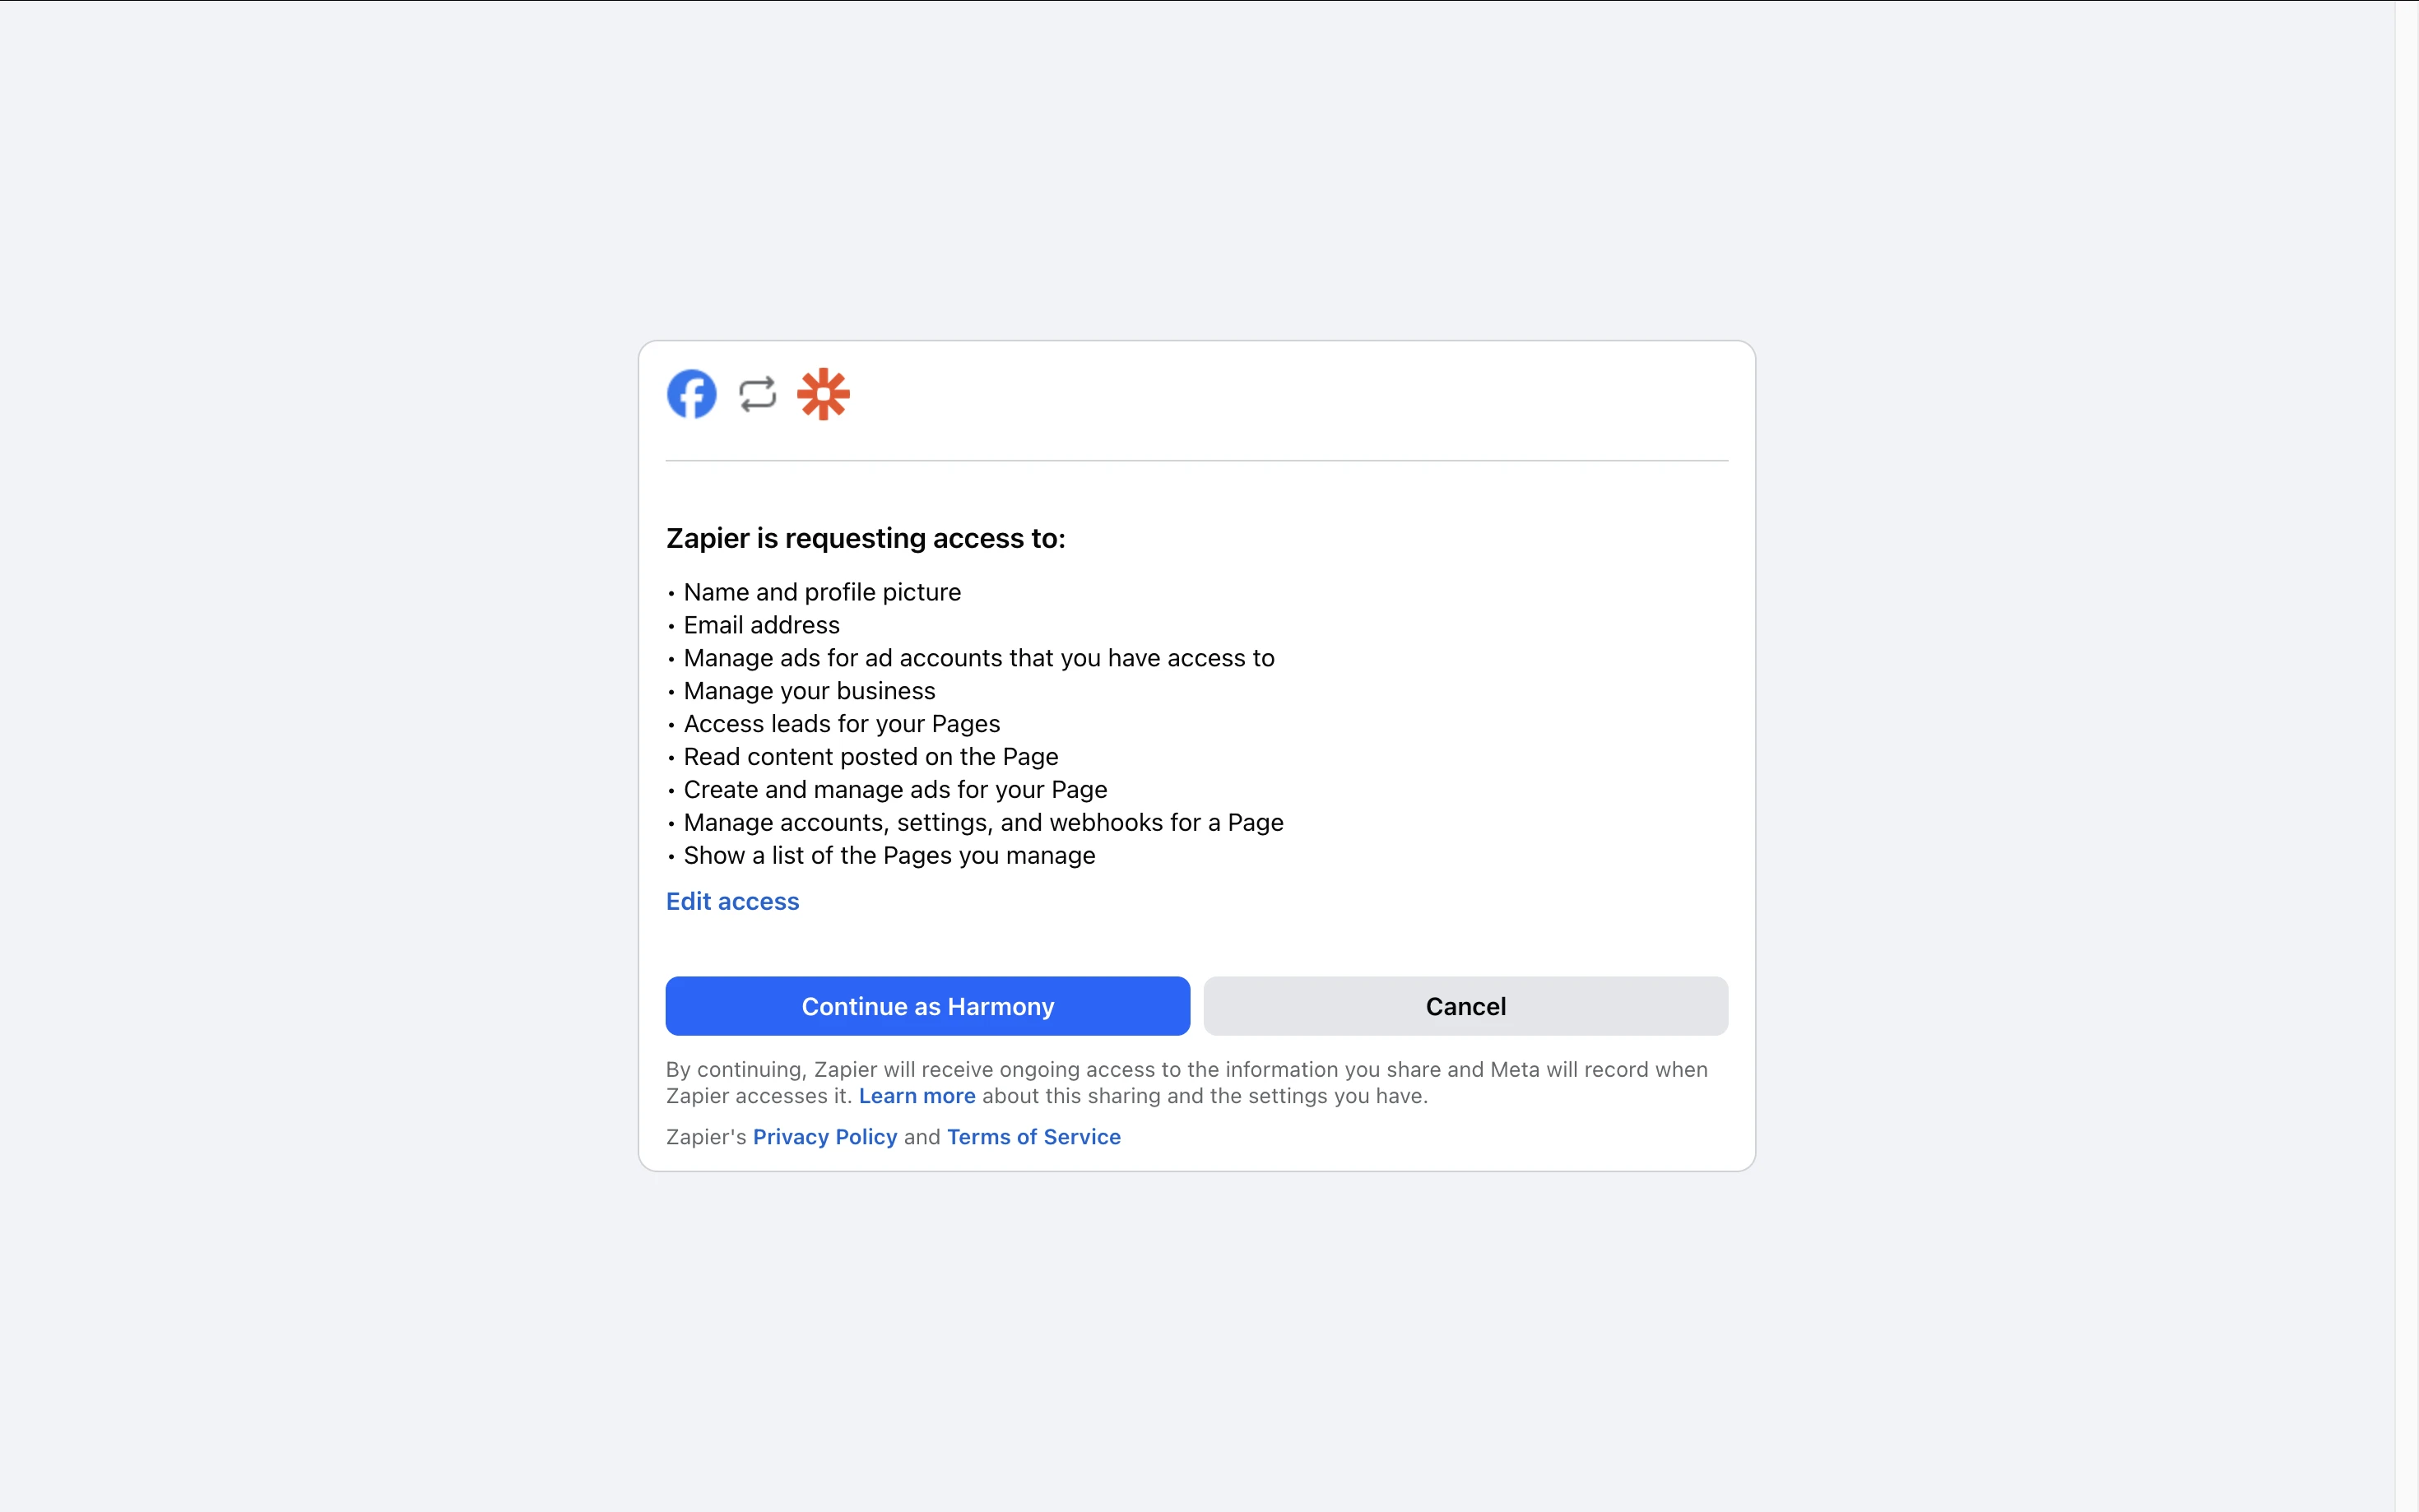
3. Connect your Facebook account. If you haven’t connected Facebook to Zapier before, you’ll be prompted to sign in and authorize Zapier. Make sure to grant Zapier permission to access your Facebook pages and leads. Once connected, select the specific Facebook Page and Lead Form you want to use for this Zap.
4. Zapier will ask you to Test trigger. This fetches a recent lead from your chosen form to make sure everything is working. If no test data is found (for example, if you have no leads yet), you may want to submit a fake lead on your Facebook form first.
5. Choose MailerLite as the action app. When prompted for the action event, select Create or Update Subscriber.

6. If this is your first Zap with MailerLite, click Sign in to MailerLite in Zapier. A pop-up will ask you to authorize Zapier’s access to your MailerLite account. Once connected, Zapier will list your MailerLite account for use in the Zap.
7. Configure the subscriber data: Set up the MailerLite action by mapping the fields from Facebook to MailerLite. For example, map the Email from the Facebook lead to the Email field in MailerLite.
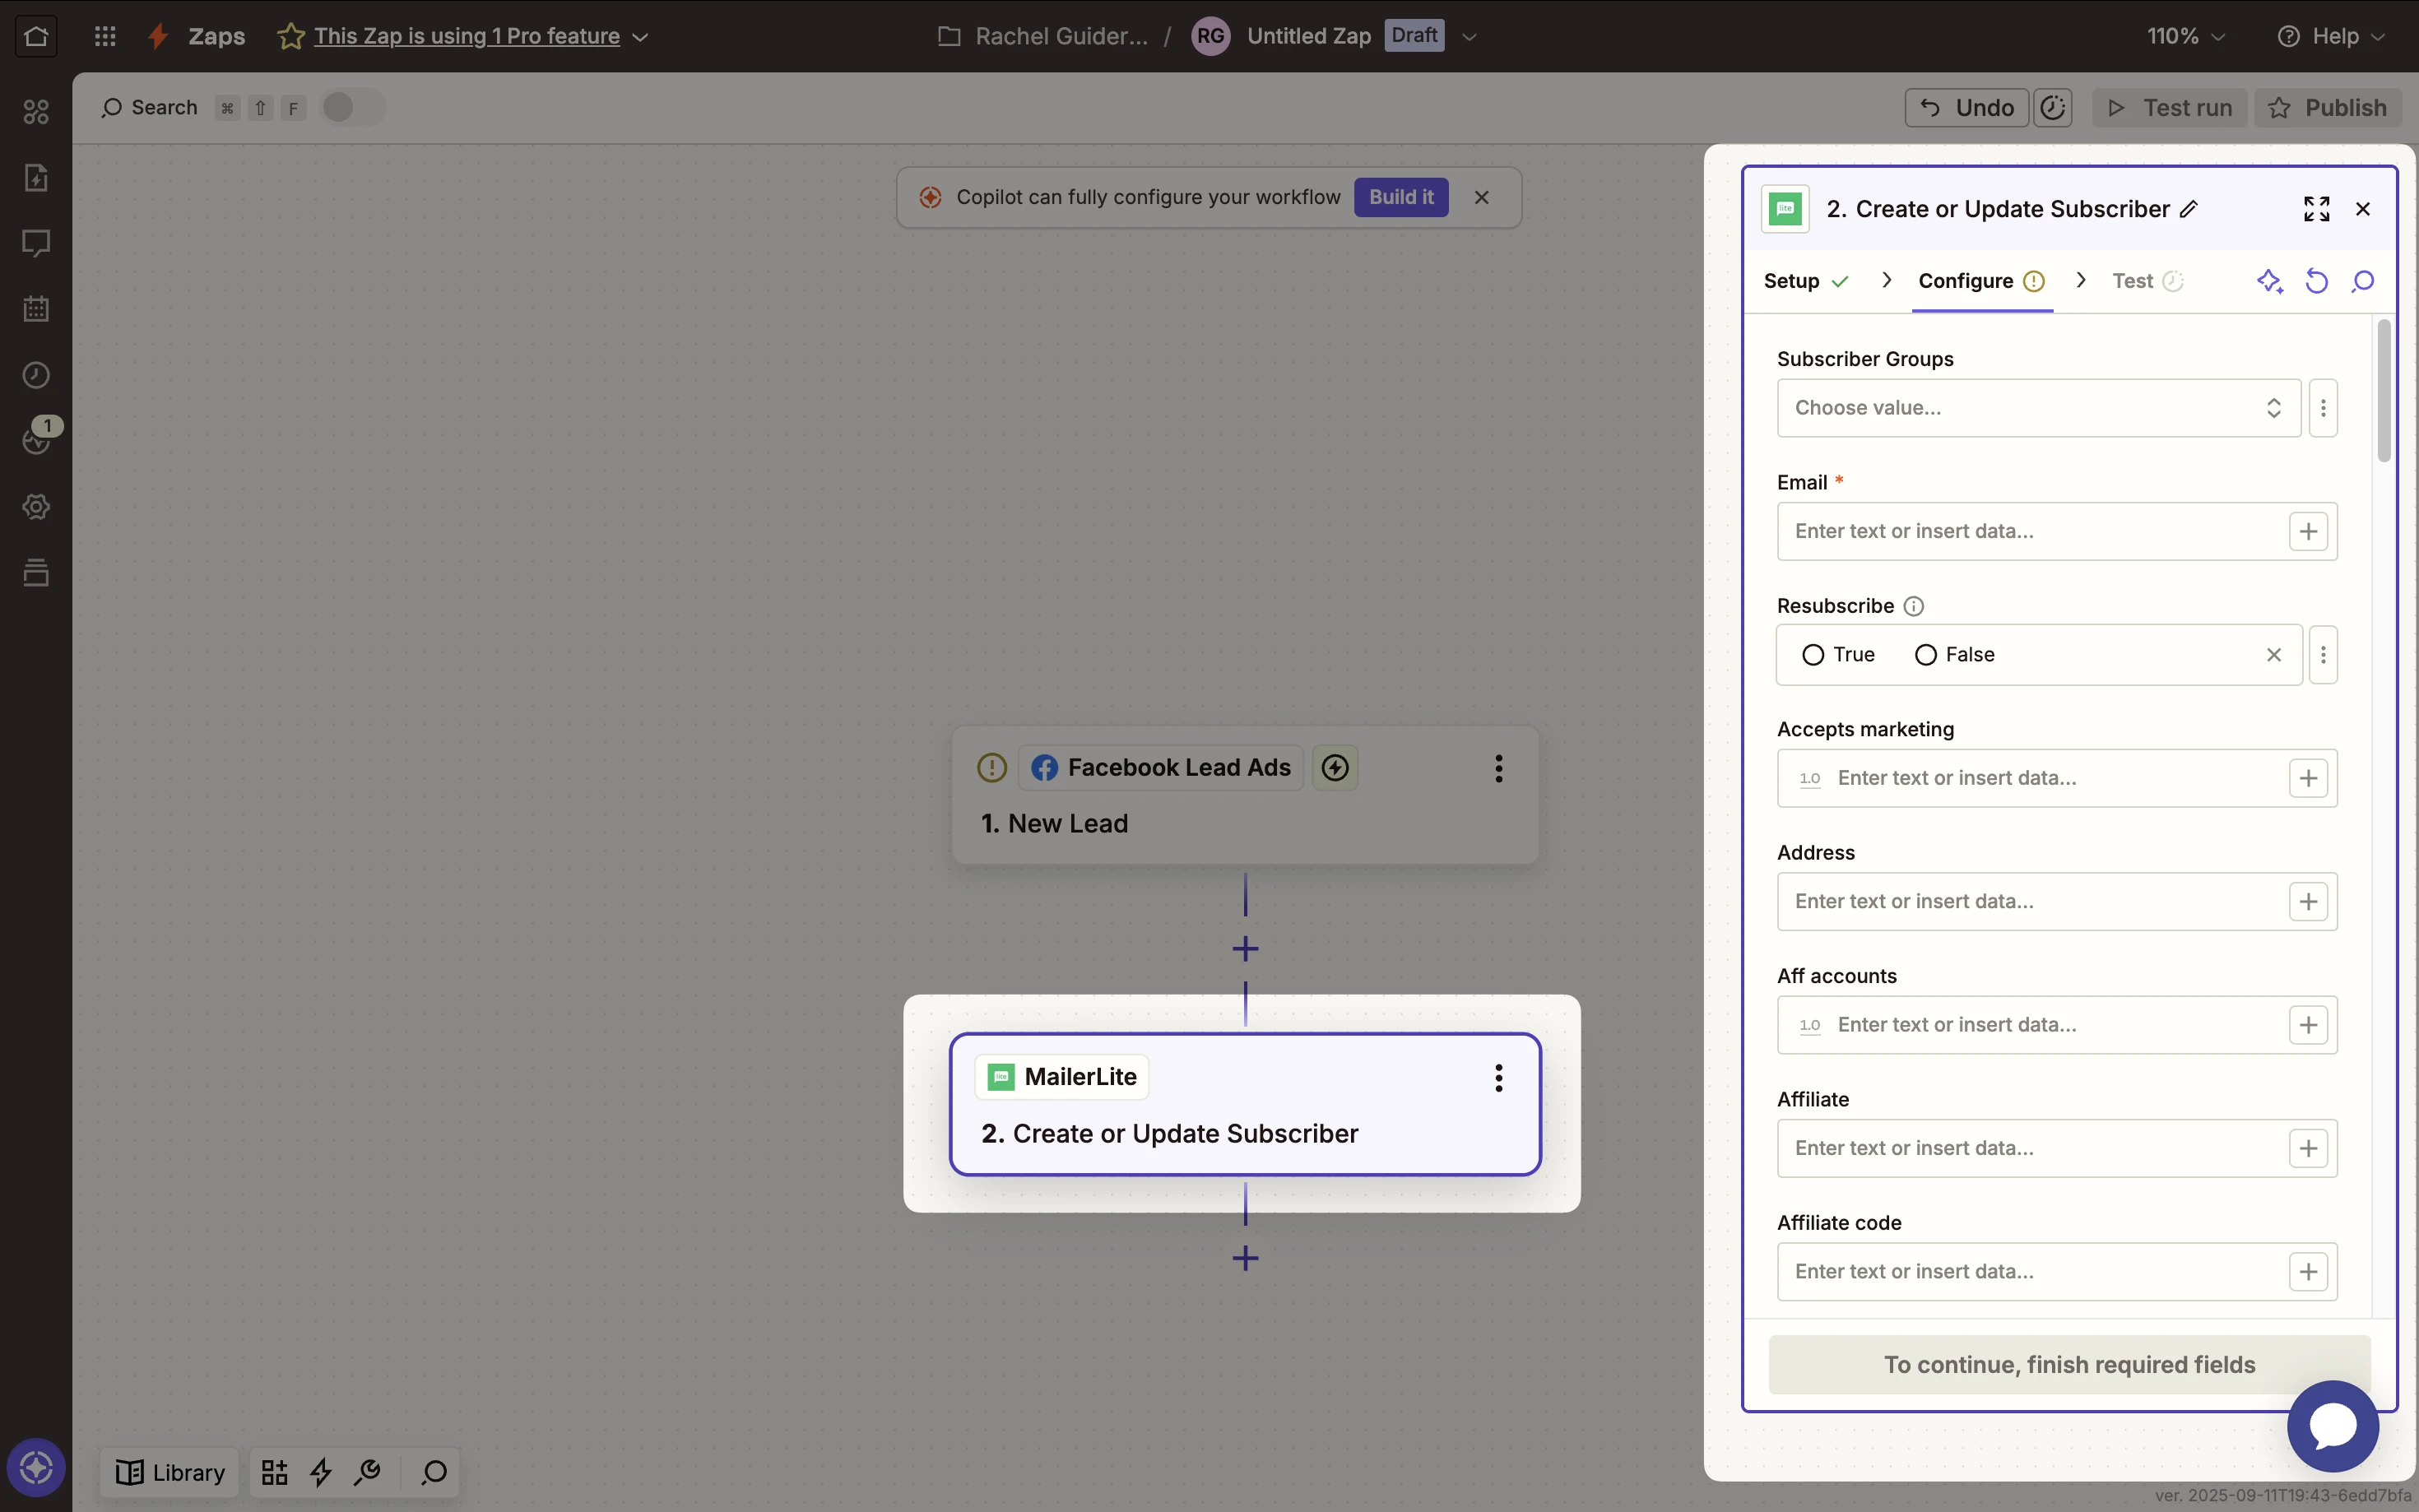
Choose which Group in MailerLite to add the subscriber to (for instance, you might have a group named “Facebook Leads” or a group specific to the ad campaign). This grouping is useful for segmentation and triggering group-specific automations (like a targeted welcome email automation).
8. Click Test & Continue (or Test Action) in Zapier. Zapier will send the sample lead to MailerLite as a test. Check your MailerLite account and verify that the test lead appears as a new subscriber in the correct group. This confirms that the connection is working.
9. Finally, Publish or Turn on your Zap. Once the Zap is enabled, it will run in the background. From now on, every new Facebook lead form entry will automatically create a subscriber in MailerLite with the details you mapped. 🎉
💡 Tip: If you have an automation set up in MailerLite (for example, an email sequence or welcome email triggered when someone joins a certain group), those will kick in for the new subscribers added to that group via Zapier.