Note: If you're a Legacy (Classic) user, please log in to your account to access the dedicated Legacy (Classic) Help Center.
Google Tag Manager is a free tool that allows you to manage the custom scripts across your websites and landing pages. Once you have installed Google Tag Manager on your website, you can set up tags and create triggers that cause your tag to fire when certain events occur.
By using your MailerLite universal script, adding MailerLite to Google Tag Manager is just as straightforward as adding any other tag.
To add your MailerLite universal script to Google Tag Manager:
1. Navigate to Forms.
2. Select any pop-up, embedded form, or promotion and click Overview.
3. Scroll down to find the Javascript snippet.
4. Copy the Javascript snippet to your clipboard.

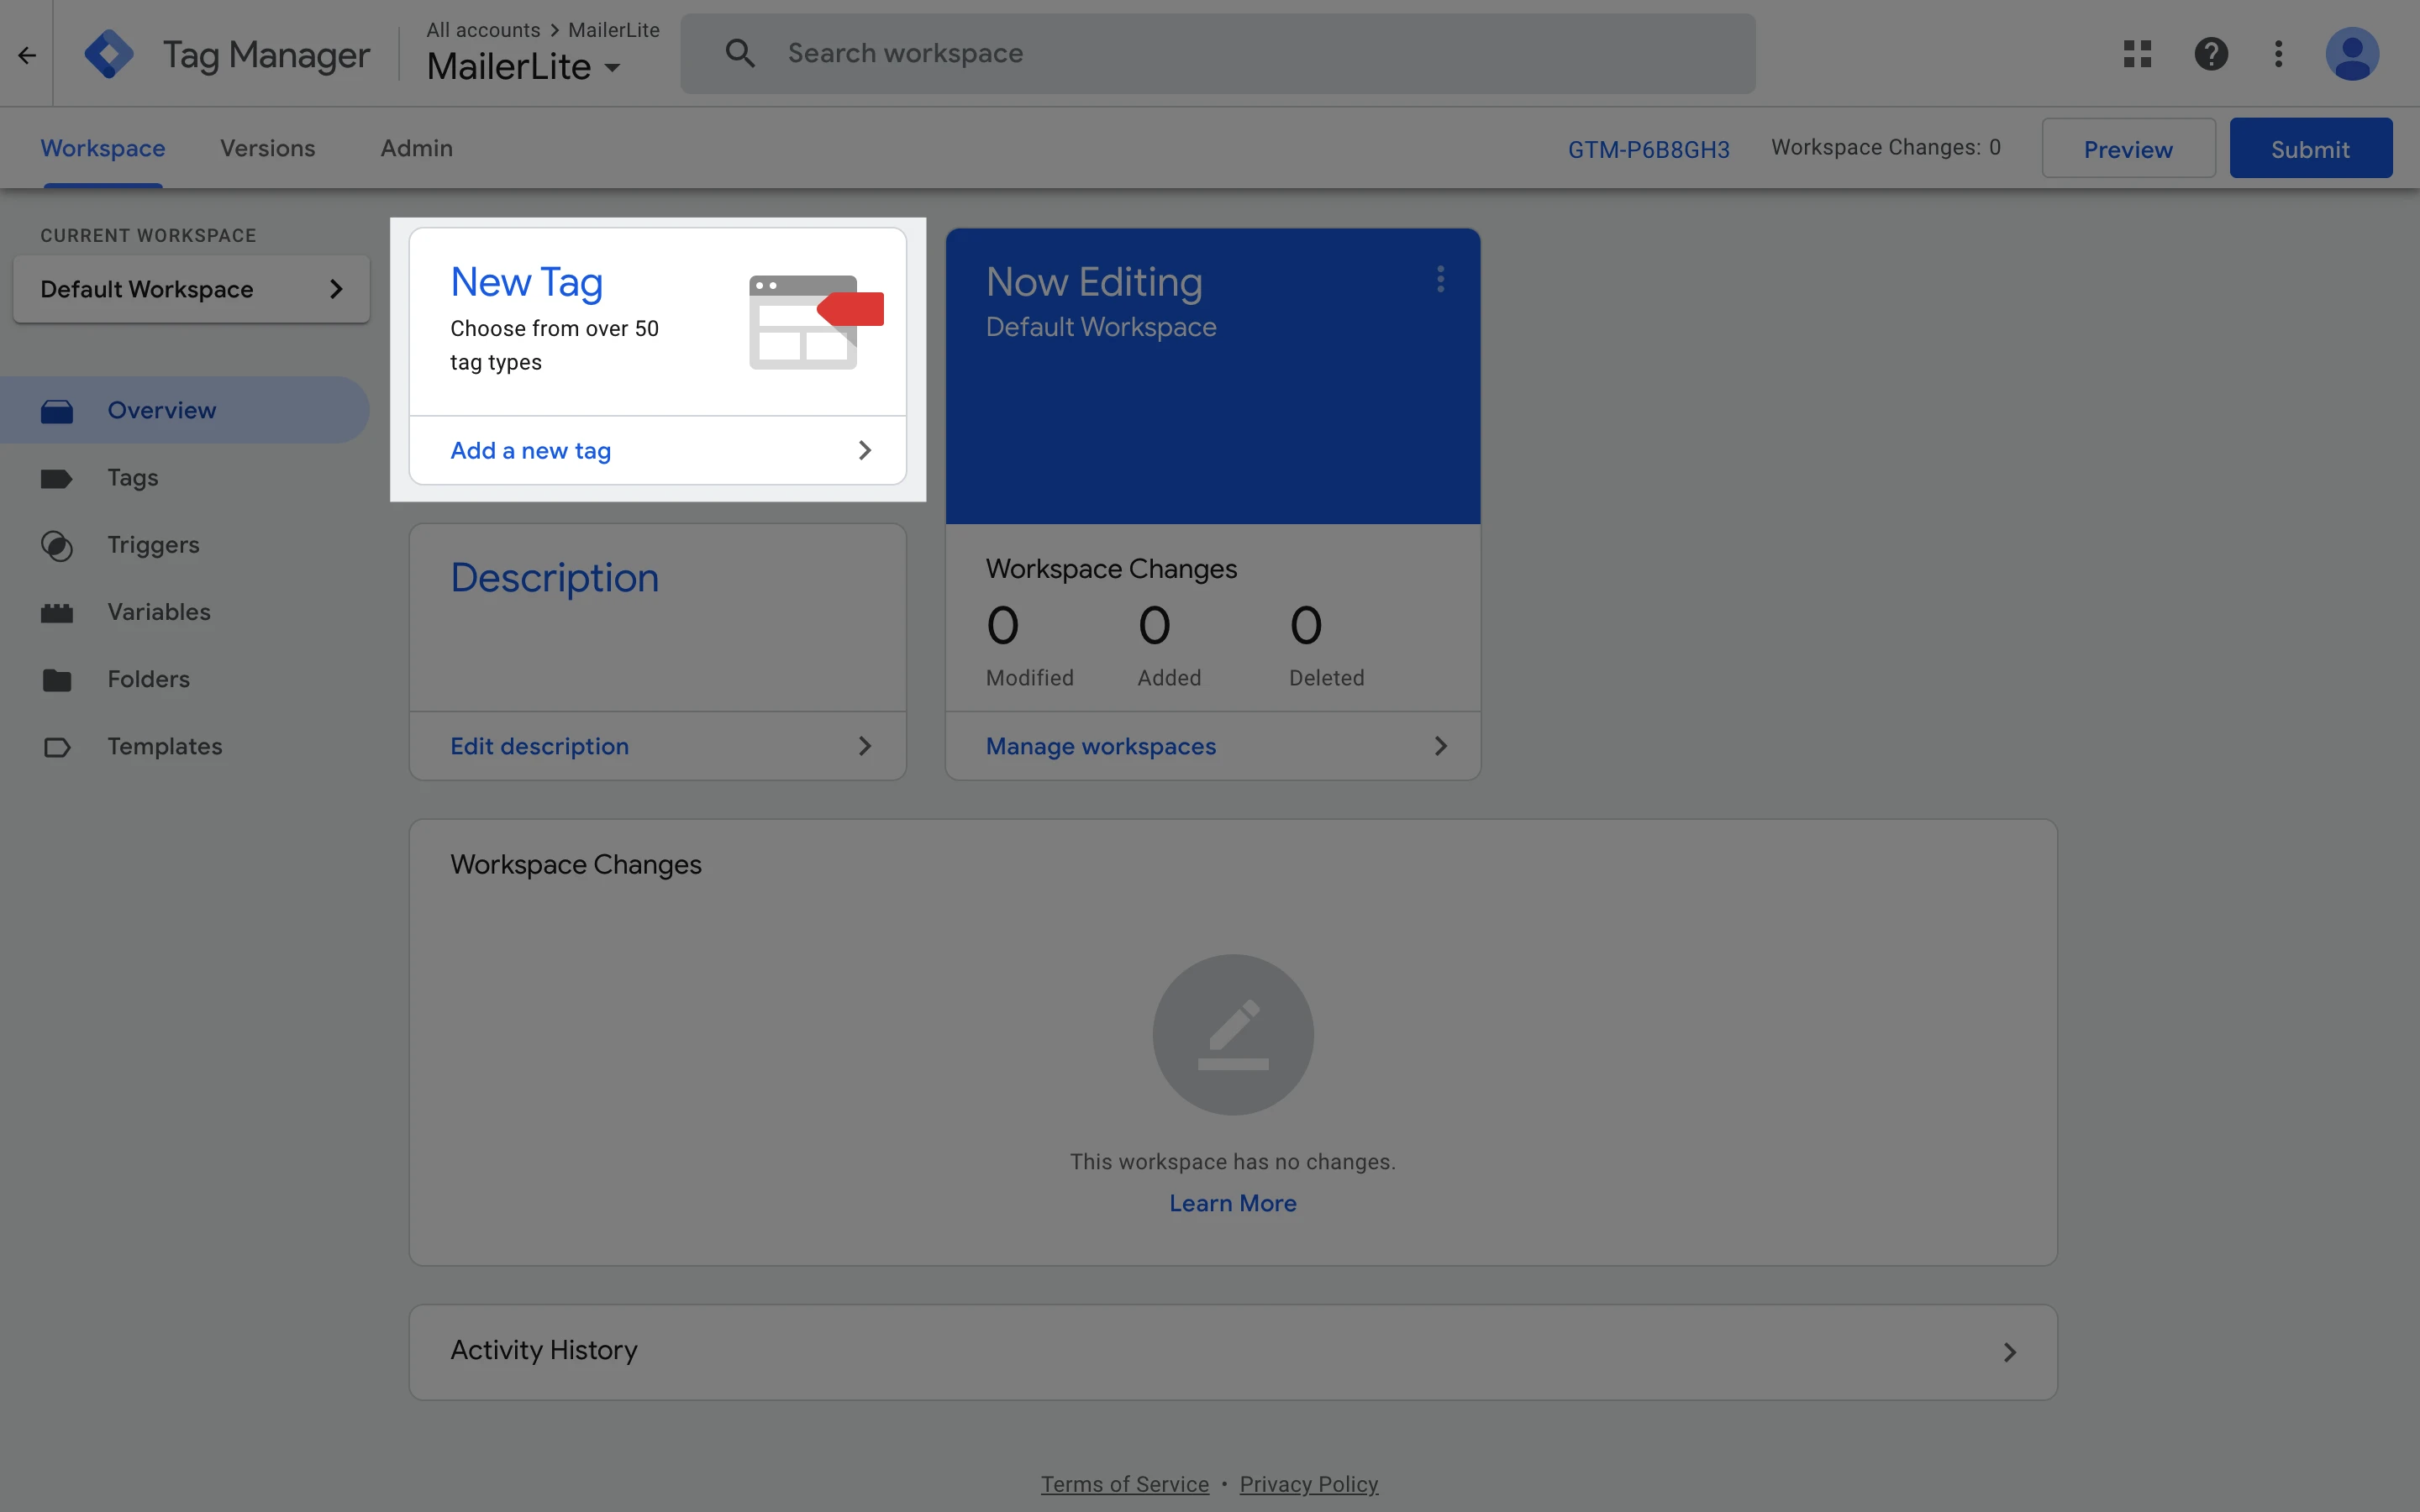
5. Log in to your Google Tag Manager account.
6. Click Add new tag.
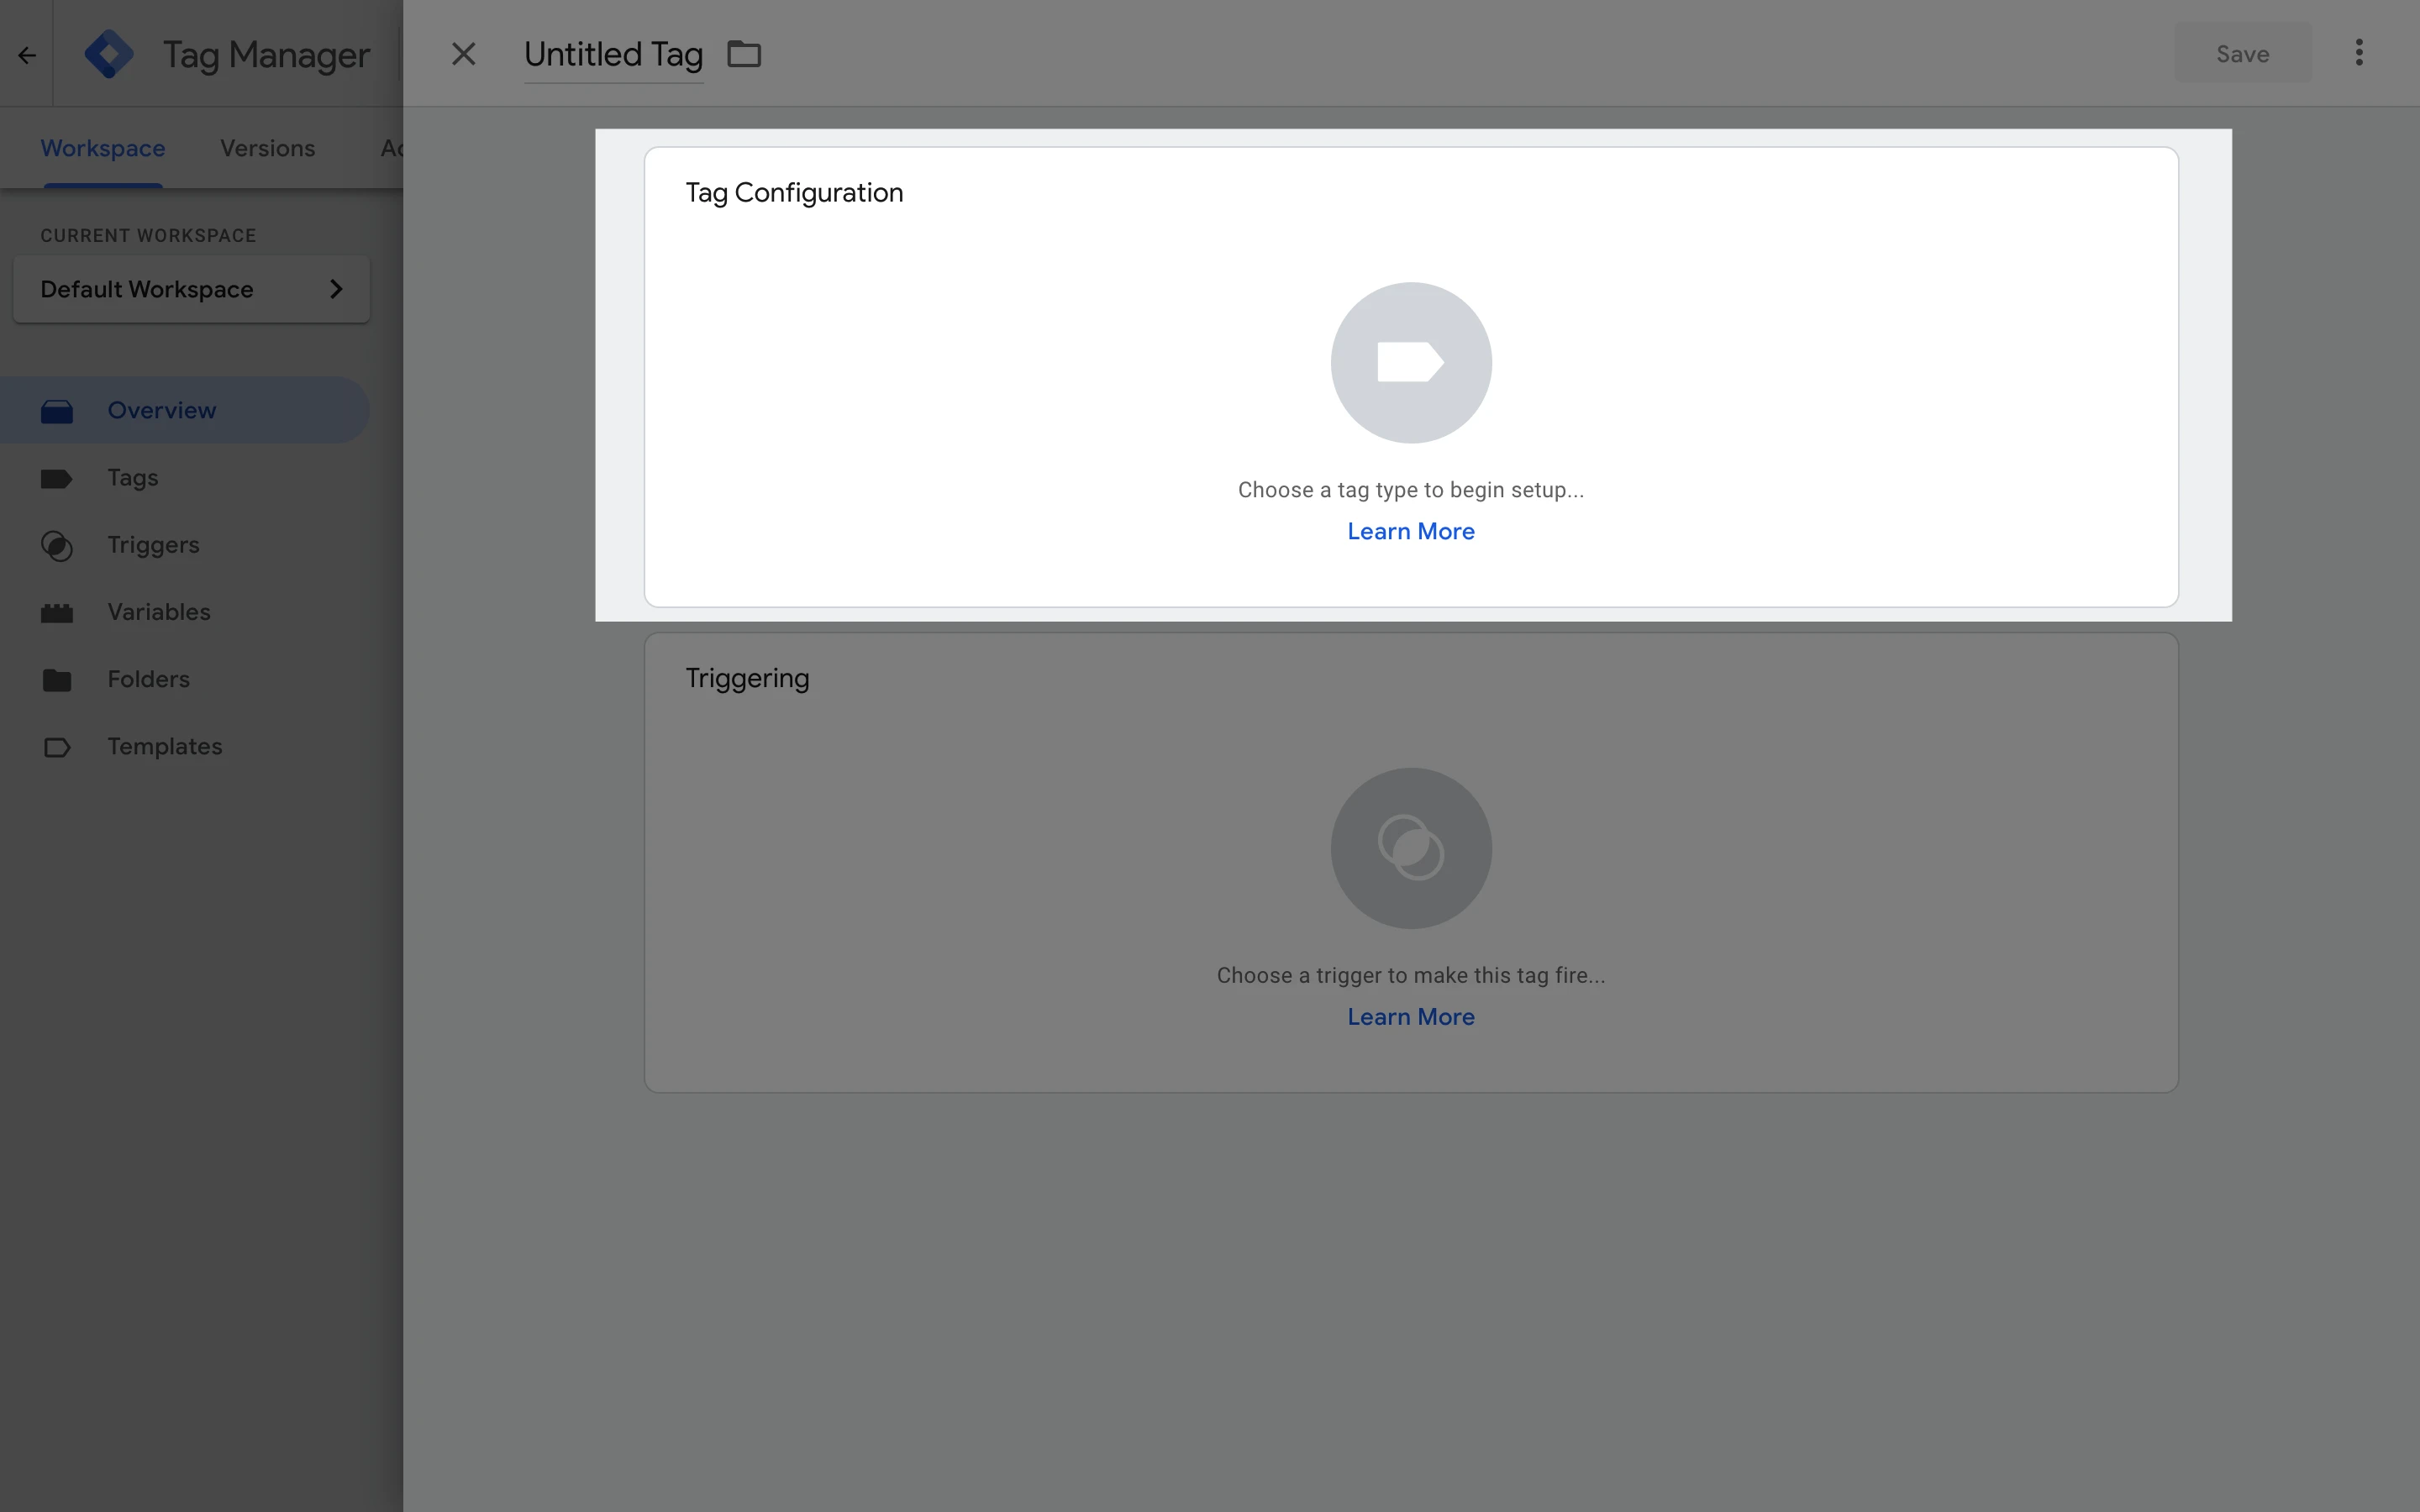
7. Click Tag configuration.
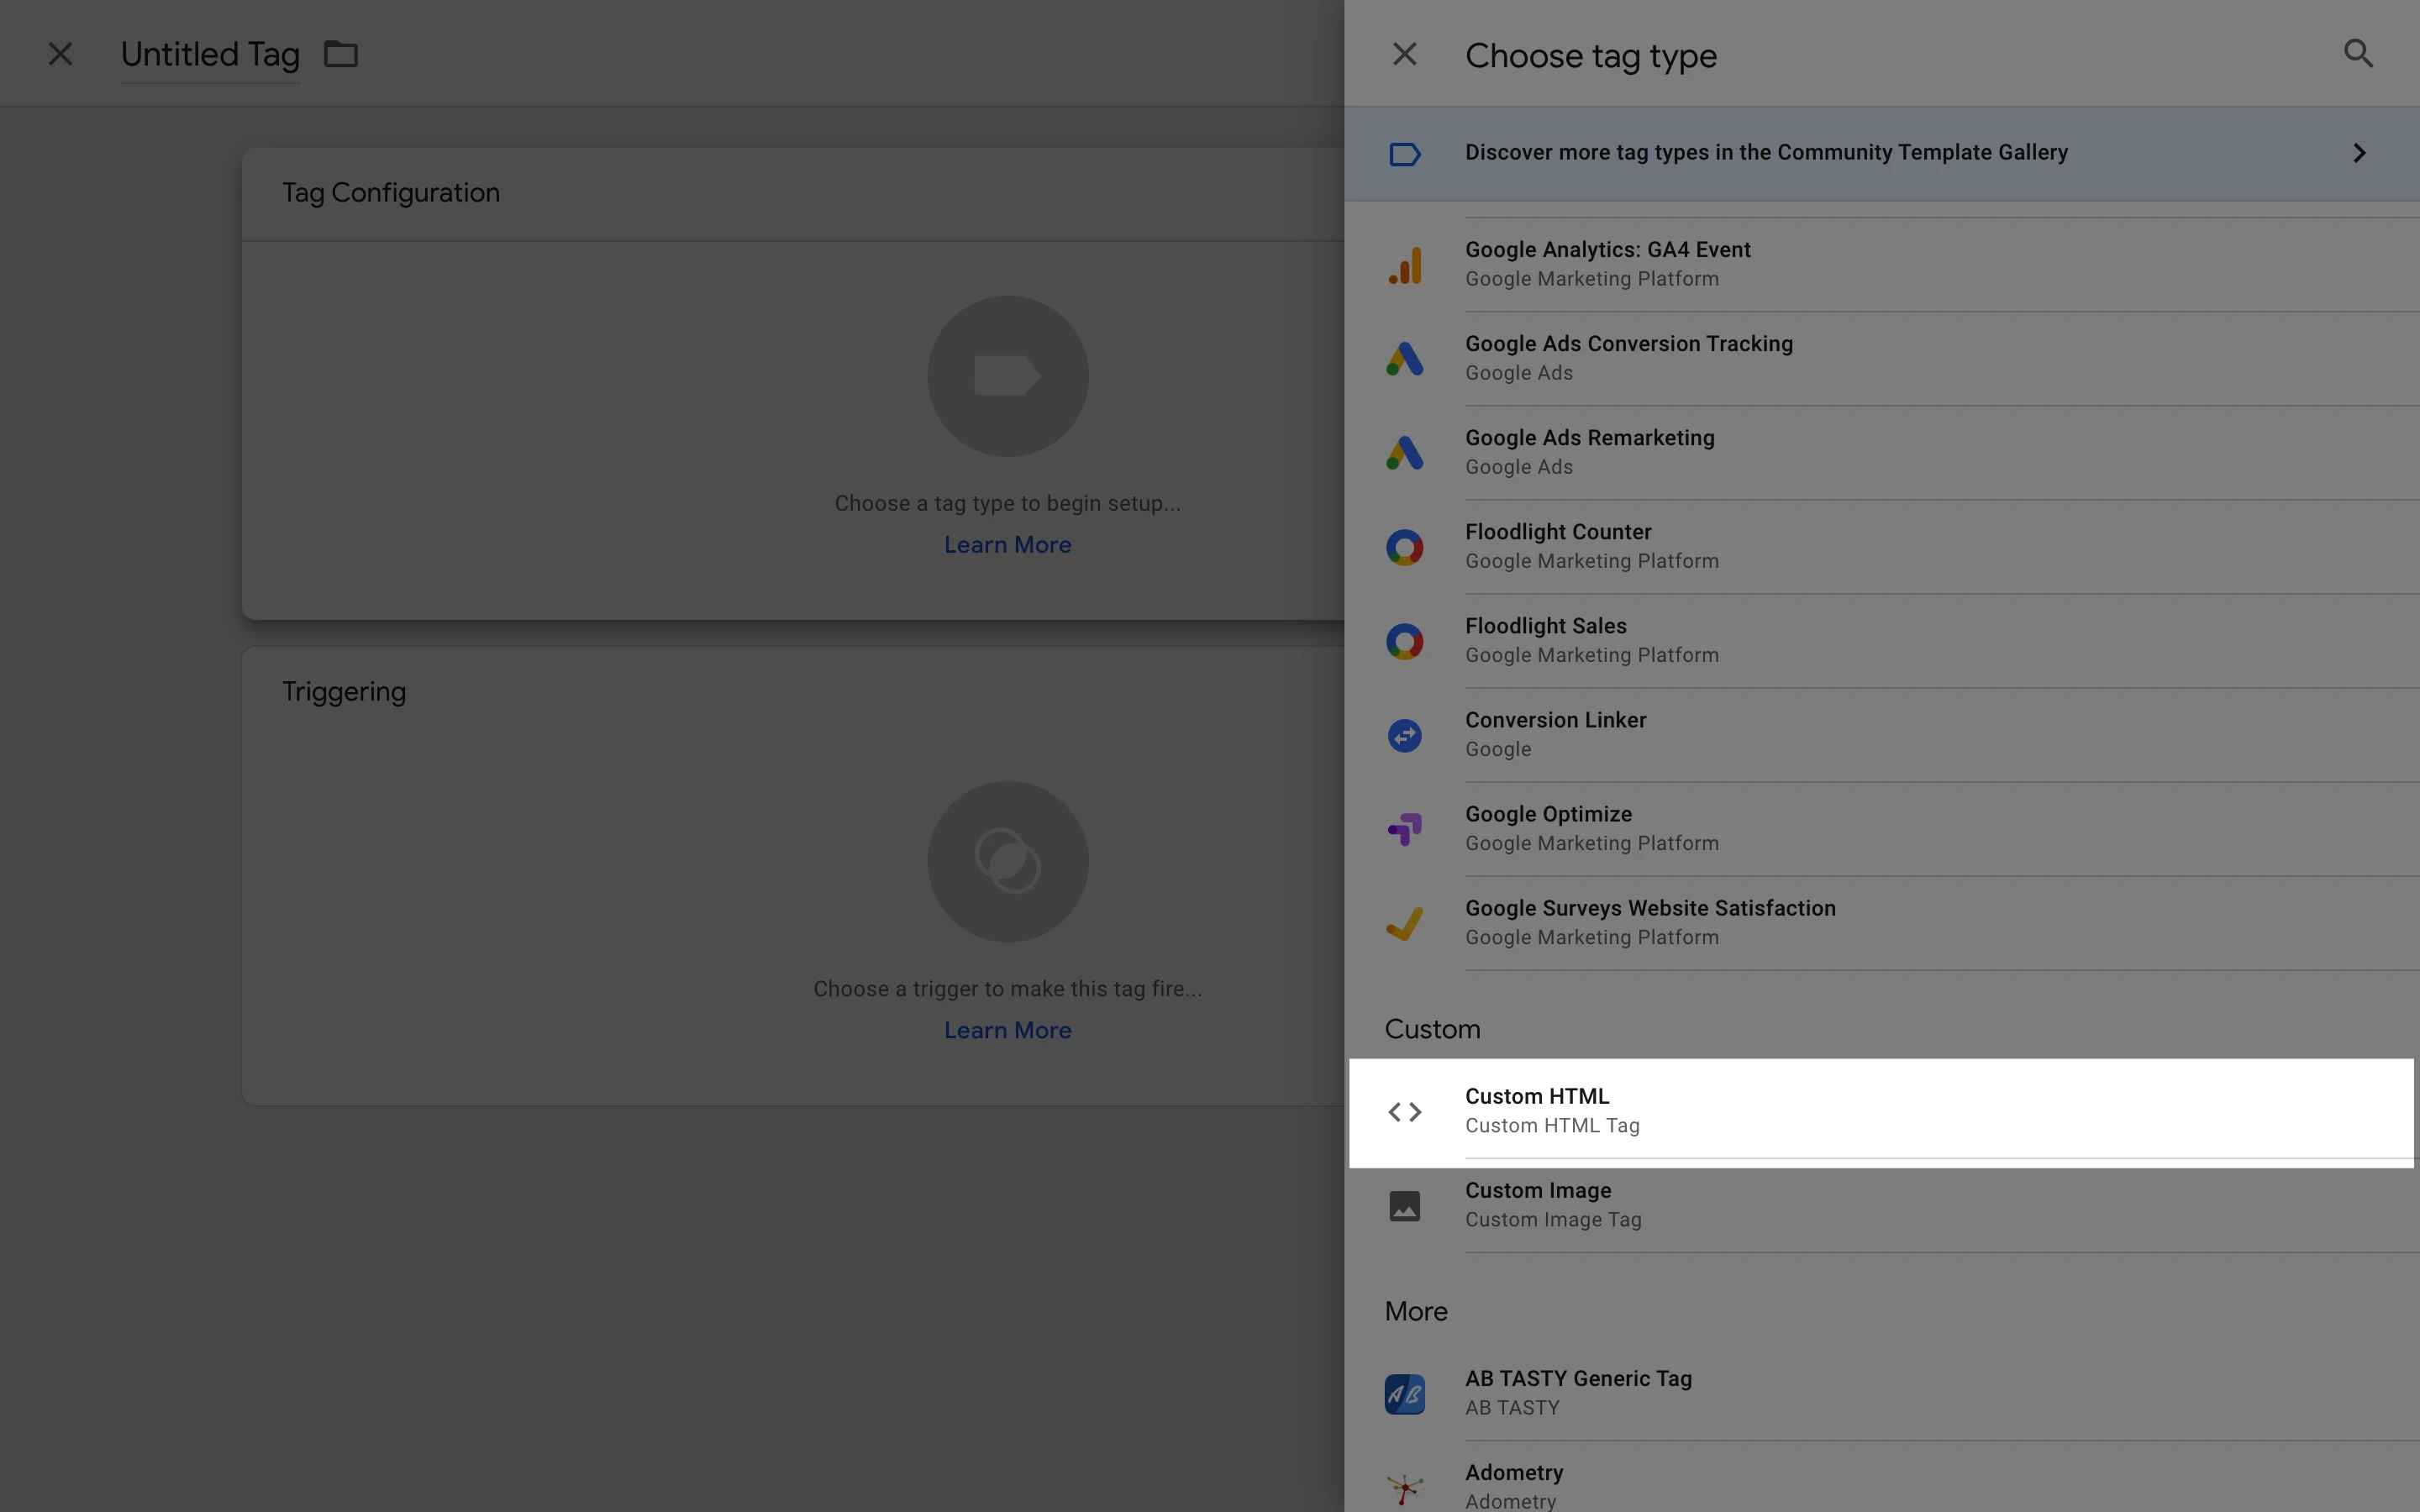
8. A panel will appear from the right. Scroll down and select Custom HTML.
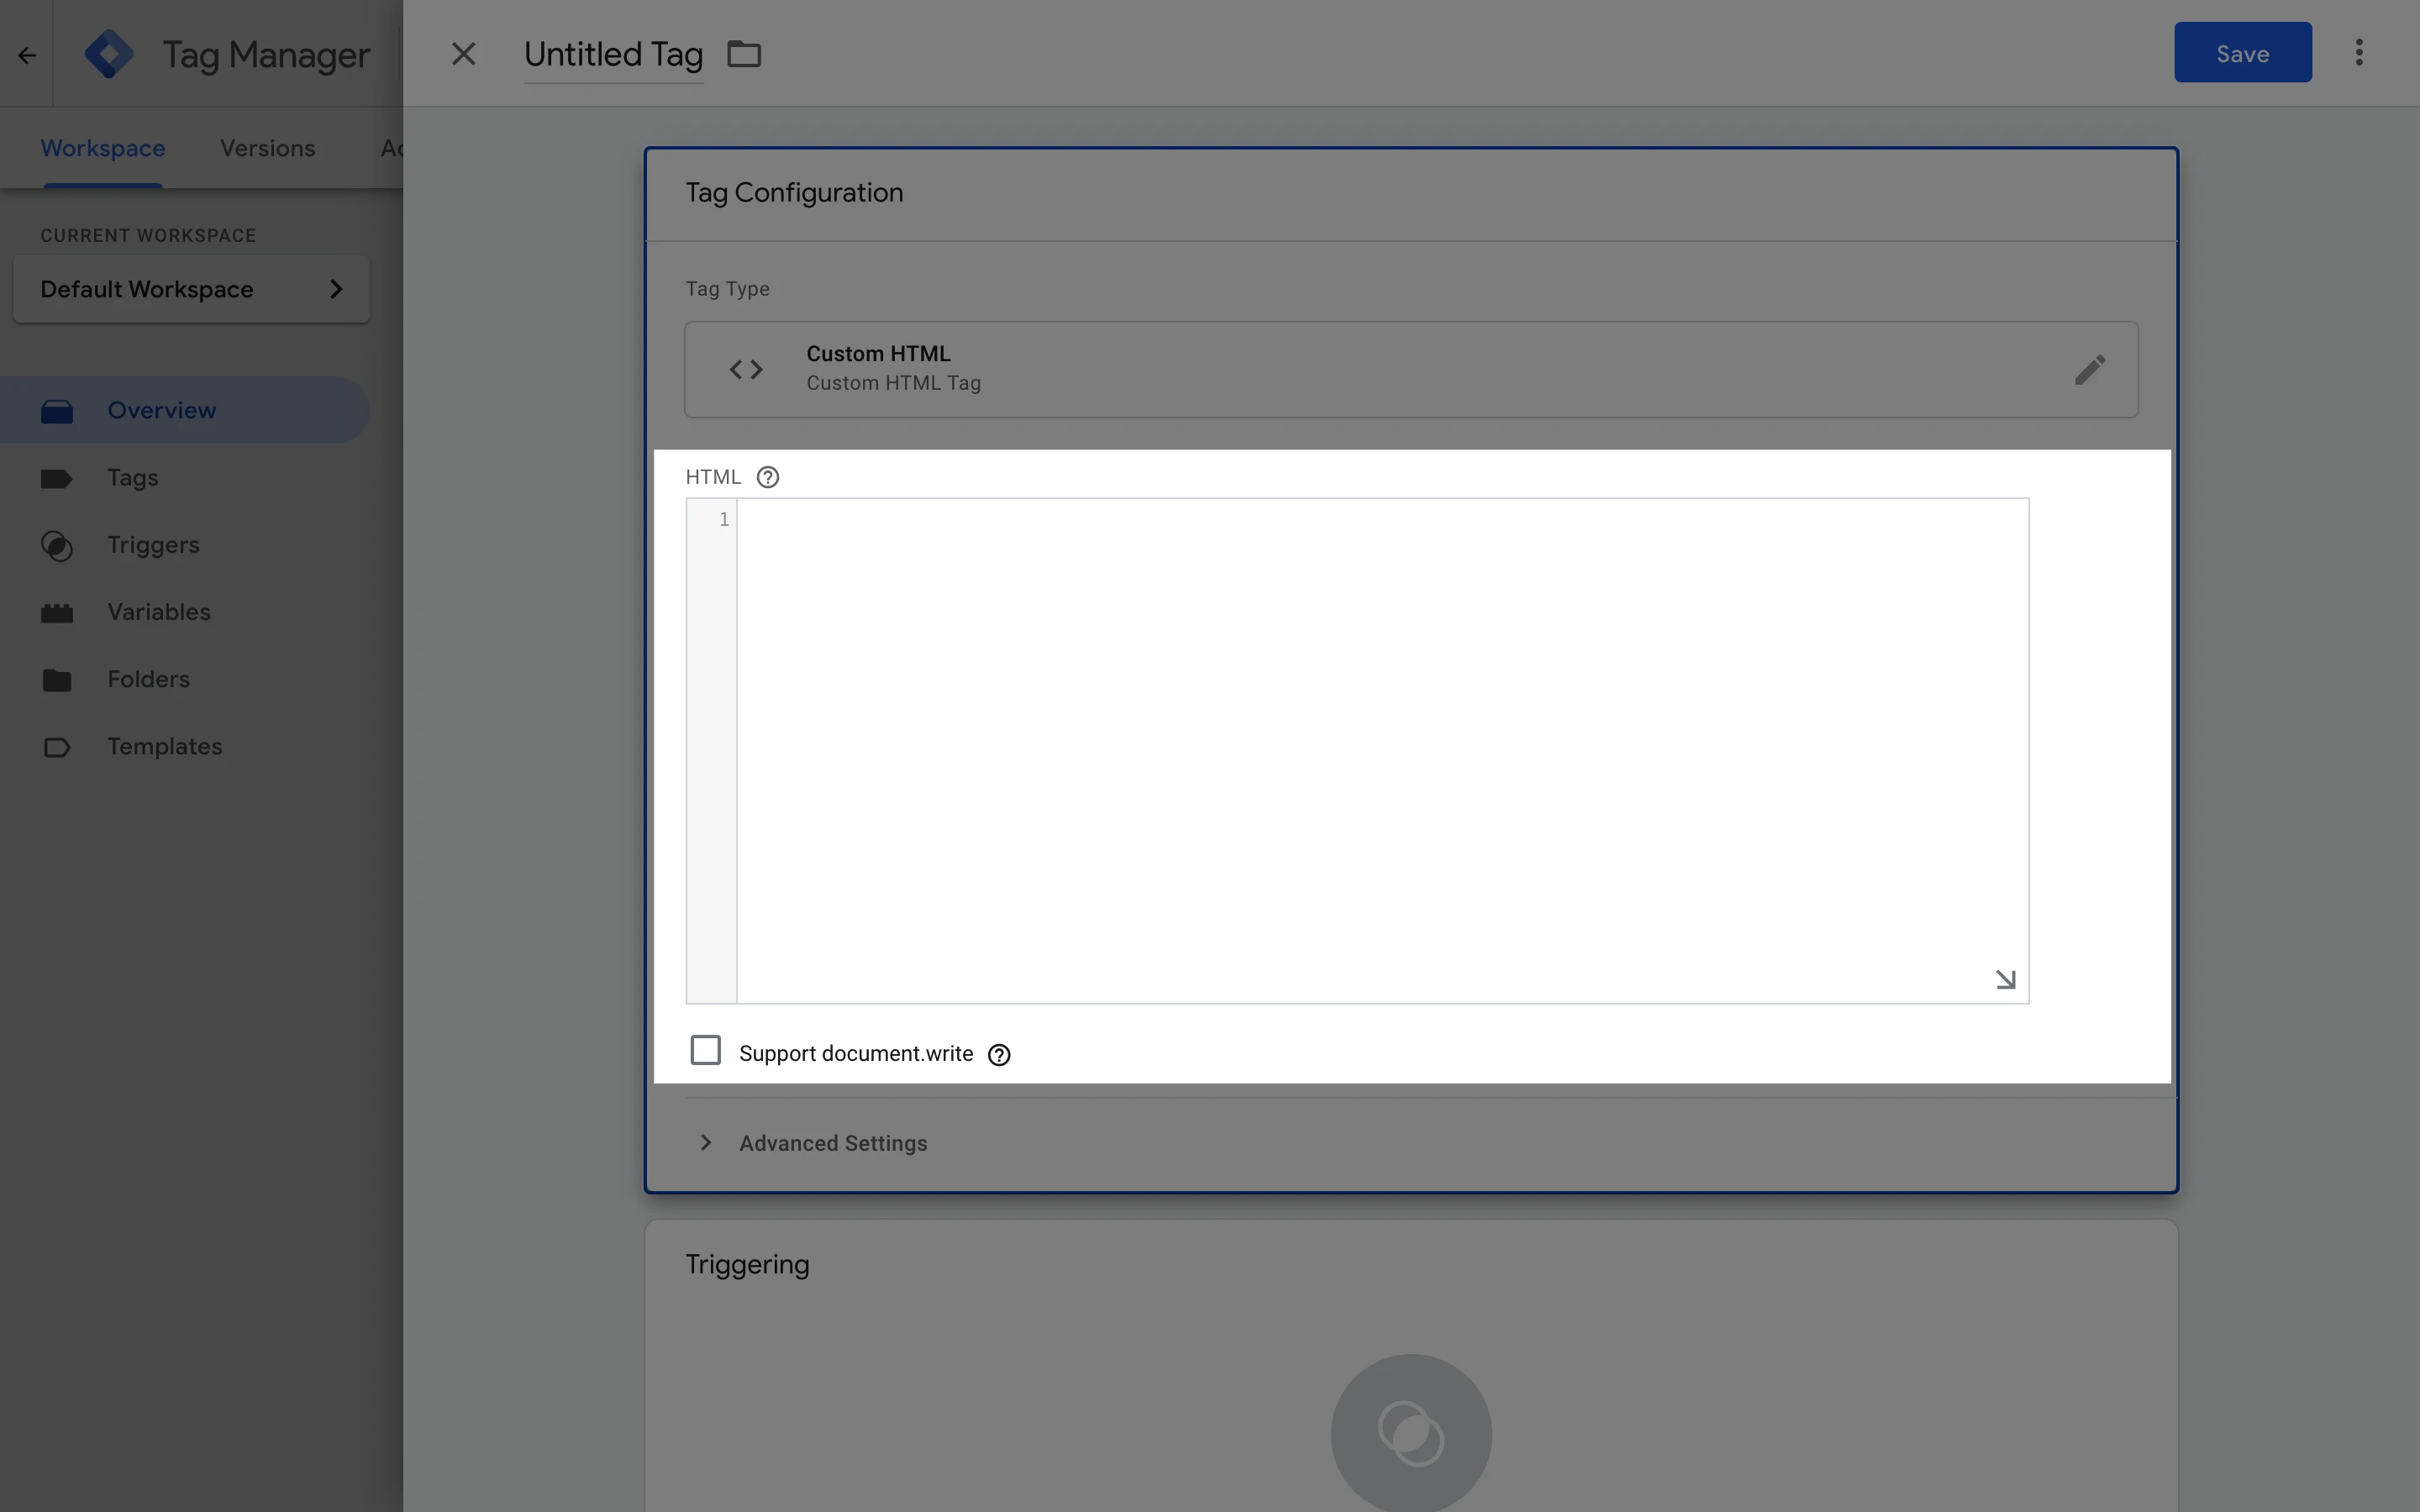
9. Paste your javascript snippet into the HTML field.
10. Click Triggering.
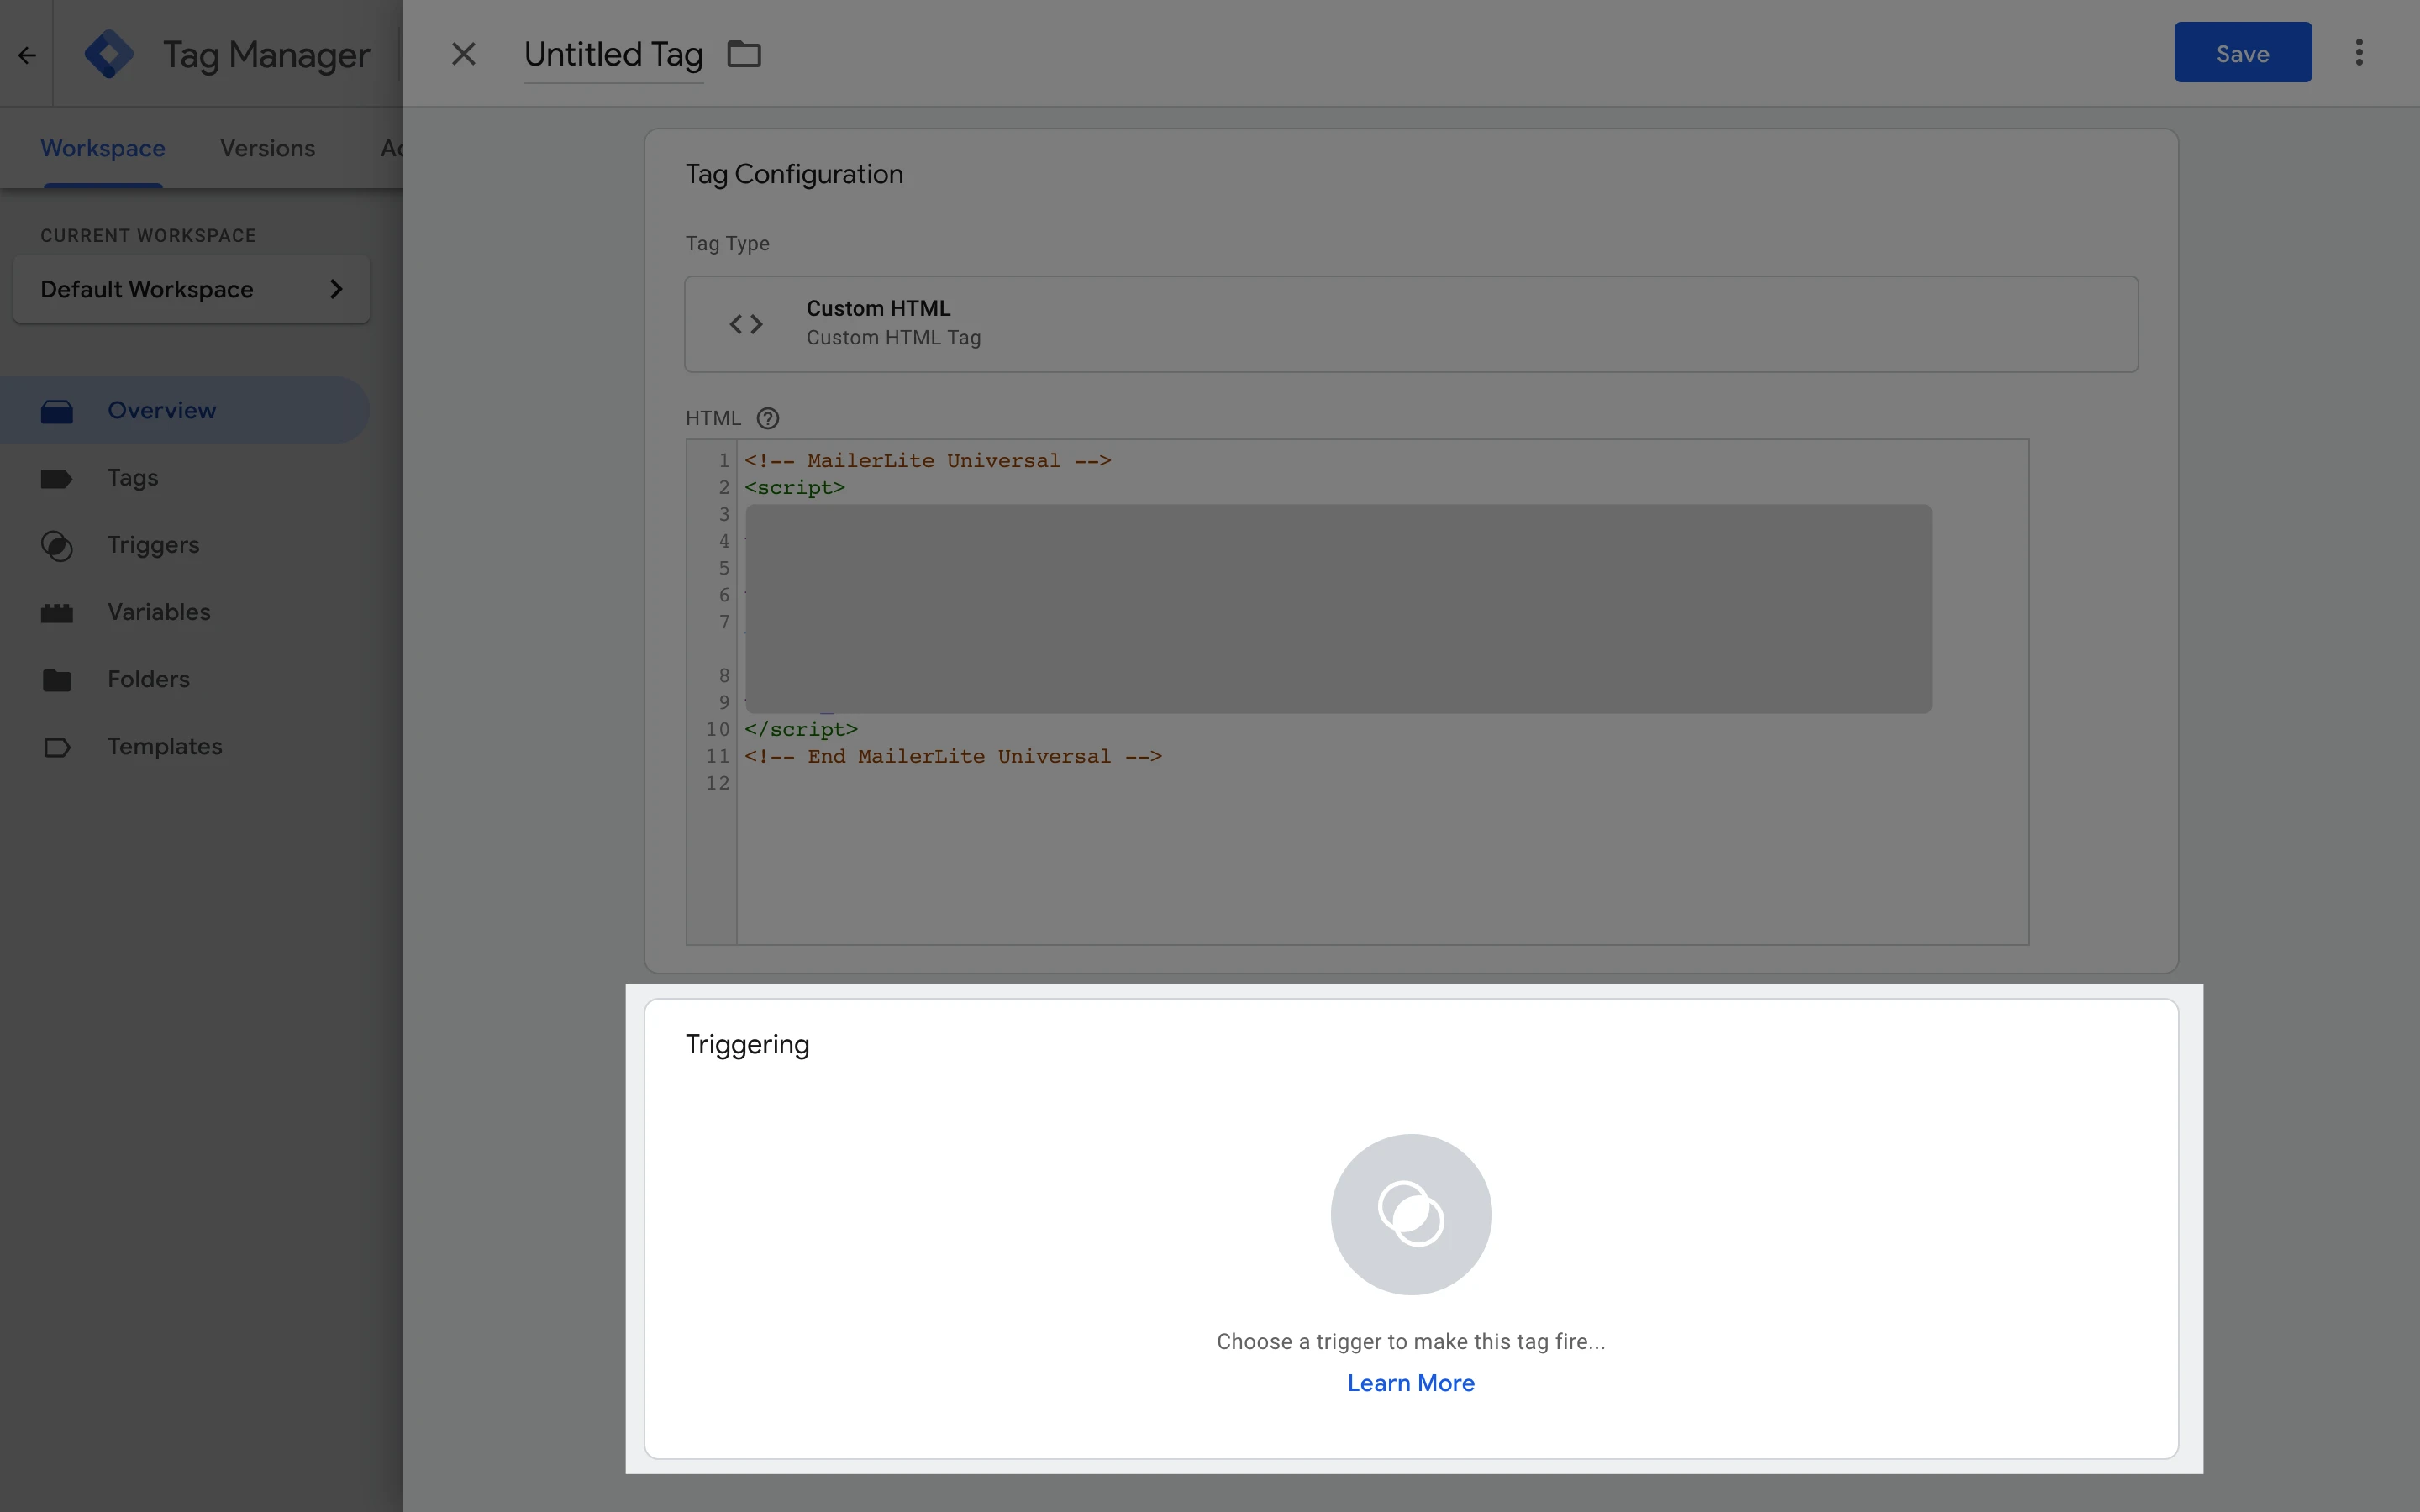
11. Select the default trigger named All pages. This is a page view type trigger.
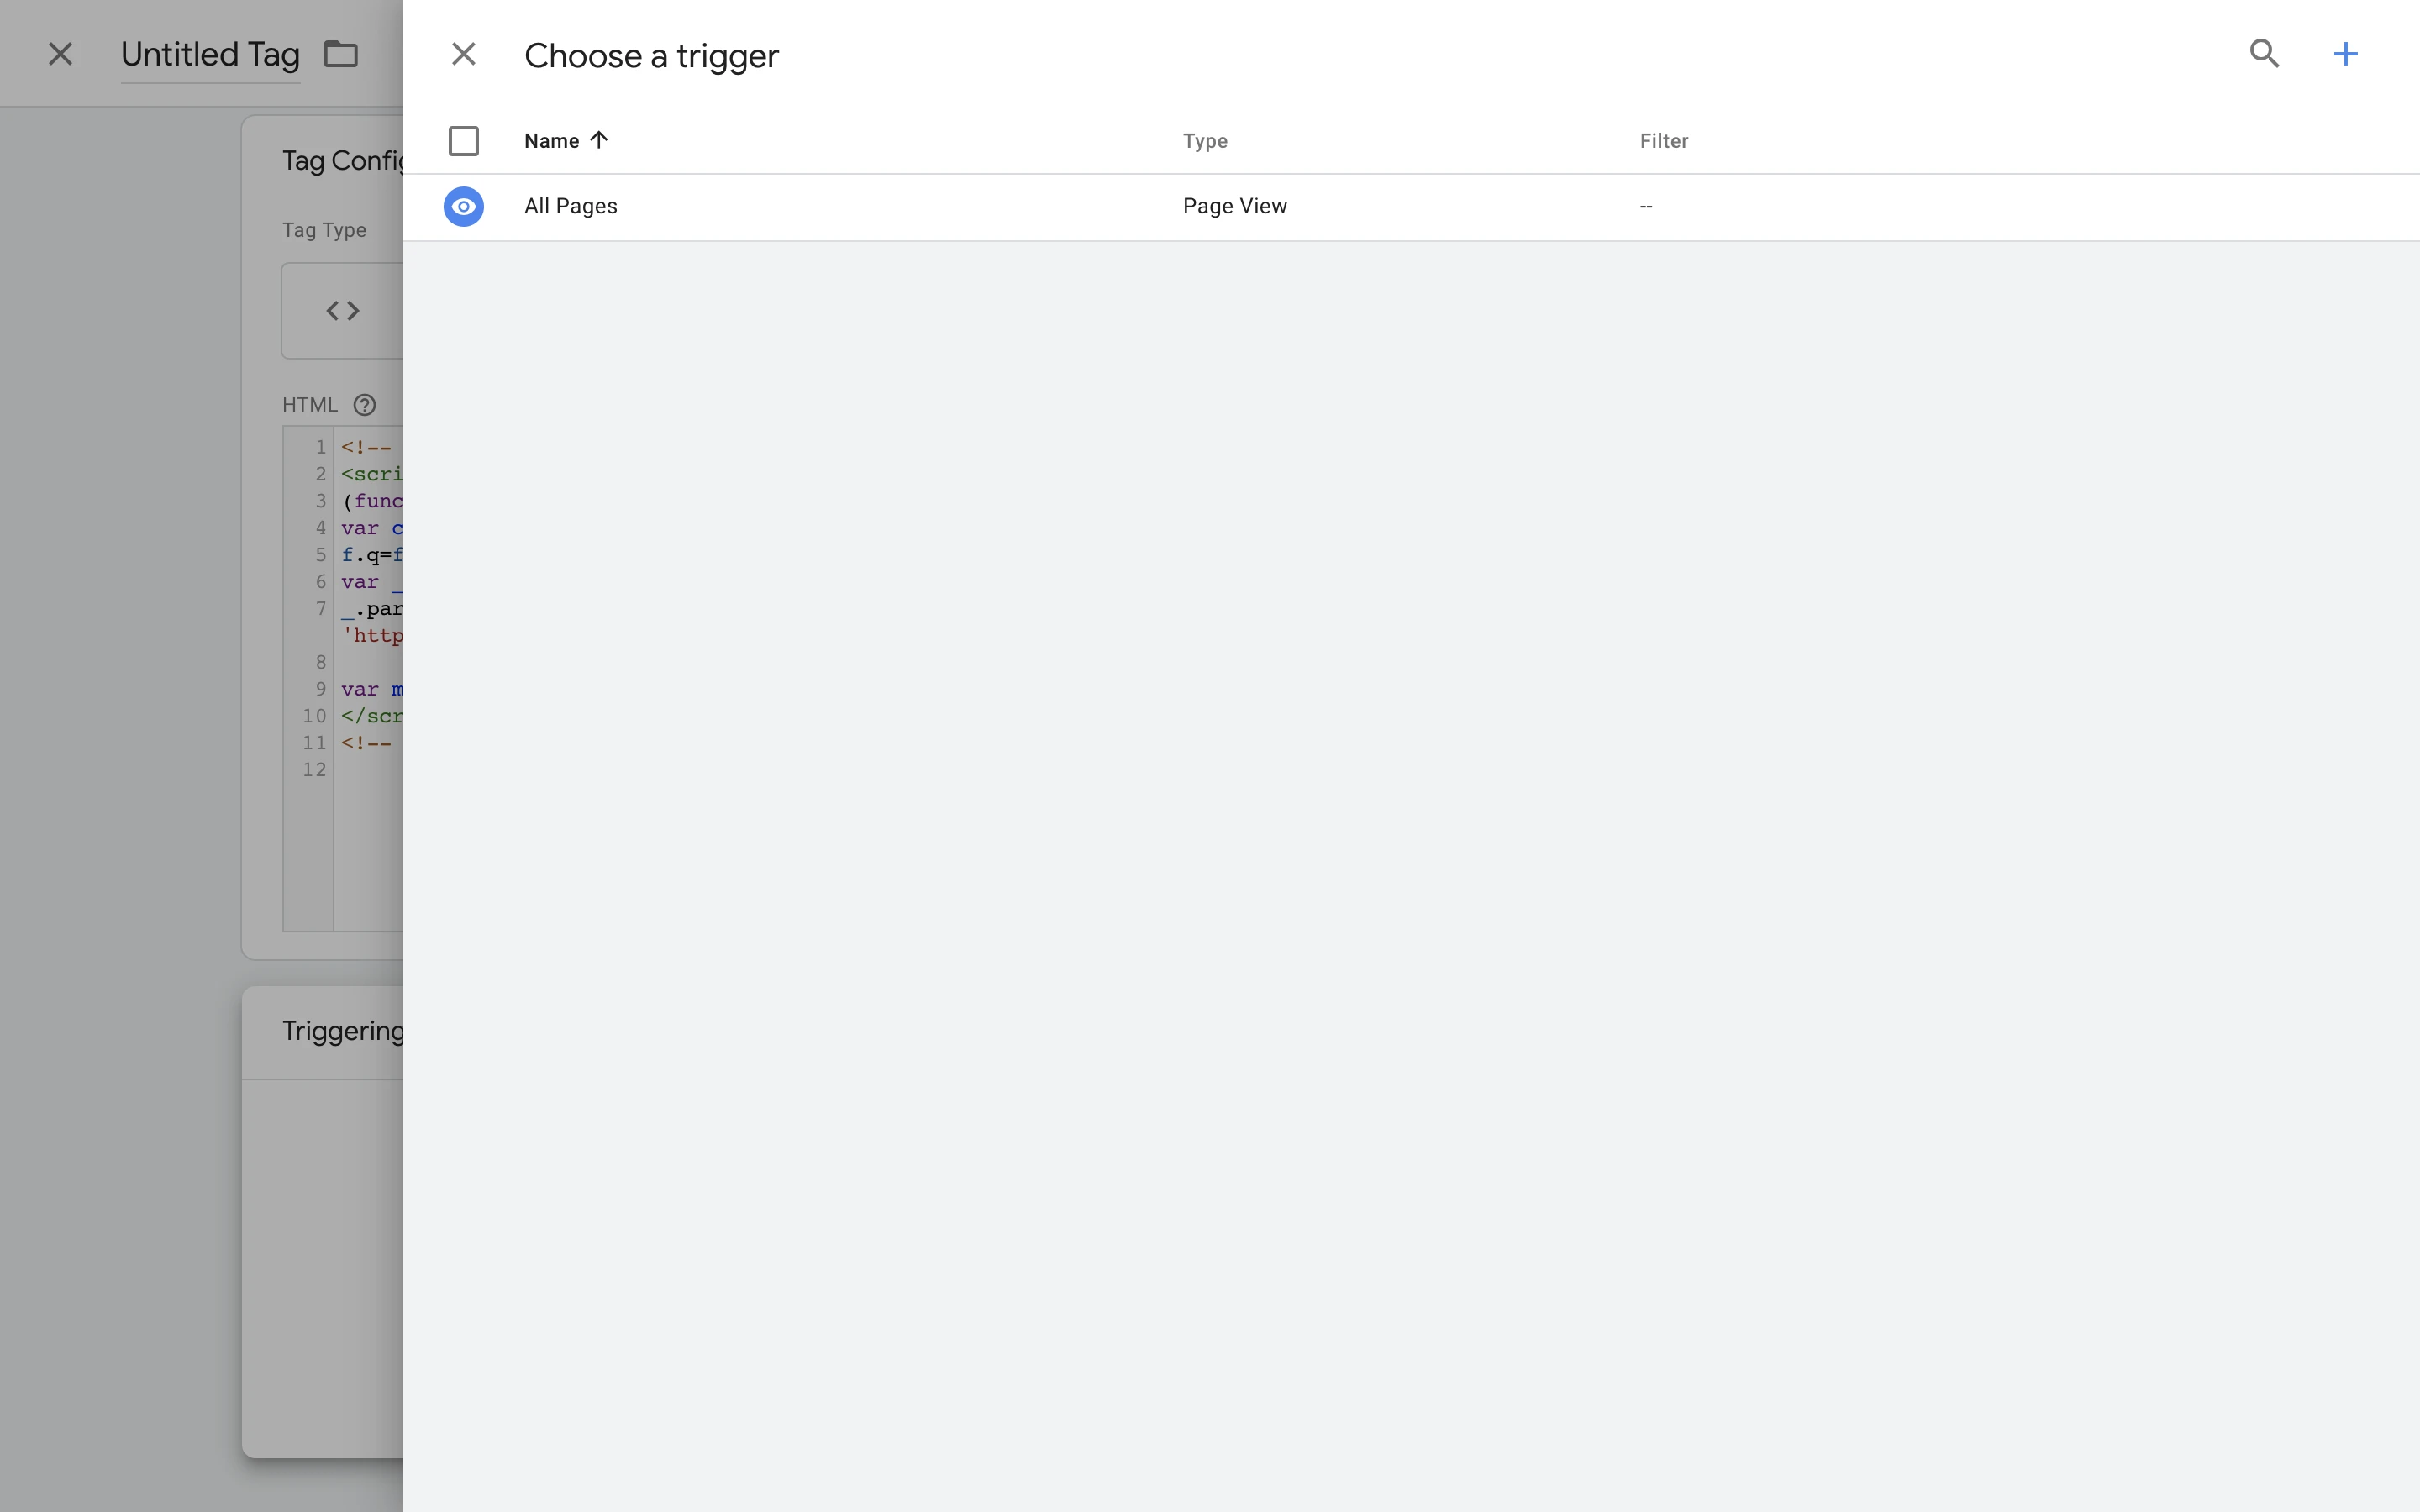
Note: Without a trigger, your tag will not fire. Ensure you have selected a trigger before saving.
12. Click Save.
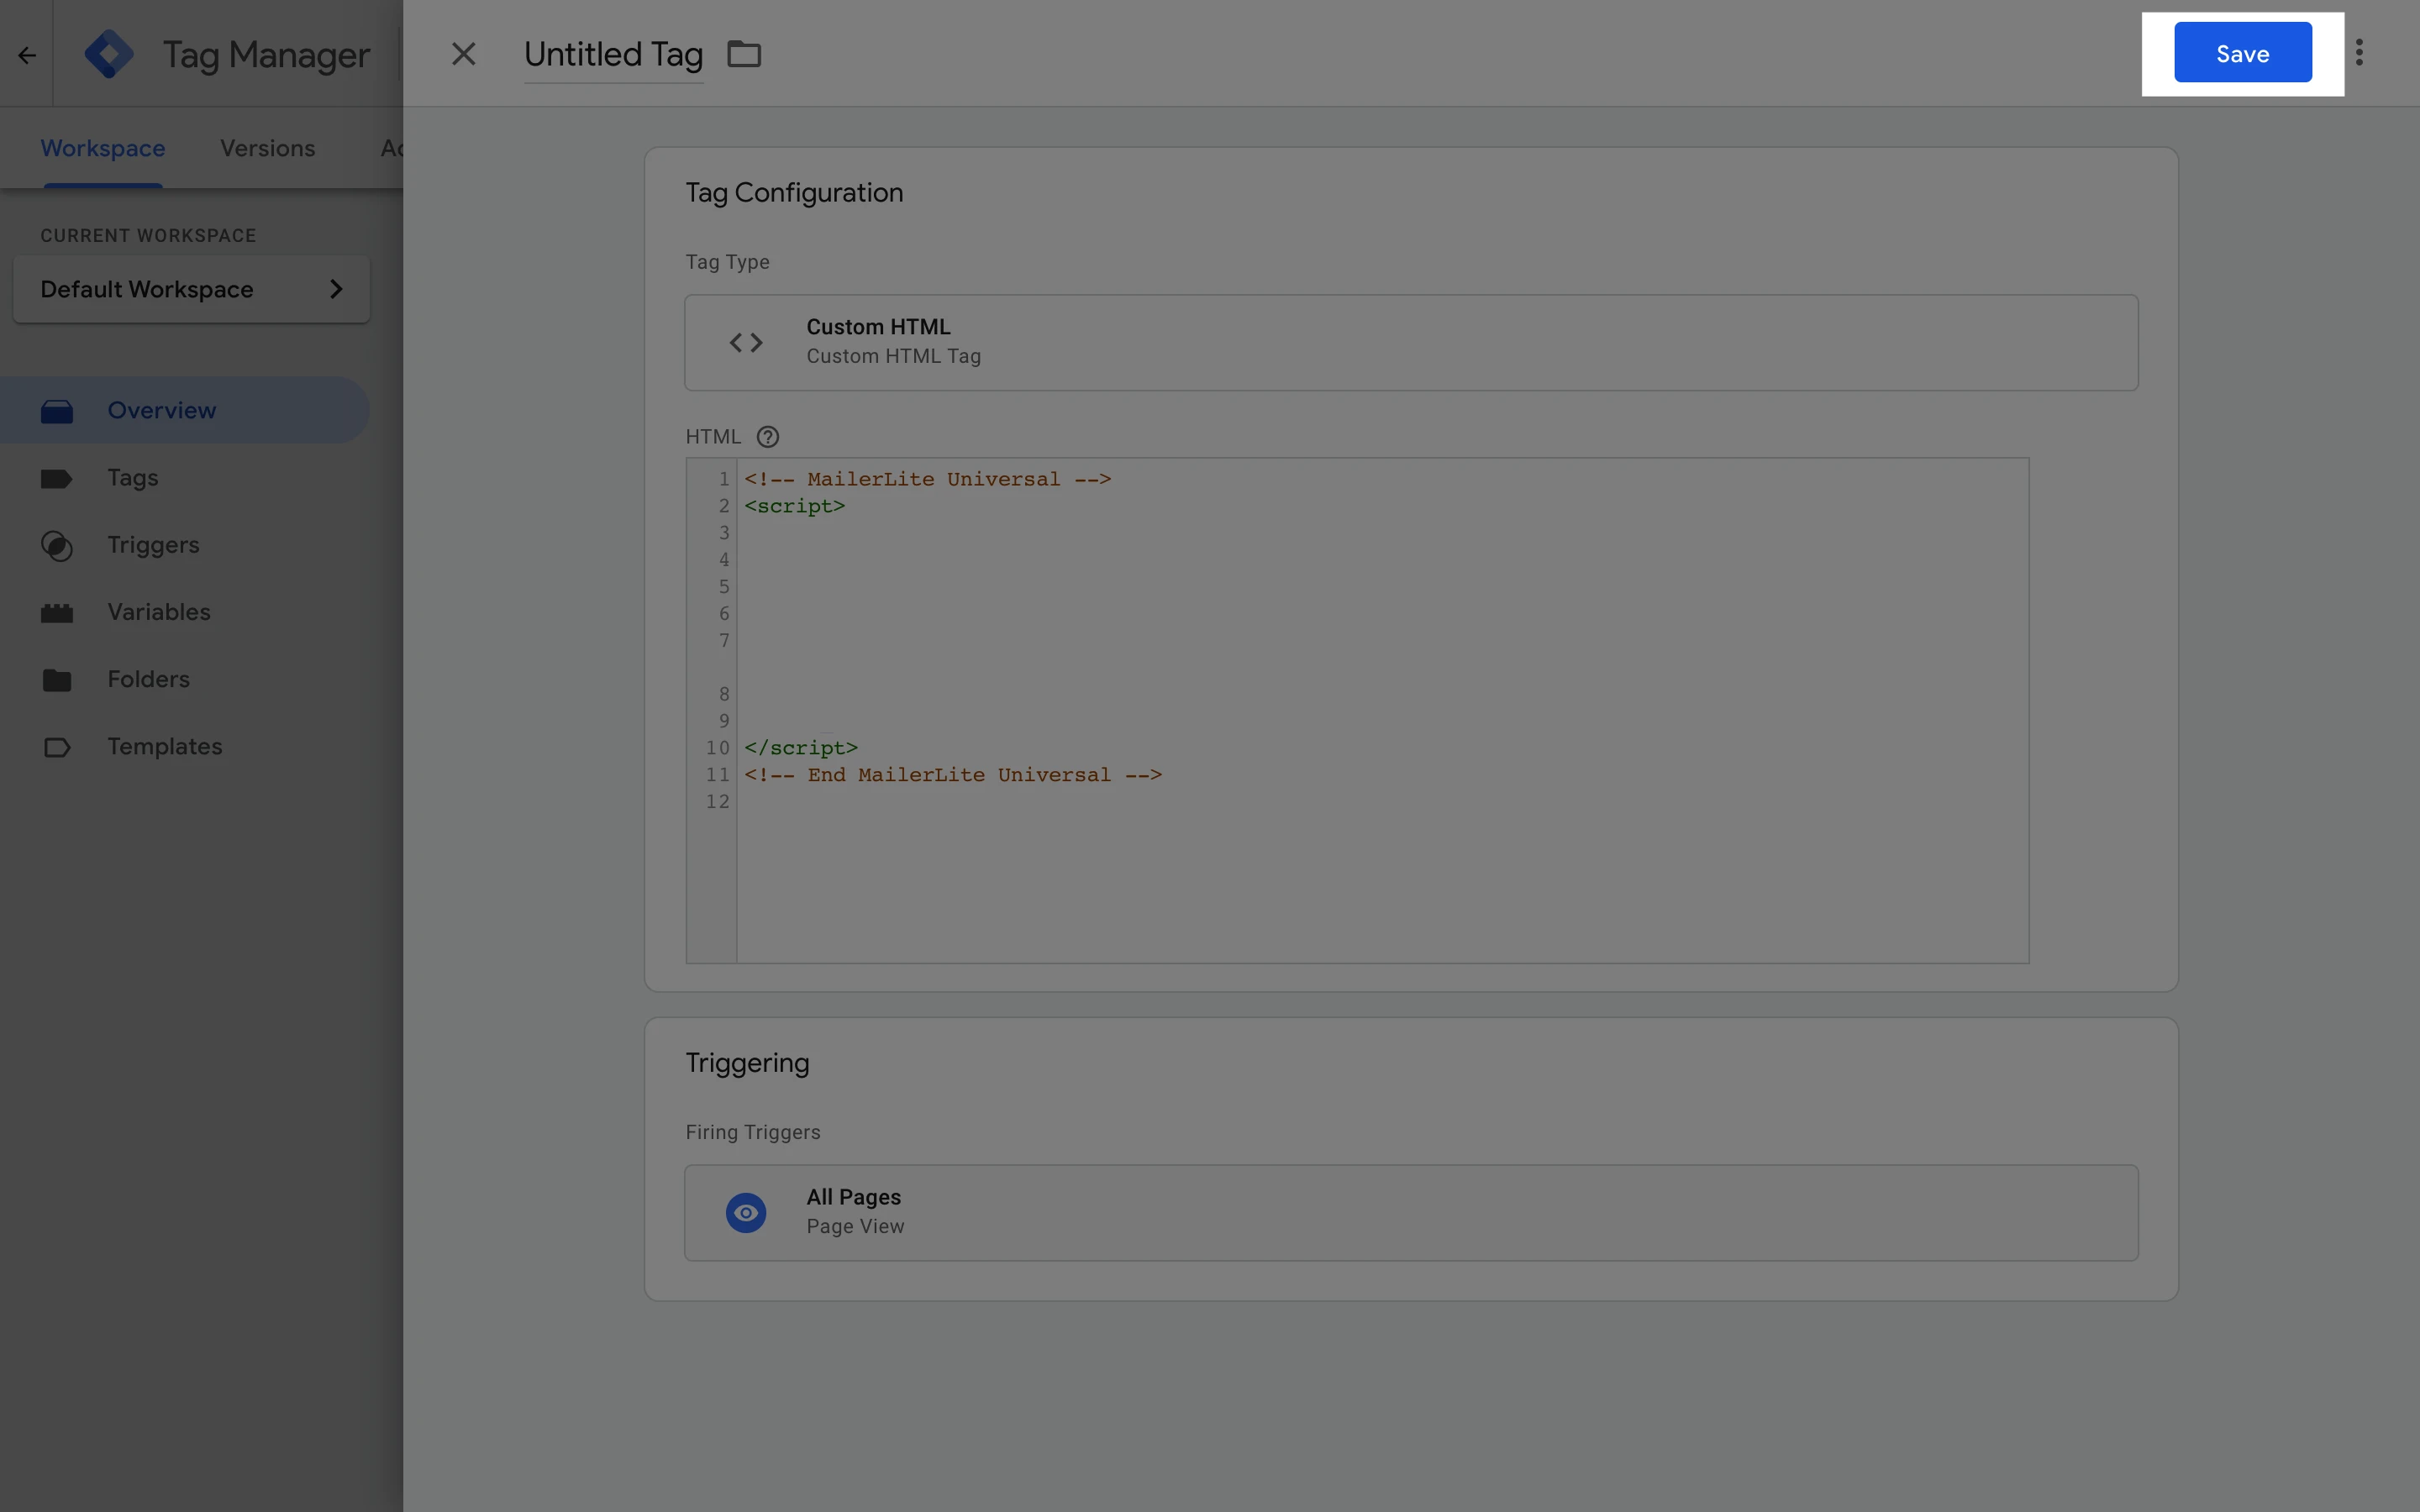
13. Make sure you submit any changes to your workspace.
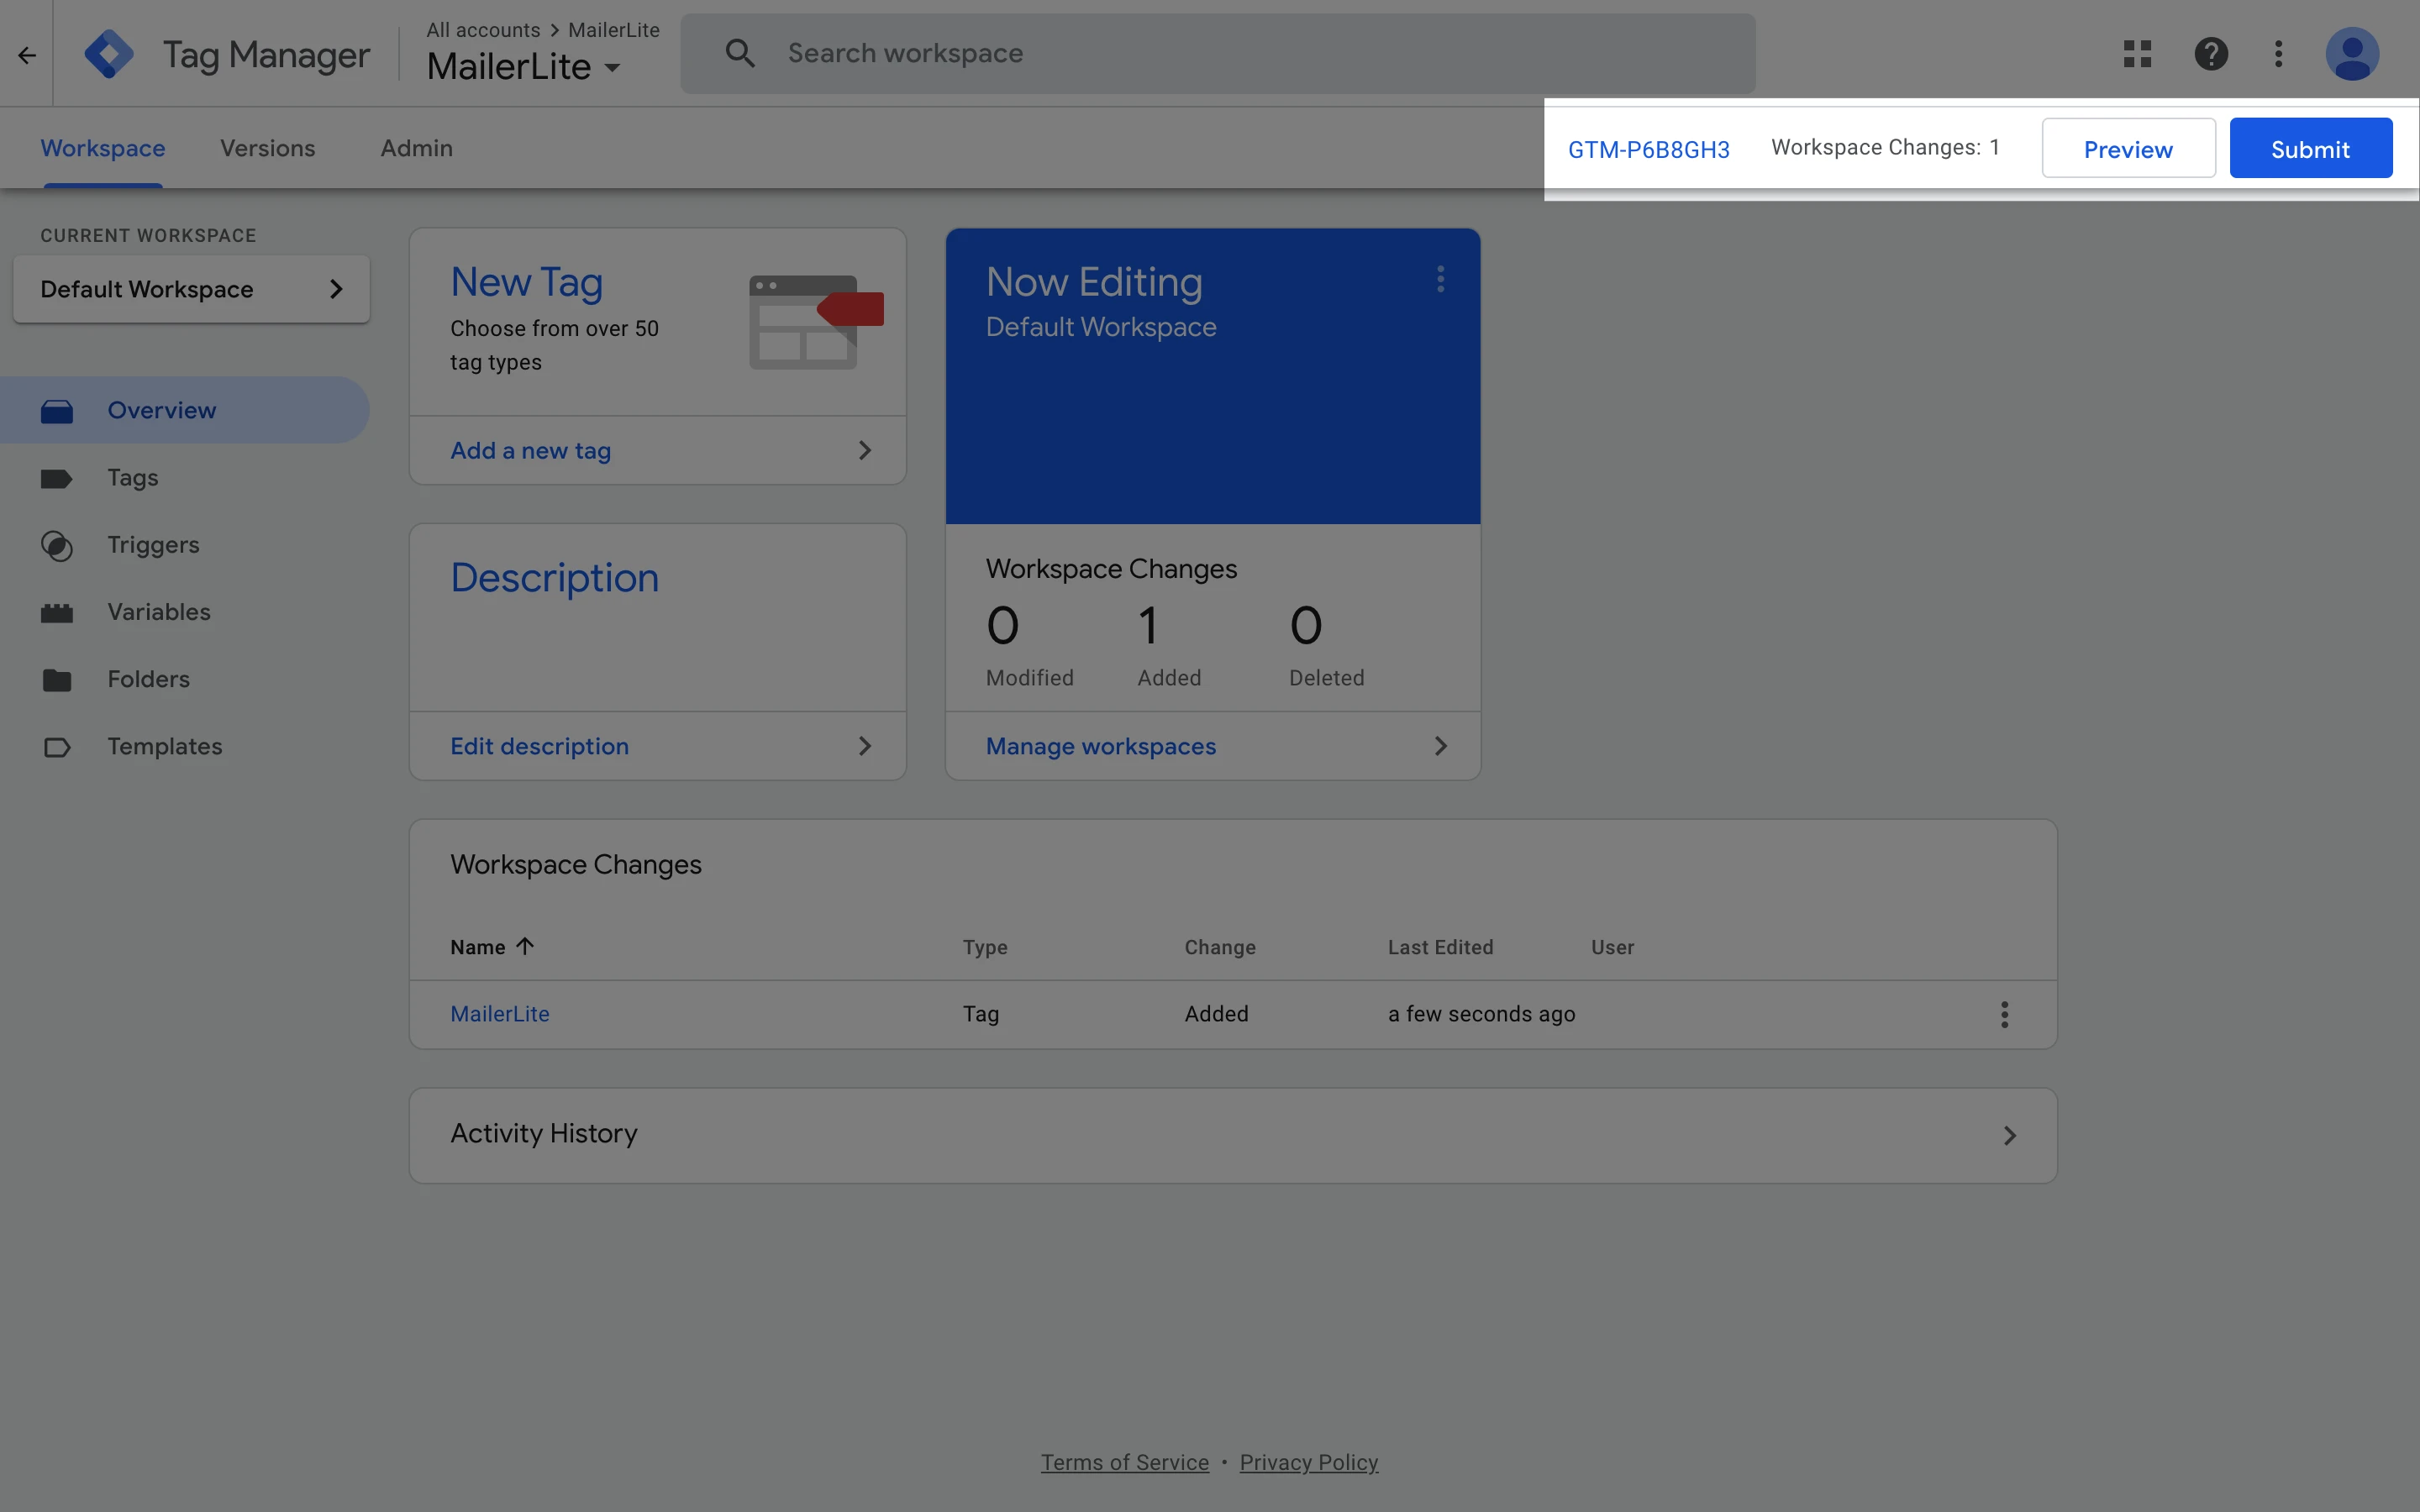
That’s it! Your MailerLite tag can now be found on the Tags page.