Note: If you're a Legacy (Classic) user, please log in to your account to access the dedicated Legacy (Classic) Help Center.
You can set default data to always be included in your campaigns, landing pages and websites. This will save you time when creating content.
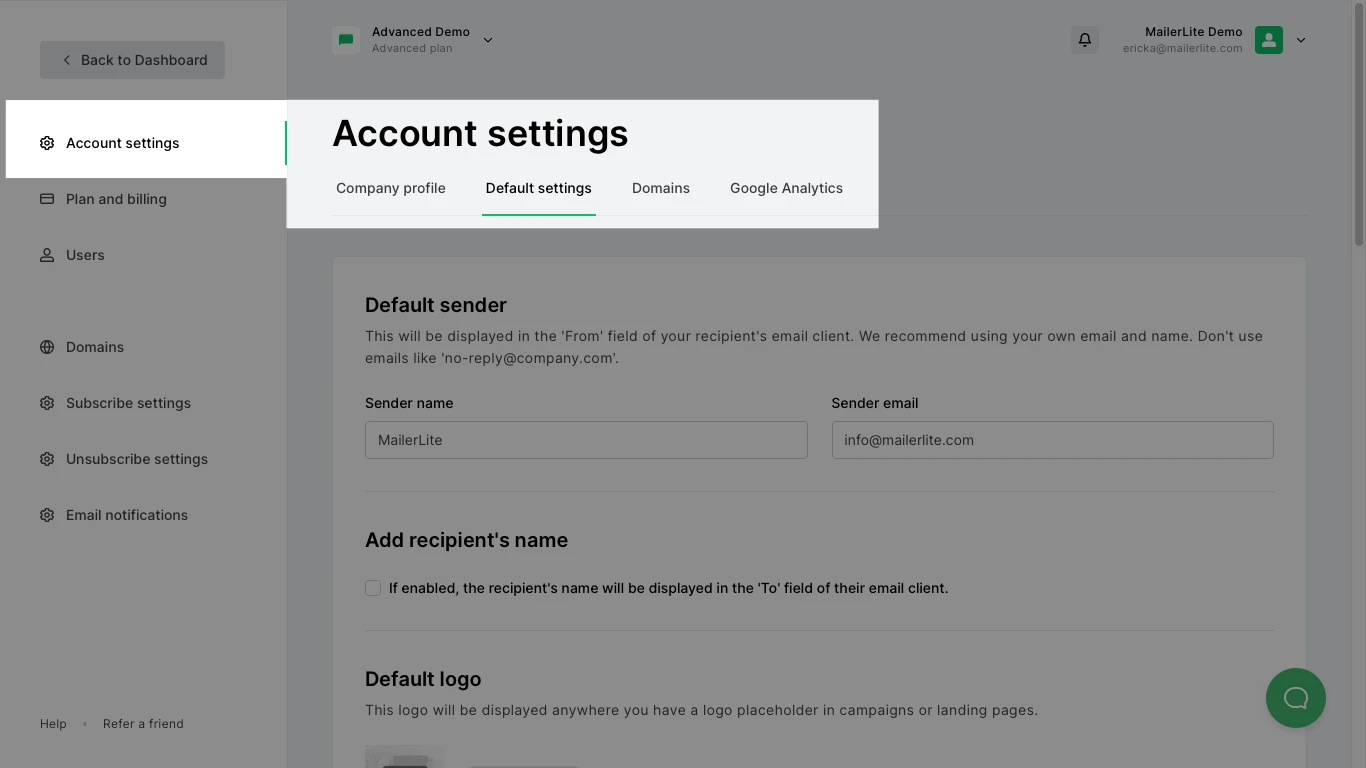
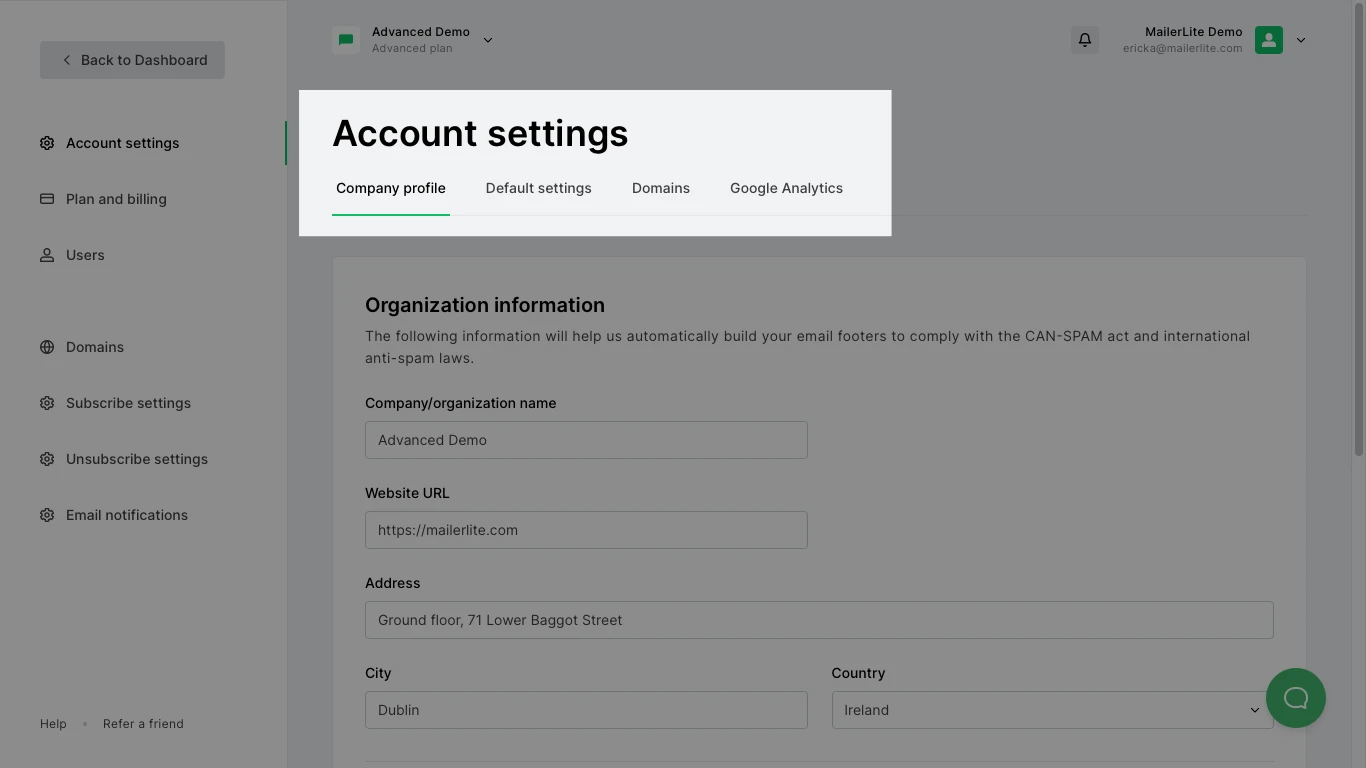
To start, click on Account settings on your sidebar and select the Default settings tab.
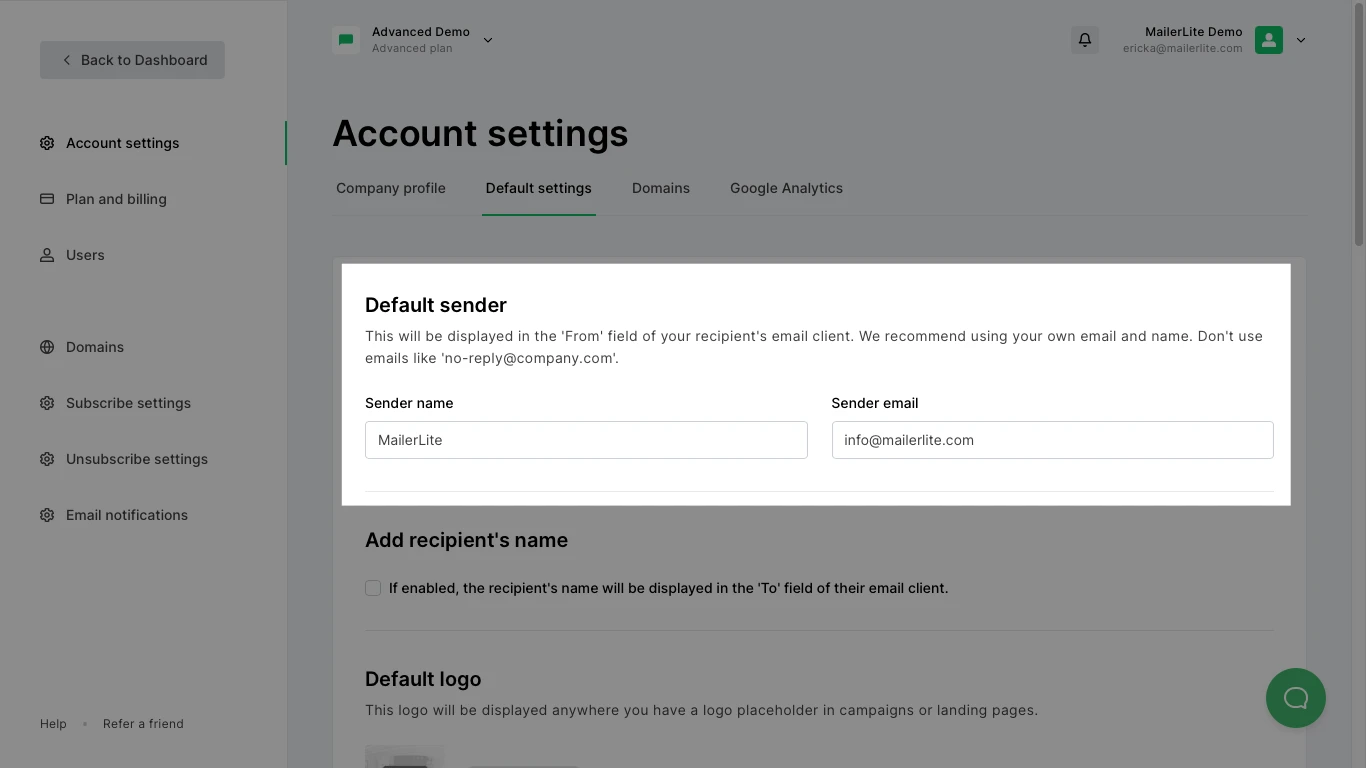
How to edit the default sender
This is what will be displayed in the 'From' field of your recipient's email client.
Add the name that will be shown and the email address that campaigns are going to be sent from.
Note: Changing the default sender information will only apply to future campaigns and not to past campaigns.
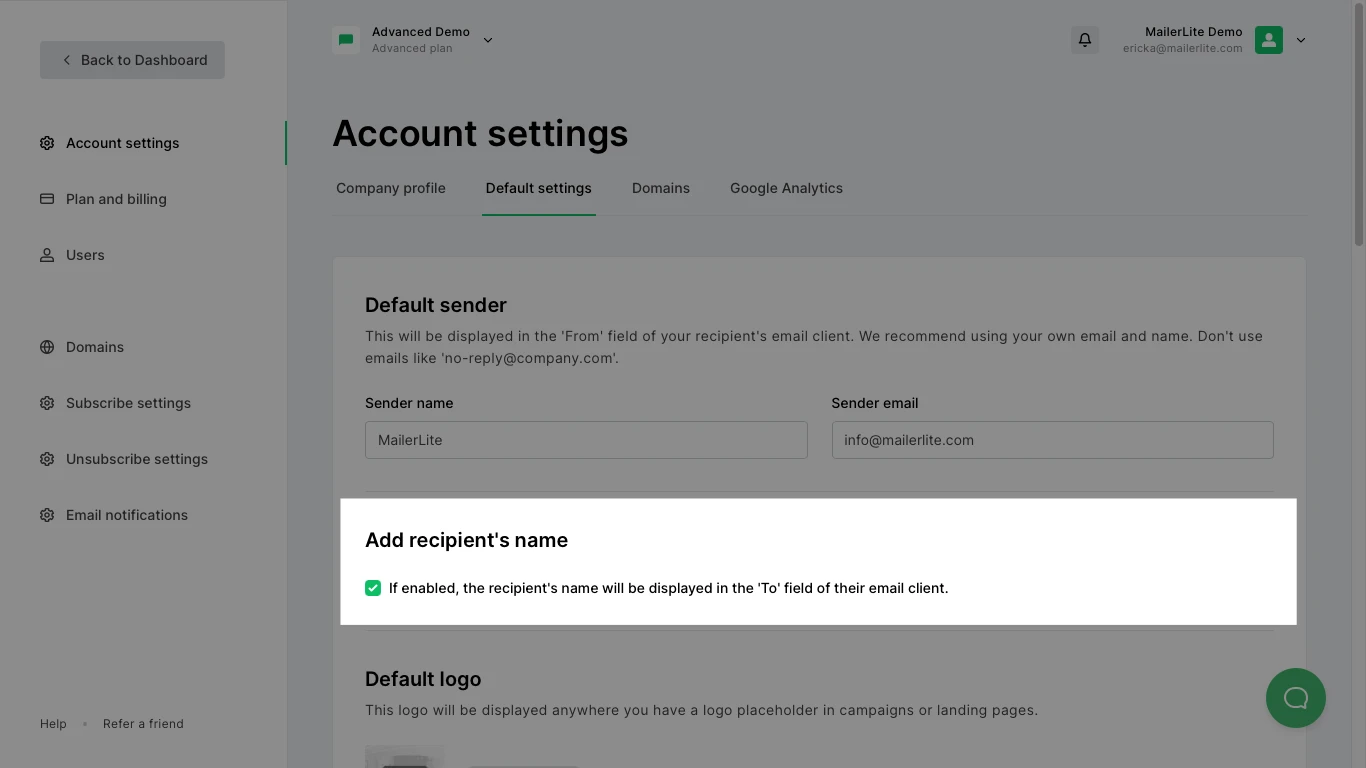
How to add the recipient's name
When this option is enabled, the name of the recipient will be shown in the 'To' field. It is taken from their Name field included on your subscriber list.
How to edit the default logo
Choose a logo that will replace all default logo placeholders in the blocks that include the logo option on your campaigns and sites.
Click on Add logo to be taken to the File Manager page. Upload your photo file if you haven’t yet, then select it.
Select the checkbox if you would like your logo to be force-updated into any existing drafts, sent emails, ongoing automation emails, and published sites.
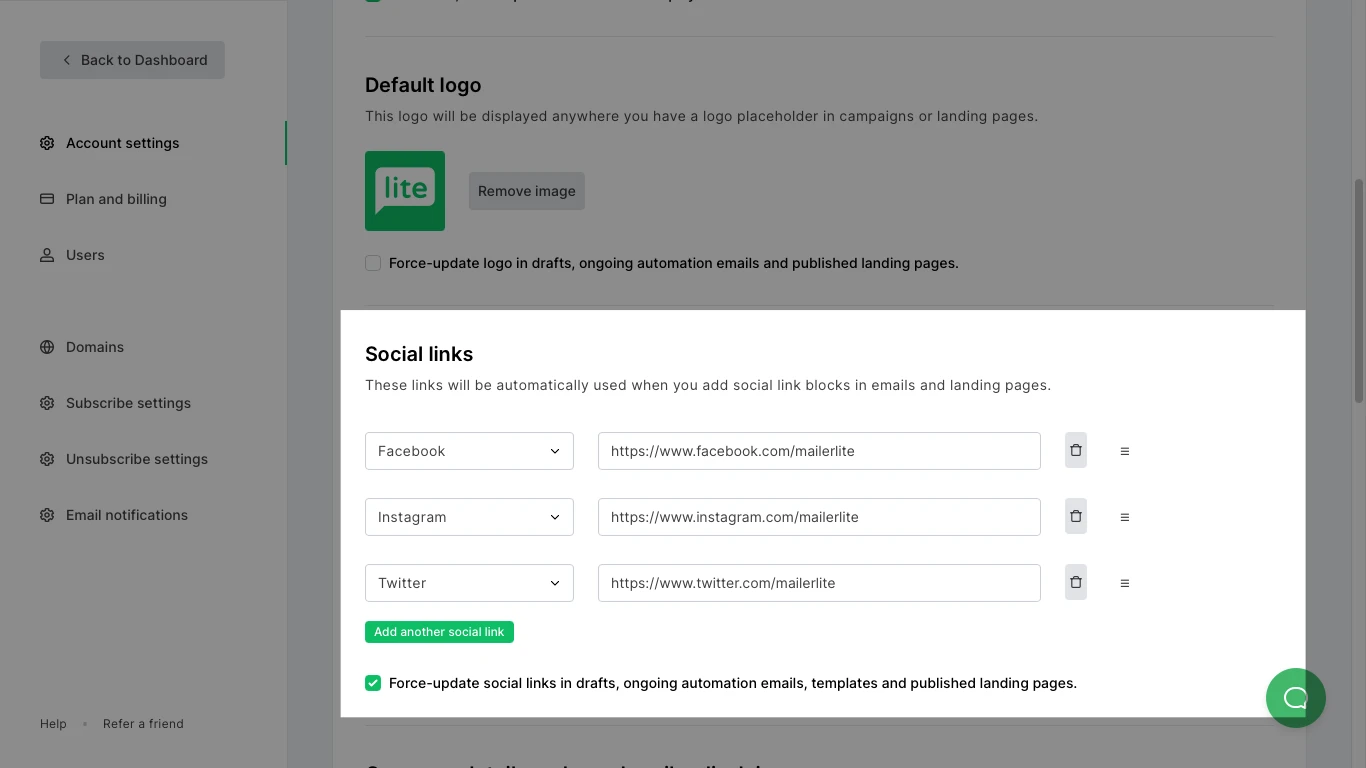
How to edit the social links
Whenever you use a block that contains social icons or links, your provided social links will automatically be used. This way you don’t need to add or change your links every time you use social link blocks.
You can also add all your social links and force-update. This will update your current links in all your emails and landing pages that use social blocks.
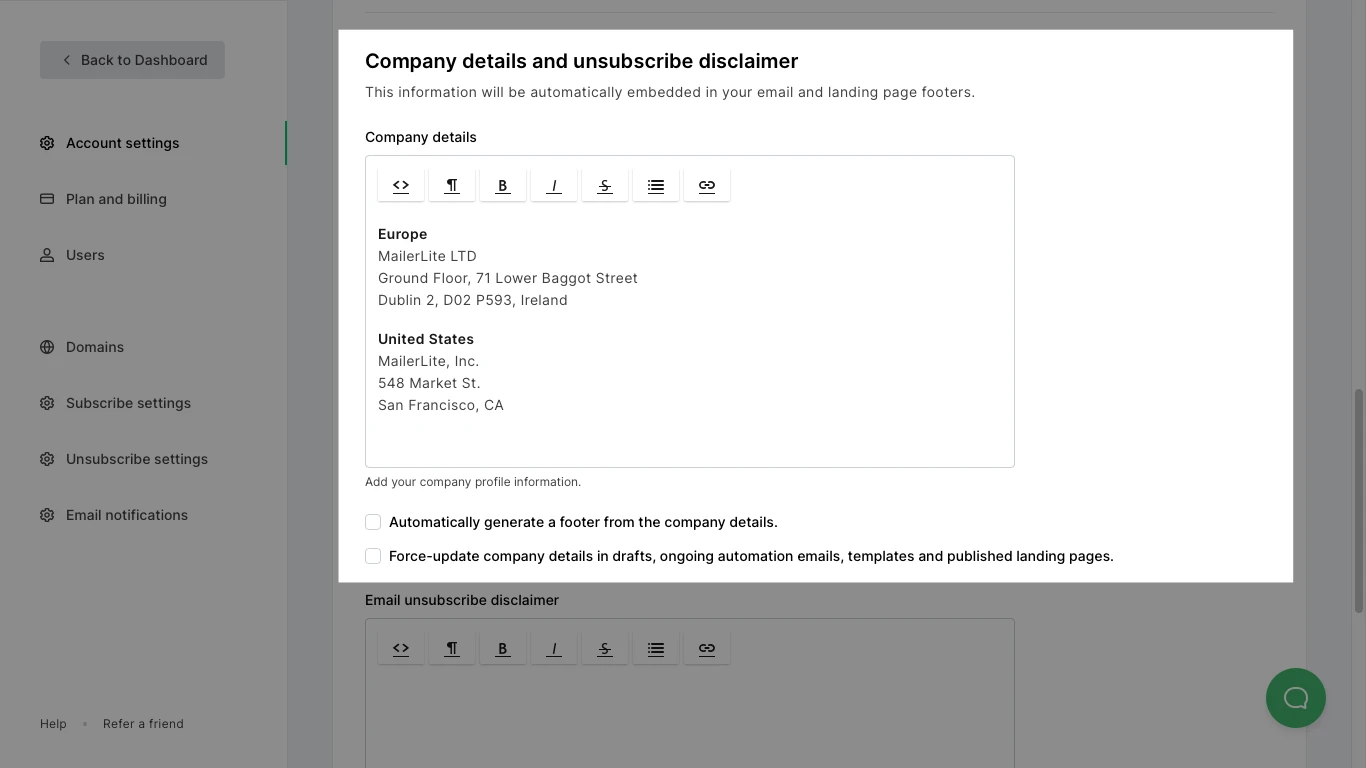
How to edit the company details and unsubscribe disclaimer
This information will be automatically embedded in your email and site footers.
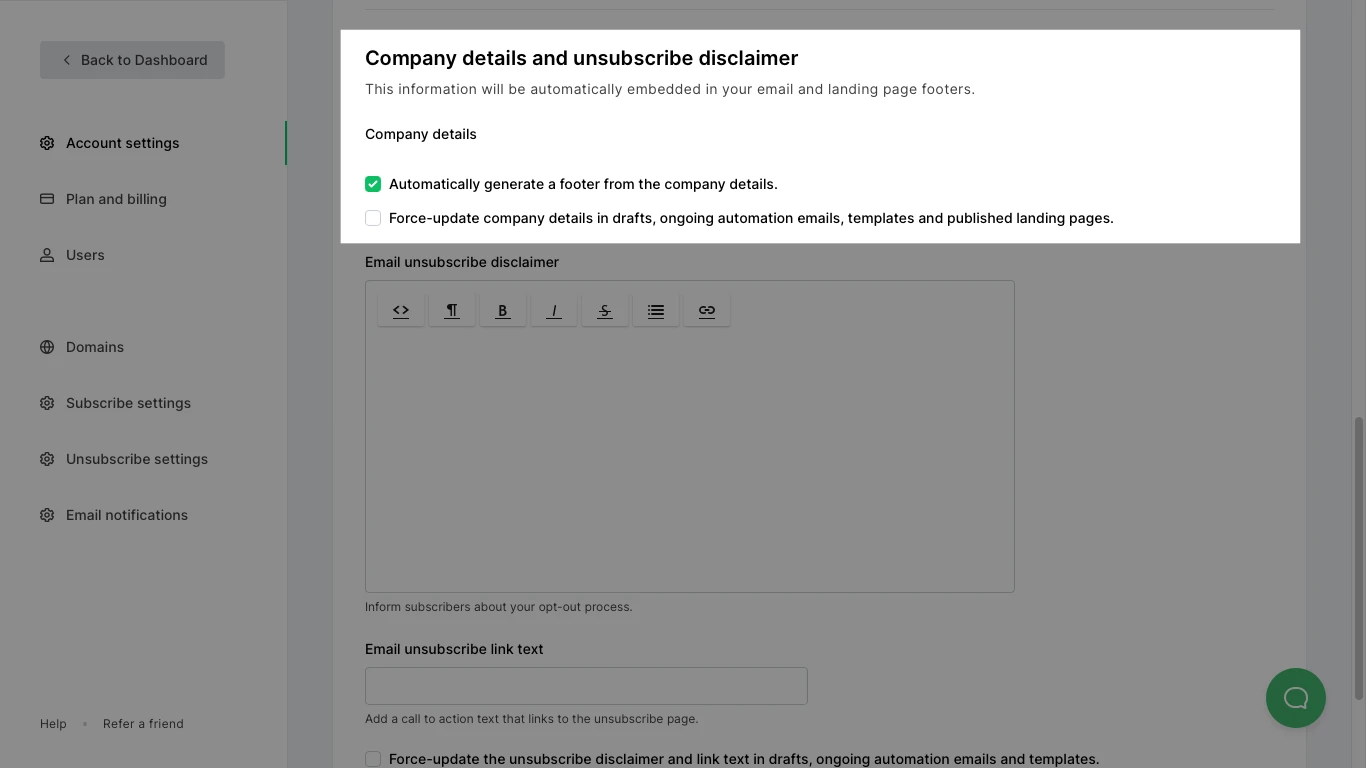
You have the option to write your company details.
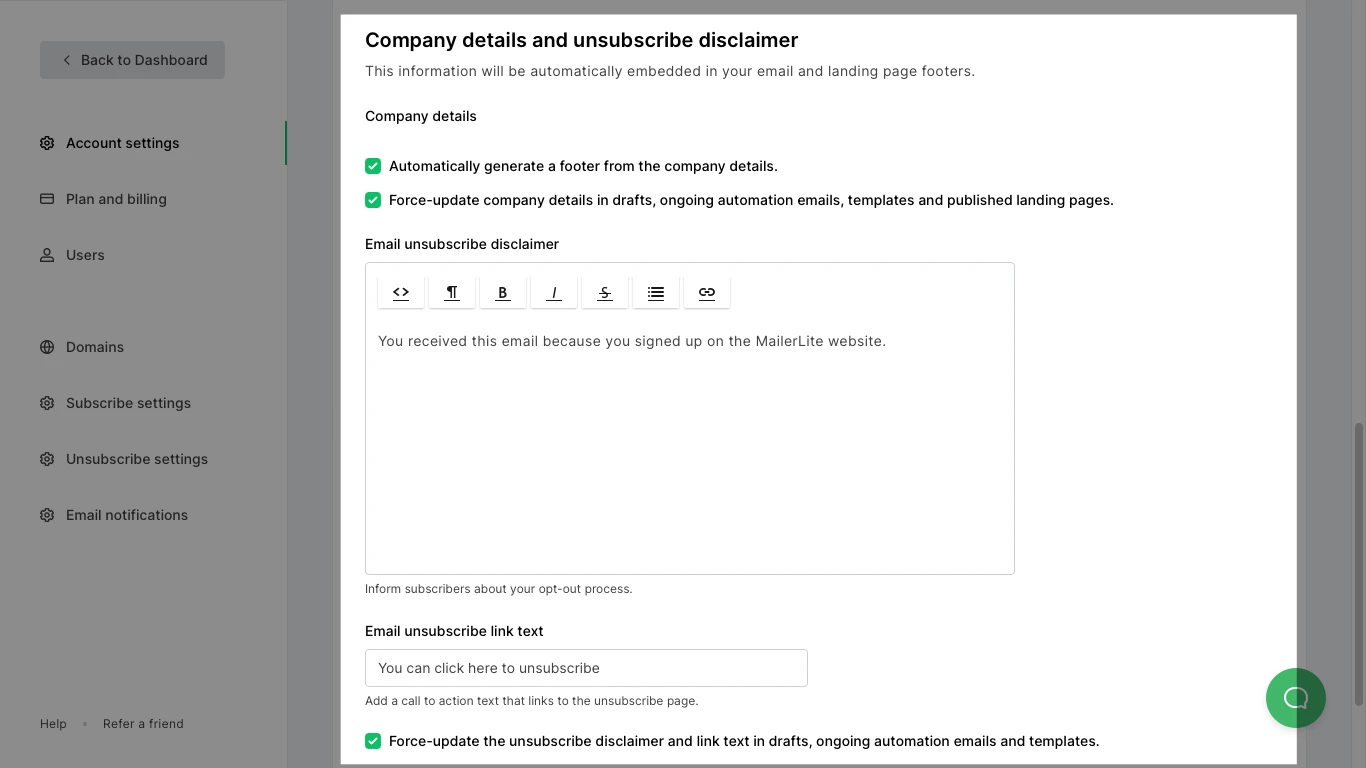
You can also automatically populate the company details by enabling the option.
To edit the company details automatically generated, head to the Company profile tab under the Account settings page.
Lastly, you can add an Email unsubscribe disclaimer, which can describe your opt-out process and any other relevant information. You can also add an Email unsubscribe link text, which is a clickable link that will take the subscriber to your Unsubscribe page upon clicking it.
Both the disclaimer and the link text can be force-updated into your drafts, sent emails, and ongoing automation emails.
Click Save changes to save your information.