Note: If you're a Legacy (Classic) user, please log in to your account to access the dedicated Legacy (Classic) Help Center.
Keep your content in order by organizing your campaigns and workflows into folders. This allows you to save time while sorting through your content.
How to create folders for campaigns
You can create folders to organize both your Sent campaigns and Draft campaigns. To create a folder for your campaigns:
Navigate to the Campaigns page.
Click the Sent or Drafts tab depending on where you’d like to create your folder.
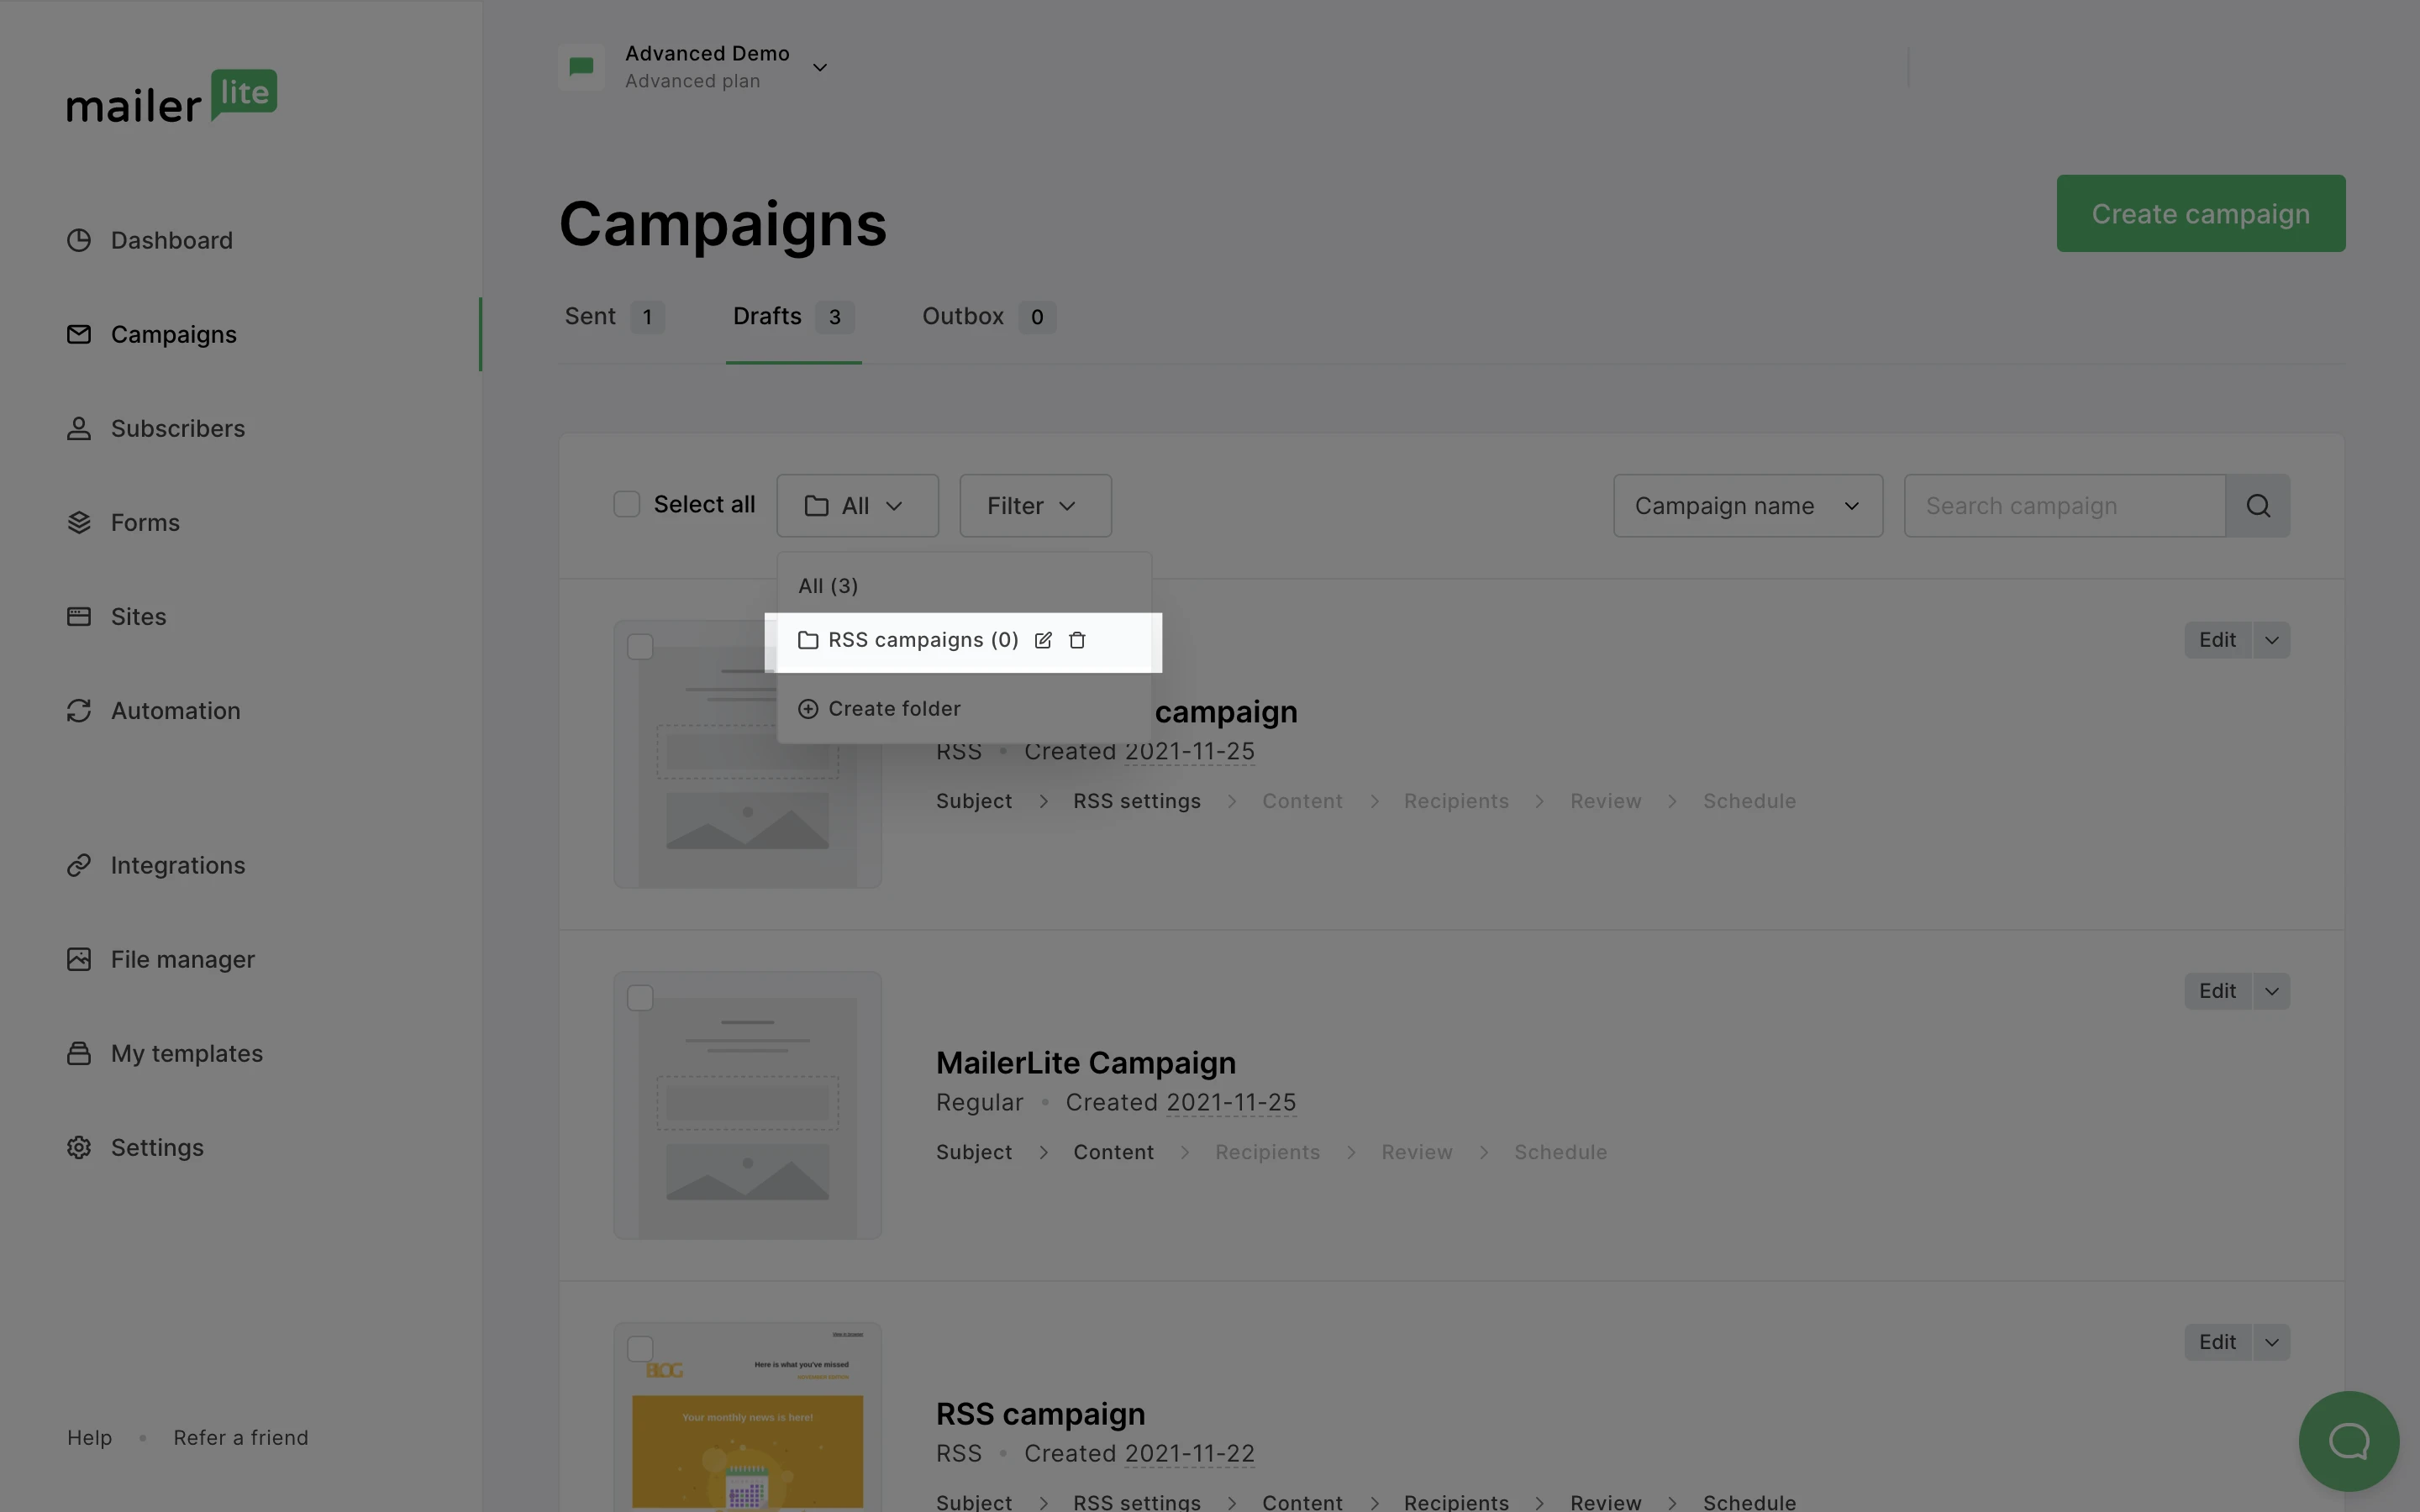
Click the Folder dropdown menu.
Click Create folder.

Once you have created a new folder, it’s time to move some campaigns there. Here’s how to do it:
Navigate to the Campaigns page.
Click the Sent or Drafts tab depending on which campaign you’d like to move into a folder.
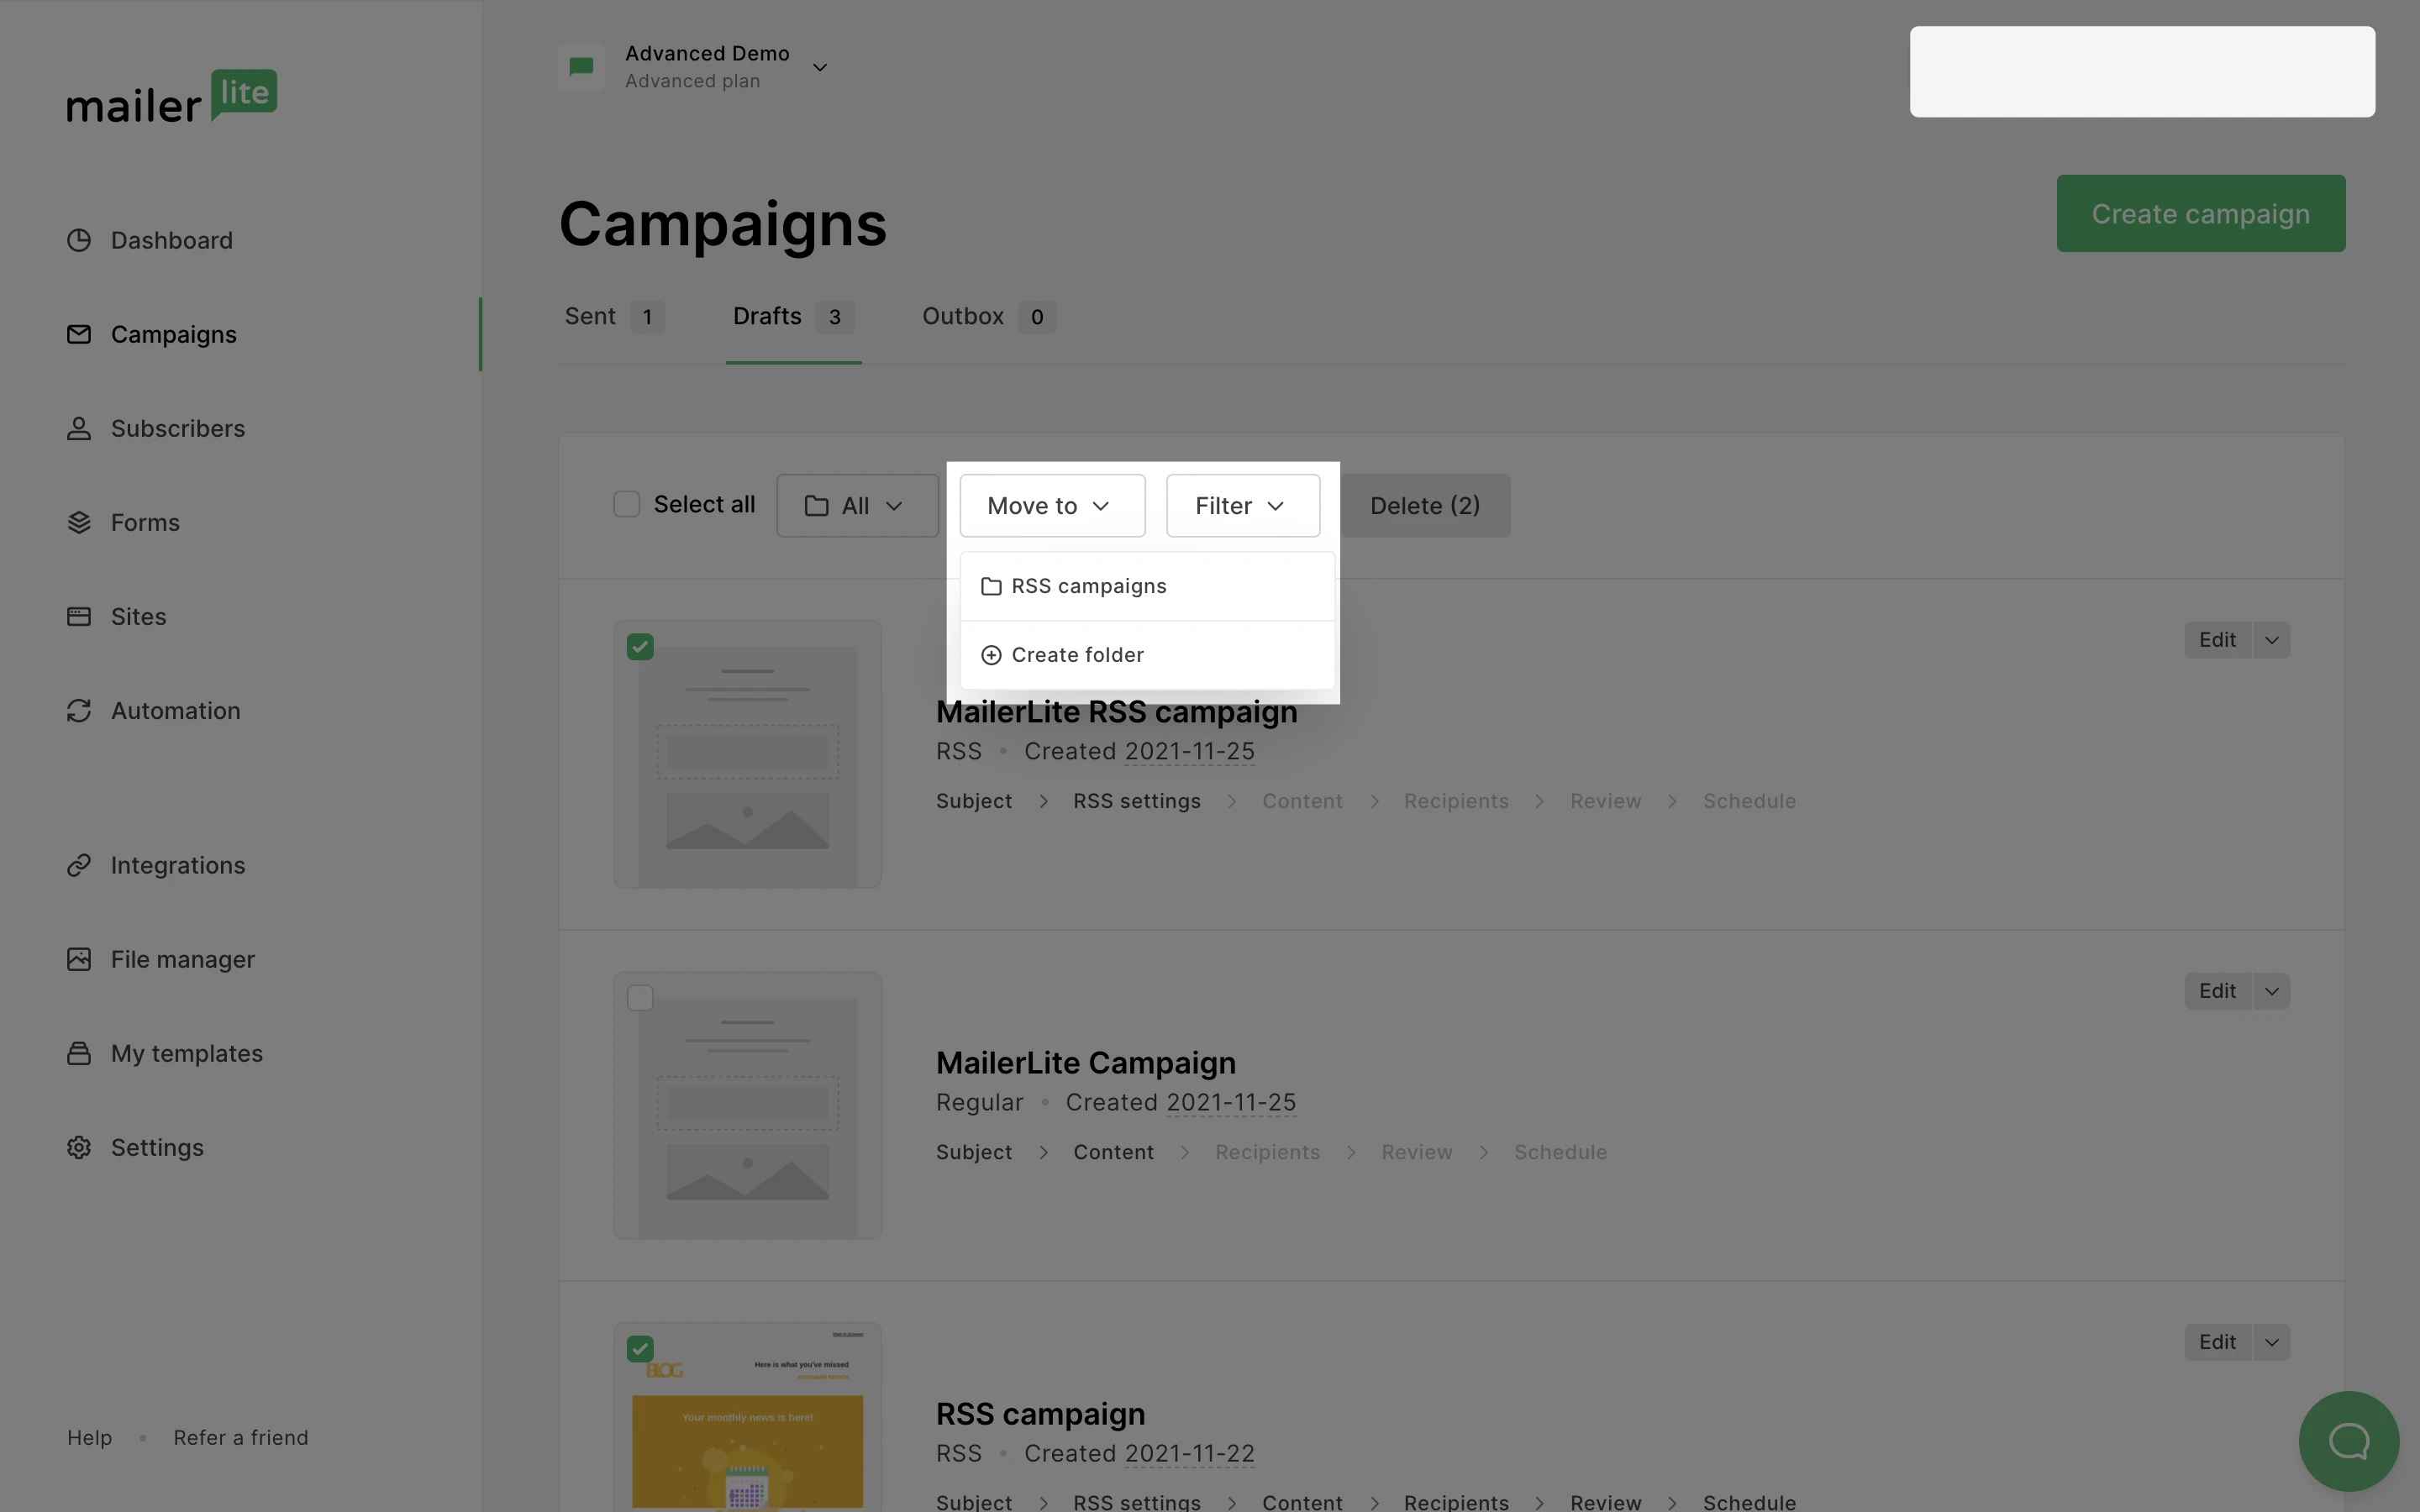
Select the campaign of your choice by clicking the checkbox next to the campaign preview thumbnail.
Click the Move to dropdown menu.
Select the Folder into which you’d like to move that campaign.
Do edit or delete a folder:
Click the Folder dropdown menu.
Hover over your folder.
Click the edit or delete icon.
That’s it! You can also select multiple campaigns and move them all at once.
How to create folders for automations
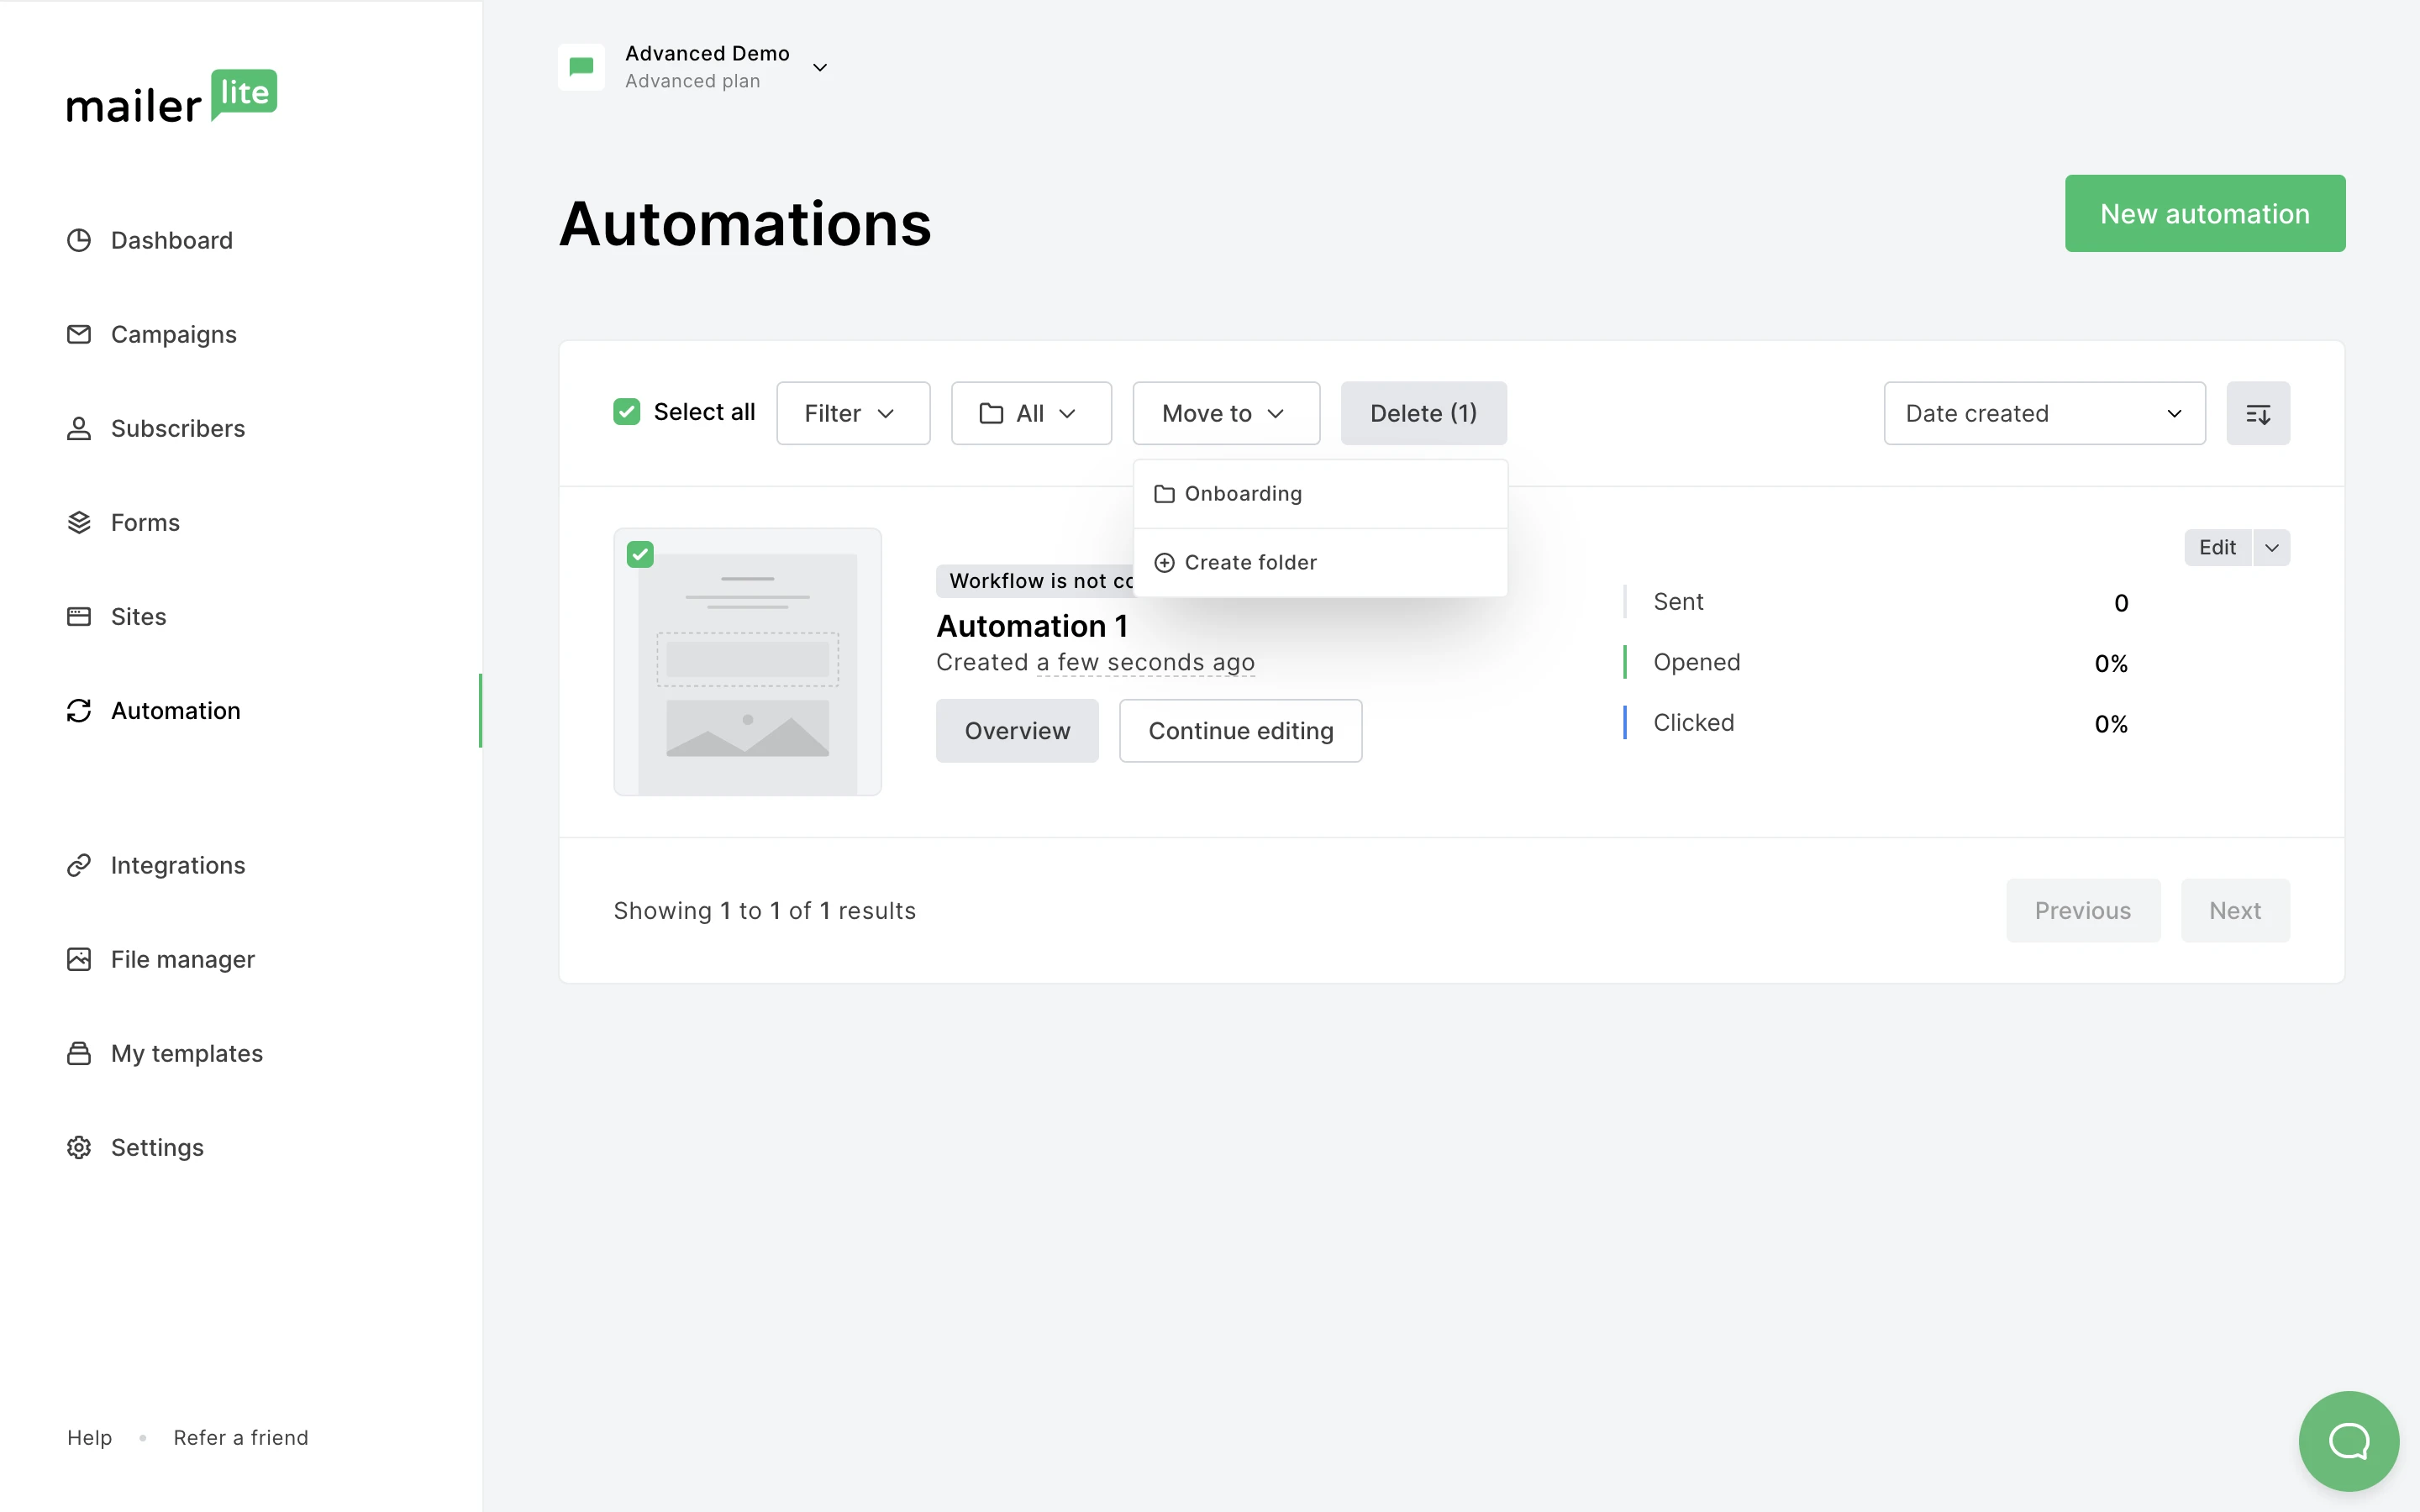
Navigate to the Automations page.
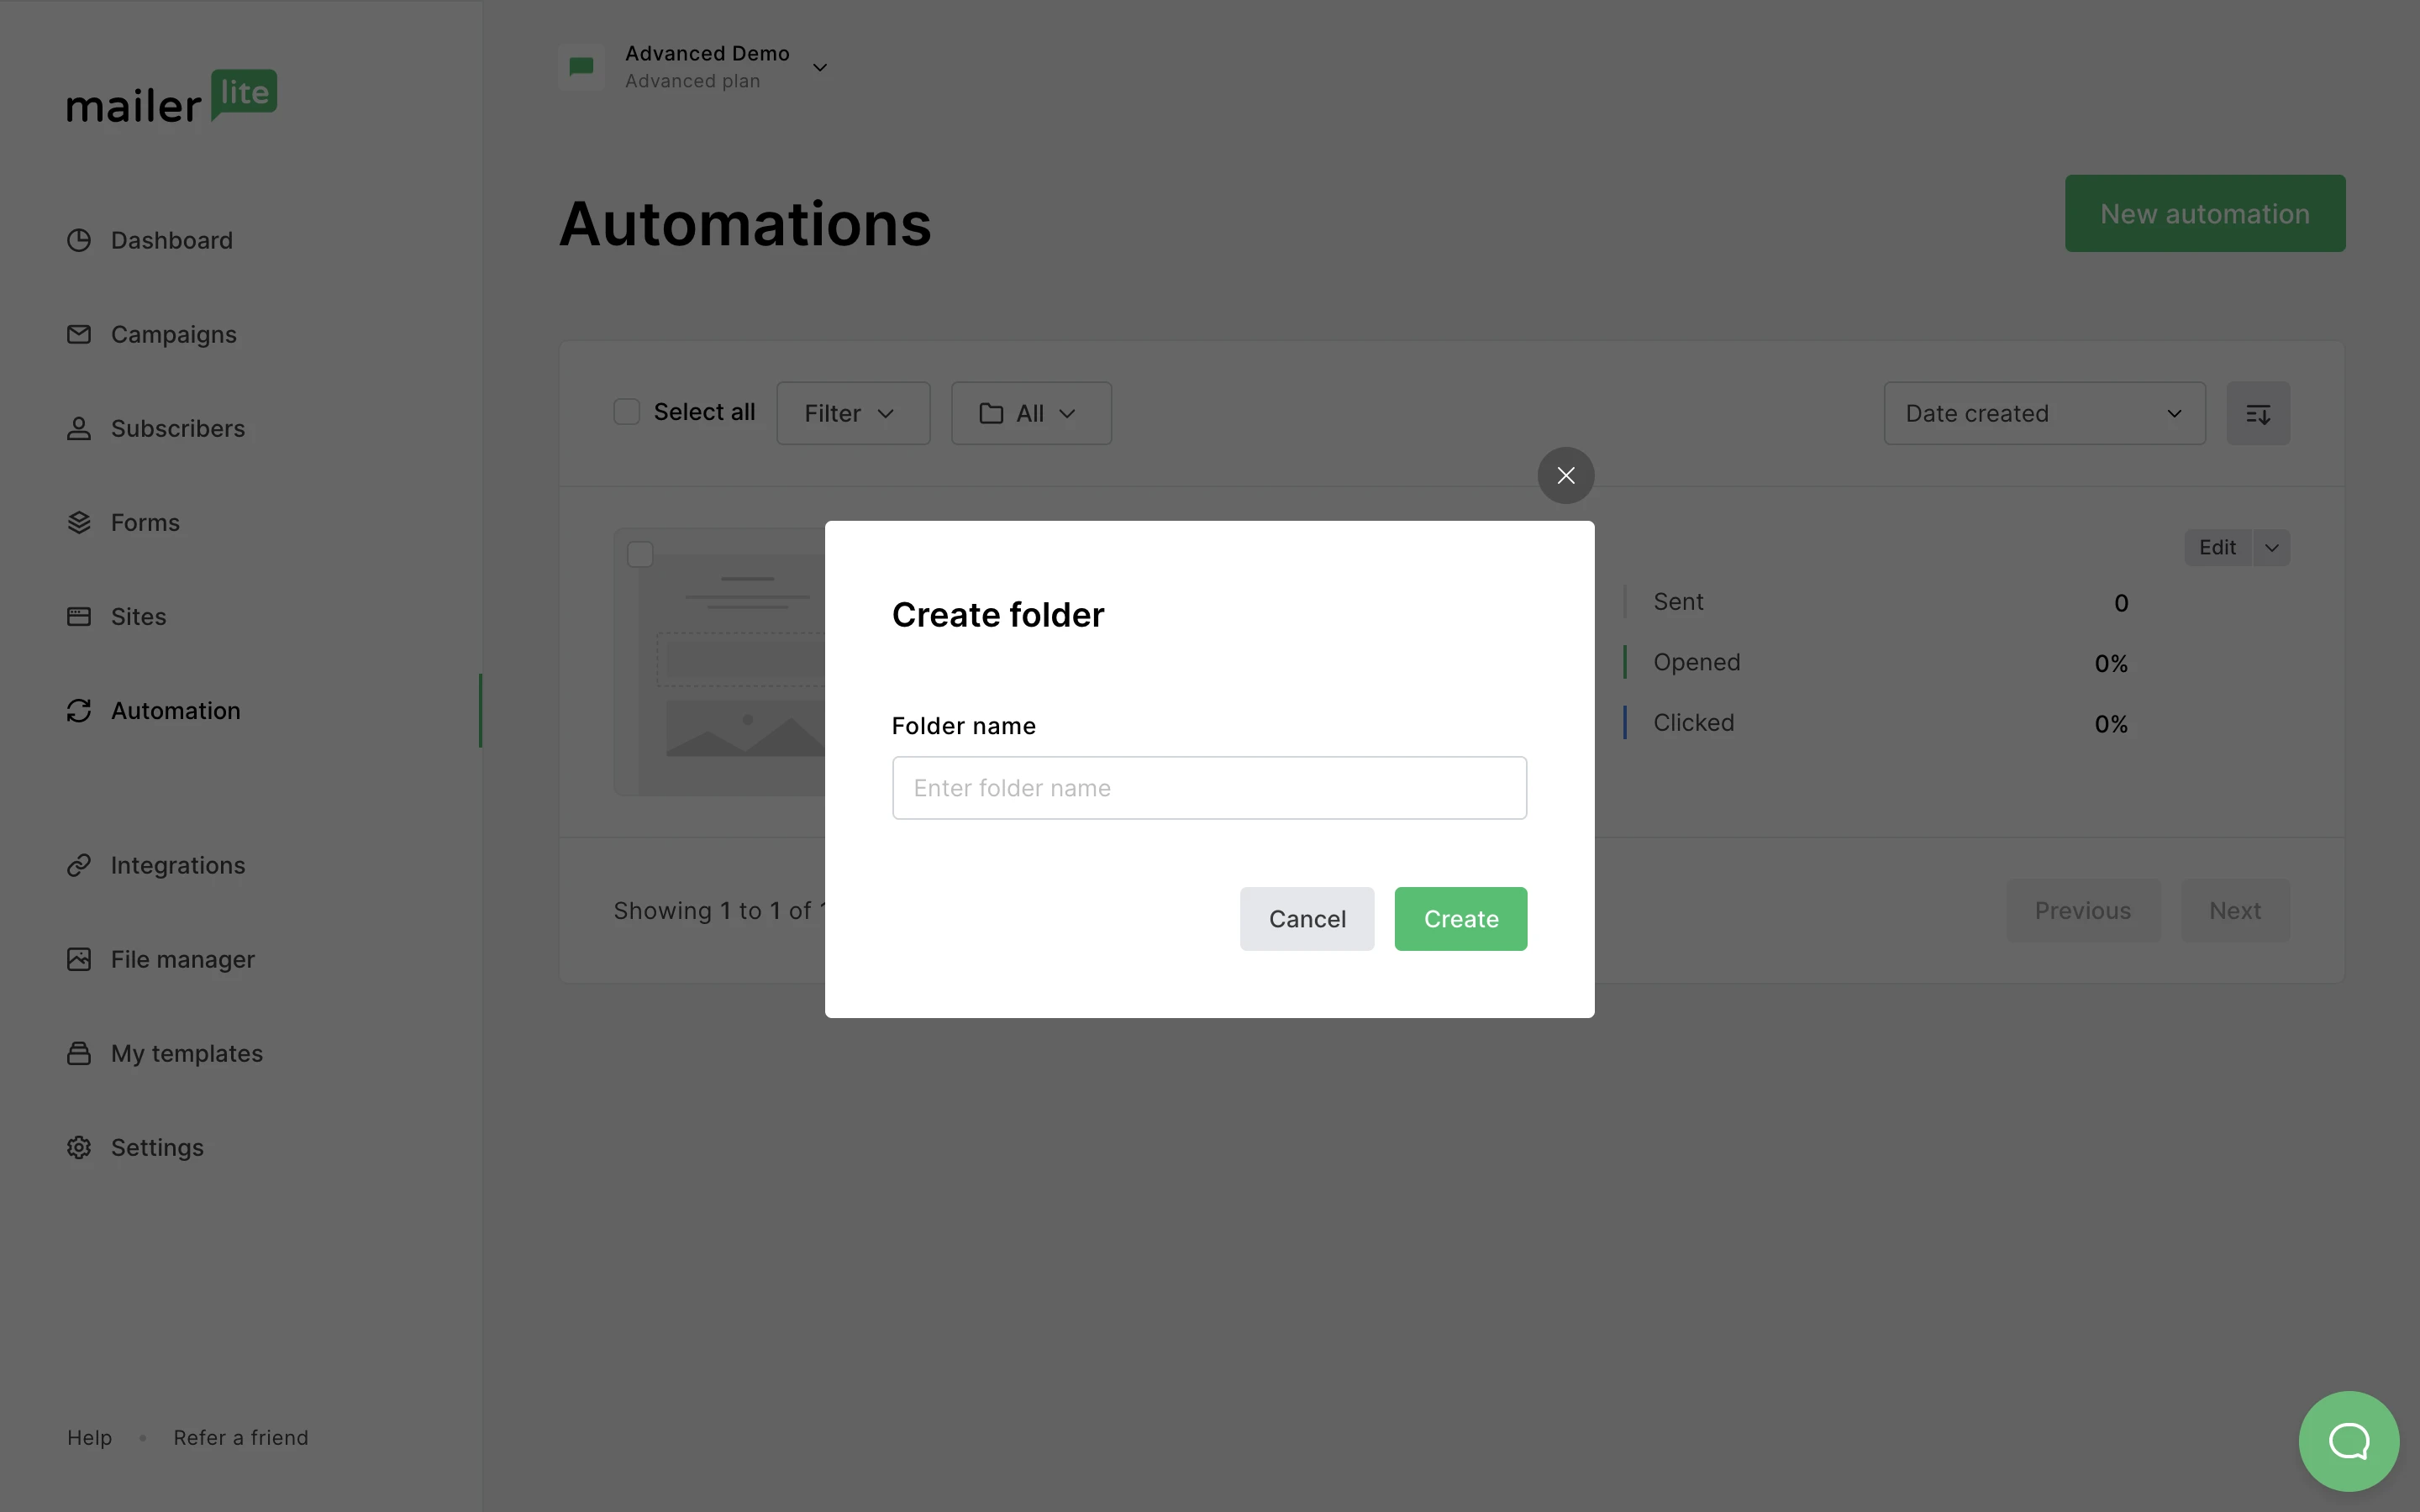
Click the Folder dropdown menu.
Click Create folder.
Once you have created a new folder, move the workflows of your choice into it by following these steps:
Navigate to the Automations page.
Select the workflow(s) of your choice by clicking the checkbox next to the workflow preview thumbnail.
Click the Move to dropdown menu.
Select the Folder into which you’d like to move that workflow.
How to use filters when selecting campaigns or workflows
If you have sent lots of campaigns and created lots of workflows, it might be a struggle to locate a particular one. To save time, use the Filter button to find specific campaigns or workflows.
The Filter button is located next to the Folder button.
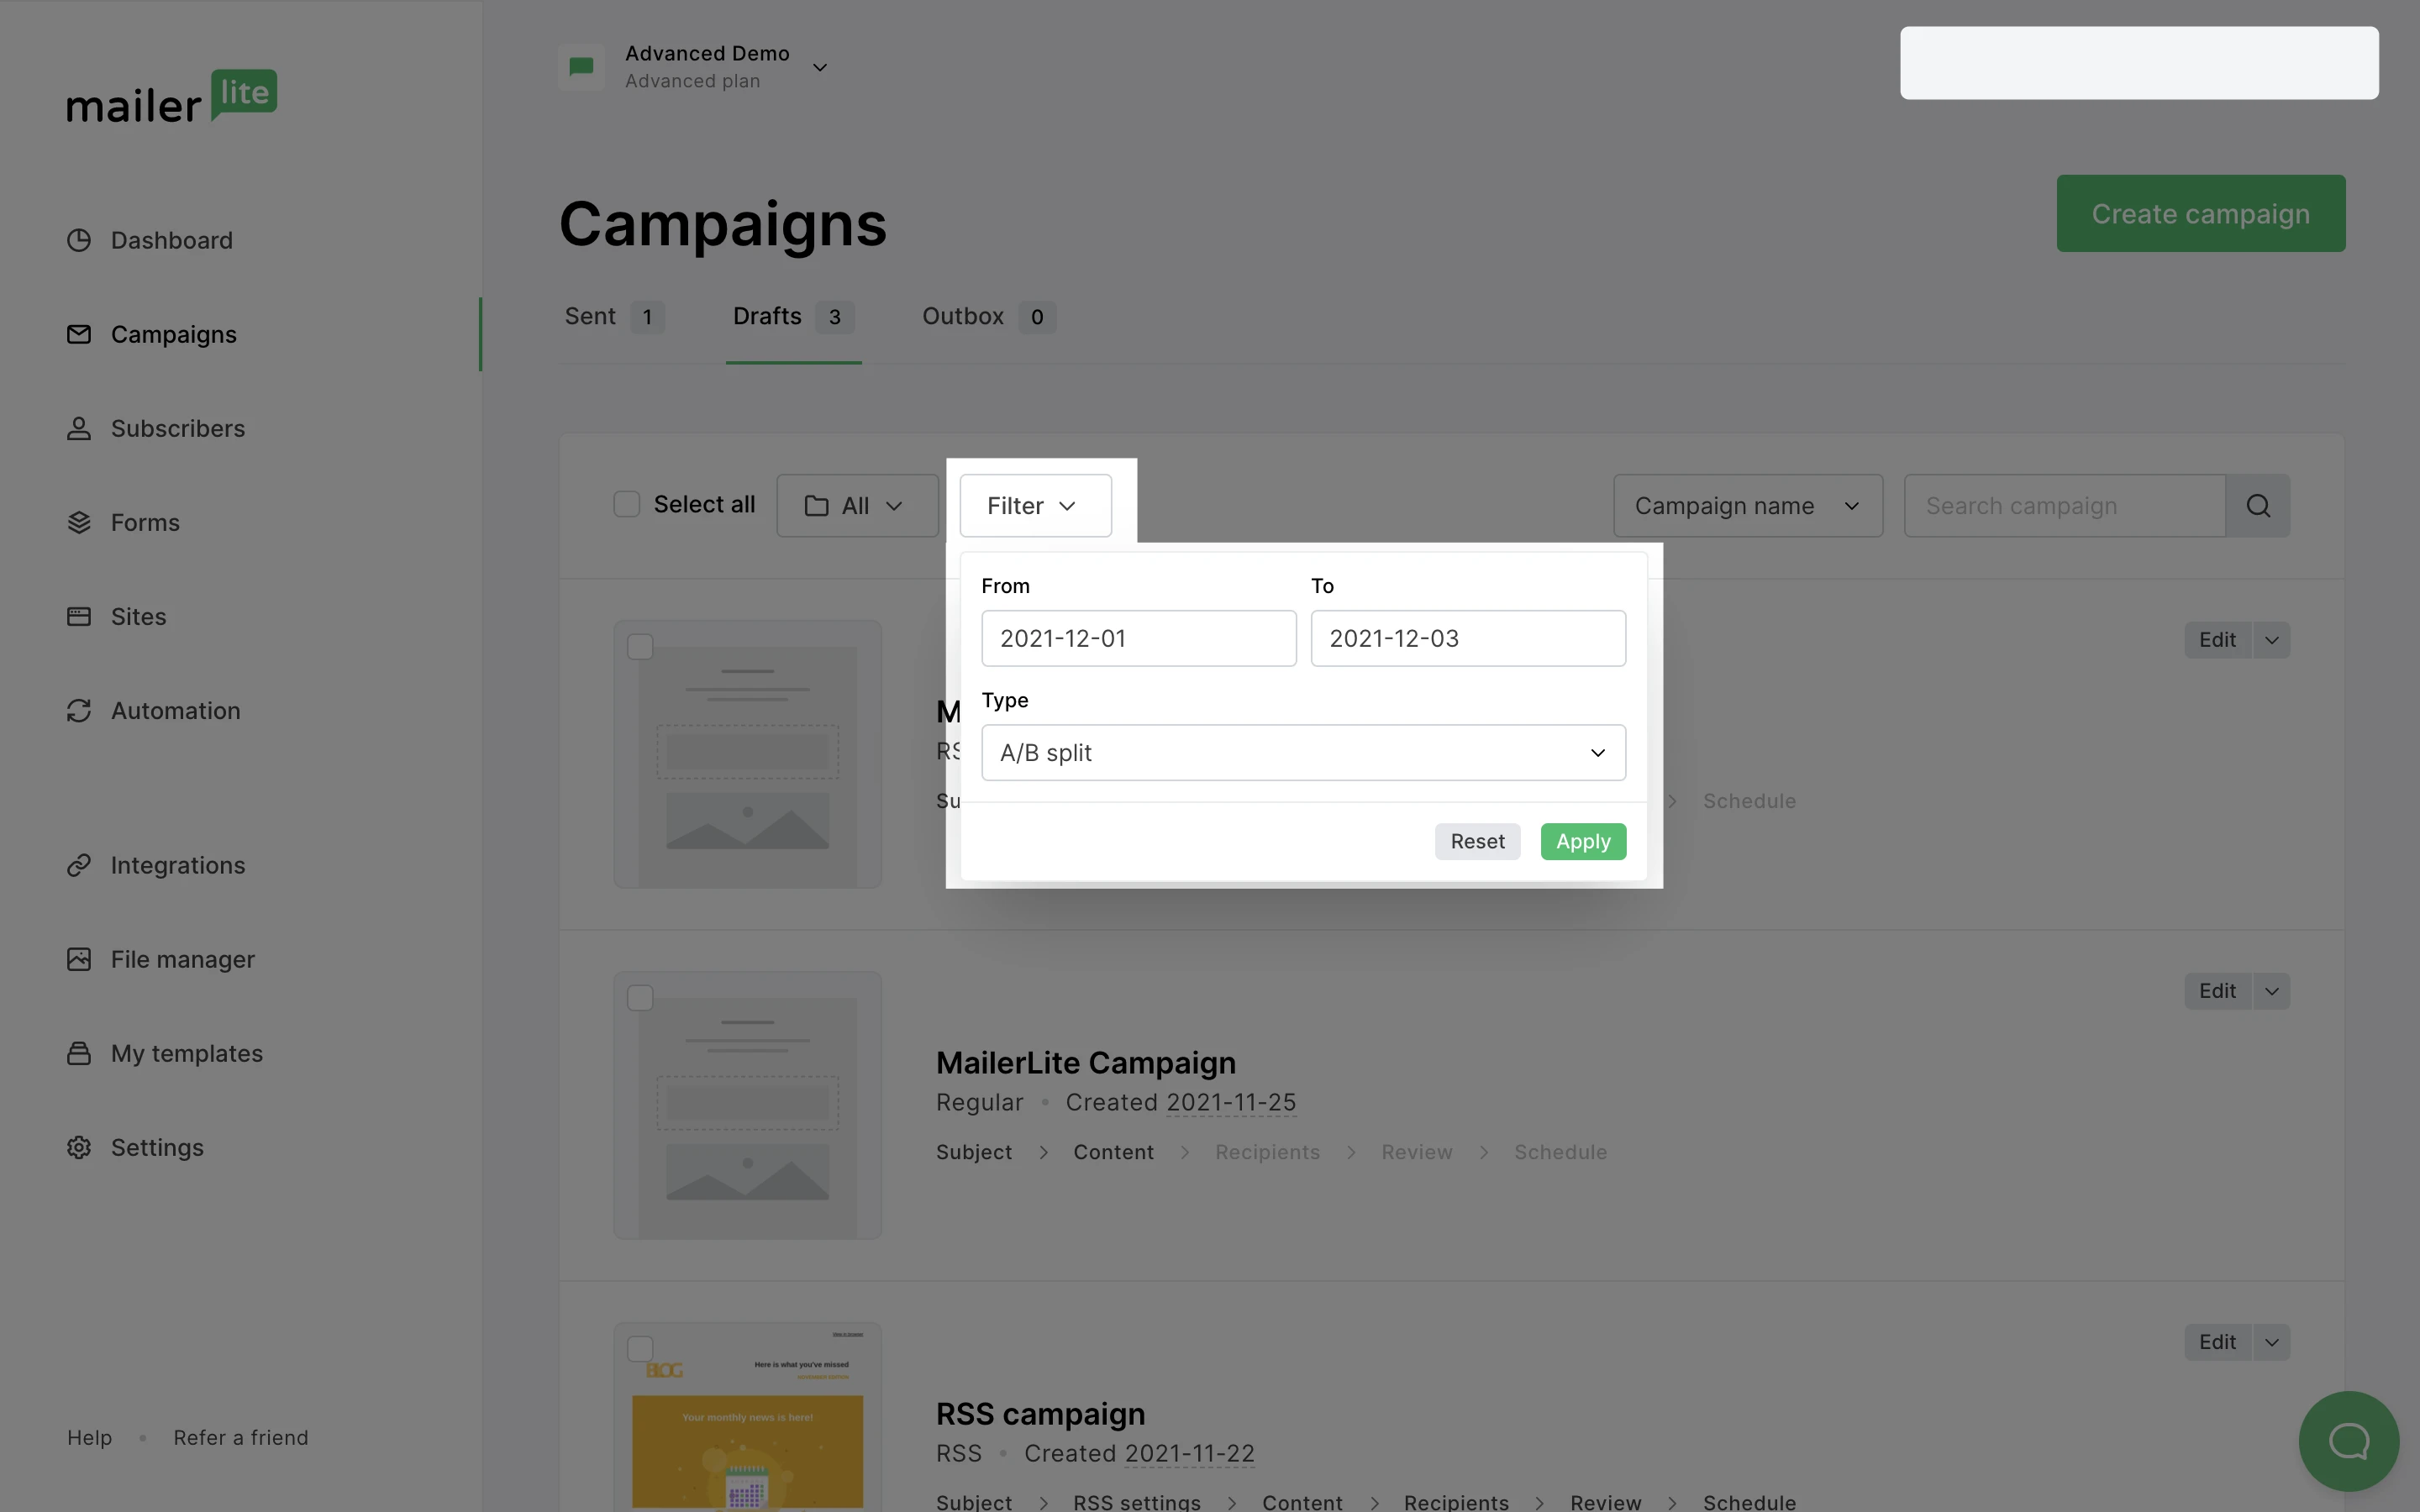
Click the Filter button to filter campaigns by time period and/or campaign type.
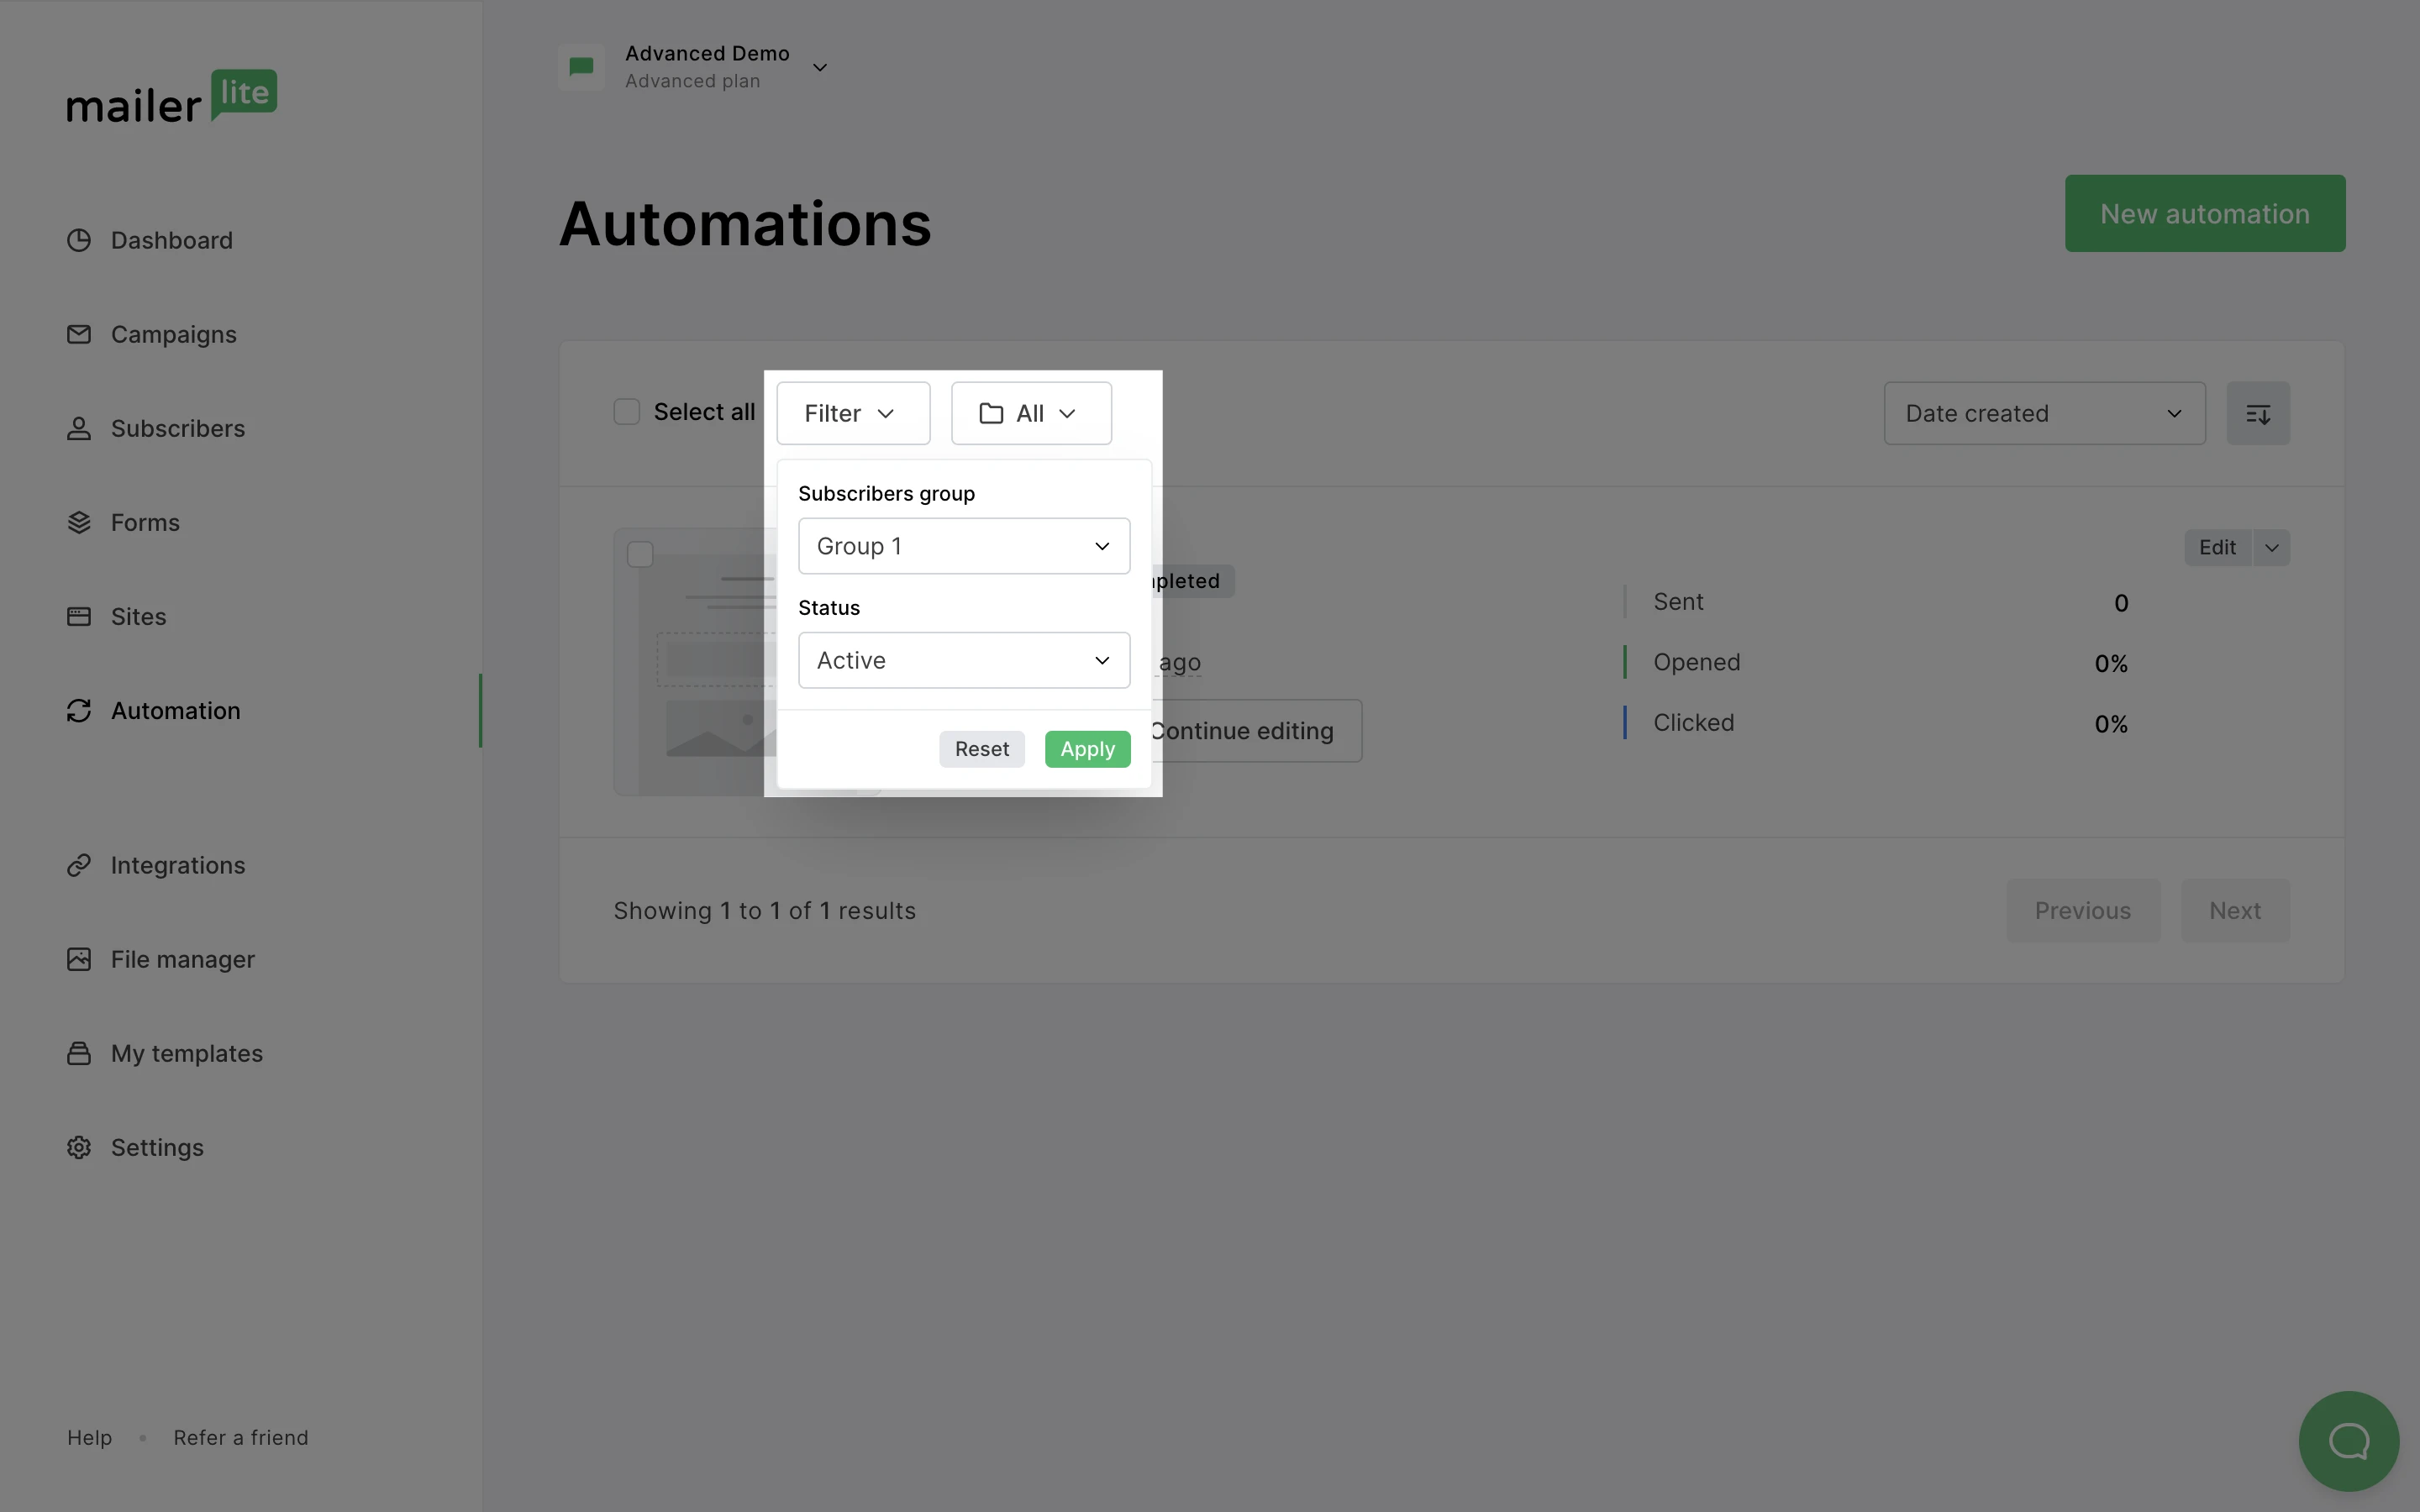
In a similar fashion, the automation filter allows you to filter your workflows by a particular subscriber group and/or the workflow status.