Note: If you're a Legacy (Classic) user, please log in to your account to access the dedicated Legacy (Classic) Help Center.
All information regarding your current plan and payment information can be found in your Account settings on the Plan and billing page. If you do not see this page or the Upgrade page, please contact the account administrator.
Plan overview
MailerLite offers four types of plans: Free, Comfort, Power, and Enterprise. You can compare the features between these plans on the Pricing page.
Comfort and Power plans can be purchased on a monthly or annual basis. Each plan offers different subscriber tiers, ranging from 500 up to 200,000 subscribers.
The Enterprise plan is aimed at larger lists. It offers 200,000+ subscribers and assistance from a dedicated Customer Success Manager.
The Free plan is automatically applied to every account. It covers your first 250 active subscribers and the ability to send up to 2,500 emails every 30-days.
Subscriber and email sending limits
Each unique, active email address counts as a subscriber towards your plan’s subscriber limit. We don’t count subscribers more than once, even if they appear in multiple groups or segments. We also don’t count unsubscribed or bounced contacts toward your limit. Learn more about subscriber statuses.
To keep things fair, we use a cumulative count during one billing cycle, meaning any email address that was Active at any point during the cycle counts toward your subscriber limit, even if it is deleted later.
Email sending limits apply based on your plan:
Free plan - Up to 2,500 monthly emails.
Comfort - 10x the ceiling of your subscriber tier each month. For example, if you have 5,000 subscribers, you’ll be able to send 50,000 monthly emails.
Power - Unlimited*, fair use policy applies.
Enterprise - Contact our Sales team for a custom offer.
A "send" counts as one email sent to one subscriber. A single campaign sent to 500 people uses 500 of your monthly sending allowance. The limit resets each month on your account registration date if you have a Free plan, or on your billing date if you have a paid plan.
How to pay
For monthly plans, you can pay with a credit card, debit card, or via PayPal. It will automatically renew on the same day each month.
For annual plans, you’ll automatically get a 10% discount. Annual plans also automatically renew until the subscription is cancelled and can be purchased with a debit card, credit card, or via PayPal.
Keep in mind:
VAT or other taxes may apply at checkout.
A 30% discount can be applied for non-profit organizations providing proof of status sent via the Contact us page.
MailerLite accepts payments in EUR and USD. Based on your billing address, one of the currencies automatically applies at checkout. Your bank will handle the conversion to your local currency during the transaction.
Note: For the first payment only, some customers will be required to complete a 3D secure authentication, which is an online protocol that helps to prevent fraud in online debit and credit card payments.
Managing your plan
You can upgrade, downgrade, cancel, or pause your plan, as well as change its duration.
🔔 Important
New pricing was introduced on June 16th, 2026. If your account is currently on a paid plan purchased before this date:
Upgrading/downgrading manually or changing your plan’s duration will move your account to the current pricing version with our new plan structure.
Automatic plan renewals (including paused plans) and upgrades/downgrades follow your current plan rate. You will be notified about any changes that may affect your auto-renewals or auto-upgrades.
Cancelling your active plan will move your account to the current pricing version.
How to upgrade your plan
Head to the Account settings page.
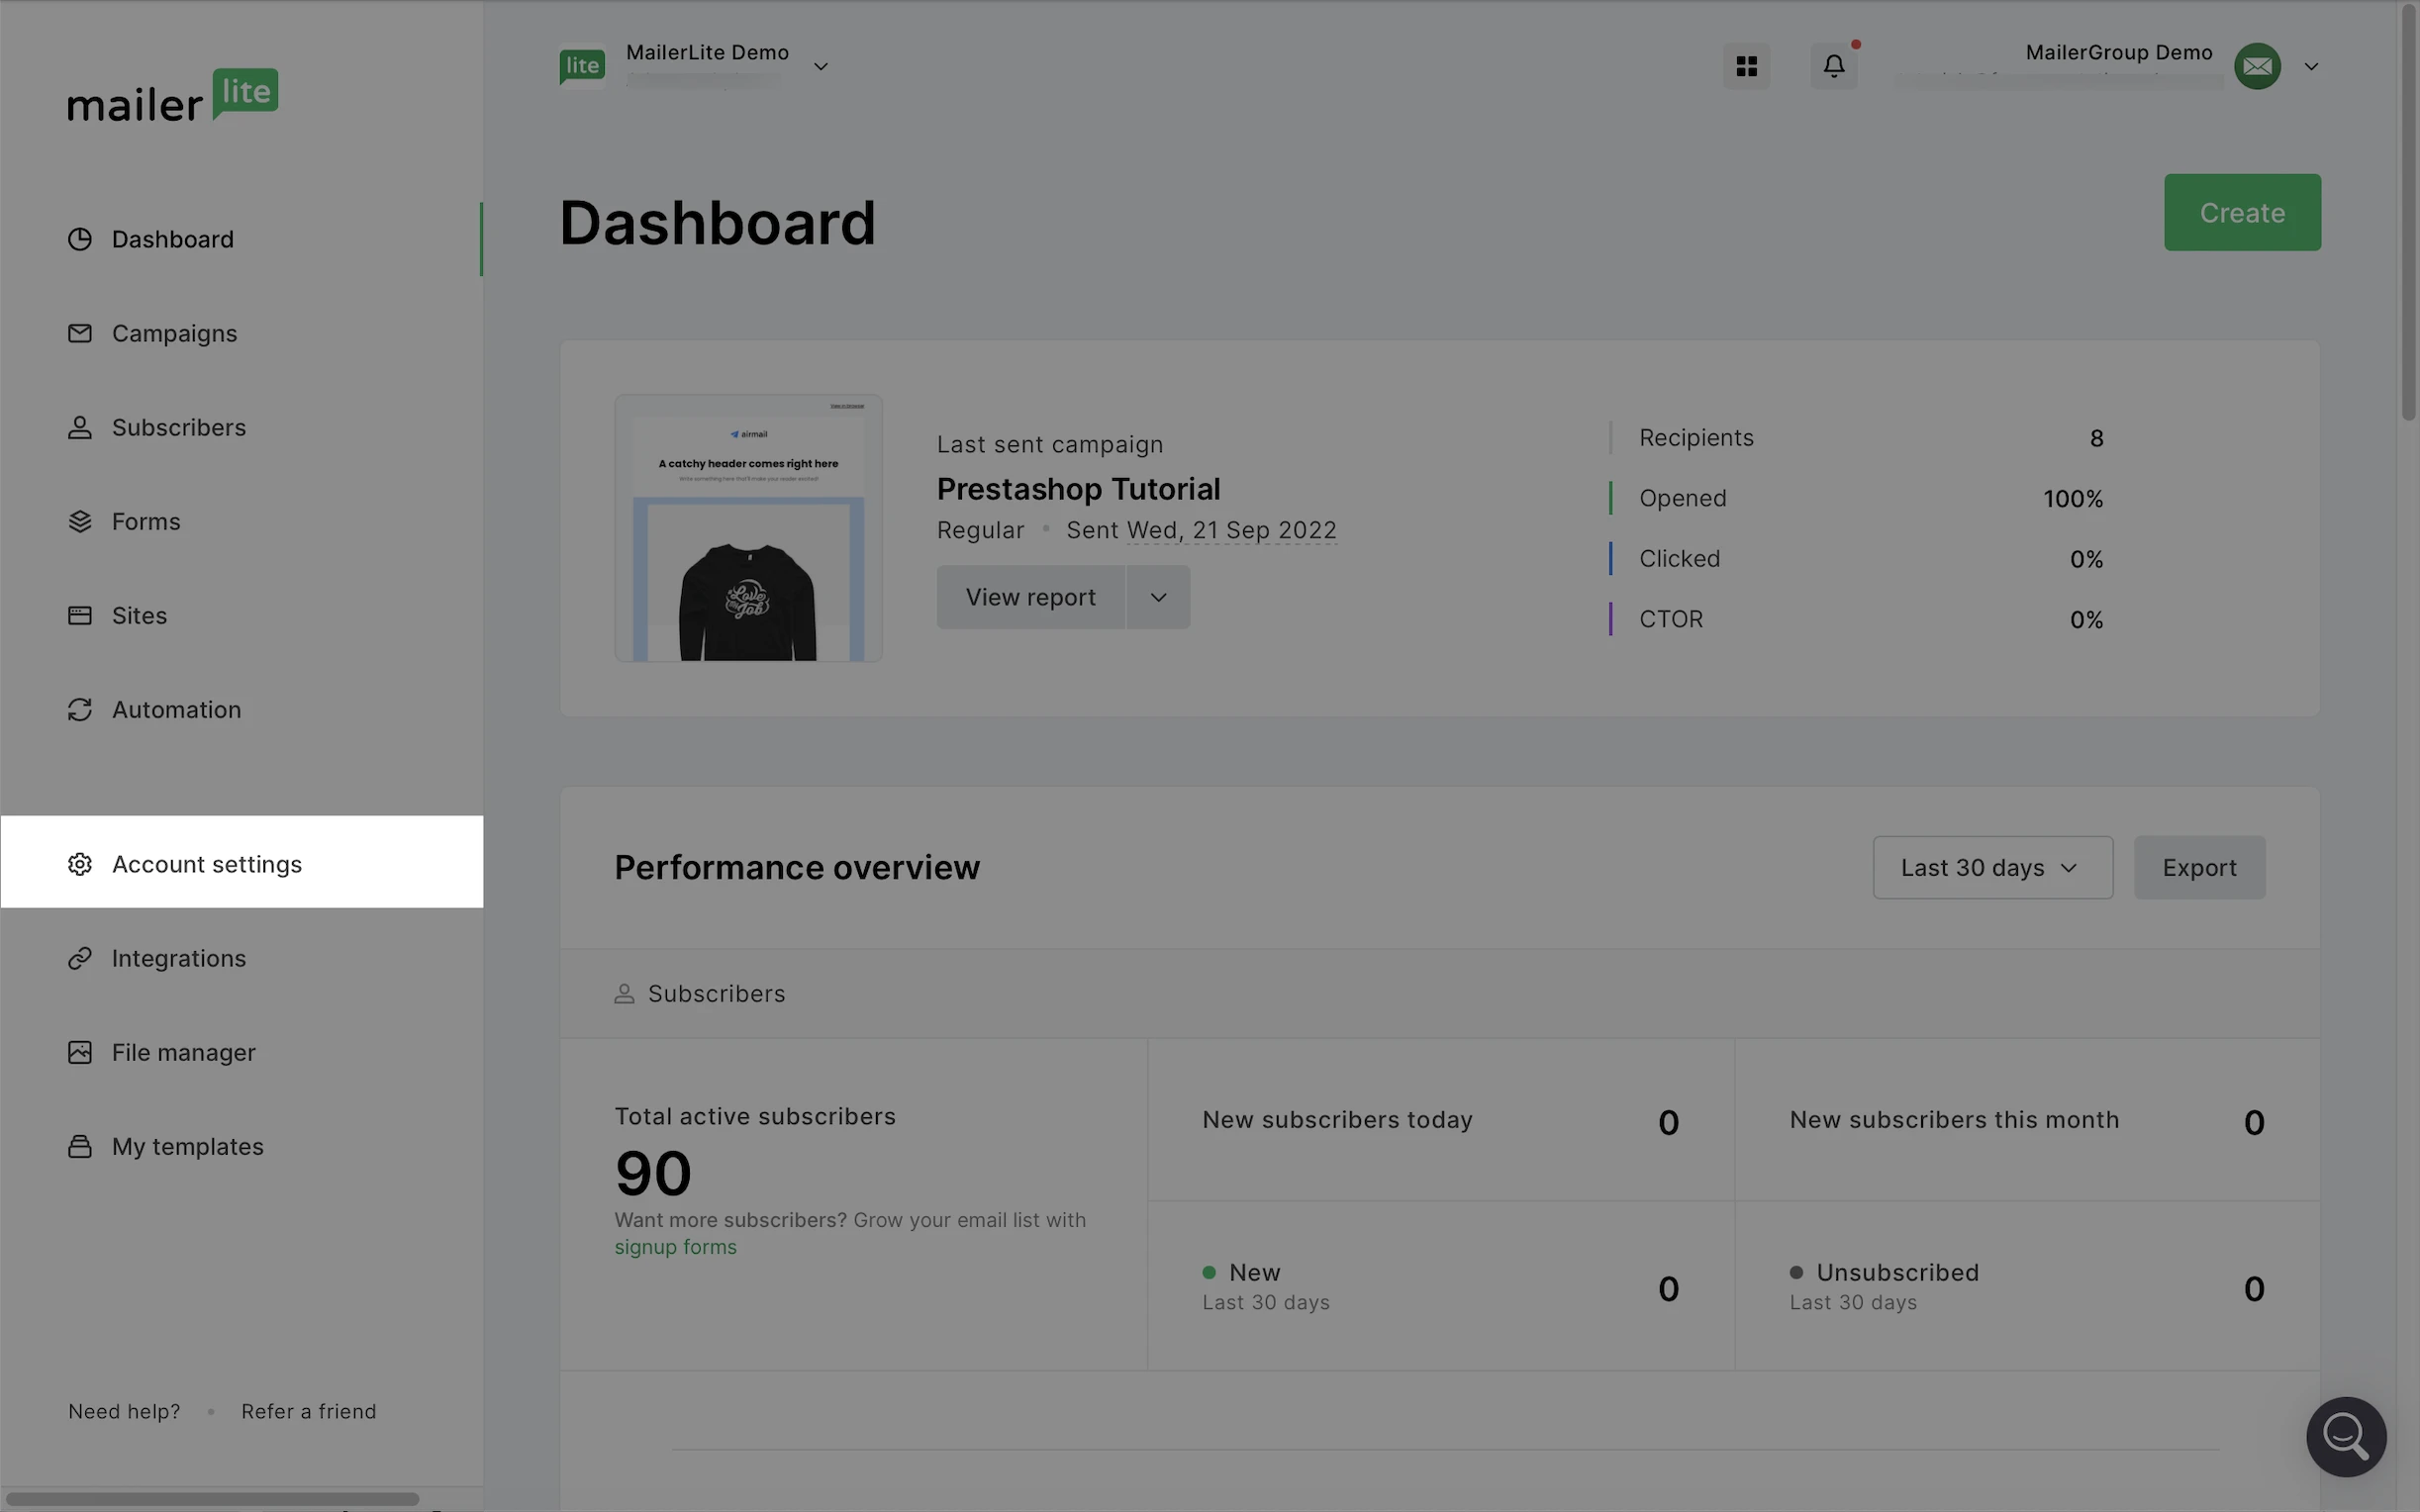
2. Choose Plan and billing.
3. Click Upgrade or Downgrade.
4. Use the dropdown menu to choose your subscriber count, review the pricing, and select the plan that best suits your needs.

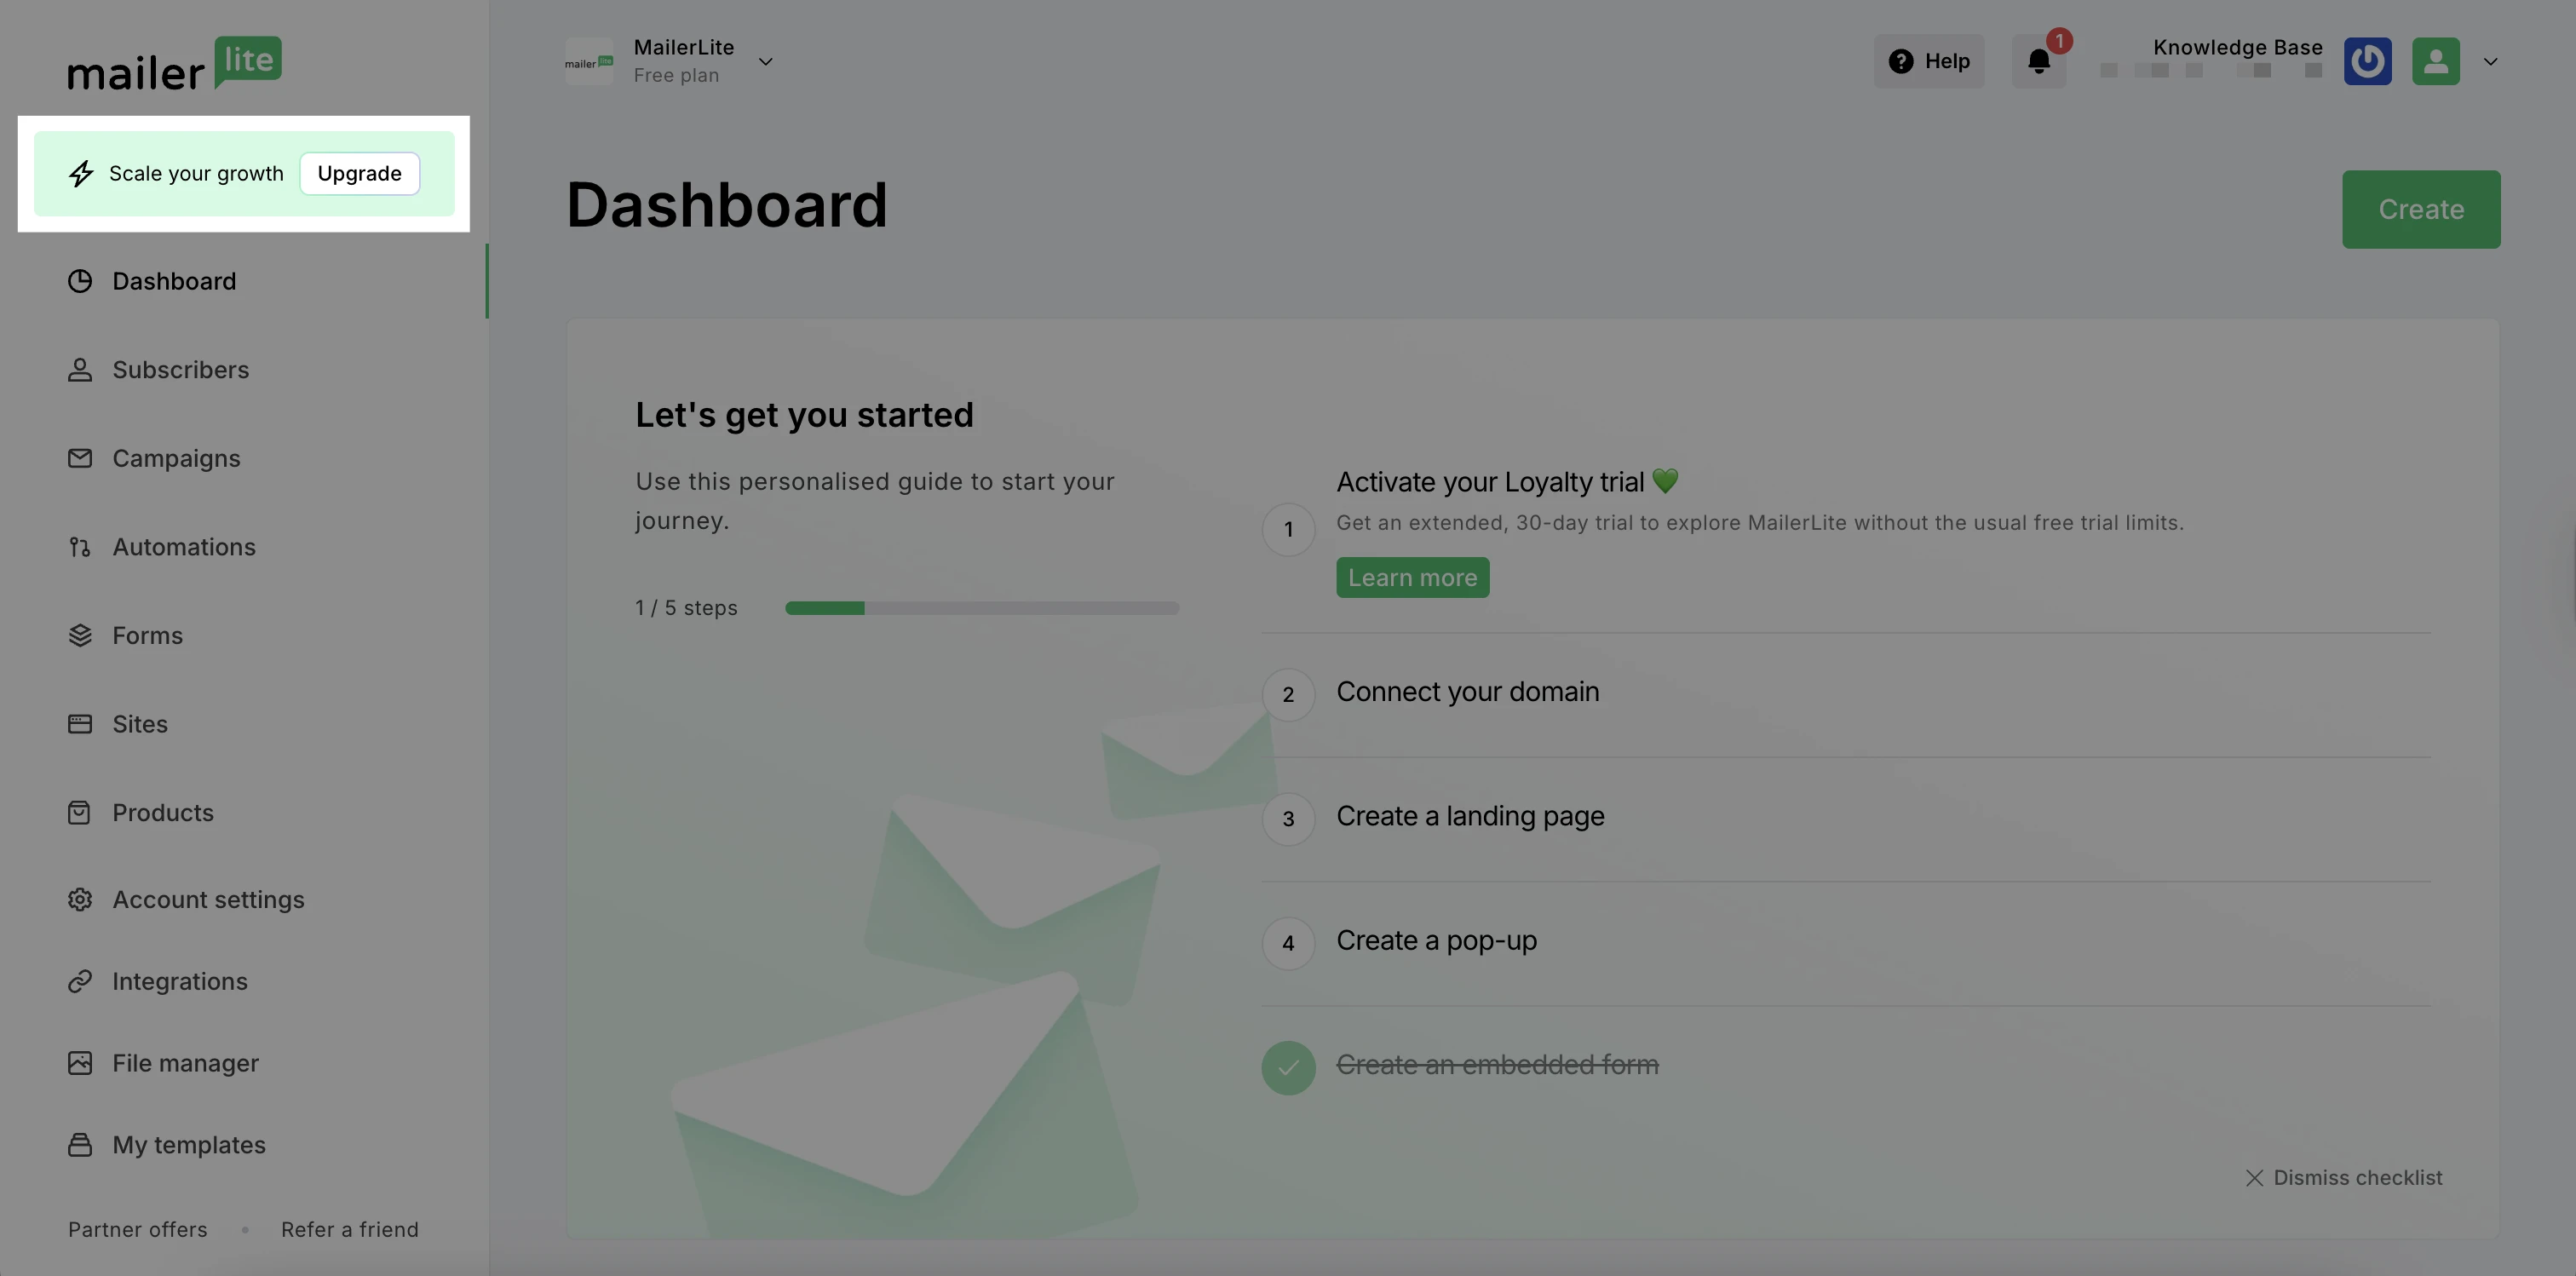
If you have an account on a Free plan, you can also upgrade via the Upgrade button available in the menu.
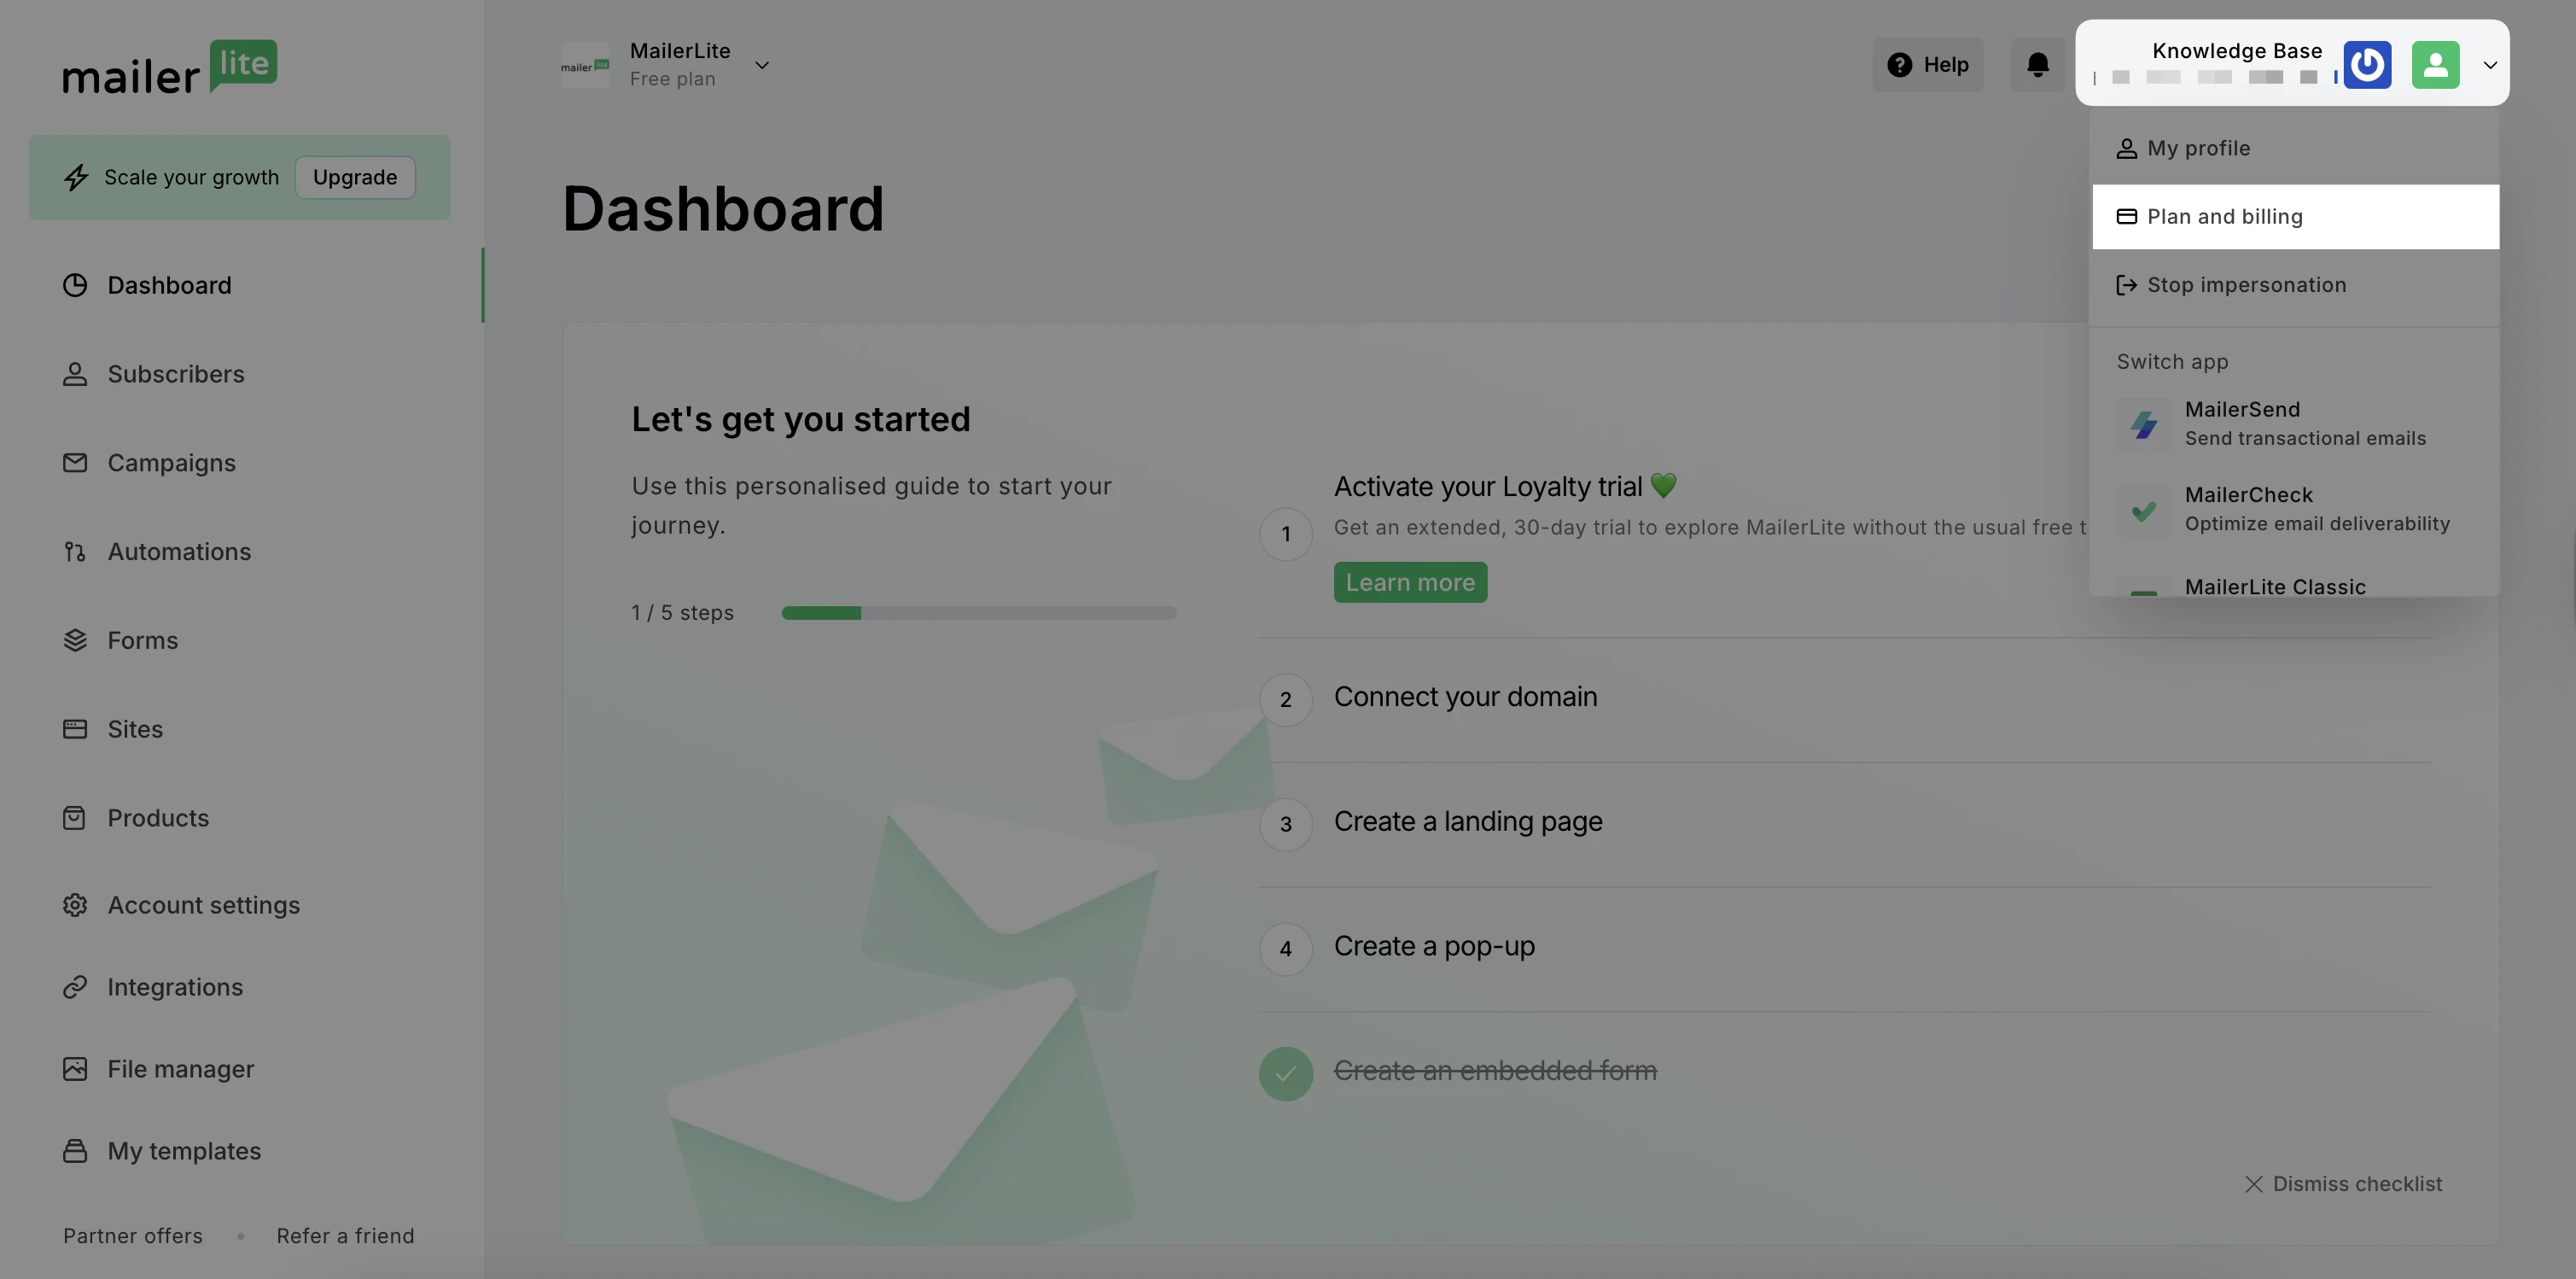
Alternatively, you can access the Plan and billing page from the dropdown menu in the upper-right corner.
Automatic Upgrades
Monthly plans
Account billing is based on:
The number of Active subscribers in your account.
The number of monthly sent emails
This means that if the number of active subscribers in your account exceeds your current plan limits, your plan will need to be upgraded. This includes deleted subscribers that were Active during the billing period.
If the number of monthly sent emails exceeds the plan limit, your plan will be upgraded as well.
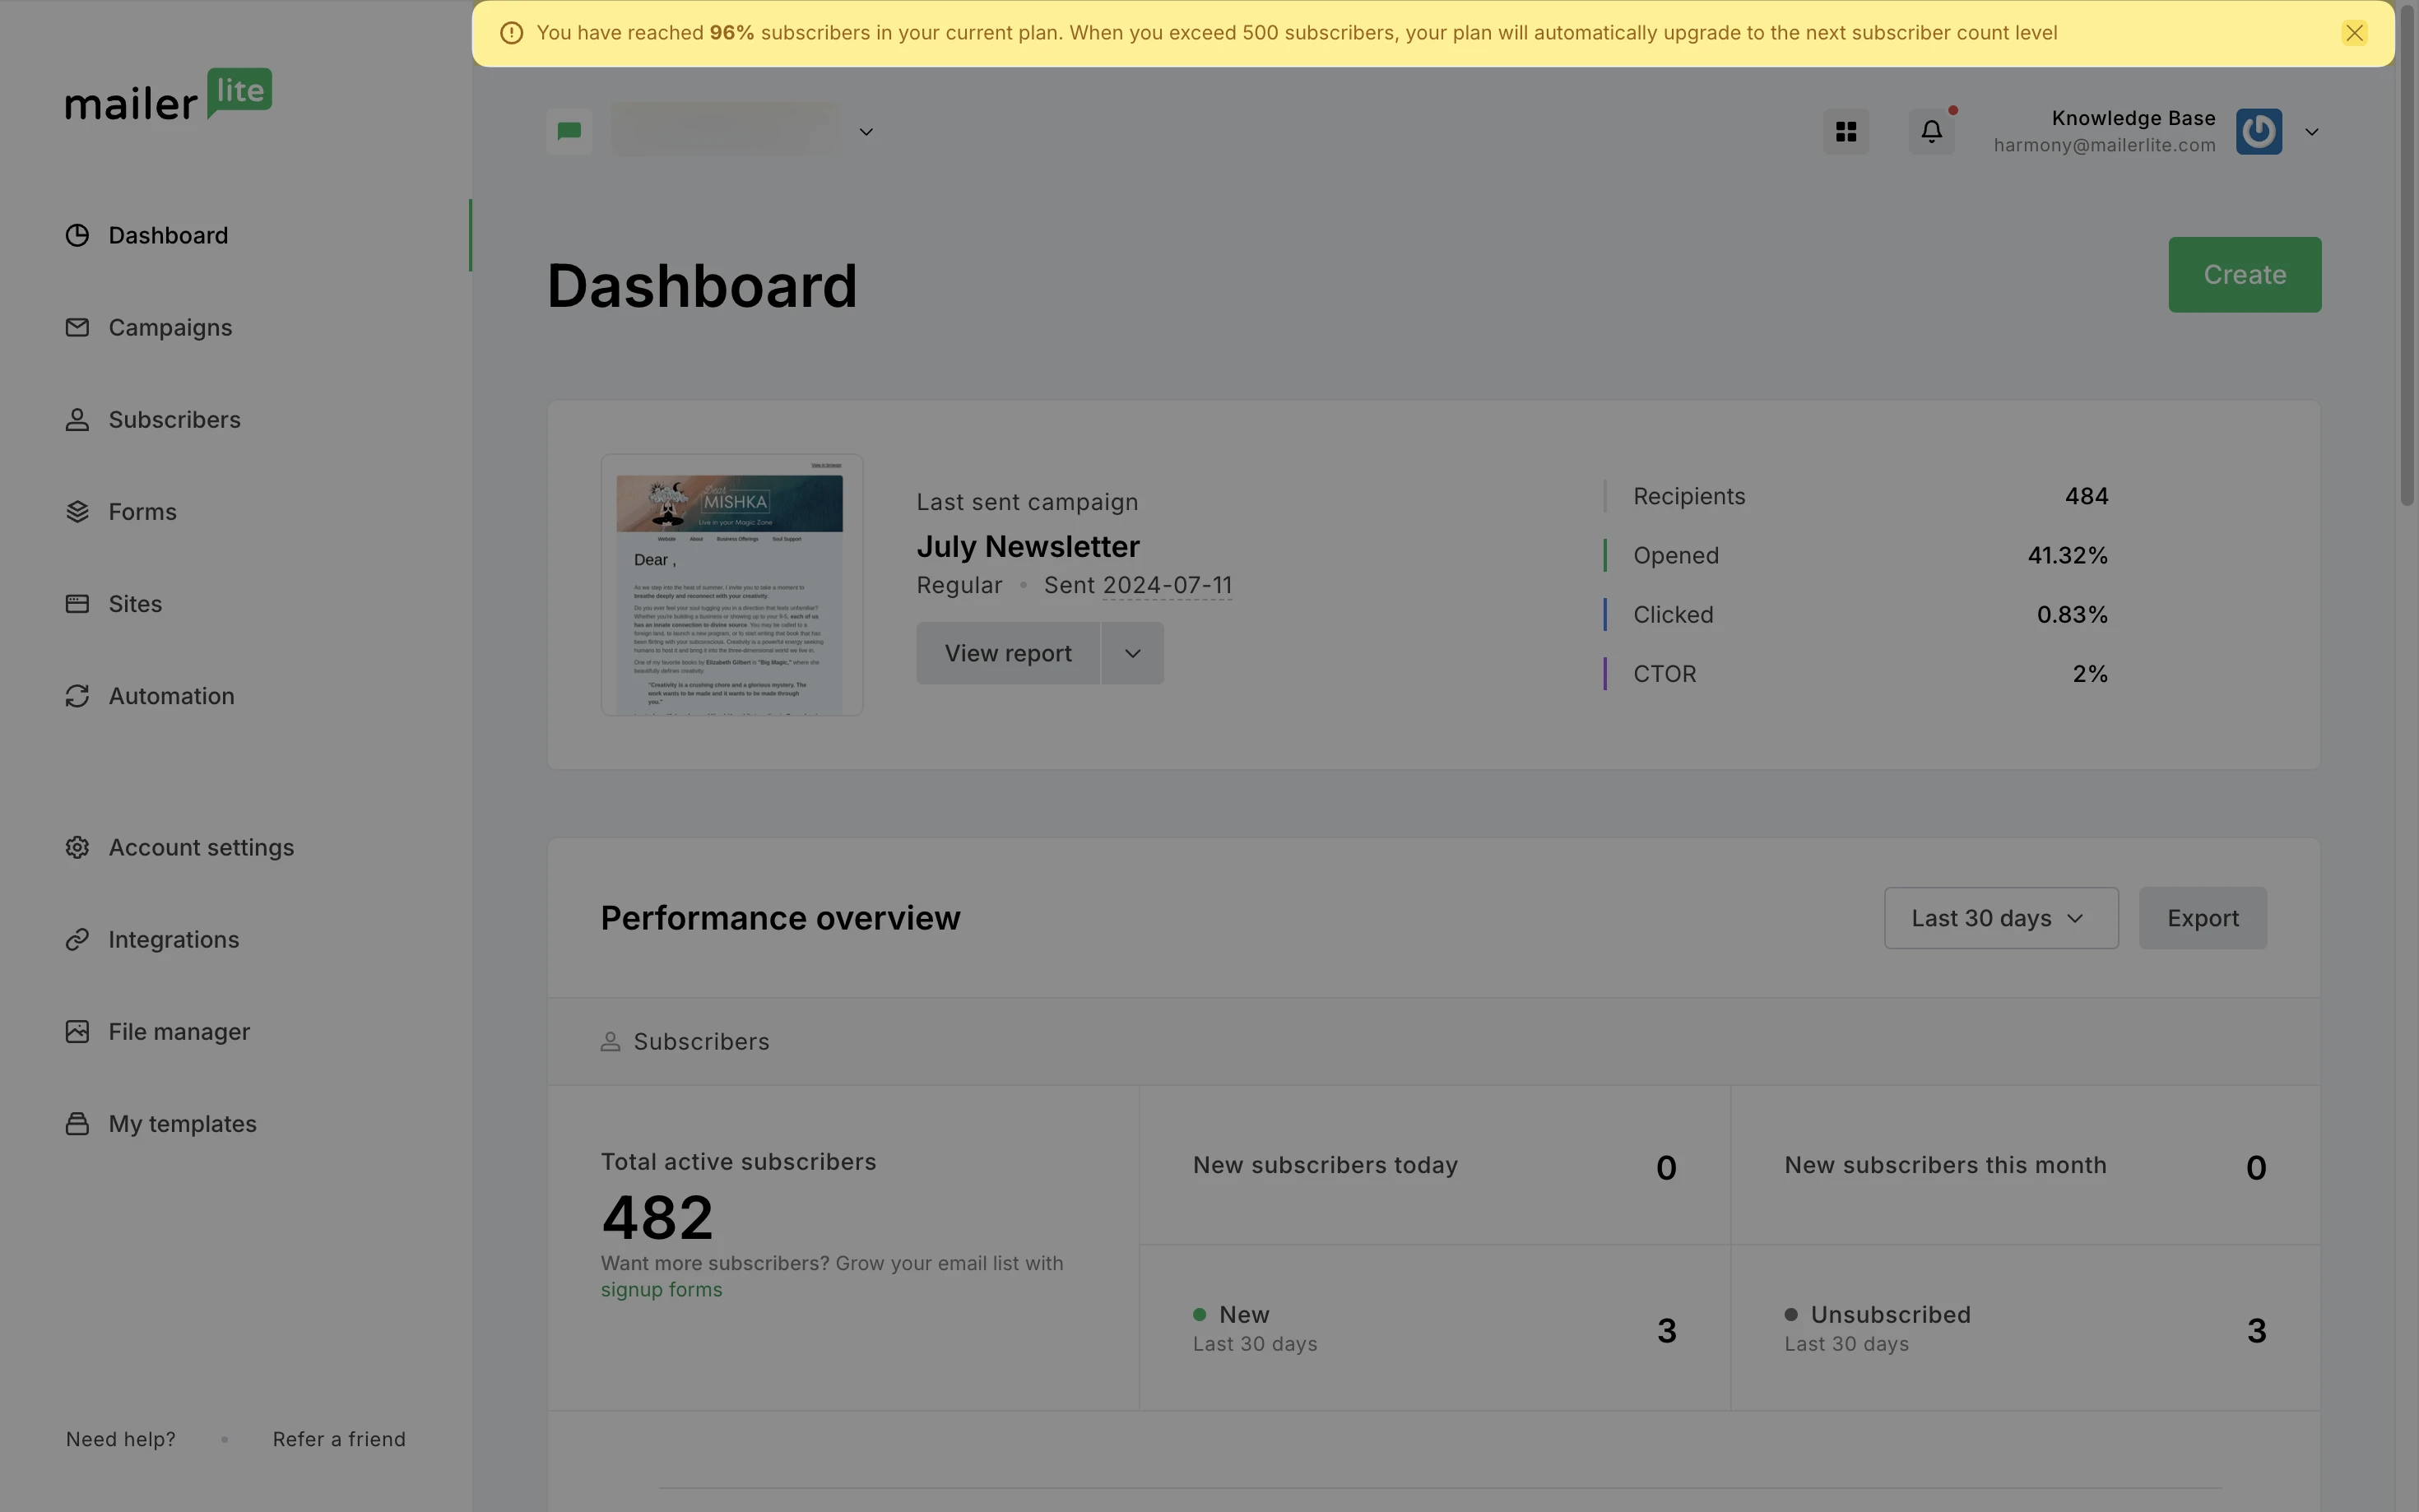
Should this happen, you will see a notification in your account advising the details of the upgrade.
At the time of the subscriber count increase, the system will calculate a pro-rated amount based on the new monthly cost and the time remaining in the current billing cycle. At the start of the new billing cycle, the credit card or PayPal account on file will be charged the new monthly amount.
Yearly plans
Unlike monthly plans, the annual plan is a one-time payment for 12 months at a discounted rate. When selecting your annual plan, you will be able to choose the subscriber limit that you need.
During the 12-month billing period, if your subscriber or sent email count increases above the limit, the system will automatically charge the account's default payment method a pro-rated amount based on the new annual cost and the time remaining in the current billing cycle.
When it's time to renew the annual plan, you can renew based on the updated number of subscribers in your account.
Canceling automatic upgrades
To cancel an upcoming upgrade:
Navigate to Account settings.
Choose Plan and Billing.
Click Cancel scheduled upgrade.
🚨 Important
Please keep in mind that deleting subscribers and re-uploading new ones to bypass the limits of your plan violates our terms of service. Check MailerLite's Terms of Use for more info.
What happens if I upgrade my plan before the expiration date?
You don’t lose any money when you upgrade to a new plan before the expiration date of your current plan.
We calculate the unused time/money from your current plan and subtract it from the full price of the new plan.
When upgrading a plan from monthly to yearly, the expiration date of the new yearly plan is adjusted based on the purchase date of the original monthly plan.
The formula used to calculate the upgrade price is:
Current plan balance - unused money from the current plan = upgrade price
What happens when a subscription is paused?
While a subscription is paused, no charges are made to your payment method for 2 months. During this time, you will no longer have access to paid features included on your paused plan level. Free plan limitations will apply.
After two months, your subscription will auto-renew. The account owner will be notified of this 5 days before the renewal date, although the subscription can be renewed any time after it is paused.
It is only possible to pause a subscription once per calendar year.
Switching between annual and monthly plans
You have the option to switch from a monthly plan to an annual plan, and from an annual plan to a monthly plan. Whichever plan you choose, the expiration date will be extended accordingly.
Monthly plan to Annual plan
When switching from a monthly plan to an annual plan, the system will calculate the annual cost based on the number of active subscribers in your account and the amount of time left in your monthly billing cycle.
The annual plan will take effect immediately after checkout.
This is our regular policy when upgrading your billing from monthly to annual. However, some special offers and promotions may have different rules. When upgrading your plan with a special offer, please refer to the applicable offer details for any exceptions and full conditions.
Annual plan to monthly plan
Yearly to lower monthly plan:
• The plan change will only take effect at the end of the current yearly billing cycle.
• The account won’t automatically upgrade or downgrade based on usage during this period.
Yearly to higher monthly plan:
• The update will be applied immediately.
• For the first monthly invoice, a discount for any unused credit from the current month will be applied.
• Automatic renewals and upgrades will continue to function as usual.
Switching between annual plans
If you switch to a higher annual plan, the upgrade will be applied immediately, and the system will calculate the pro-rated amount based on the unused time/money from your current plan.
If you switch to a lower annual plan, the plan change will take effect at the end of your current annual billing cycle.
How to cancel or downgrade a plan
When you cancel your plan, you will keep your current plan until it expires, but you will not be automatically charged for the next month.
Canceling monthly plans
When downgrading, your original plan will finish the billing cycle (monthly or annual), then the new (lesser) plan will start at the next billing cycle.
To cancel a monthly plan:
Head to Account Settings, then Plan and billing.
Click on the Upgrade or downgrade button.
Select the Free plan by clicking on Cancel subscription.
Downgrading
To downgrade a monthly plan:
Head to Account Settings, then Plan and billing.
Click on the Upgrade or downgrade button.
Select the new plan by clicking Downgrade.
The new downgraded plan will take effect once the current plan has expired.
Downgrading to a Free plan
Users
If you have a paid account with more than two users, downgrading to the Free plan will cause the extra users to be removed automatically. This is because the Free plan allows two users per account.
If a new plan is purchased, more users can be added.
Subscriber limit
Keep in mind that the Free plan has a limit of 250 active subscribers. This means that once the account is downgraded to Free, you will need to keep the active subscriber limit under 250 to ensure the downgrade is successful.
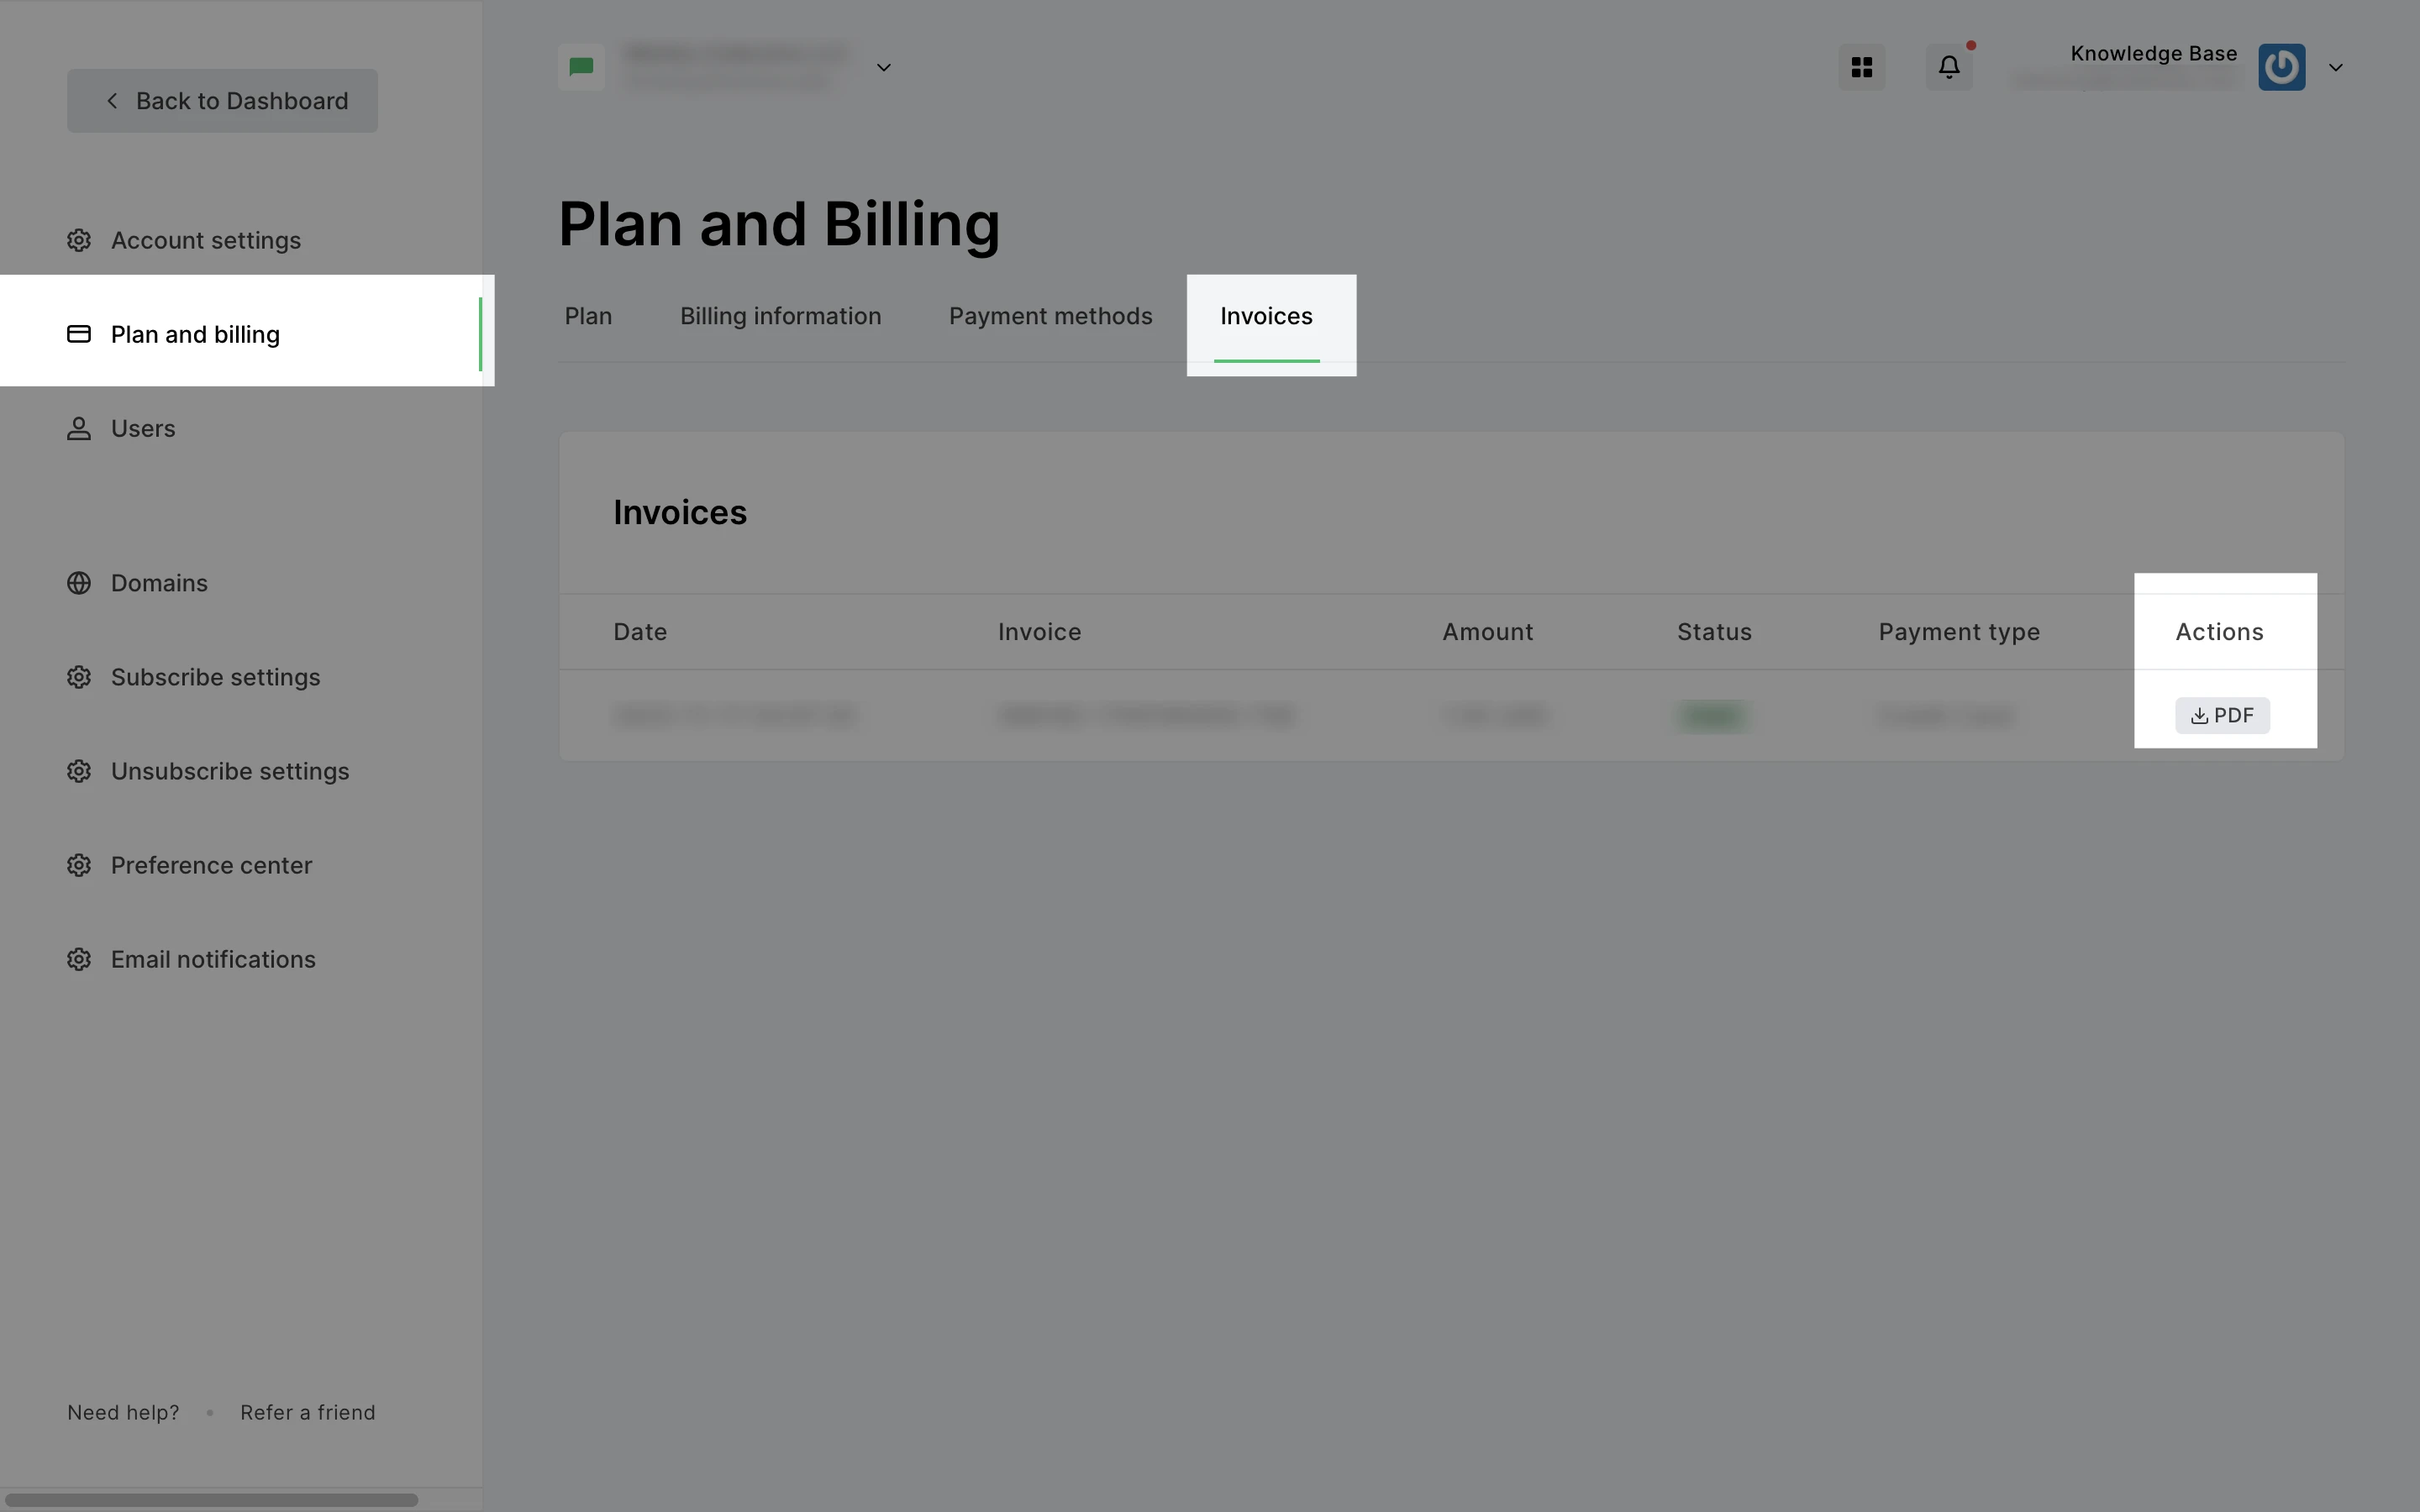
Invoices
To locate your invoice statements from MailerLite:
Go to Account settings.
Click Plan and Billing.
Switch to the Invoices tab.
Here, you can view your past invoices, as well as download the file as a PDF.
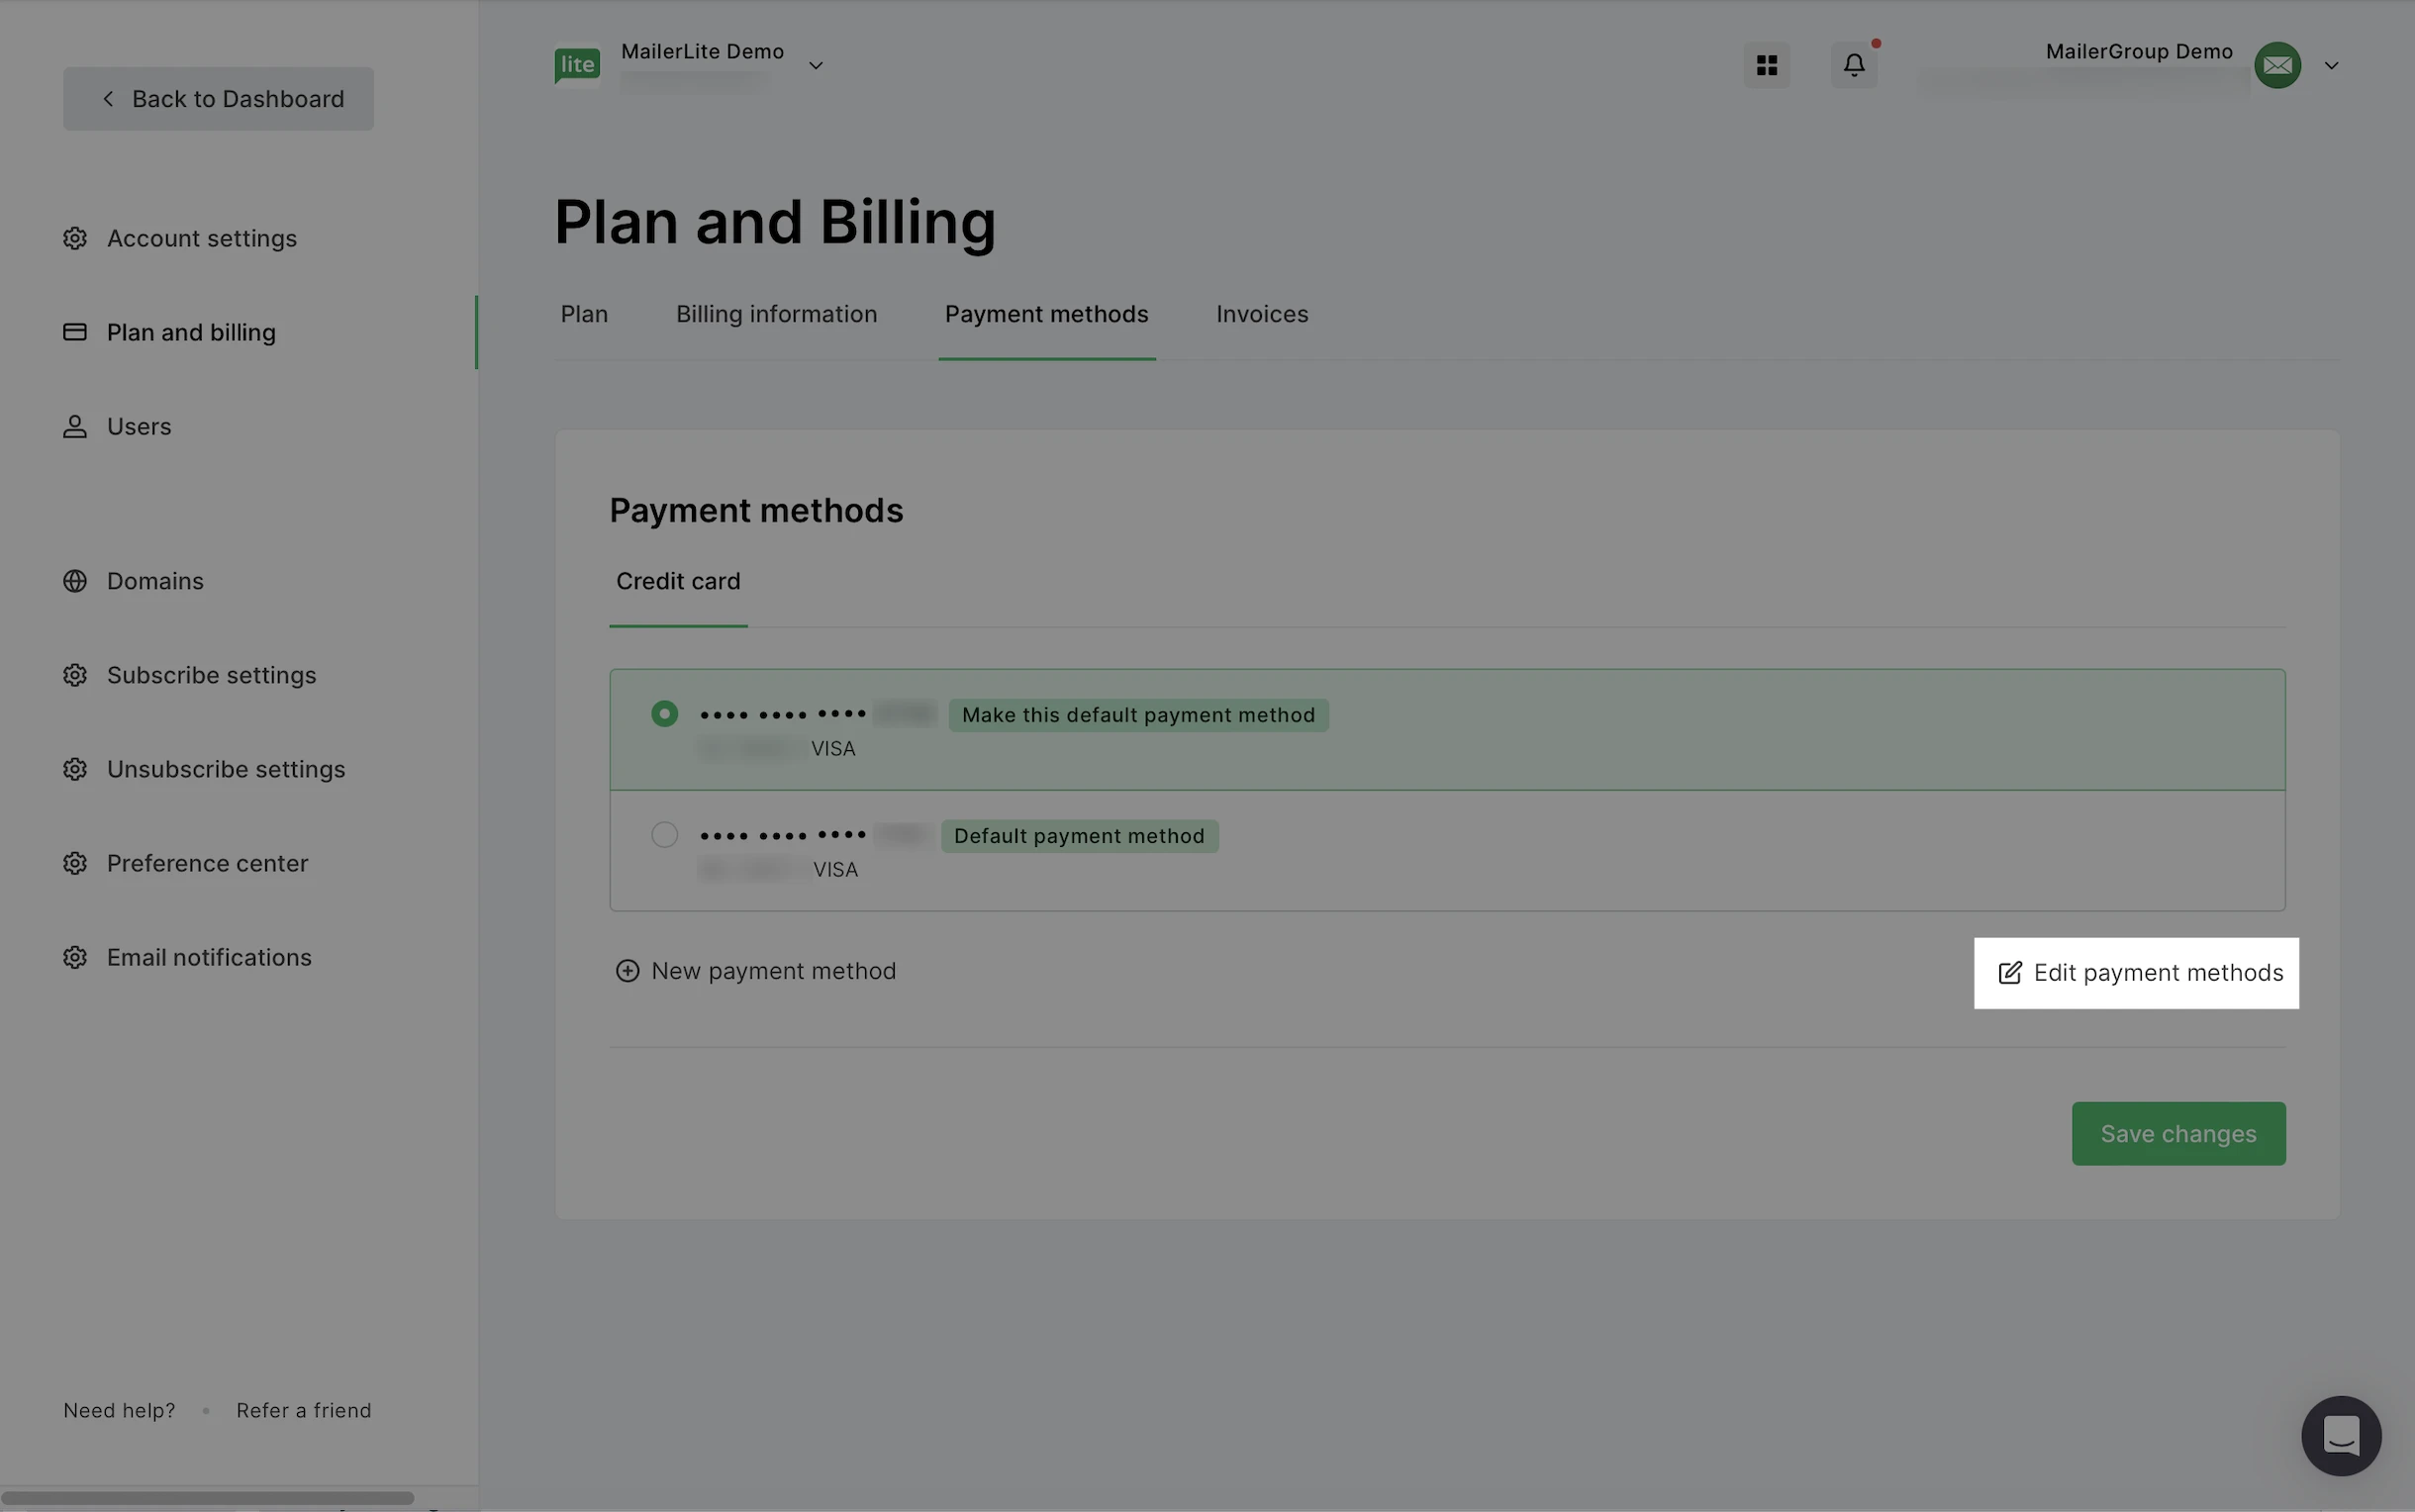
Payment methods
Our system accepts the following payment methods:
Mastercard
Visa
American Express
China UnionPay (CUP)
Discover & Diners Club
Japan Credit Bureau (JCB)
To manage your payment methods:
Go to Account settings.
Click Plan and Billing.
Switch to the Payment methods tab.
If you have more than one payment method added, you will have the option to switch the default payment method as well as remove a card.
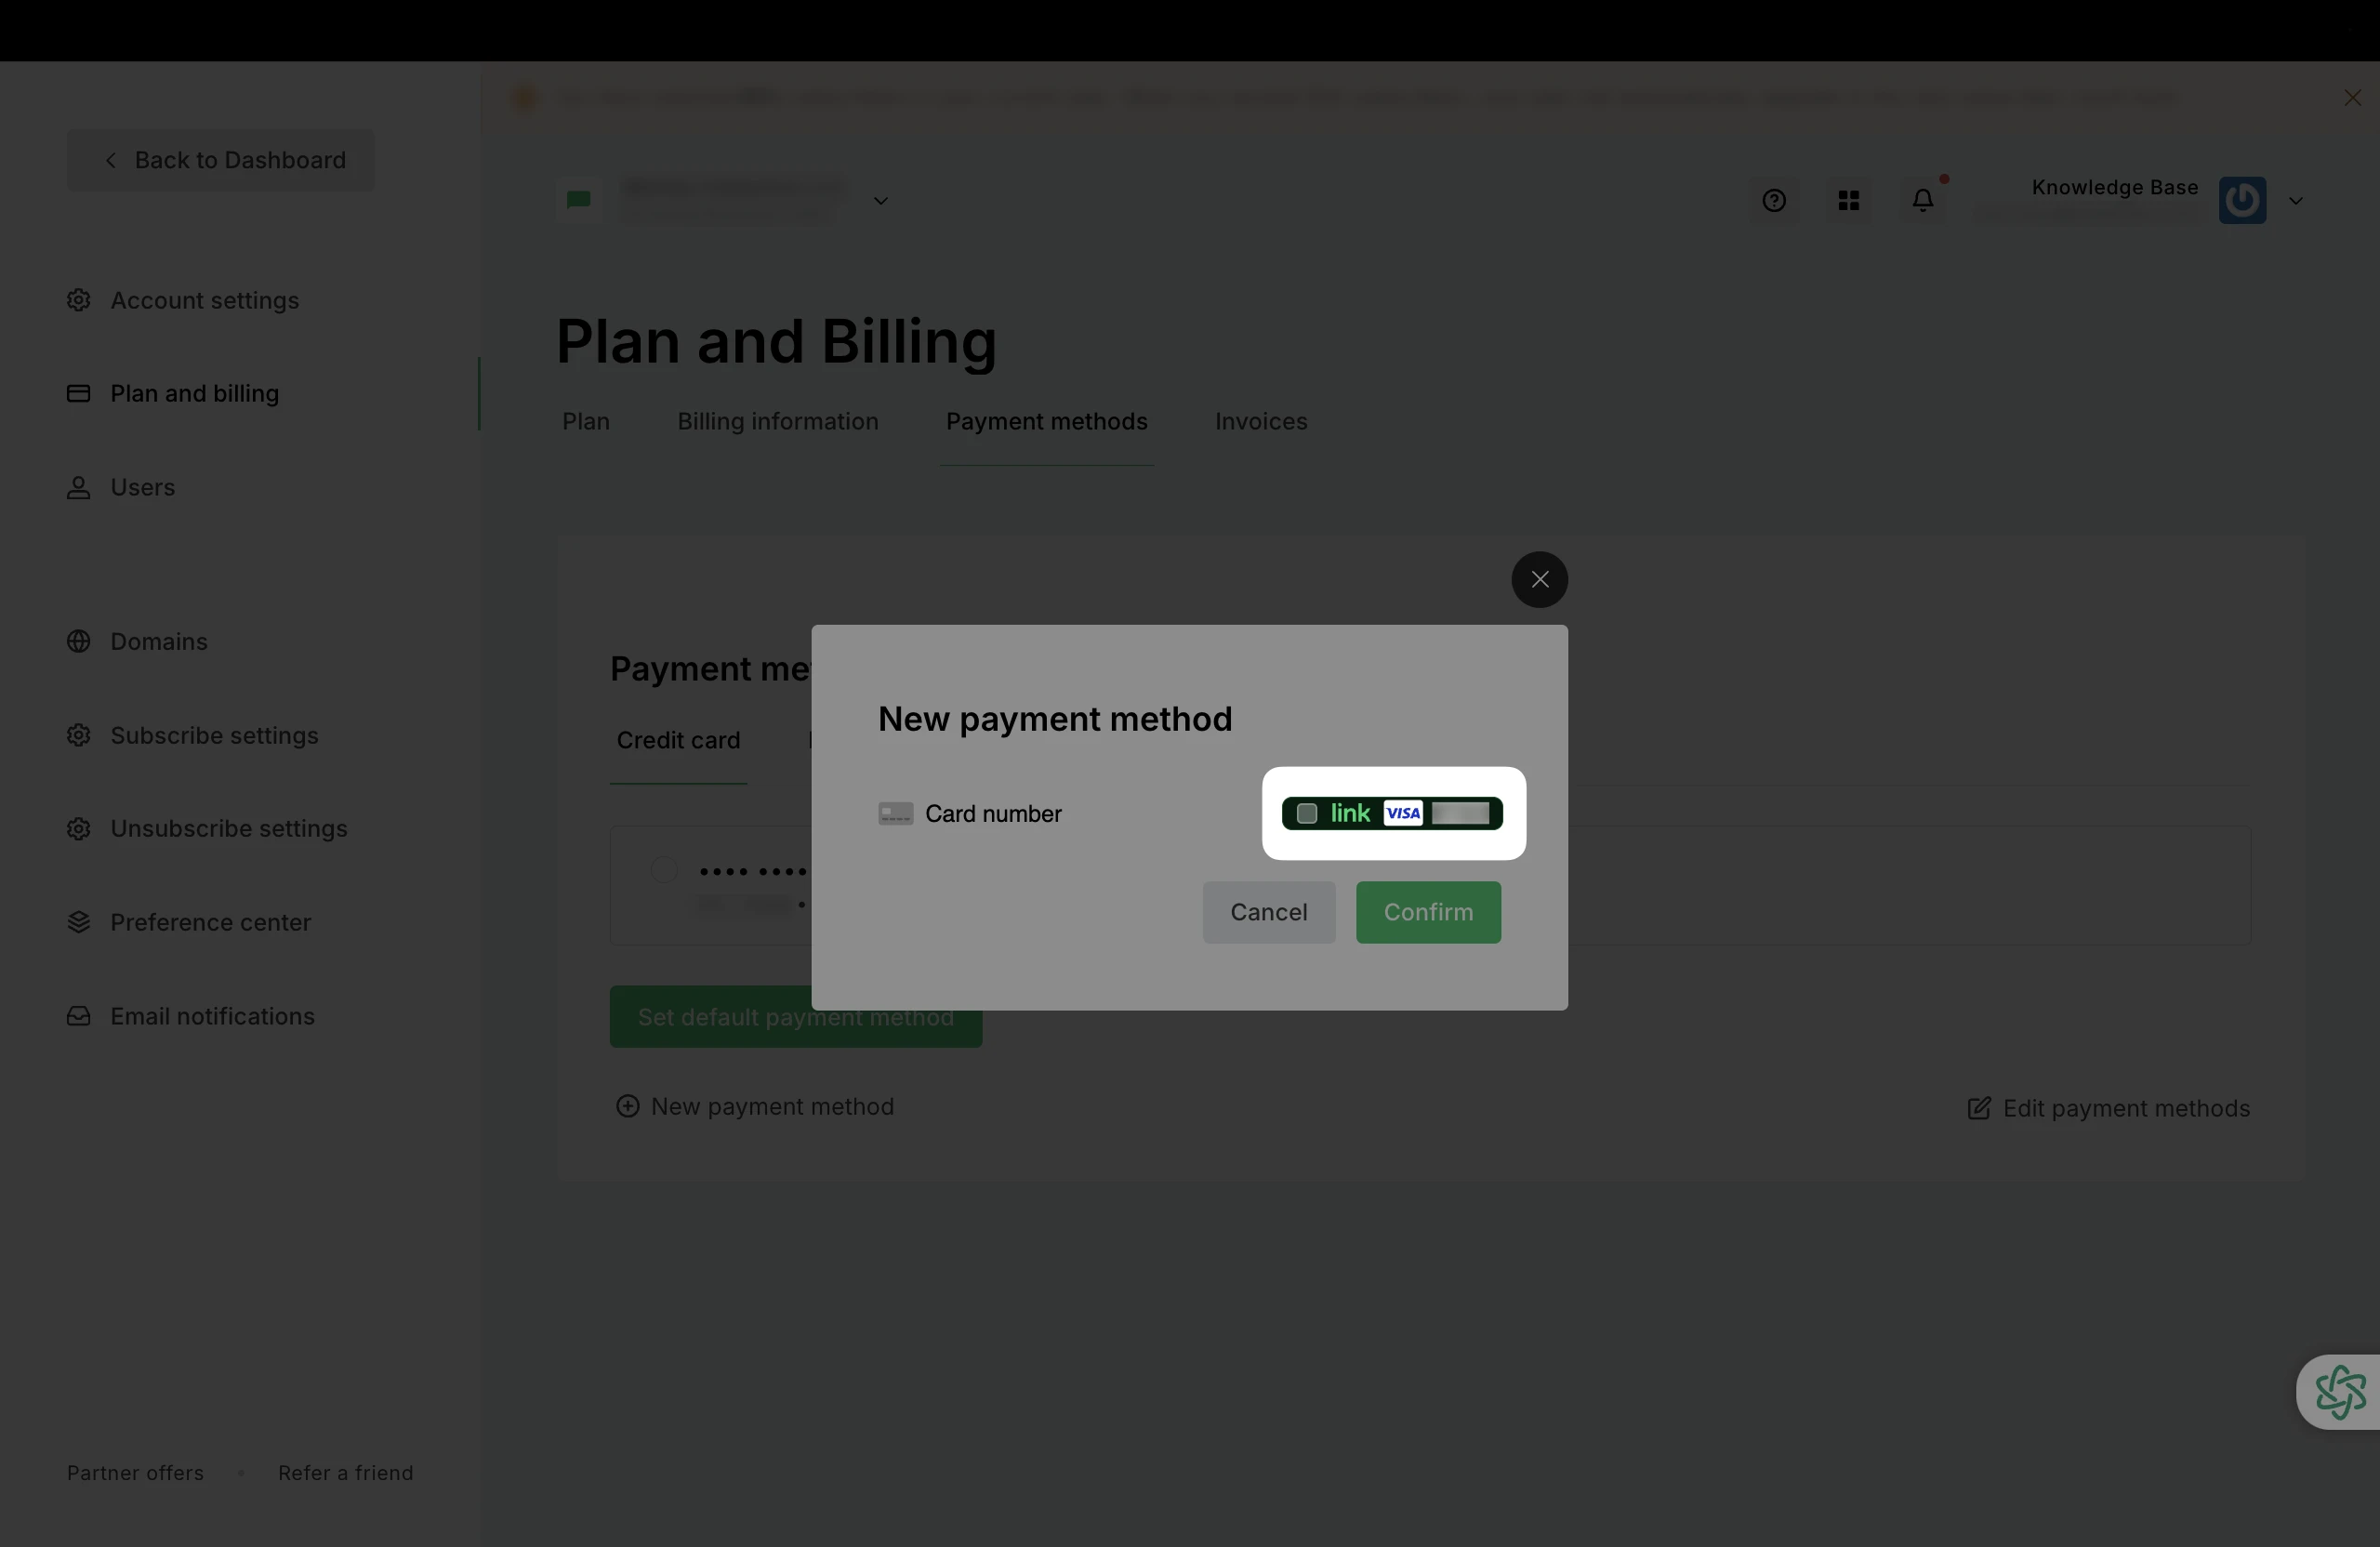
AutoFill
If MailerLite detects that you have previously entered and saved payment information, an AutoFill Link will appear during checkout to help avoid re-entering your credit card details.
PayPal
To pay with PayPal, switch over to the PayPal tab.
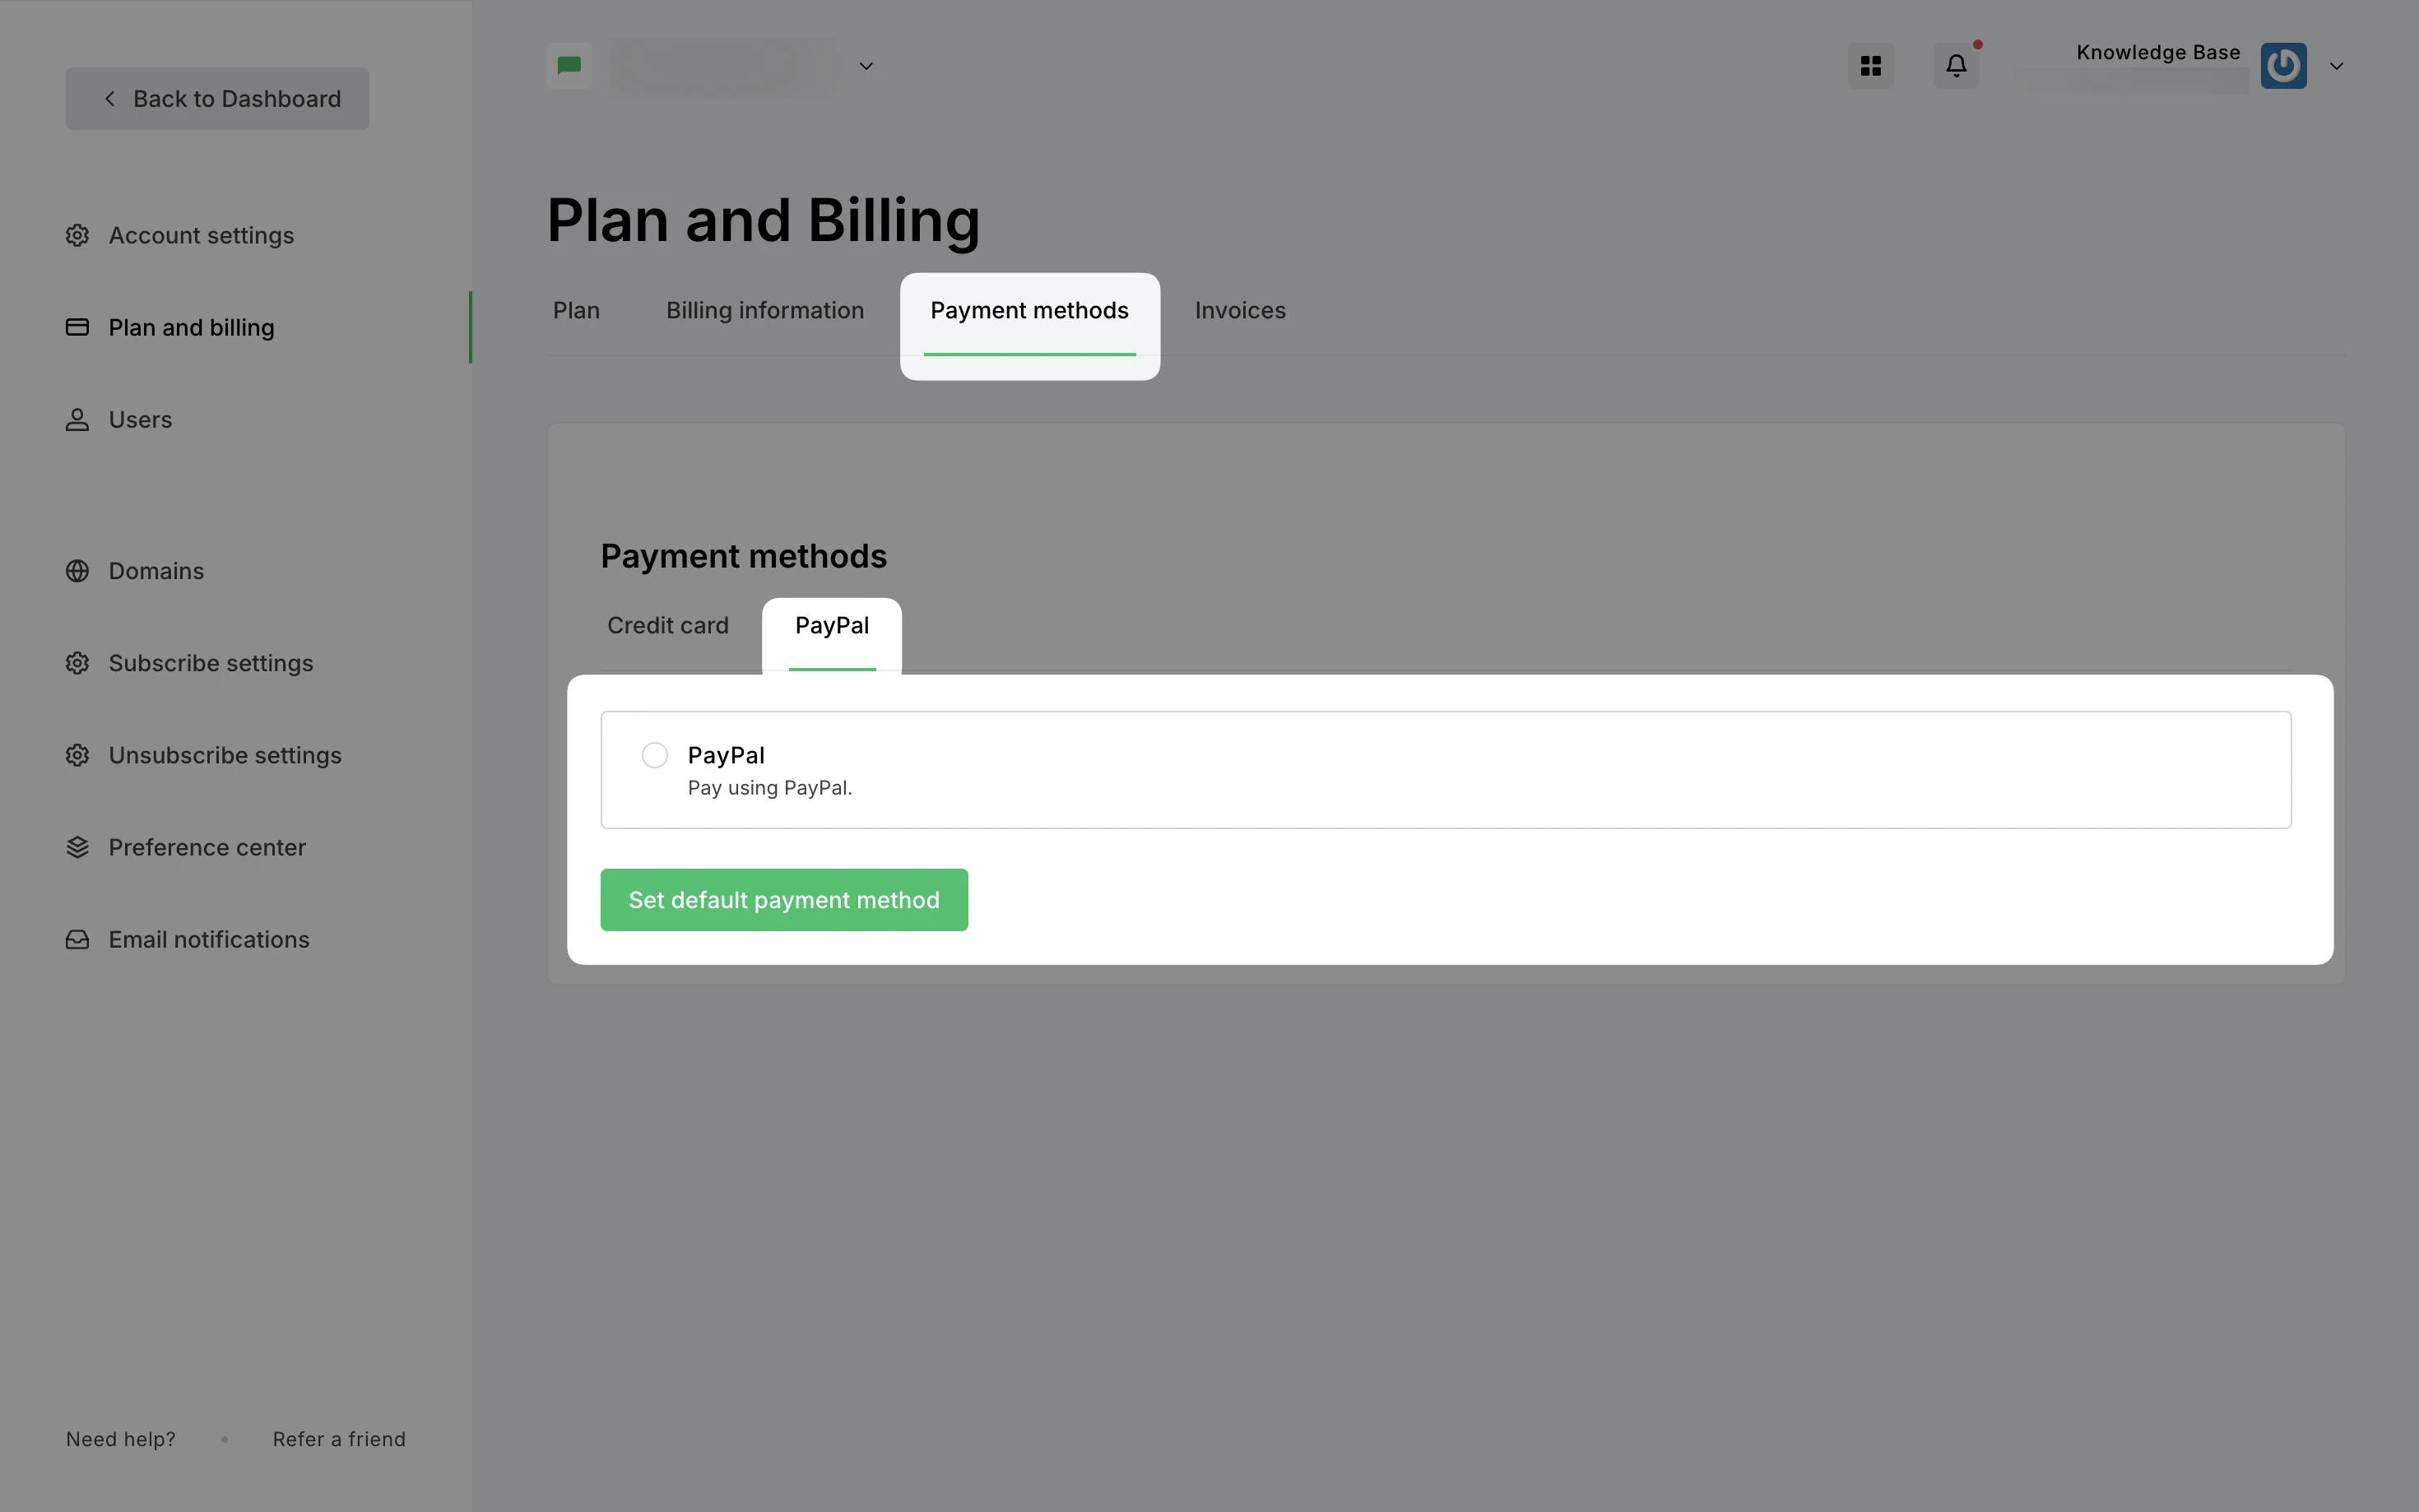
Continue to log into your PayPal account and complete the transaction.
How to update billing information
To update your billing information:
Navigate to Account settings.
Choose the Plan and billing tab.
Go to the Billing information page.
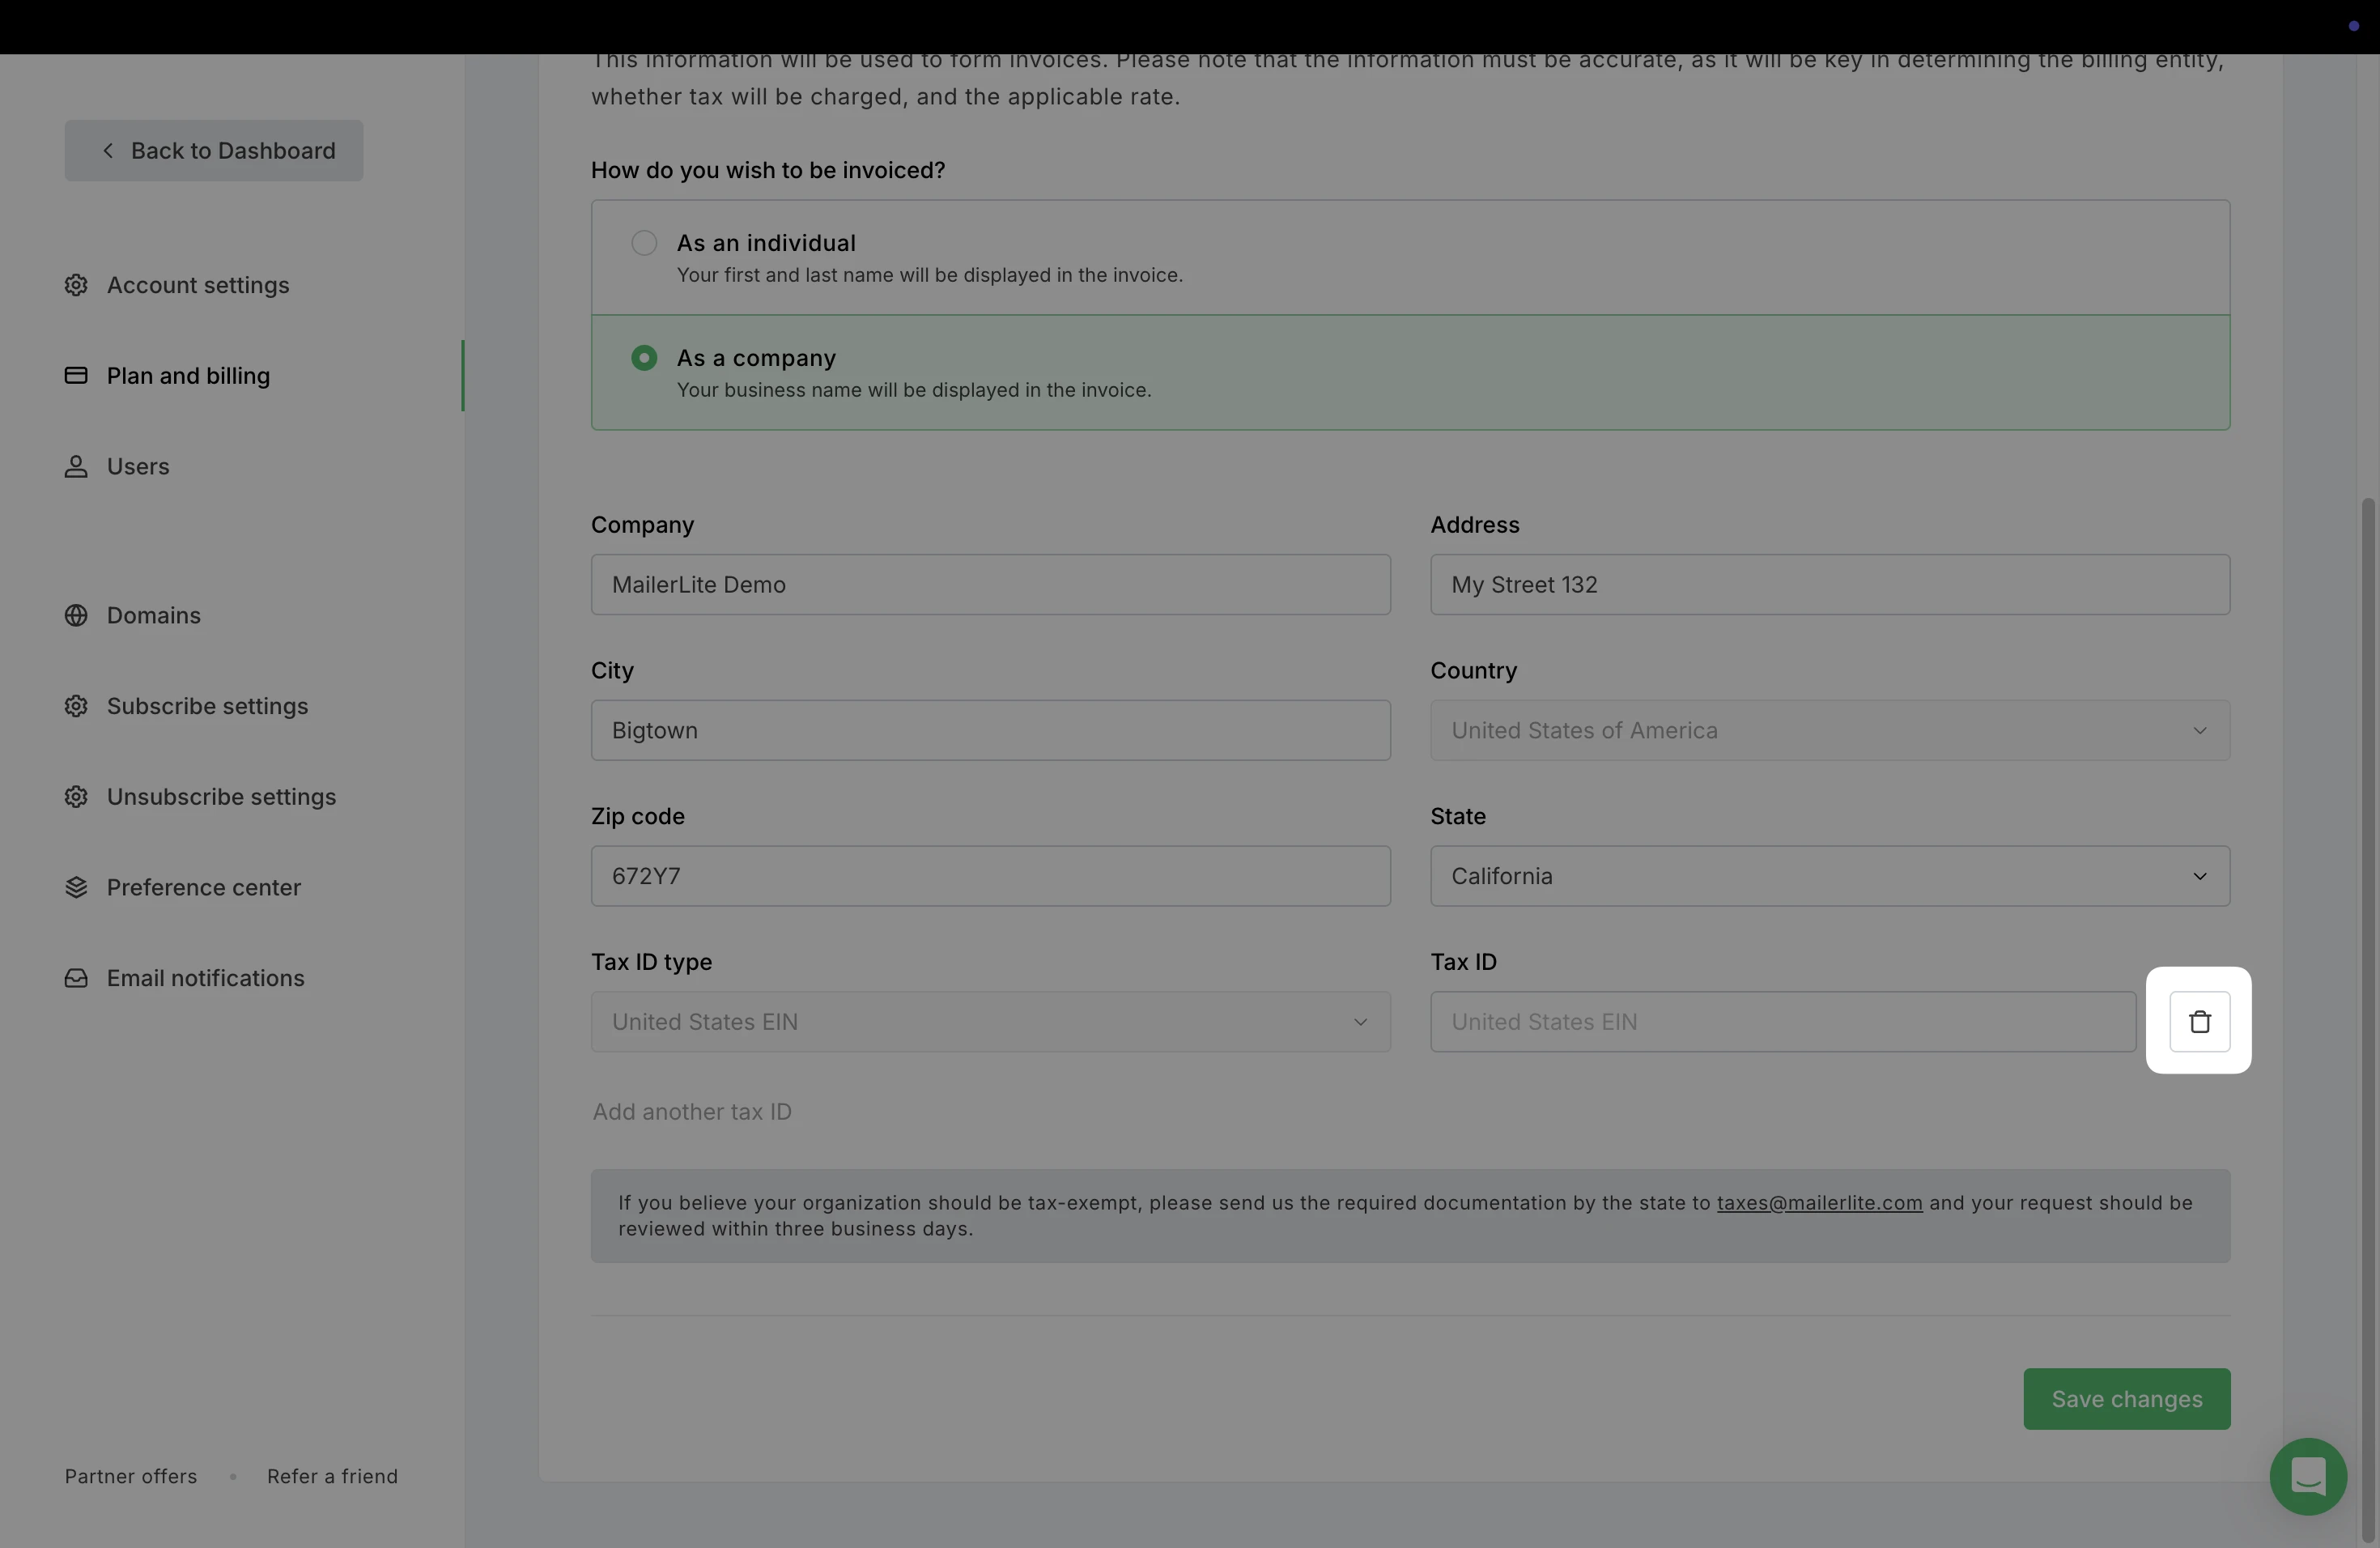
The Company, Address, City, Zip code, and State fields can be updated at any time. To update the billing Country, the account must be on a Free plan.
How to add tax information
Navigate to Account settings.
Choose the Plan and billing tab.
Go to the Billing information page.
Enter your billing address and select your country from the dropdown menu. In the VAT code or Tax ID type field, enter your tax information.
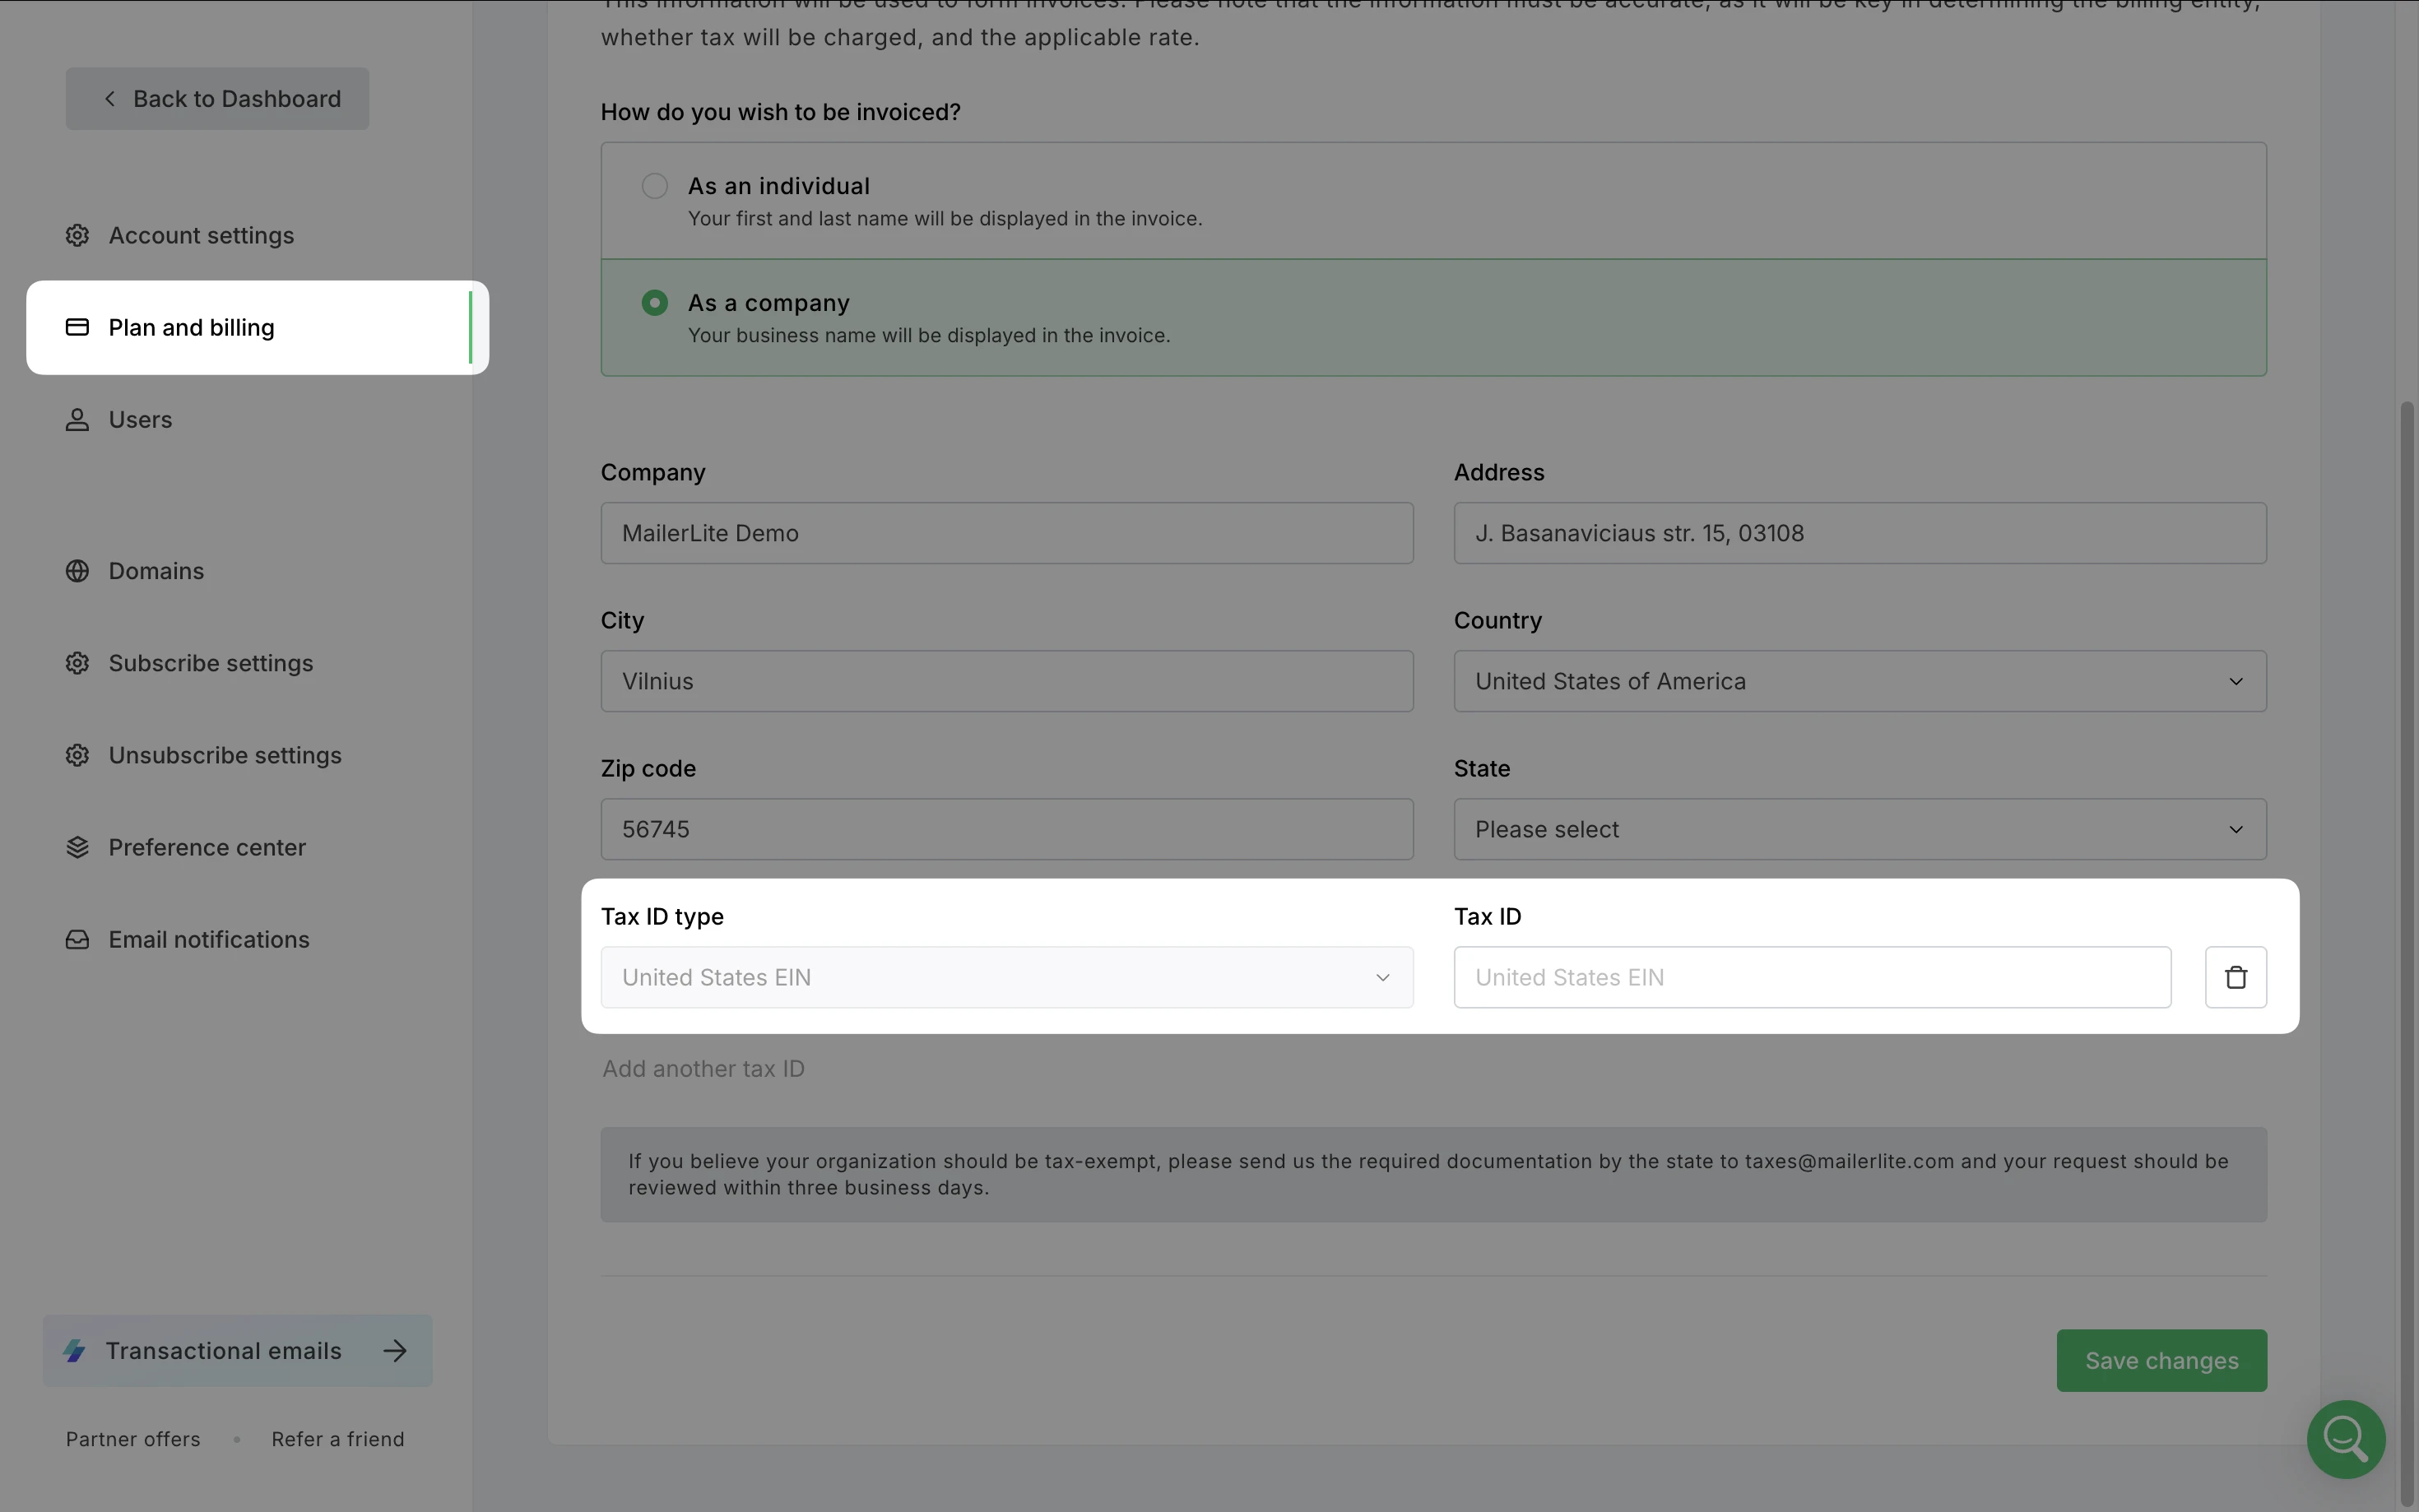
Based on this information, our billing platform will calculate the applicable tax rate on top of the plan price on the checkout page.
If you do not have a VAT number, it is possible to remove the Tax ID field by clicking the trash icon on the right side of the Tax ID field. This will allow you to save your billing information and proceed without a Tax ID number.