Note: If you're a Legacy (Classic) user, please log in to your account to access the dedicated Legacy (Classic) Help Center.
Connect Calendly to MailerLite with Zapier to automatically add invitees to your audience, send confirmations and resources, and follow up after meetings.
Auto-add invitees to MailerLite: Every new Calendly booking creates or updates a subscriber in your MailerLite audience
Send confirmations, resources, and reminders: Trigger welcome/confirmation emails and follow-up sequences as soon as someone schedules using automations
Segment by meeting type: Route invitees into different groups (e.g., Onboarding, Sales demo, Coaching) for targeted messaging
Before you begin
You’ll need:
A MailerLite account (and permission to create automations, groups, and custom fields)
A Zapier account
A Calendly account with at least one active event type
Setting up the Calendly → MailerLite Zap
To connect Calendly to MailerLite with Zapier:
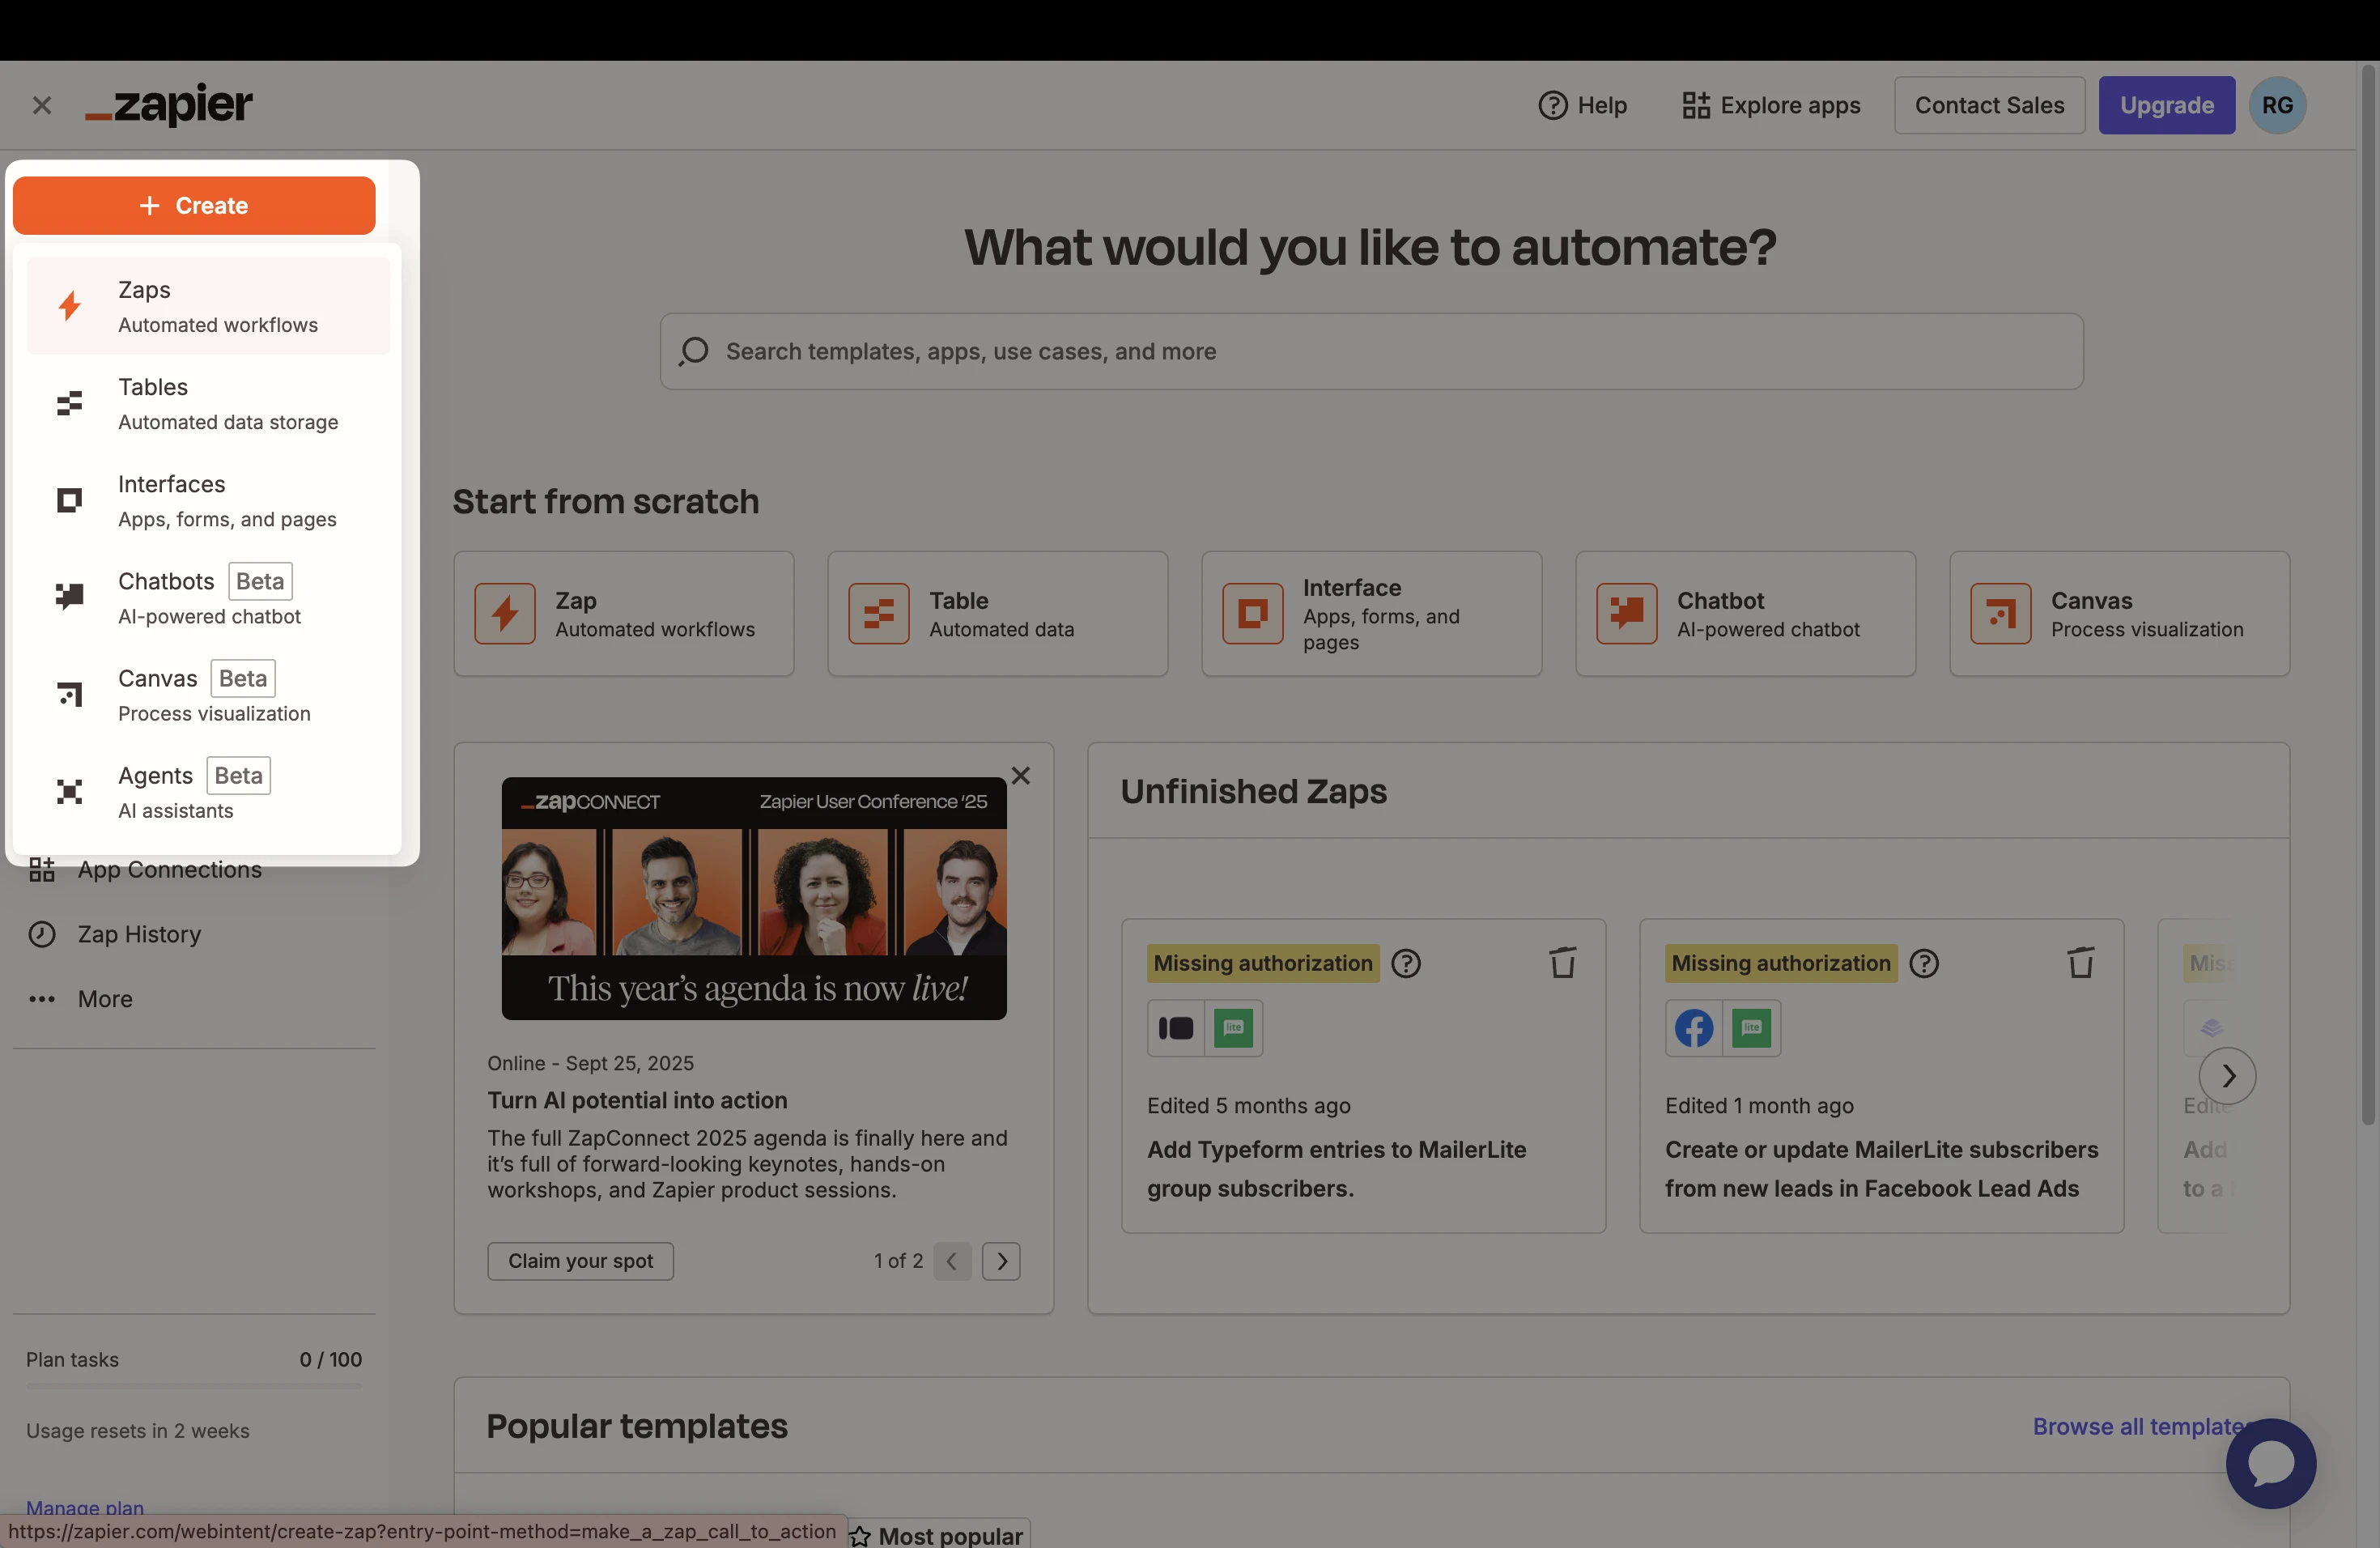
In Zapier, click + Create and select Zaps (Looking to move faster? Check out these pre-made Zaps).
2. Choose the trigger app as Calendly, and select the Event: Invitee Created (fires whenever a new booking is made).
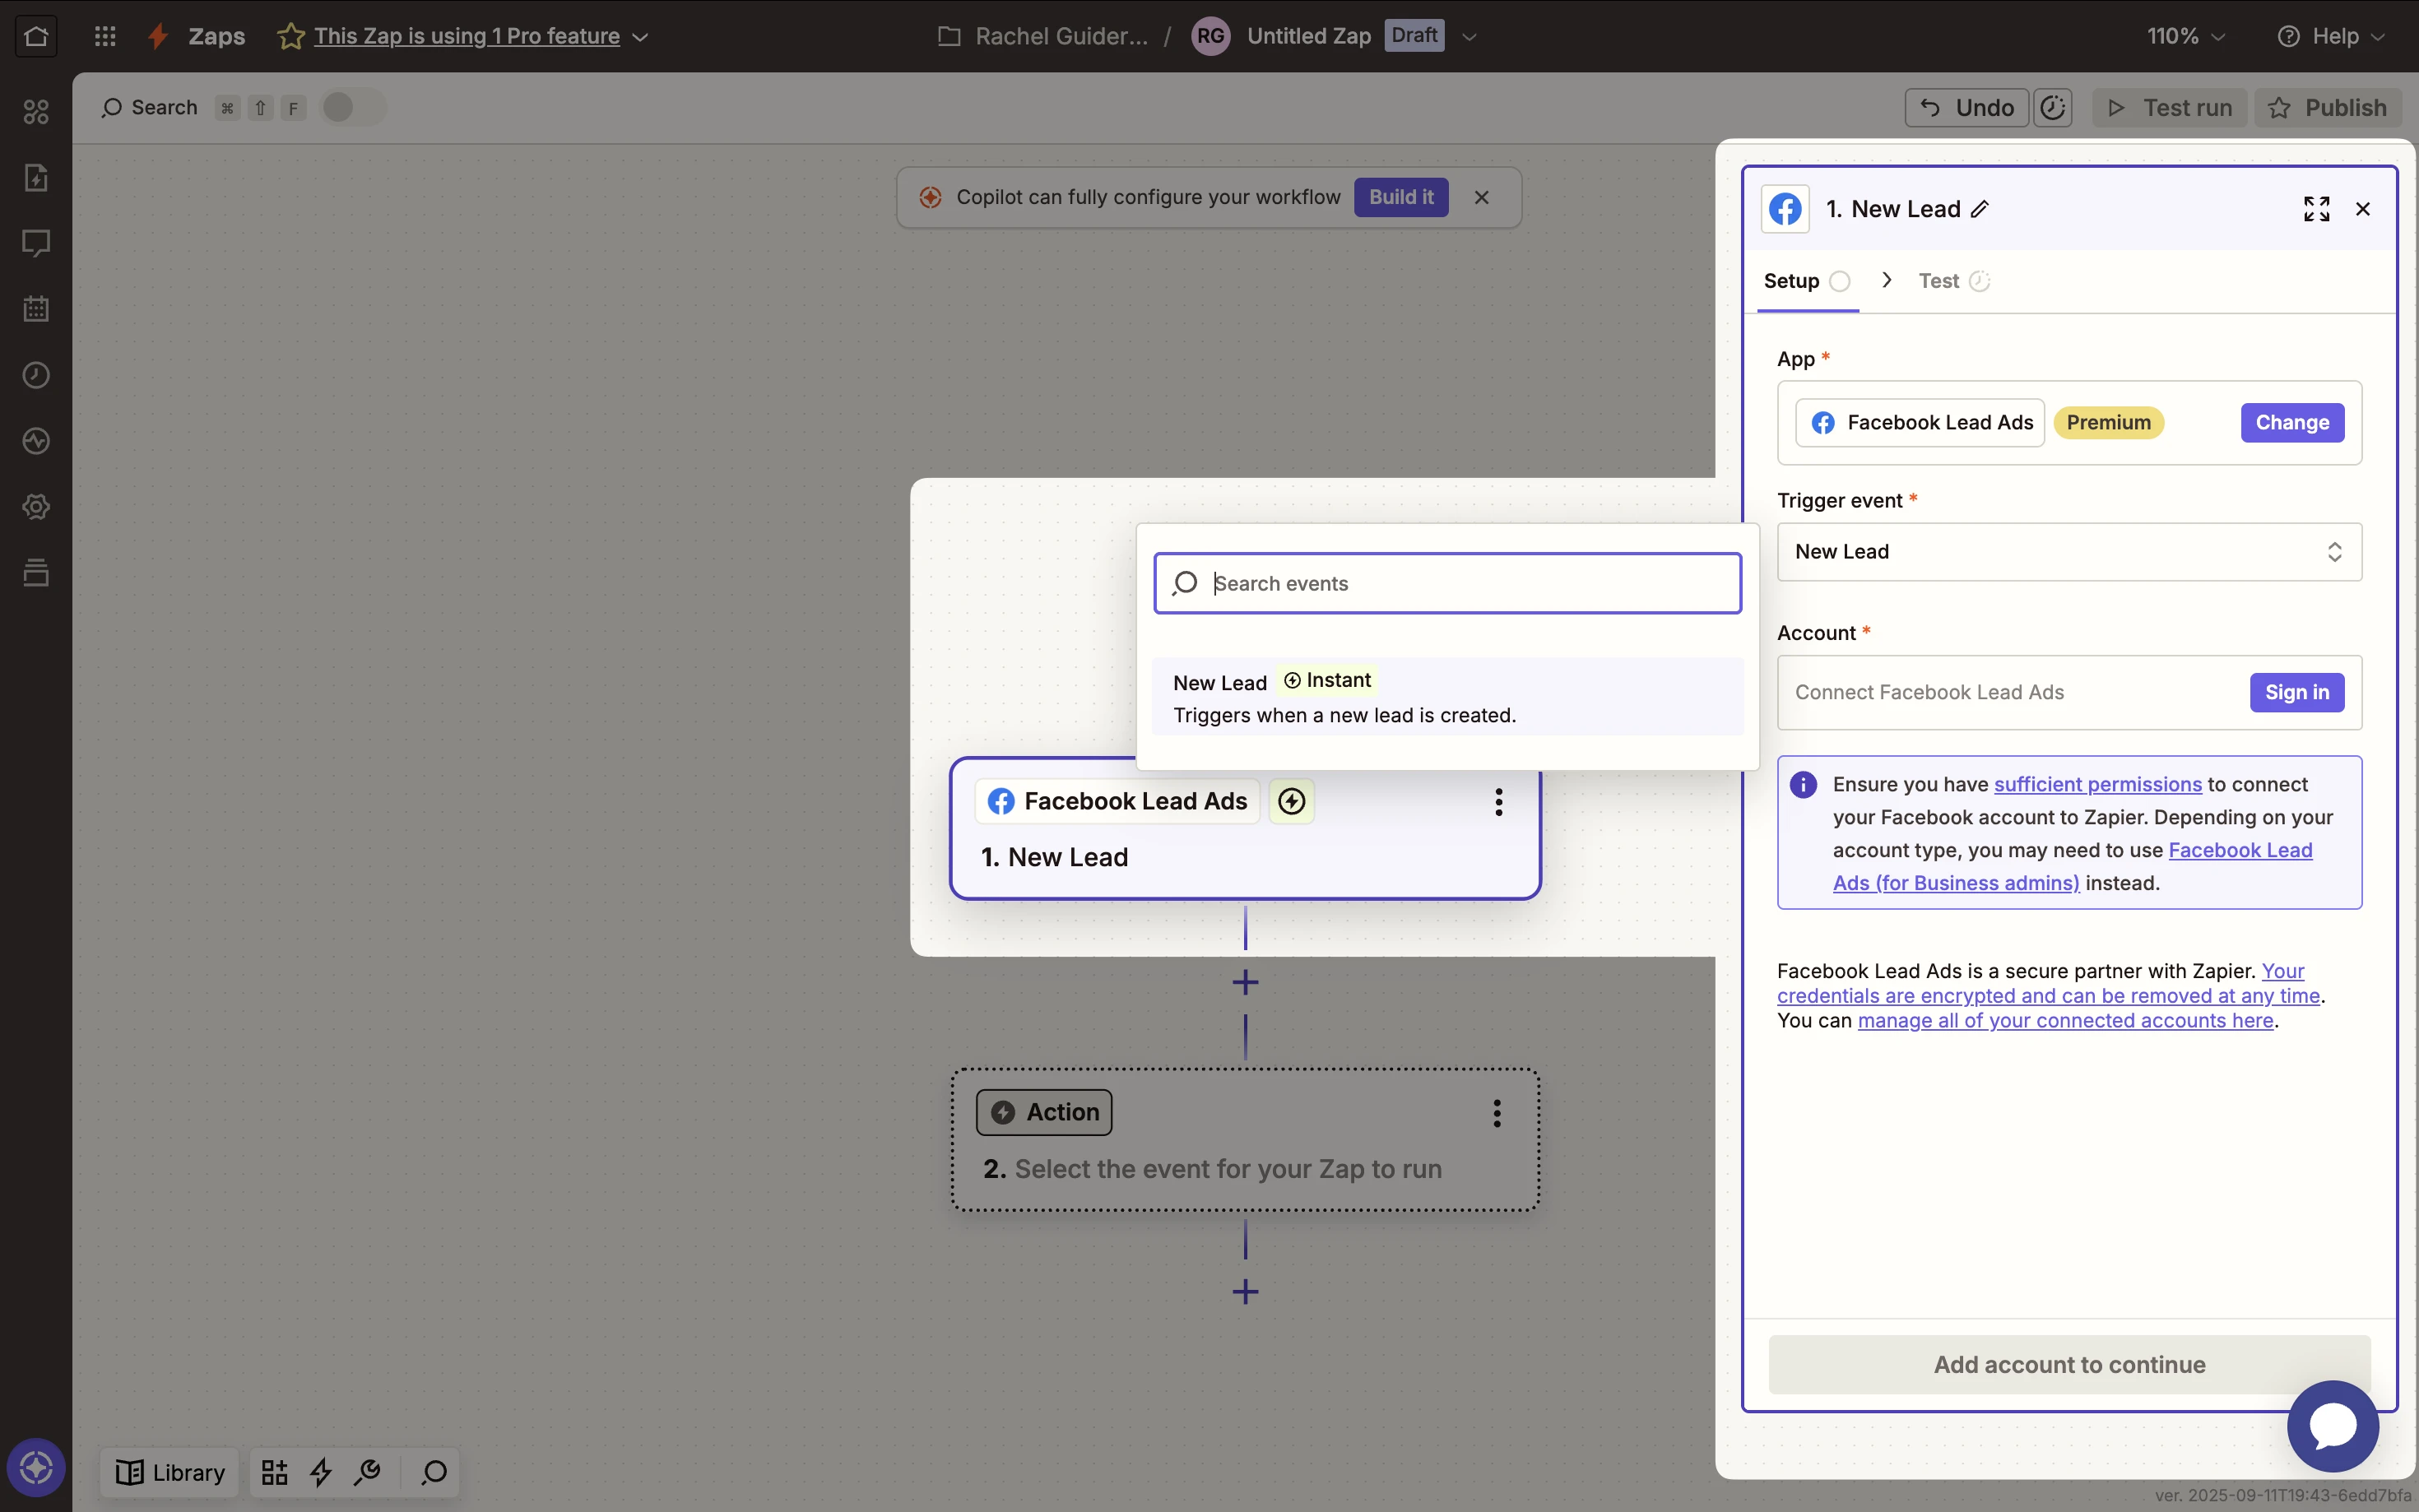
3. Connect your Calendly account.
4. Select the Event Type (or leave as “Any” if you want this Zap to handle multiple event types).
5. Click Test trigger to fetch a sample invitee.
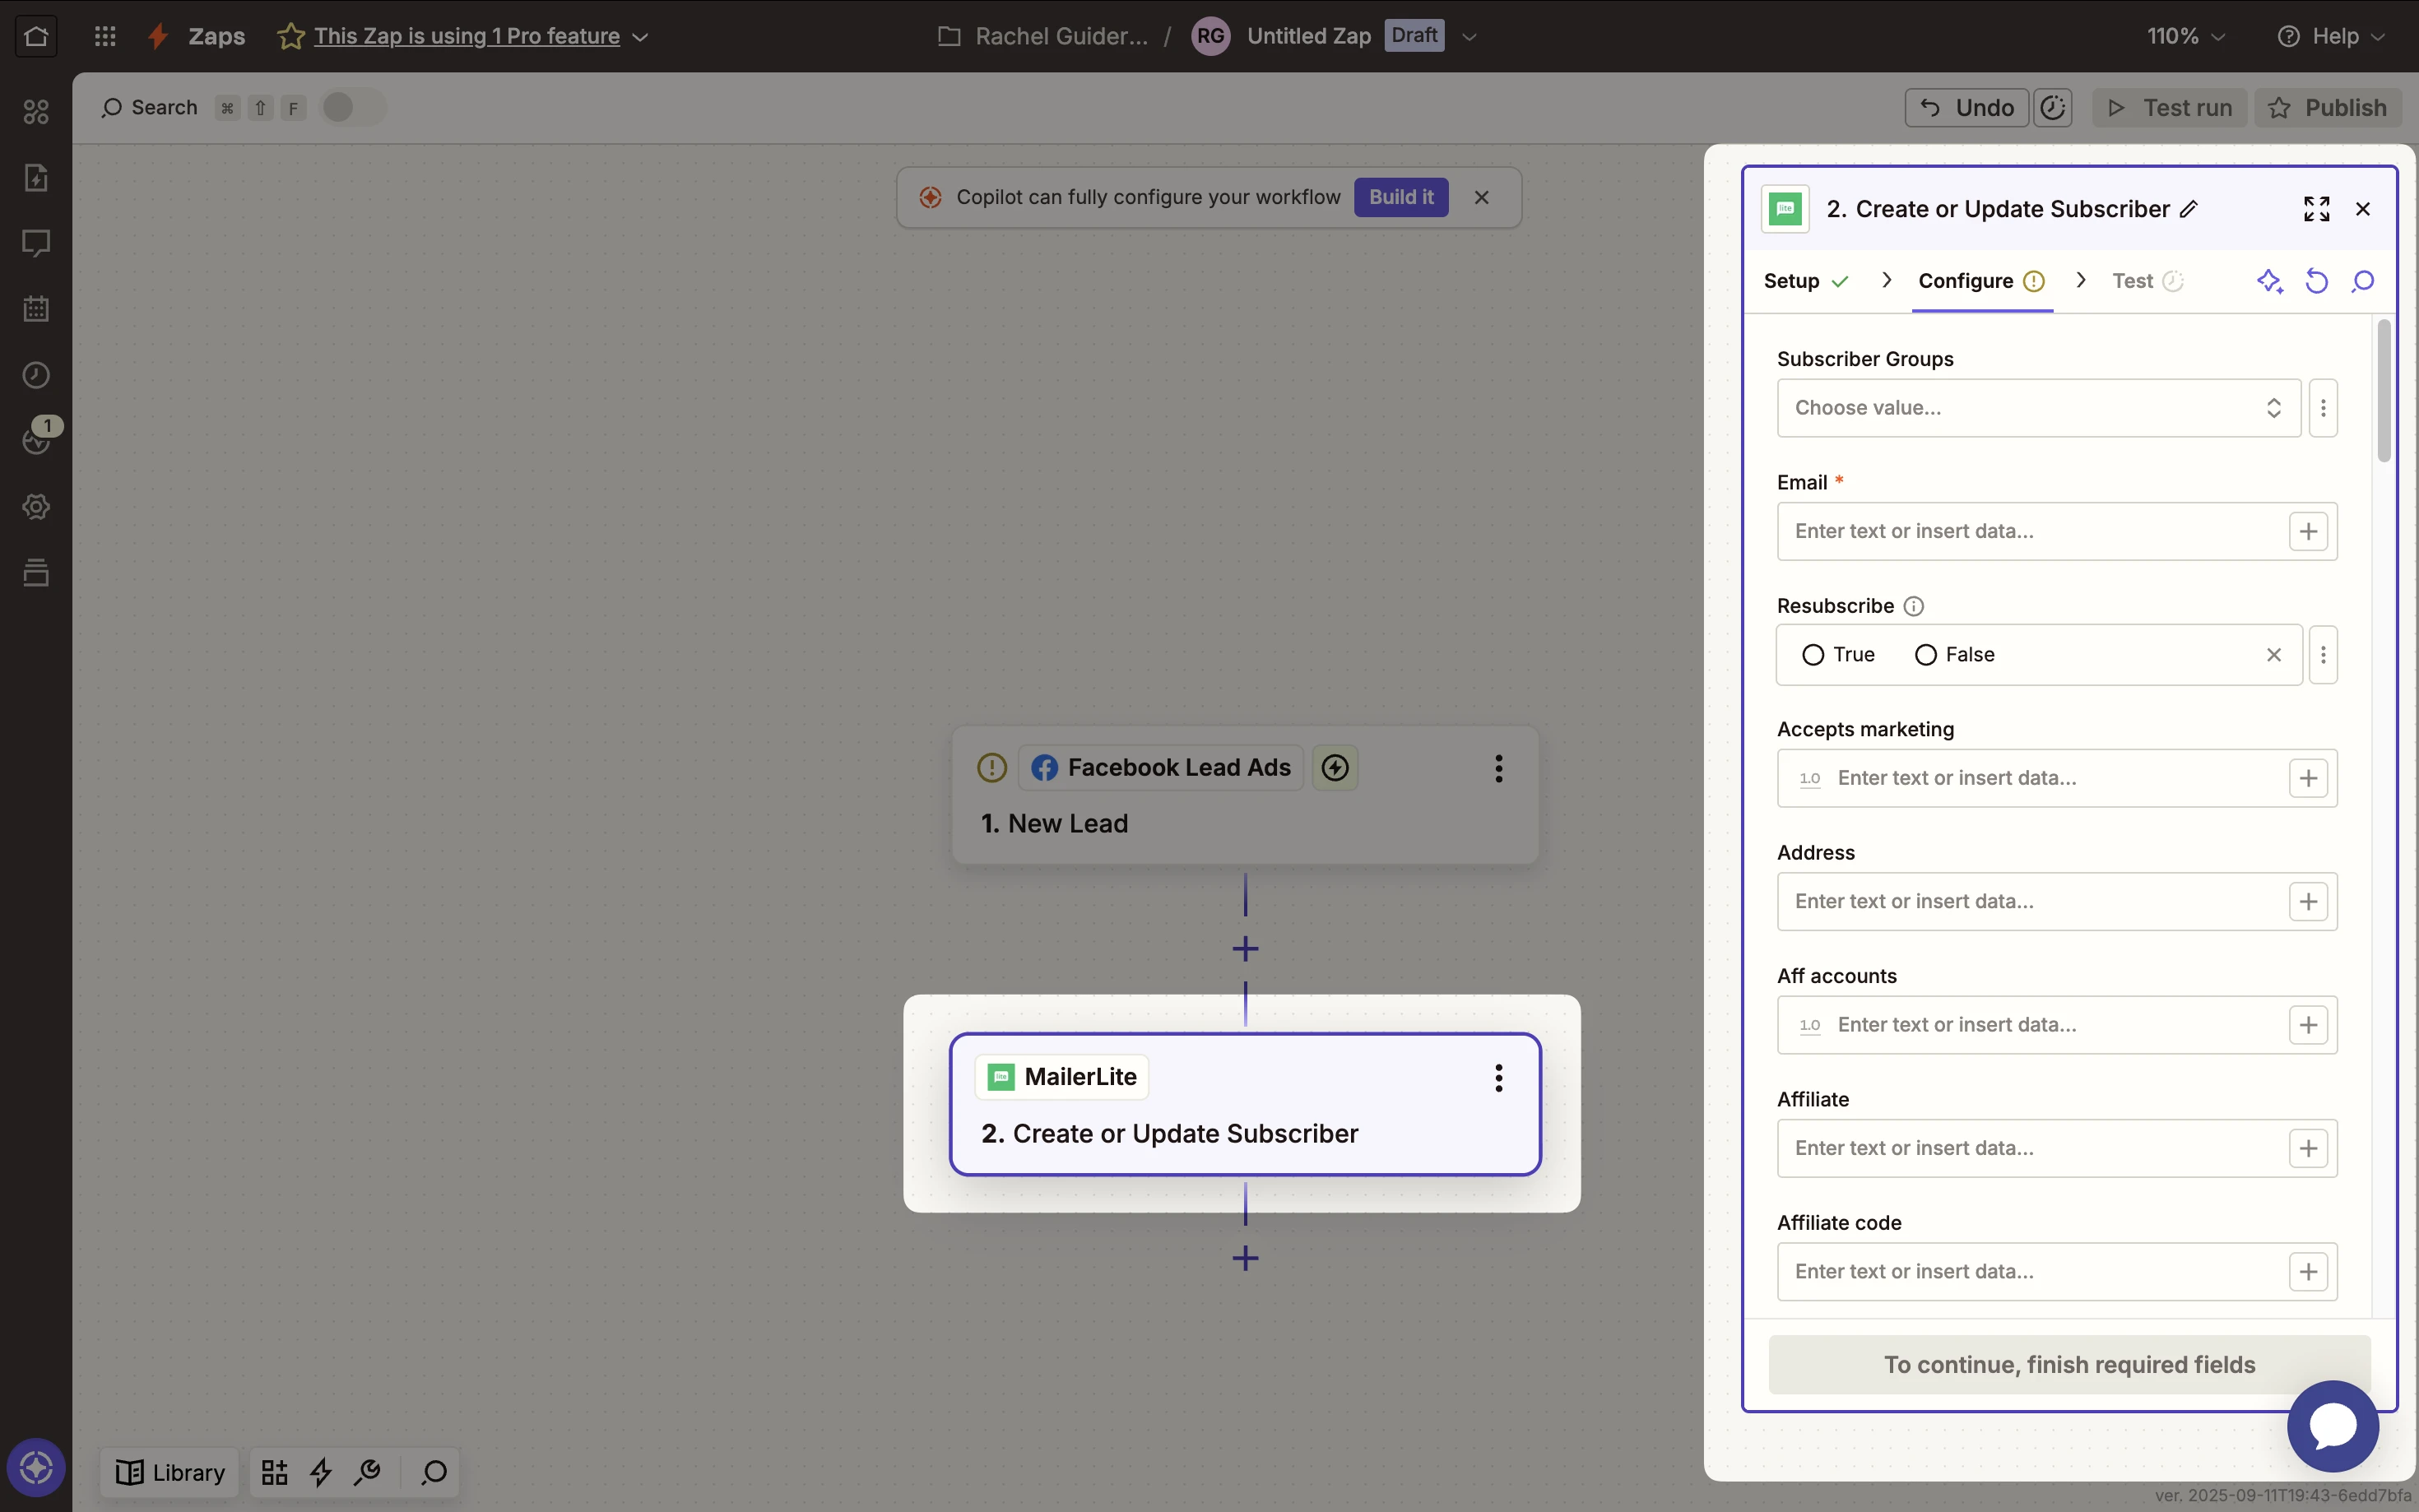
6. Add the action app as MailerLite and select the Event: Create or Update Subscriber.
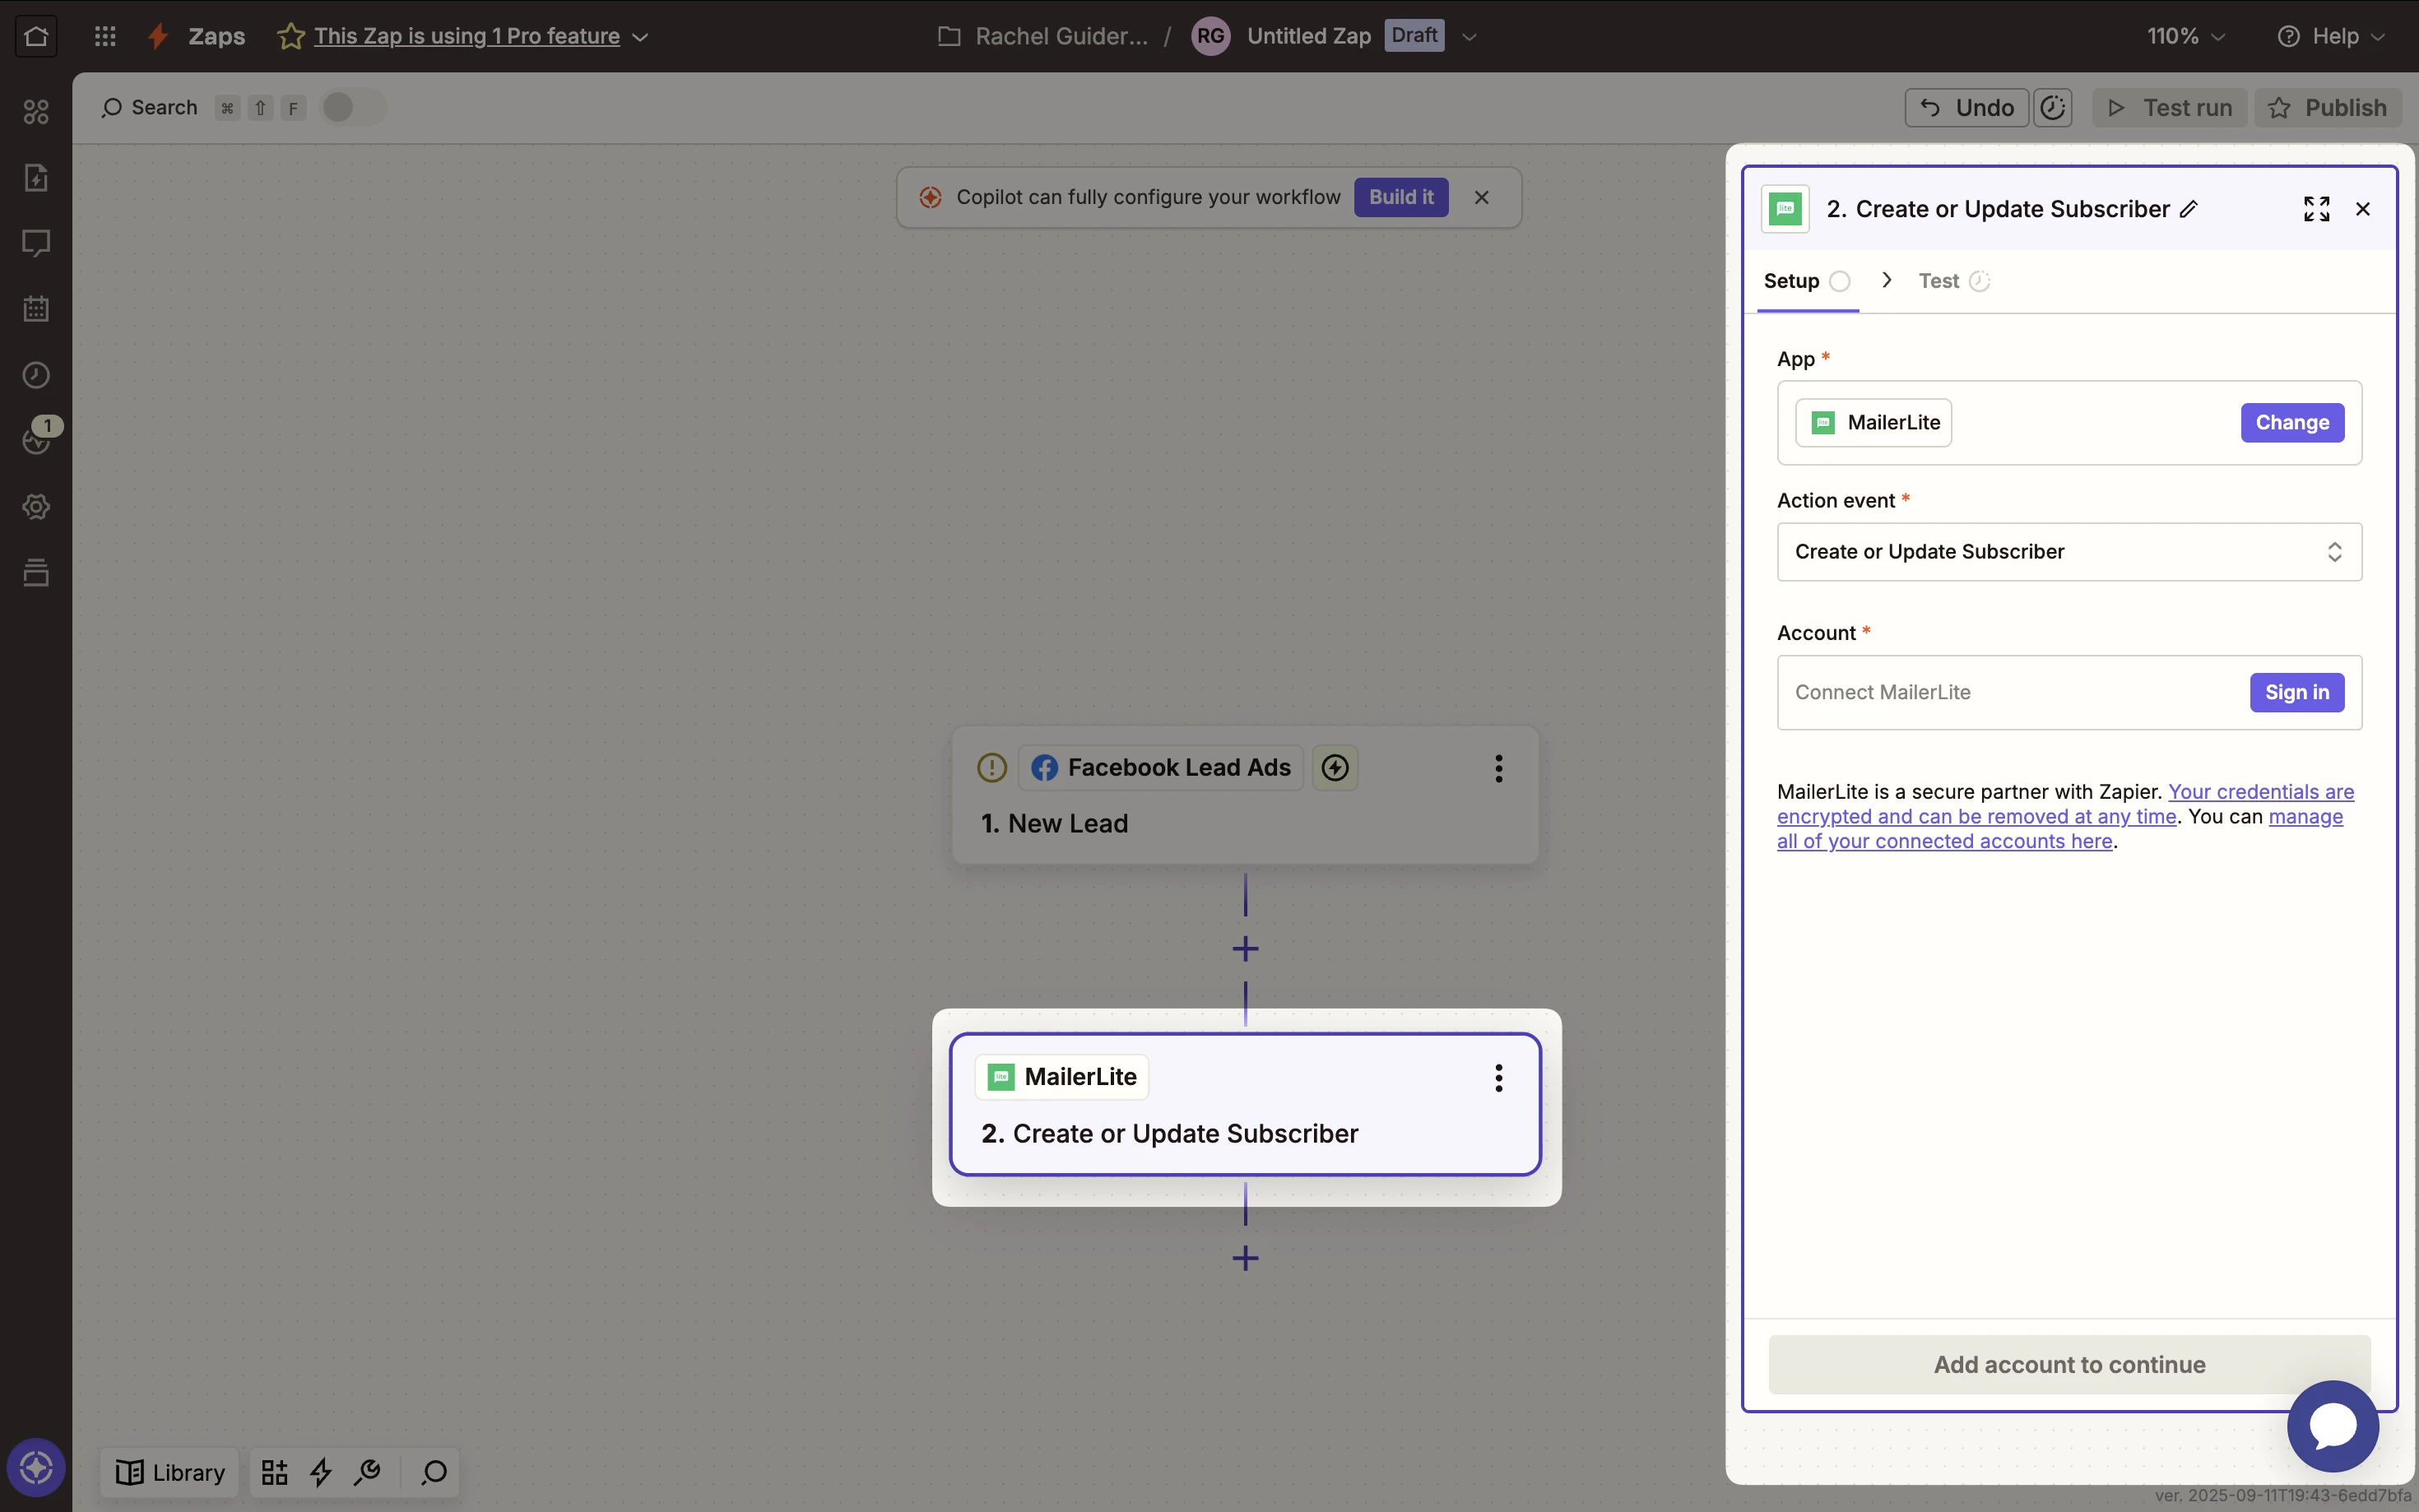
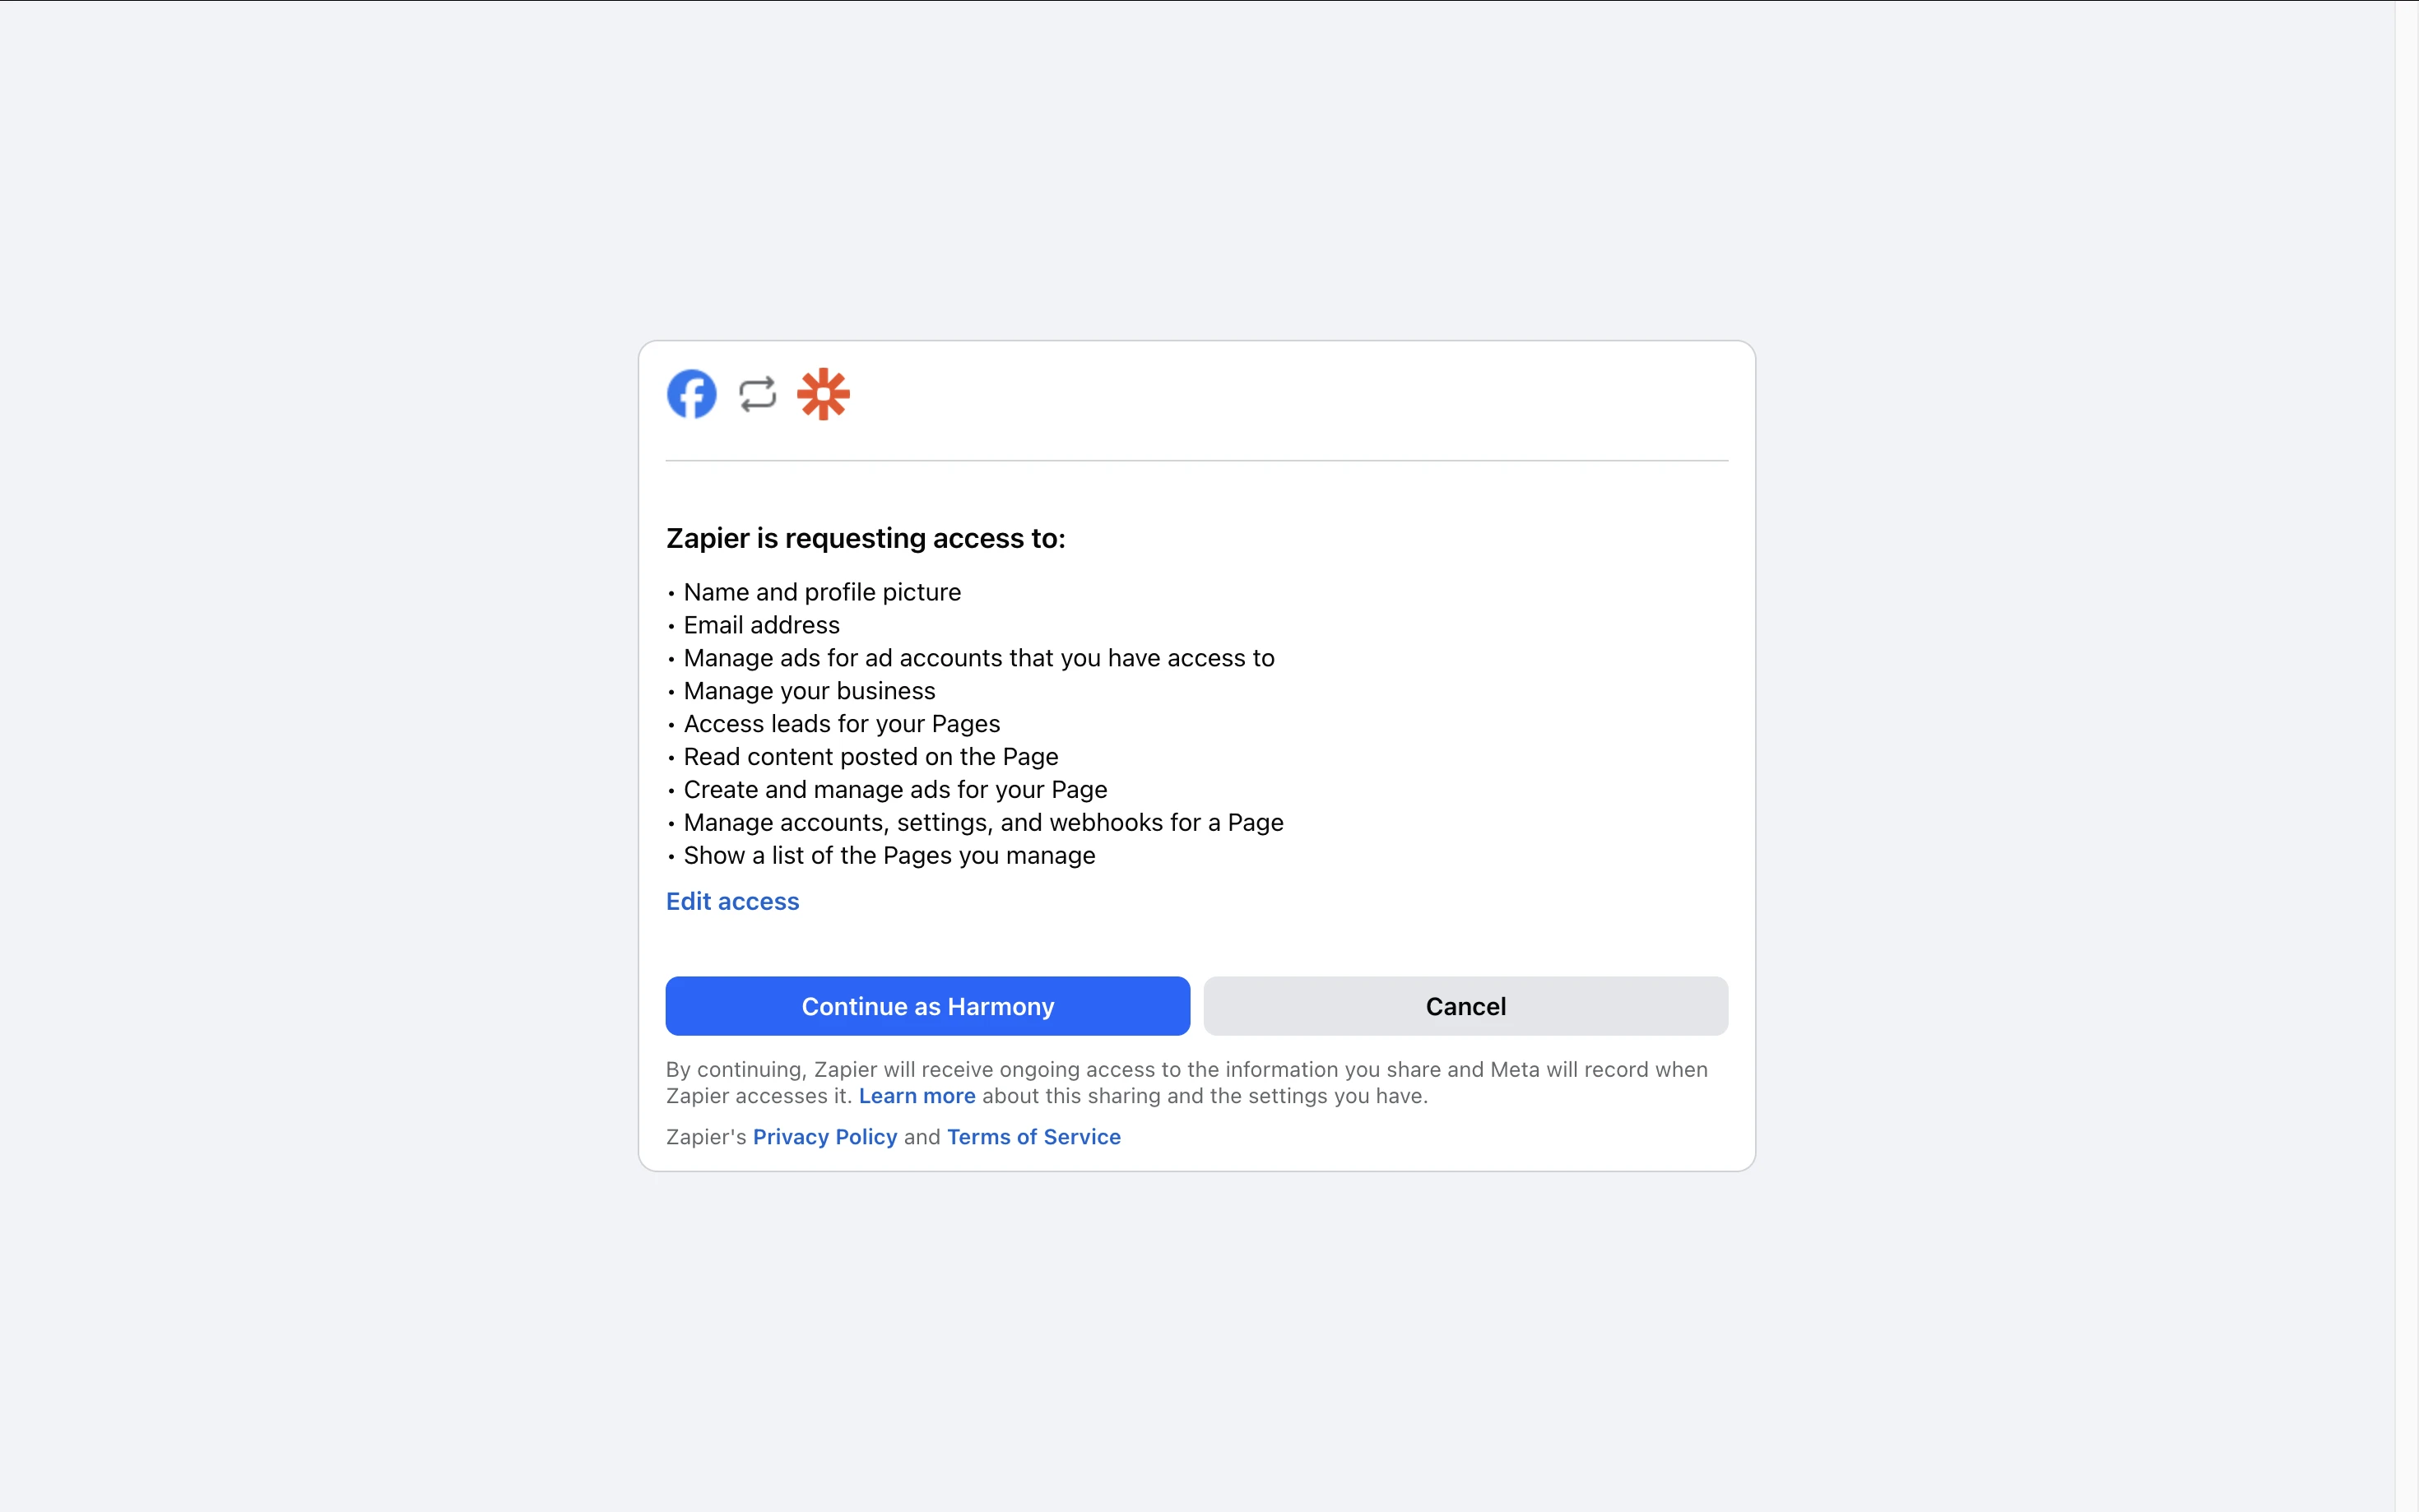
7. Connect your MailerLite account. A pop-up will ask you to authorize Zapier’s access to your MailerLite account. Once connected, Zapier will list your MailerLite account for use in the Zap.
8. Field mapping: In the MailerLite action, map Calendly data to your subscriber fields. For example, map the Email from Calendly to the Email field in MailerLite. Do the same for Name or any other fields.
Choose which Group in MailerLite to add the subscriber to (for instance, you might have a group named “Calendly” or a group specific to the meeting type), or set Group to something like Calendly – All to catch every invitee.
This grouping is useful for segmentation and triggering group-specific automations (like a targeted welcome email automation).
(Optional) Use Zapier Paths or separate Zaps to add different event types to different groups (e.g., “Calendly – Onboarding” vs. “Calendly – Sales Demo”). This powers targeted automations and reporting.
9. Click Test action to send the sample invitee to MailerLite. Check your MailerLite account to confirm the subscriber was created/updated in the right group with mapped fields.
10. Publish/Turn on the Zap. Once the Zap is enabled, it will run in the background, and every new Calendly booking will flow into MailerLite automatically. 🎉
💡 Tip: If you have an automation set up in MailerLite (for example, an email sequence or welcome email triggered when someone joins a certain group), those will kick in for the new subscribers added to that group via Zapier.