Note: If you're a Legacy (Classic) user, please log in to your account to access the dedicated Legacy (Classic) Help Center.
How to create a website
Websites are created on the Sites page under the Websites tab.
Click Create site.
Give your site a name and make sure website is selected under Type.
Select the groups you want to be associated with your website. These are the groups that will be attached to any forms you create within your website.
Select a template to start building your website with.
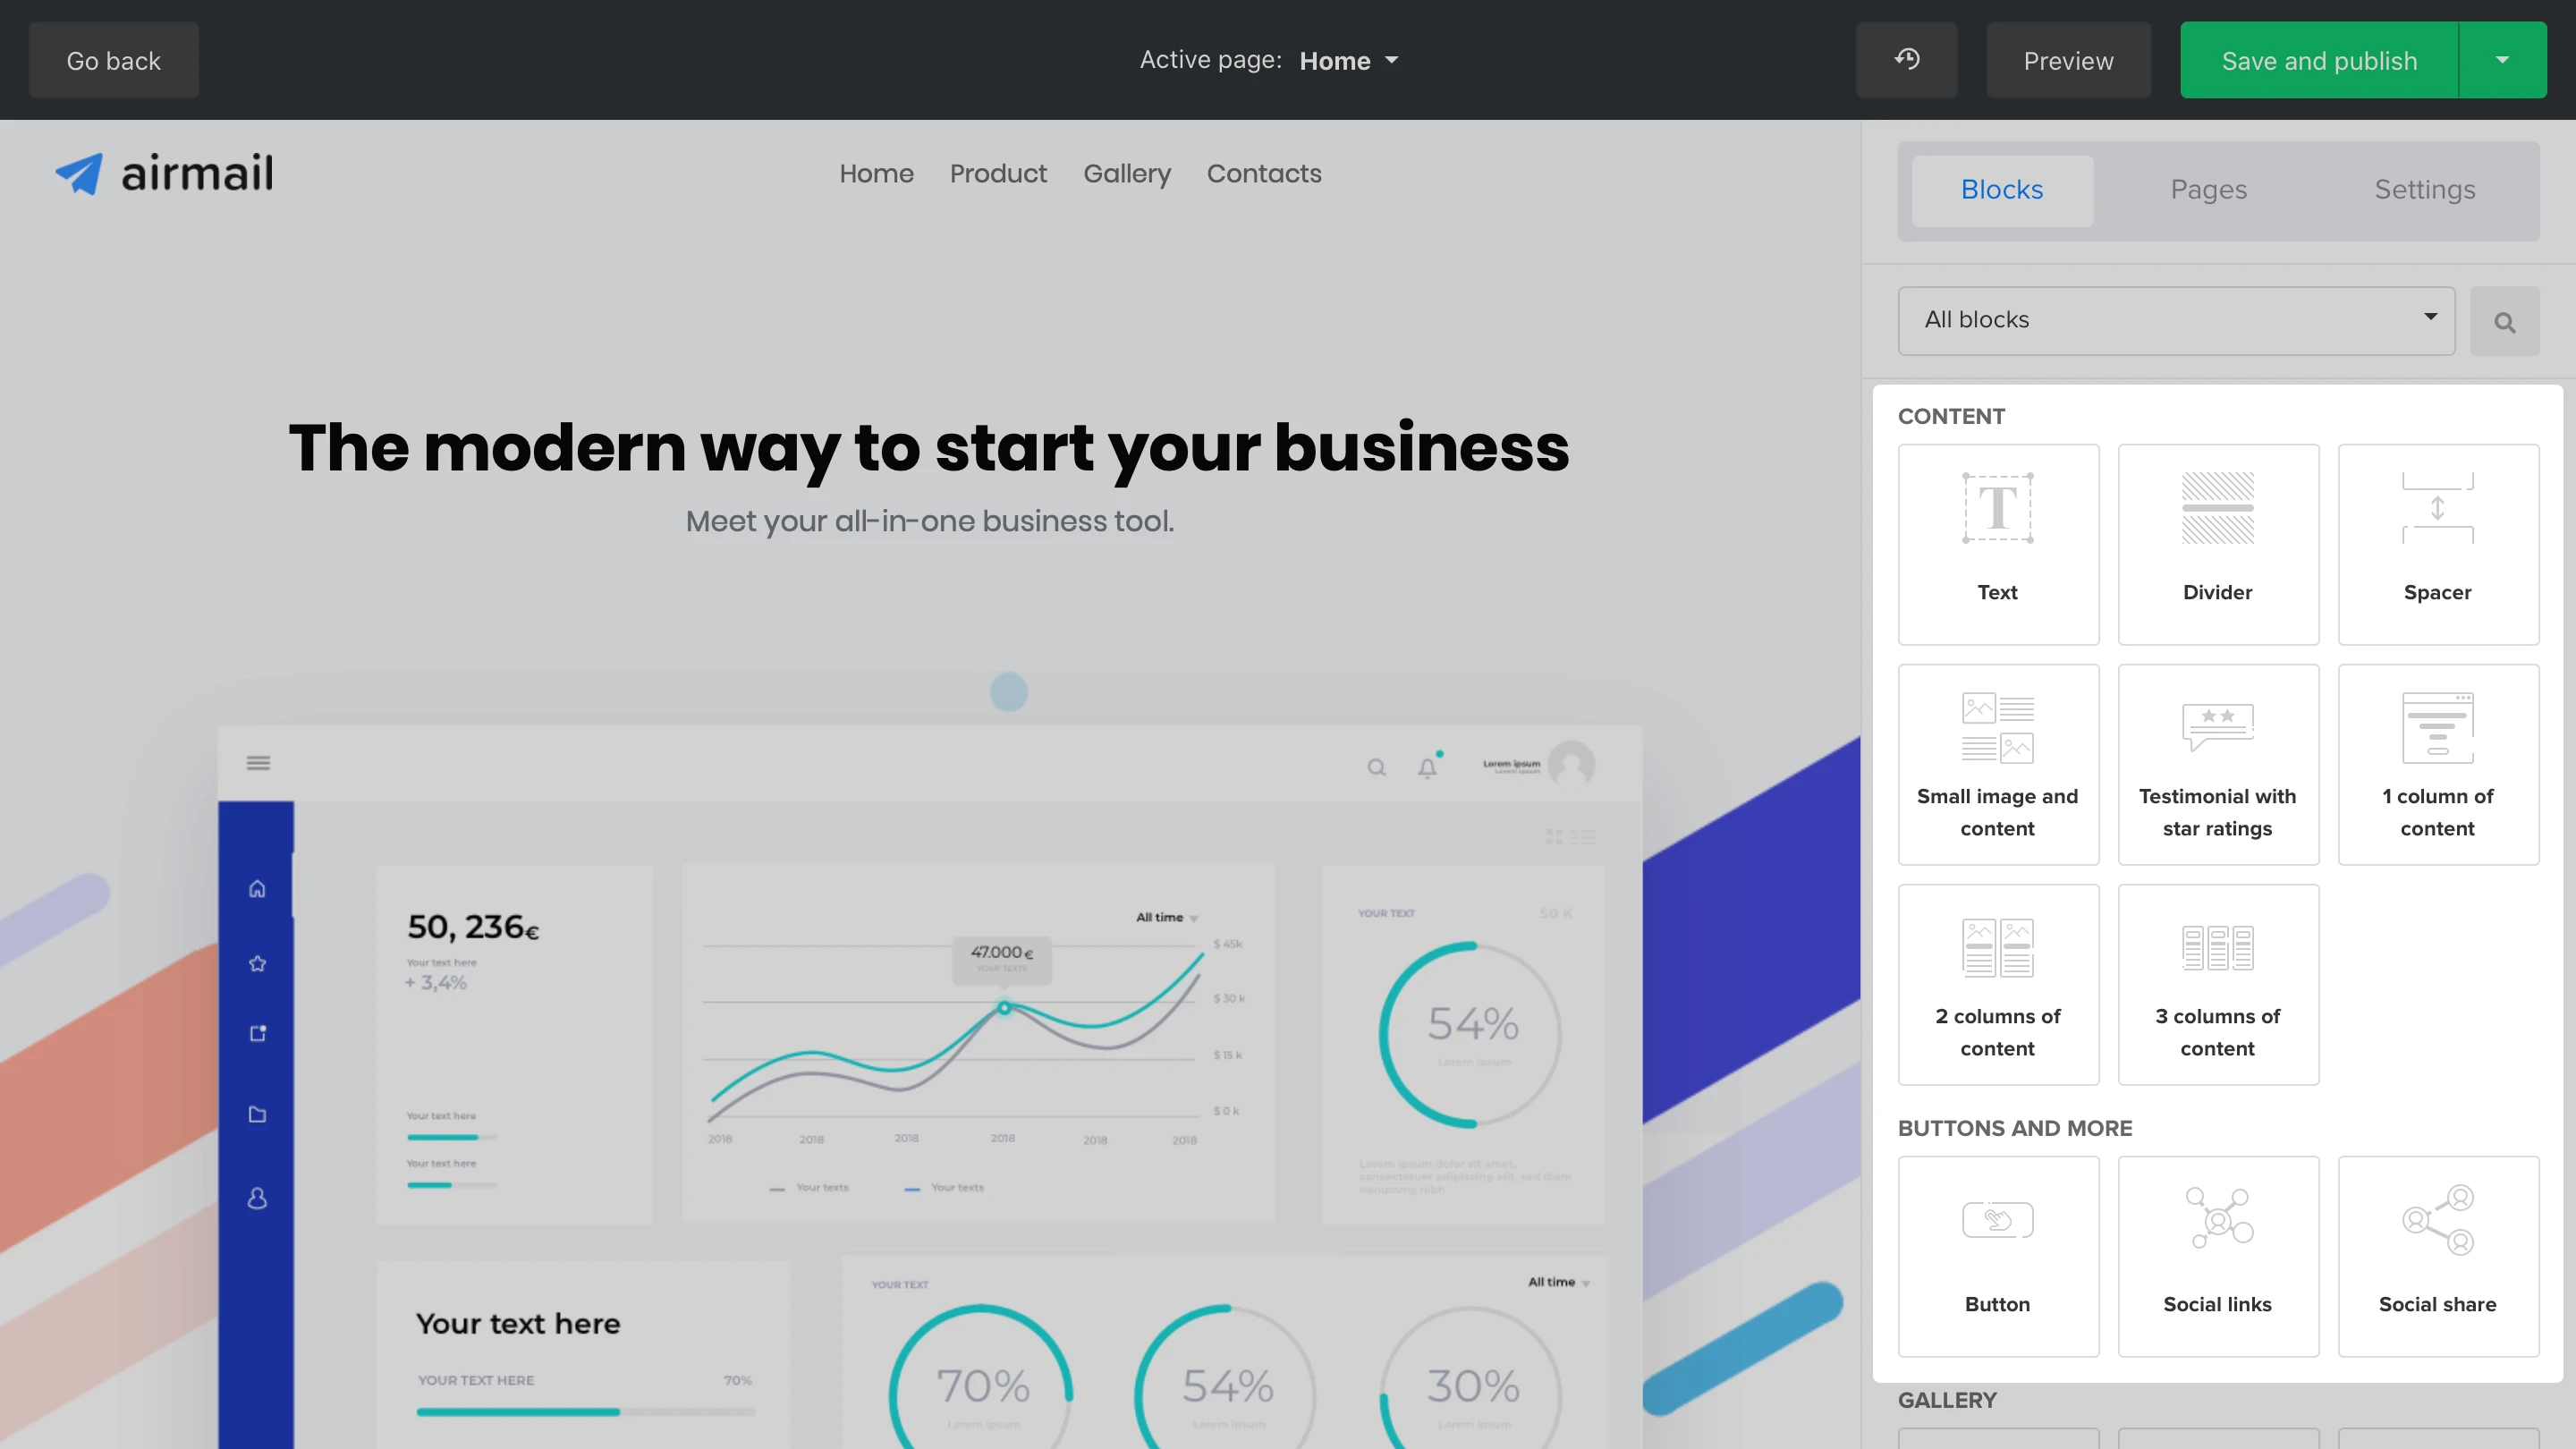
Drag and drop content blocks from the sidebar to build your website.
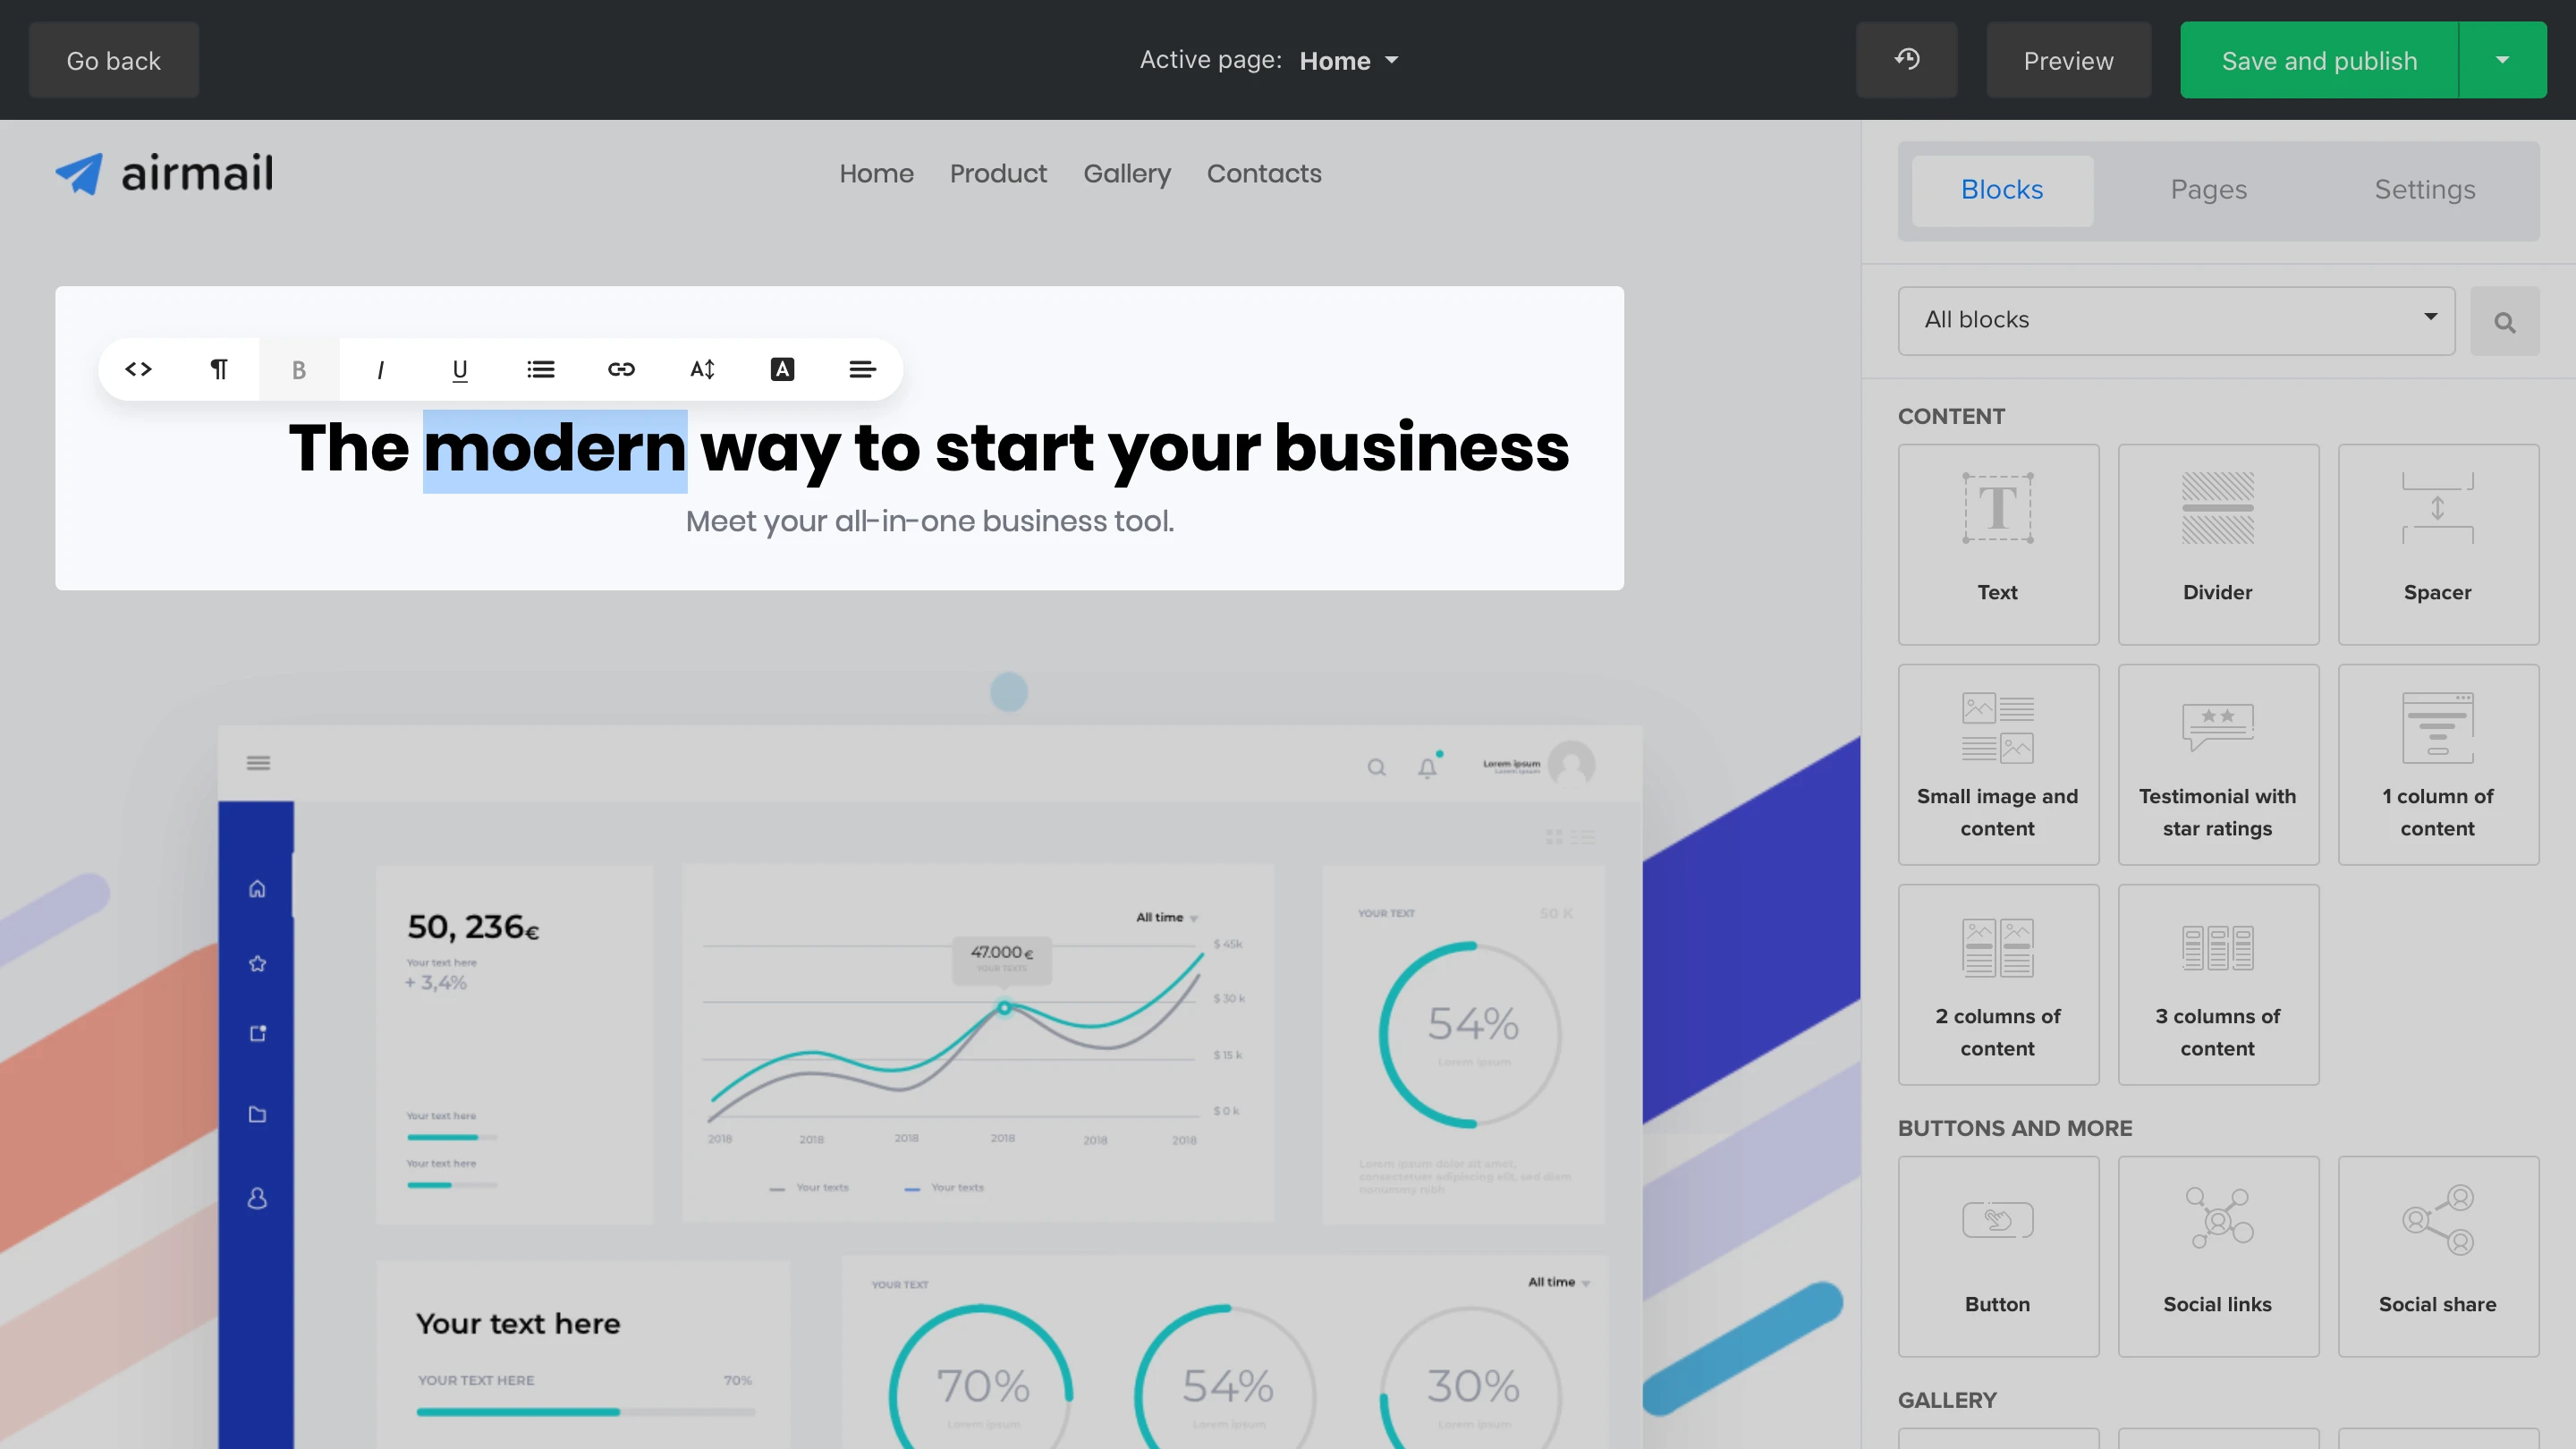
To edit the content and formatting of your text blocks, simply select the text block and start typing directly into the website builder. To edit the formatting, highlight the text you wish to edit. A formatting bar will appear. You can use these buttons to edit the formatting and add hyperlinks to your text.
How to create a page
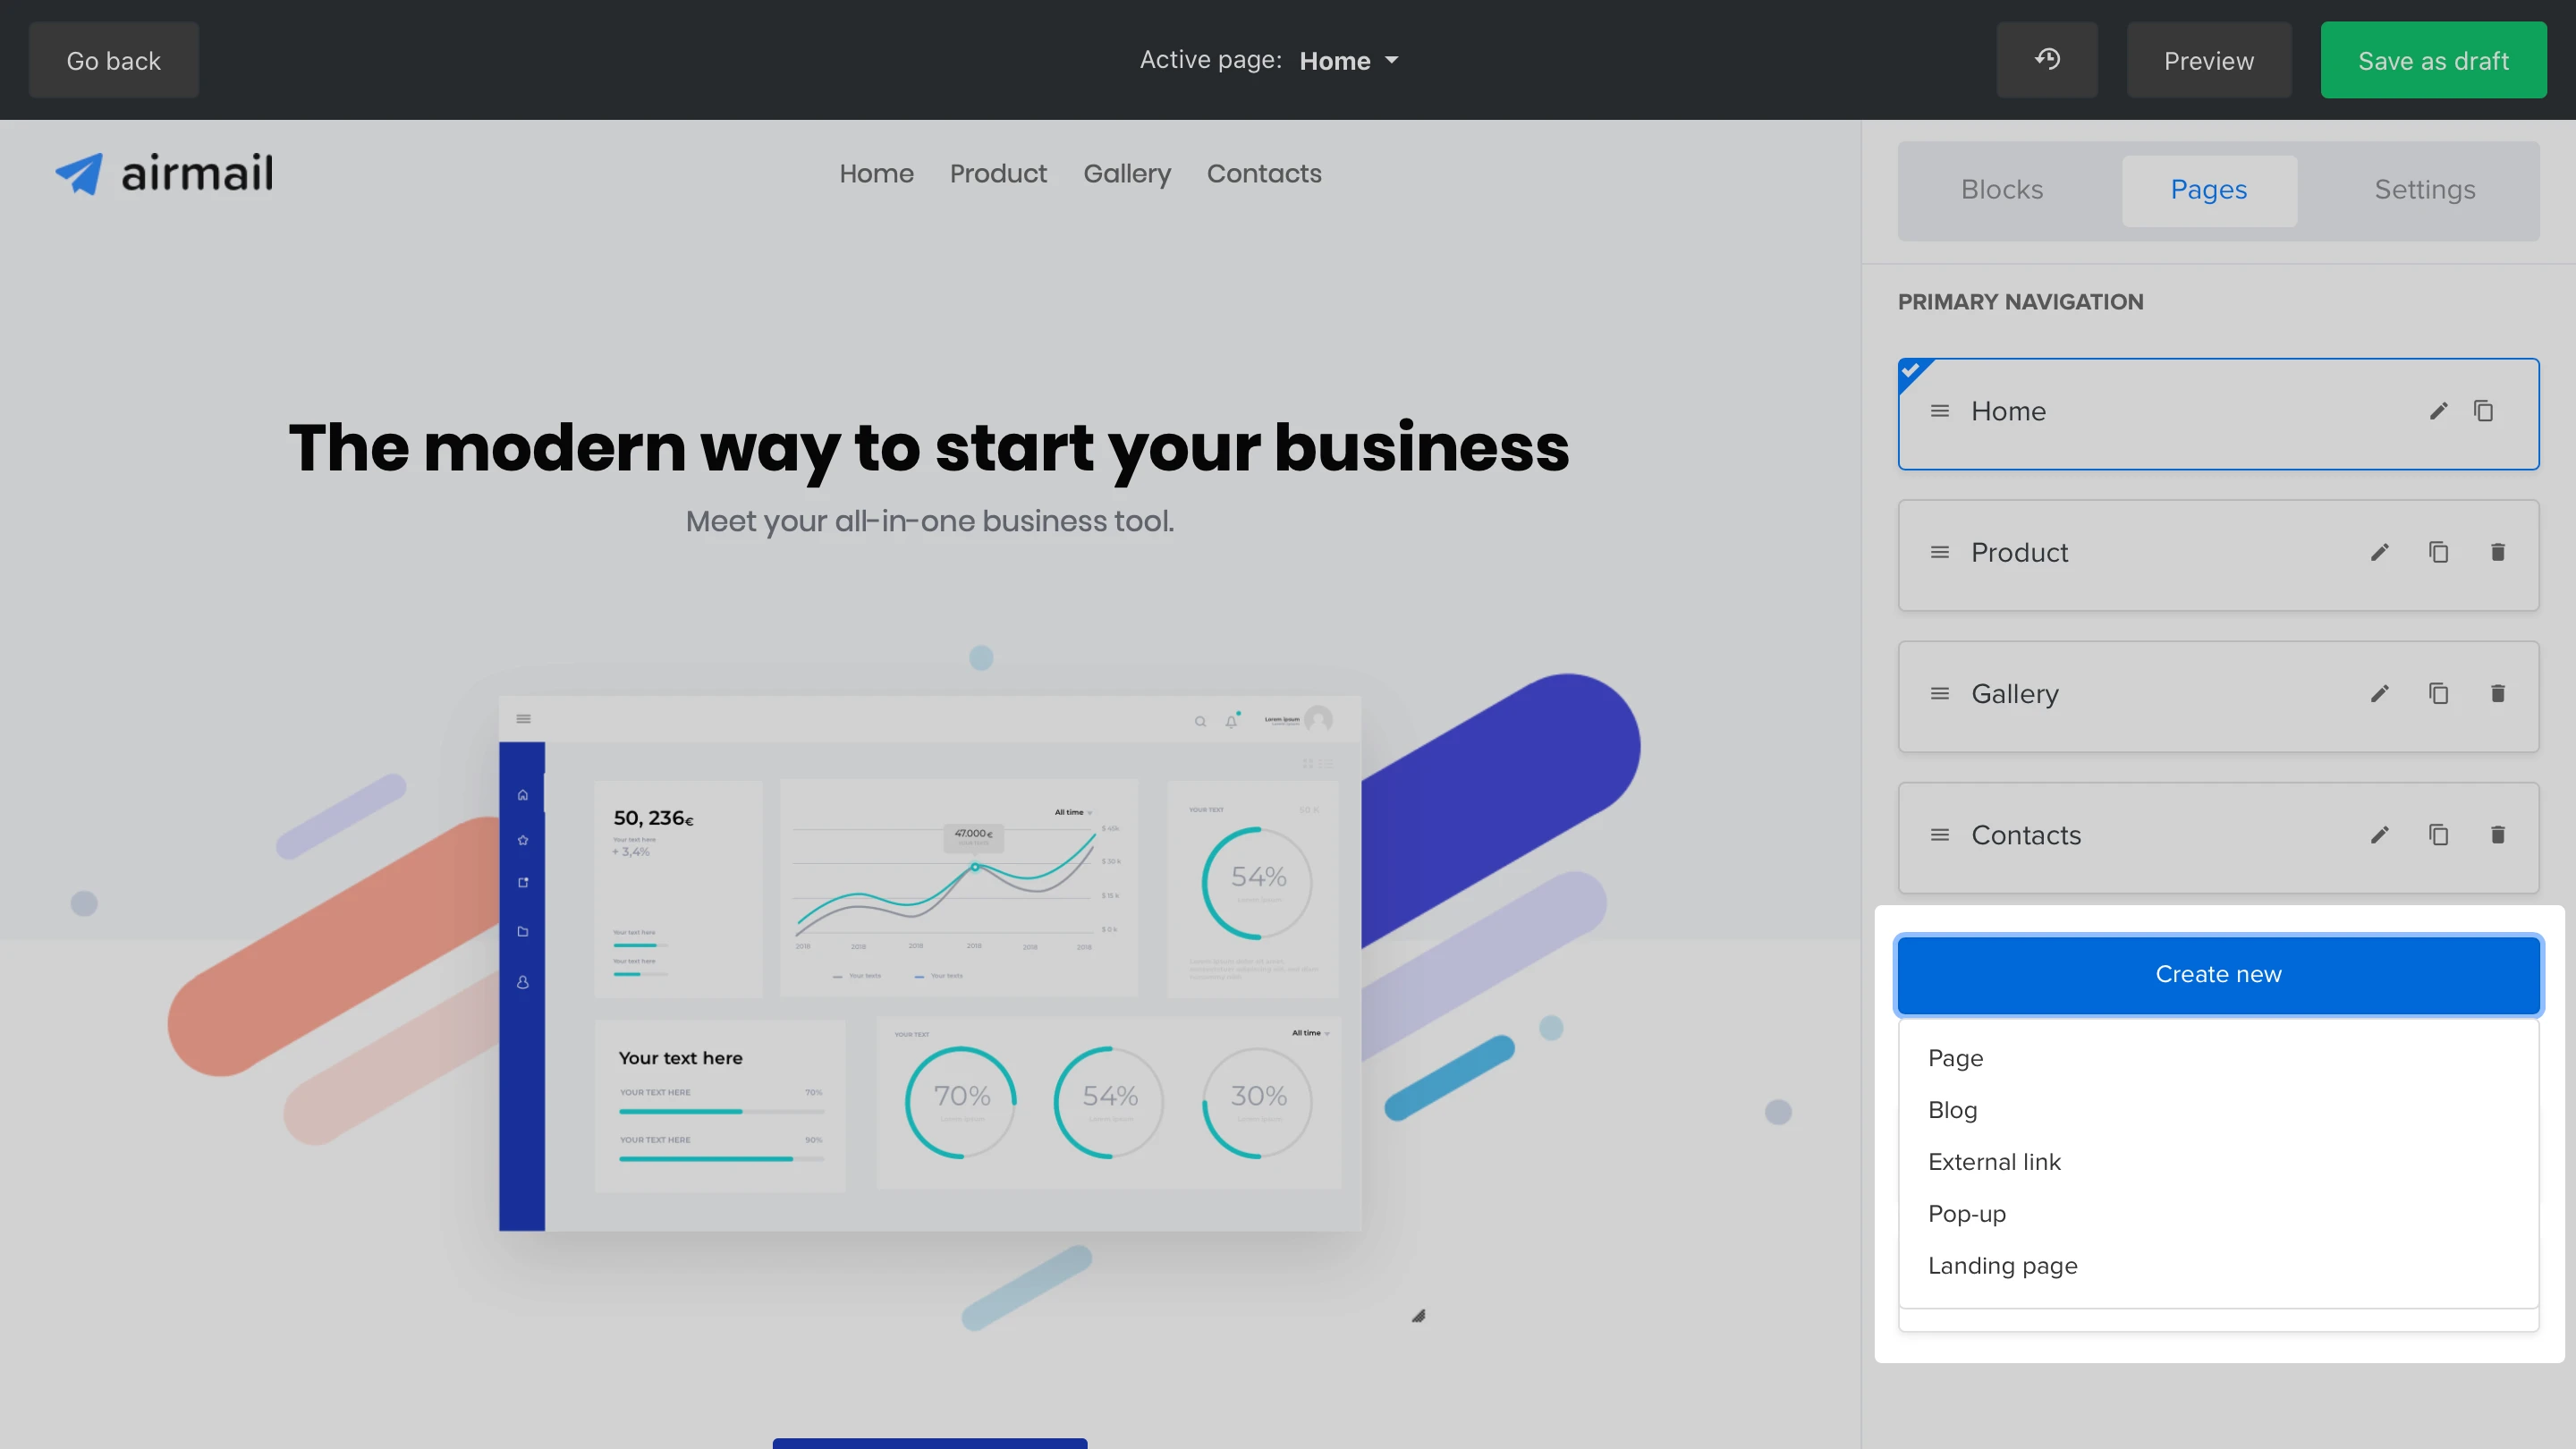
To create a page, select the Pages tab on the right sidebar to access the Primary navigation editor. From here, you’ll be able to create and edit the features for the internal pages and control default pages.
Click Create new to add a new page to your website.
Note: You can switch the Active page view in the top black header of the editor.
Pages you can include in your navigation header
Page
This is a page with its own content and URL. You can include any content related to your business.
Blog
A blog is a great way to drive traffic to your website and to grow your mailing list. For each website, you can create one blog. See How to create a blog post to learn more.
External link
You can link an external page on your site’s navigation header.
Pop-up
You can link any of the pop-up forms you’ve created on your MailerLite account. See How to create a pop-up form to learn more.
Landing page
You can link any of the landing pages you’ve already created on your MailerLite account. See How to create landing pages to learn more.
Page features
After creating a new page, you can edit and manage the following features:
Page name and slug
Set up the name of the internal page and its slug (what comes after the forward-slash “/” in the website’s URL).
Hide page from navigation
Each page automatically appears in the website’s primary navigation header. You can choose to hide a specific page from this header. Even after hiding it, you can still reach the page using our smart linking system. Every call-to-action element, such as a button, can be linked to all the pages you’ve created within that website.
Mark as draft page
When a page is marked as a draft, its content is not accessible by the public. This is useful when you haven’t finished a page. Make sure to hide your draft pages from the navigation, so your visitors won’t get redirected to a 404-page.
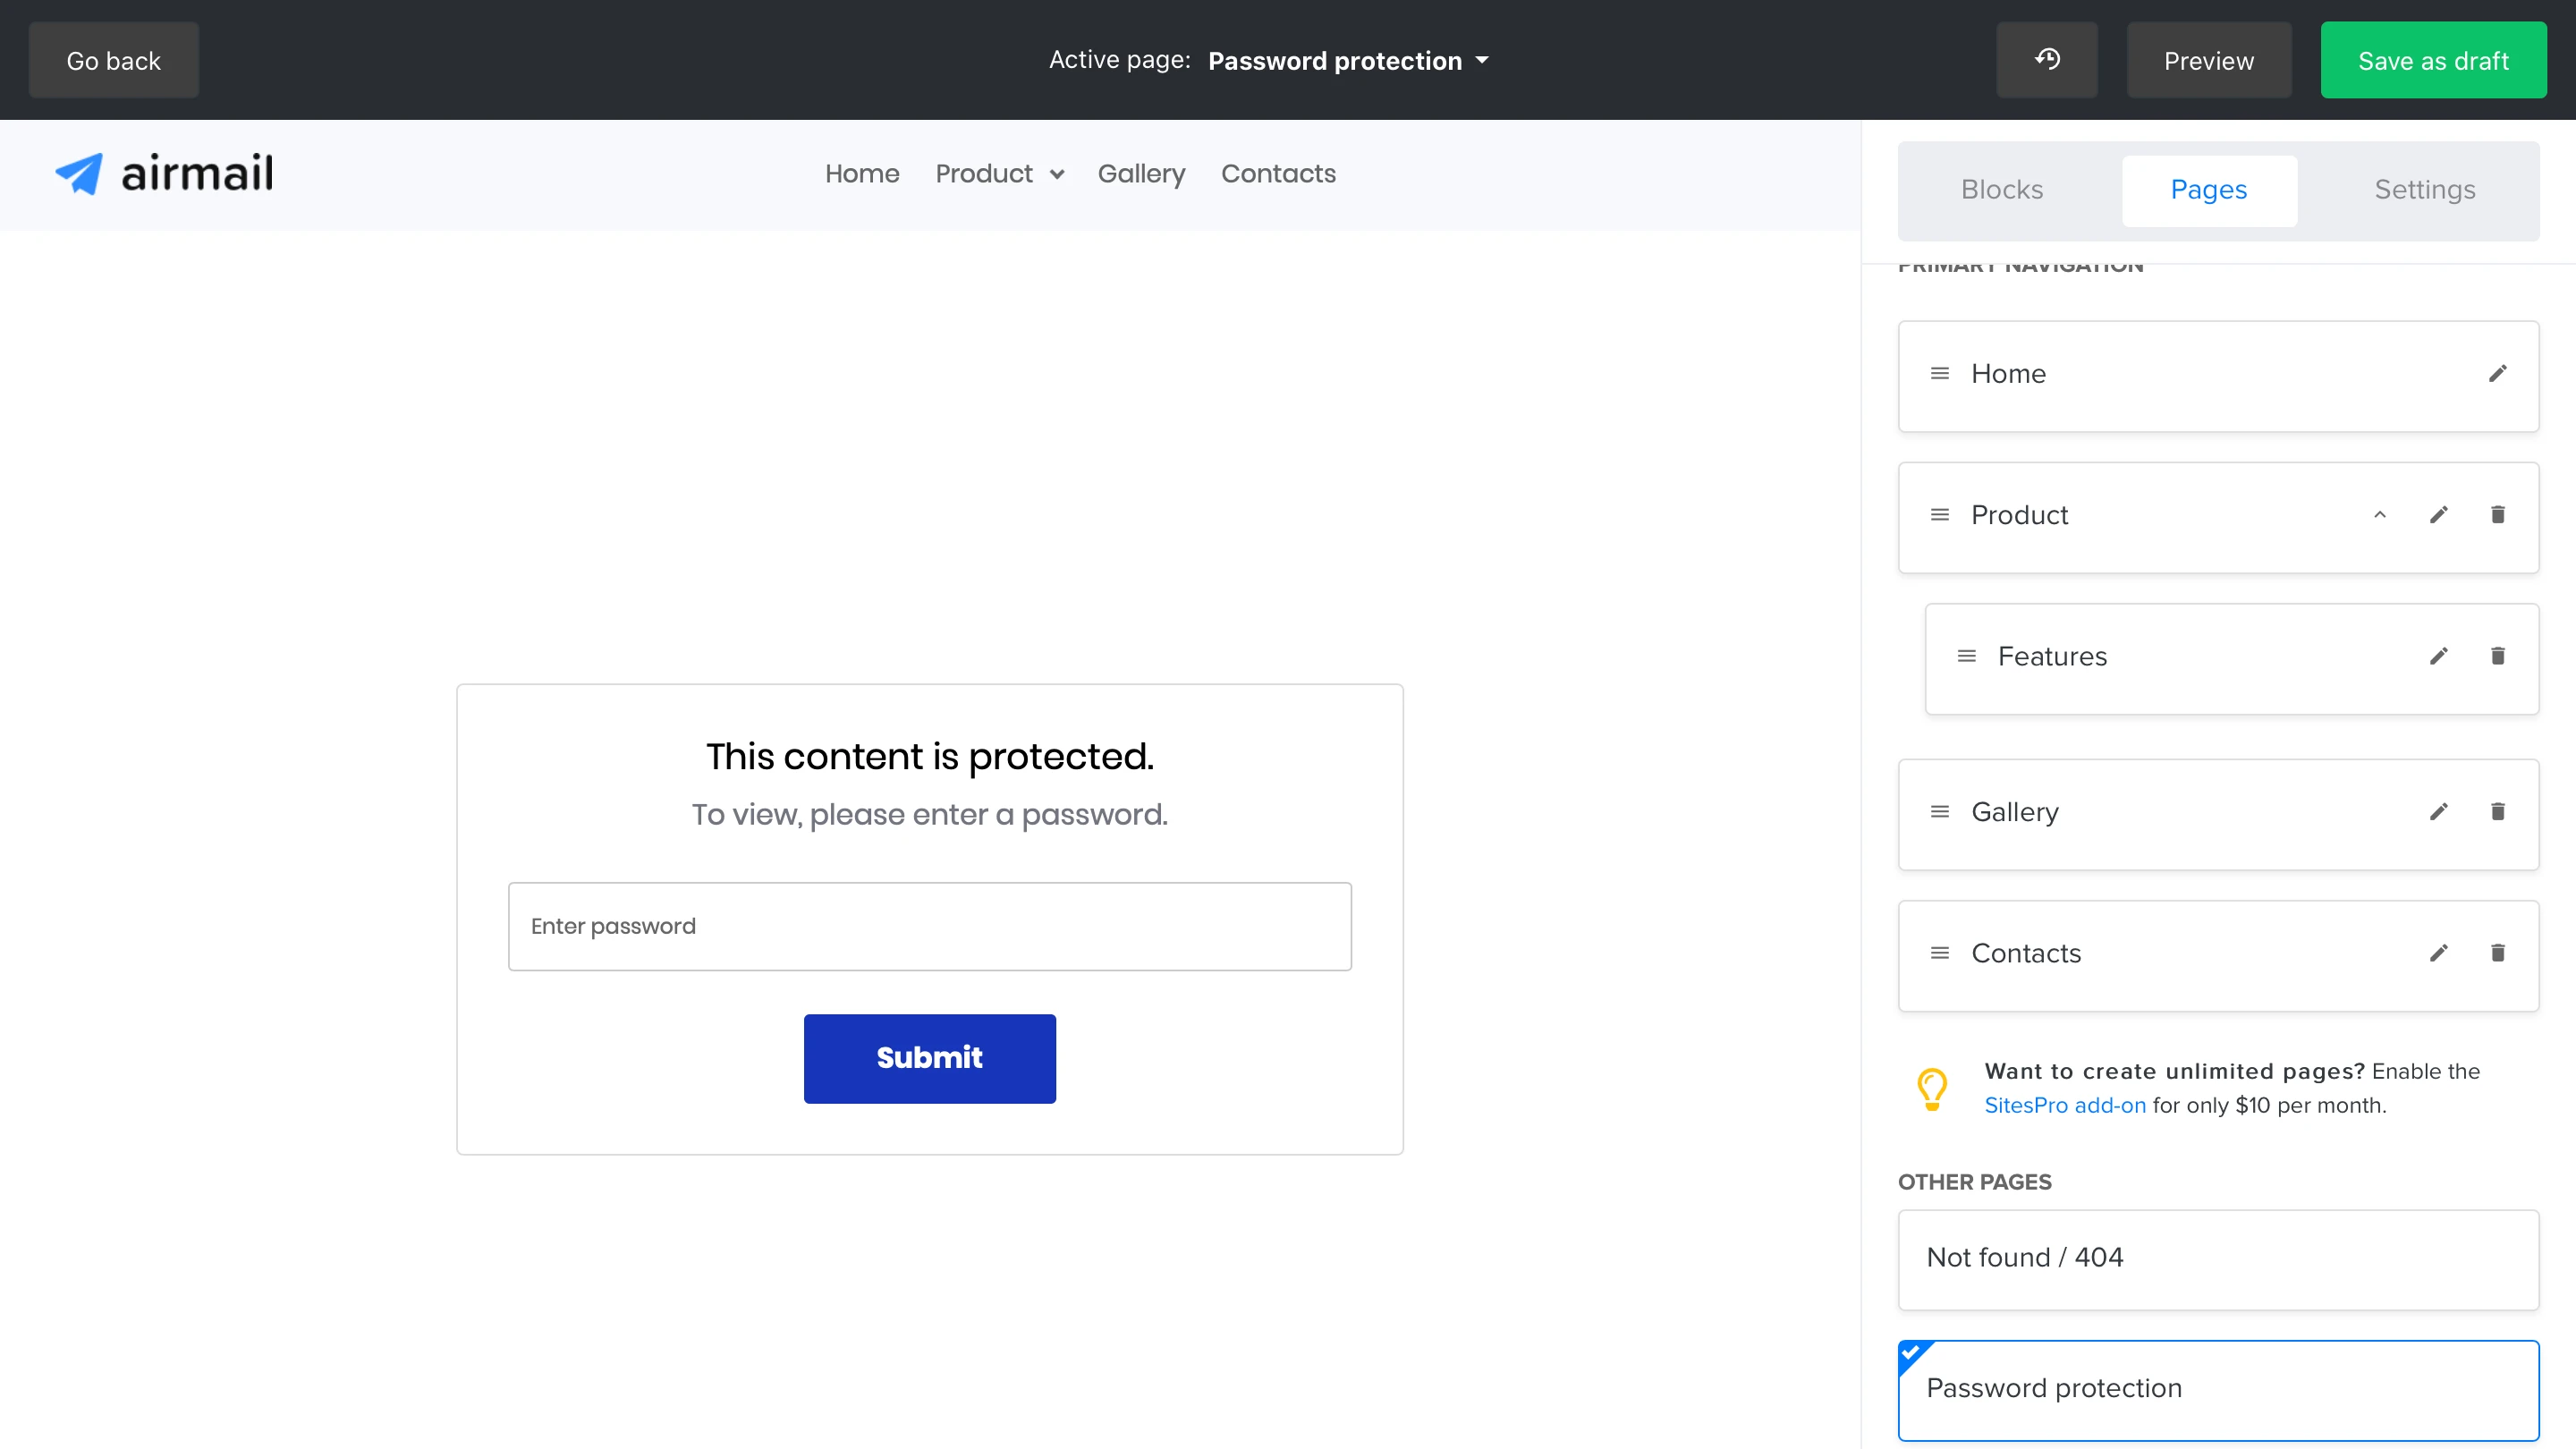
Password protection
Every page can be protected with a password, meaning that the content of the page will only be accessible by entering a password that you’ve created.
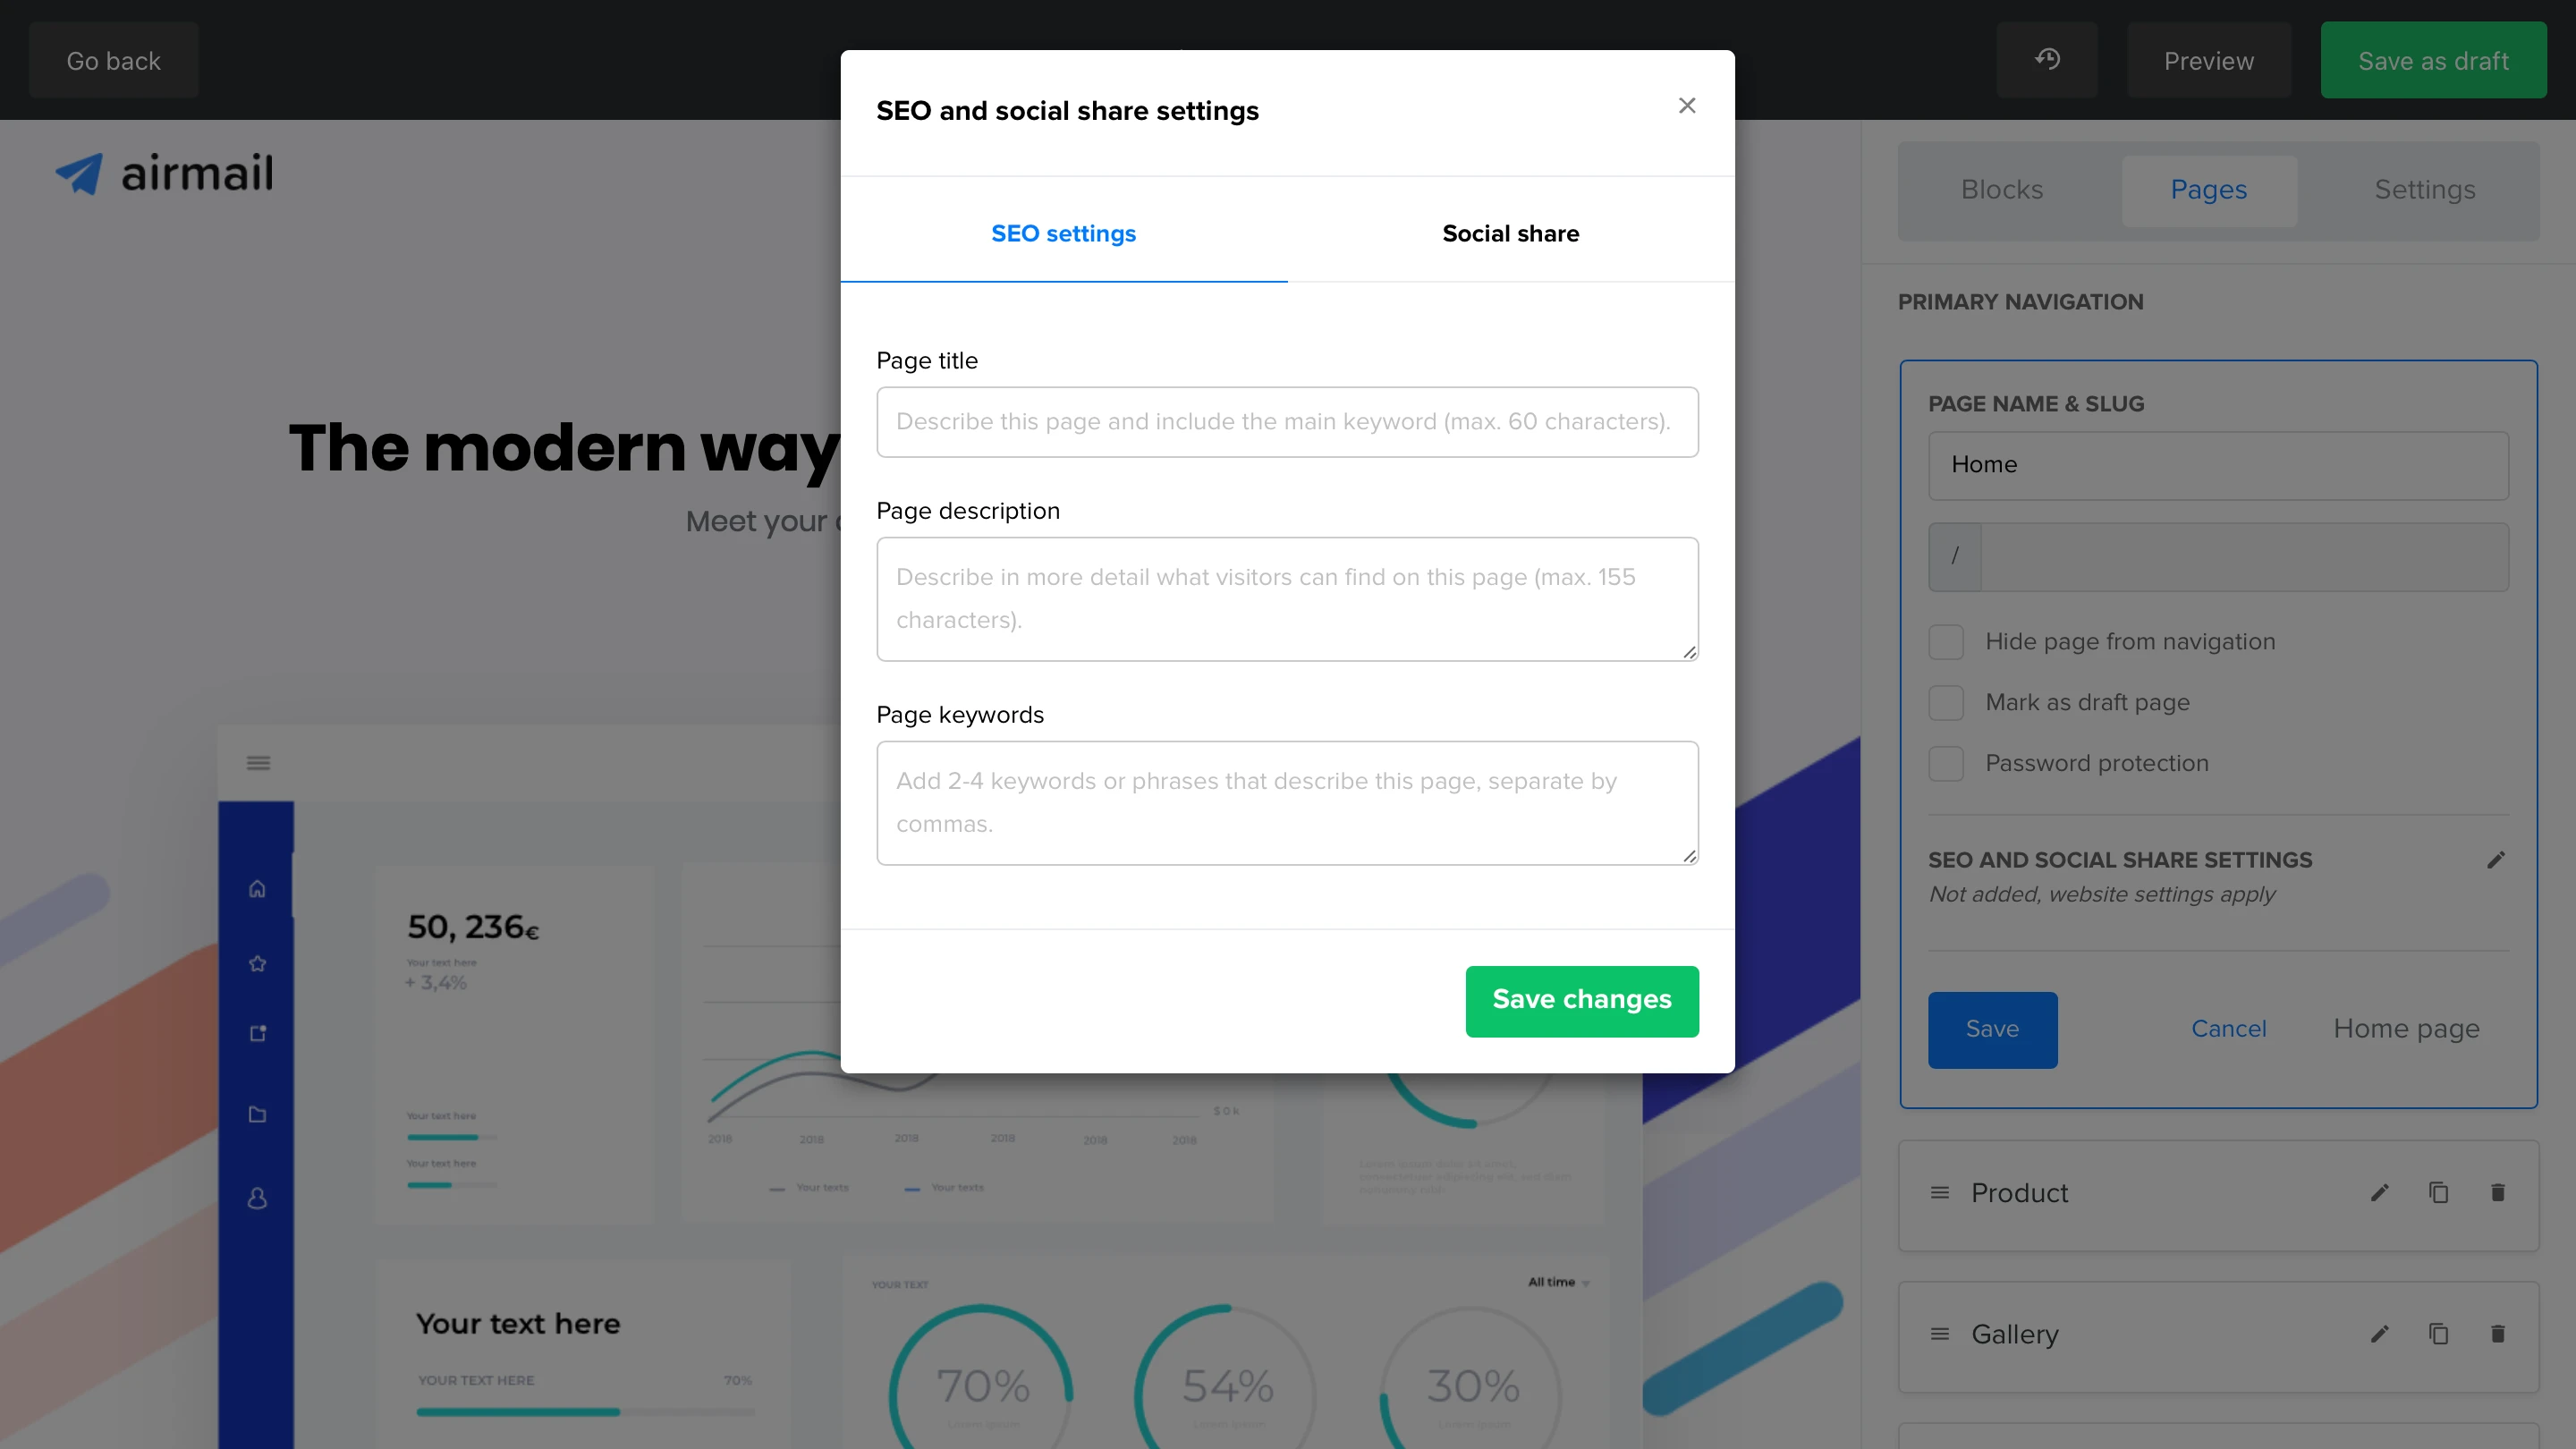
SEO and social share settings
Each one of your pages can have its own SEO and social share settings.
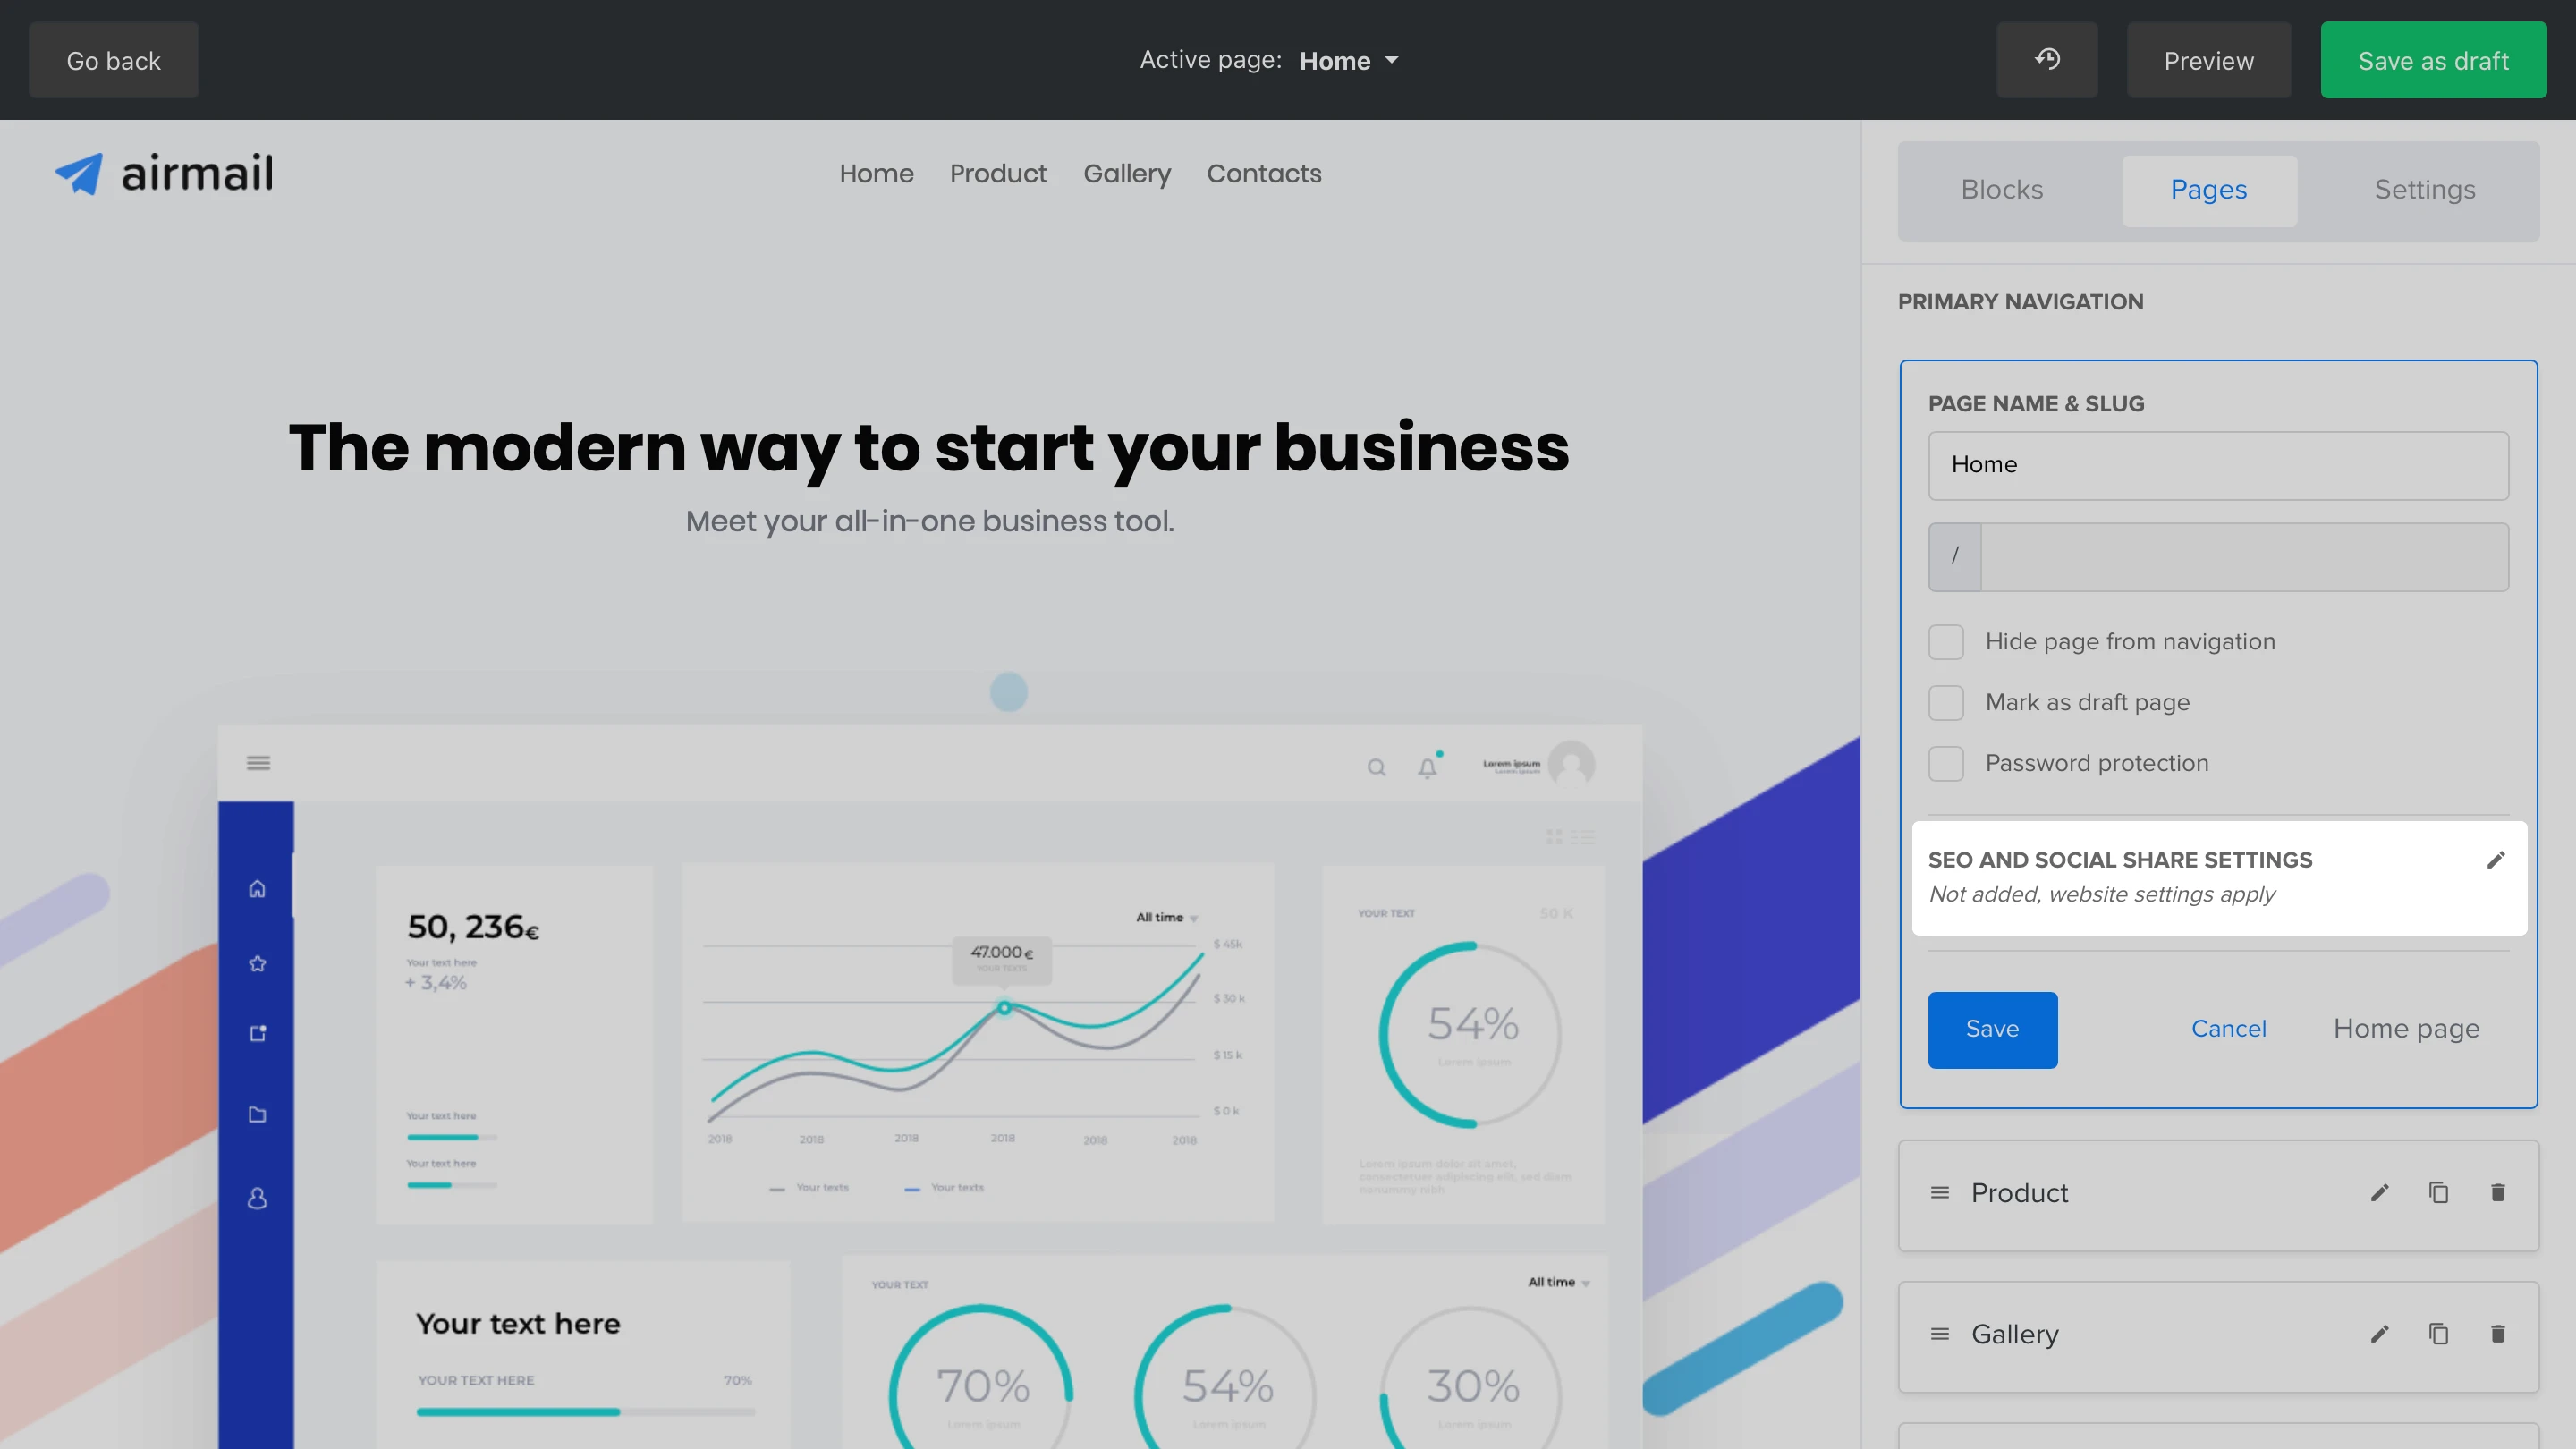
Insert your page title, description, and keywords for SEO settings so it can be visible on search engines. For social share settings, insert your page title, description, and image that will be visible when the page is shared on social media.
Set as homepage
Any of the pages you create can be set as a homepage for your website.
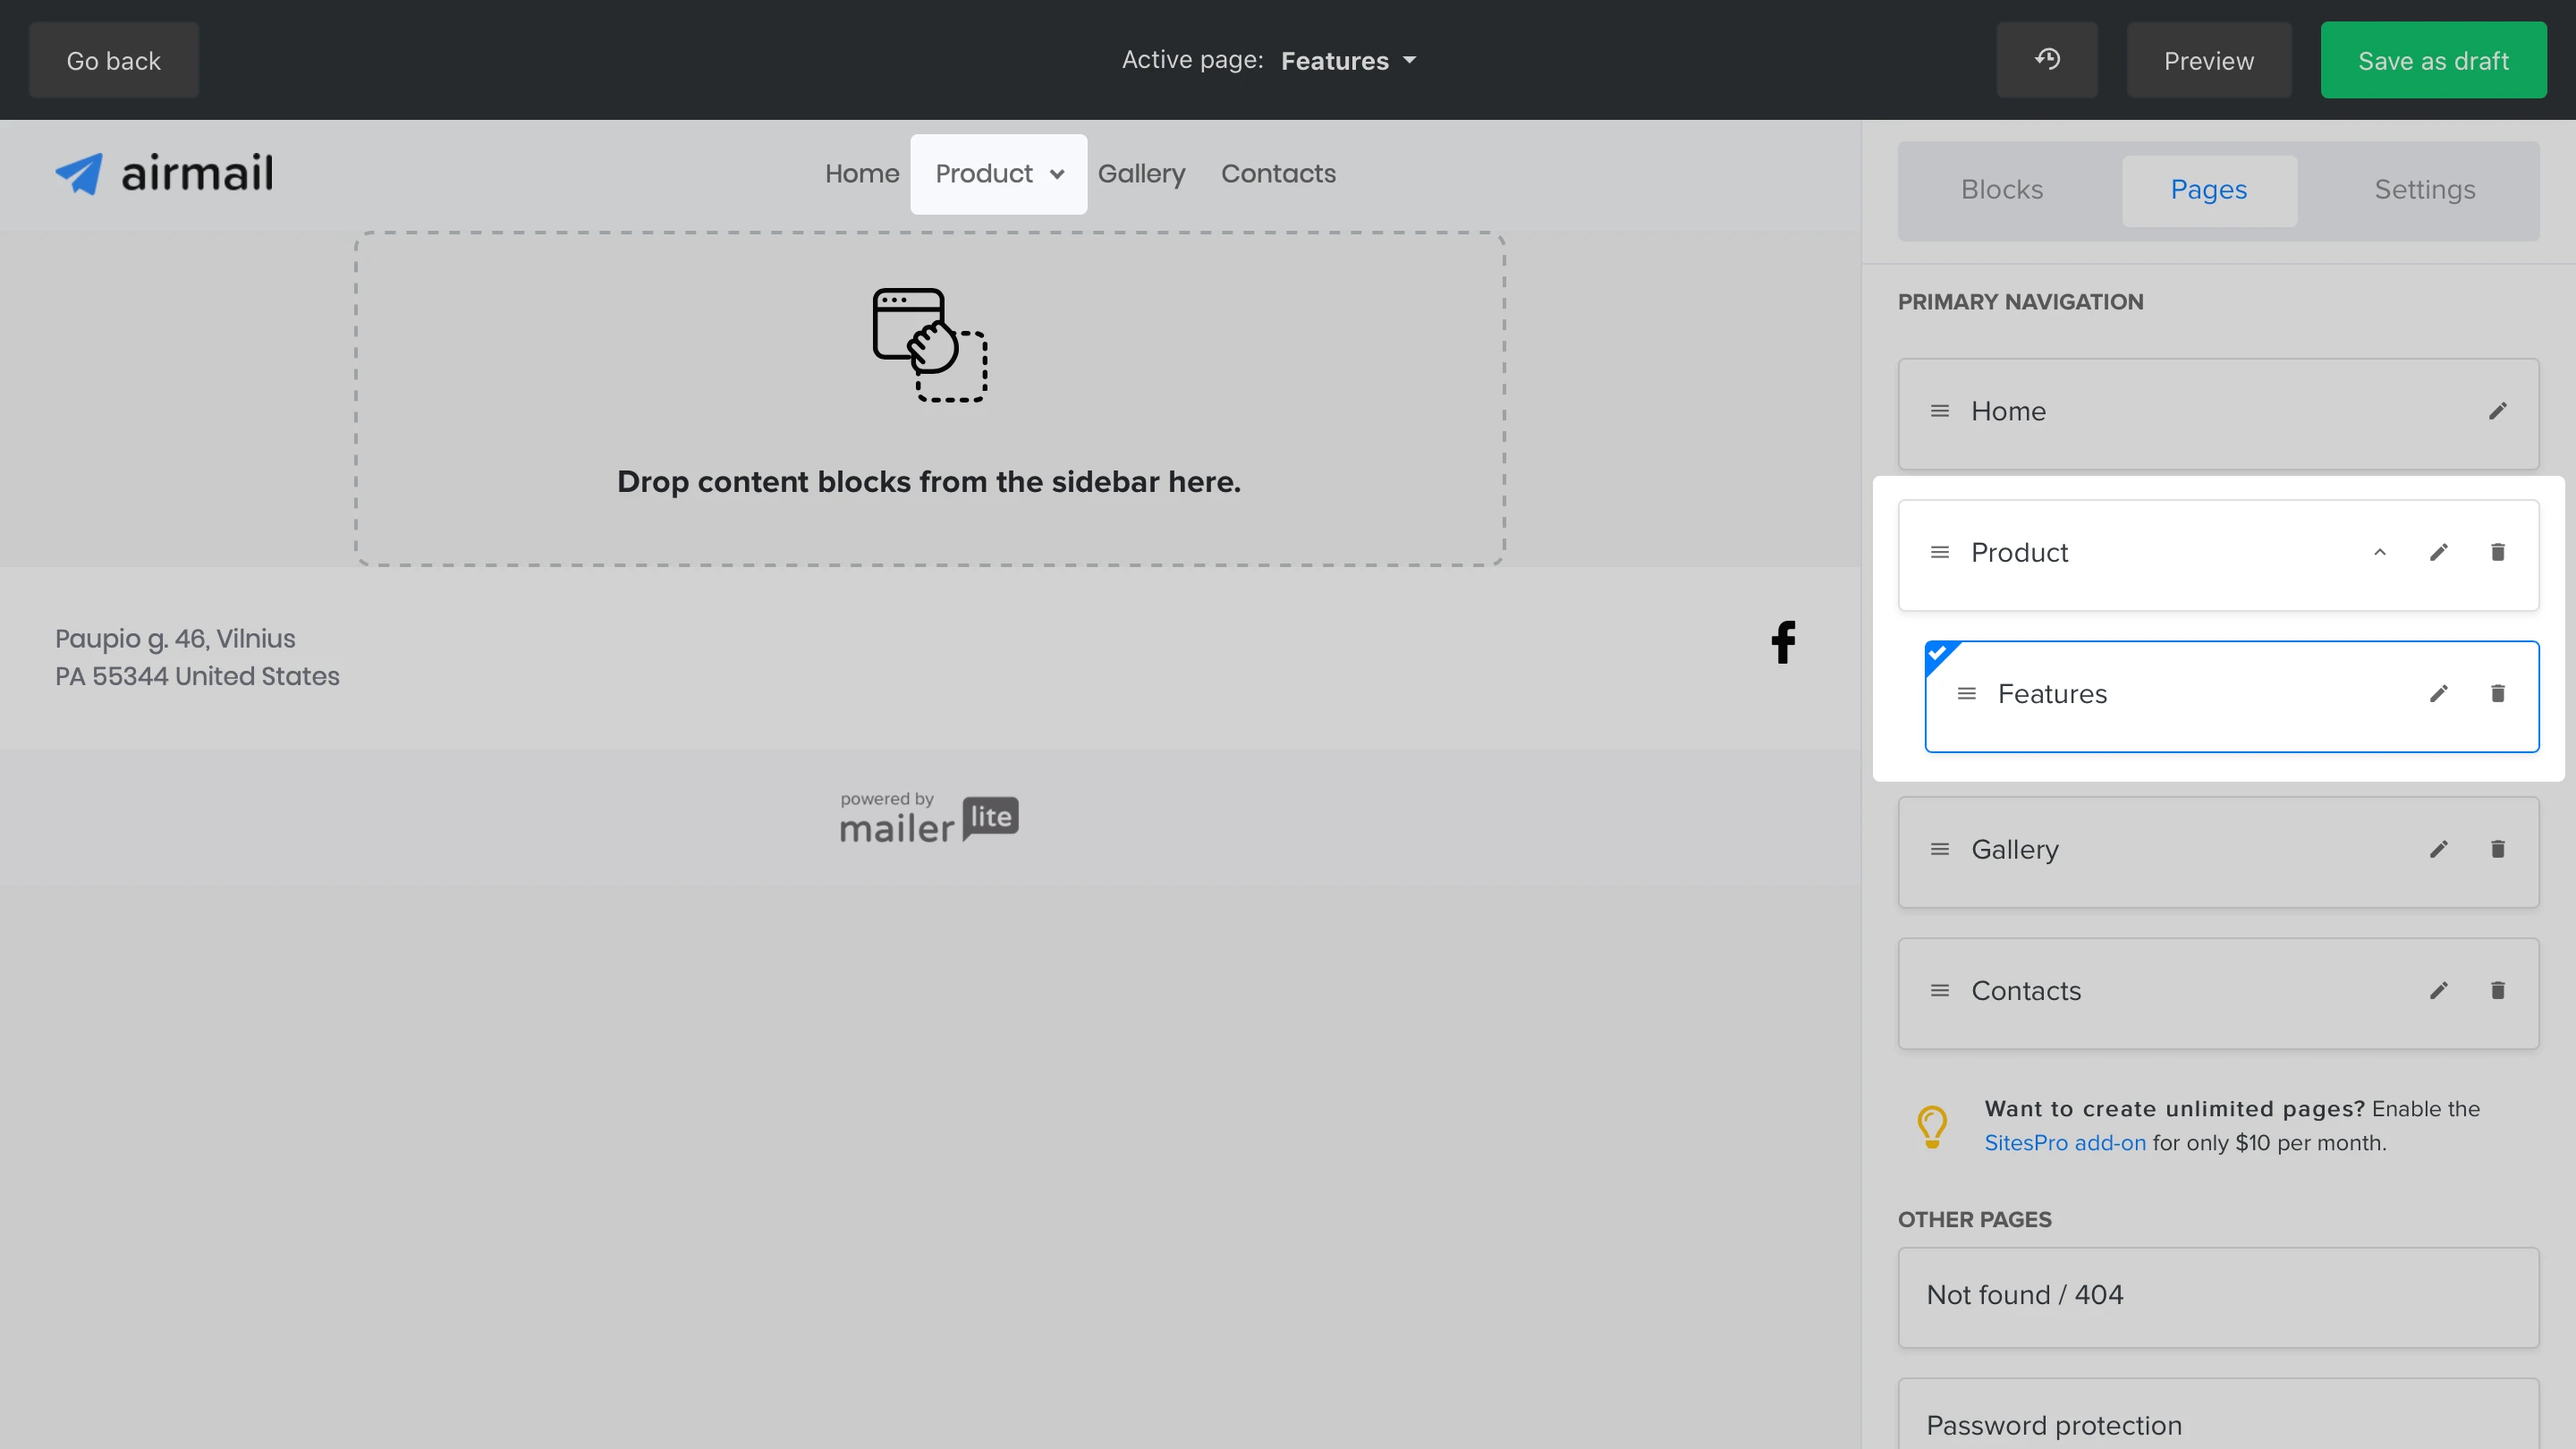
Second-level navigation
If you have a page that is not of primary importance to be shown in the top navigation, you can add it to a menu.
To organize a page so it appears in a menu, drag it slightly on top of the page above it. You’ll see how the page will be positioned slightly more right. In the website navigation, you’ll see an arrow pointing down that unfolds a menu with this page.
In the image below, the Features page is on the second-level navigation and will appear in the Product page’s menu.
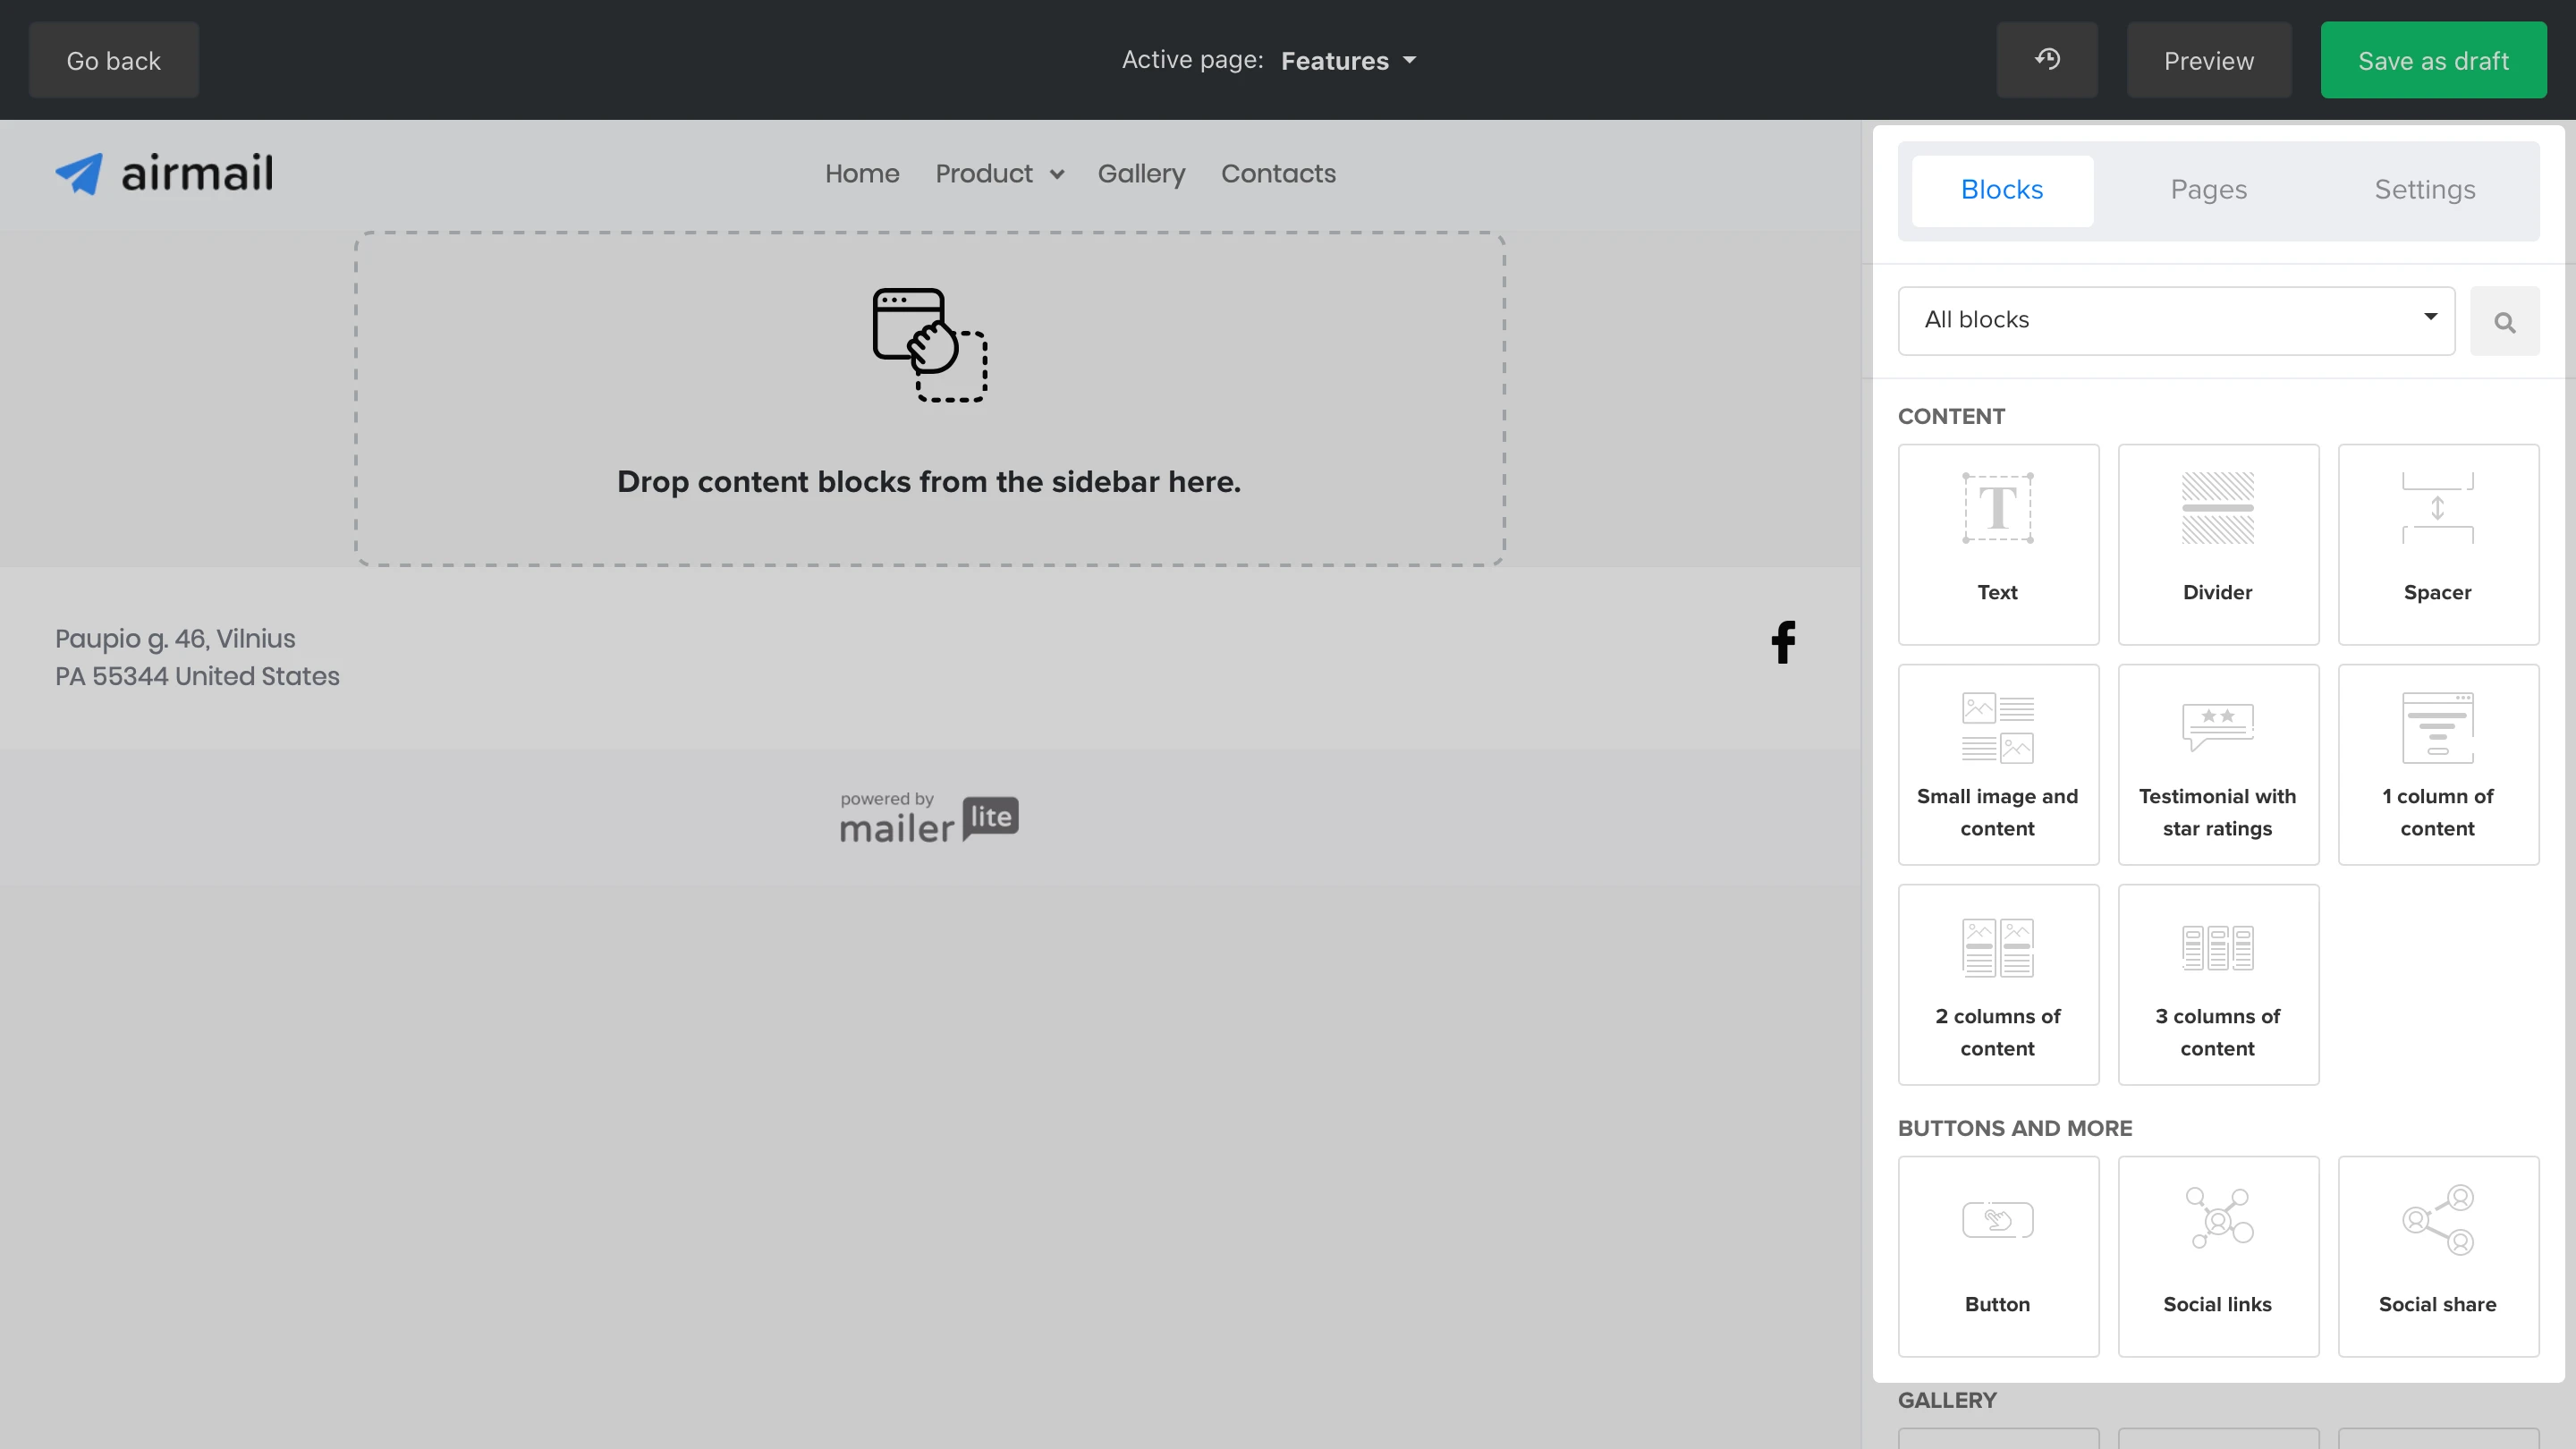
How to edit a page’s content
After you’ve successfully created a page, the Active page view will automatically change to your new page. Select the Blocks tab on the right sidebar to view all the blocks that you can add to the new page and start designing right away!
How to control default pages
By default, every website has a few default pages that you can update to your liking.
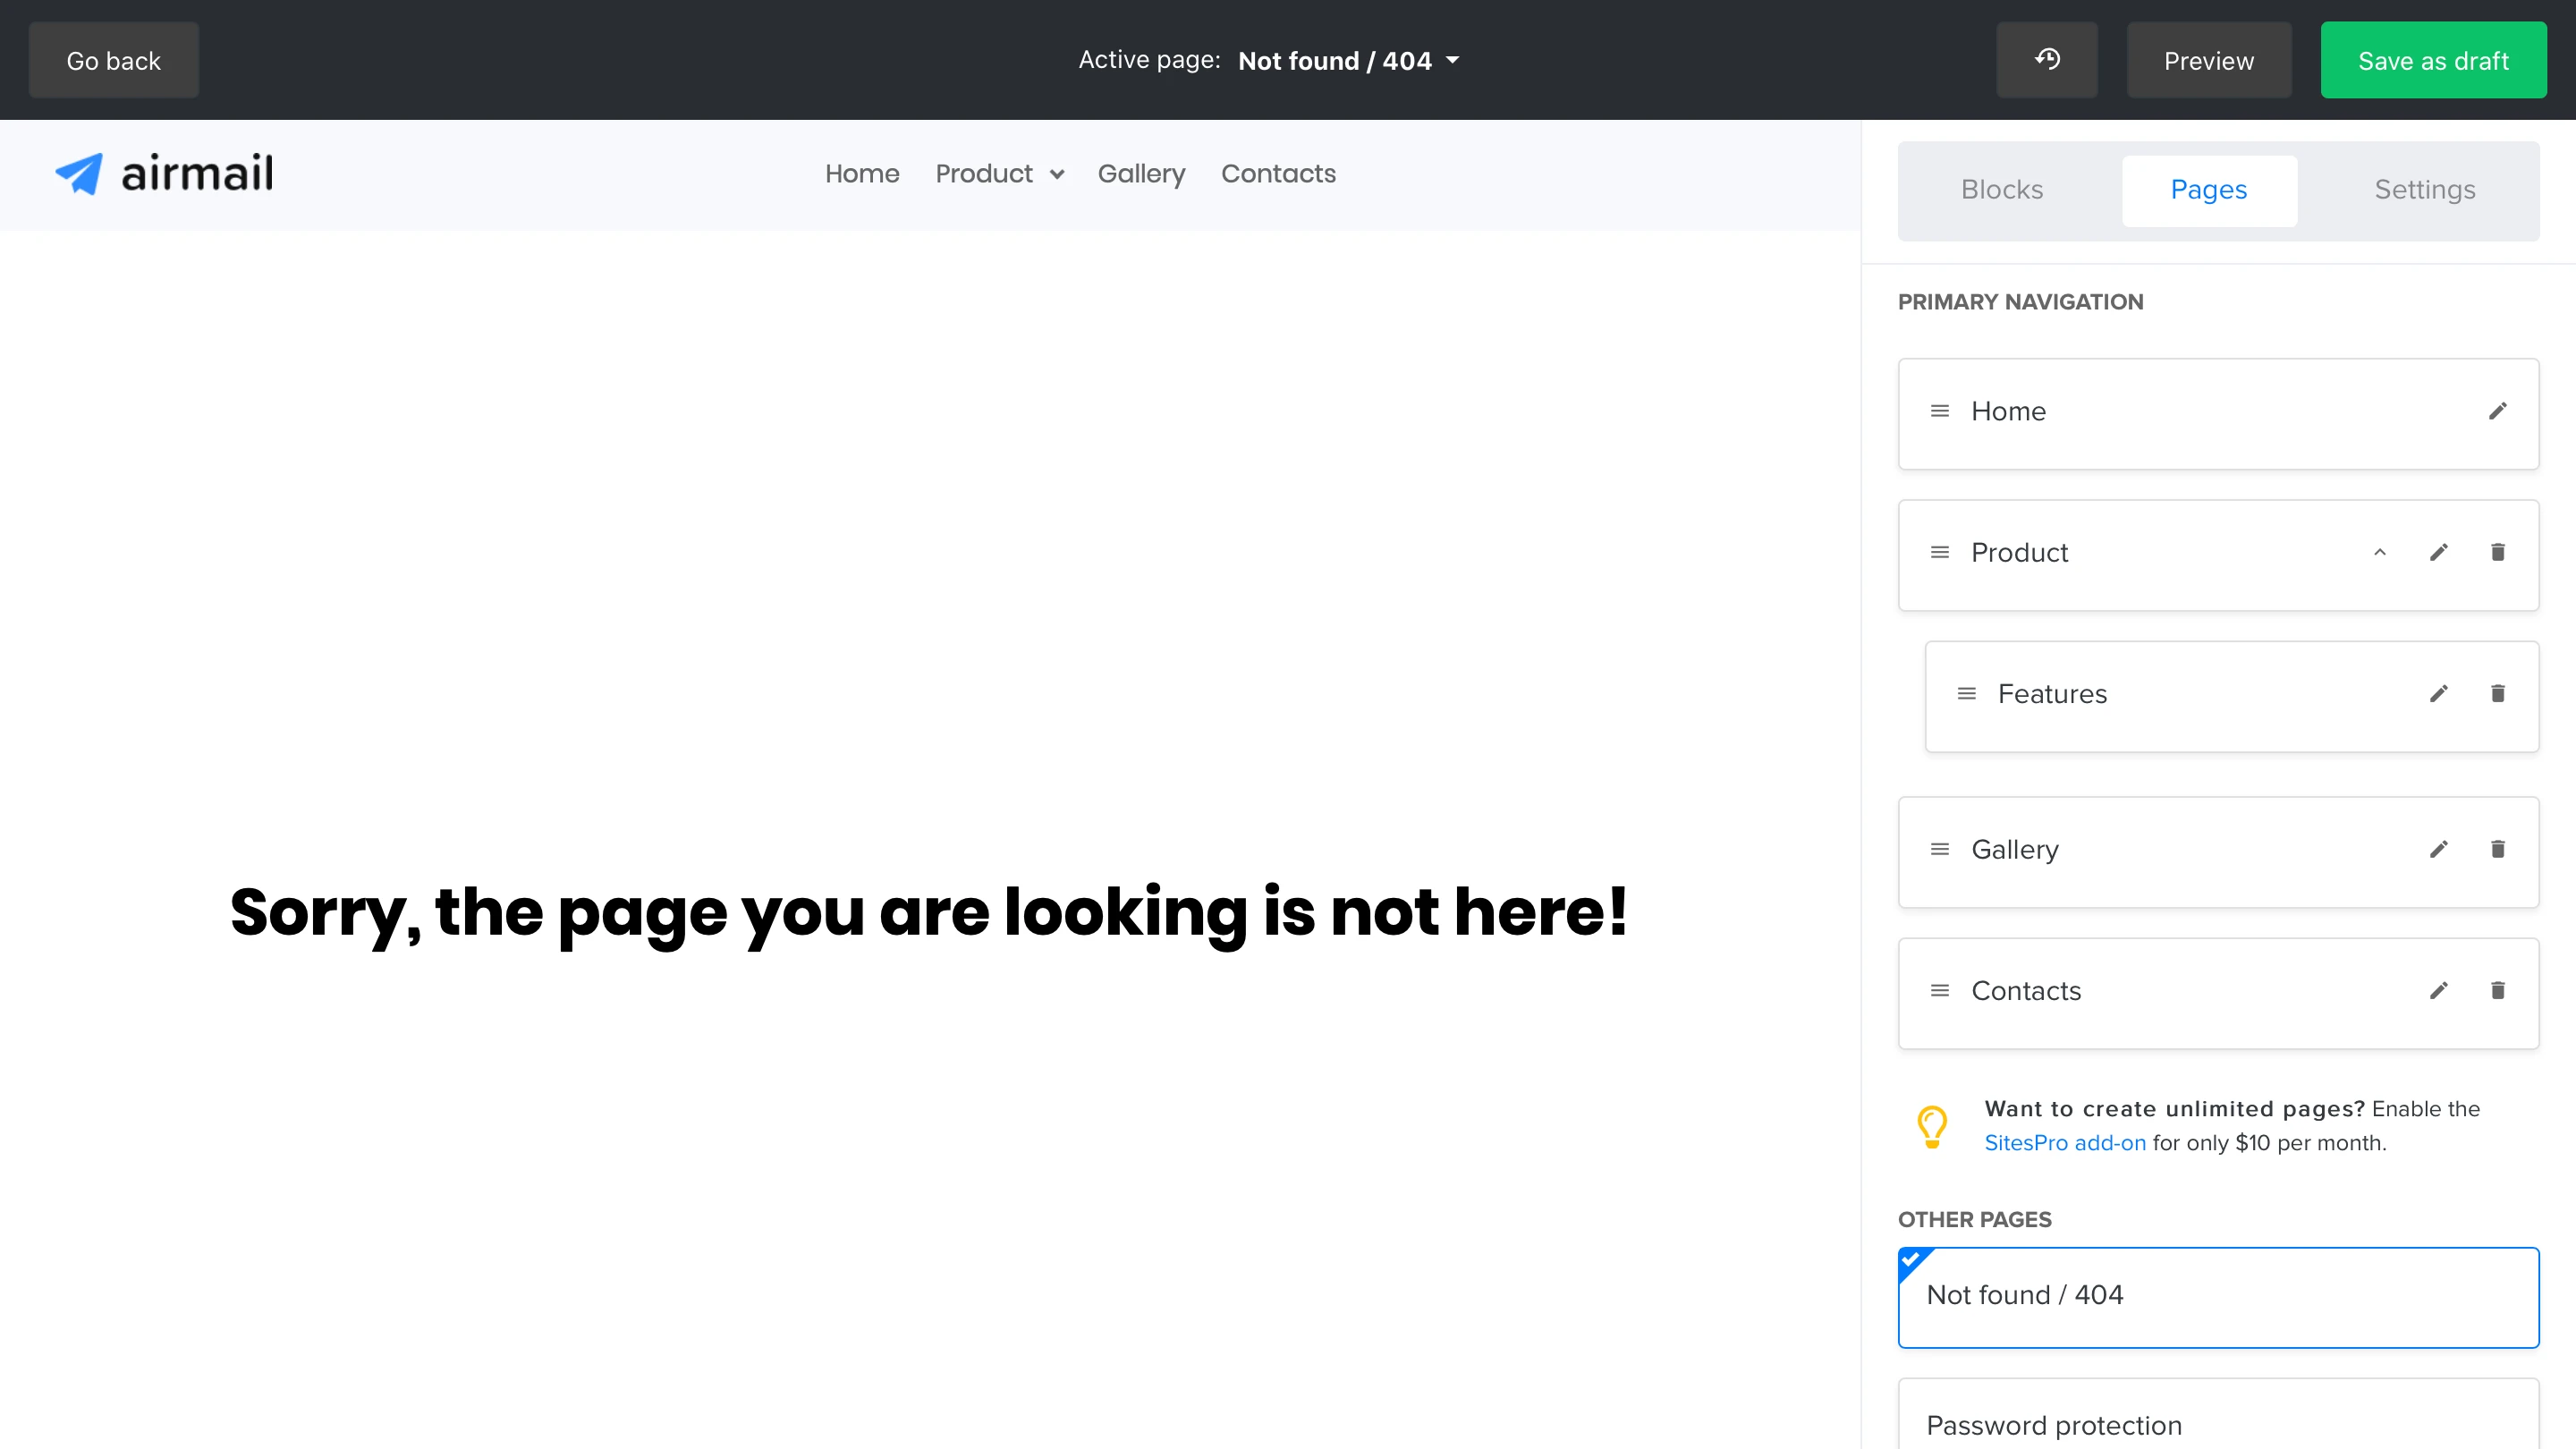
404 or not found page
Visitors are redirected to this page if they:
Enter an invalid URL of your website
Try to access a page that doesn’t exist anymore
Try to access a draft page
You can edit the text on this page or add any content blocks.
Password protection page
If you decide to set up password protection for a specific page, visitors would first be redirected to this password-protected page. After they have successfully entered the password, they will be redirected to the specific page and see the content.
In this view, you can design the password submission form and add any additional content blocks, if needed.
Note: For all changes you make on a page, make sure to click the blue Save button after you’re done editing to successfully add the internal page(s).
Adding a video to a MailerLite website
Unlike the Landing page editor, the website editor does not include a dedicated Video block. But don't worry; embedding a video is straightforward and only requires a few steps. By using an HTML code block, you can add videos from popular hosting platforms like YouTube, Vimeo, or any other provider that offers an embed snippet.
Get the embed code
Locate the video on your preferred video hosting platform.
Look for the share or embed option. This is usually found under the video or in a share menu.
Select Embed to view the HTML code snippet. This snippet is what you'll need to copy to your MailerLite website. Make sure to copy the entire code.

Adding the video to your site
In your MailerLite site editor, navigate to the page where you want to add the video.
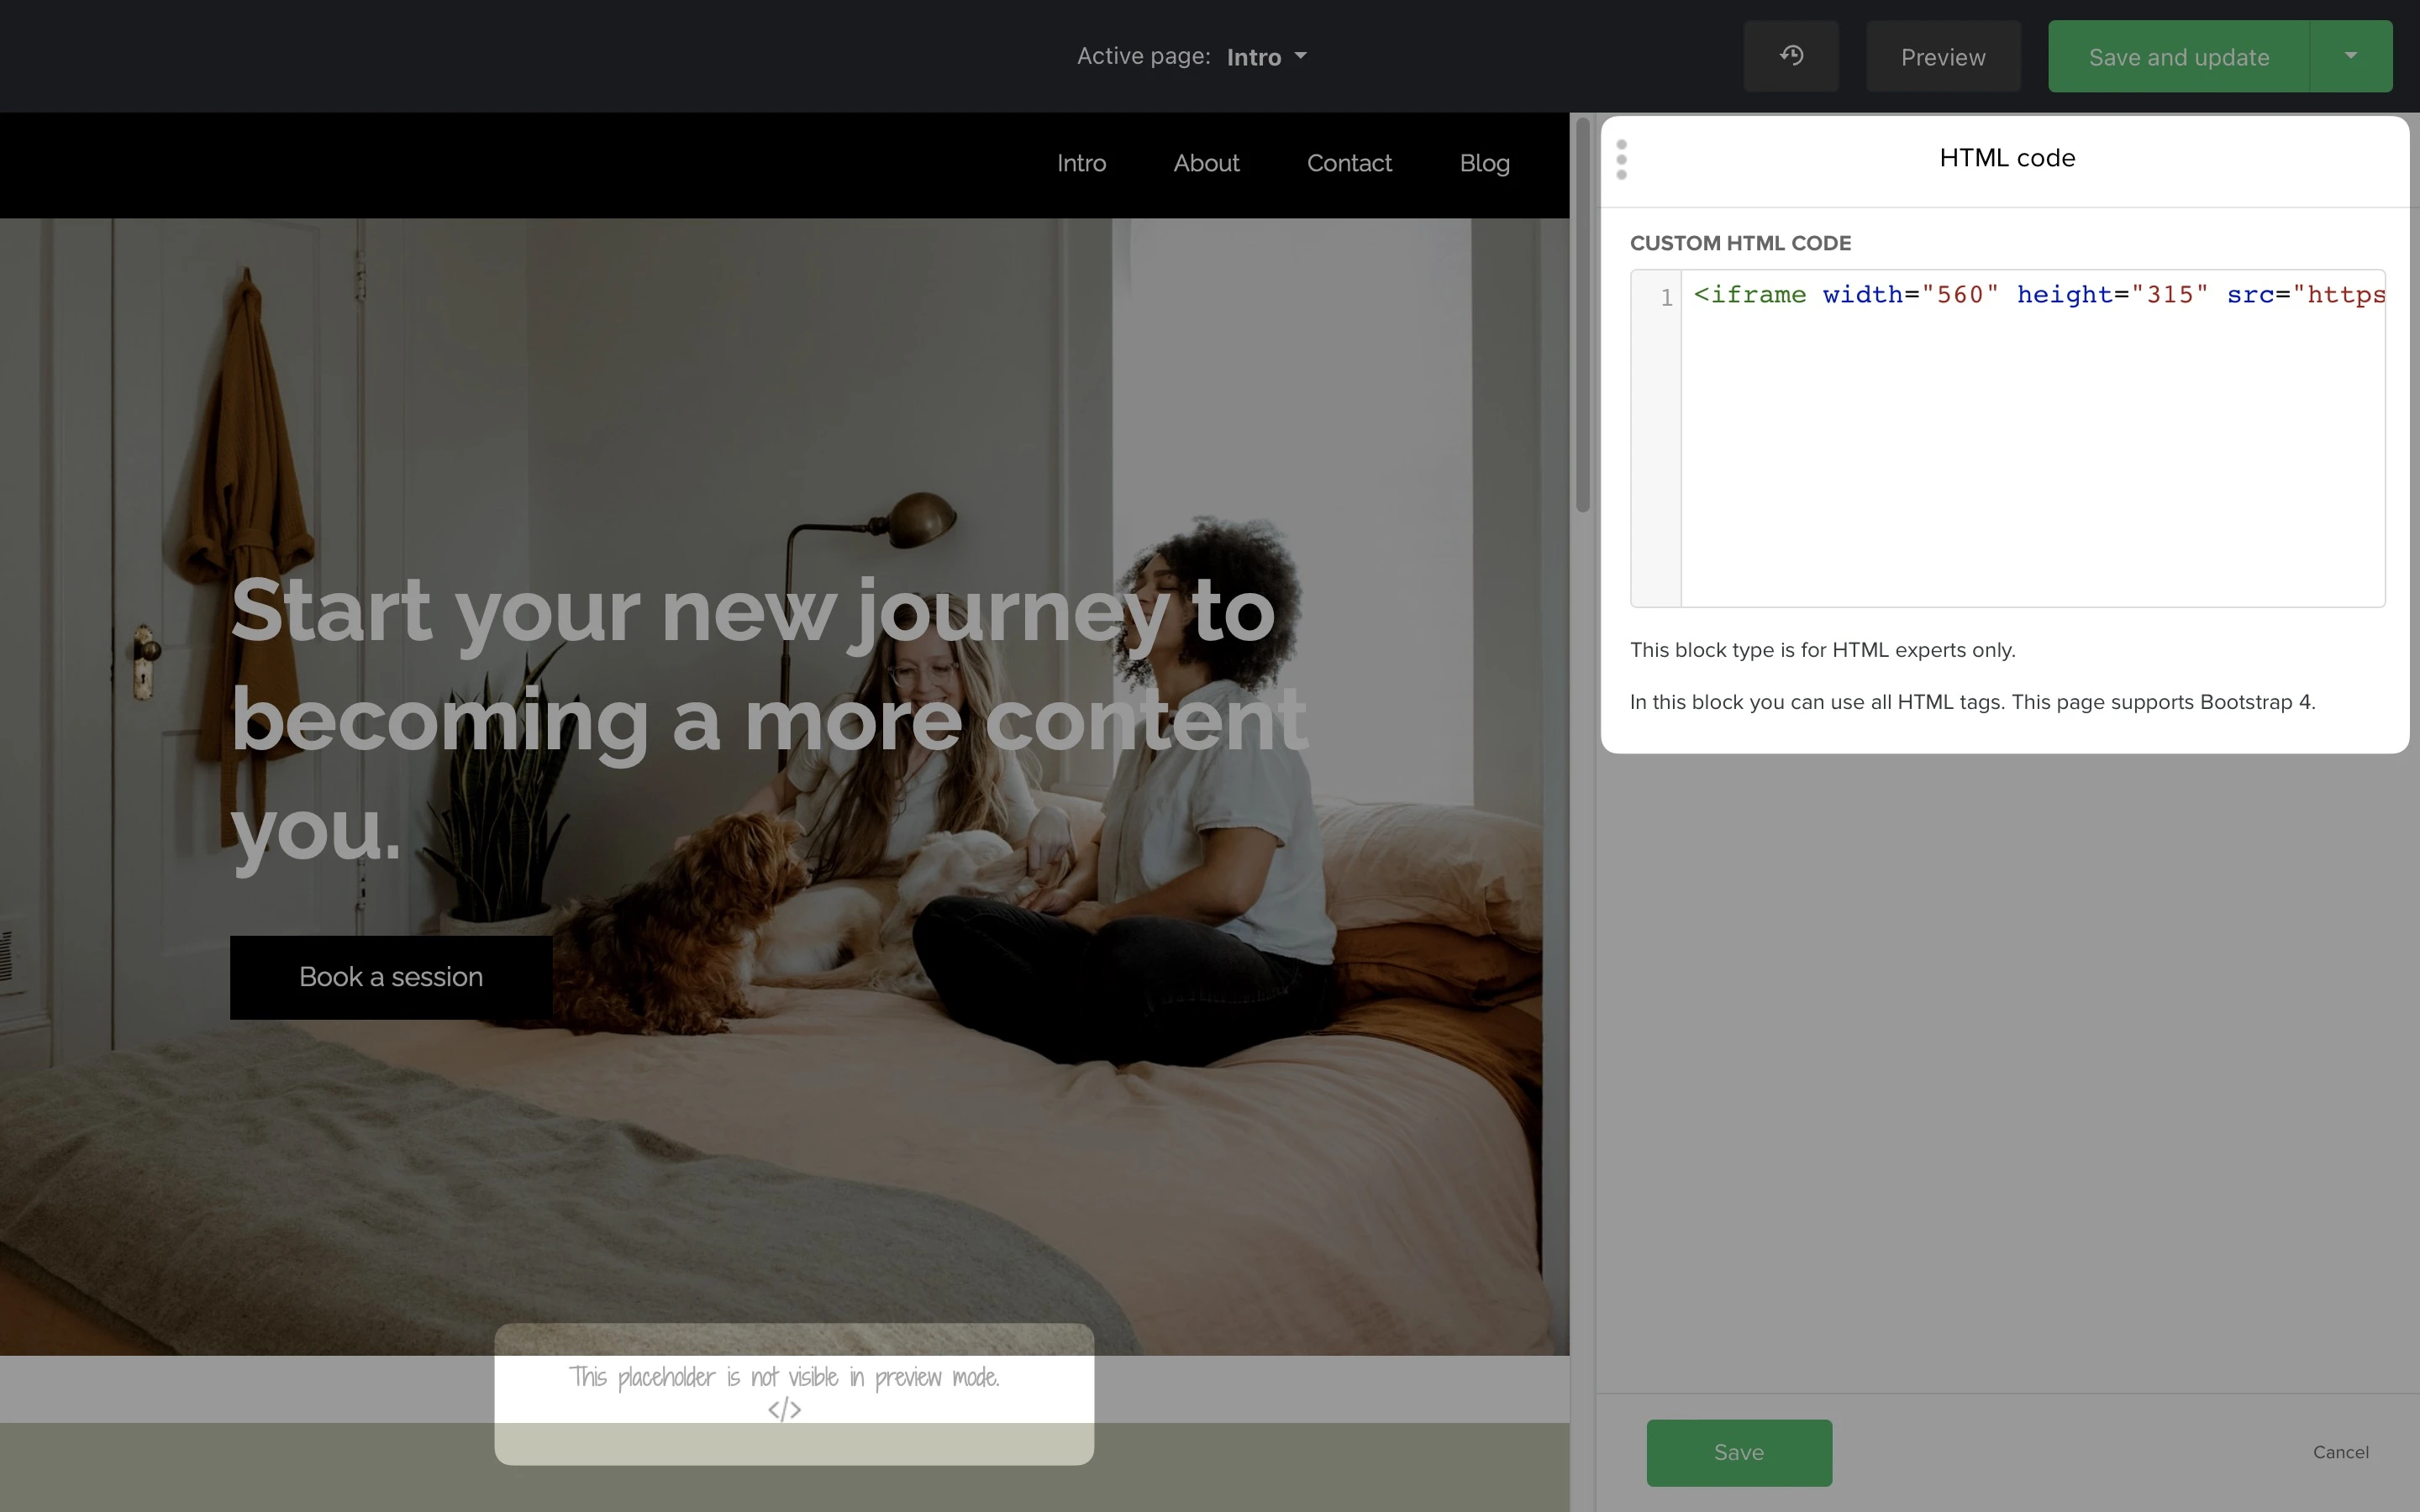
Add an HTML block to your page.
Paste the embed code you copied earlier into the HTML block.
Click Save.
💡 Tip: Centering your video
For a polished look, you might want to center your video on the page. Here's a simple trick to center the video using HTML:
Before the embed code you've just pasted, add the following line: <div style="text-align: center;">
After the embed code, close the div tag by adding: </div>
This wraps your video embed code in a div element that aligns its content to the center of your page.
After inserting the code, make sure to preview your page to ensure the video appears as expected. The video will not appear in the editor itself, only on the published site and website preview.
How to undo changes and review version history
You can view your recent changes by clicking the Clock icon in the top editing menu and selecting the Recent changes tab.
Click Undo to cancel previous edits. If you change your mind, click Redo.

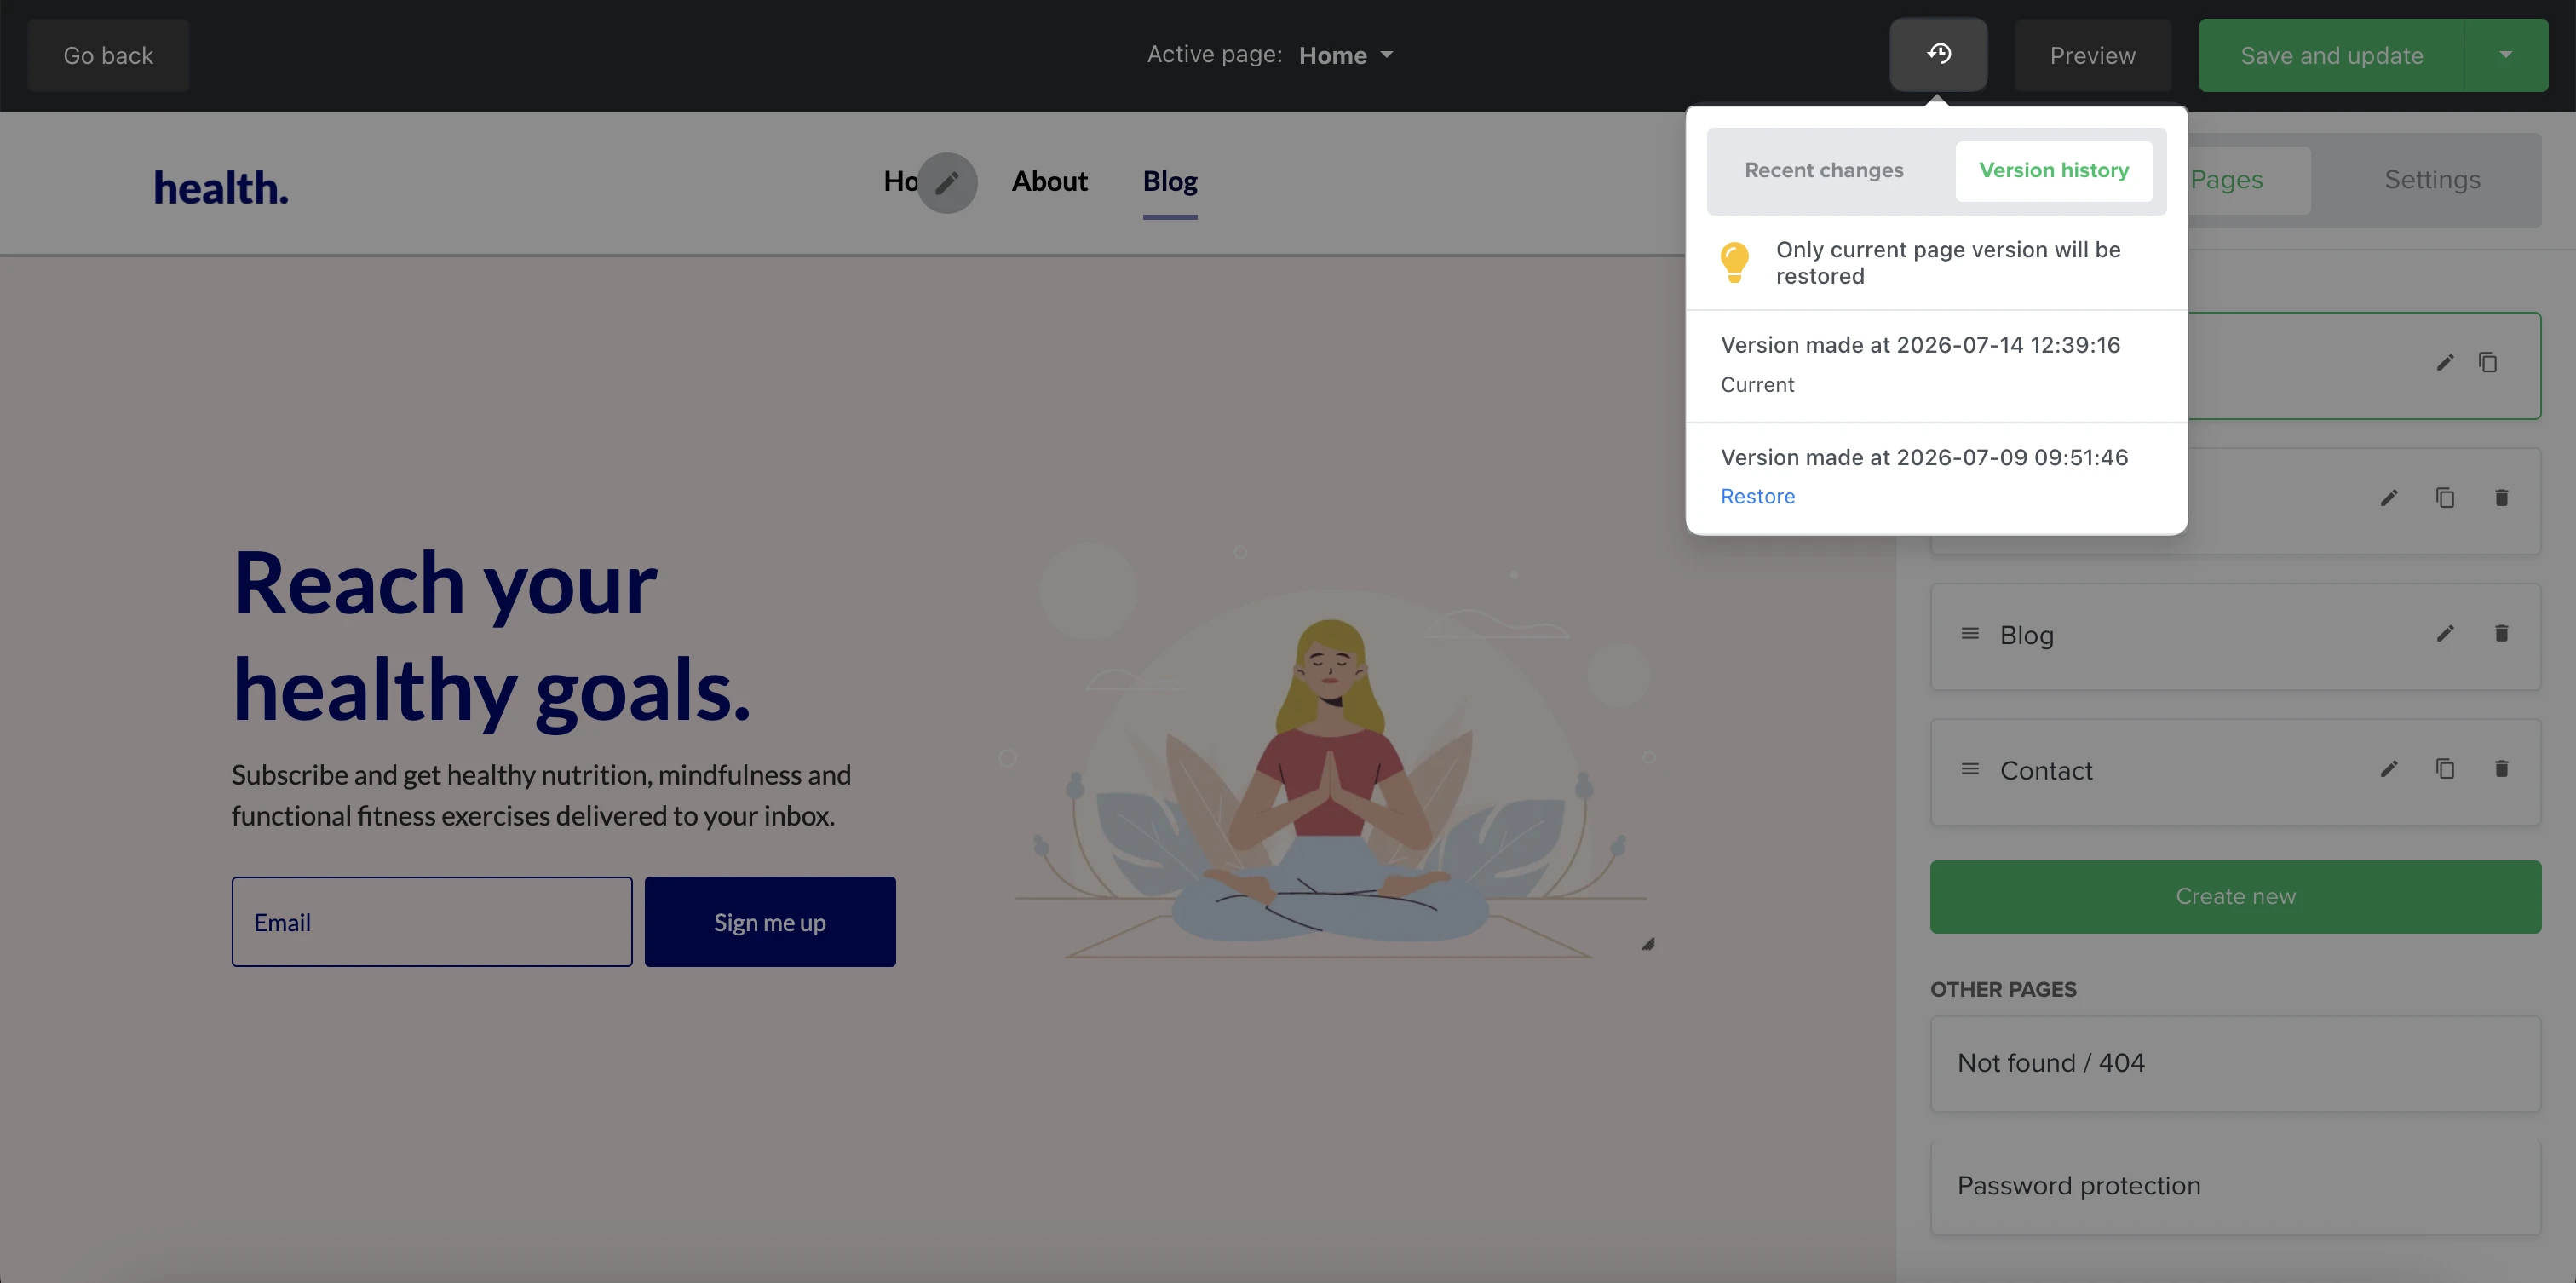
Every time you save or publish your website, a new version of it is logged. To review past versions of the page you’re editing, select the Version history tab.
Click Restore to reinstate a previous version of the page. If you change your mind, click Redo.
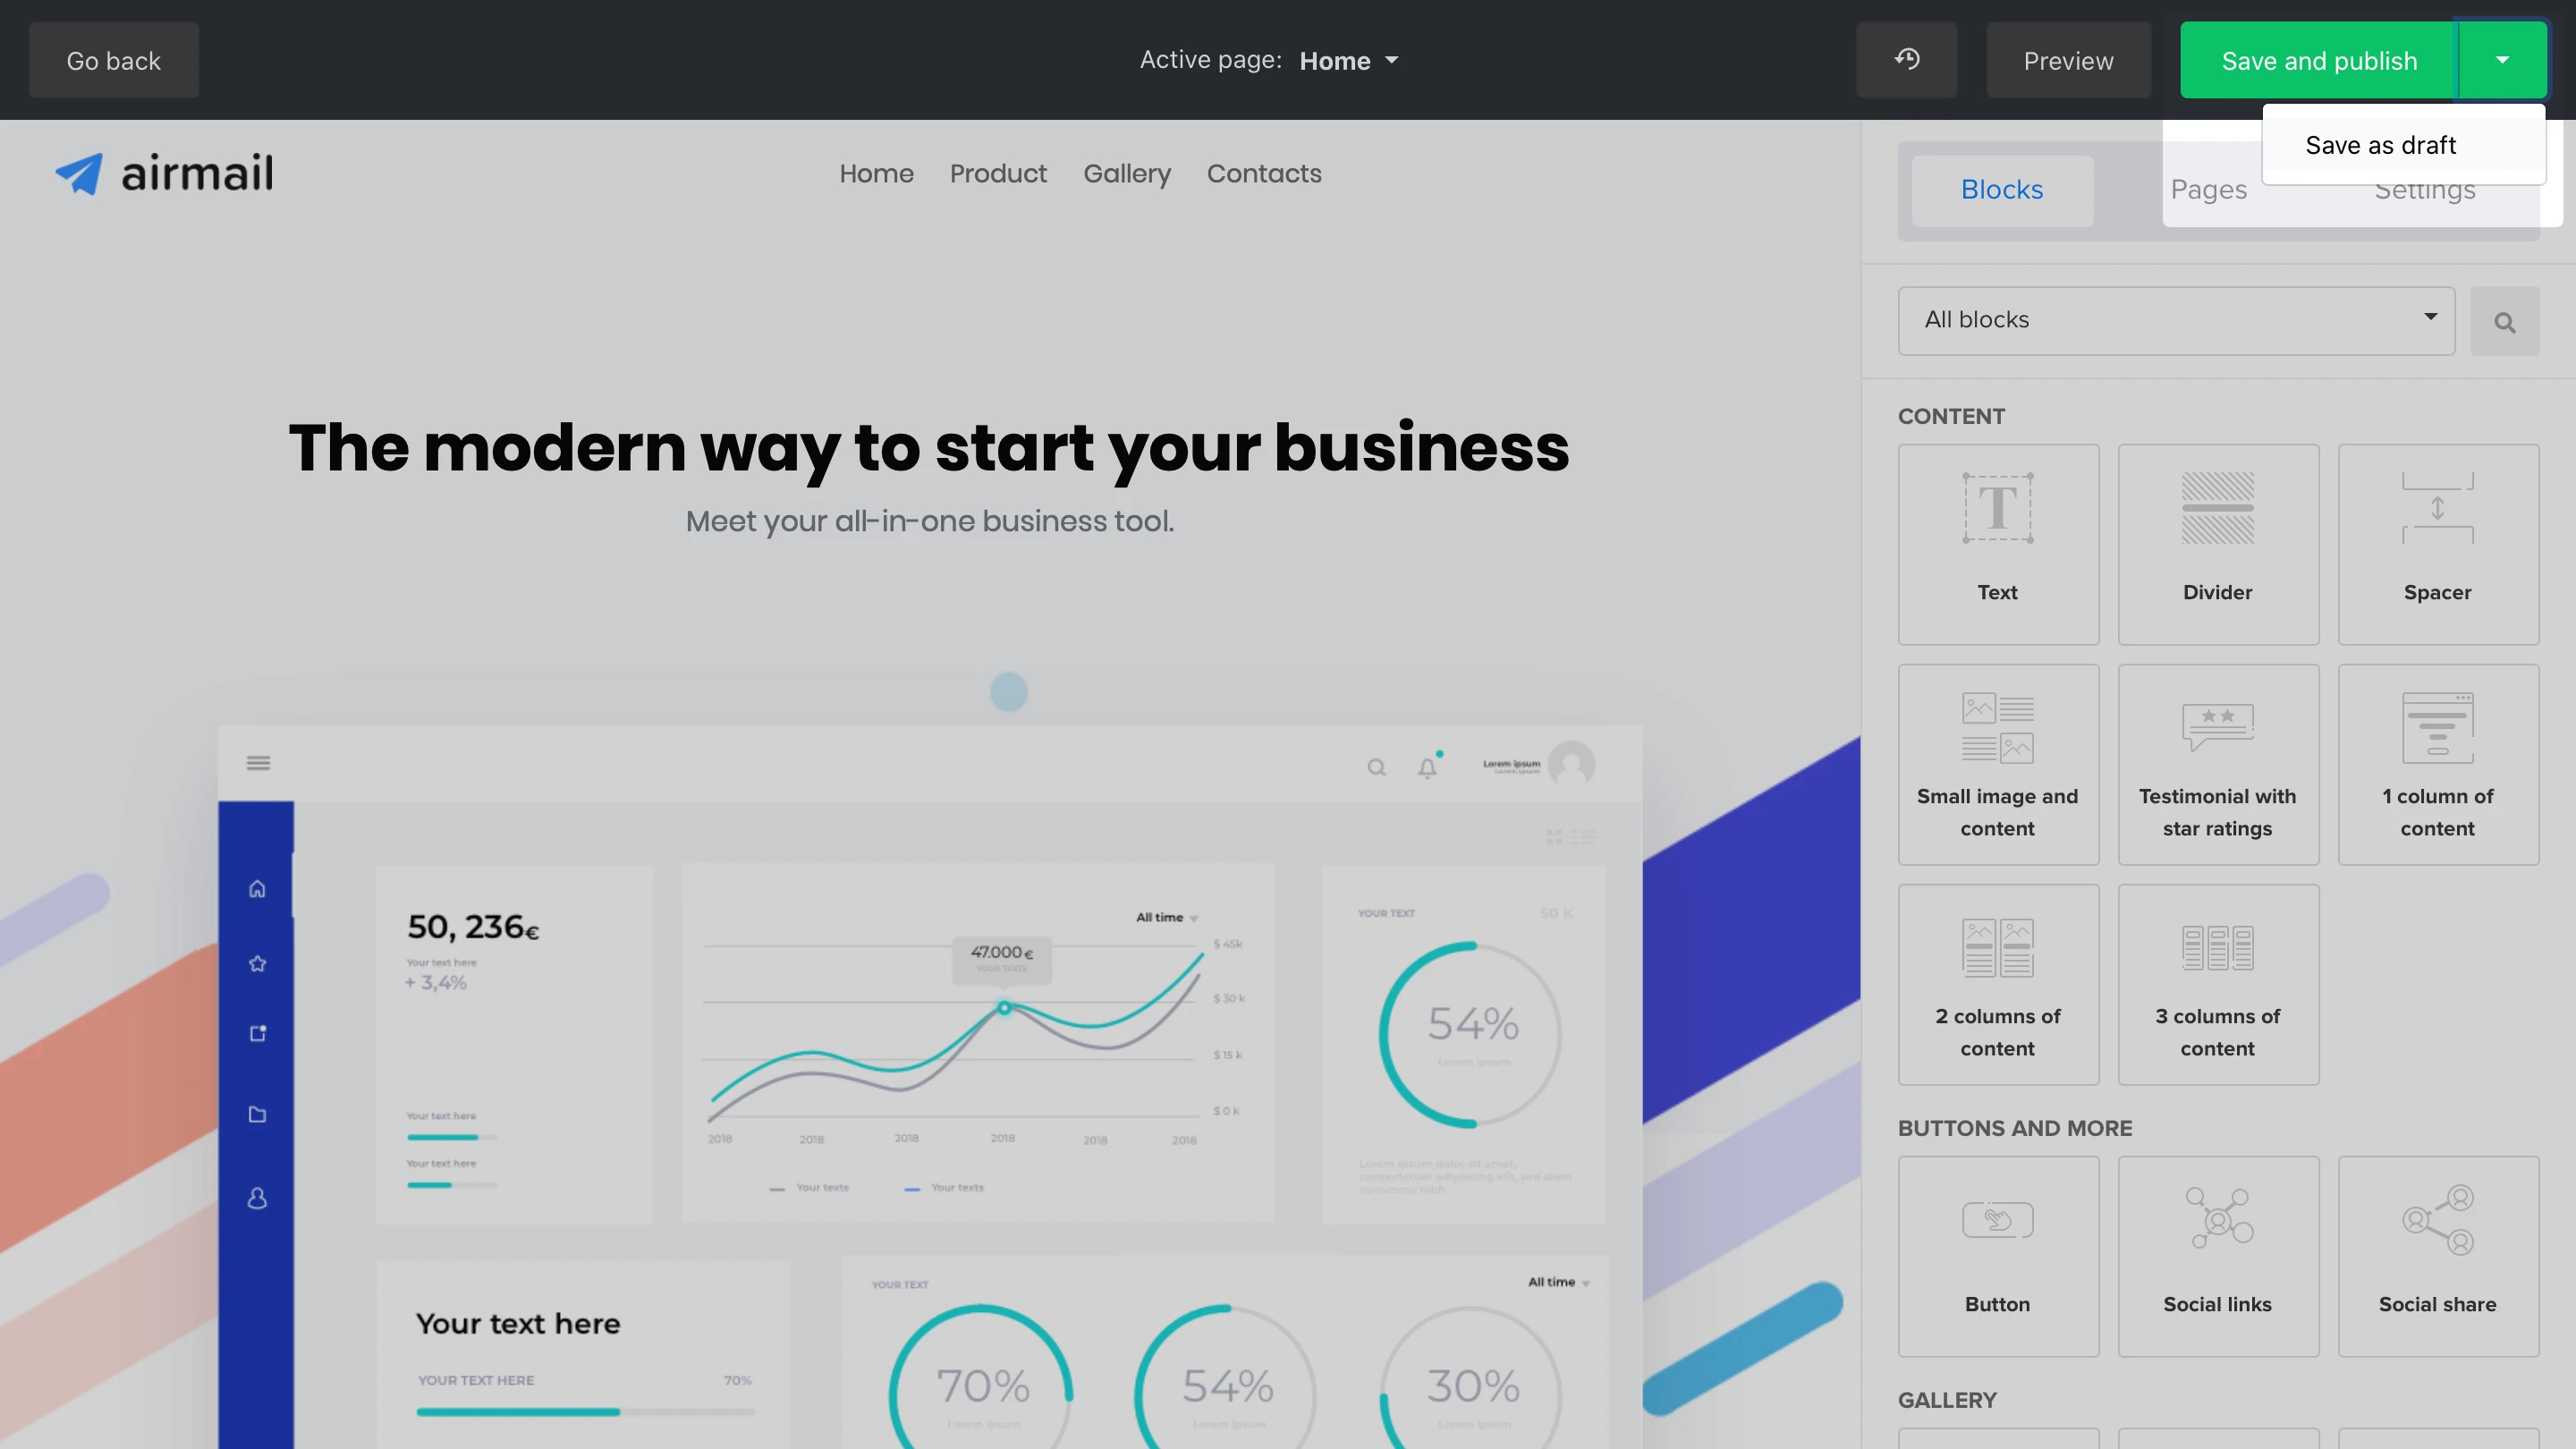
How to save your website as a draft
To save your changes without publishing your website, click the downward arrow in the top right-hand corner and select Save as draft.
You can then come back later to continue editing. To edit a draft website:
Navigate to the Sites page.
Click the Websites tab.
Find the website you wish to alter and click Edit.
How to publish a website
When you’re finished editing your website in the website builder and you wish to publish your finished product, click the Save and publish button in the top right-hand corner.
If you have been testing your website, you may wish to reset analytics such as clicks and form submissions. To do this:
From the website Overview page, navigate to the Analytics tab.
Click the Reset stats button.

Your website analytics will be reset back to 0.
URL Settings
On the Website settings page, you will need to add your website’s URL and favicon. For free plans, your URL will be on the mailerpage.io domain. You can enter whatever value to the URL field that suits your brand/business. Your website URL will then appear as example.mailerpage.io.
If you’re on the Comfort or Power plan, you can add a custom domain to your website instead of using the mailerpage.io domain.
After picking the URL, you can optimize your website SEO, manage social share settings, and set up custom analytics (all plans).
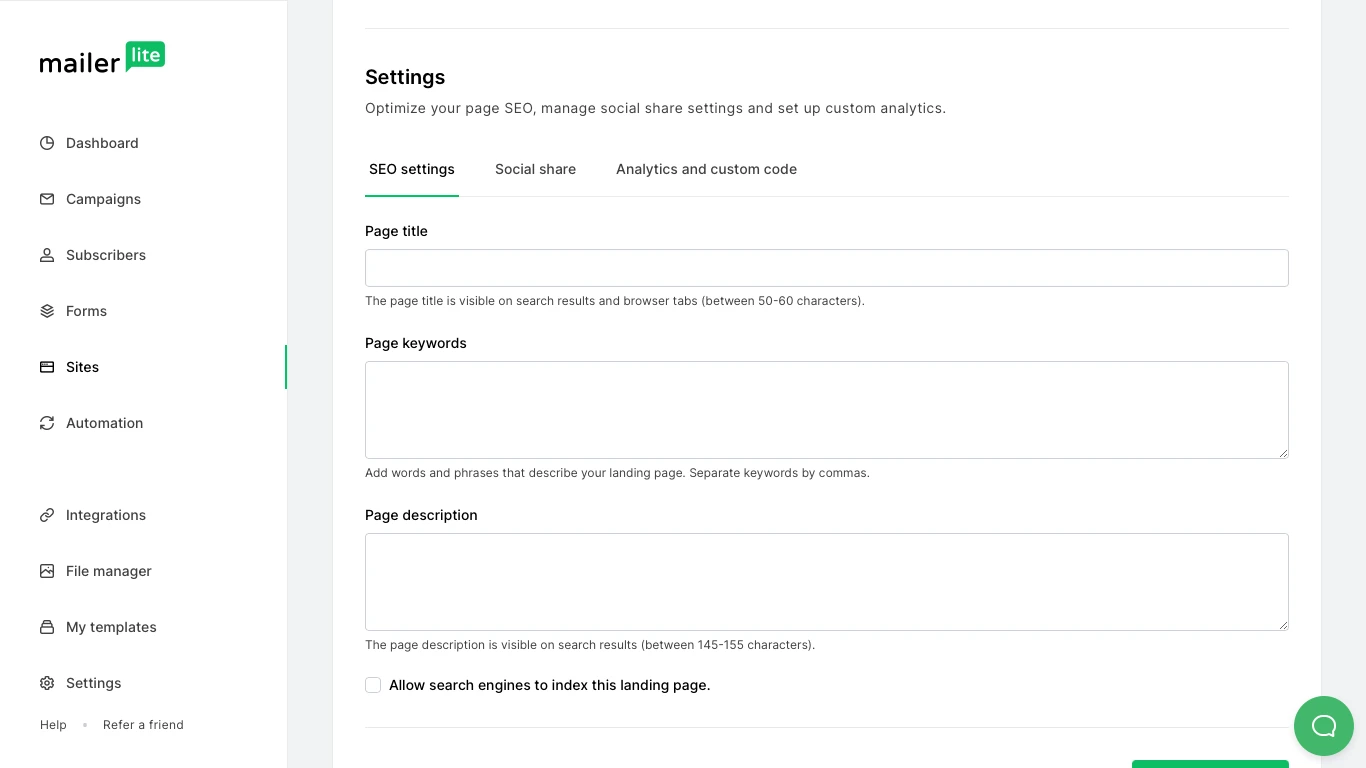
If you did not set up SEO for each individual page, the SEO settings inserted here will apply to the entire website.
For detailed instructions on setting up your website’s SEO, see Setting up SEO which explains how to set up SEO for landing pages. The same guidelines apply to all website pages.
If you want your website to appear in search results, check the box labeled Allow search engines to index this website.
Finally, click Save and continue. That’s it, your website is now live!
If you’re not ready to publish your website, you can save it as a draft and publish it later from your website overview.