Note: If you're a Legacy (Classic) user, please log in to your account to access the dedicated Legacy (Classic) Help Center.
To have your website reach a global audience, it’s wise to make your content available in multiple languages. With Weglot, your MailerLite website or landing page can be translated seamlessly based on the viewer’s preference.
In this guide, you’ll learn how to:
Install Weglot to enable language switching on your website.
Create a custom Language field in MailerLite.
Add a language selection dropdown to your MailerLite form.
Assign subscribers to segments based on their language selection.
With this simple process, you can easily segment and automate your emails based on the language your subscribers choose.
How to install Weglot
Weglot allows you to easily translate your website into multiple languages and automatically detect the user's language selection. This will also translate your installed MailerLite embedded forms.
First, sign up for Weglot and configure your languages.
Next, install the Weglot snippet on your website (this will automatically translate your website, including forms).
If you’re using MailerLite's landing page or website builder:
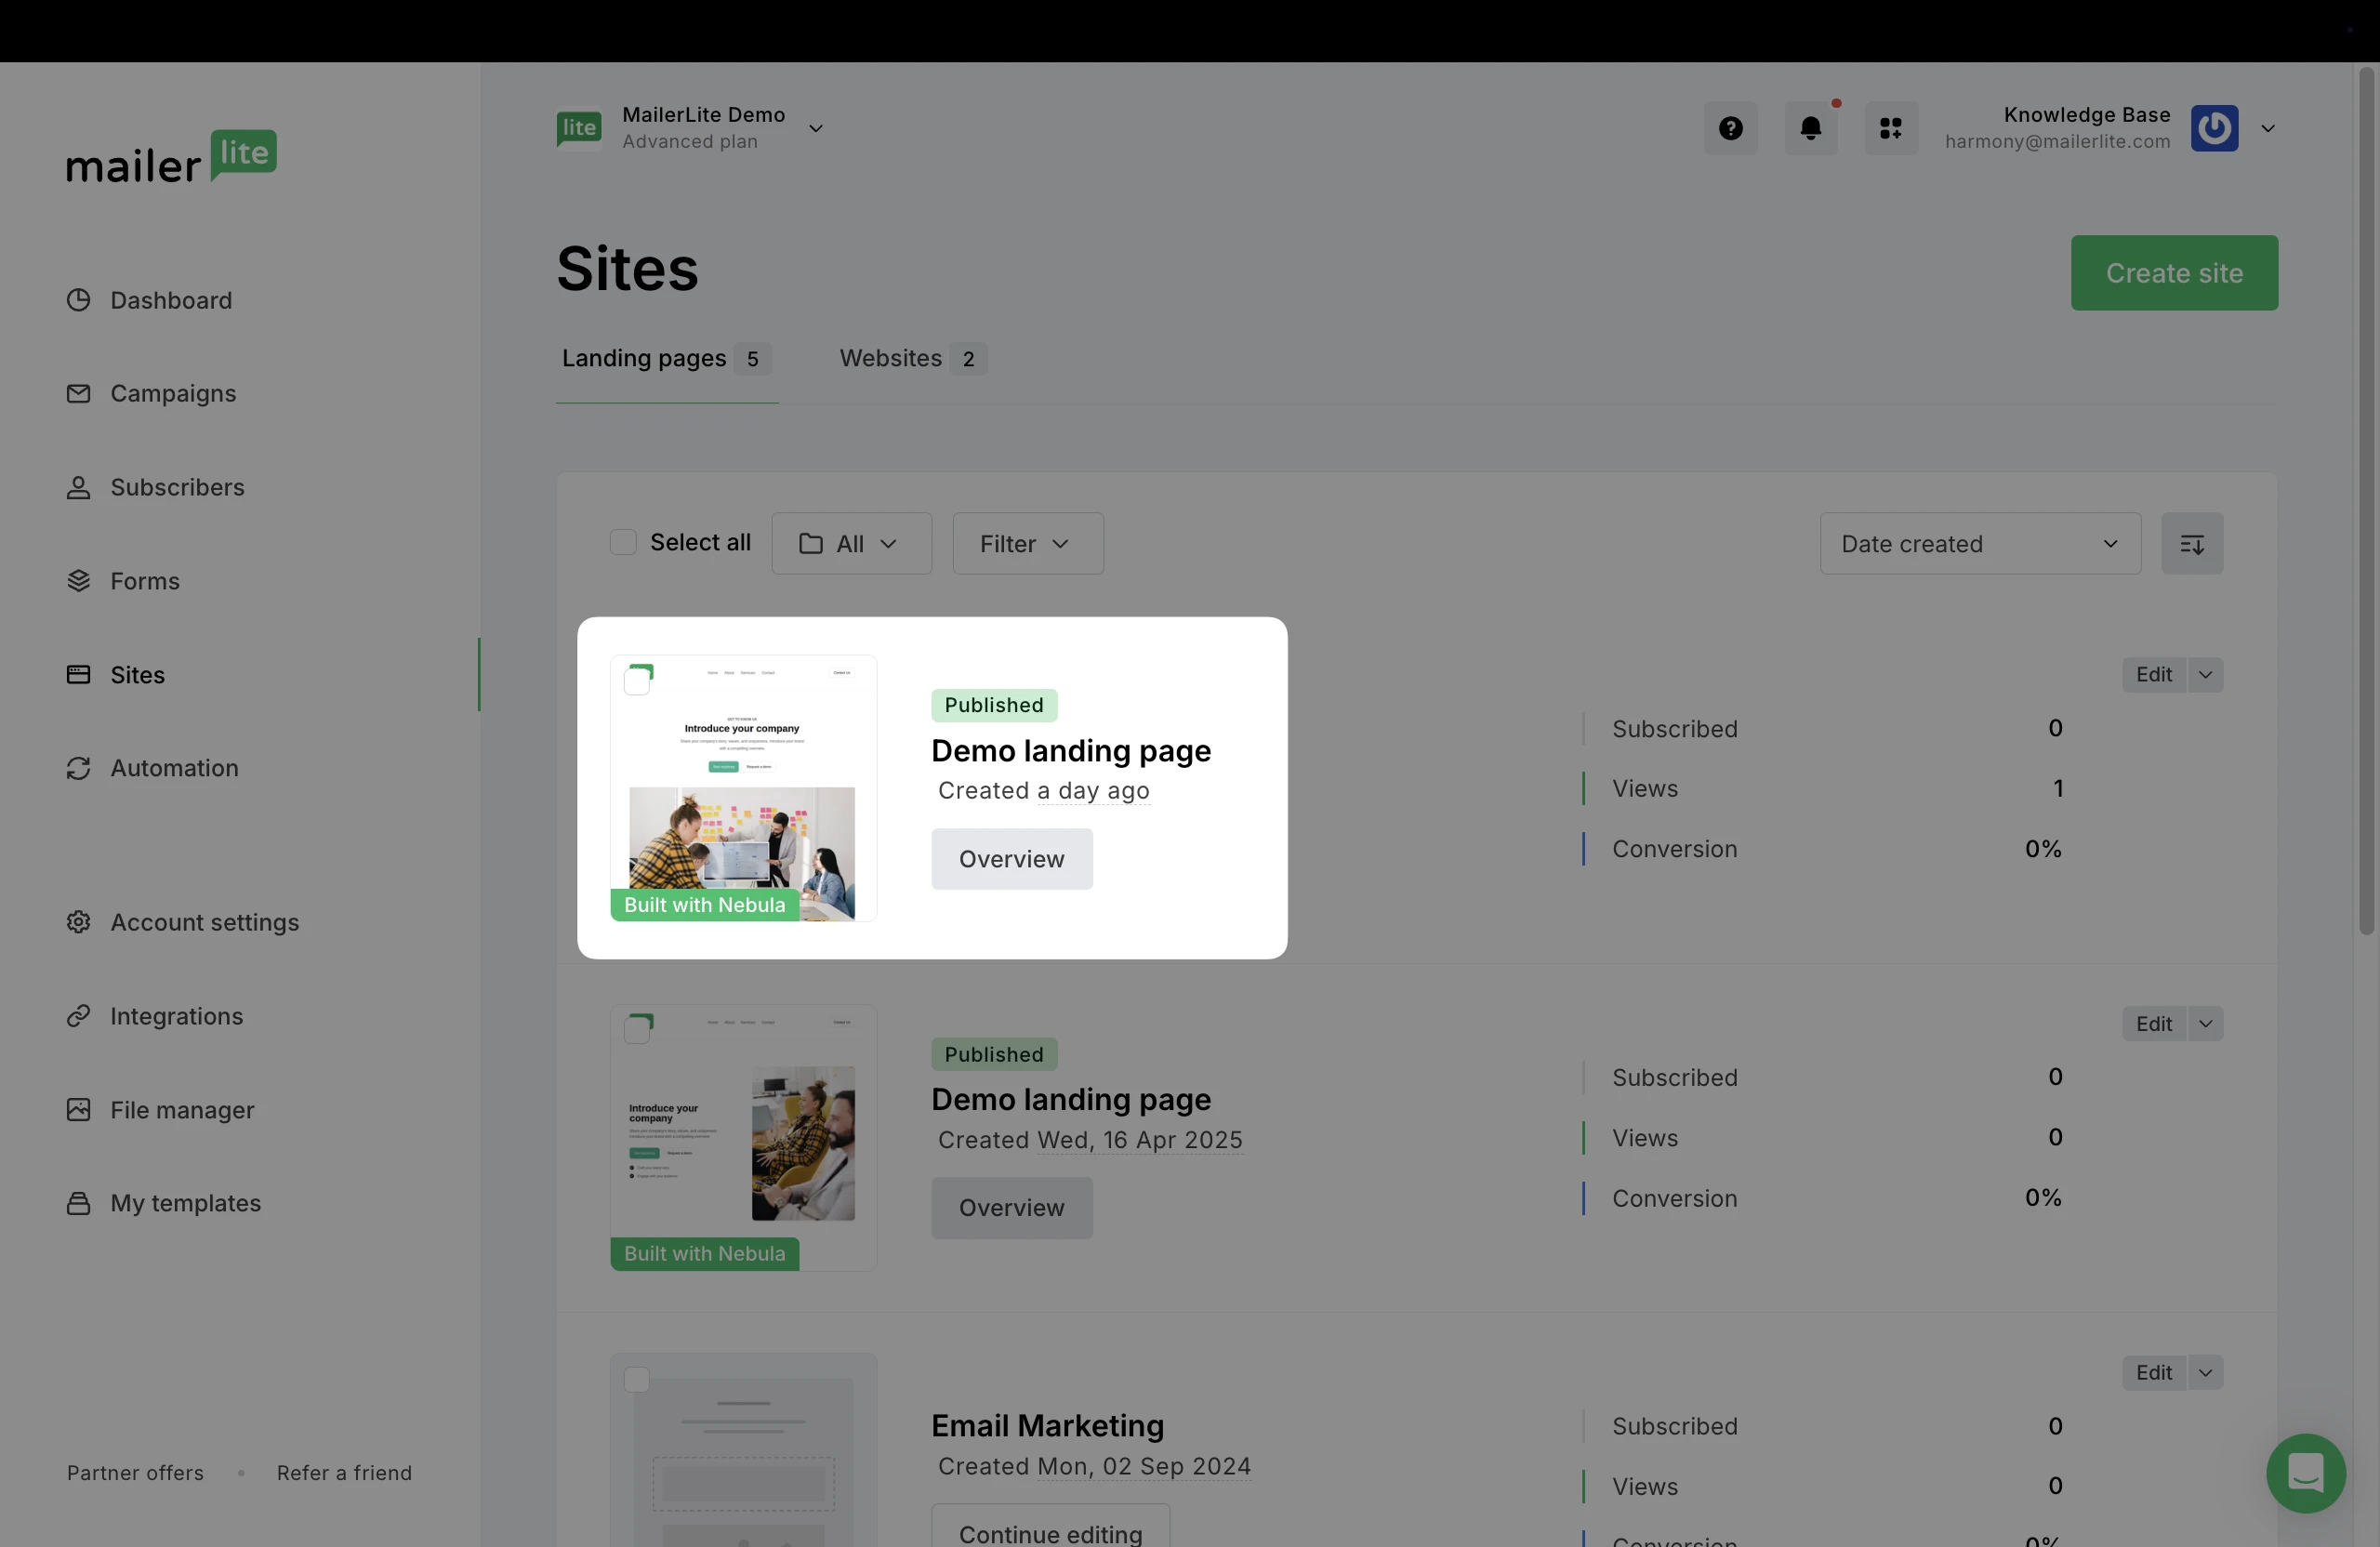
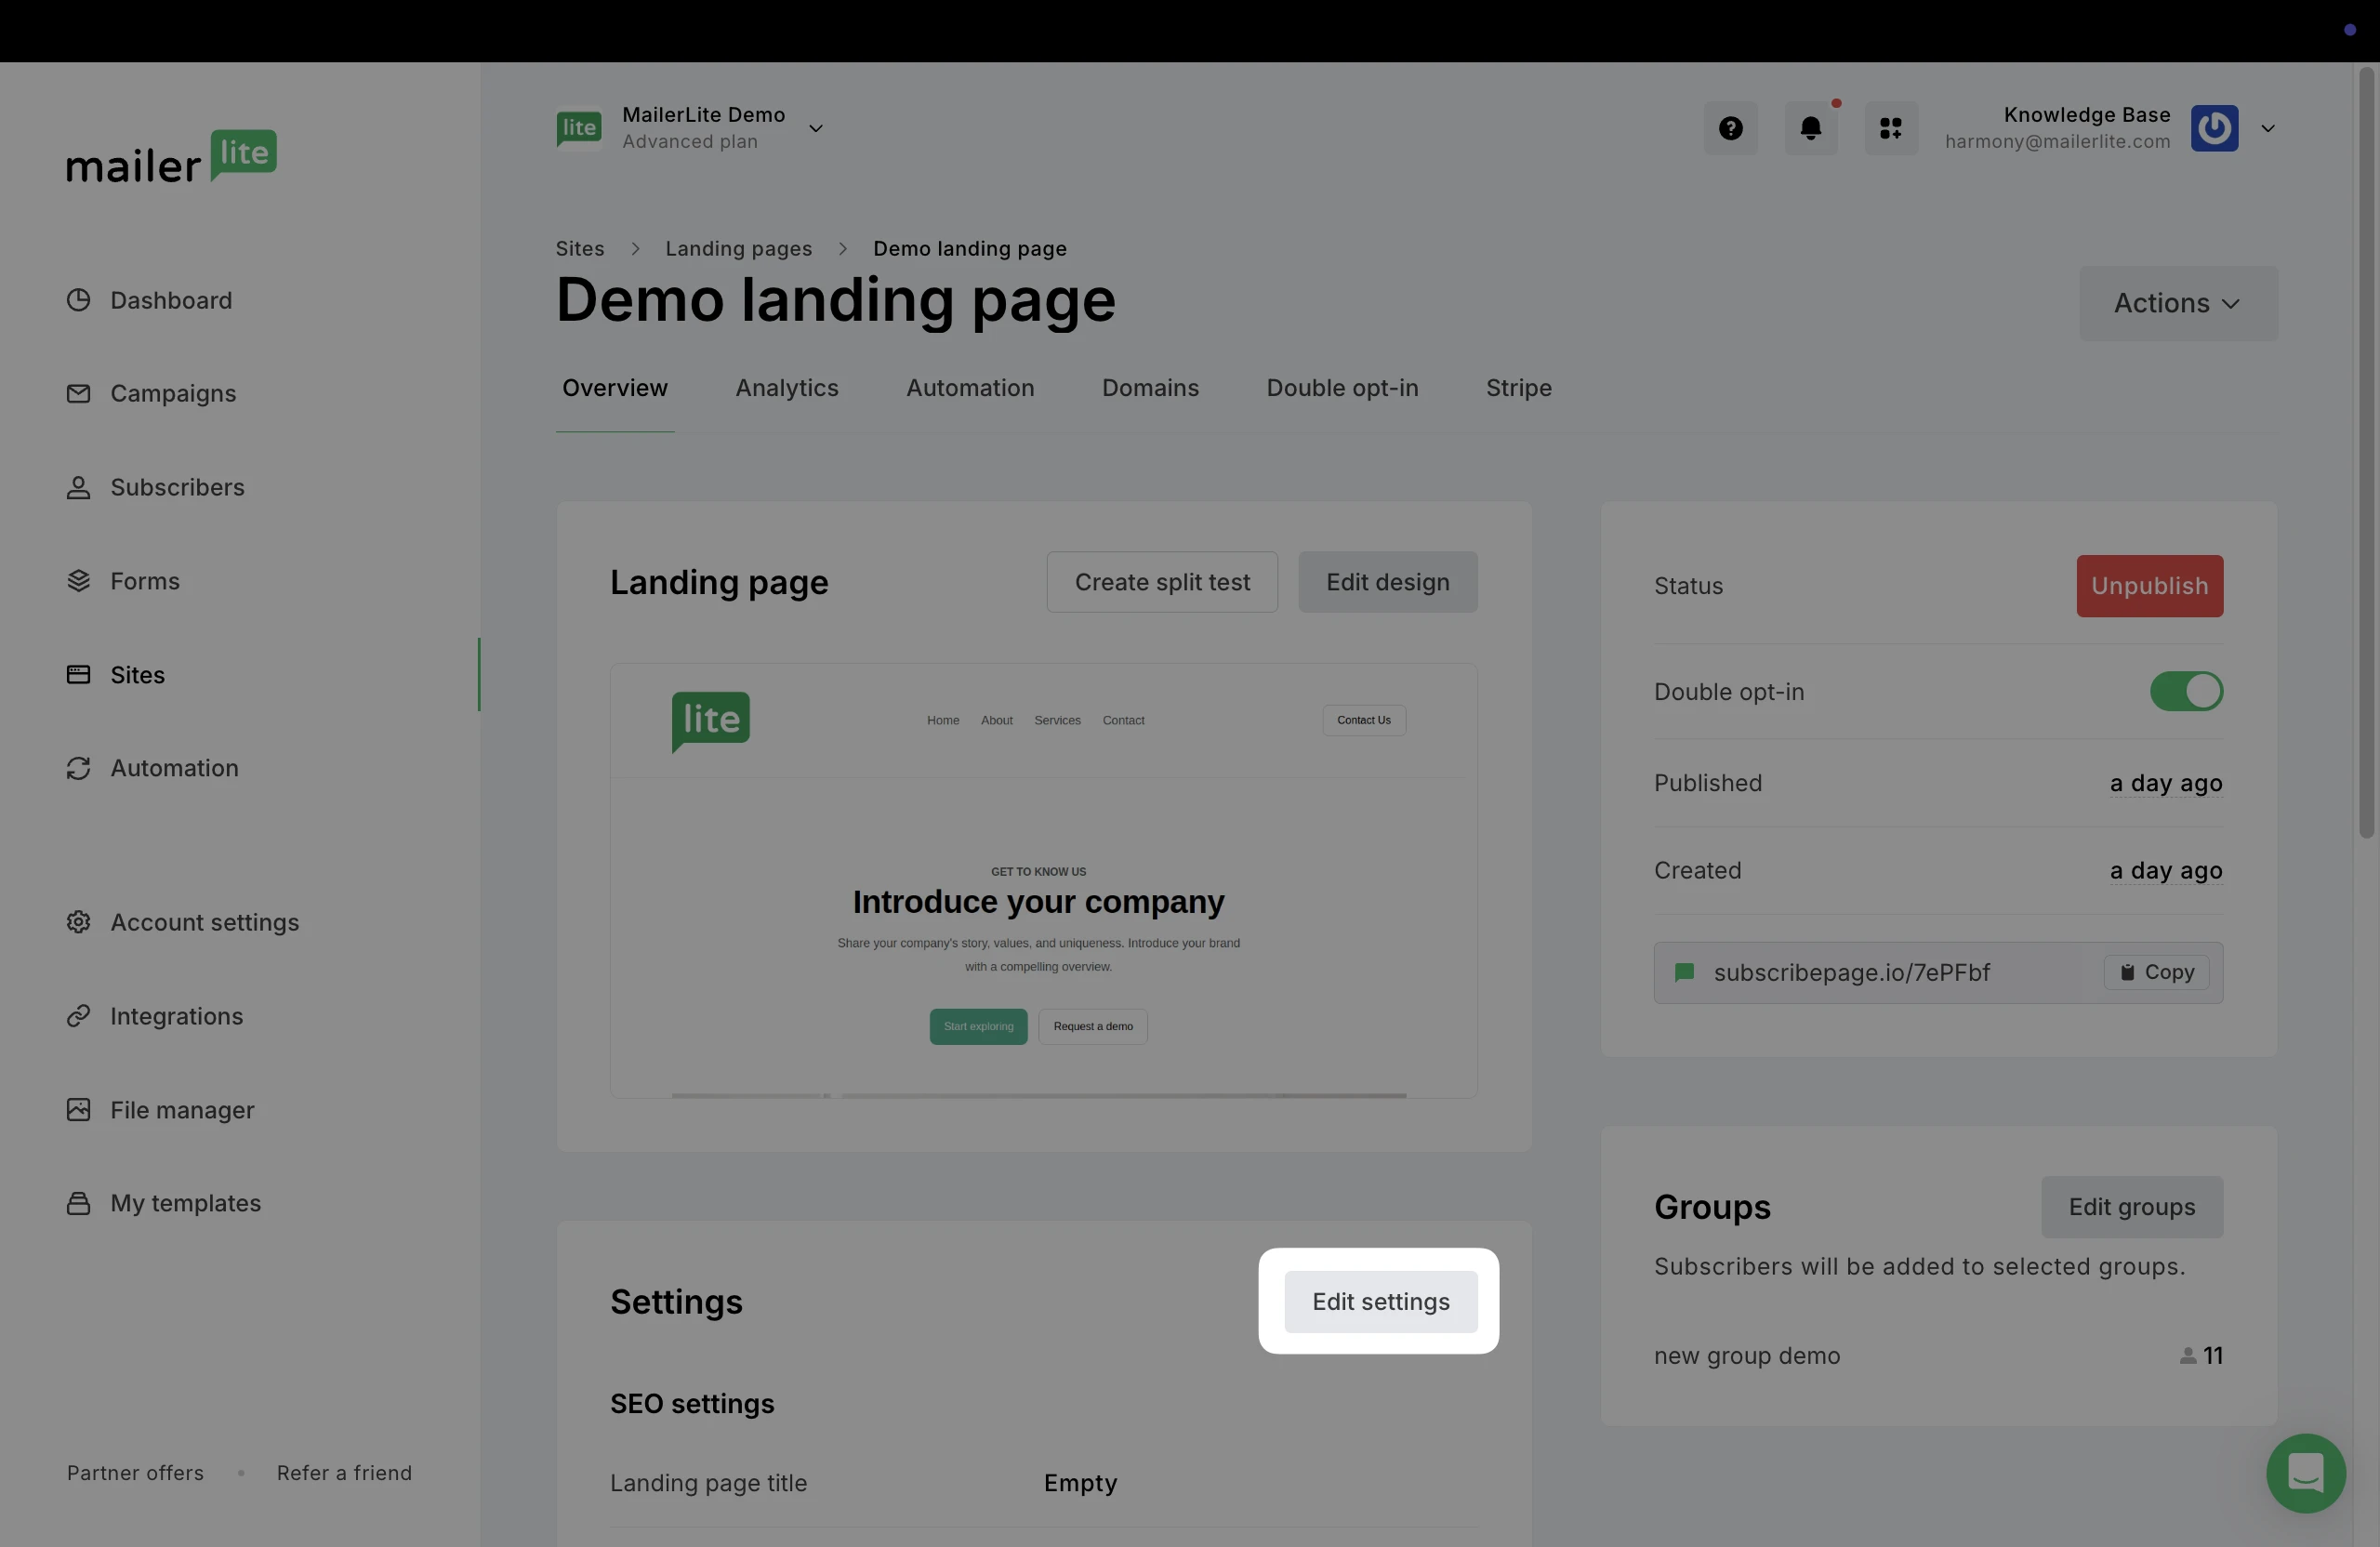
1. Choose your website or landing page, and navigate to the Overview.
2. Scroll down to Edit settings.
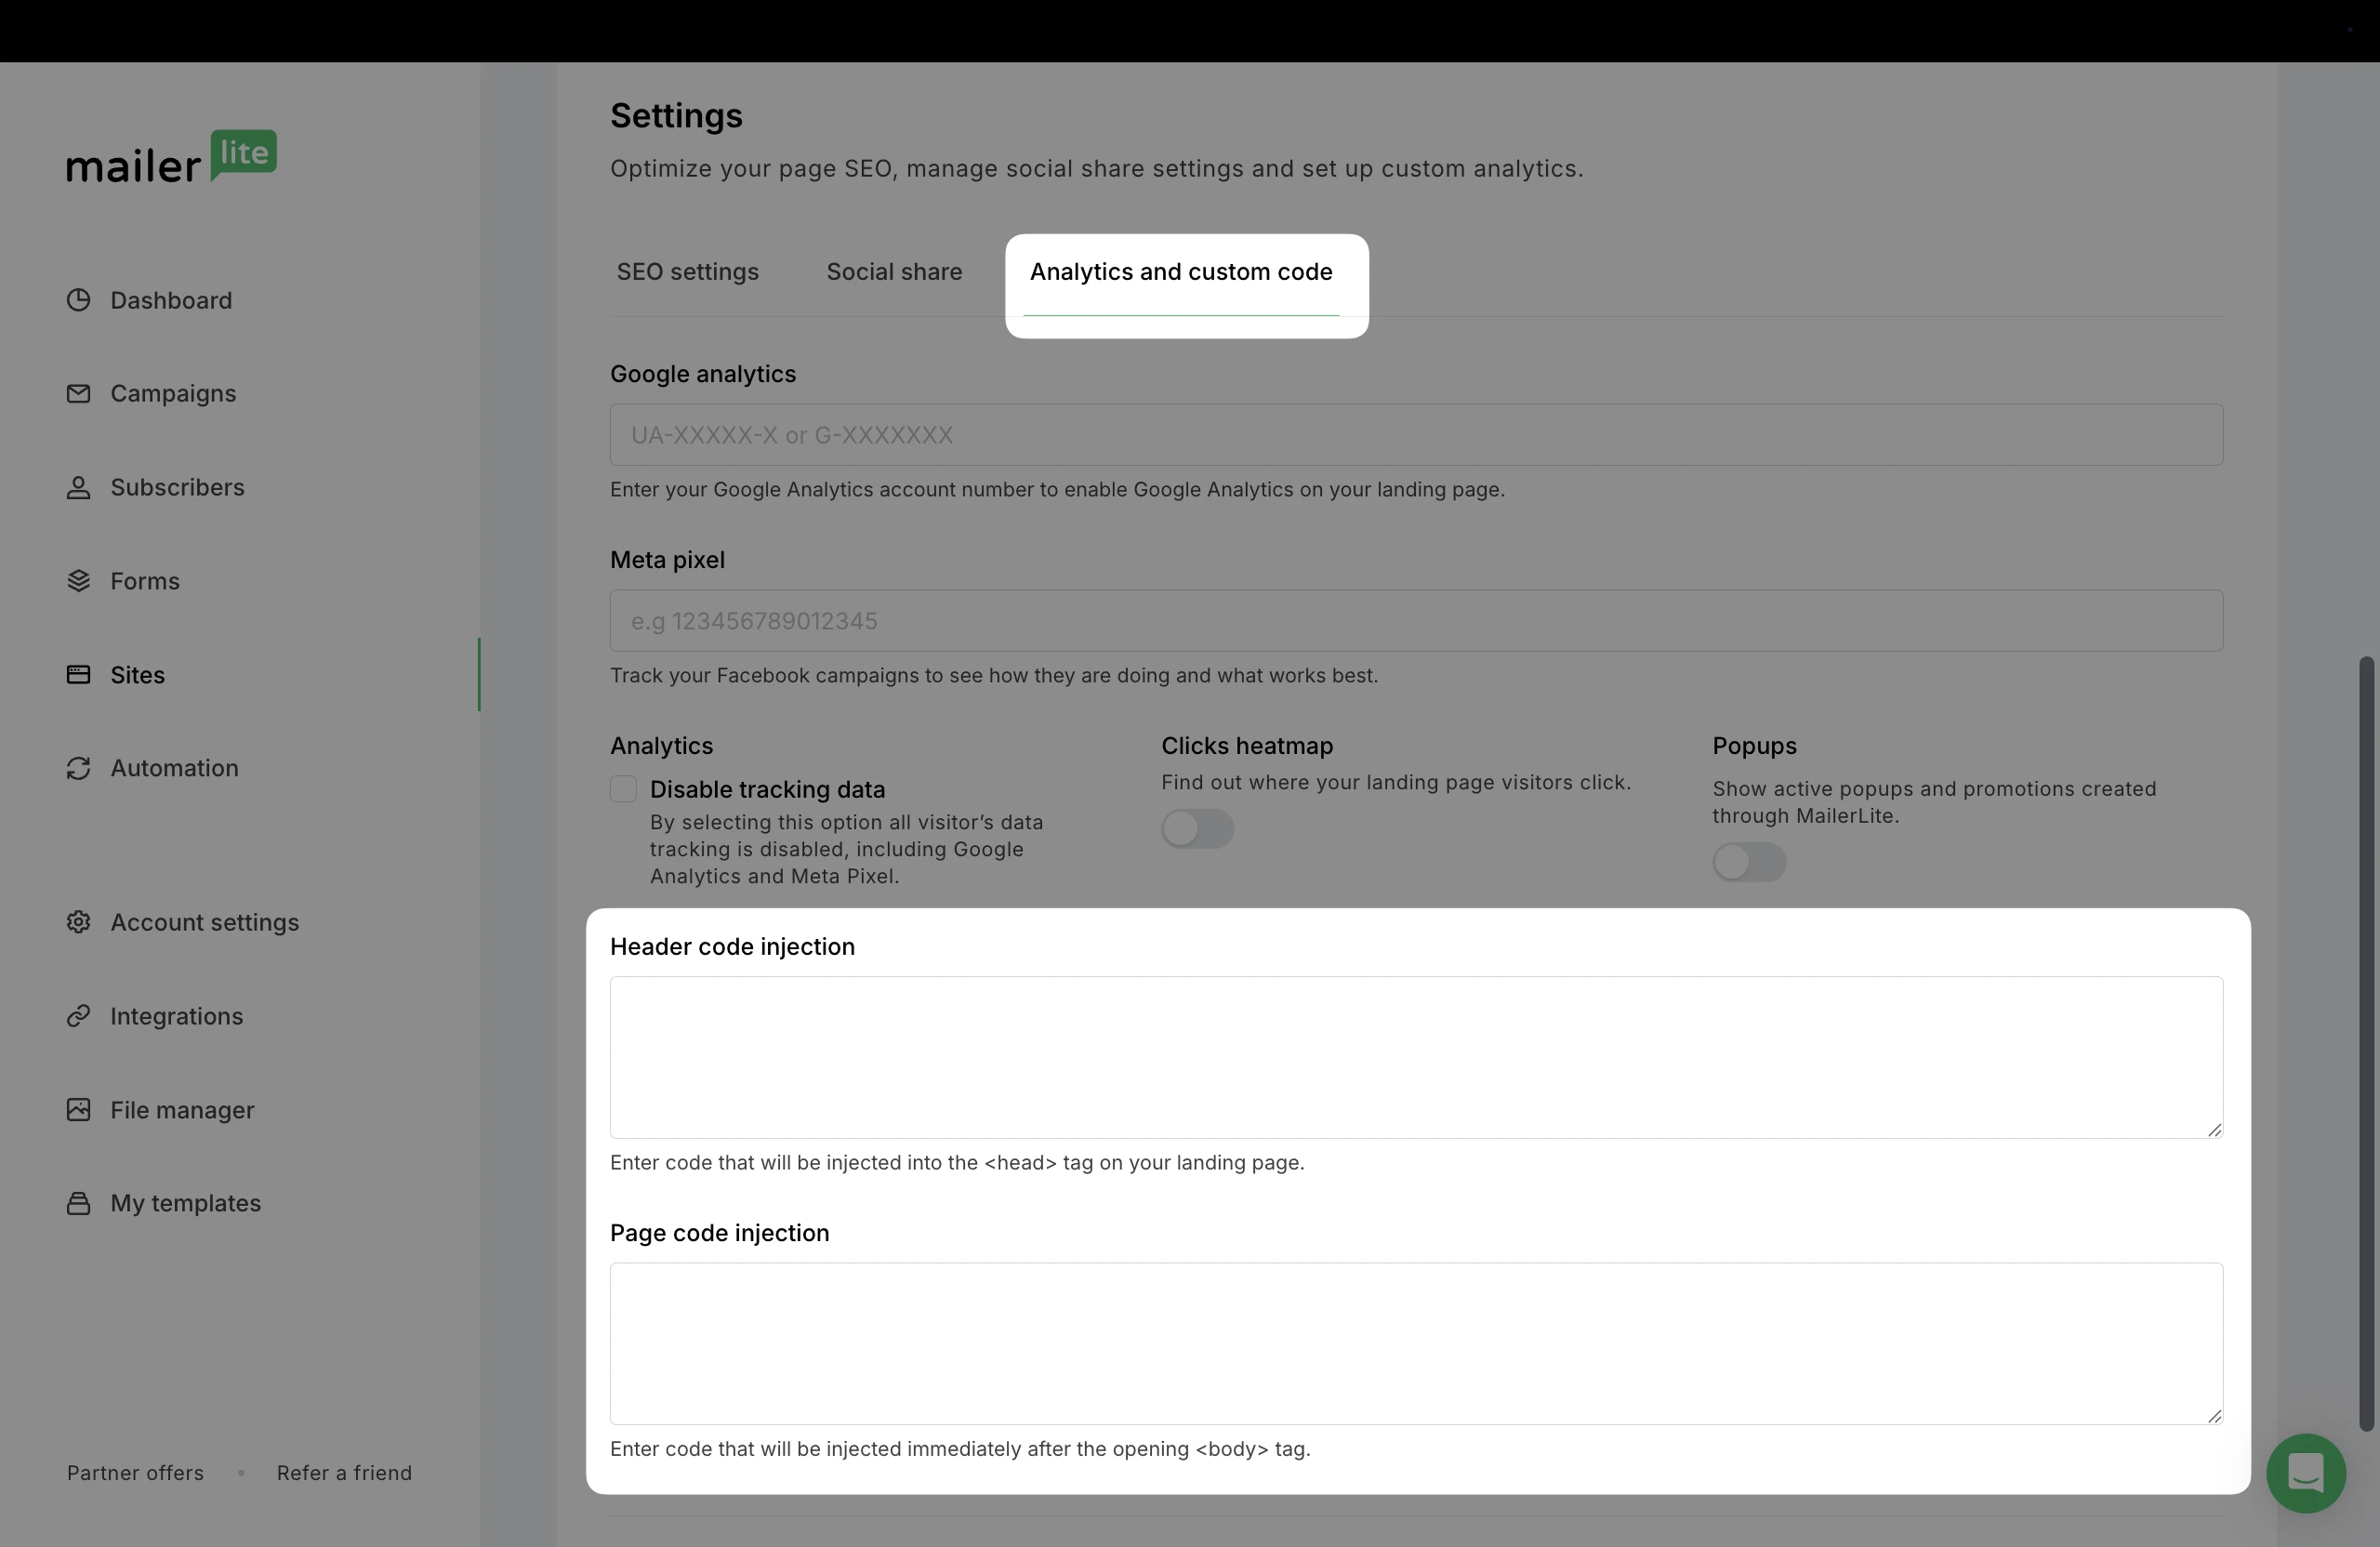
3. Go to the Analytics and custom code tab to paste the Weglot snippet into the Header or Page code injection of your site.
If you're using a different platform (e.g., Shopify, WordPress, WooCommerce), follow the Weglot installation guide for your platform.
Lastly, test the translation by visiting your website and switching between languages. If you have a form included on the site, be sure that the form language also switches accordingly.
Create a custom "Language" field in MailerLite
To track the language of your subscribers, you need to create a custom field in MailerLite to store the language selection.
In MailerLite, navigate to the Subscribers tab.
Go to Fields.

3. Click Create field and create a new Text field called language (or similar).
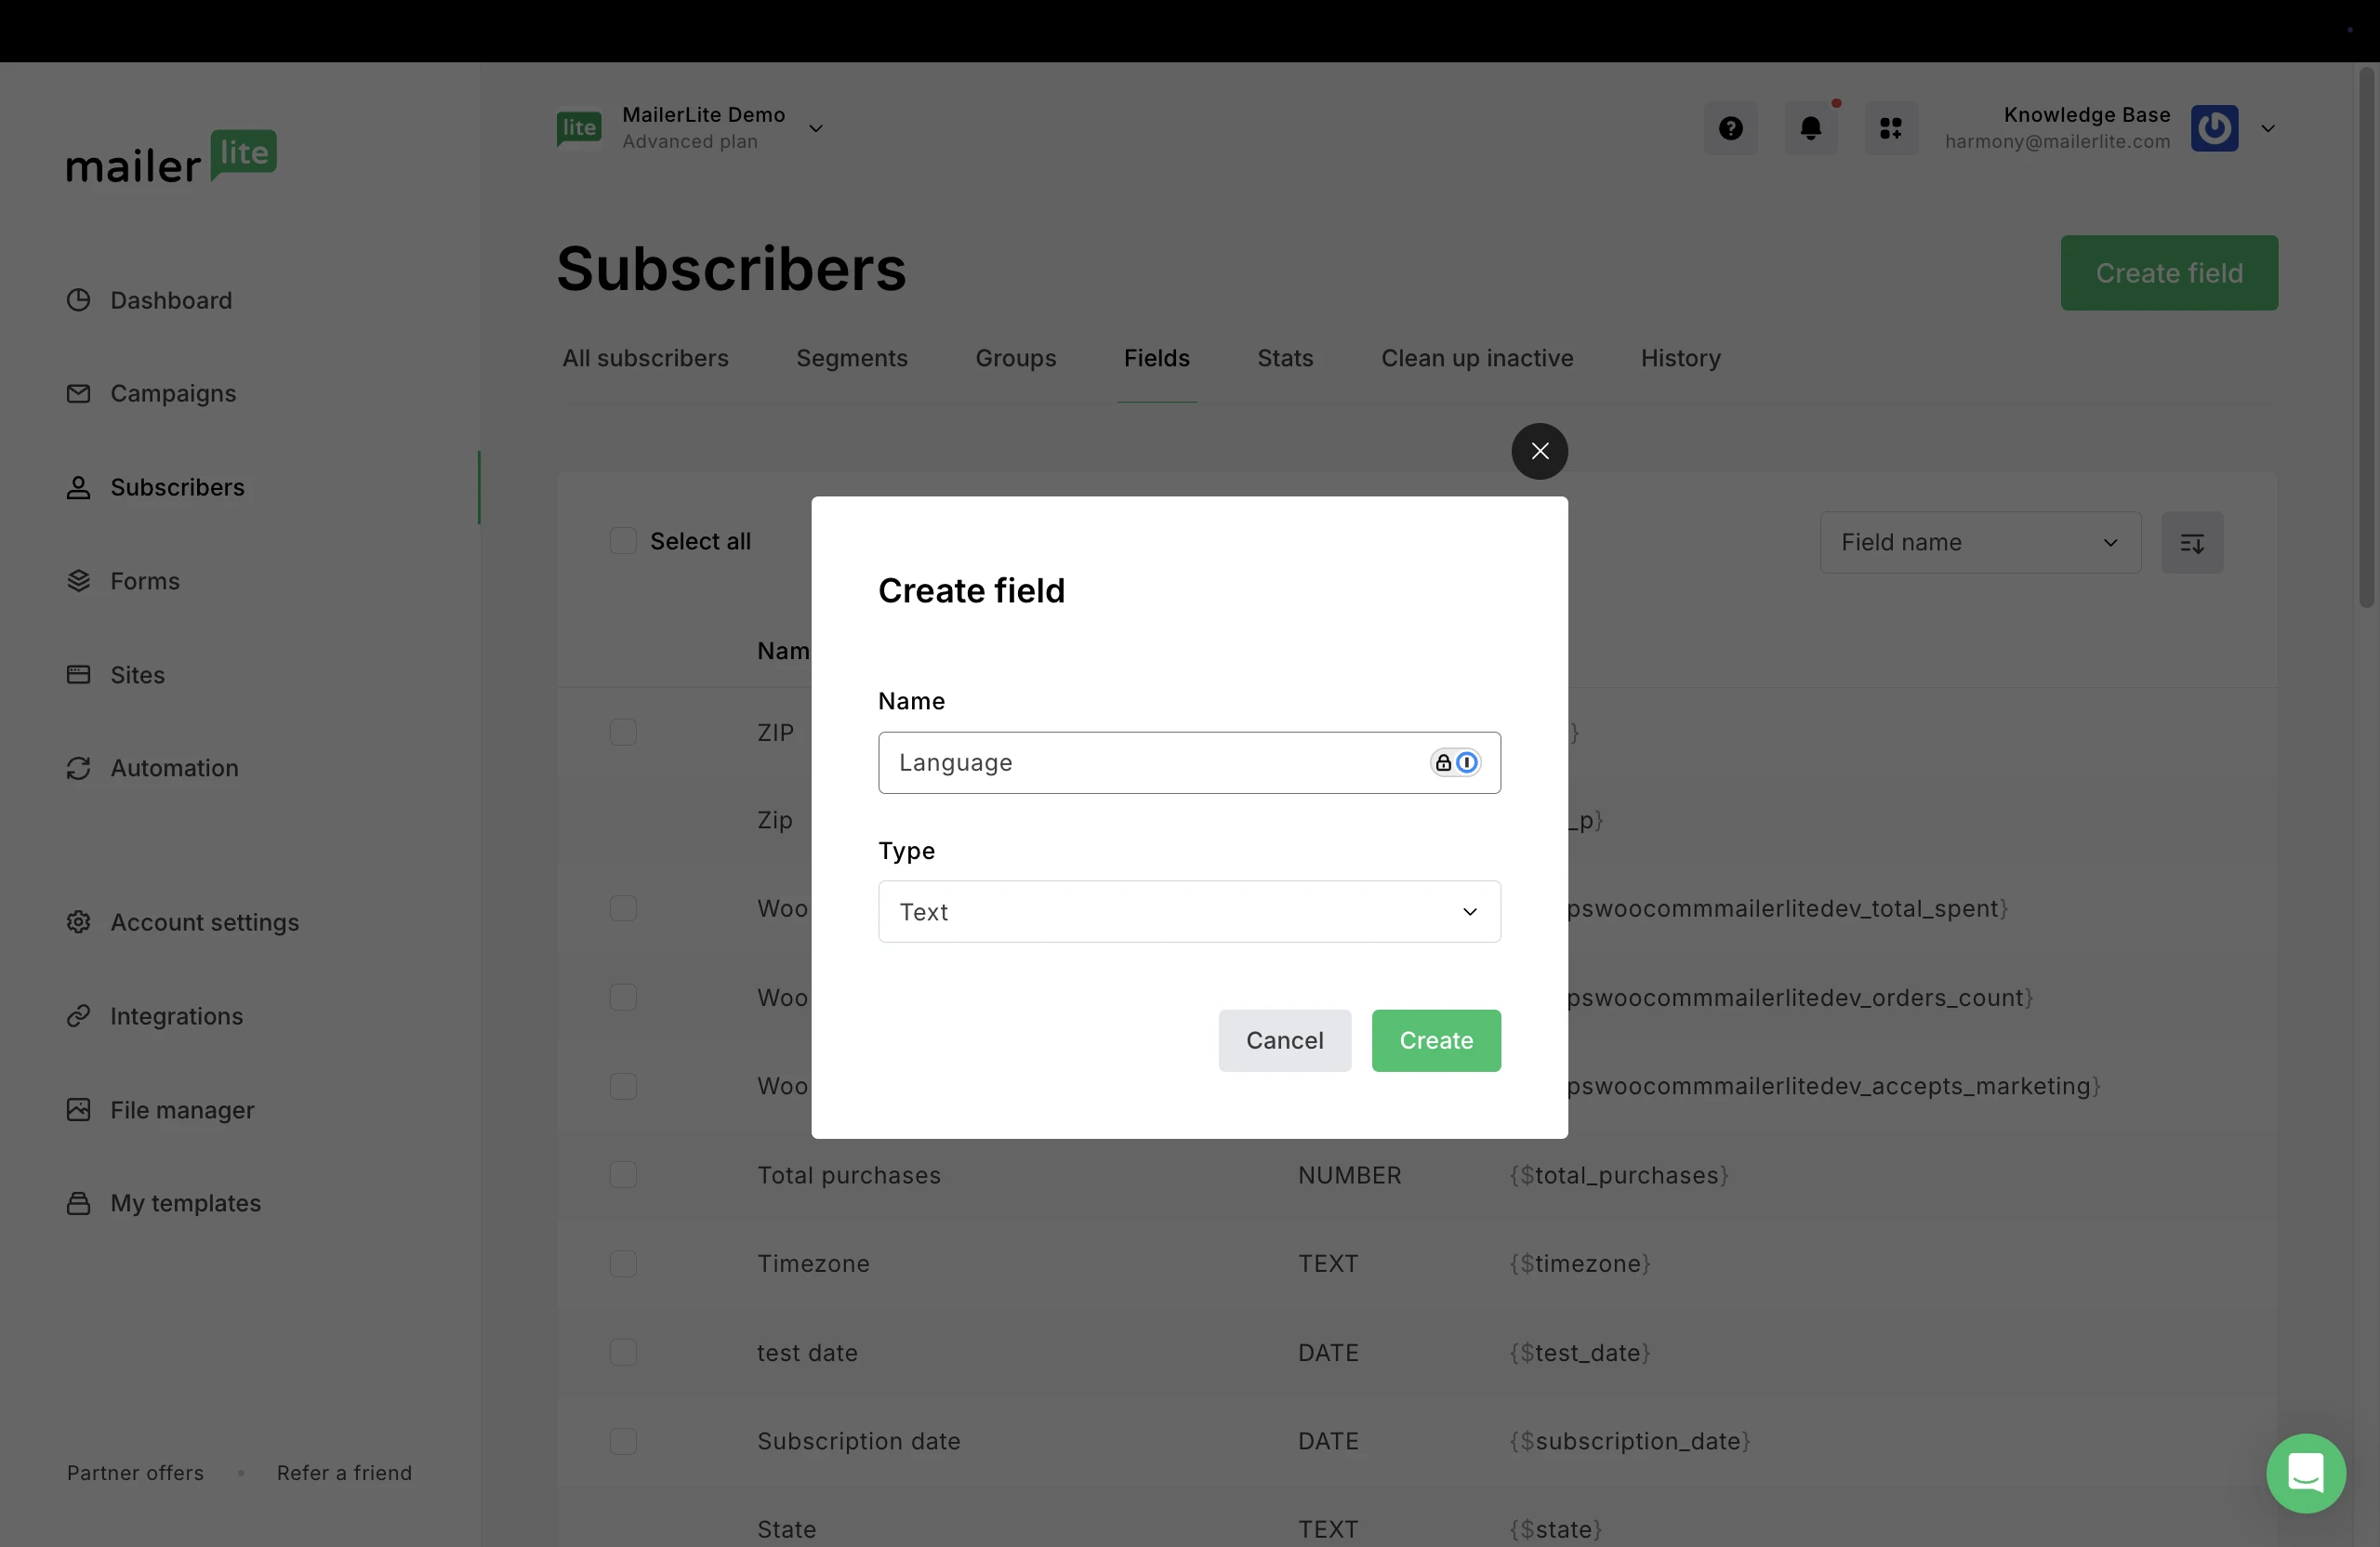
Click Create to save the new field.
How to add a language selection dropdown to your MailerLite embedded form
Next, you’ll add a dropdown menu to your embedded MailerLite form, allowing subscribers to select their language when they sign up. Their language preference will then be saved in MailerLite.
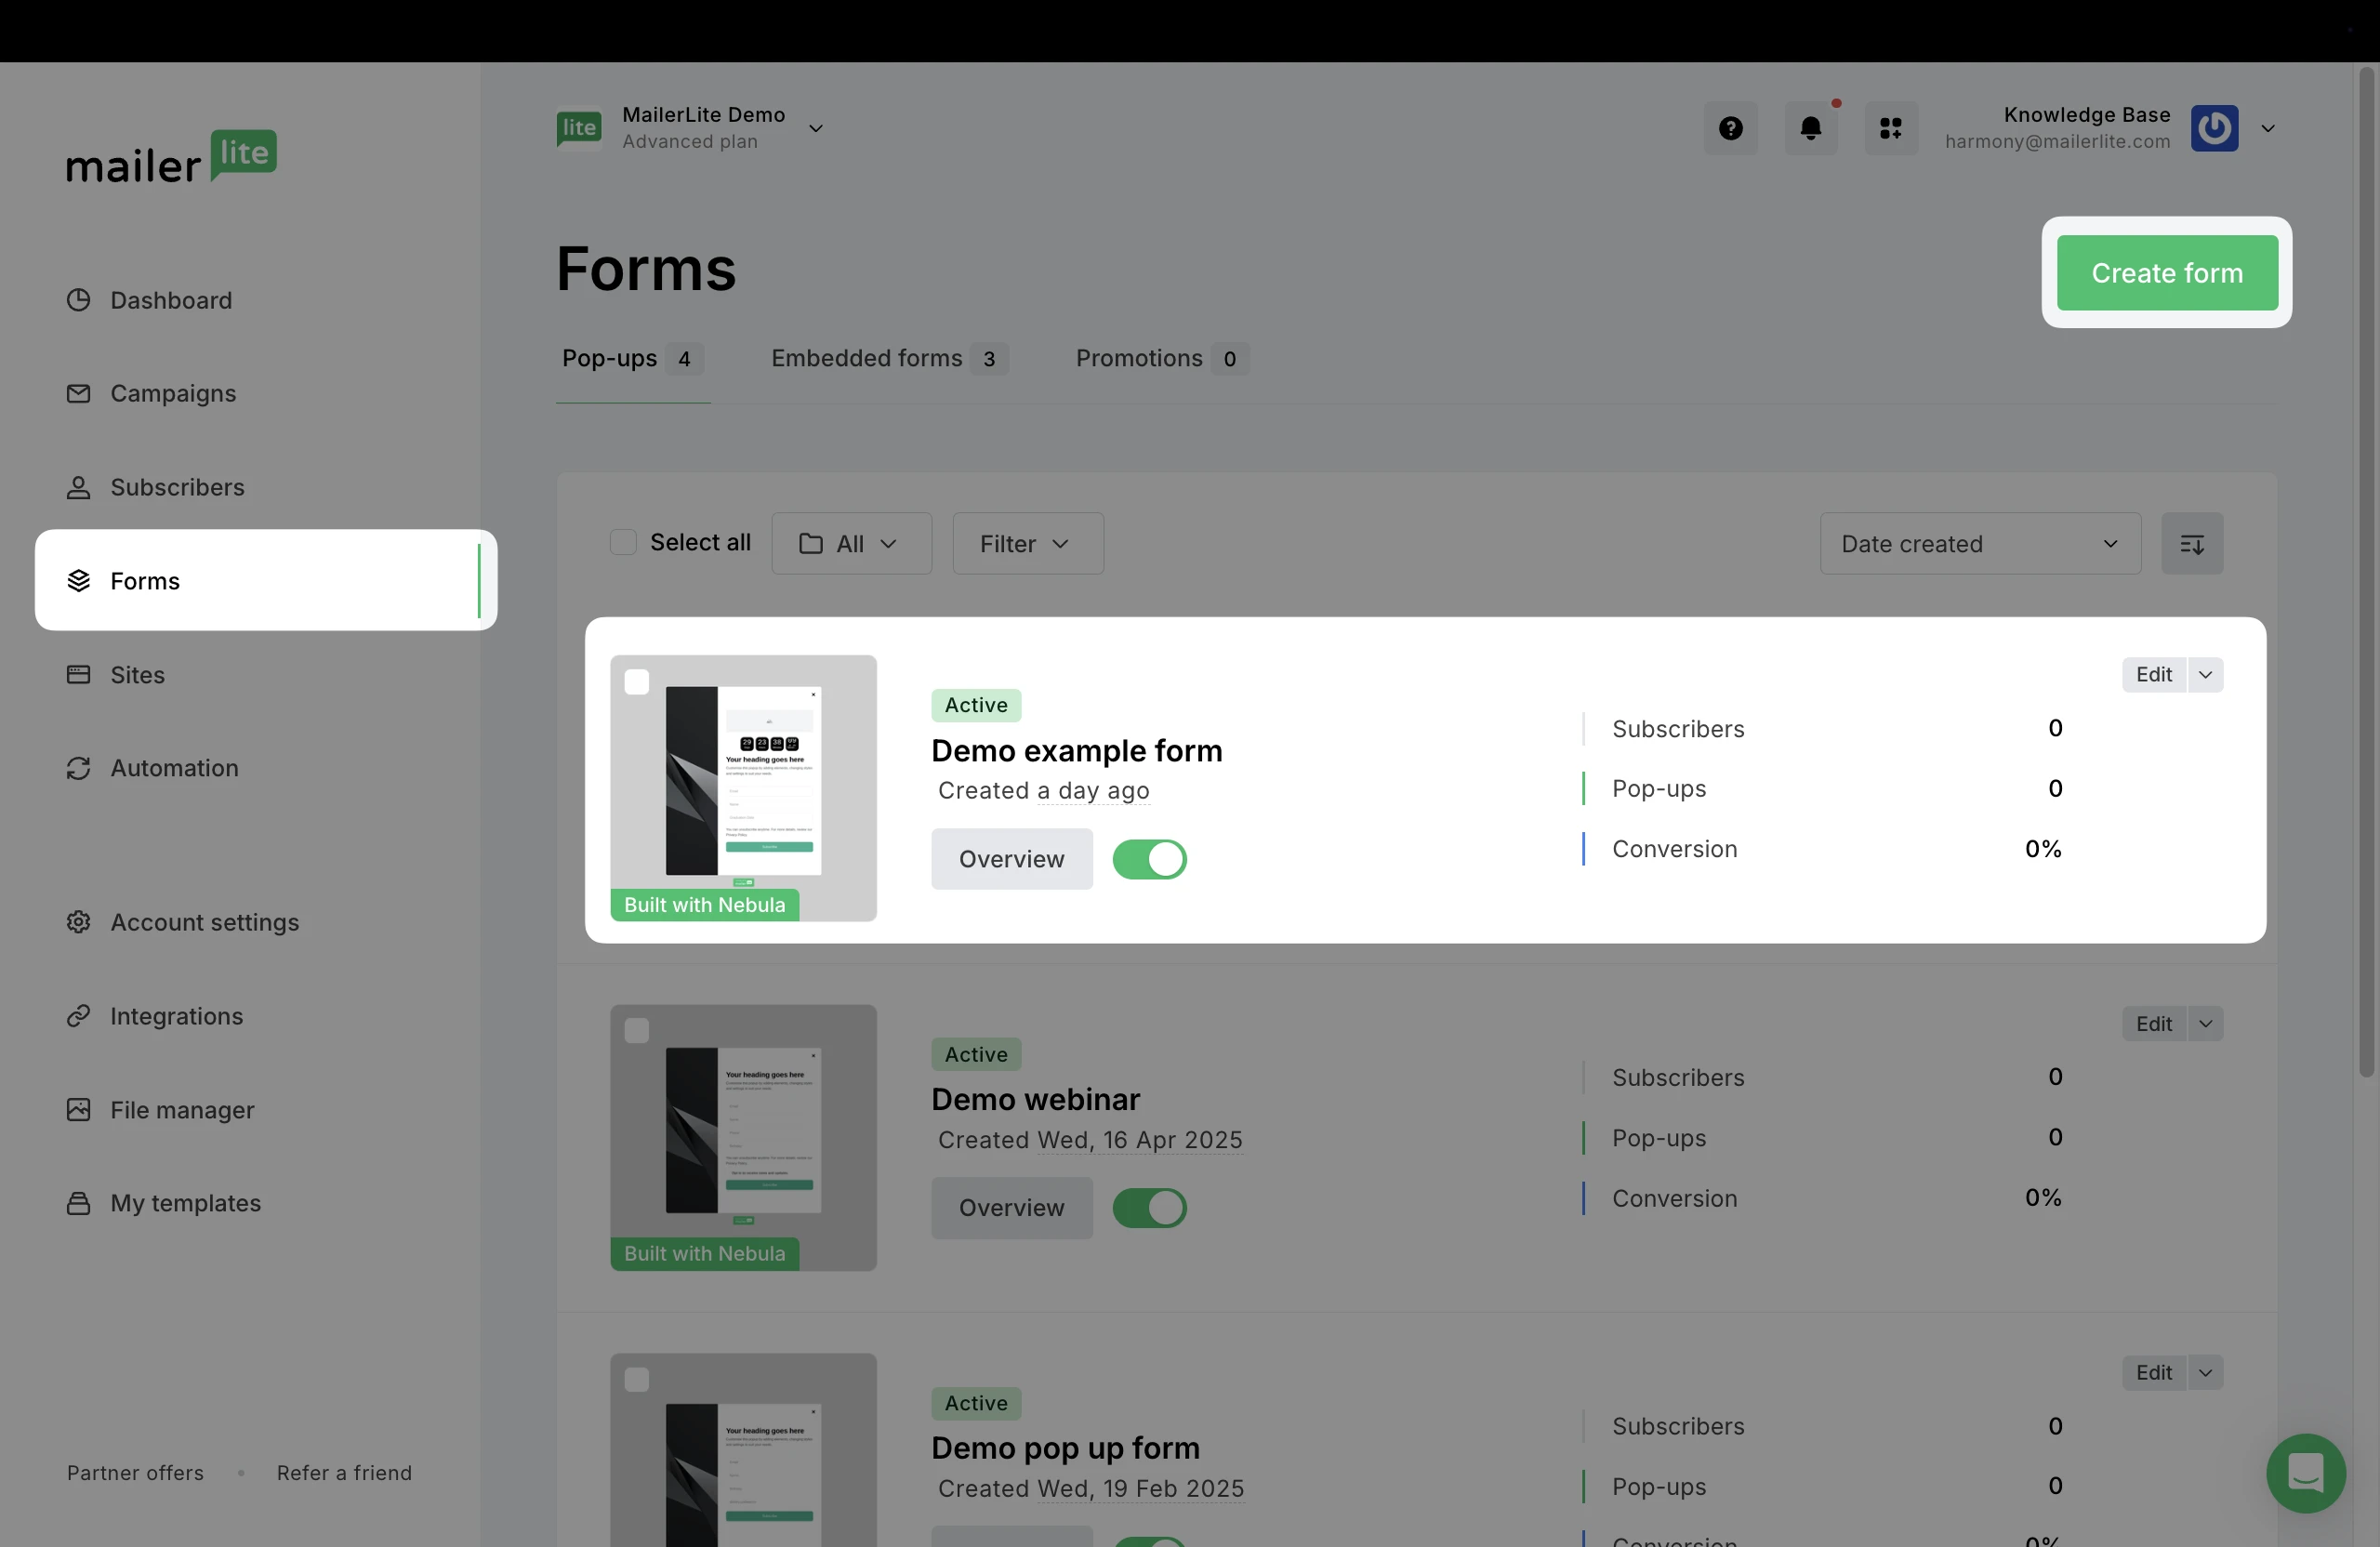
Go to Forms.
Click Create form, or edit an existing form.
3. In the form editor, click on the input field settings by hovering over the fields and selecting the Settings option.
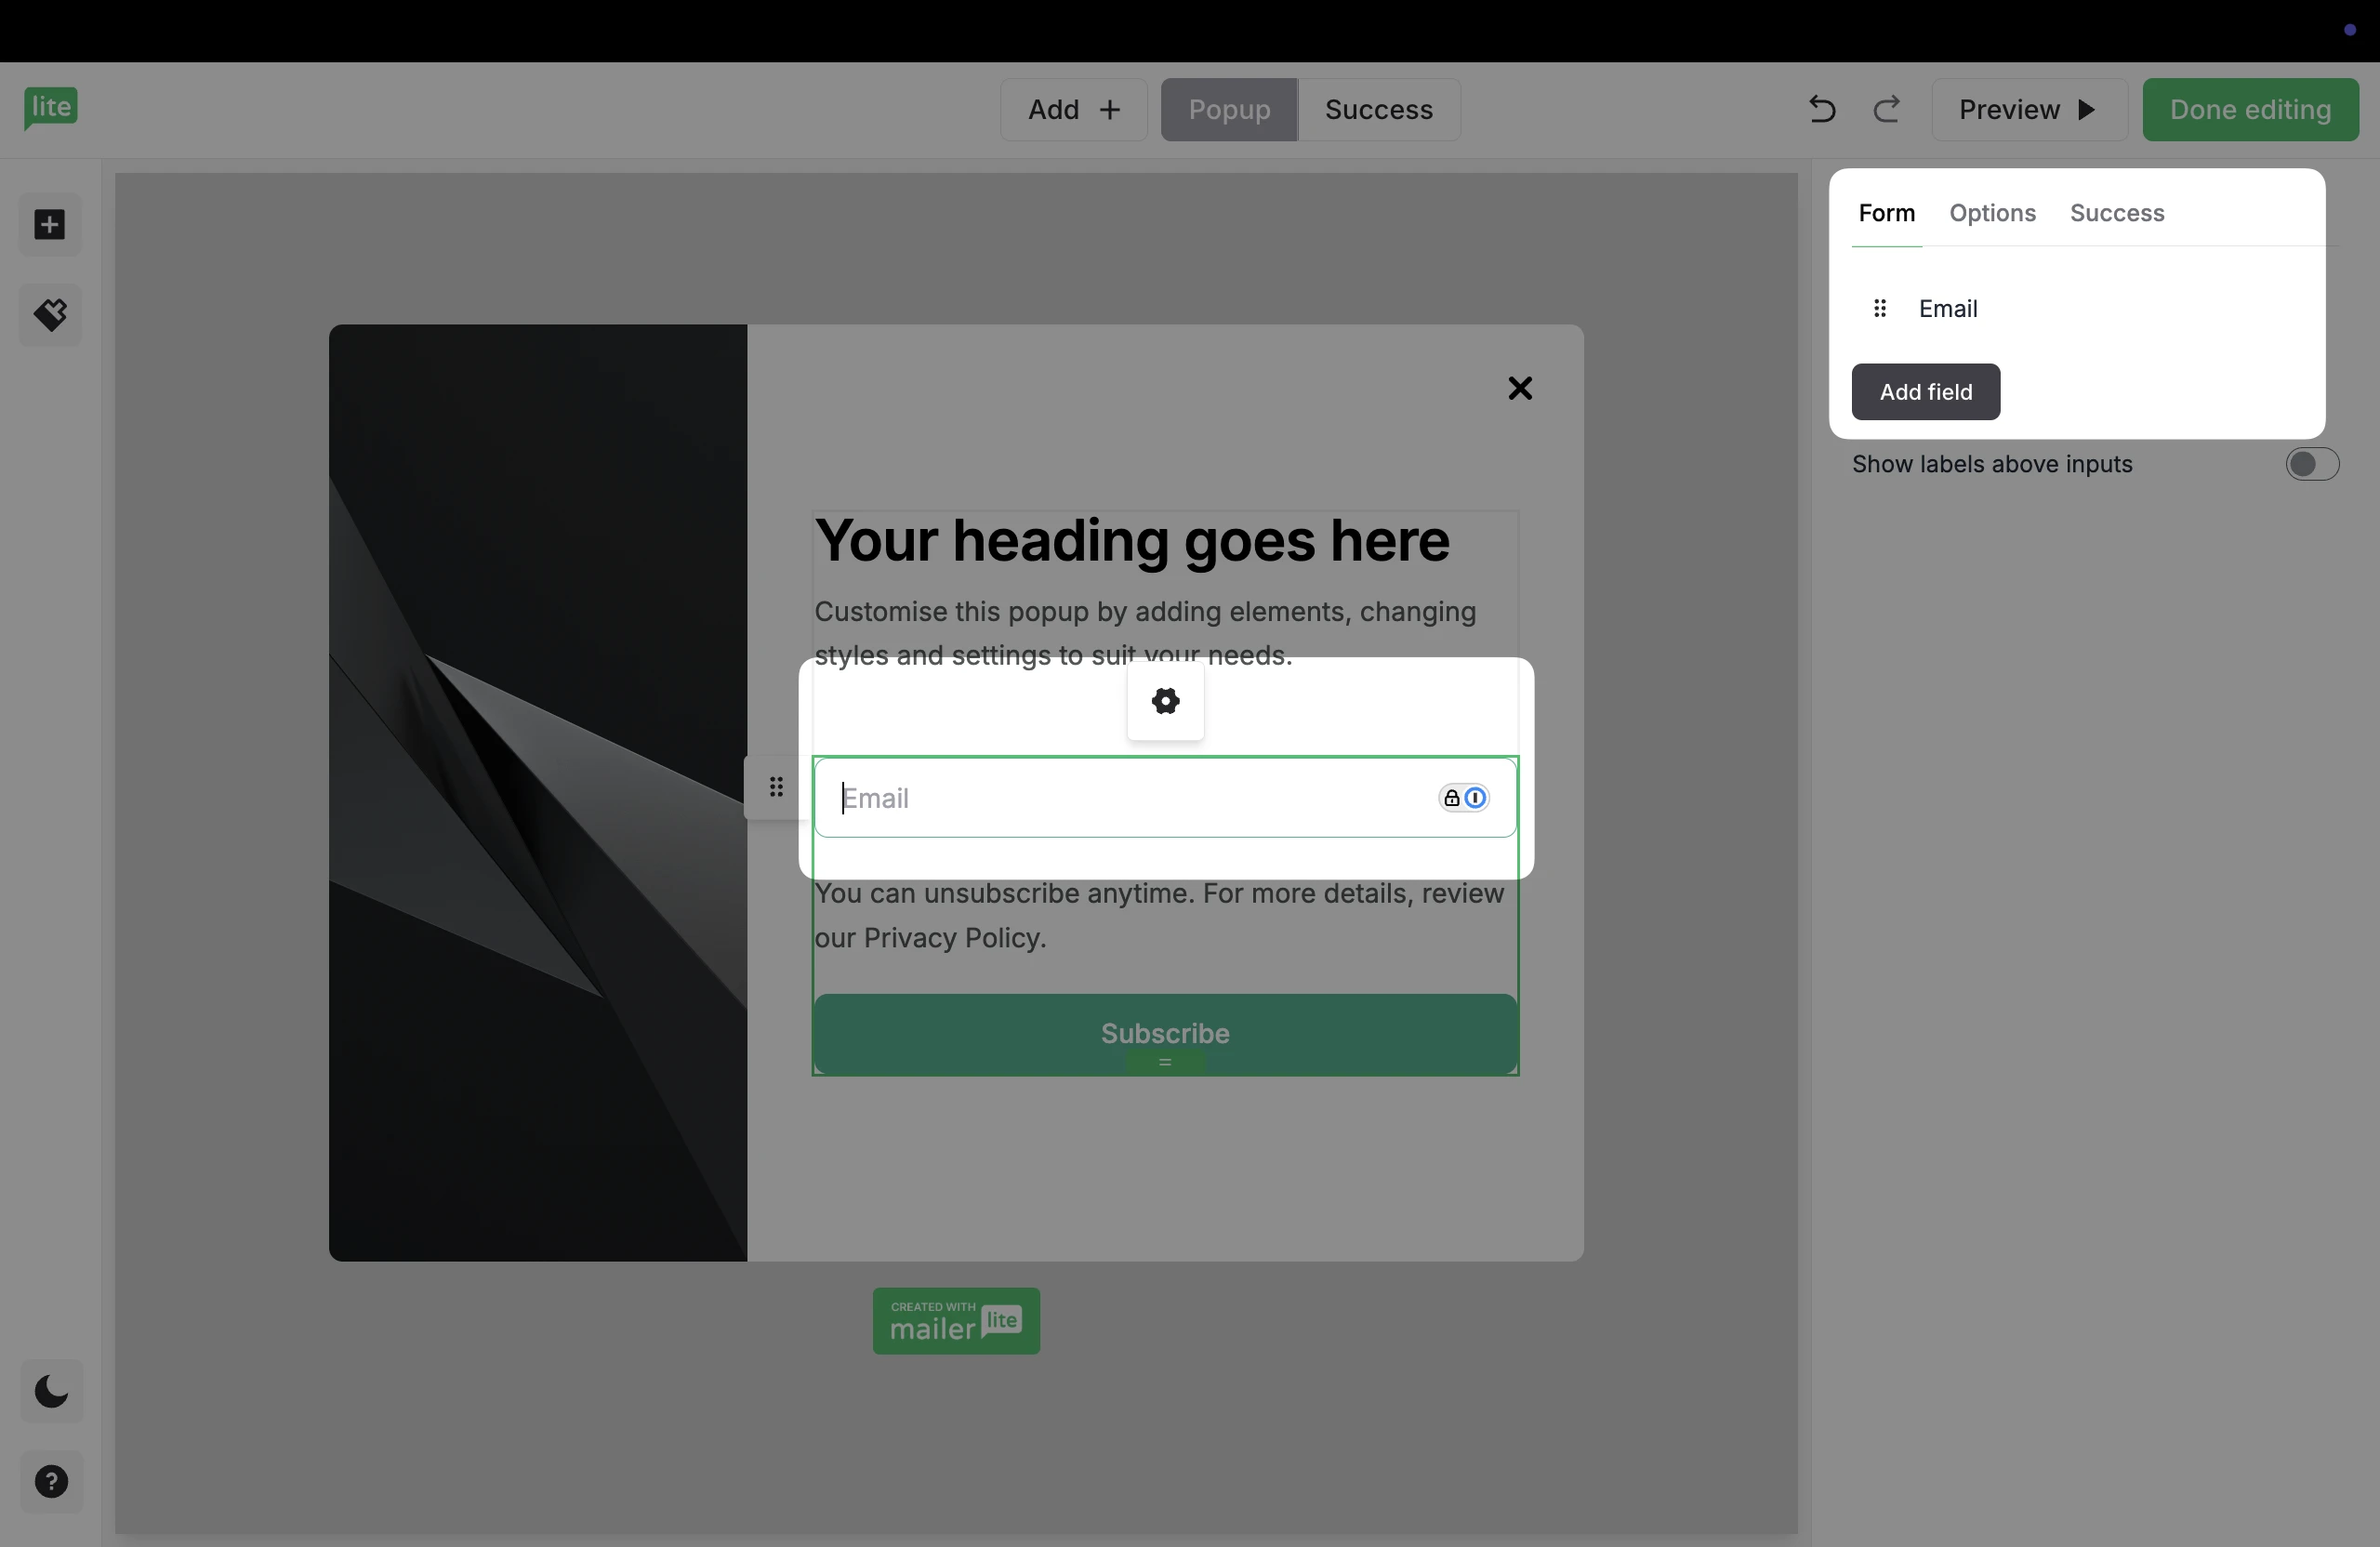
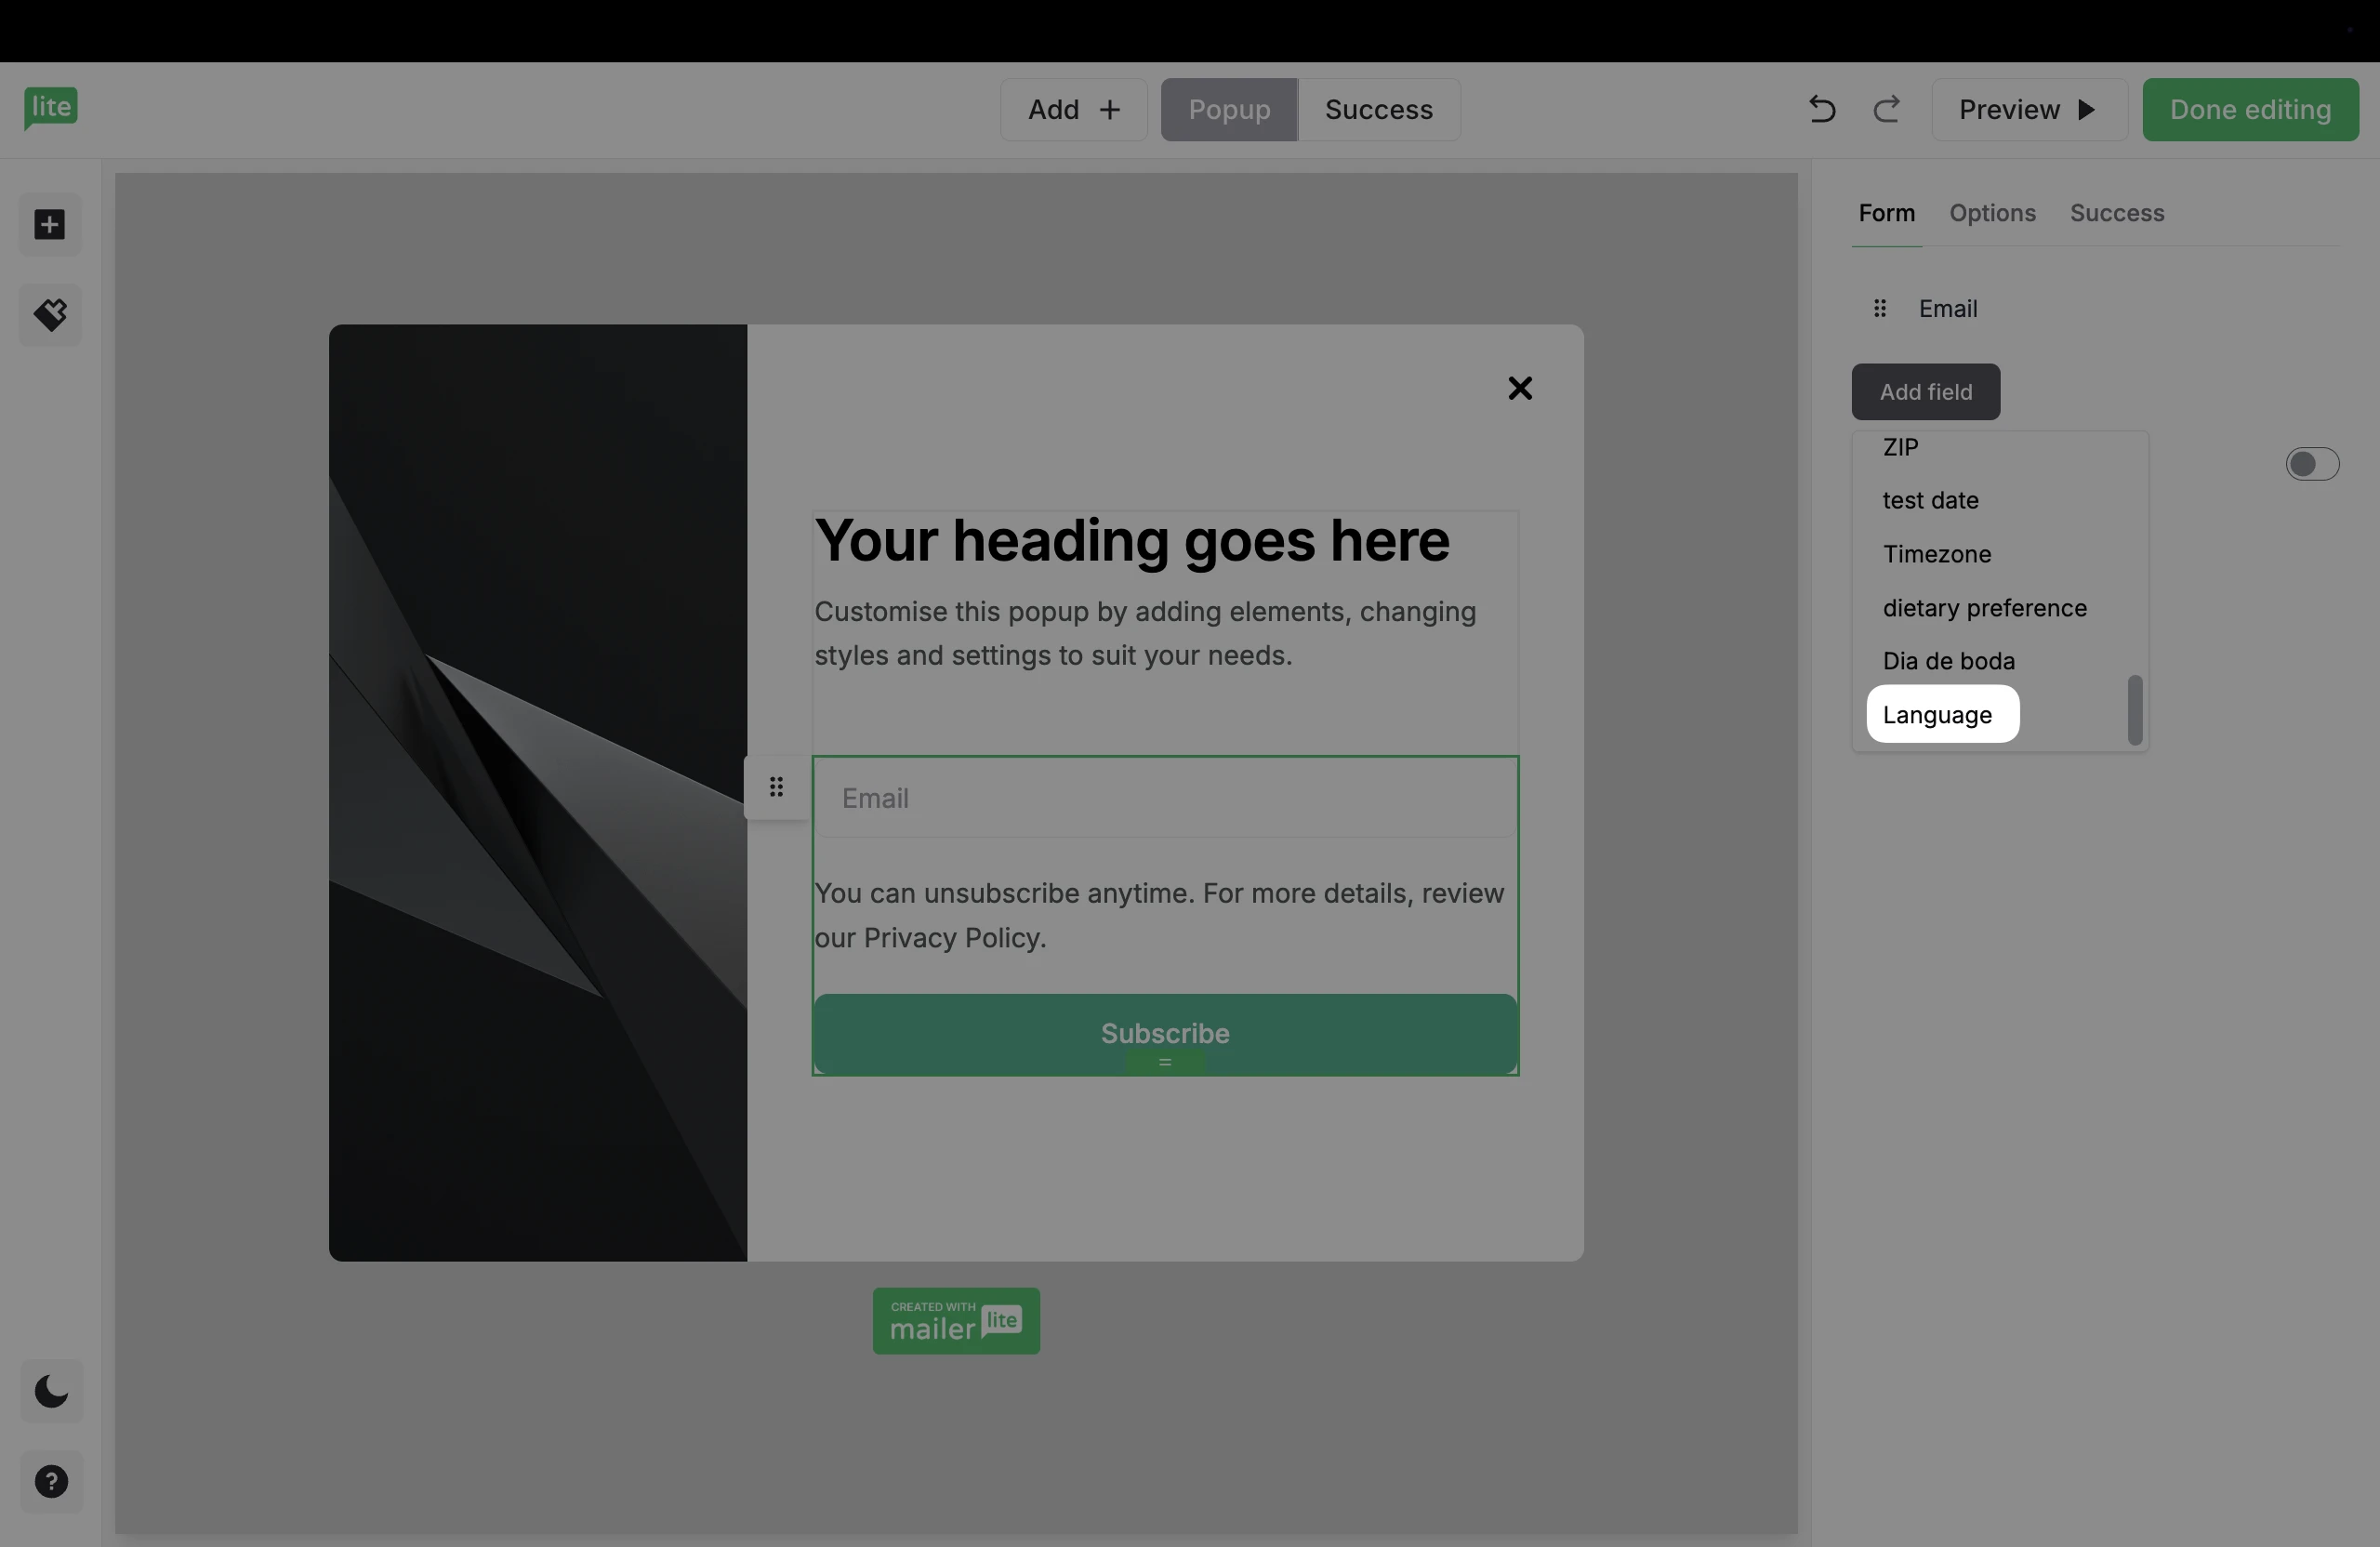
4. Click Add field to add more options besides email. Choose the newly created Language field.
5. Choose the pencil icon next to the new field to make edits. Here, you can select the Field type as Dropdown. From there, add your language options.
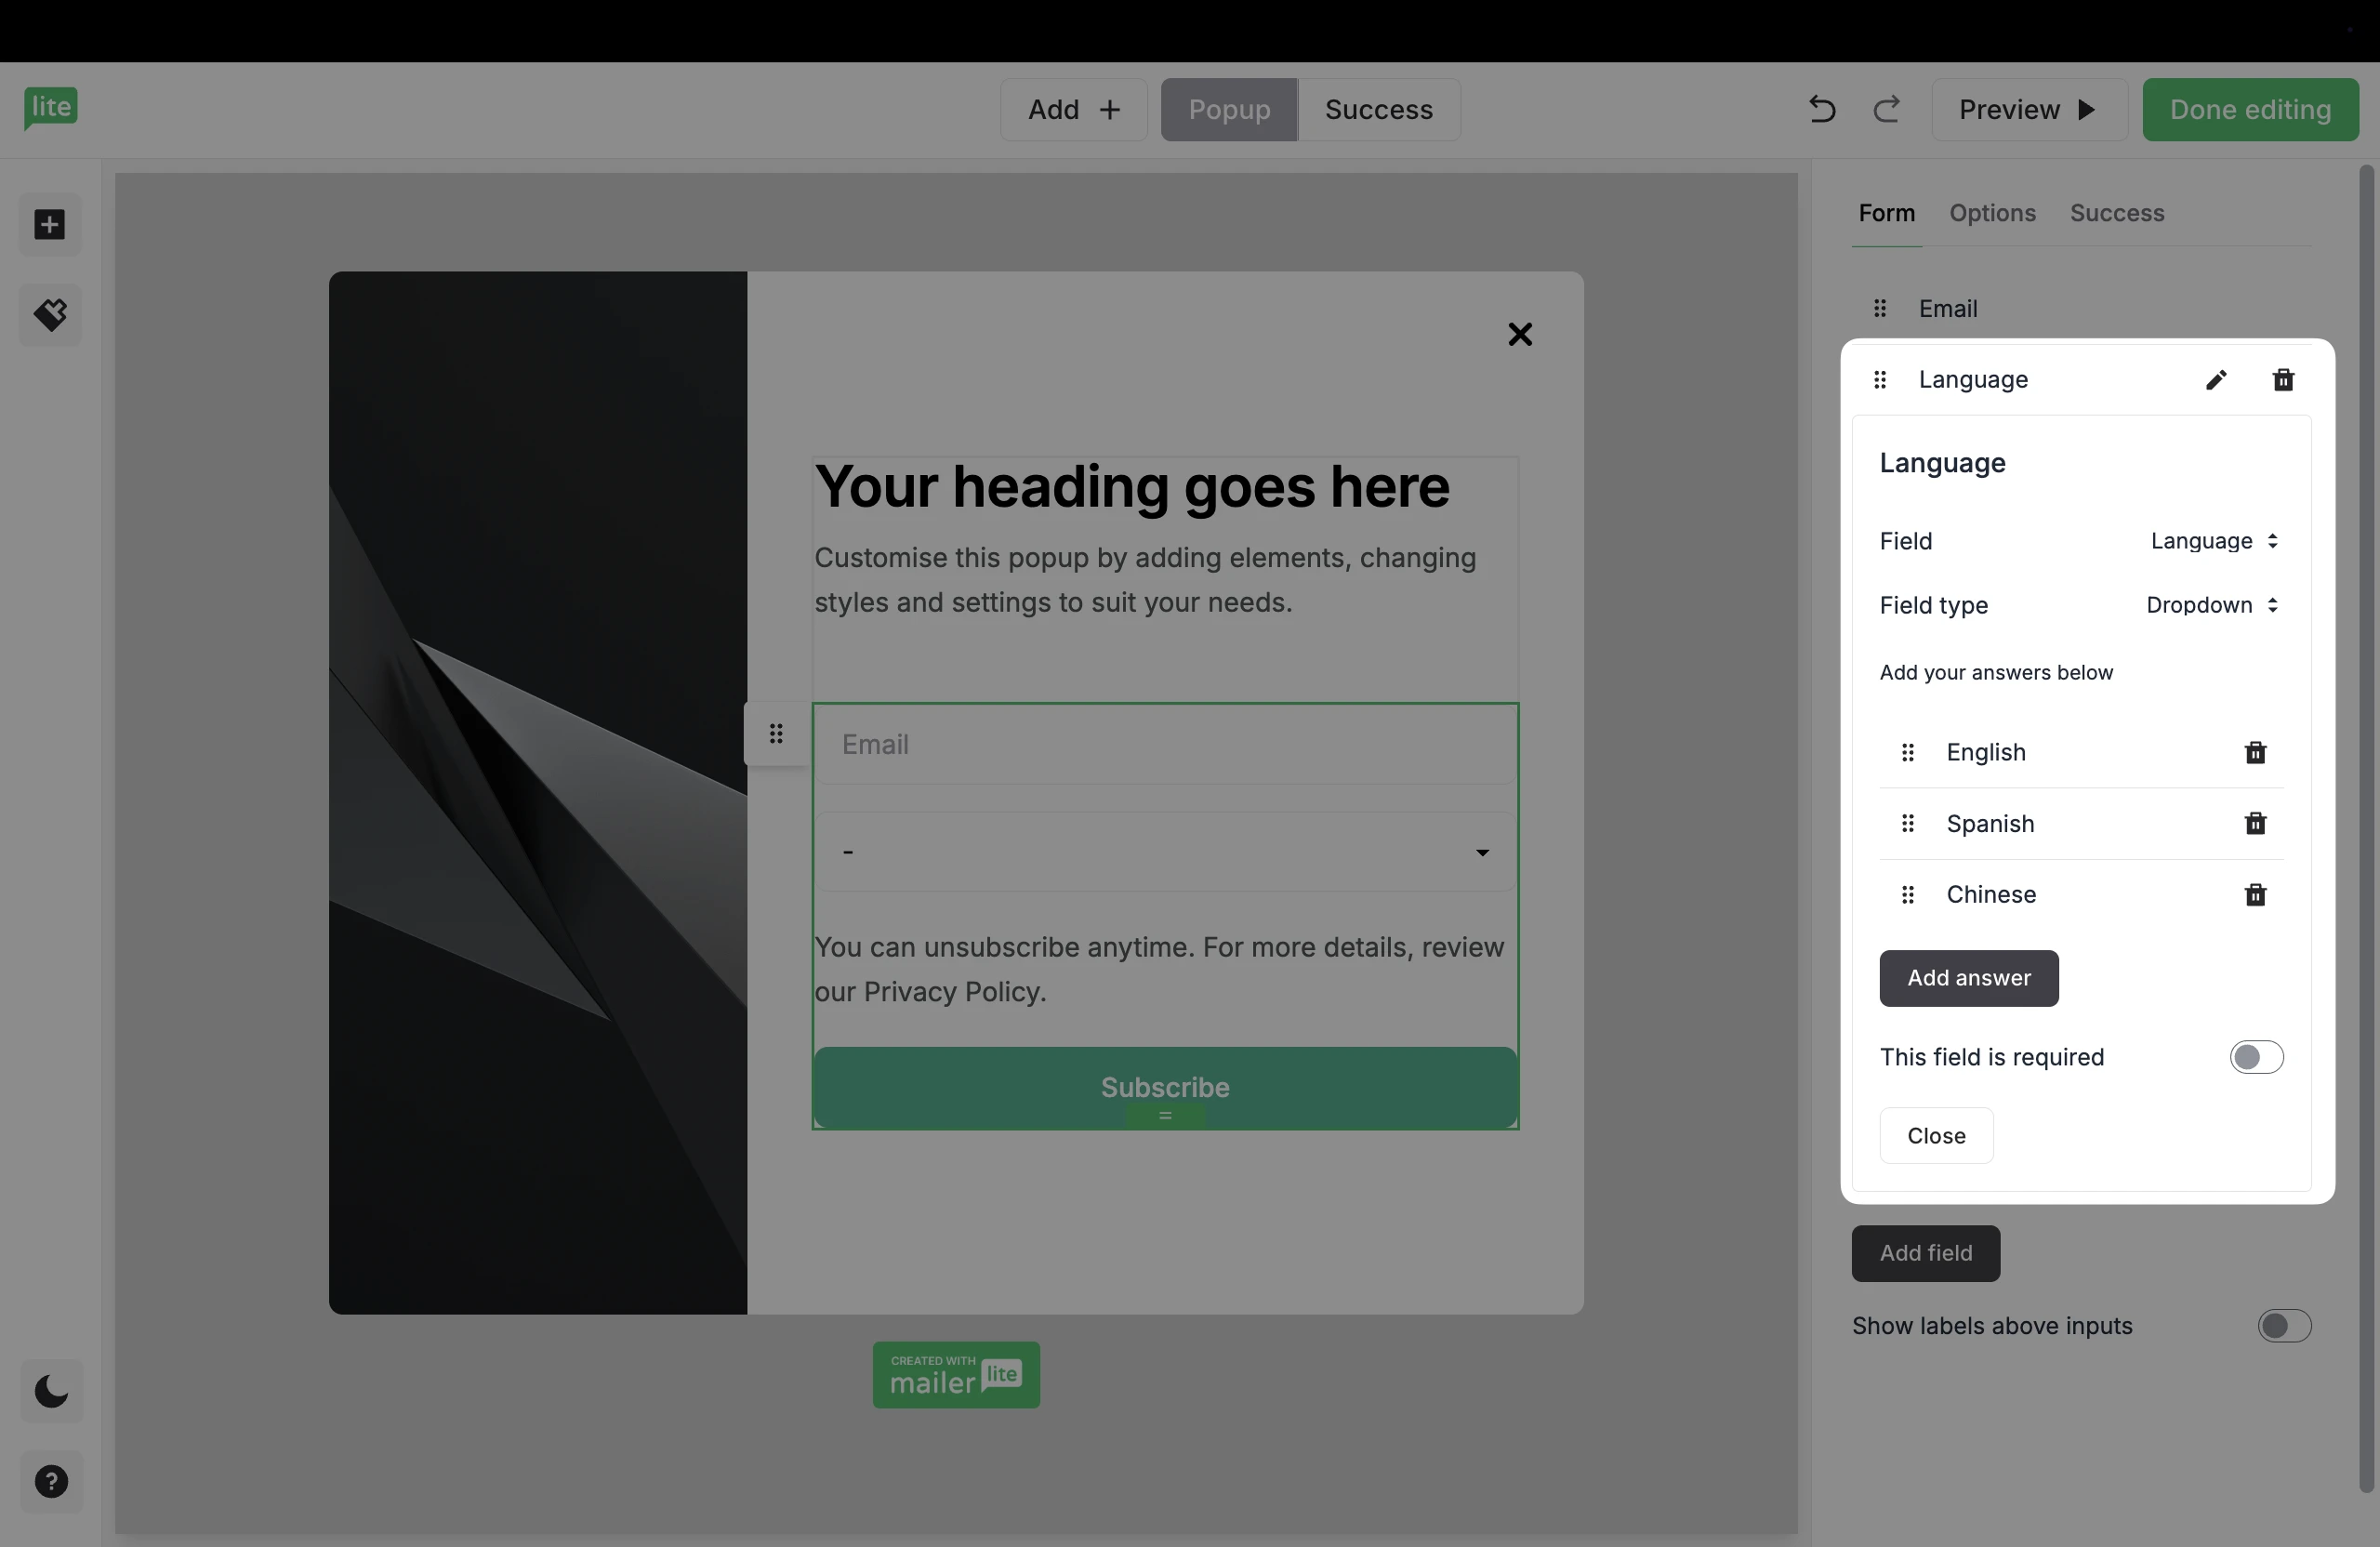
6. Once you have added all language options and designed your form, click Done editing to save your design and exit the editor.
How to install the form on your website
Once the form is ready, you’ll need to embed it on your website. With the Weglot integration already installed, the form will automatically adapt to the selected language.
Go to your MailerLite form and grab the embed code. To do this, navigate to the form’s Overview and scroll down to the Javascript snippet.
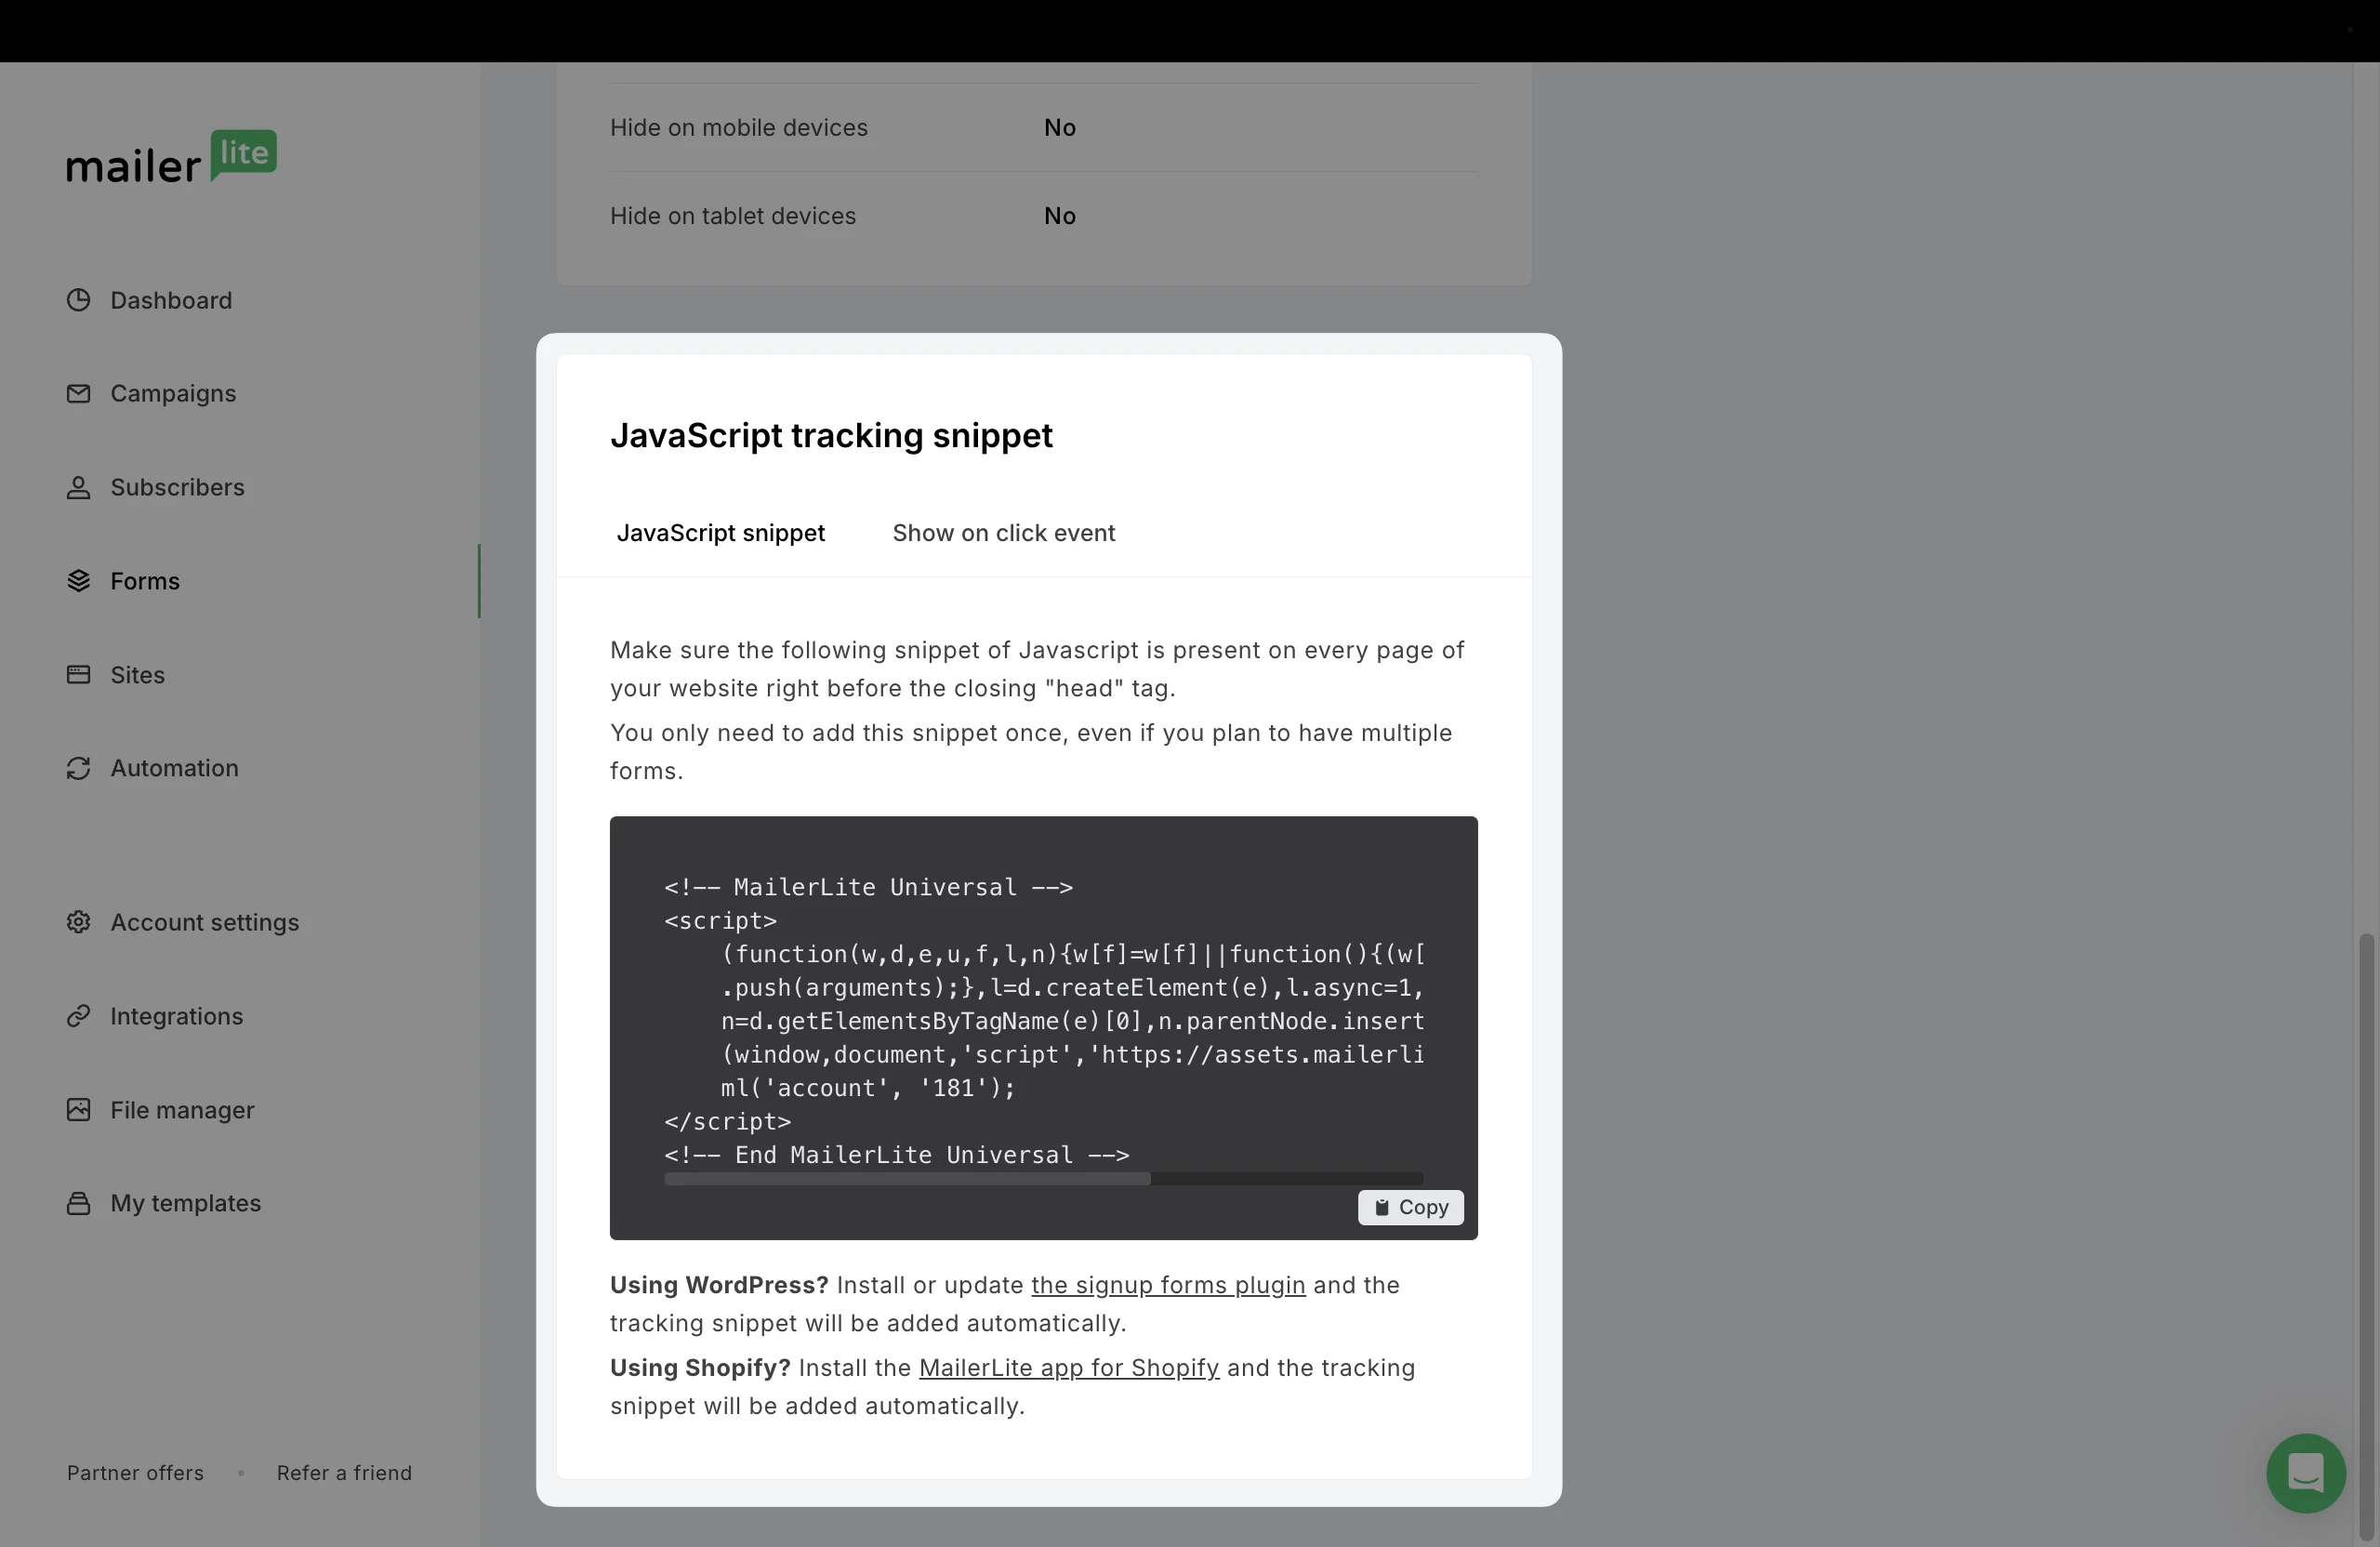
2. Paste the Javascript snippet into the HTML block of your website. If using a MailerLite landing page or website, follow these steps.
Create language-based segments in MailerLite
To send targeted campaigns, it’s best to segment your list. To segment by language:
Navigate to the Subscribers page.
Go to the Segments tab.
Click Create segment.
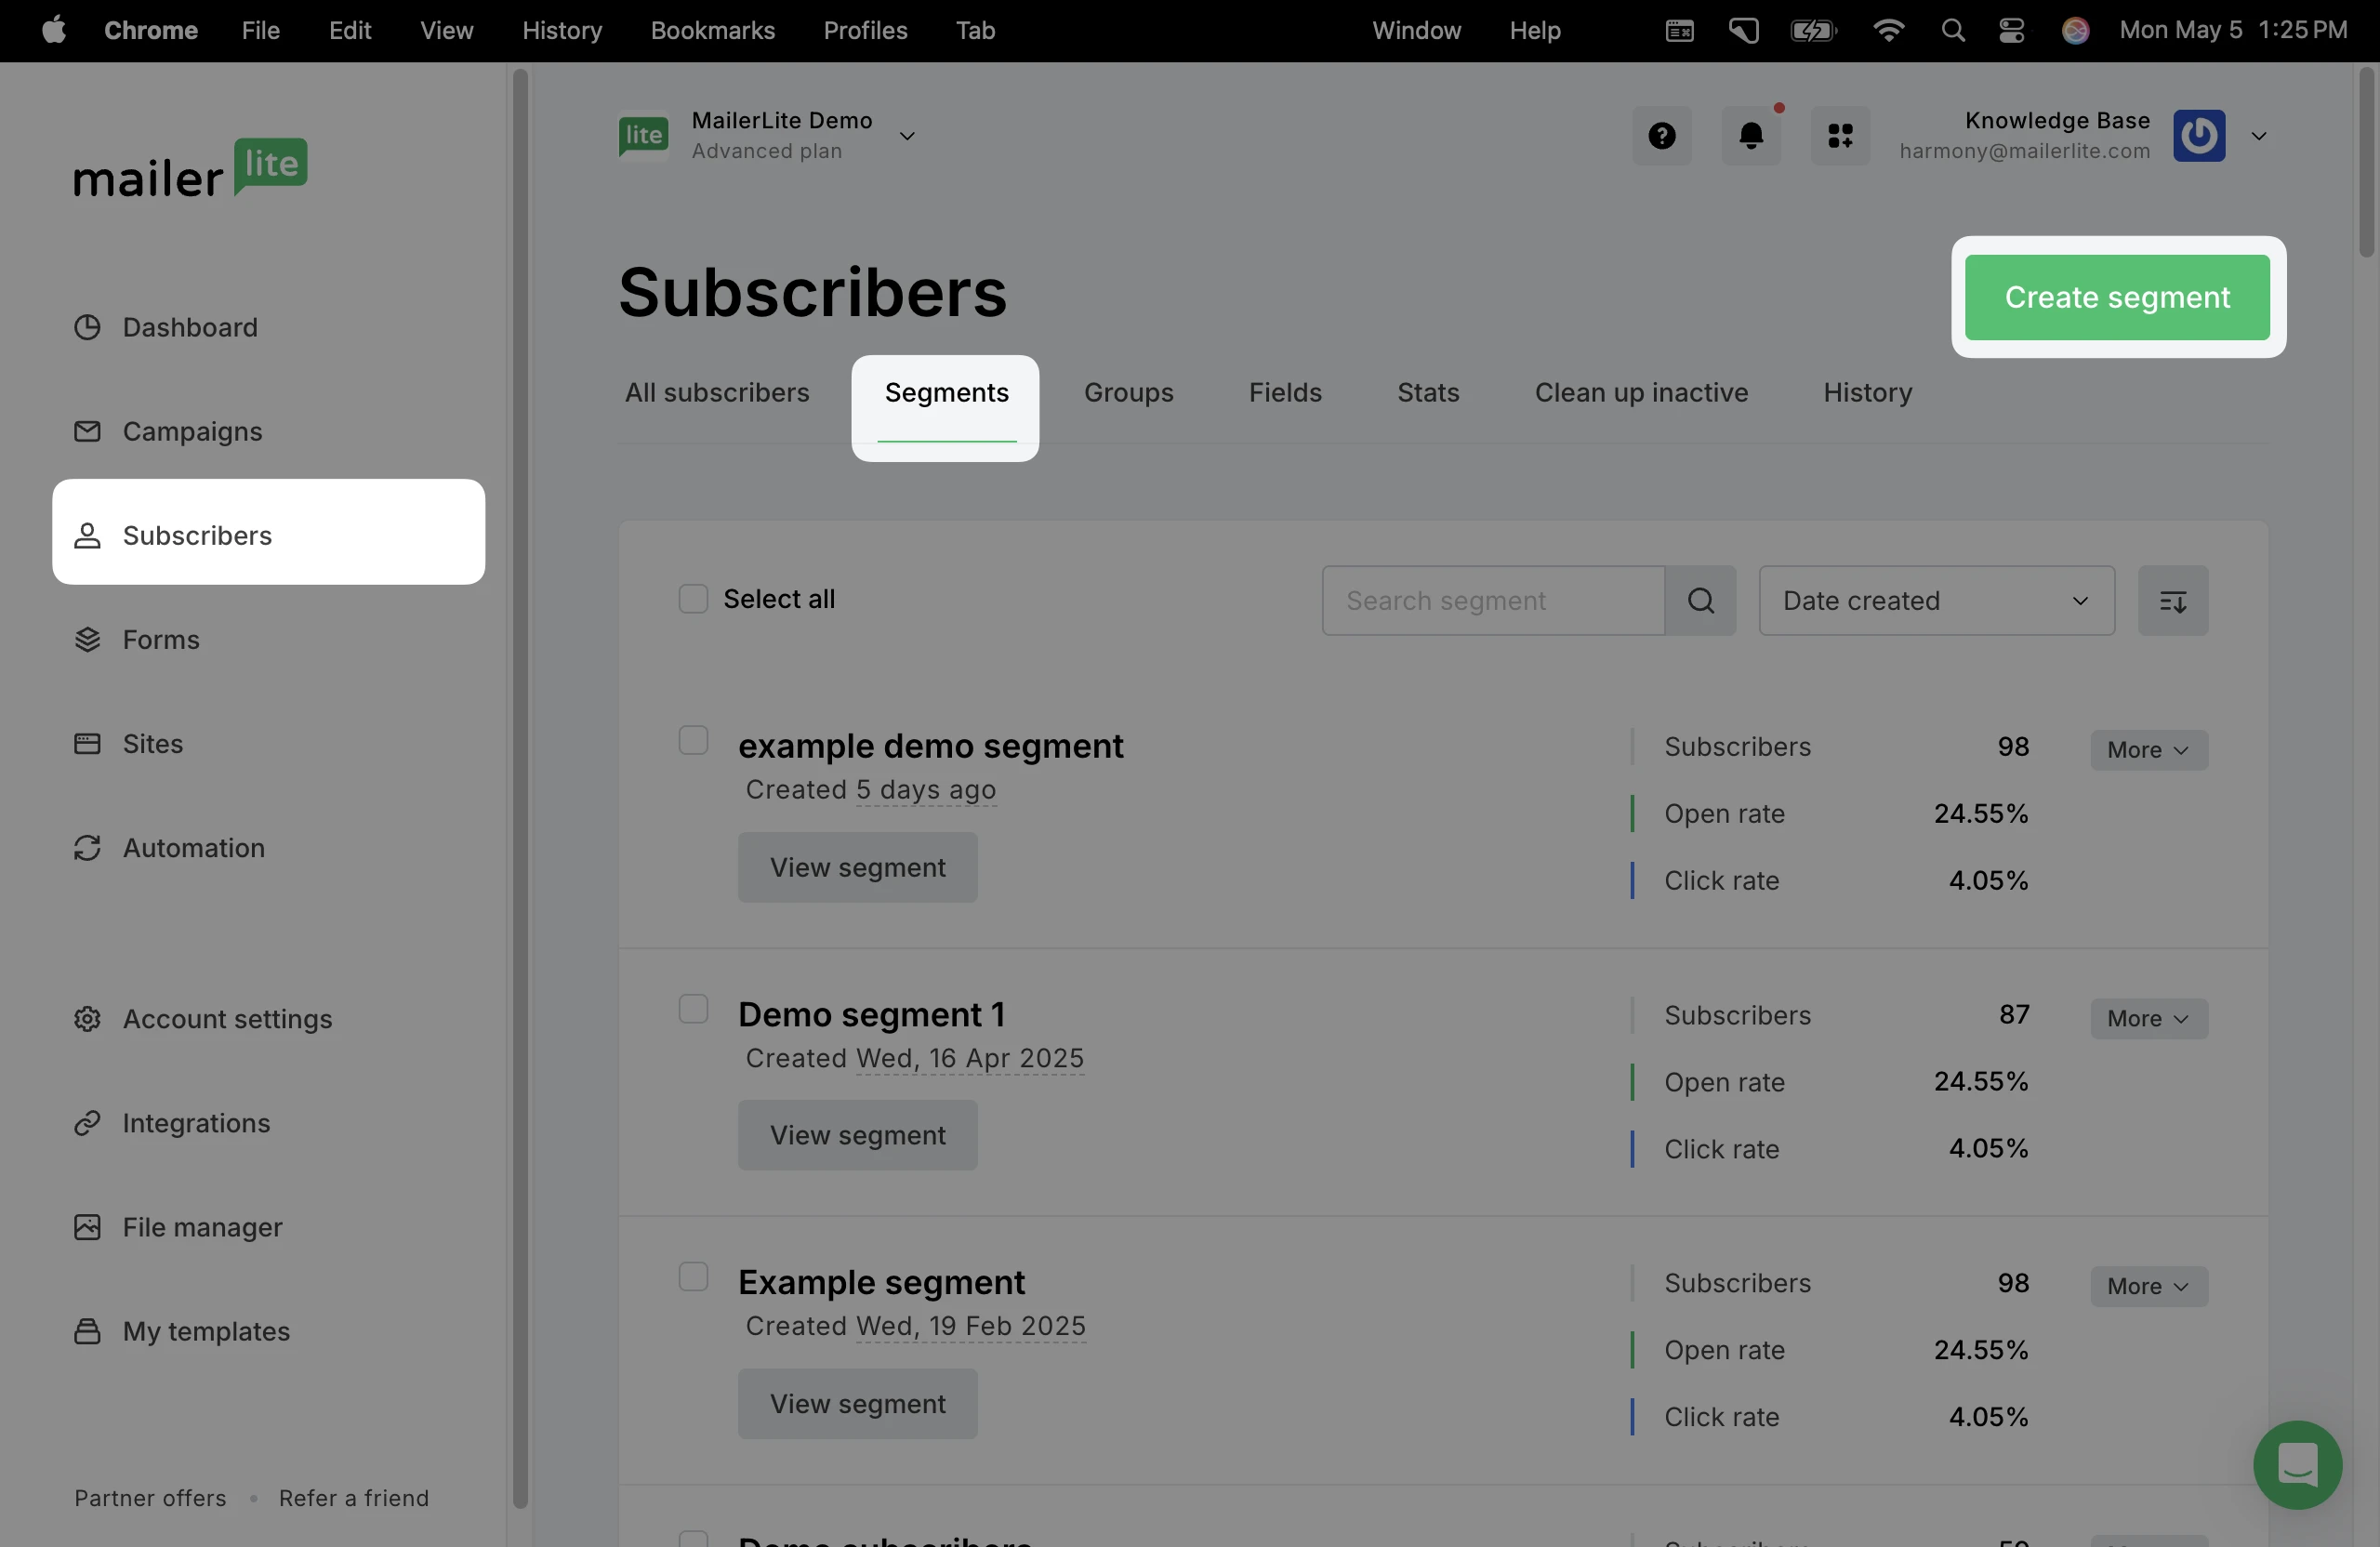
4. Give the segment a name, such as English.
5. Click Create.
6. For the filters, choose Fields > Language > Equals > (choose the language). Be sure the way you enter the language (such as English, Spanish) is the same as the dropdown menu options on the form.

7. Click Save changes.
Repeat this process for each language. Once each segment is saved, you will see all of the separated lists in the Segments tab. When someone completes the form and chooses their language, they will automatically be added to the right segment.