If you're a Legacy (Classic) user, please log in to your account to access the dedicated Legacy (Classic) Help Center.
What is an embedded form?
An embedded form is a sign-up form used to collect subscribers and add them straight to MailerLite. You create your embedded form in MailerLite and display it on your own website as part of a webpage.
How to create an embedded form
To create your first embedded form:
Navigate to the Forms page.
Click on the Embedded forms tab.
Click Create form.
Give your form a name (this is for internal purposes only and you can change it later) and select the form type Embedded form.
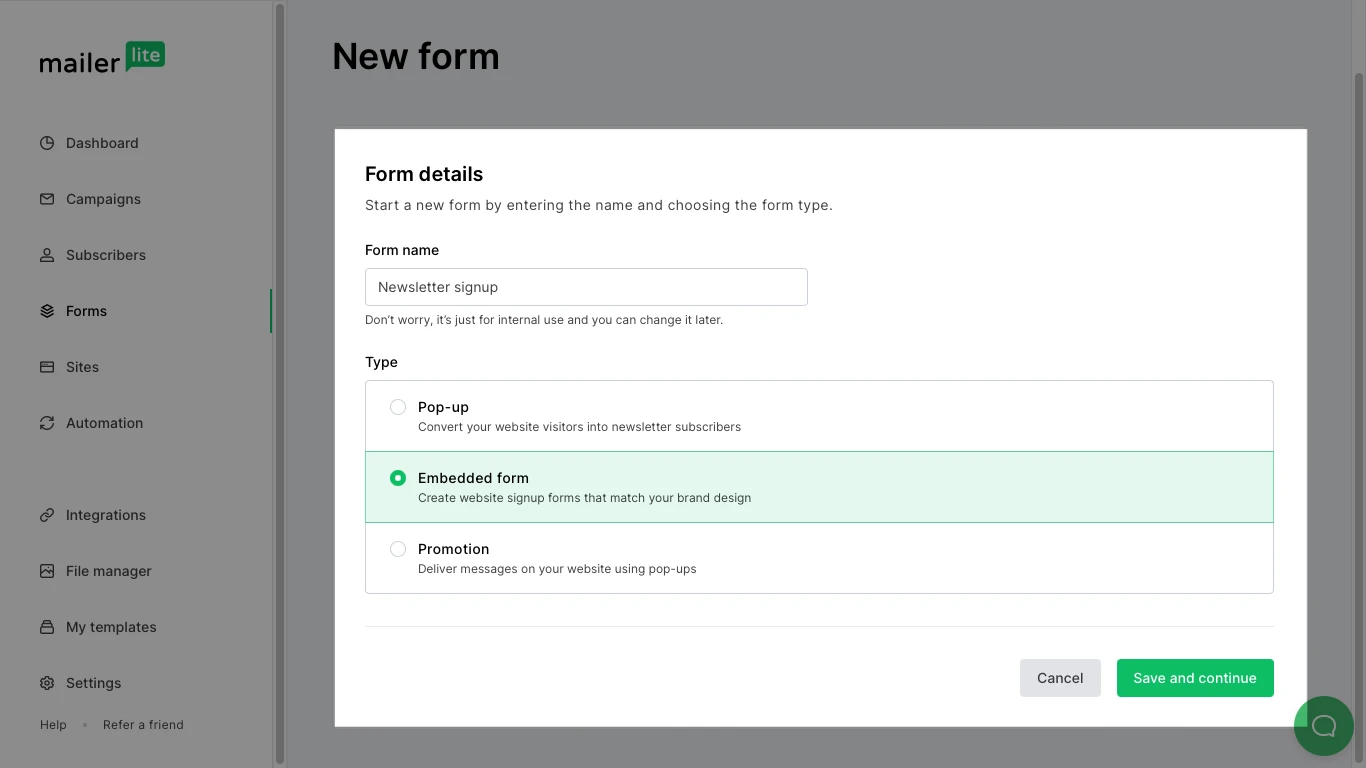
5. Click Save and continue.
6. Select a subscriber group and click Continue. This important step allows you to select the group(s) into which subscribers of this form will be added.
7. Click Continue to open up the embedded form editor.
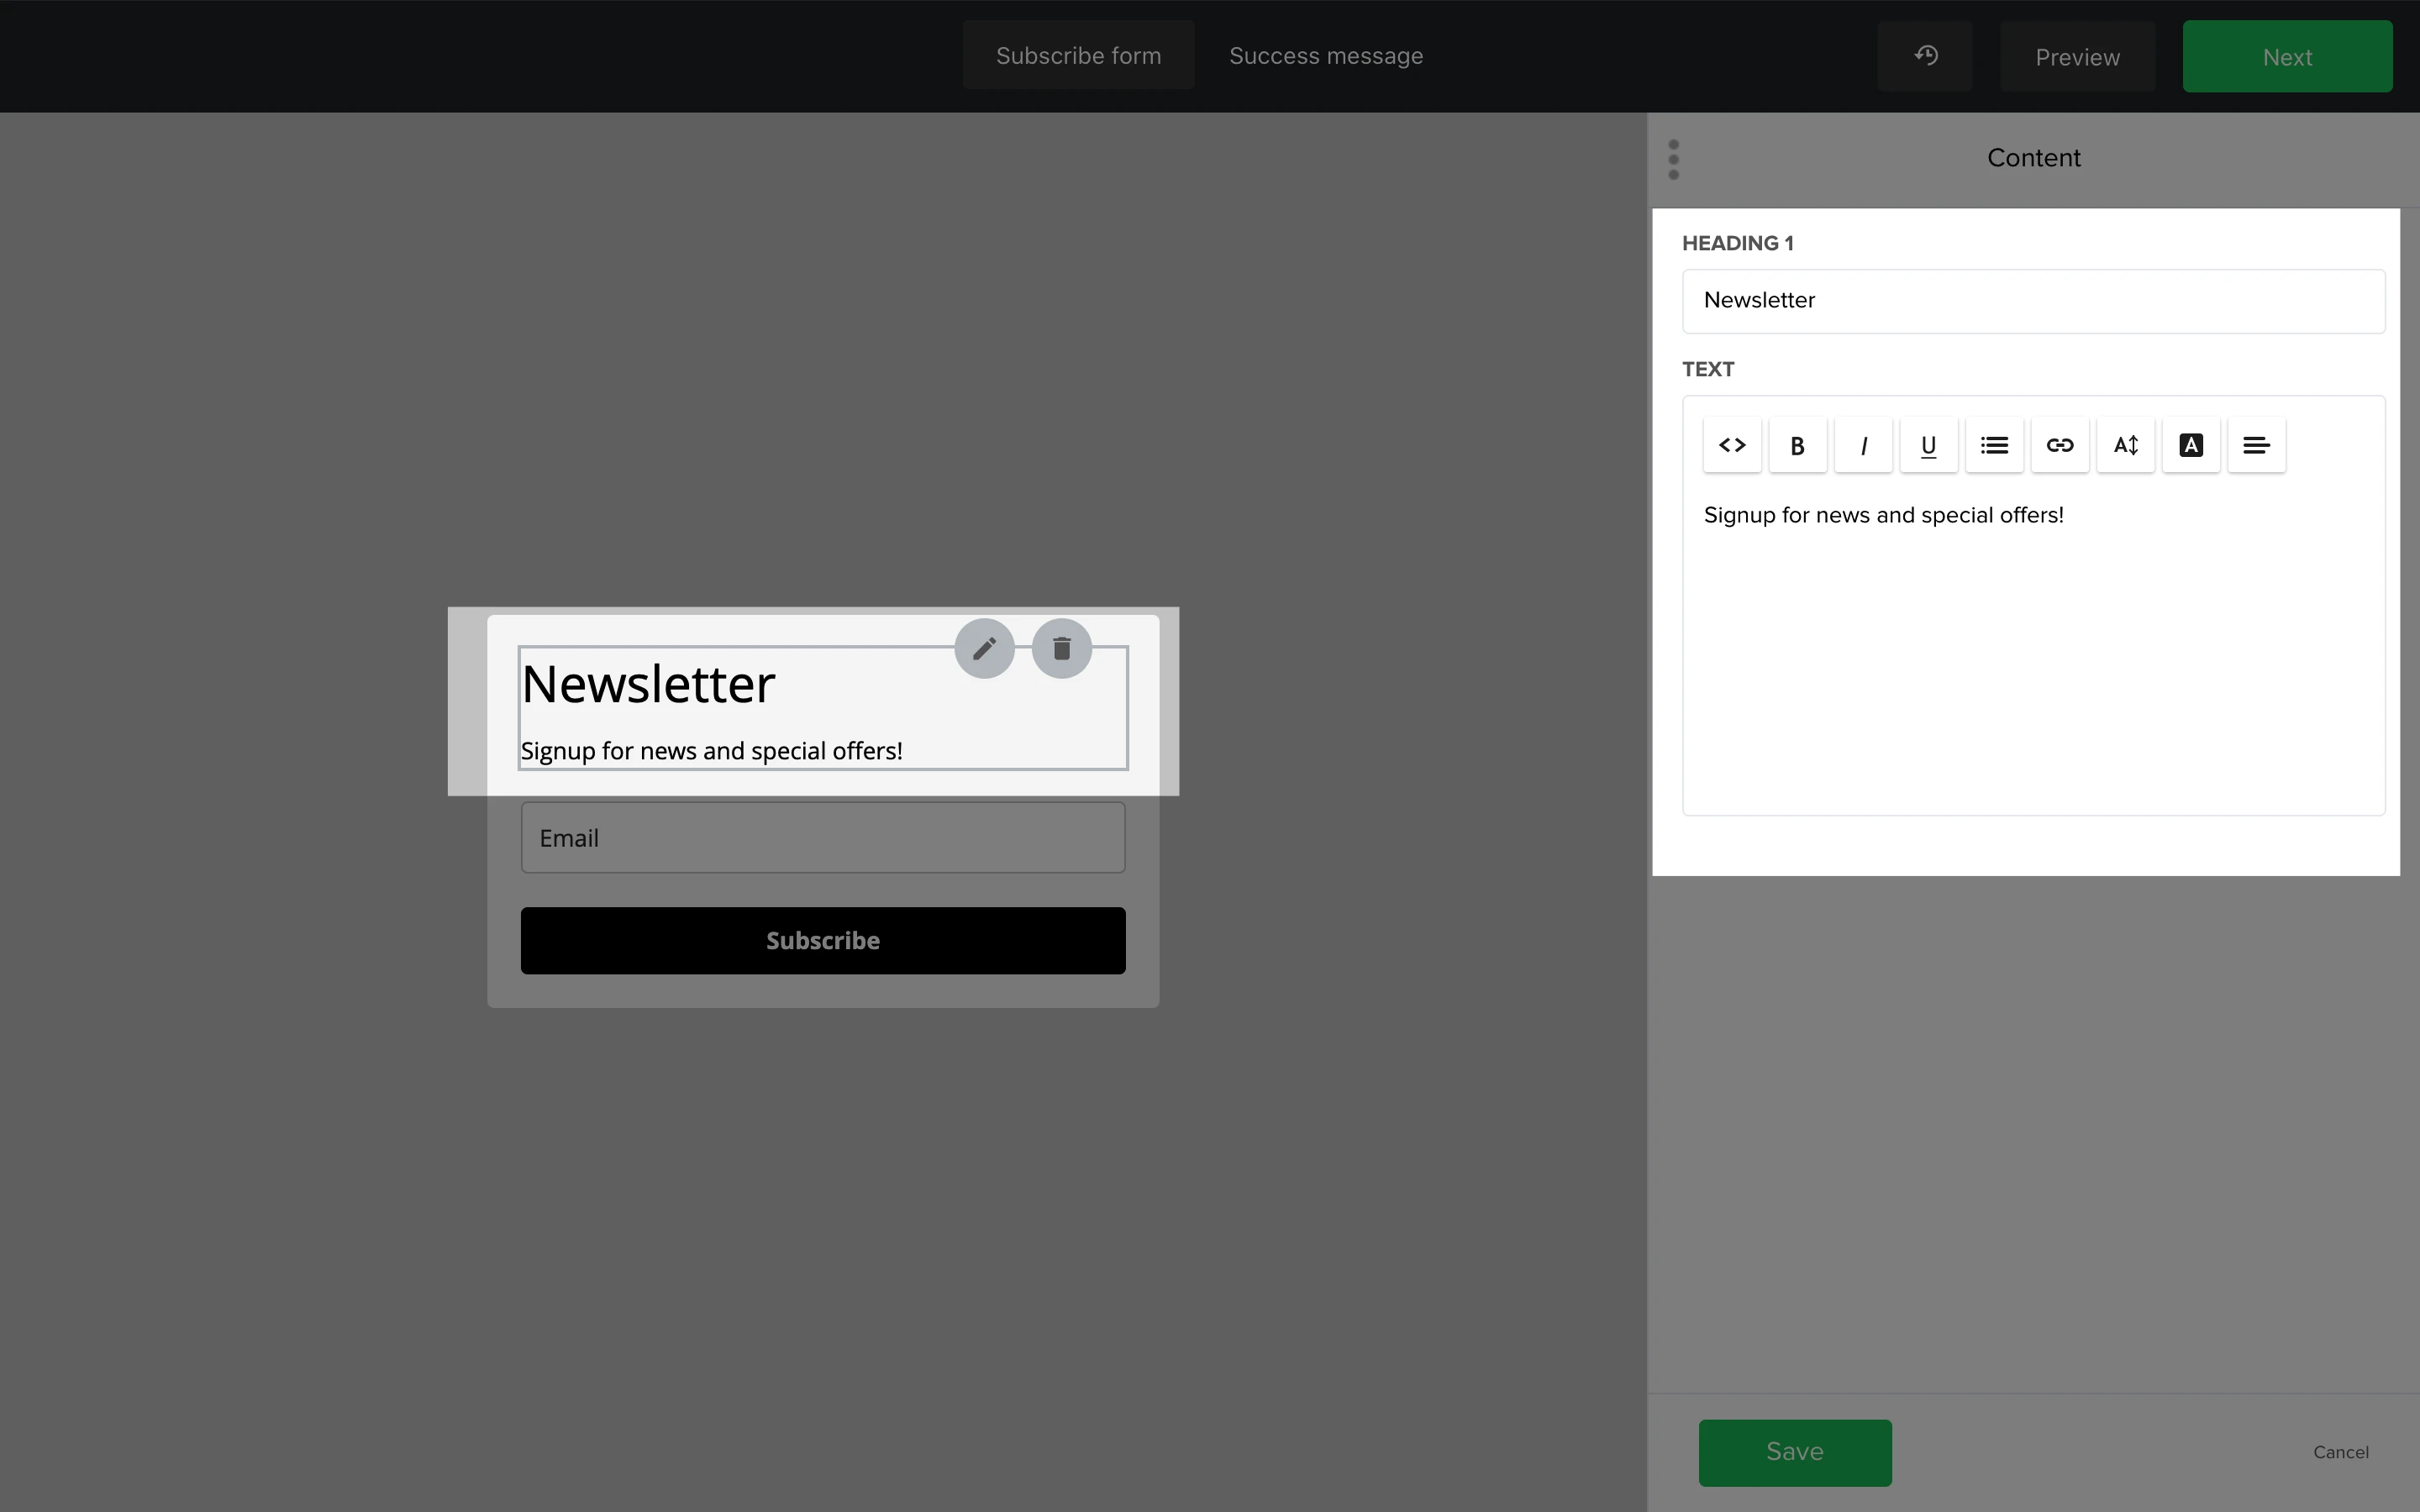
8. Edit the heading and text of your form, by clicking on the heading and text block and make your changes in the sidebar.
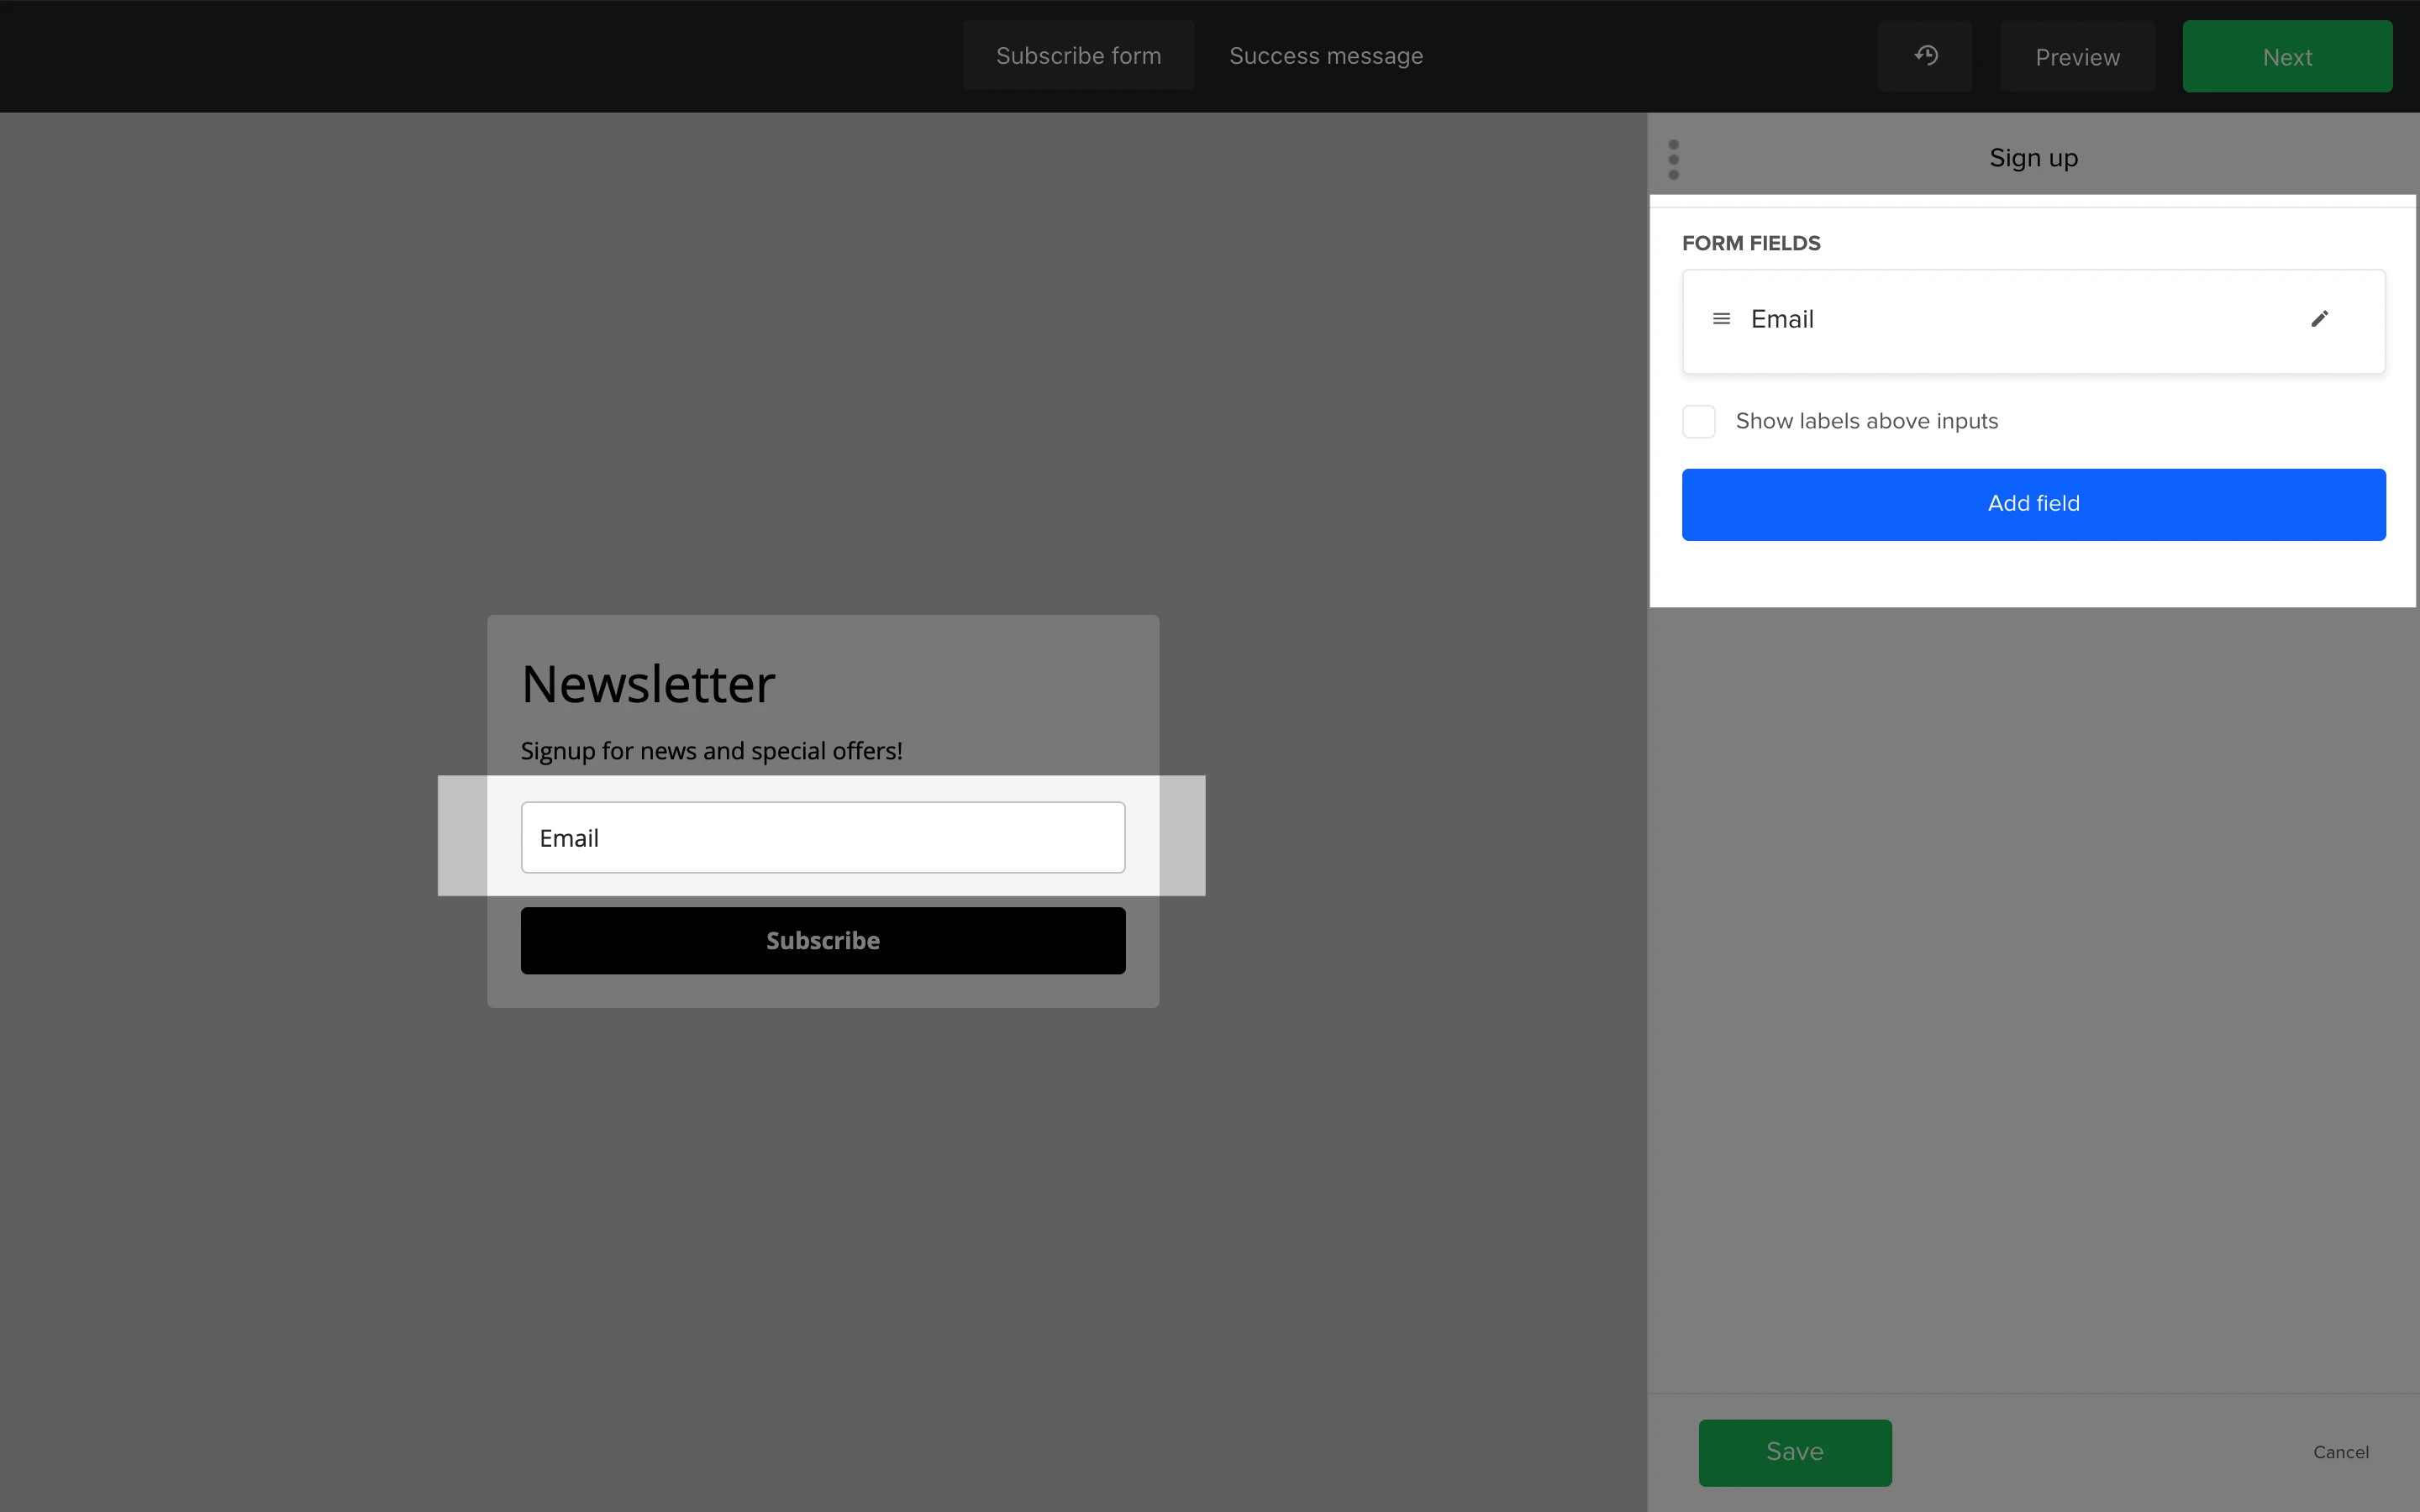
9. Edit the sign-up field(s) on your form by clicking on the field block and making your changes in the sidebar.
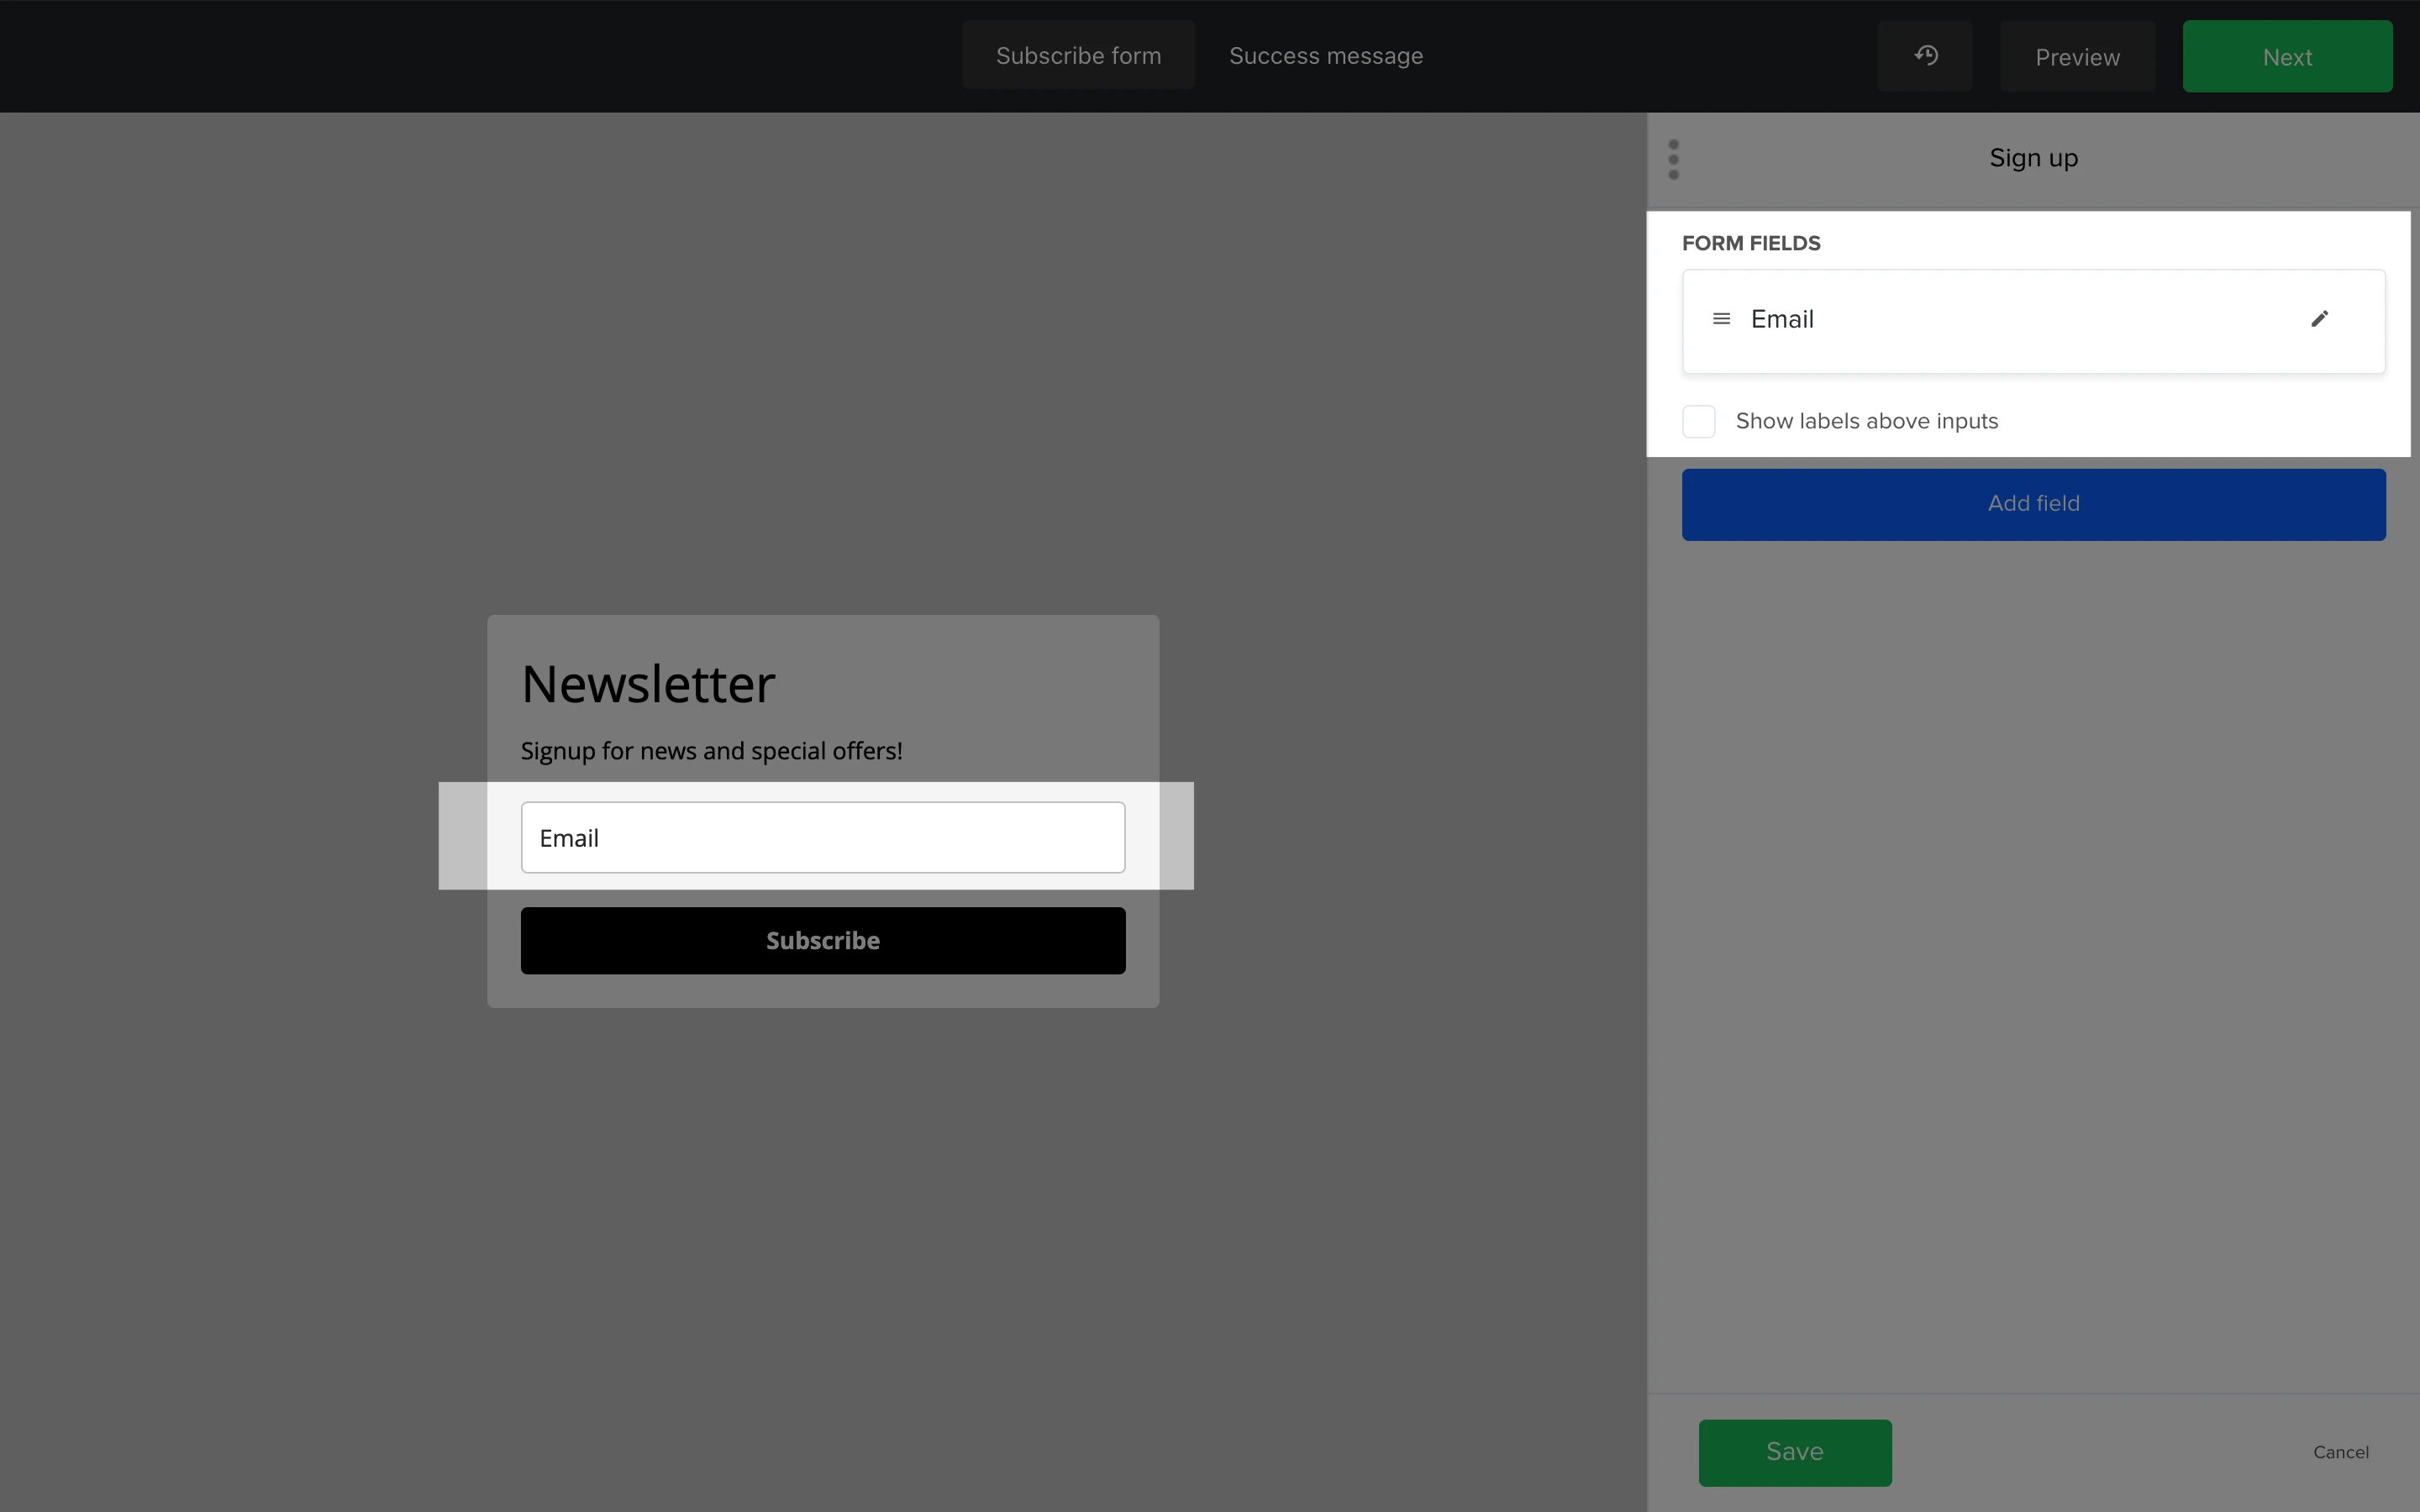
10. Click the pencil icon to edit the sample text within your input fields. To add an additional field to your form, click Add field. To reorder your fields, click and hold the three horizontal lines on your field label in the sidebar, then drag the field up or down.
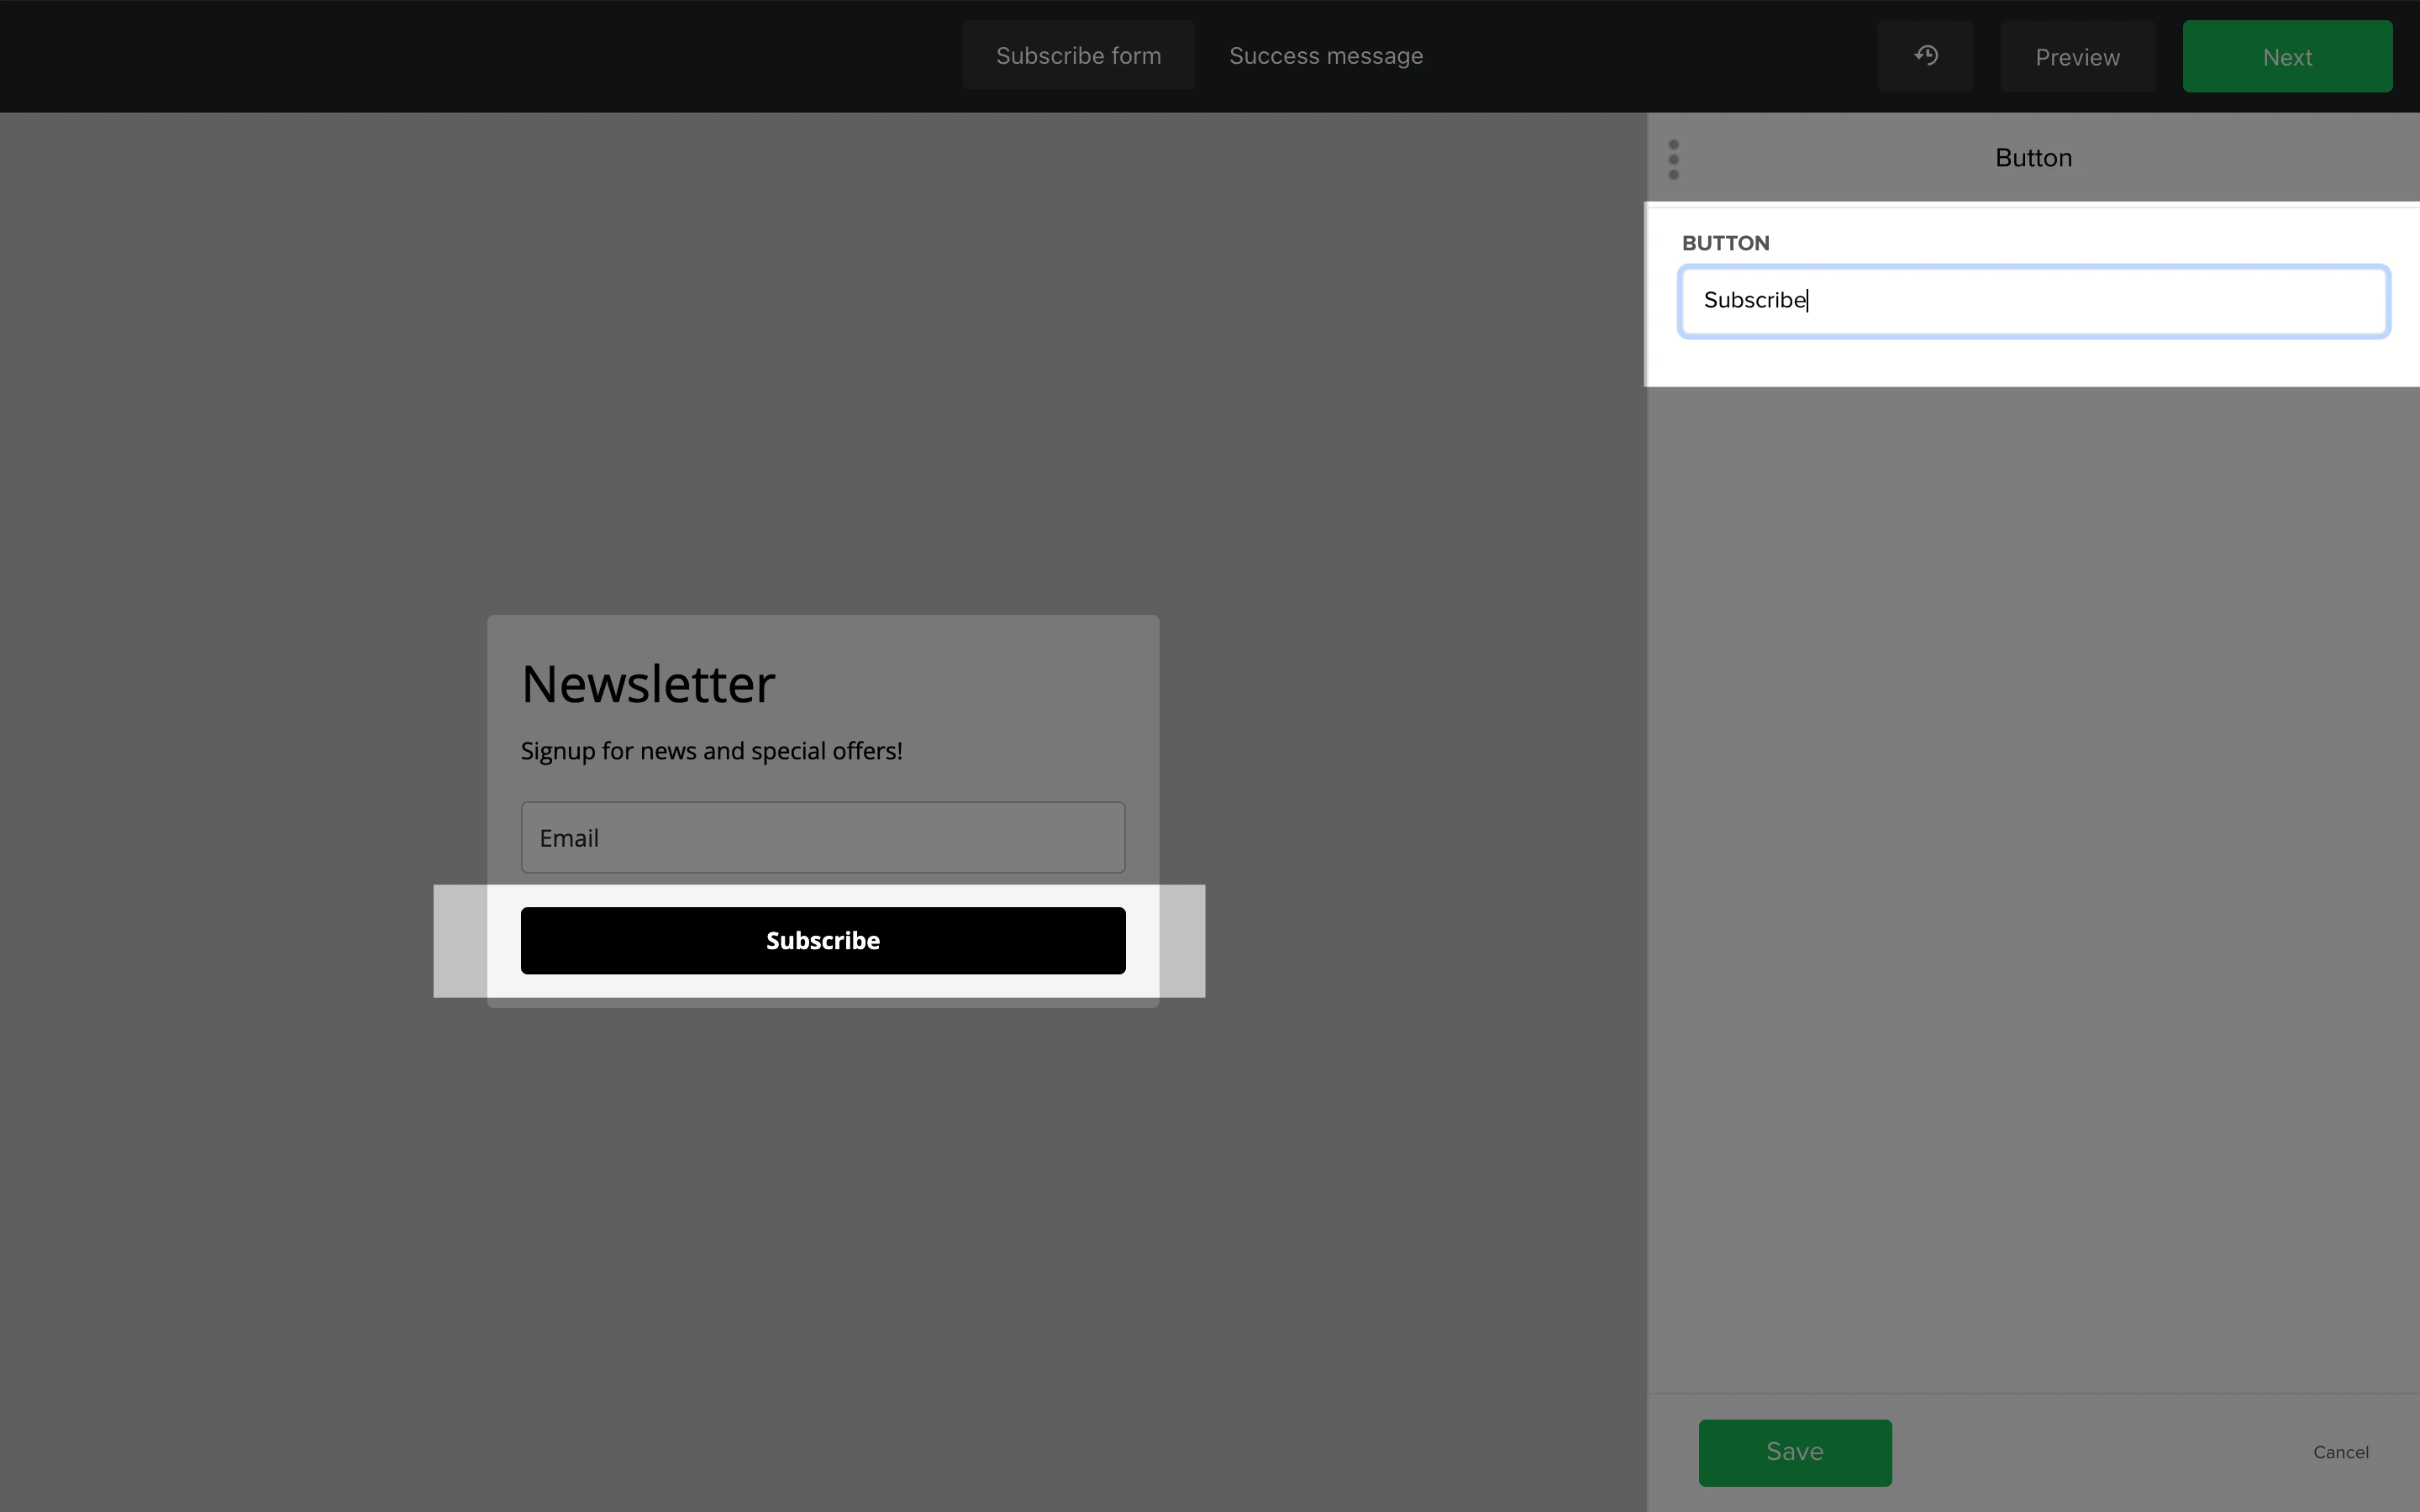
11. Edit the text of your button by clicking on the button block and changing the text in the sidebar.
12. When you’ve finished creating your form, click Next to save your changes and continue.
That’s it! Your form is now created and ready to be installed on your website.
How to use the embedded form editor
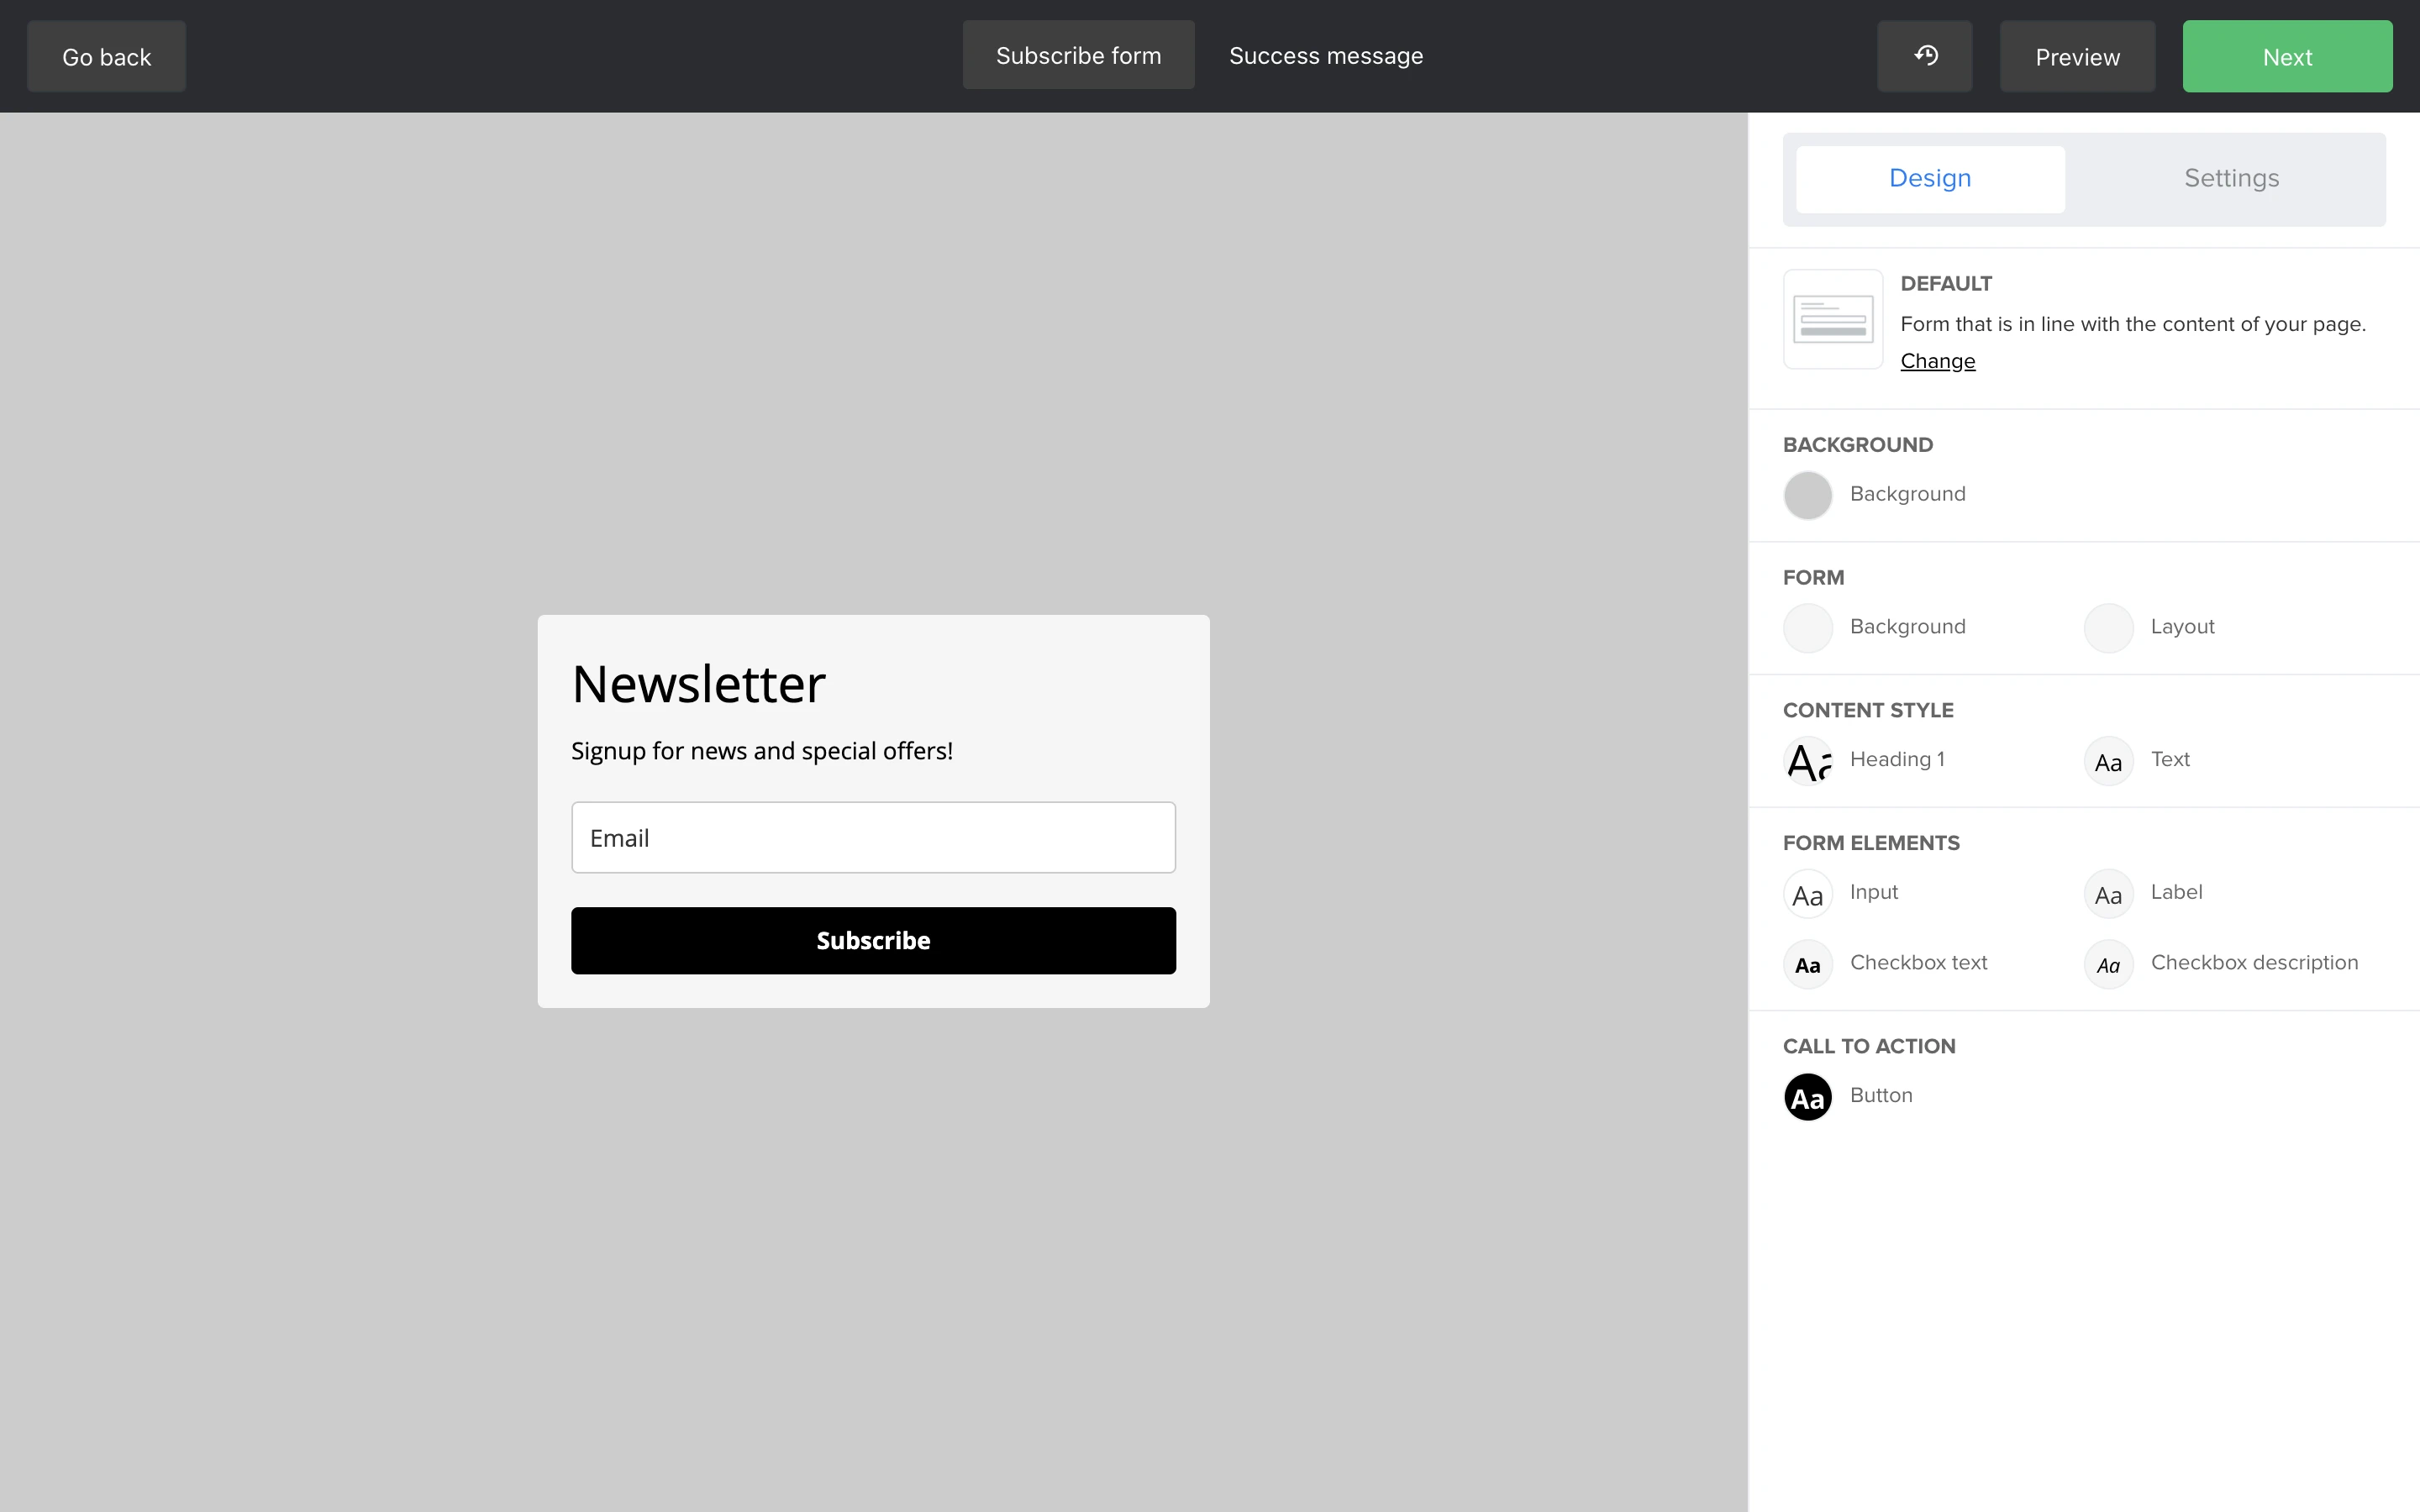
The possibilities are endless when it comes to customizing and designing your form using the form editor. You’ll find everything you need in the sidebar where there are two tabs; Design and Settings.
Design tab
The Design tab allows you to edit the visual design of your form. You’ll find six sections within the Design tab: Default, Background, Form, Content style, Form elements, and Call to action.
Form display type
When it comes to how the base of your form appears, you have three options:
Default - The default display is a simple form where the input fields stack vertically
Horizontal - The horizontal display is a simple form where the input fields line up horizontally
Card - The card display stacks input fields like a default form, but includes an image block
To change the way your embedded form is displayed:
Click on the Design tab in the sidebar.
Click the Change link.
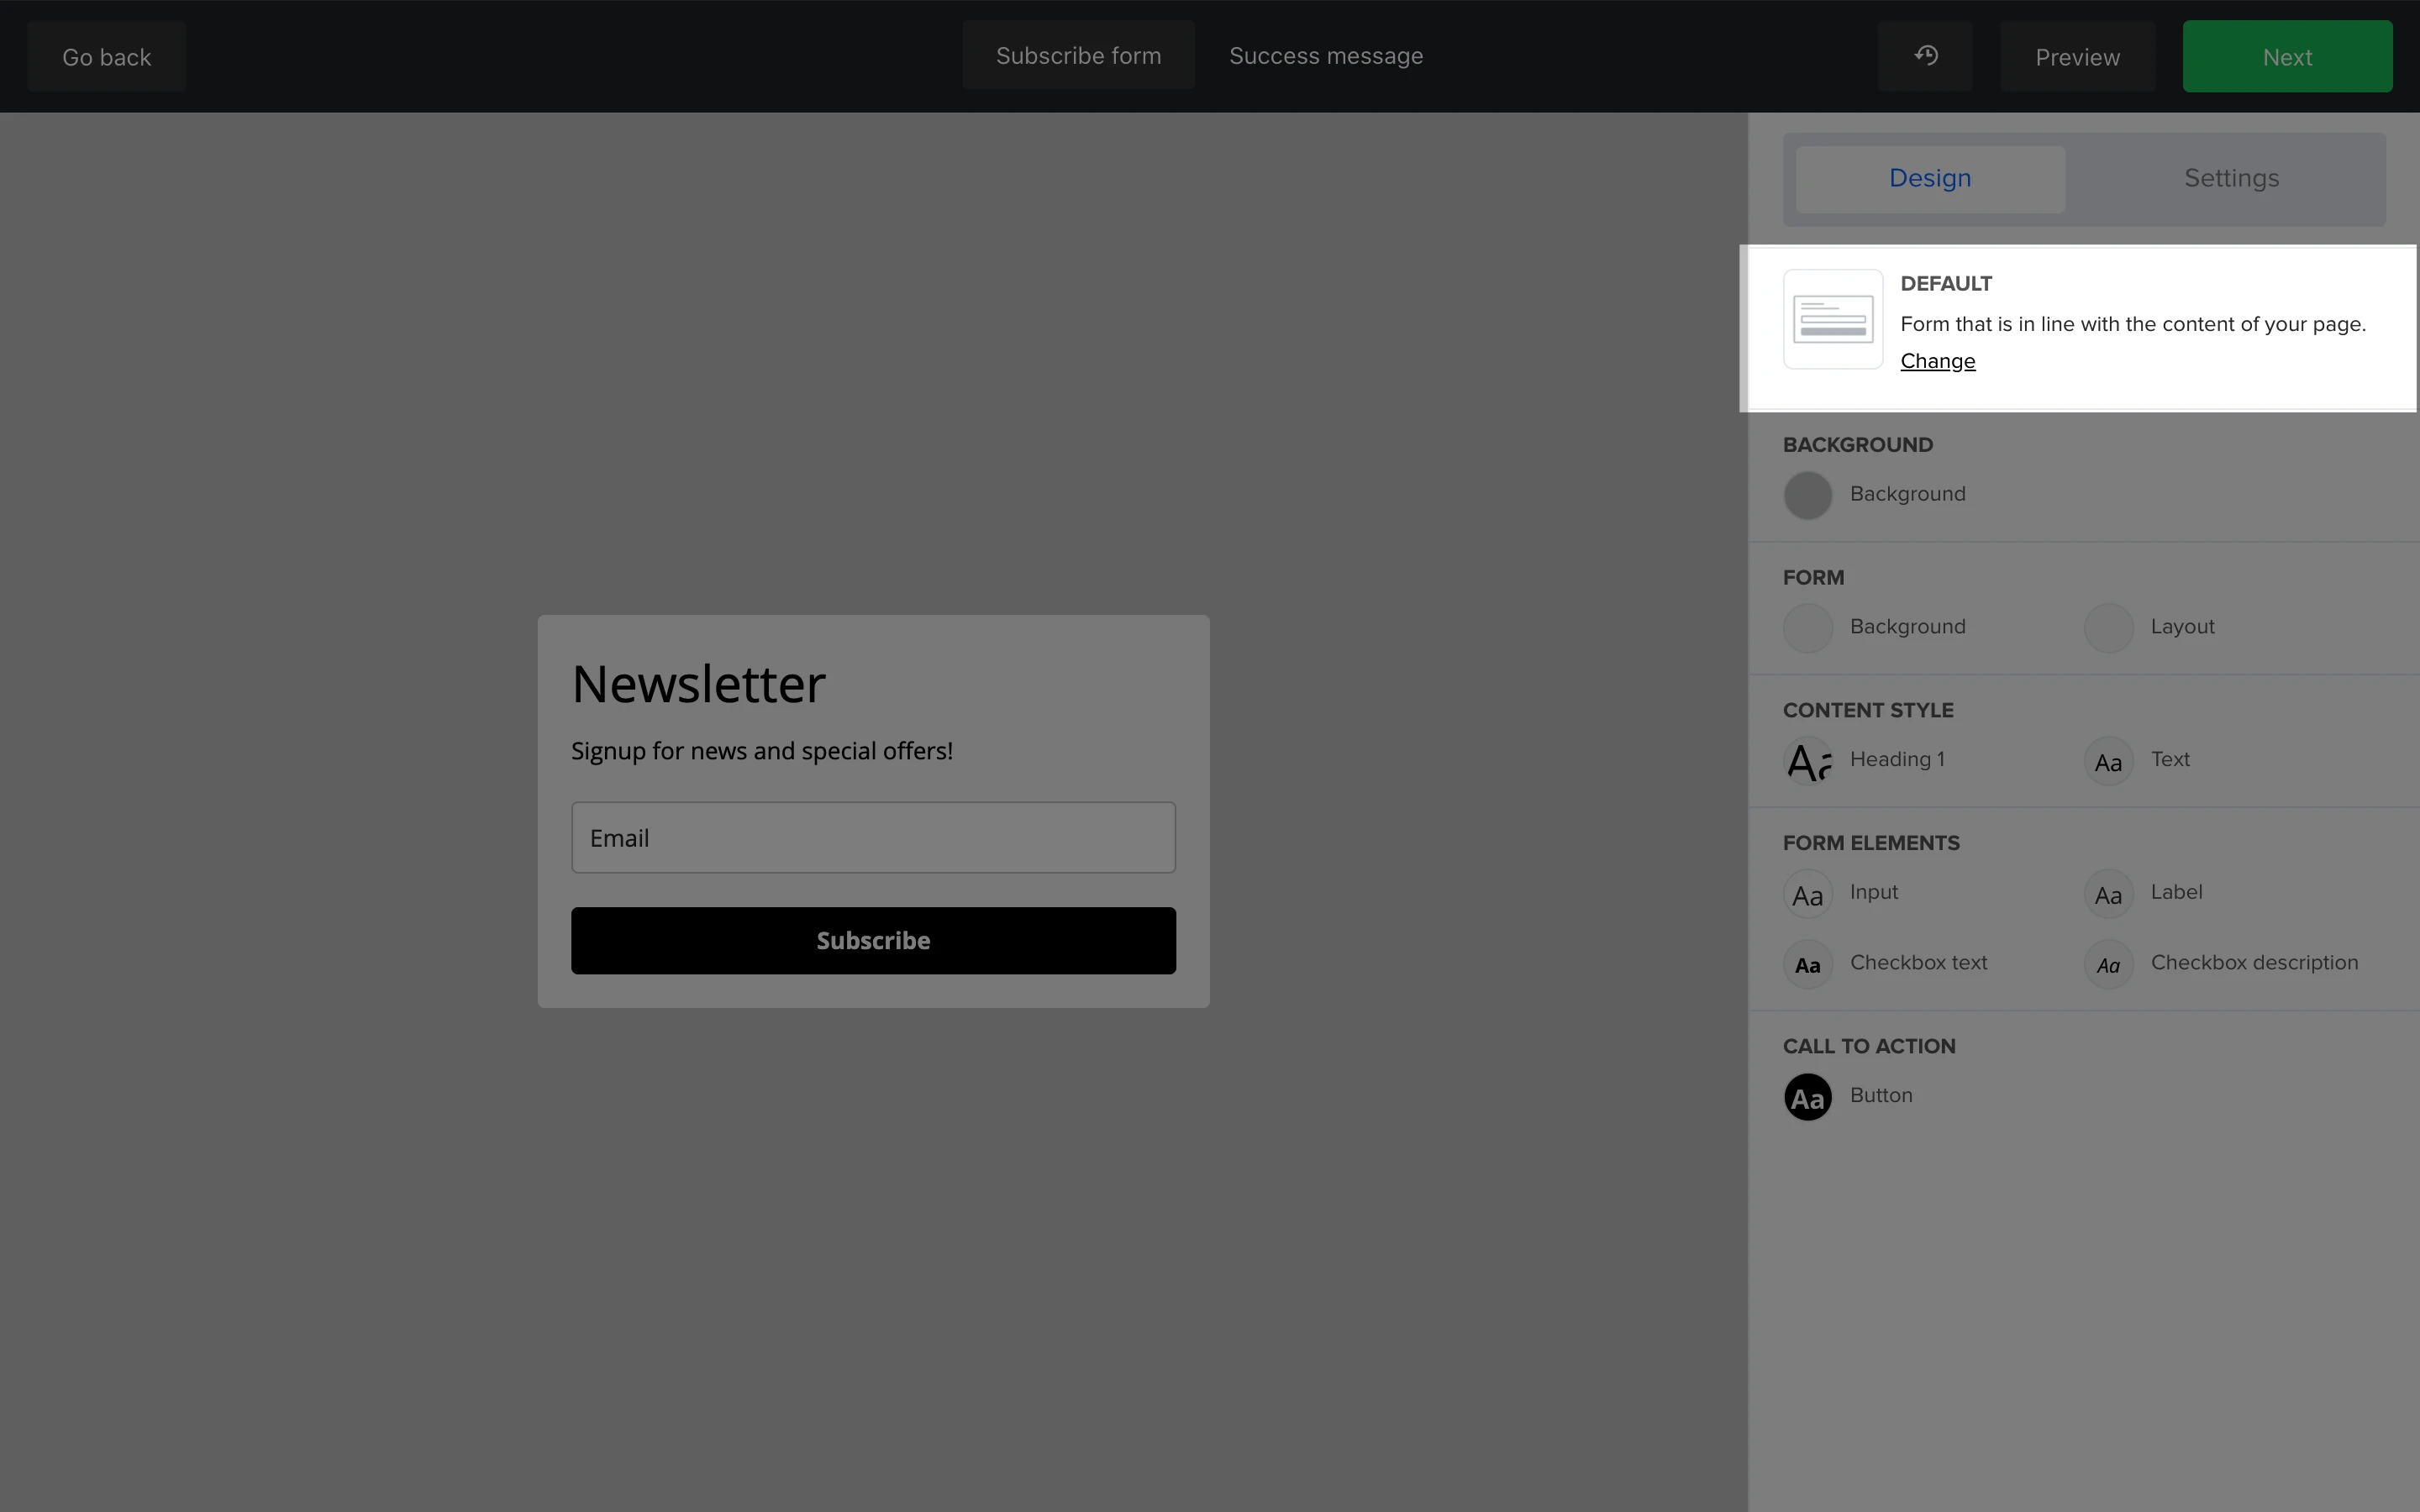
3. Select your chosen display.
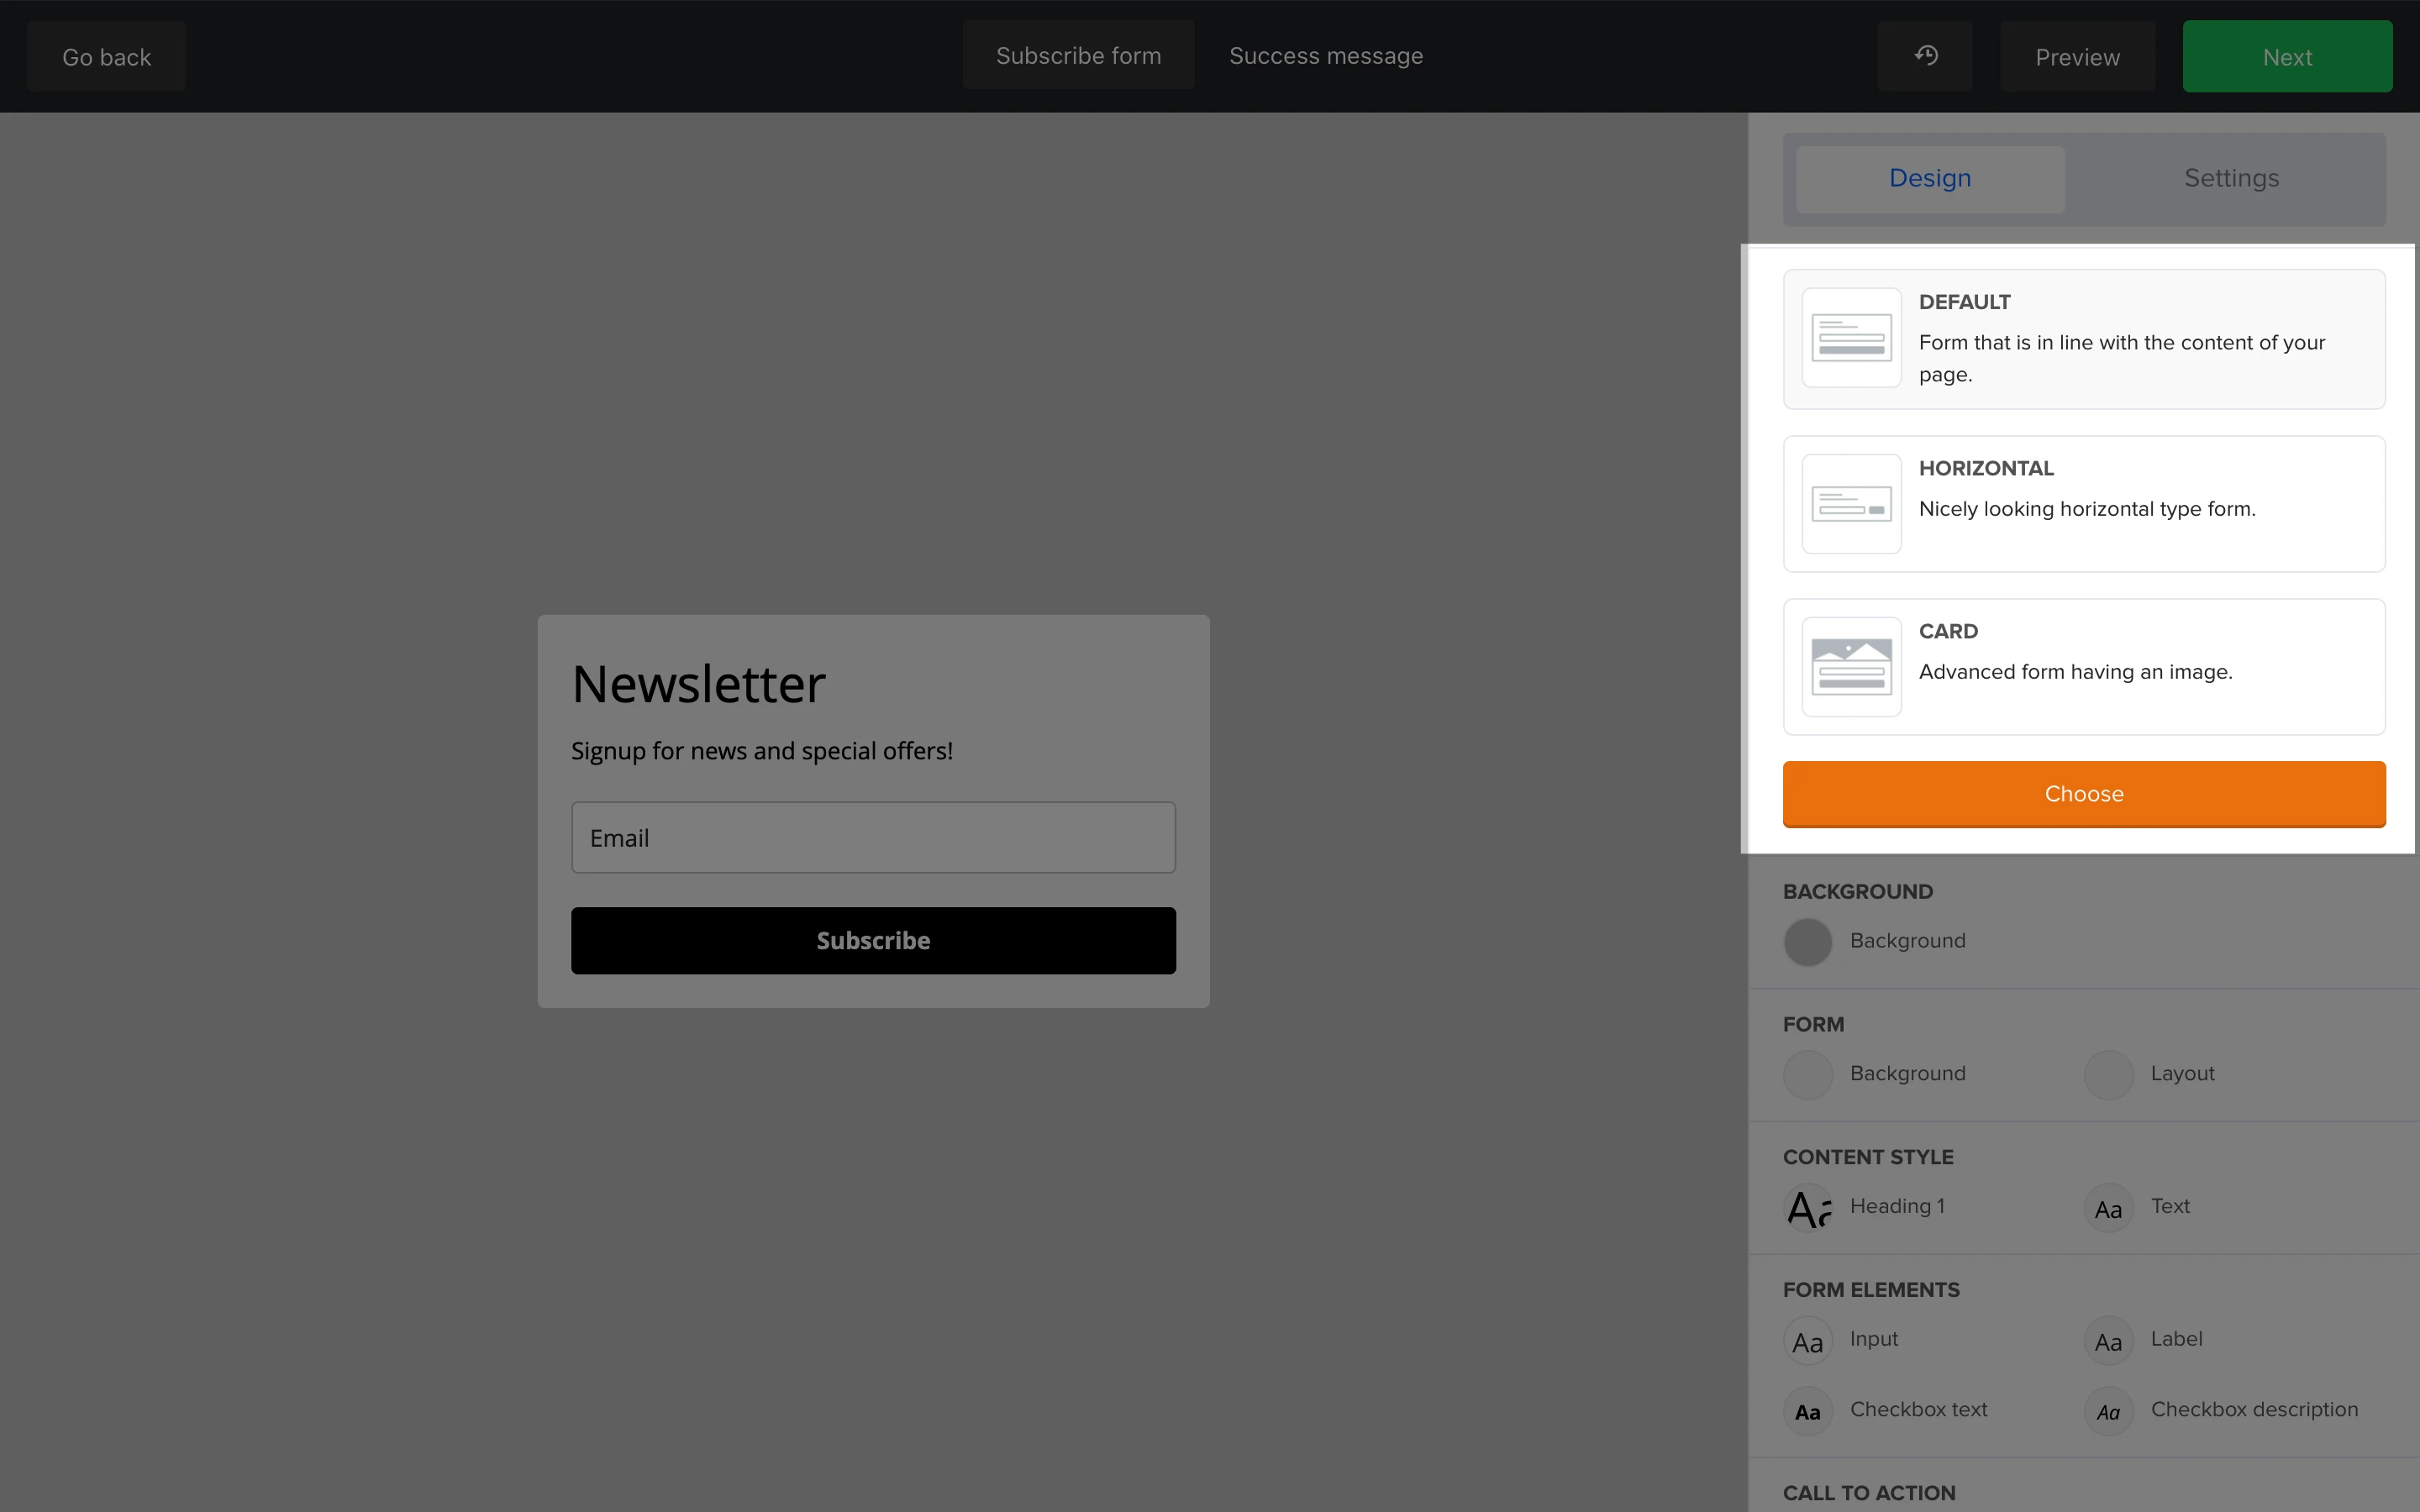
4. Click Choose.
Background
The Background section refers to the background behind the form entirely. This background is displayed when someone visits the stand-alone web version of your form. For example, if you send the Share URL of your form to a friend, they will see your form on its own.
To edit the background:
Click on the Design tab in the sidebar.
Under Background, click the design bubble also labeled Background.
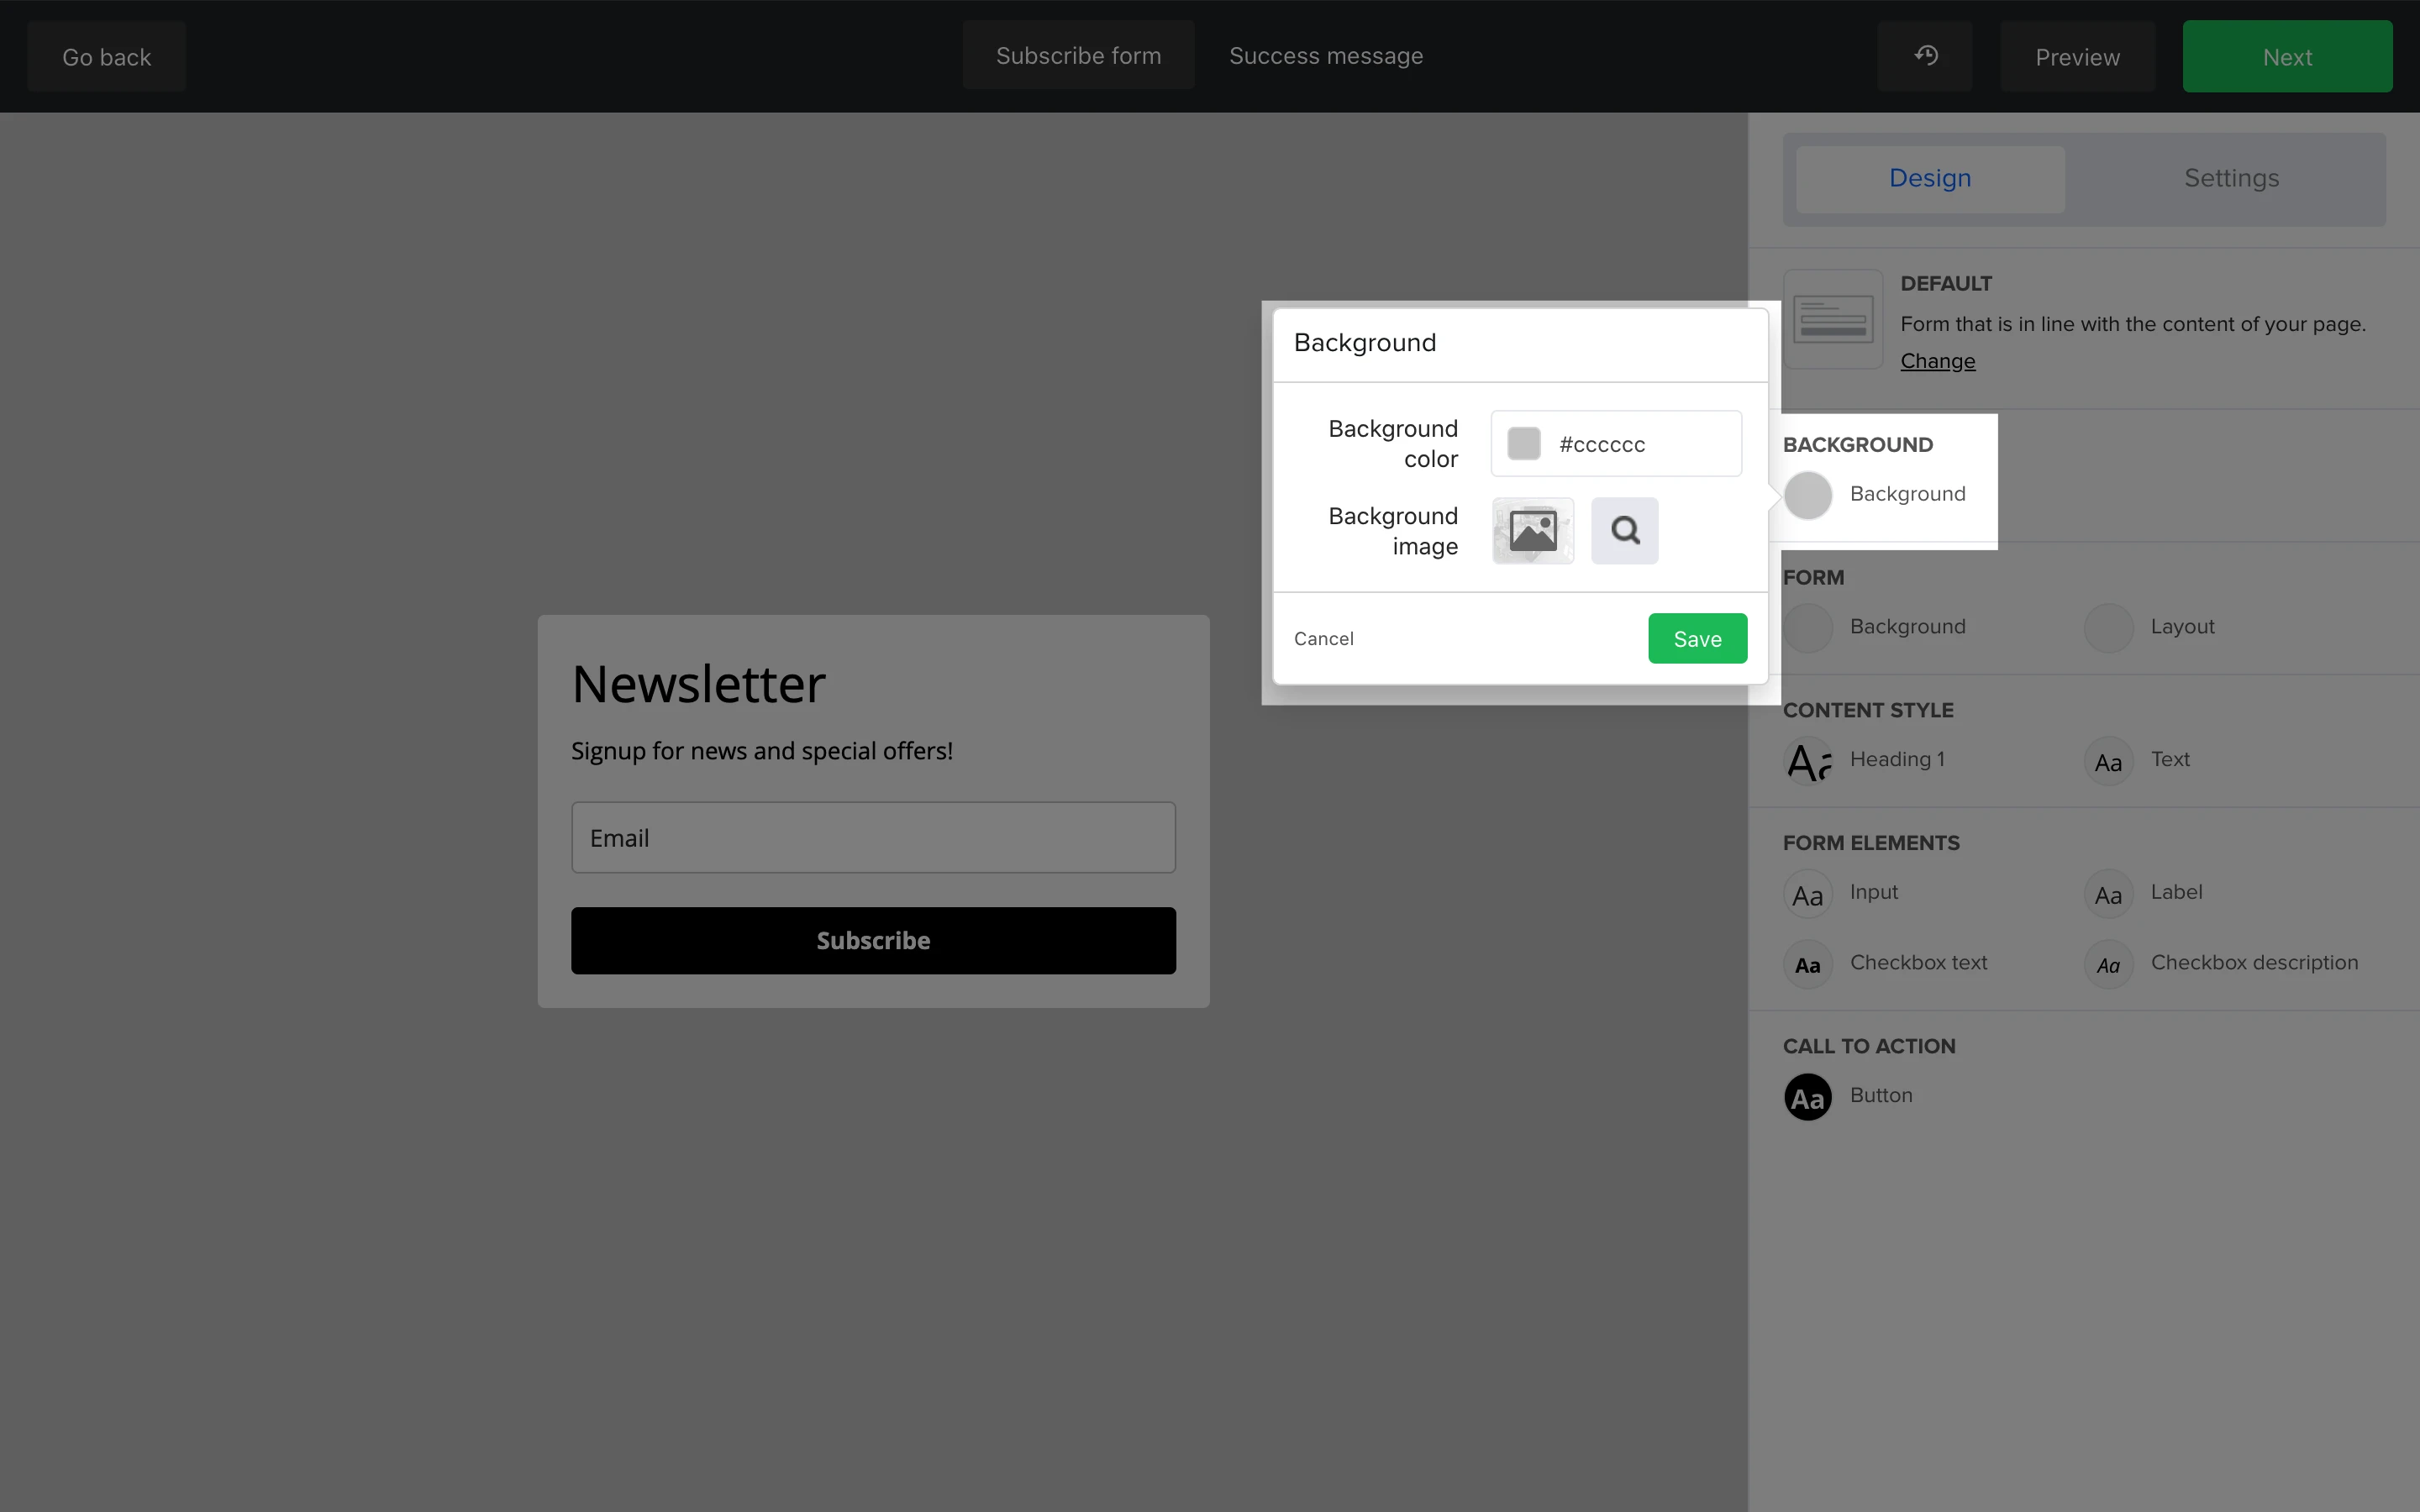
3. Edit the color of the page’s background, or add an image.
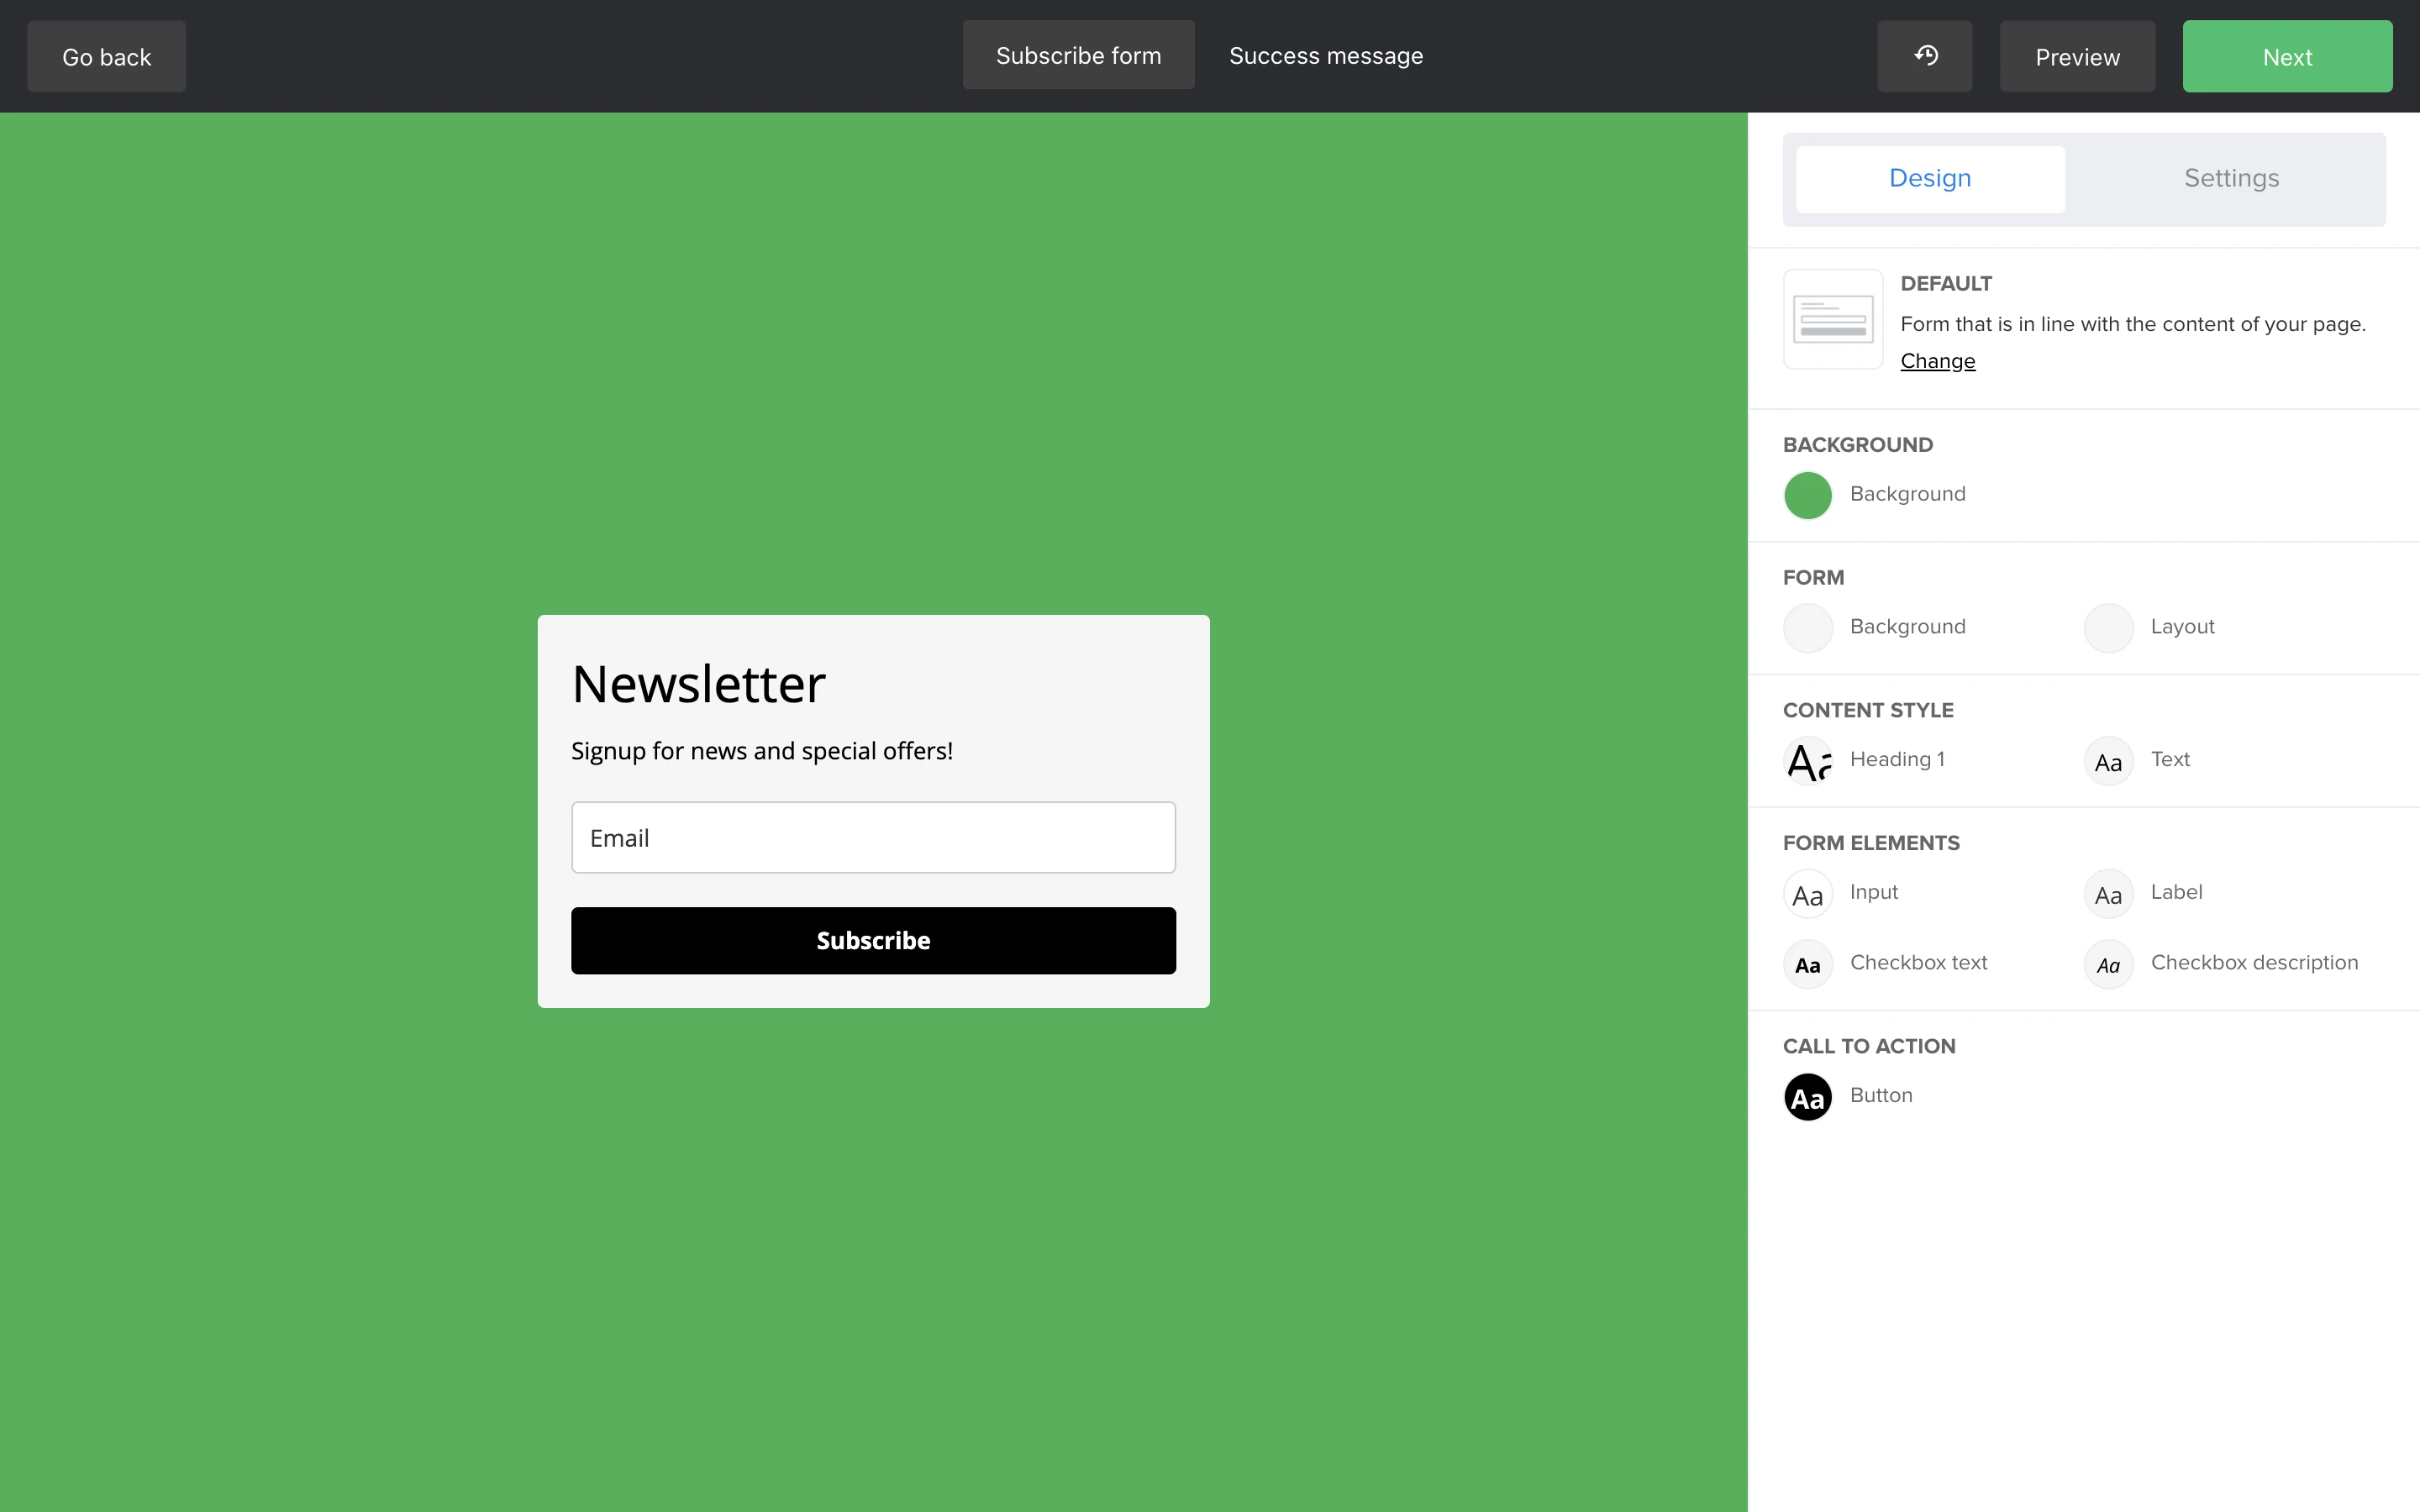
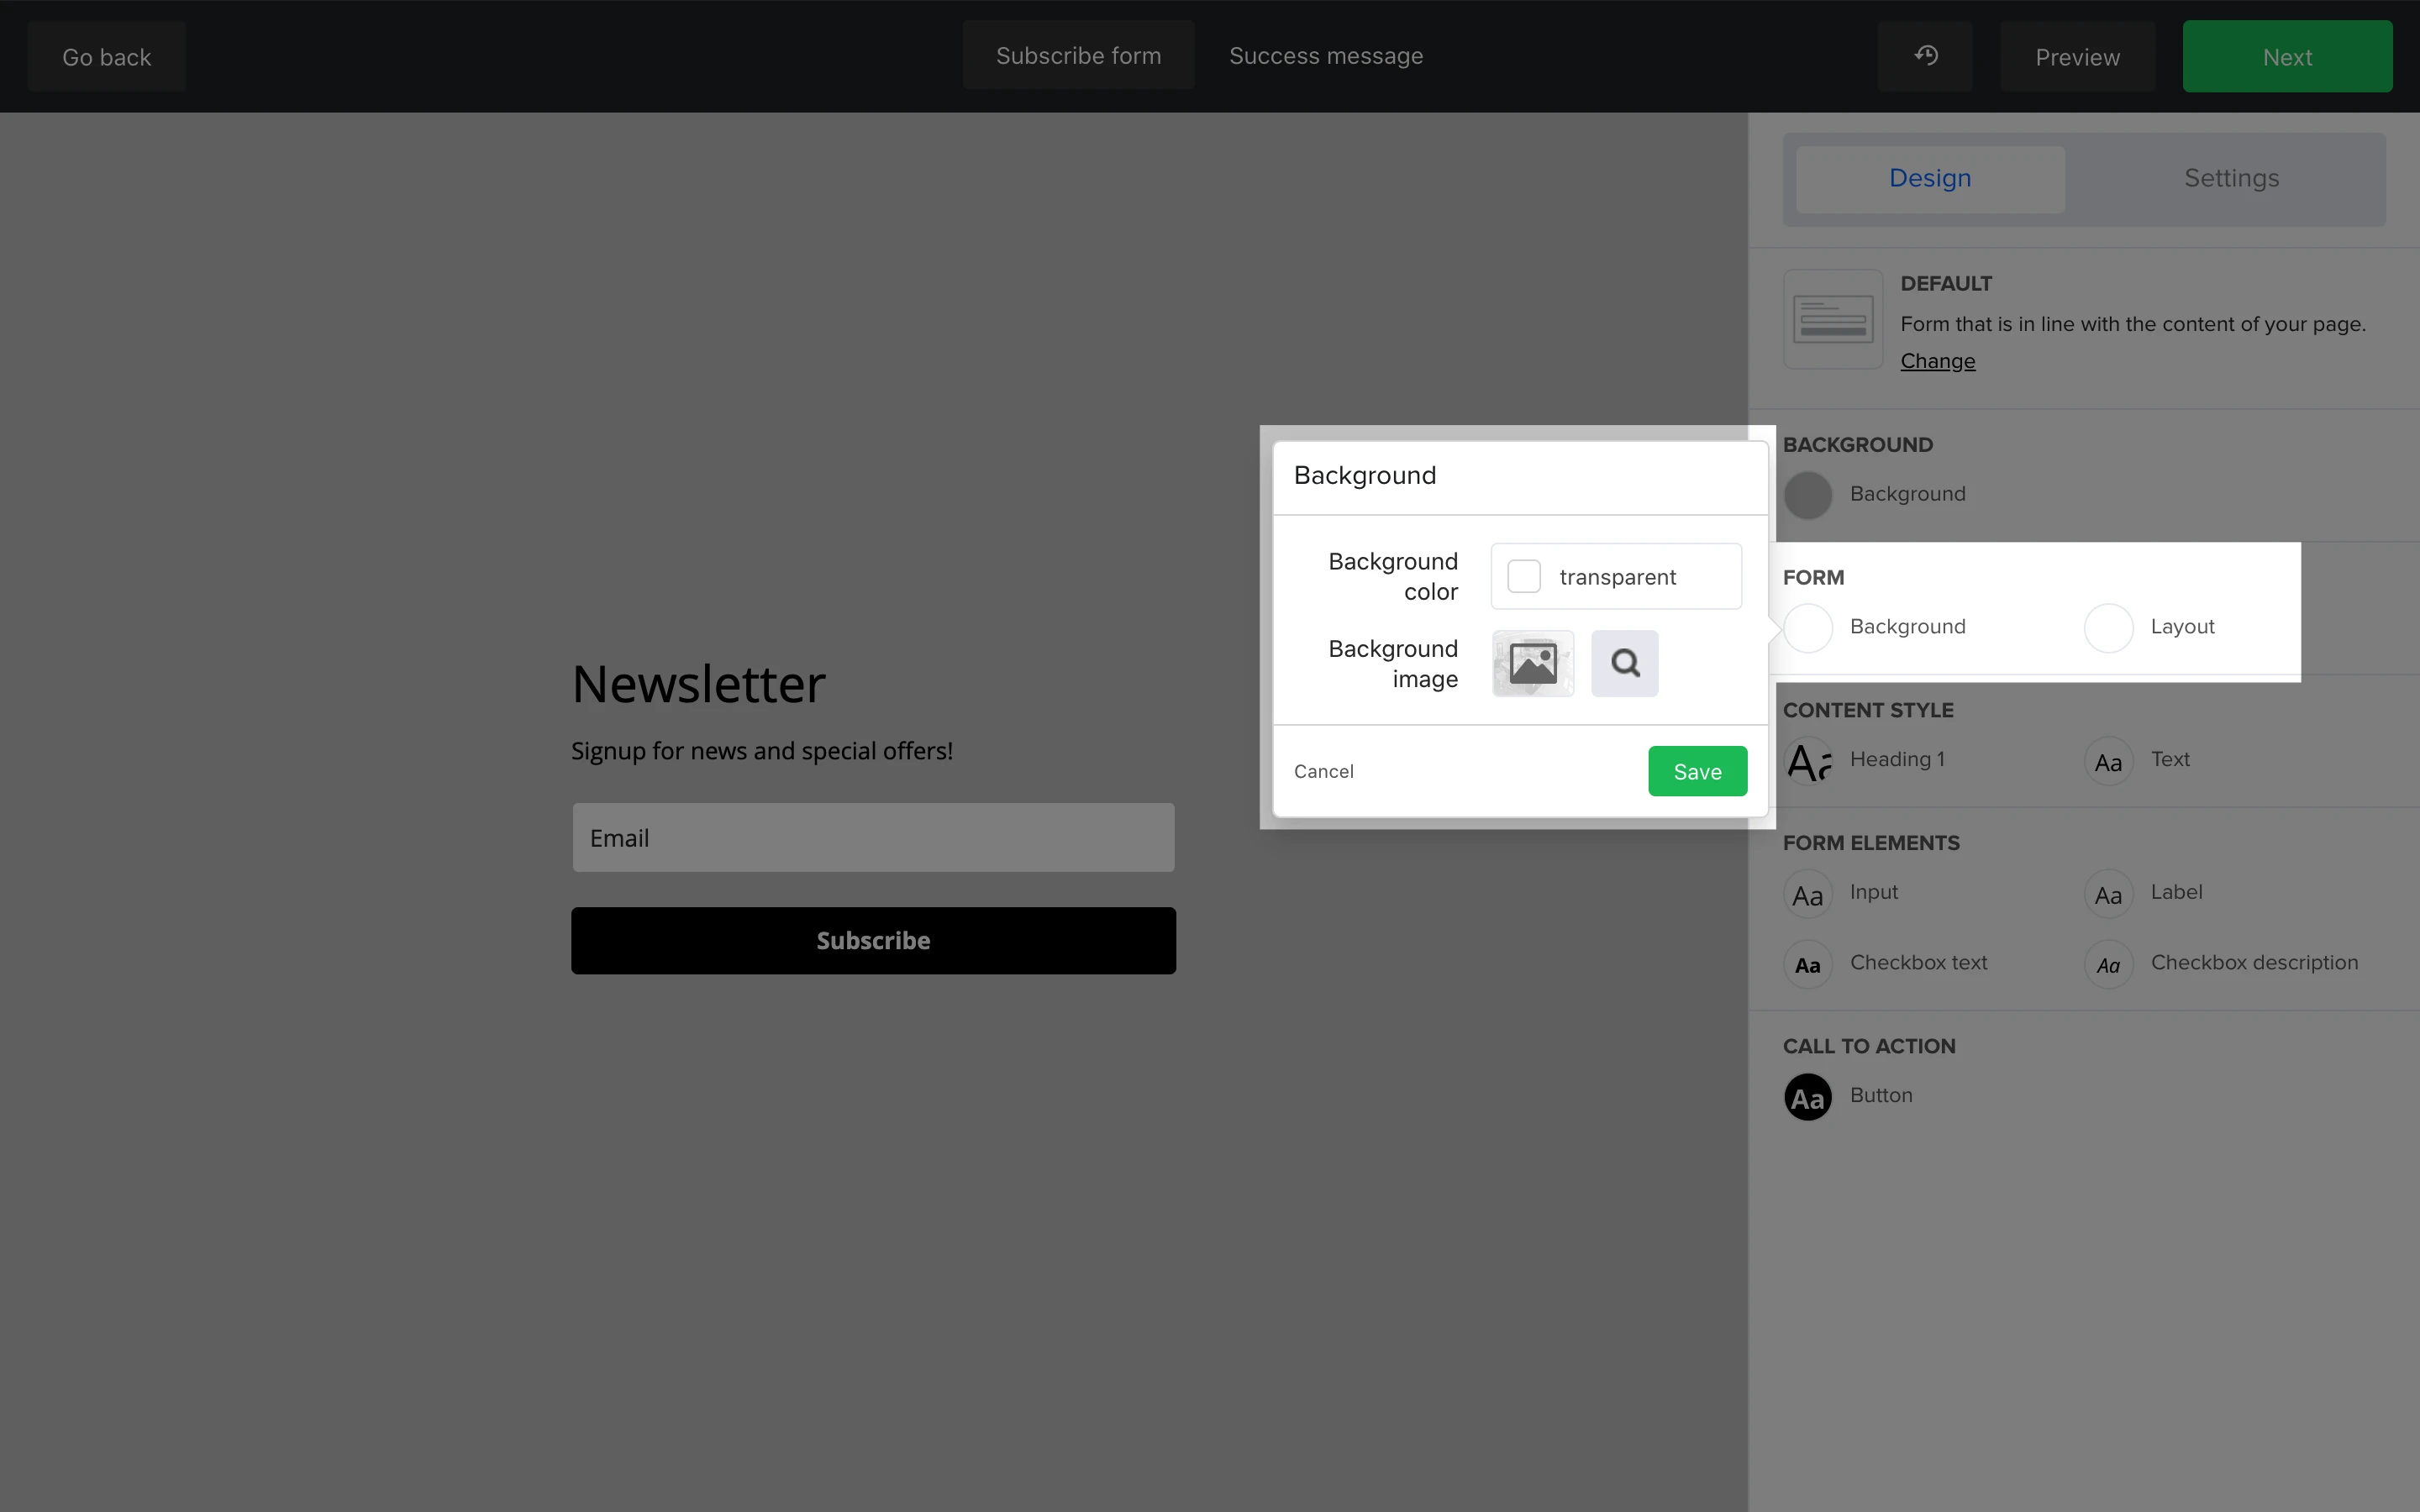
Form
In the Form section, you can edit the design of the form as a whole. There are two design bubbles labeled Background and Layout.
Use the Background design bubble to edit the form's background itself. You can make it one block color, or upload an image to use as your form background.
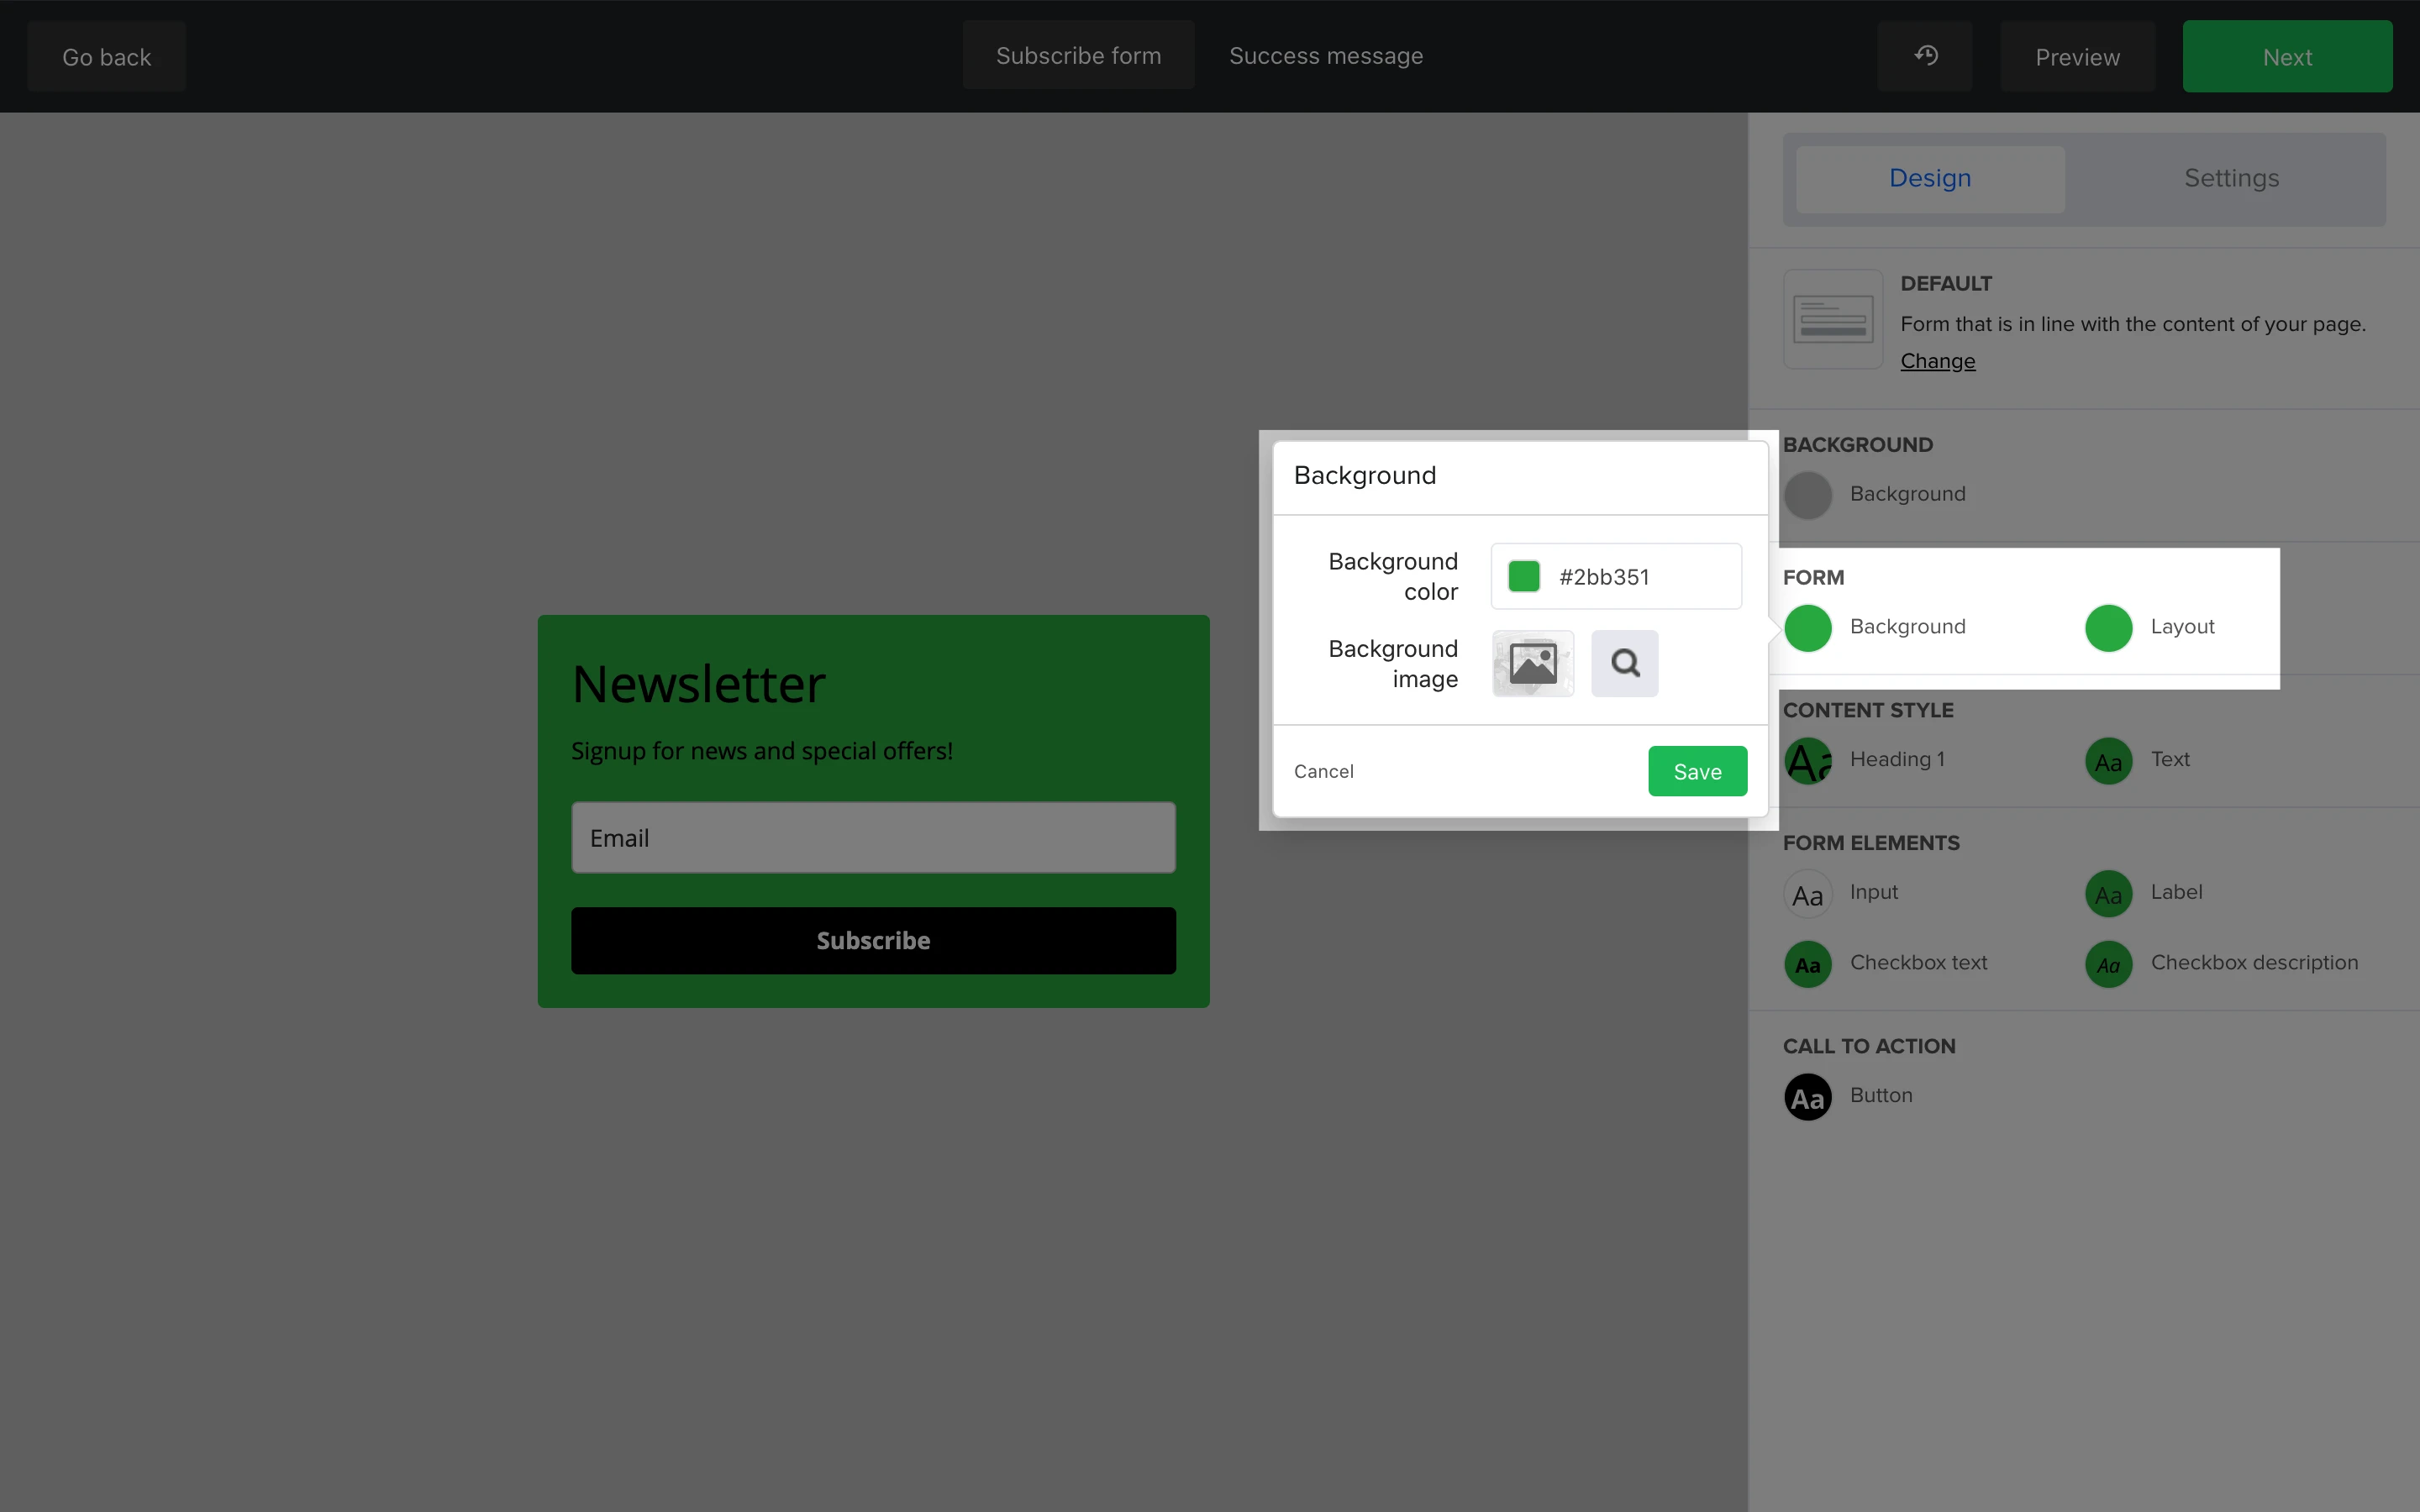
If you want the form background to be transparent in order to blend in your webpage’s existing design, simply type the word “transparent” into the Background color field.
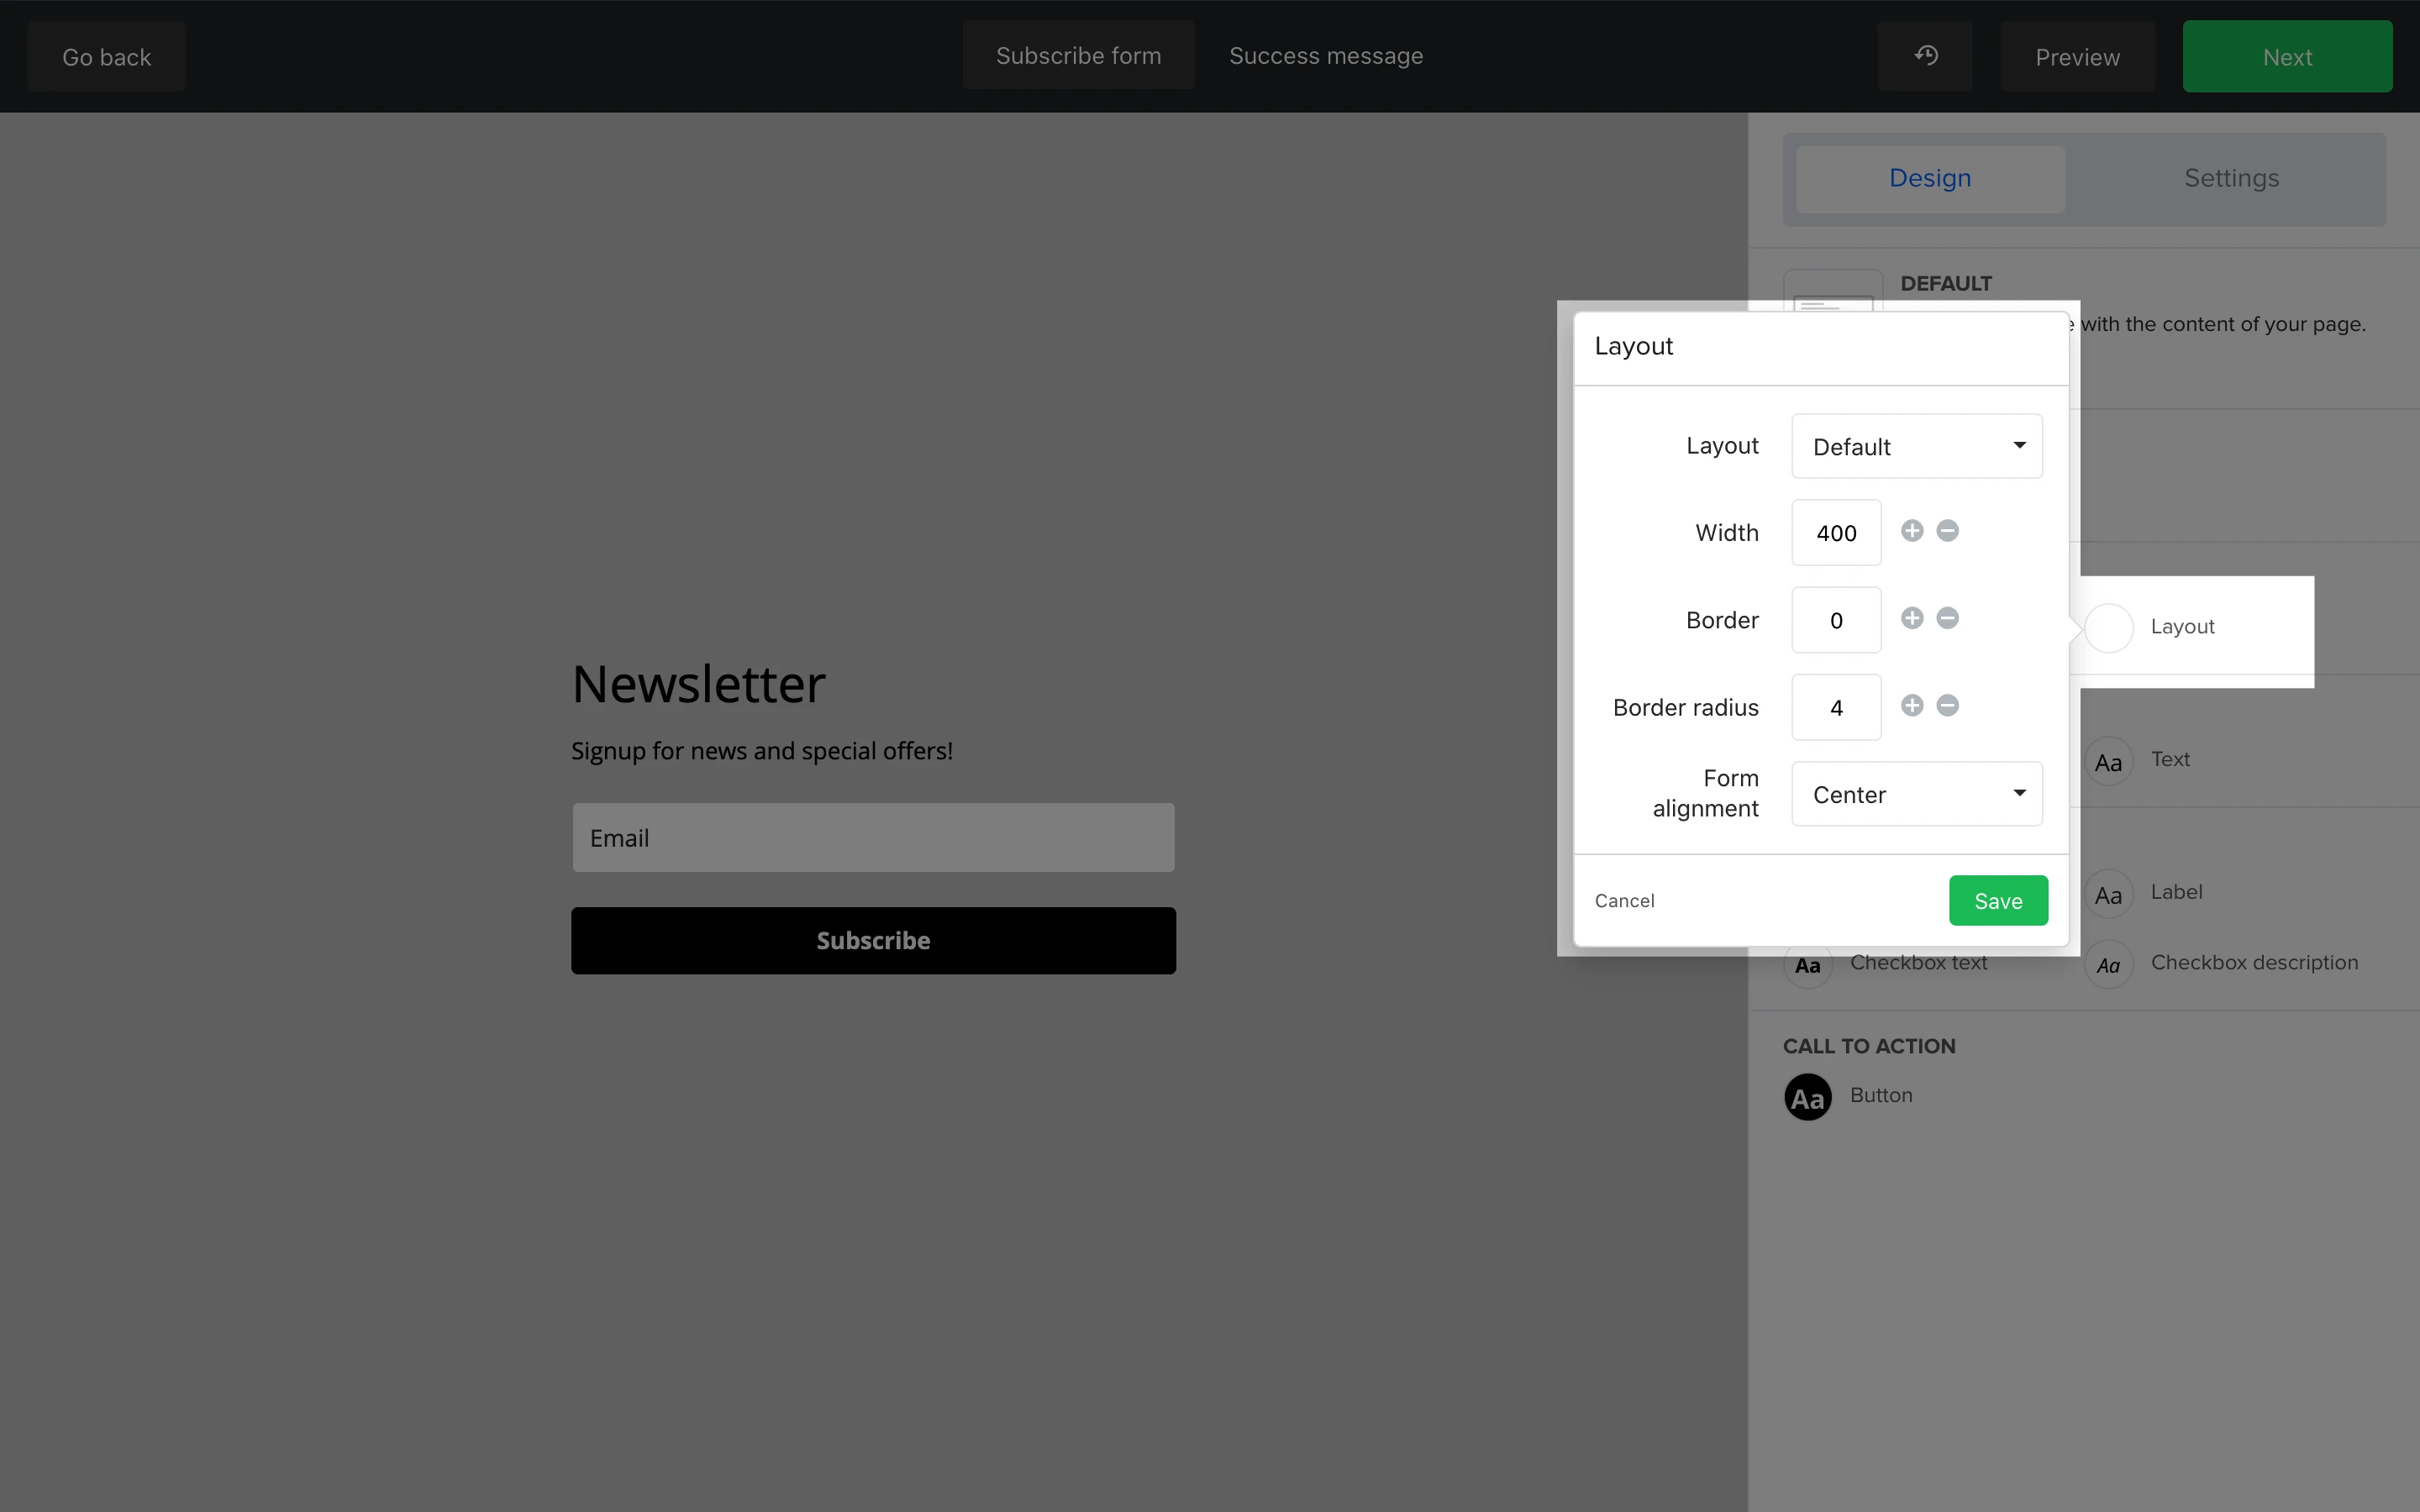
Use the Layout design bubble to edit the layout, width, border, border radius and alignment of your form.
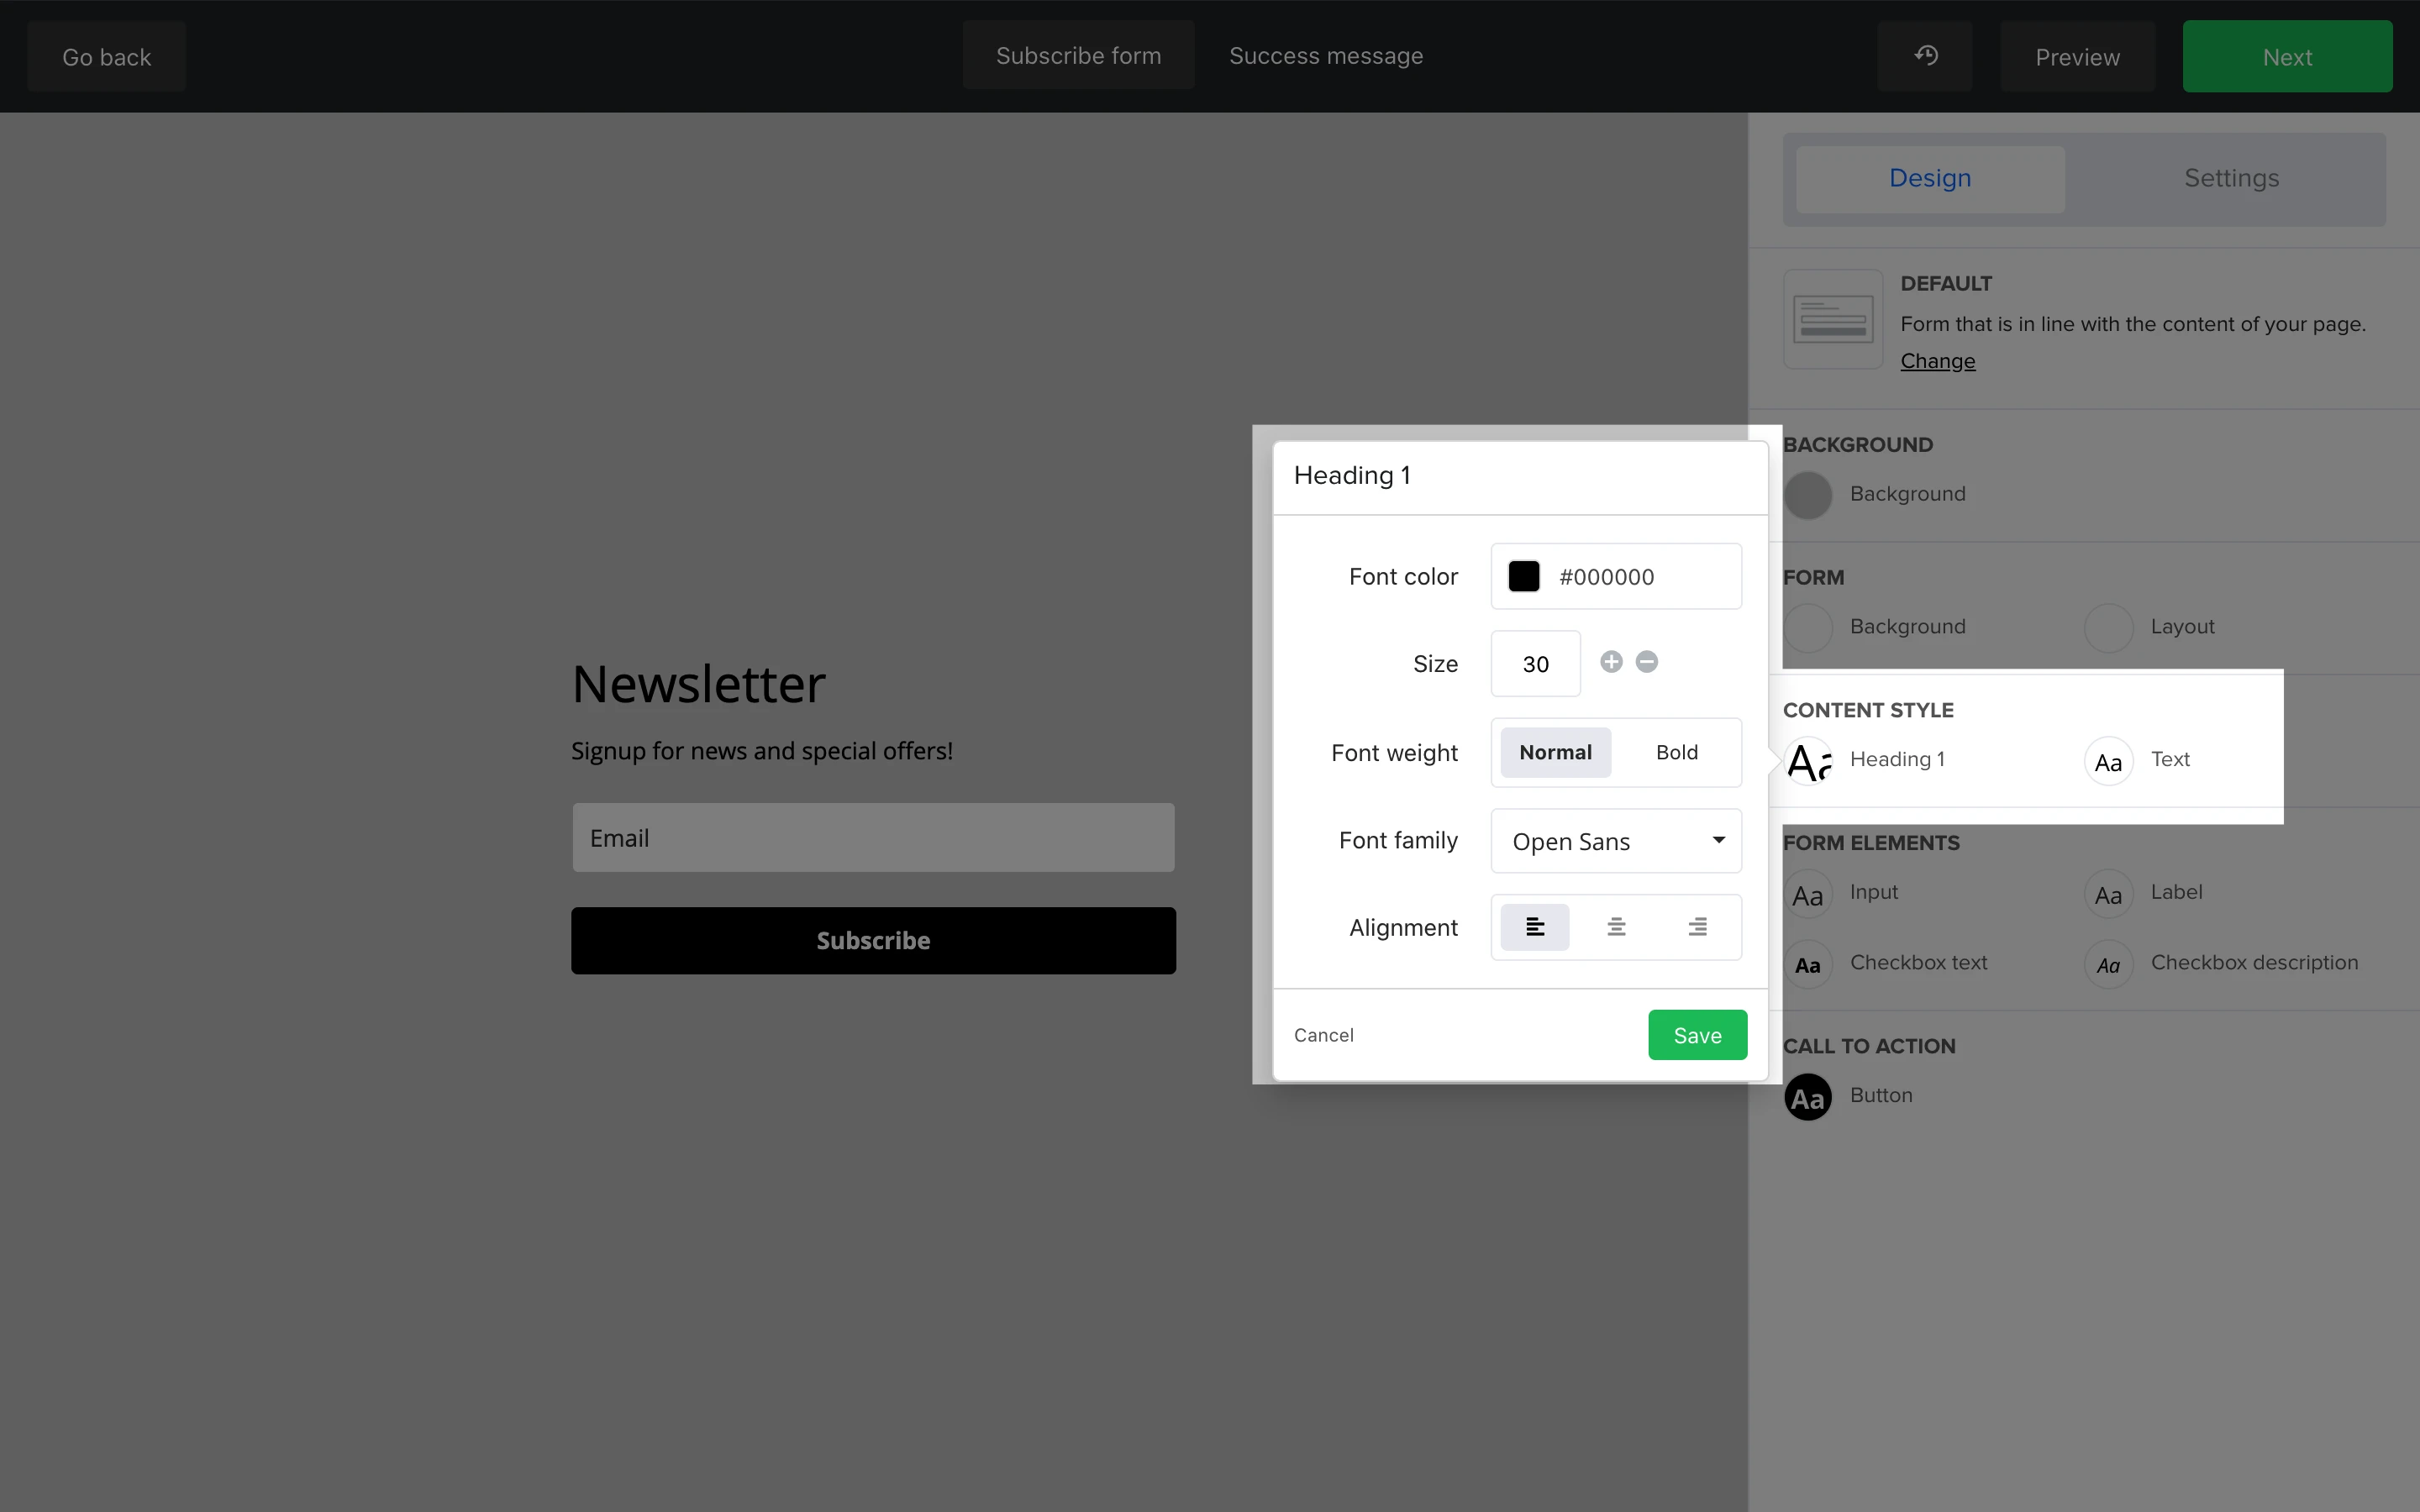
Content style
The Content style section allows you to edit the style of the text within your form. You can edit the font family, font color, font size and text alignment of both your heading and text.
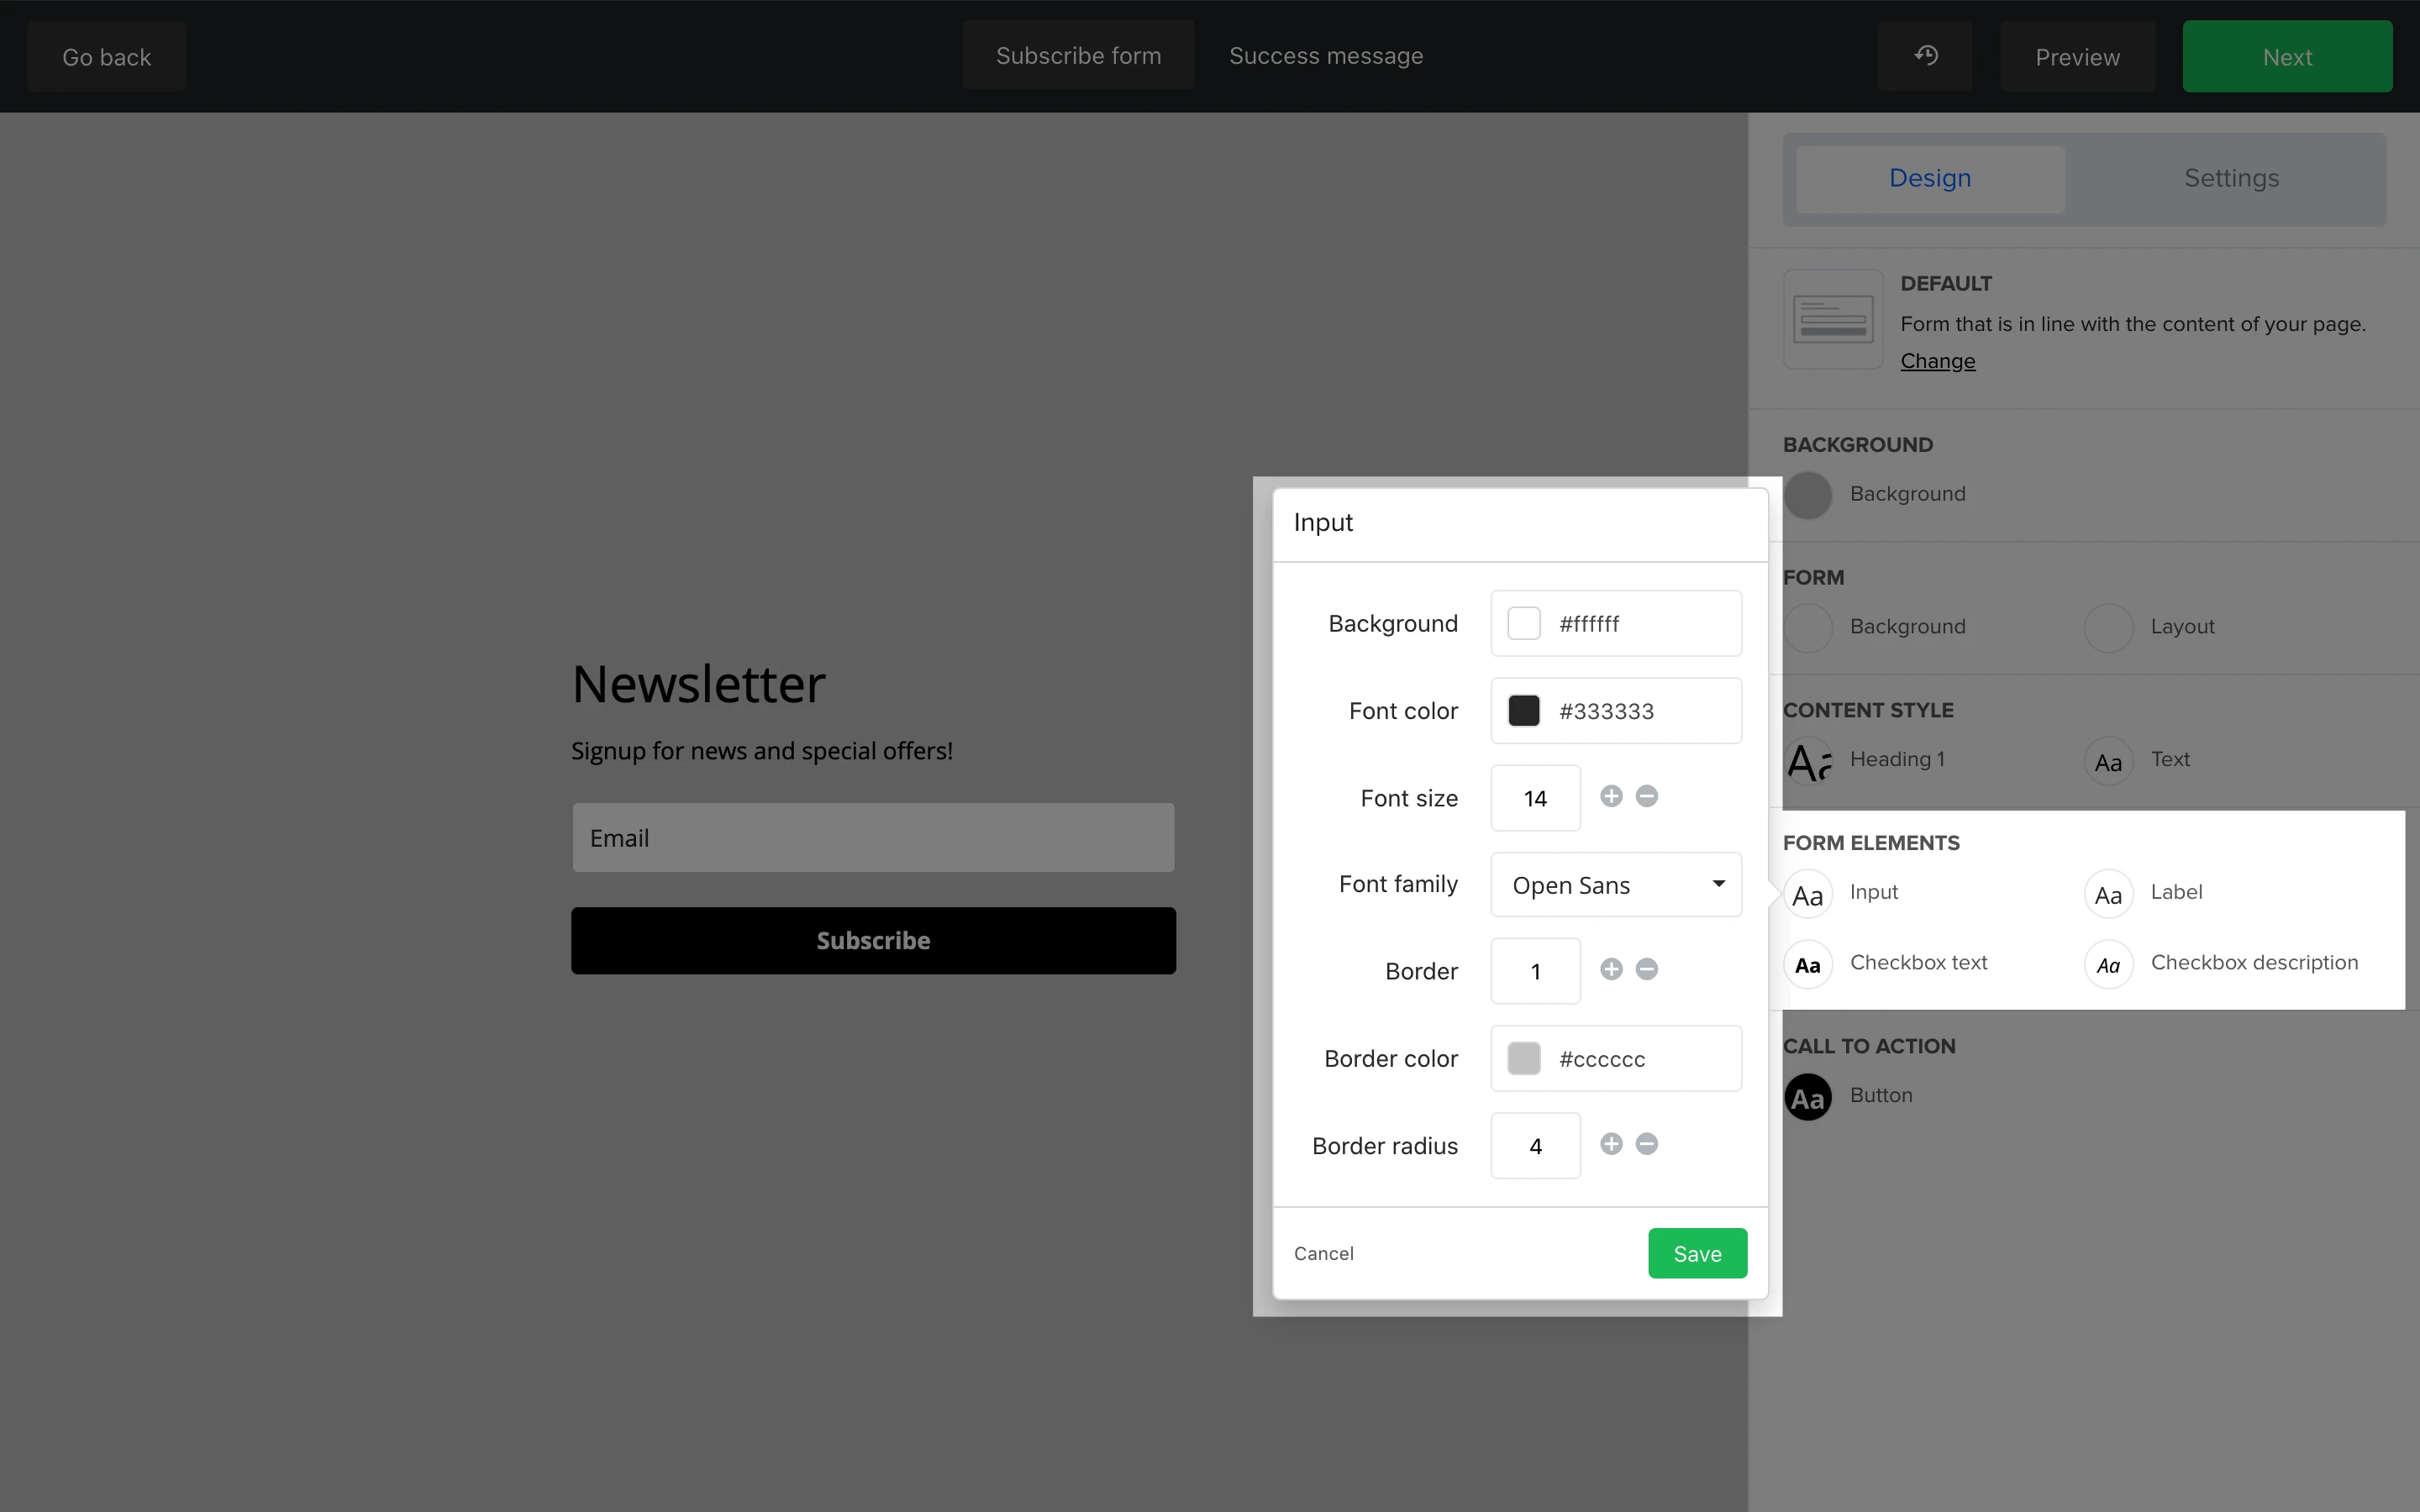
Form elements
The Form elements section allows you to edit the design and formatting of each individual element on your form including the form input fields, input field labels, checkbox text, and checkbox description.
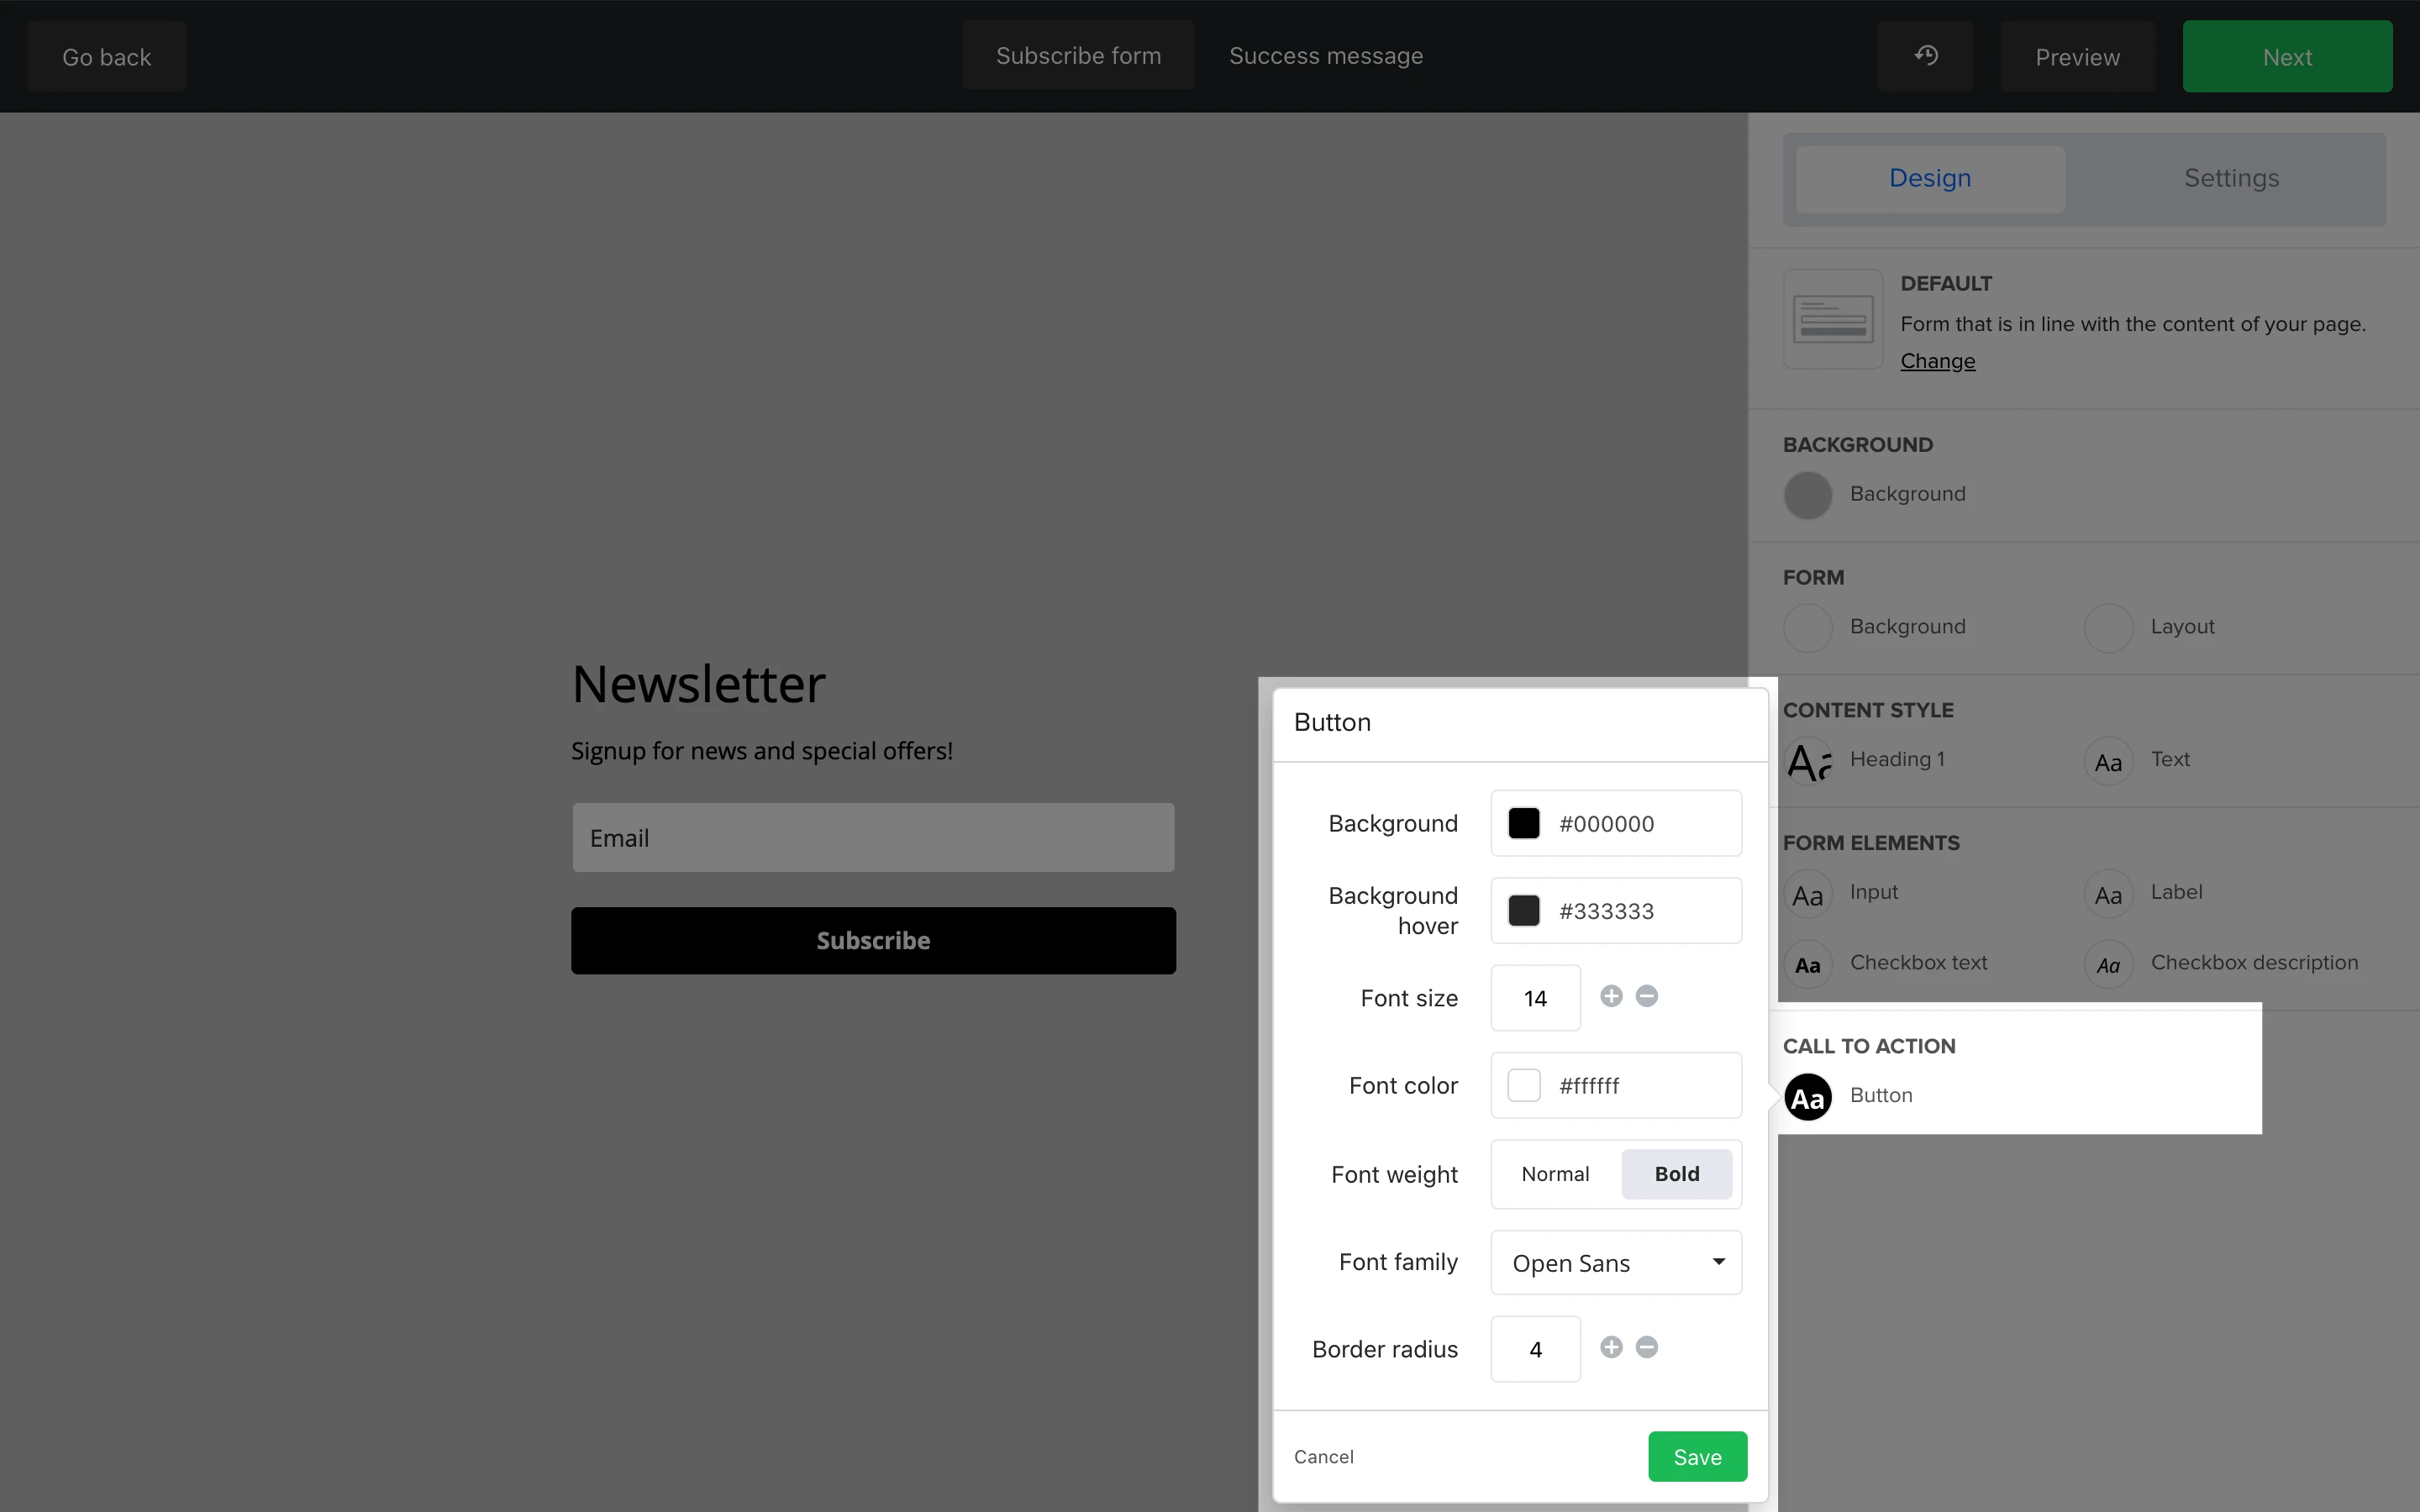
Call-to-action
The Call-to-action section allows you to edit the design and formatting of the button on your form. You can edit the background (color) of the button, the background hover color, font size, font color, font weight, font family, and border-radius.
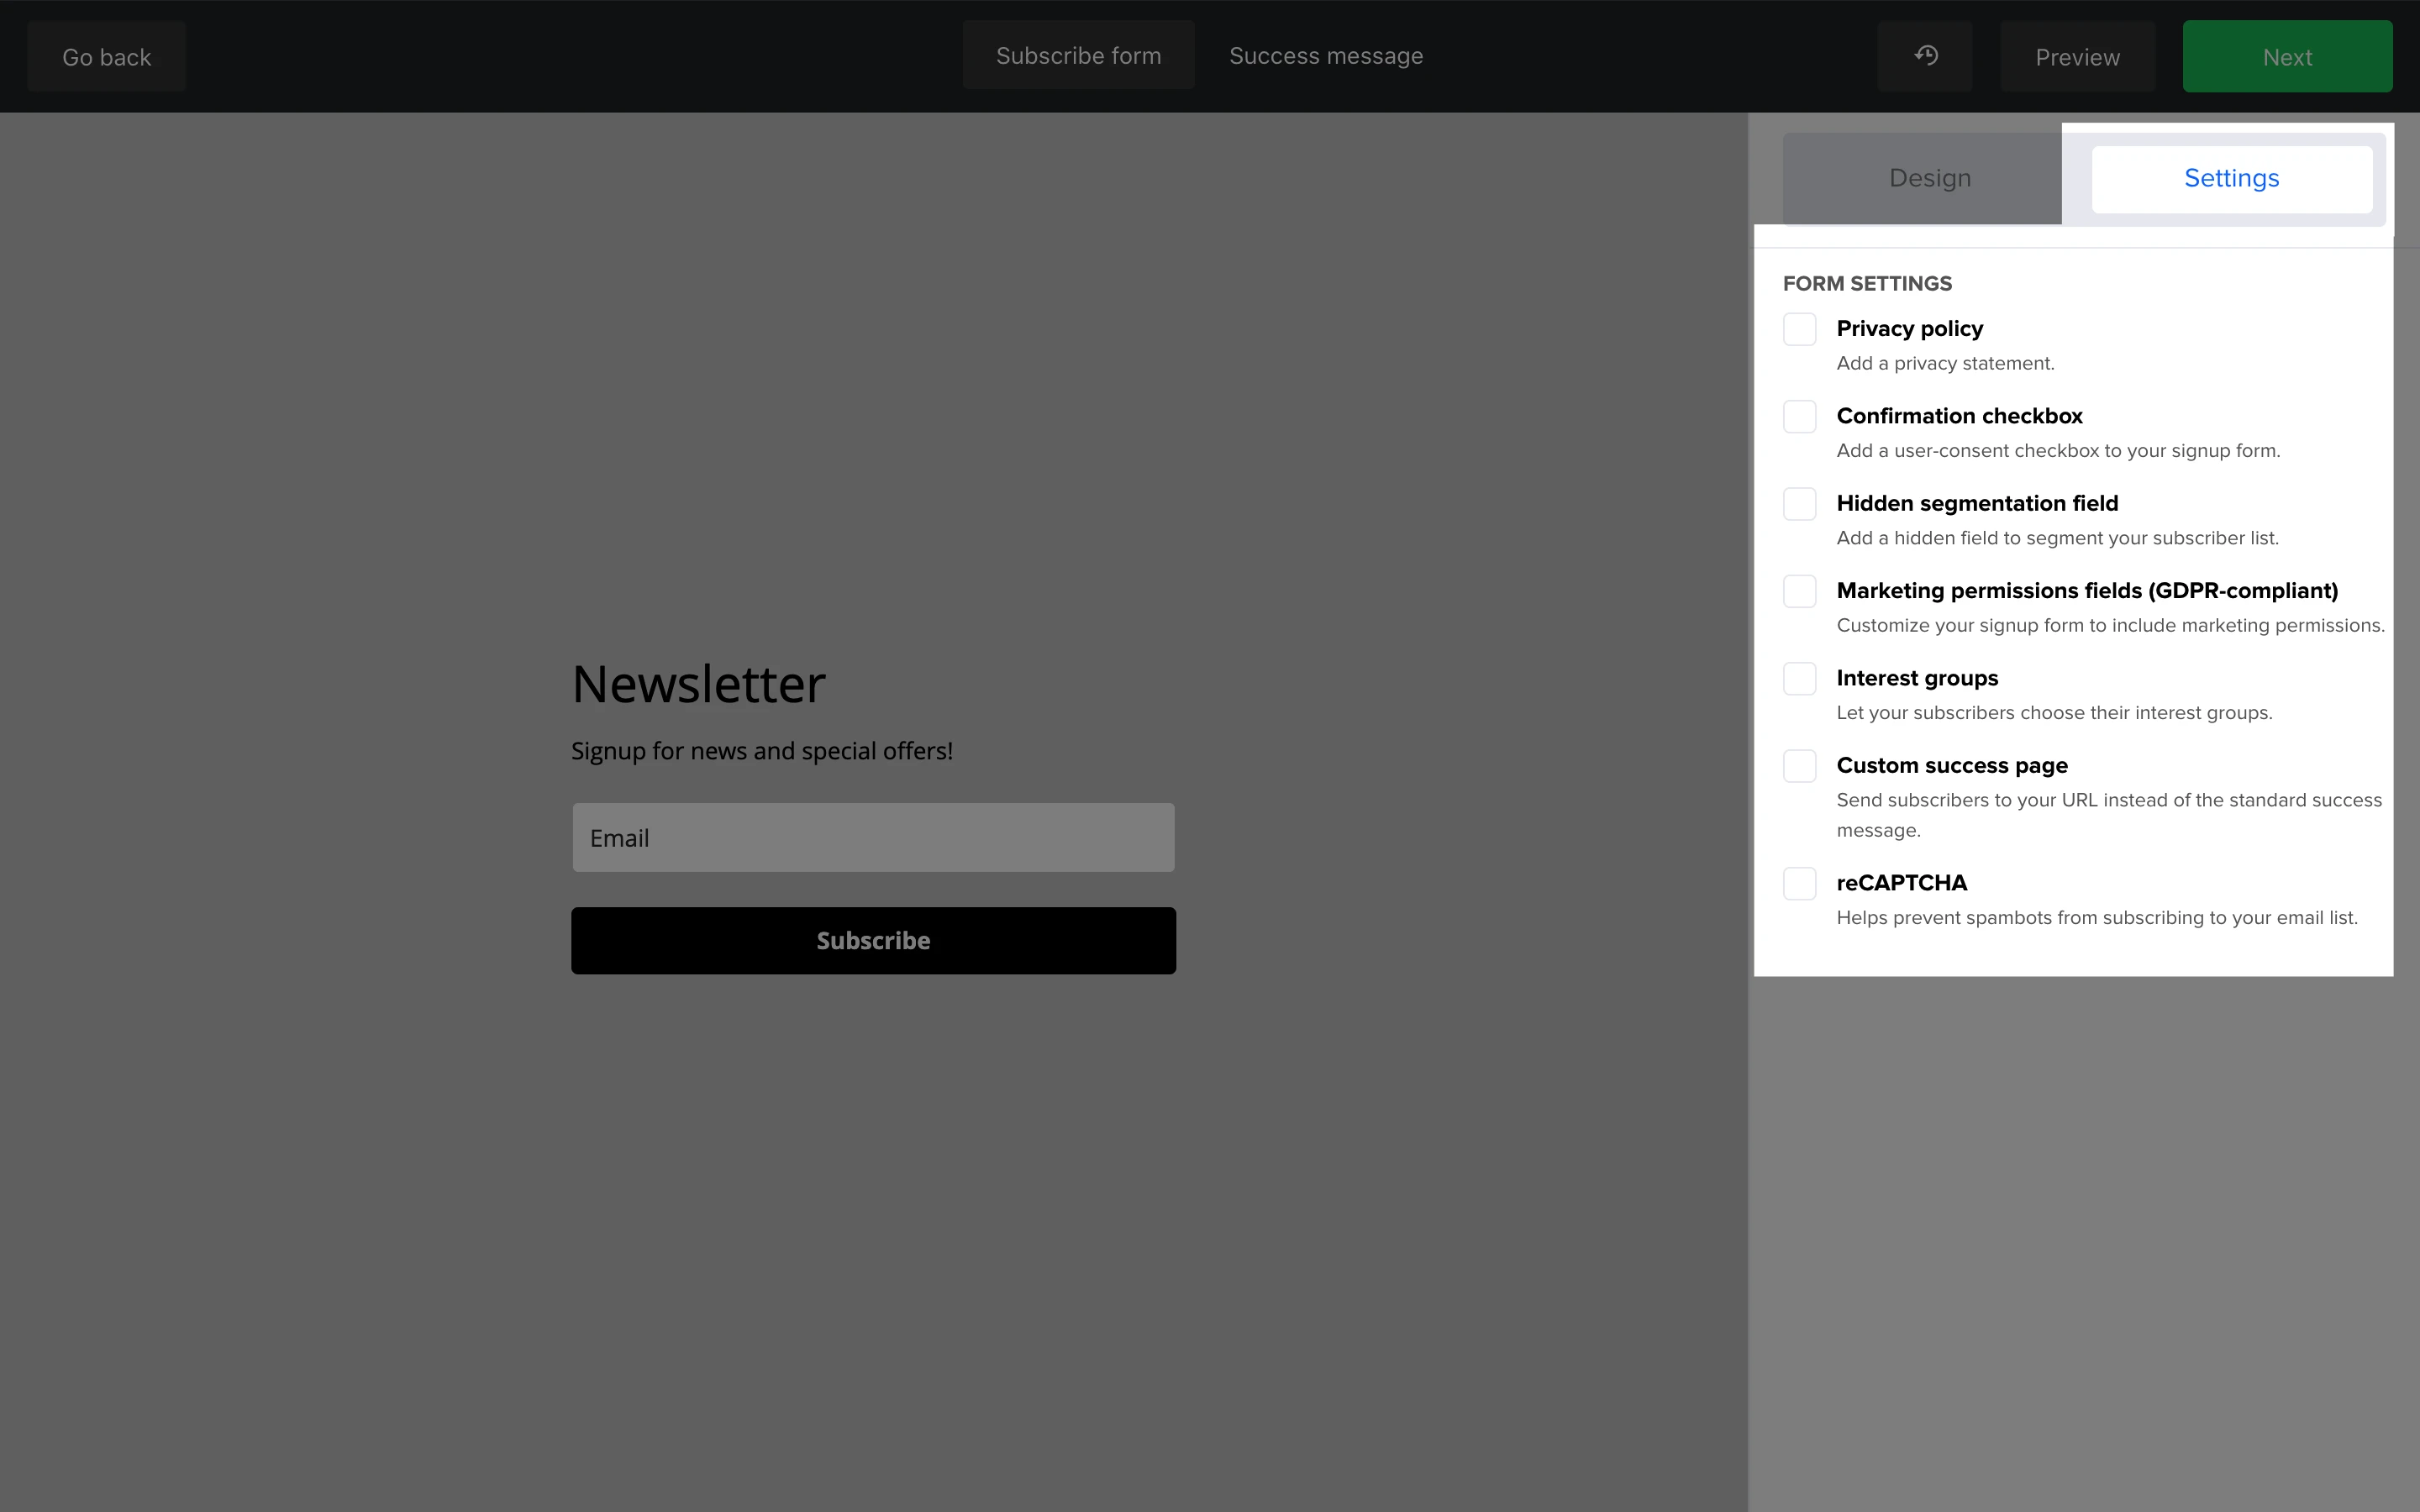
Settings tab
In the Settings tab, you can apply different settings to your form. These settings include:
Privacy policy - Check this box to add a privacy statement to your form
Confirmation checkbox - Check this box to add a user-consent checkbox to your form
Hidden segmentation field - Check this box to add a hidden field to segment your subscriber list. You select a field and a value so that all subscribers of this form have that value added to that field
Marketing permissions fields (GDPR-compliant) - Check this box to include GDPR compliant marketing permissions checkboxes to your form
Interest groups - Check this box to give subscribers the option to choose their own subscriber group
Custom success page - Check this box to send subscribers to an external URL upon successful completion of the form instead of the default success page in MailerLite
reCAPTCHA - Check this box to add a reCAPTCHA (I am not a robot checkbox) to your form. This helps prevent potentially harmful spambots from joining your subscriber list
How to edit the success message
The success message is what your subscribers see after they successfully complete your form. To edit your success message:
Along the top navigation bar, click Success message.
Click on the success message text.
Edit the success message content in the sidebar.
Click Save to apply your changes.
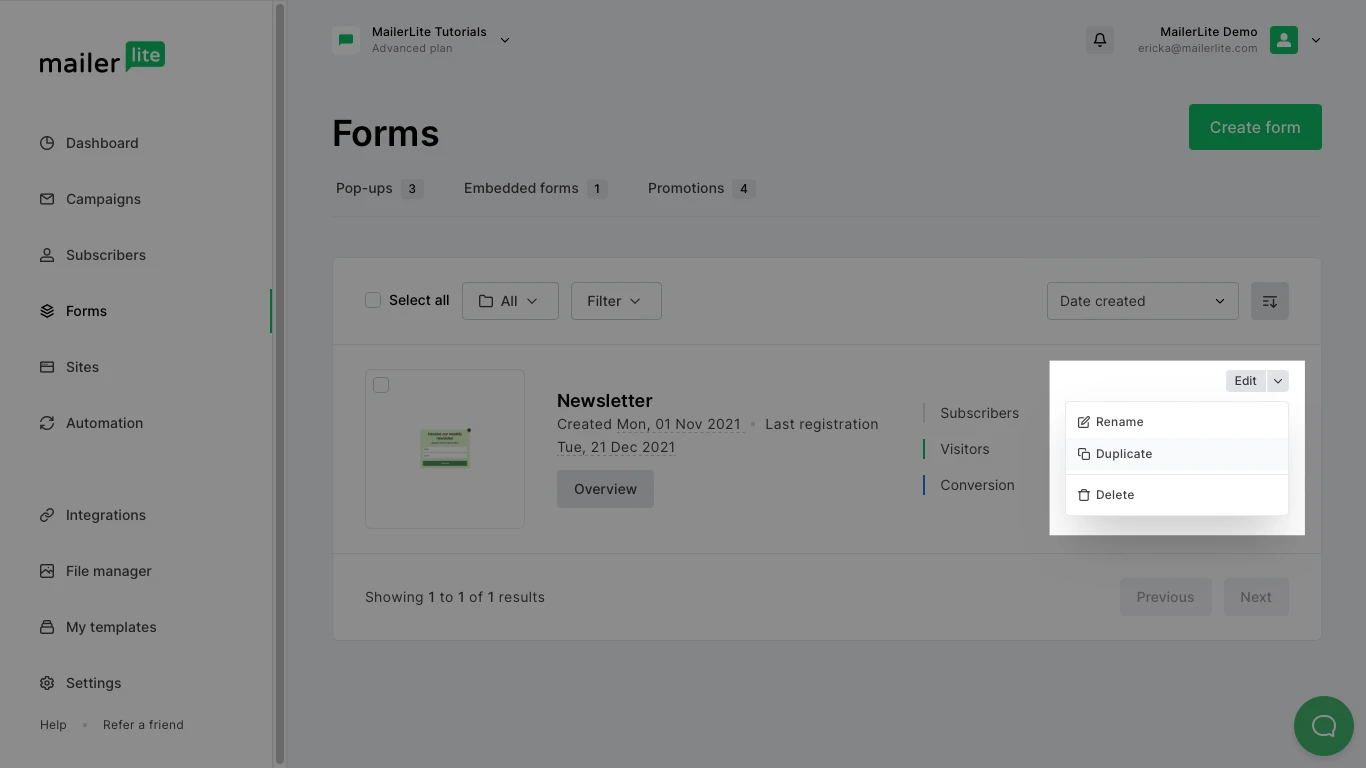
How to duplicate an embedded form
To make a copy of your embedded form:
On the Forms page, find the form you wish to duplicate and click the downward arrow next to the Edit button.
Click Duplicate.
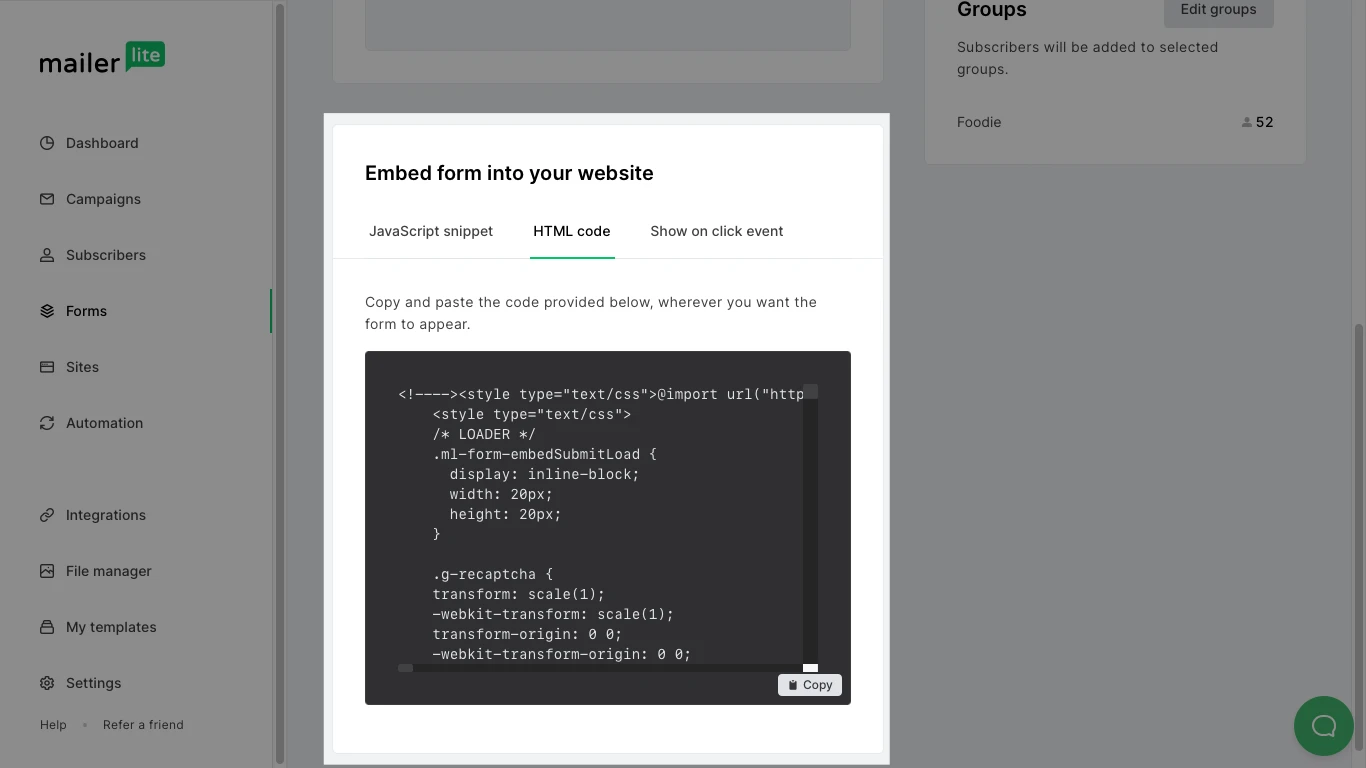
How to customize an embedded form using HTML or CSS
If you’re an HTML expert, you can customize your form’s HTML to suit your needs. To find your form’s HTML:
Navigate to the Forms page.
Click the Embedded forms tab.
Click on the Overview button of the form.
Scroll to the section Embed form to your website.
Click the HTML tab.
Copy the HTML and make any edits you require before adding it to your website.