Note: If you're a Legacy (Classic) user, please log in to your account to access the dedicated Legacy (Classic) Help Center.
You’ve set up your form, but you notice that it is not working as expected. Perhaps the Subscribe button doesn’t take any action, the confirmation email is not being sent, or subscribers are not being added to the assigned group after signing up.
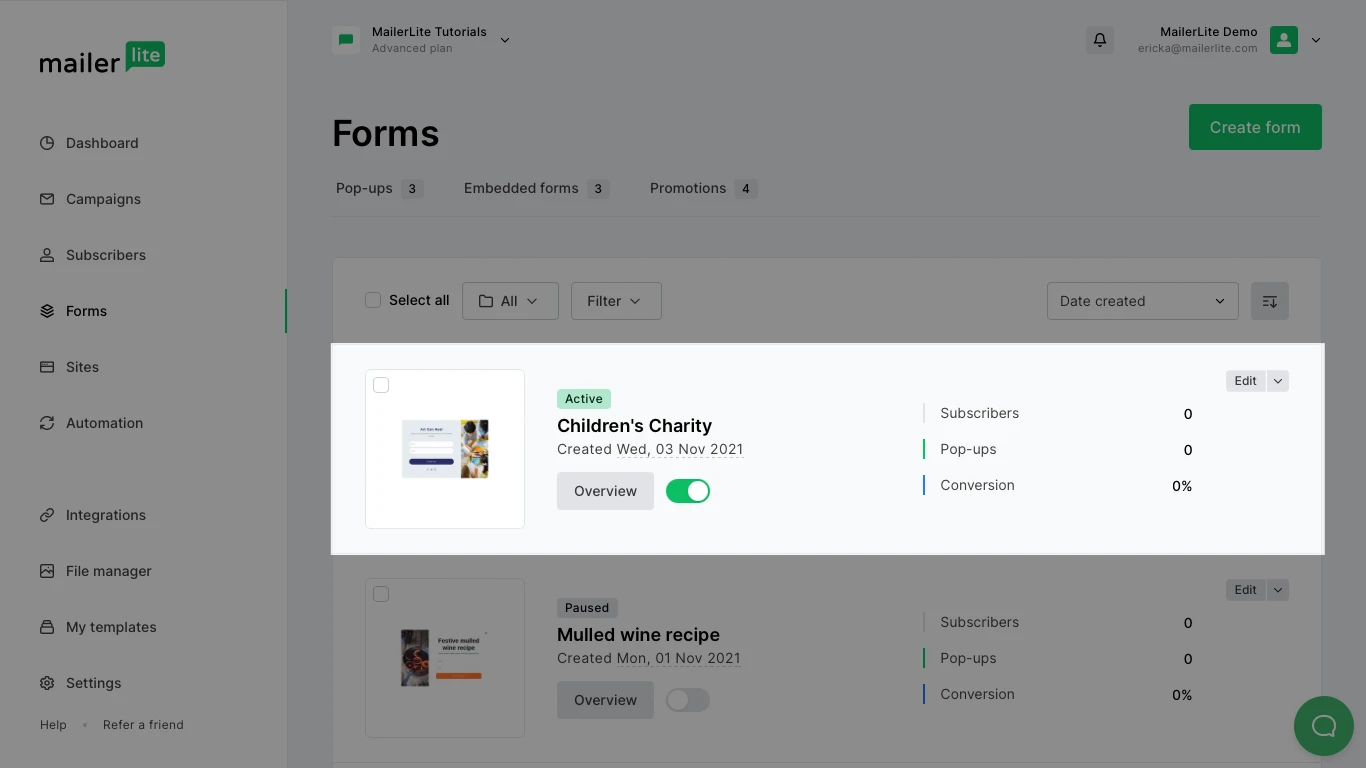
To start troubleshooting your form, make sure you check the following on the Forms page:
If it’s a pop-up or a promotional form, make sure it is active. If it's paused, simply toggle the switch to the green ON position.
There should be least one group assigned to which subscribers will be added when they sign up. Without an assigned group, the form will not be able to add subscribers to your list.
Click on the Overview button of the form.
Click on Edit groups on the Groups section.

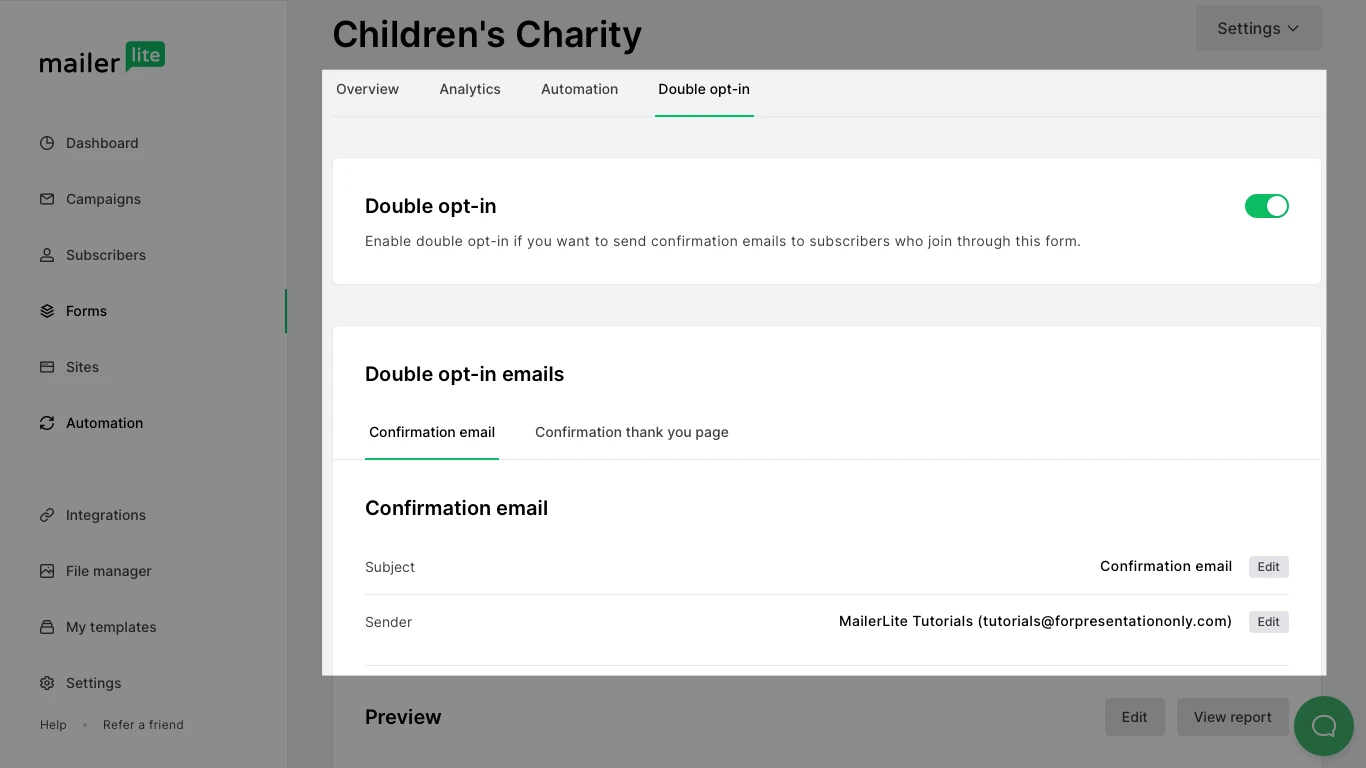
If double opt-in is enabled, the subscriber must first confirm their subscription via the confirmation email sent to them, in order to be added to your list. If the subscriber does not click the link in the confirmation email, they will remain in the 'Unconfirmed' status. A confirmation email is sent to the same subscriber only once every 24 hours.
Make sure to have a valid sender's email address set up. Without it, the confirmation email won't be sent.
Click on the Double opt-in tab.
Under the Confirmation email tab, on the Sender row, check if there is a valid email address. If there isn’t one, click on Edit.
Inside the confirmation email, variables shouldn’t have any spaces, the wrong brackets or any weird formatting. Click on Edit to customize the confirmation email.
For more information on how to set up custom variables, check our help article How to create and use custom fields.

Existing subscribers
If your existing subscribers enter their email address to sign up through one of your forms, the confirmation email may or may not send, depending on the status of the subscriber in your account:
Unconfirmed - Double opt-in email will send
Unsubscribed - Double opt-in email will send
Deleted (was Active during deletion) - Double opt-in email will not send, but change the subscriber's status to Active
Deleted (was unsubscribed during deletion) - Double opt-in email will send
Test emails
To test your form, you can use different versions of your email. To do this, simply add a + sign and a number after your email name.
For example, if your email is "example@mailerlite.com," use example+1@mailerlite.com, example+2@mailerlite.com, or example+3@mailerlite.com, etc for testing. Messages sent to these emails will still arrive in your "example@mailerlite.com" inbox, but MailerLite will recognize each email as a separate subscriber. This way, you can test your forms without needing new email inboxes.
If you are still having trouble with confirmation emails after trying the above steps, check MailerLite's support options.