Polls are a quick and engaging way to collect insights like preferences, opinions, or habits from your landing page visitors.
Step 1: Add a Poll section
In the landing page editor:
From the left sidebar under Sections, locate the Interactive section.
Drag and drop the Poll element into your page.
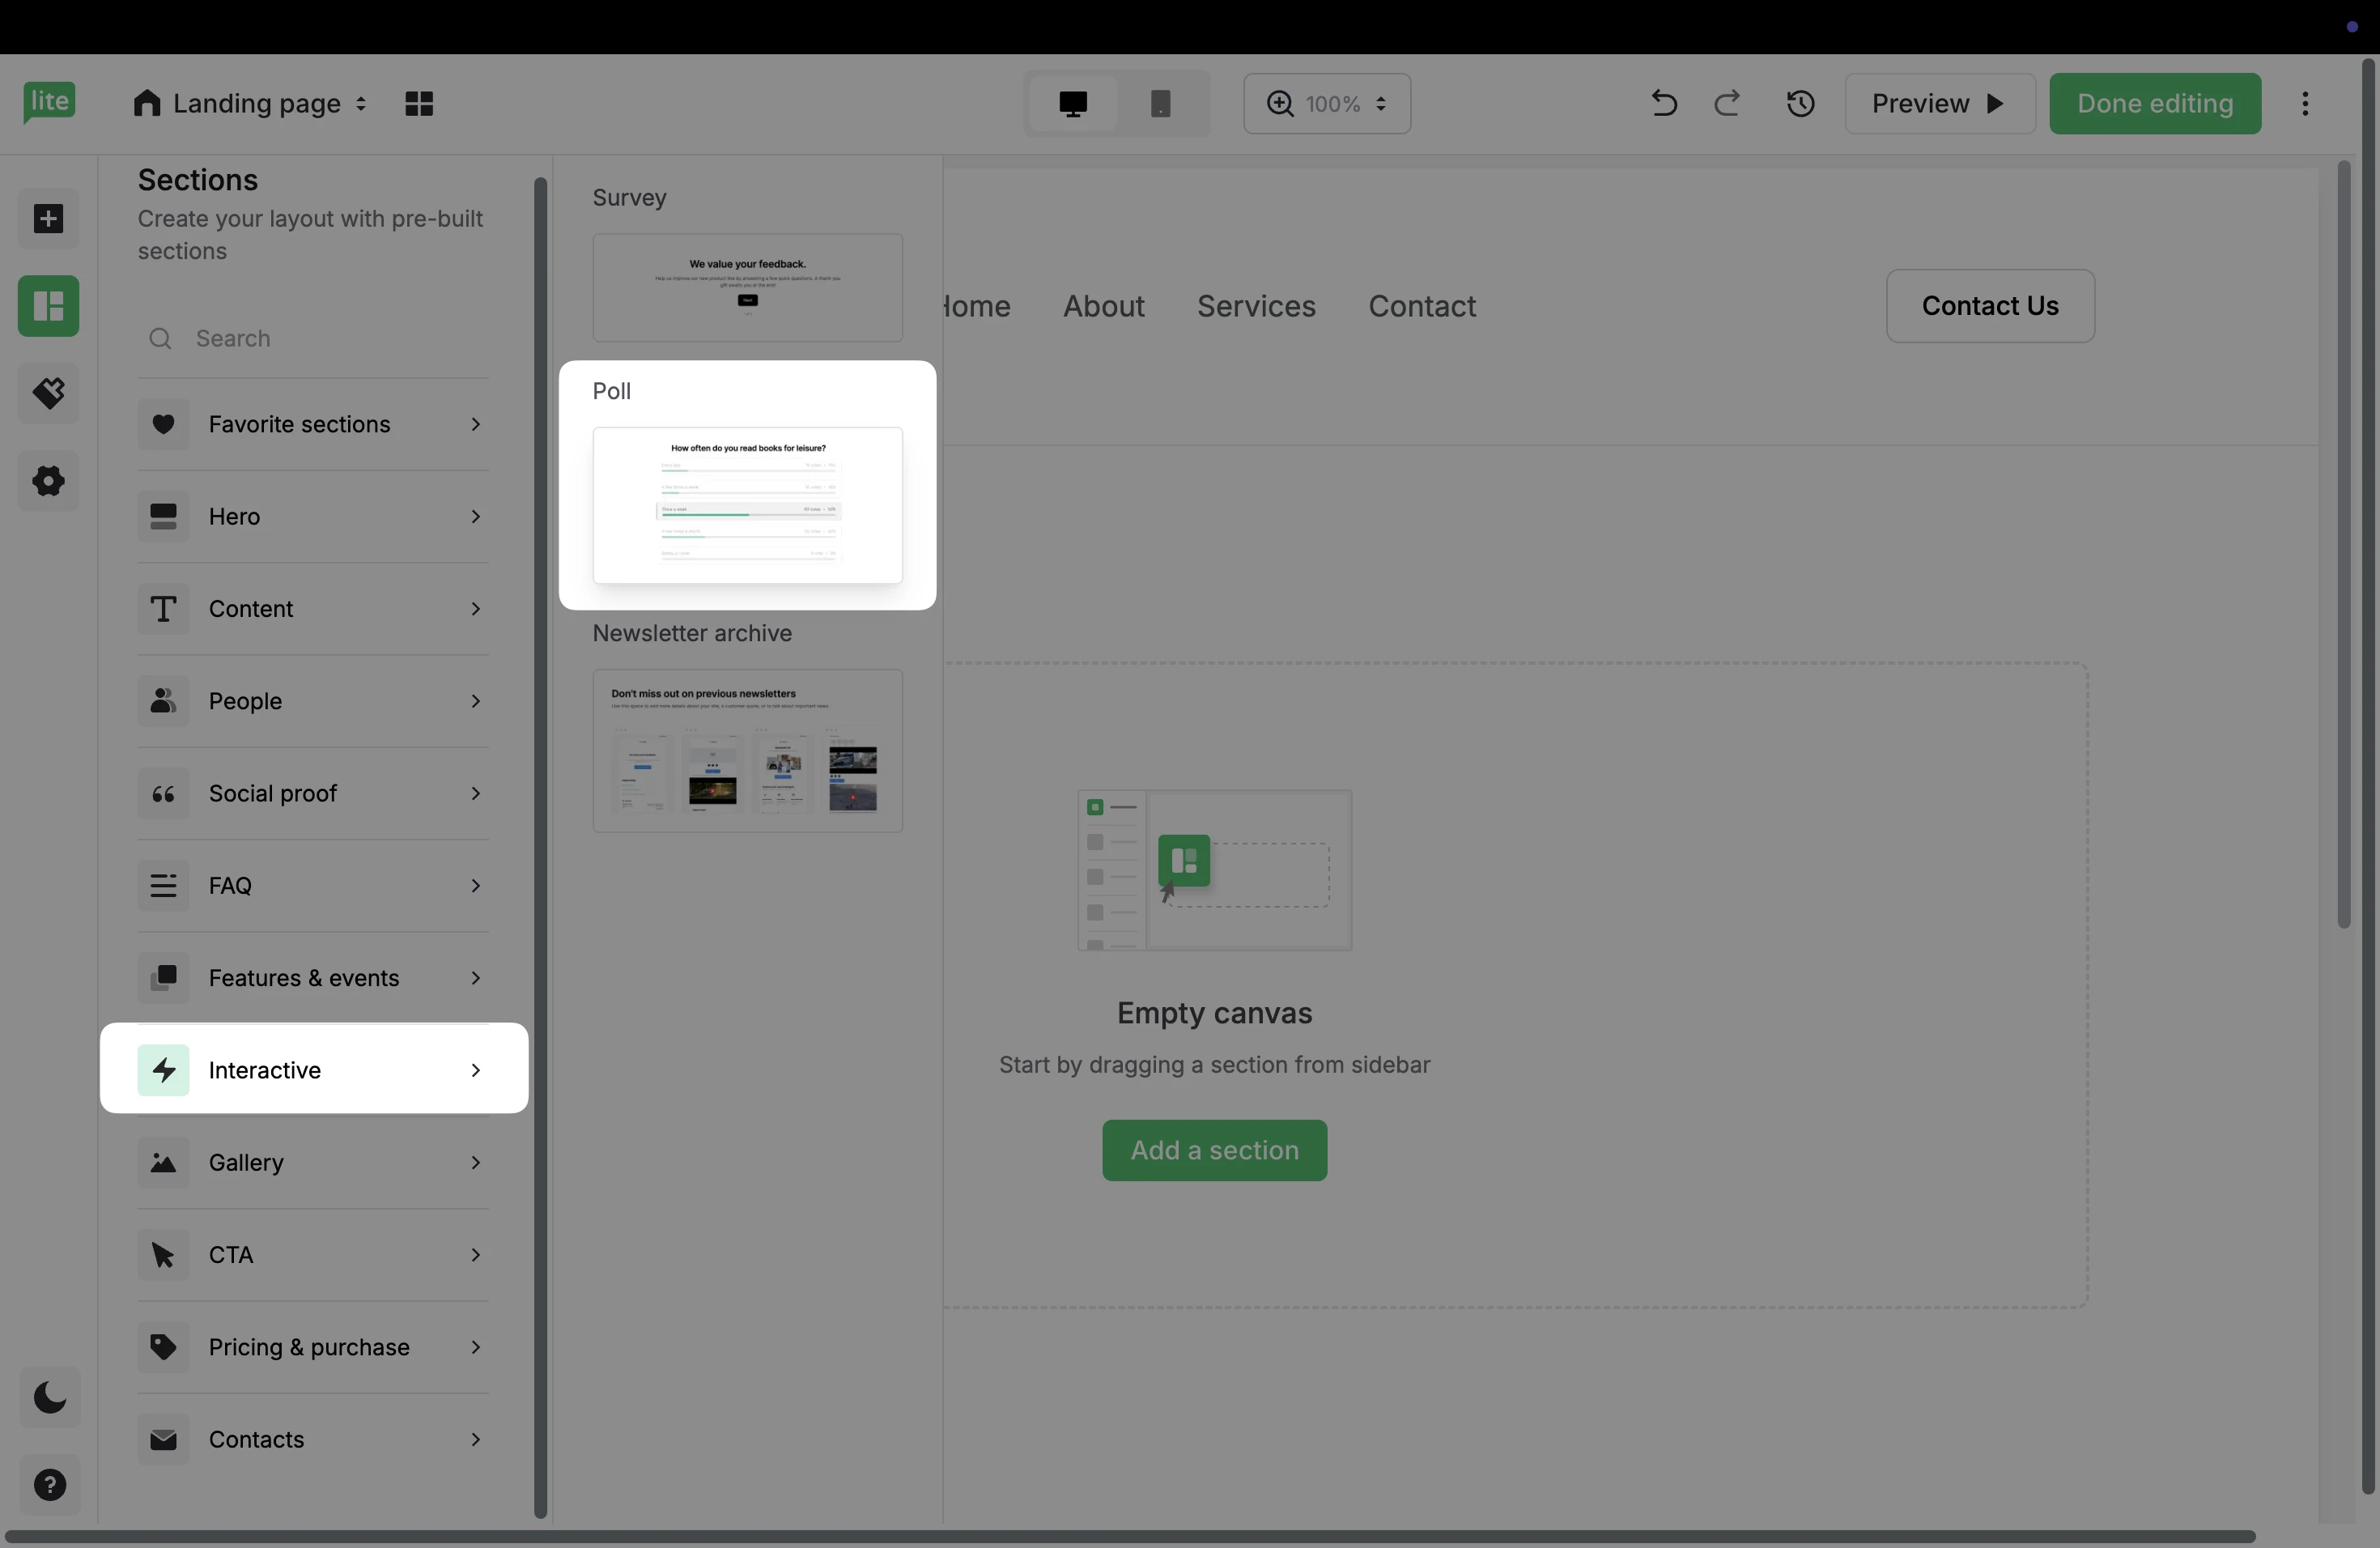
🔔 Keep in mind, it is only possible to have either one poll or one Survey in a single landing page.
Step 2: Customize the intro
The Intro is the first step of your poll which includes a button that moves visitors to the question.
To customize this, click directly into the text area to customize any text. Double clicking will reveal additional text formatting options.
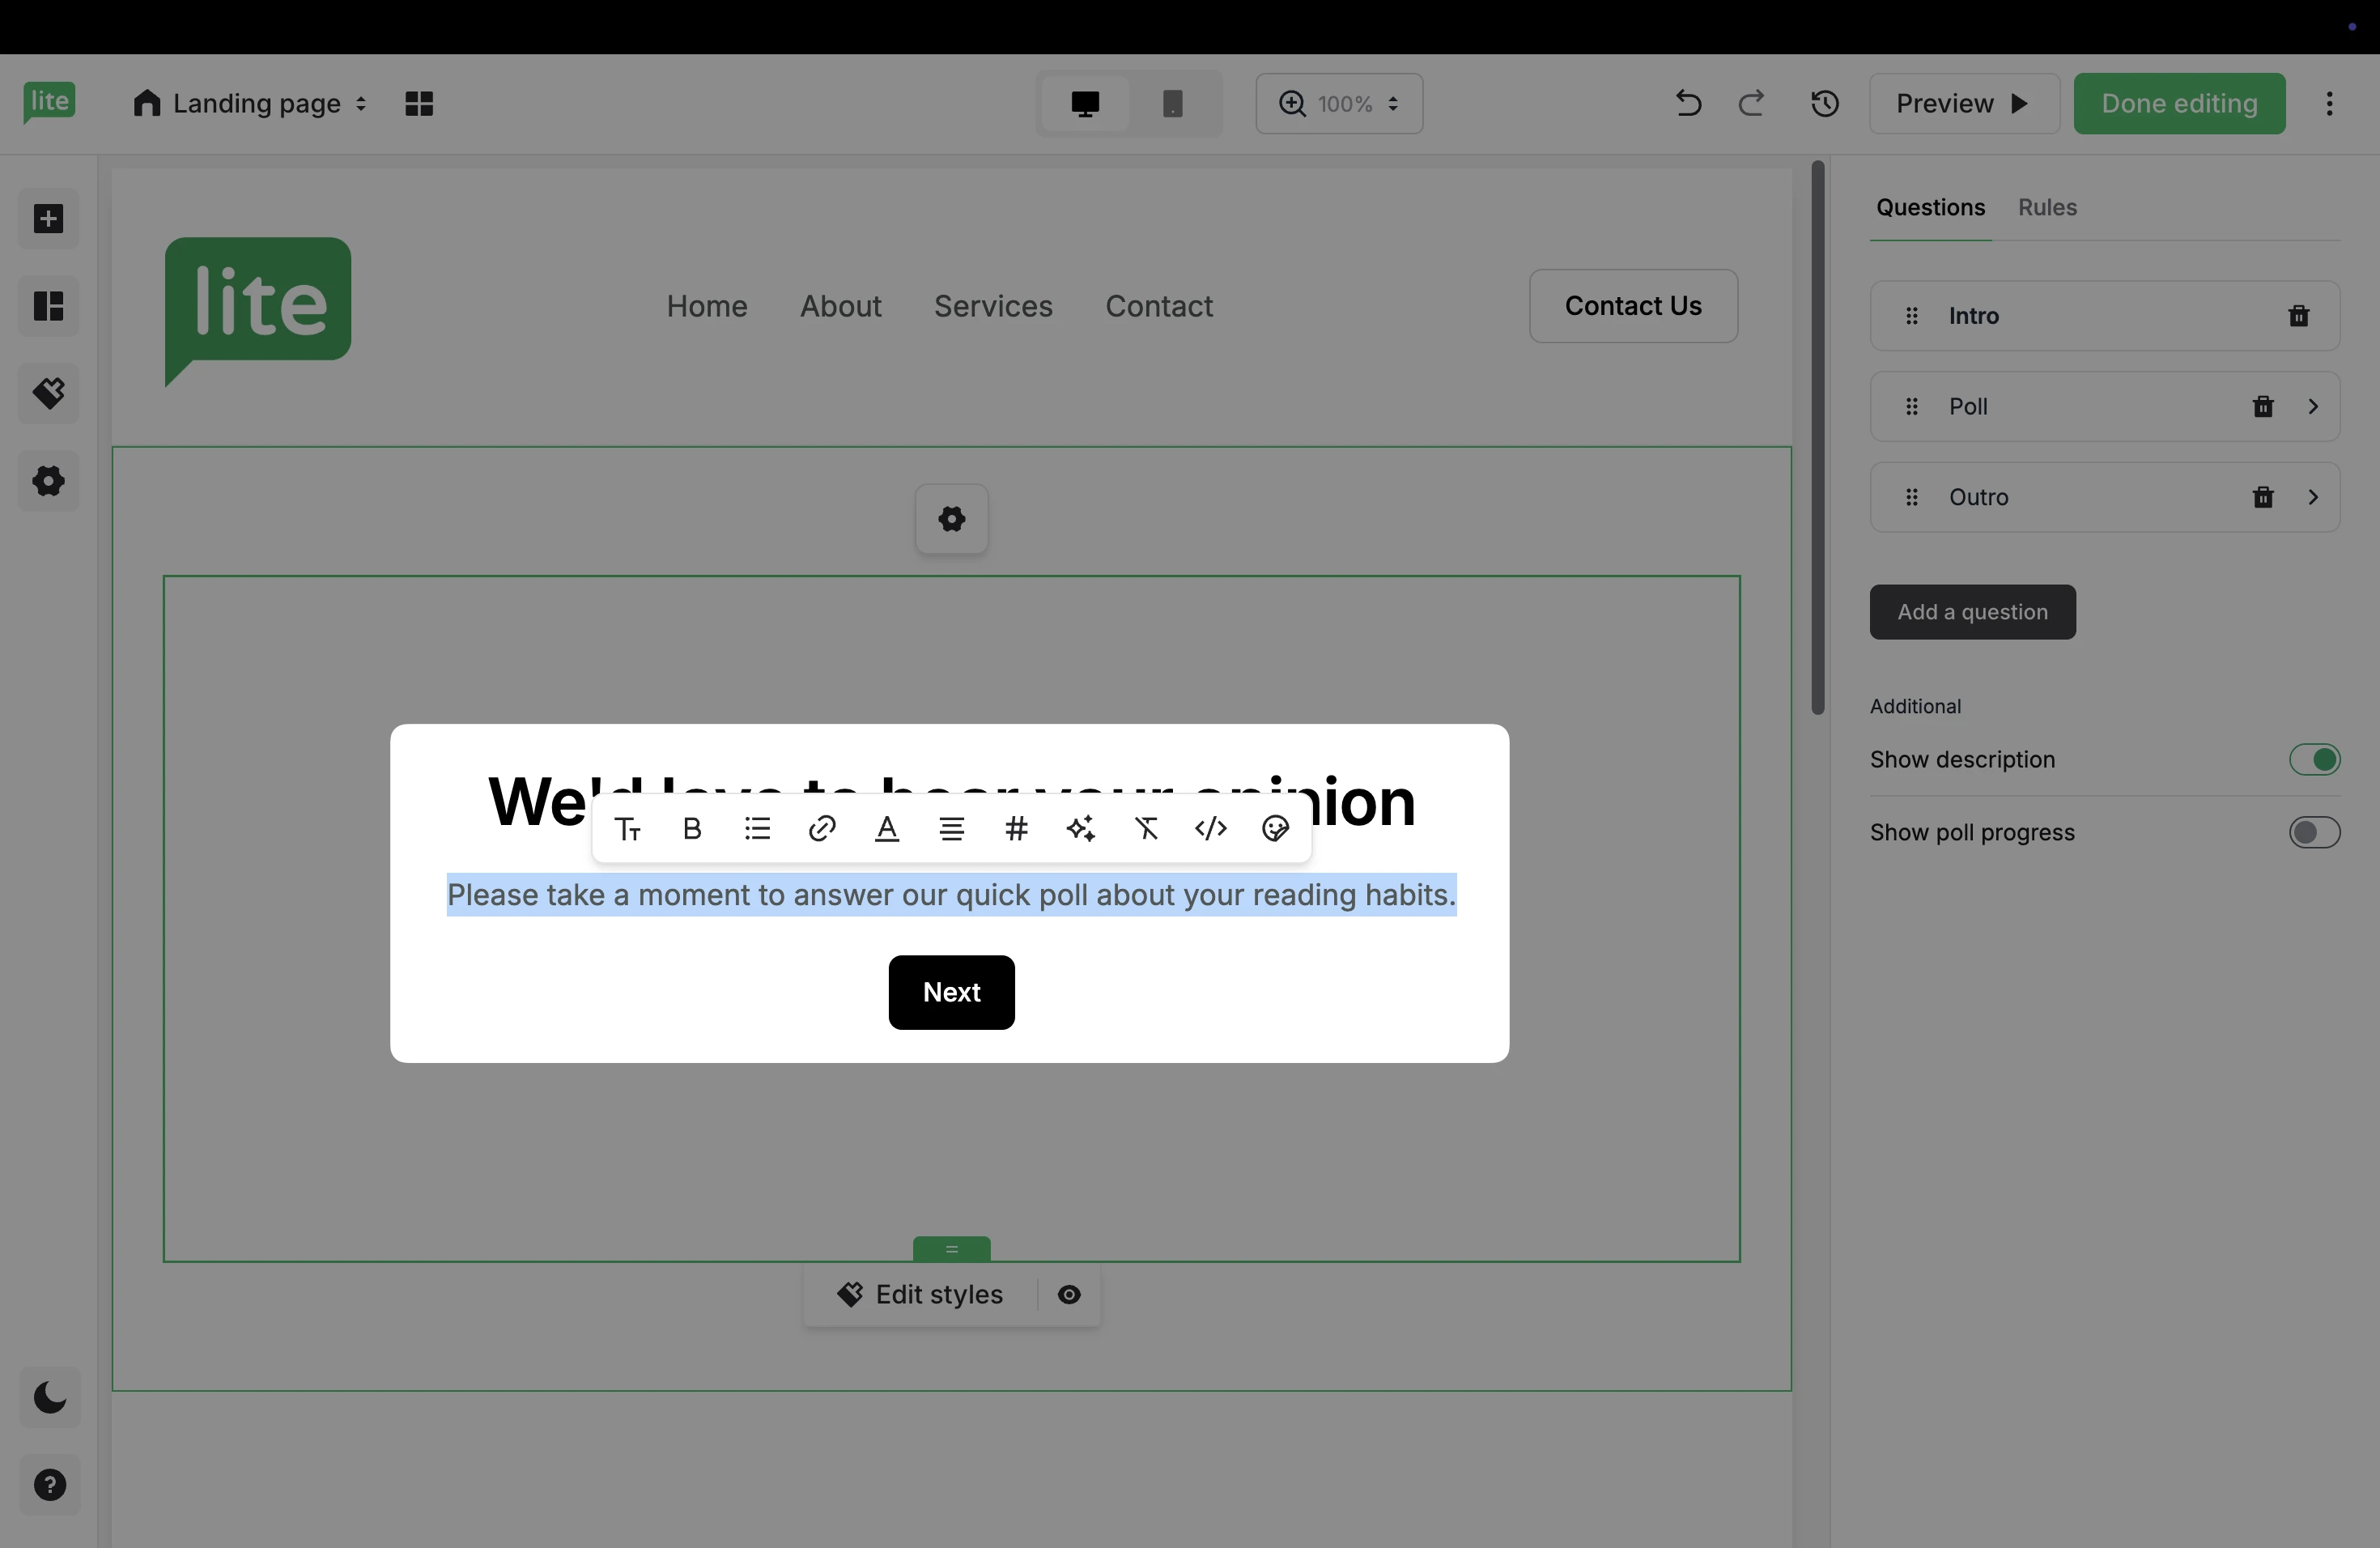
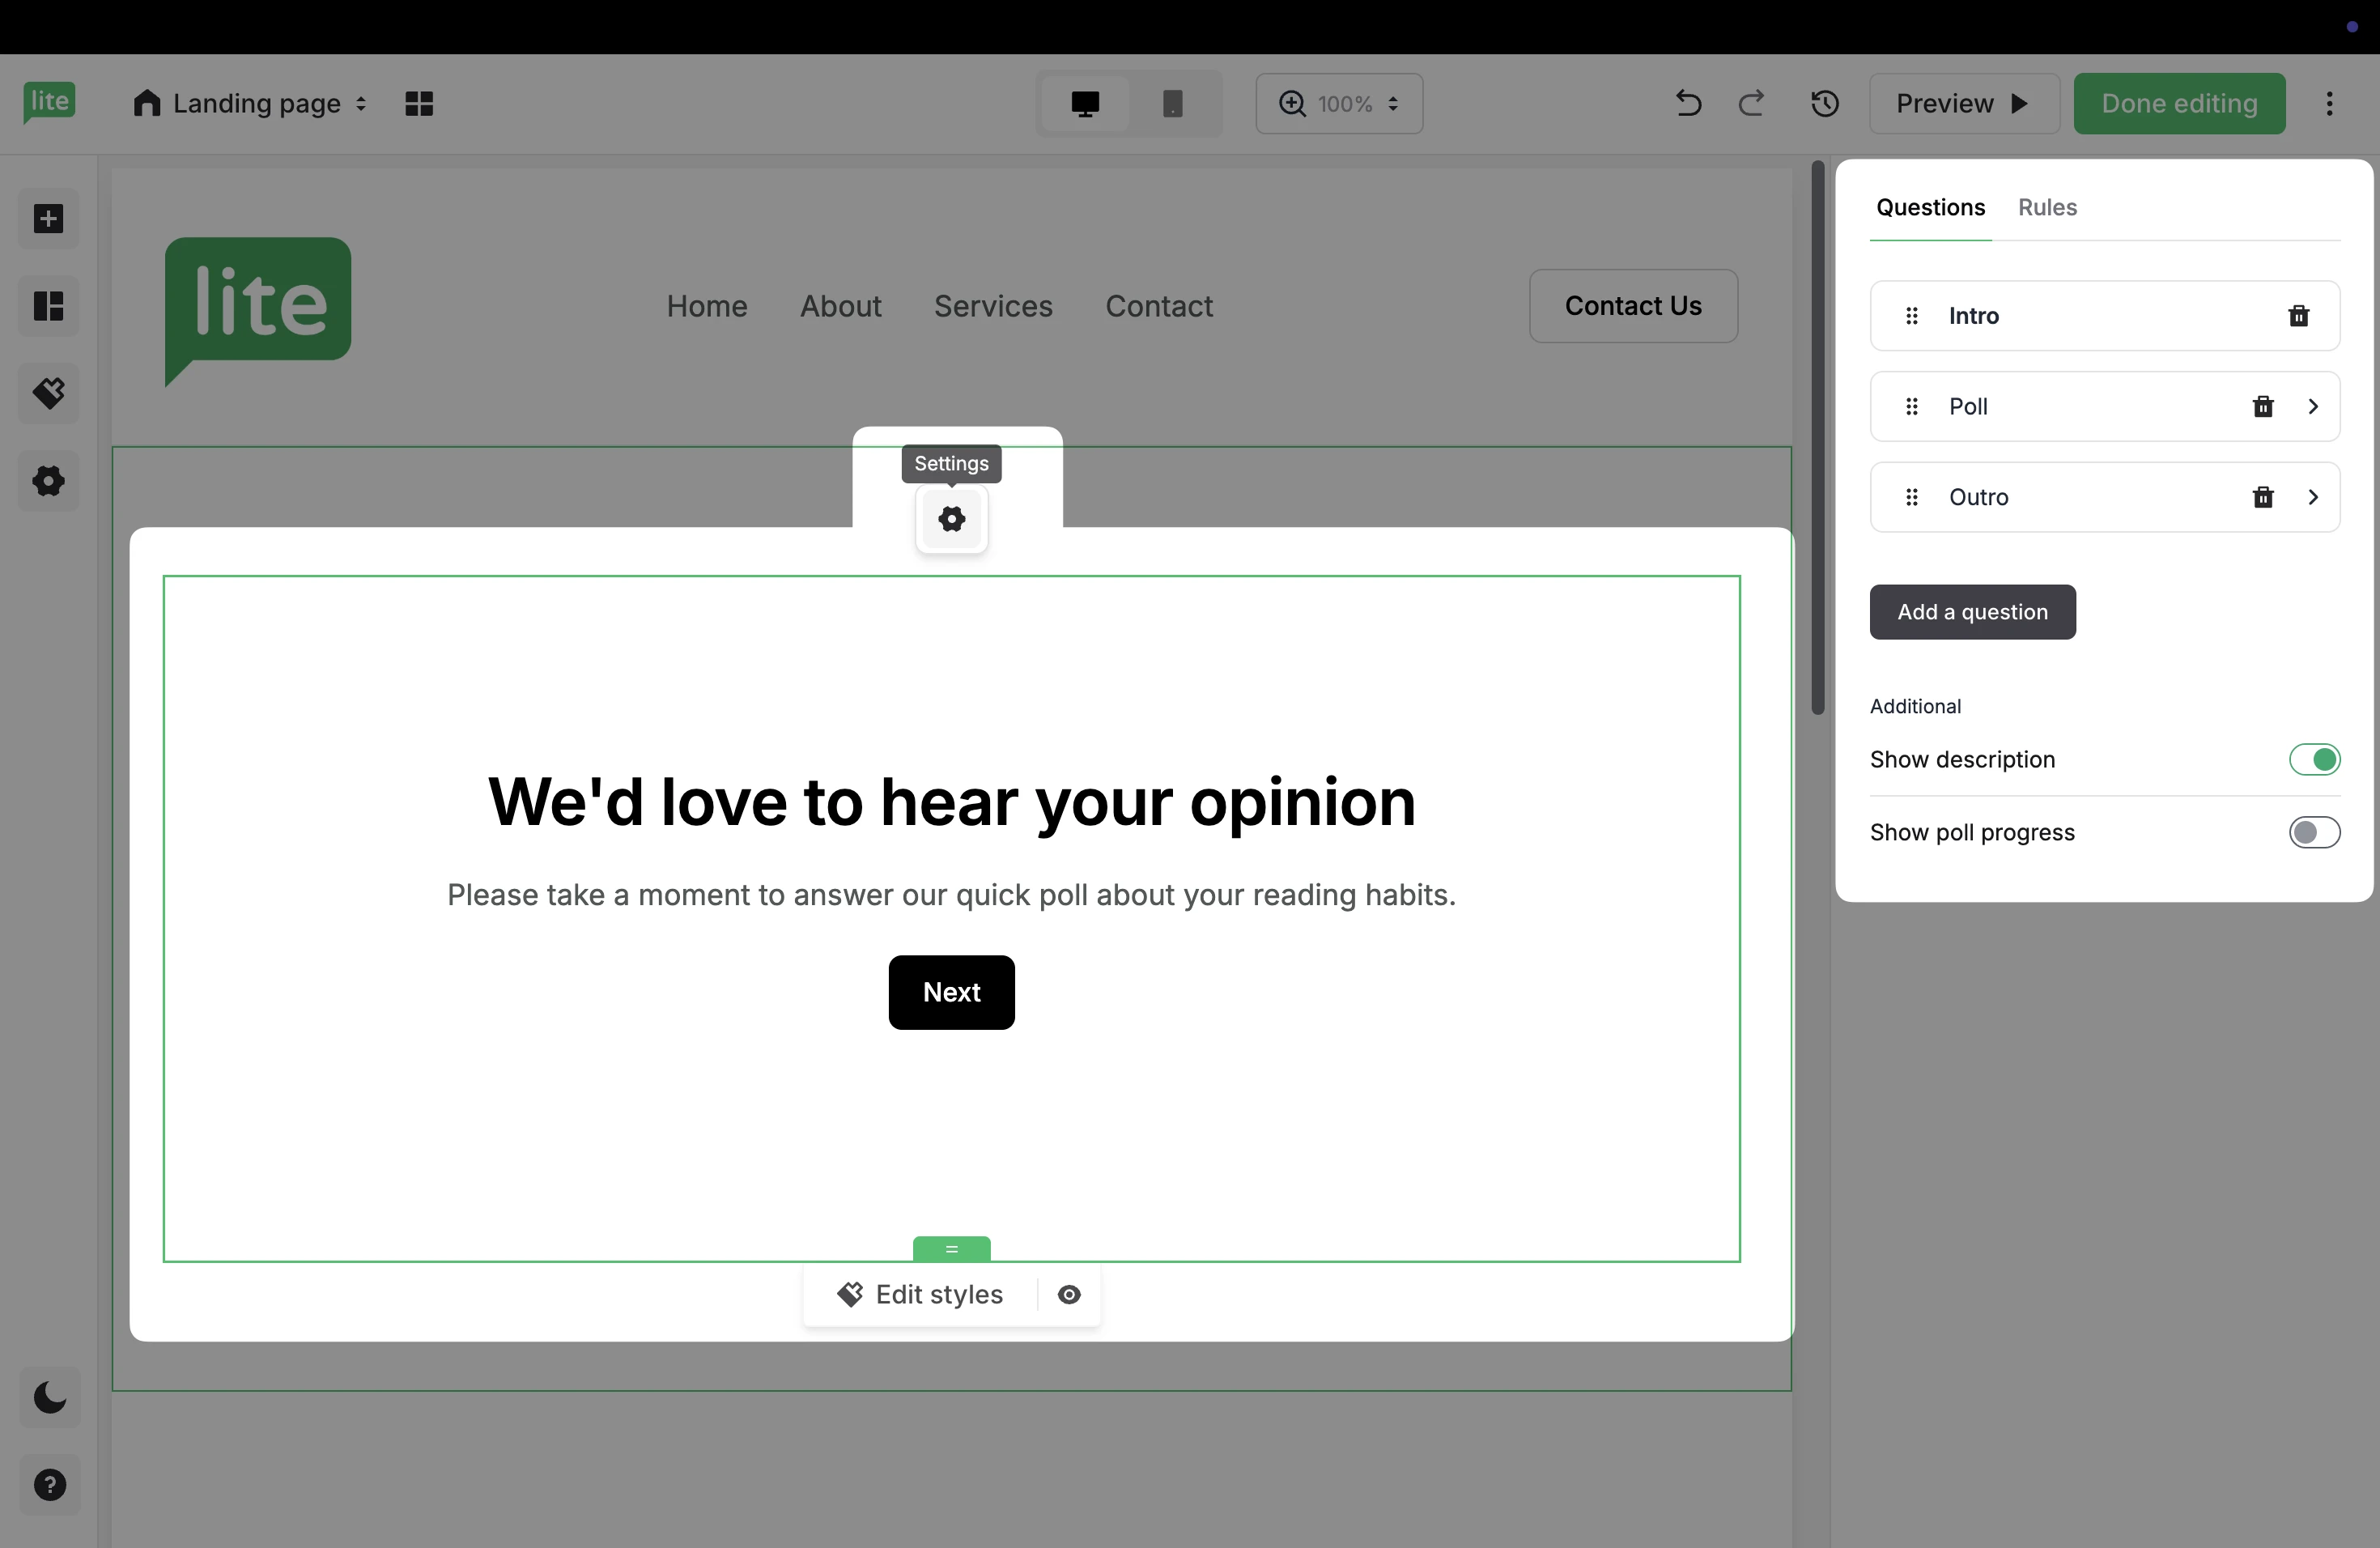
Using the settings on the right, click the Trash icon to remove the Intro page.
Step 3: Add questions
To add questions to your poll:
Hover over the Poll section and click the Settings icon to reveal the additional options on the right.
2. Click the Poll section. Here, you can customize both the questions and various answer choices.
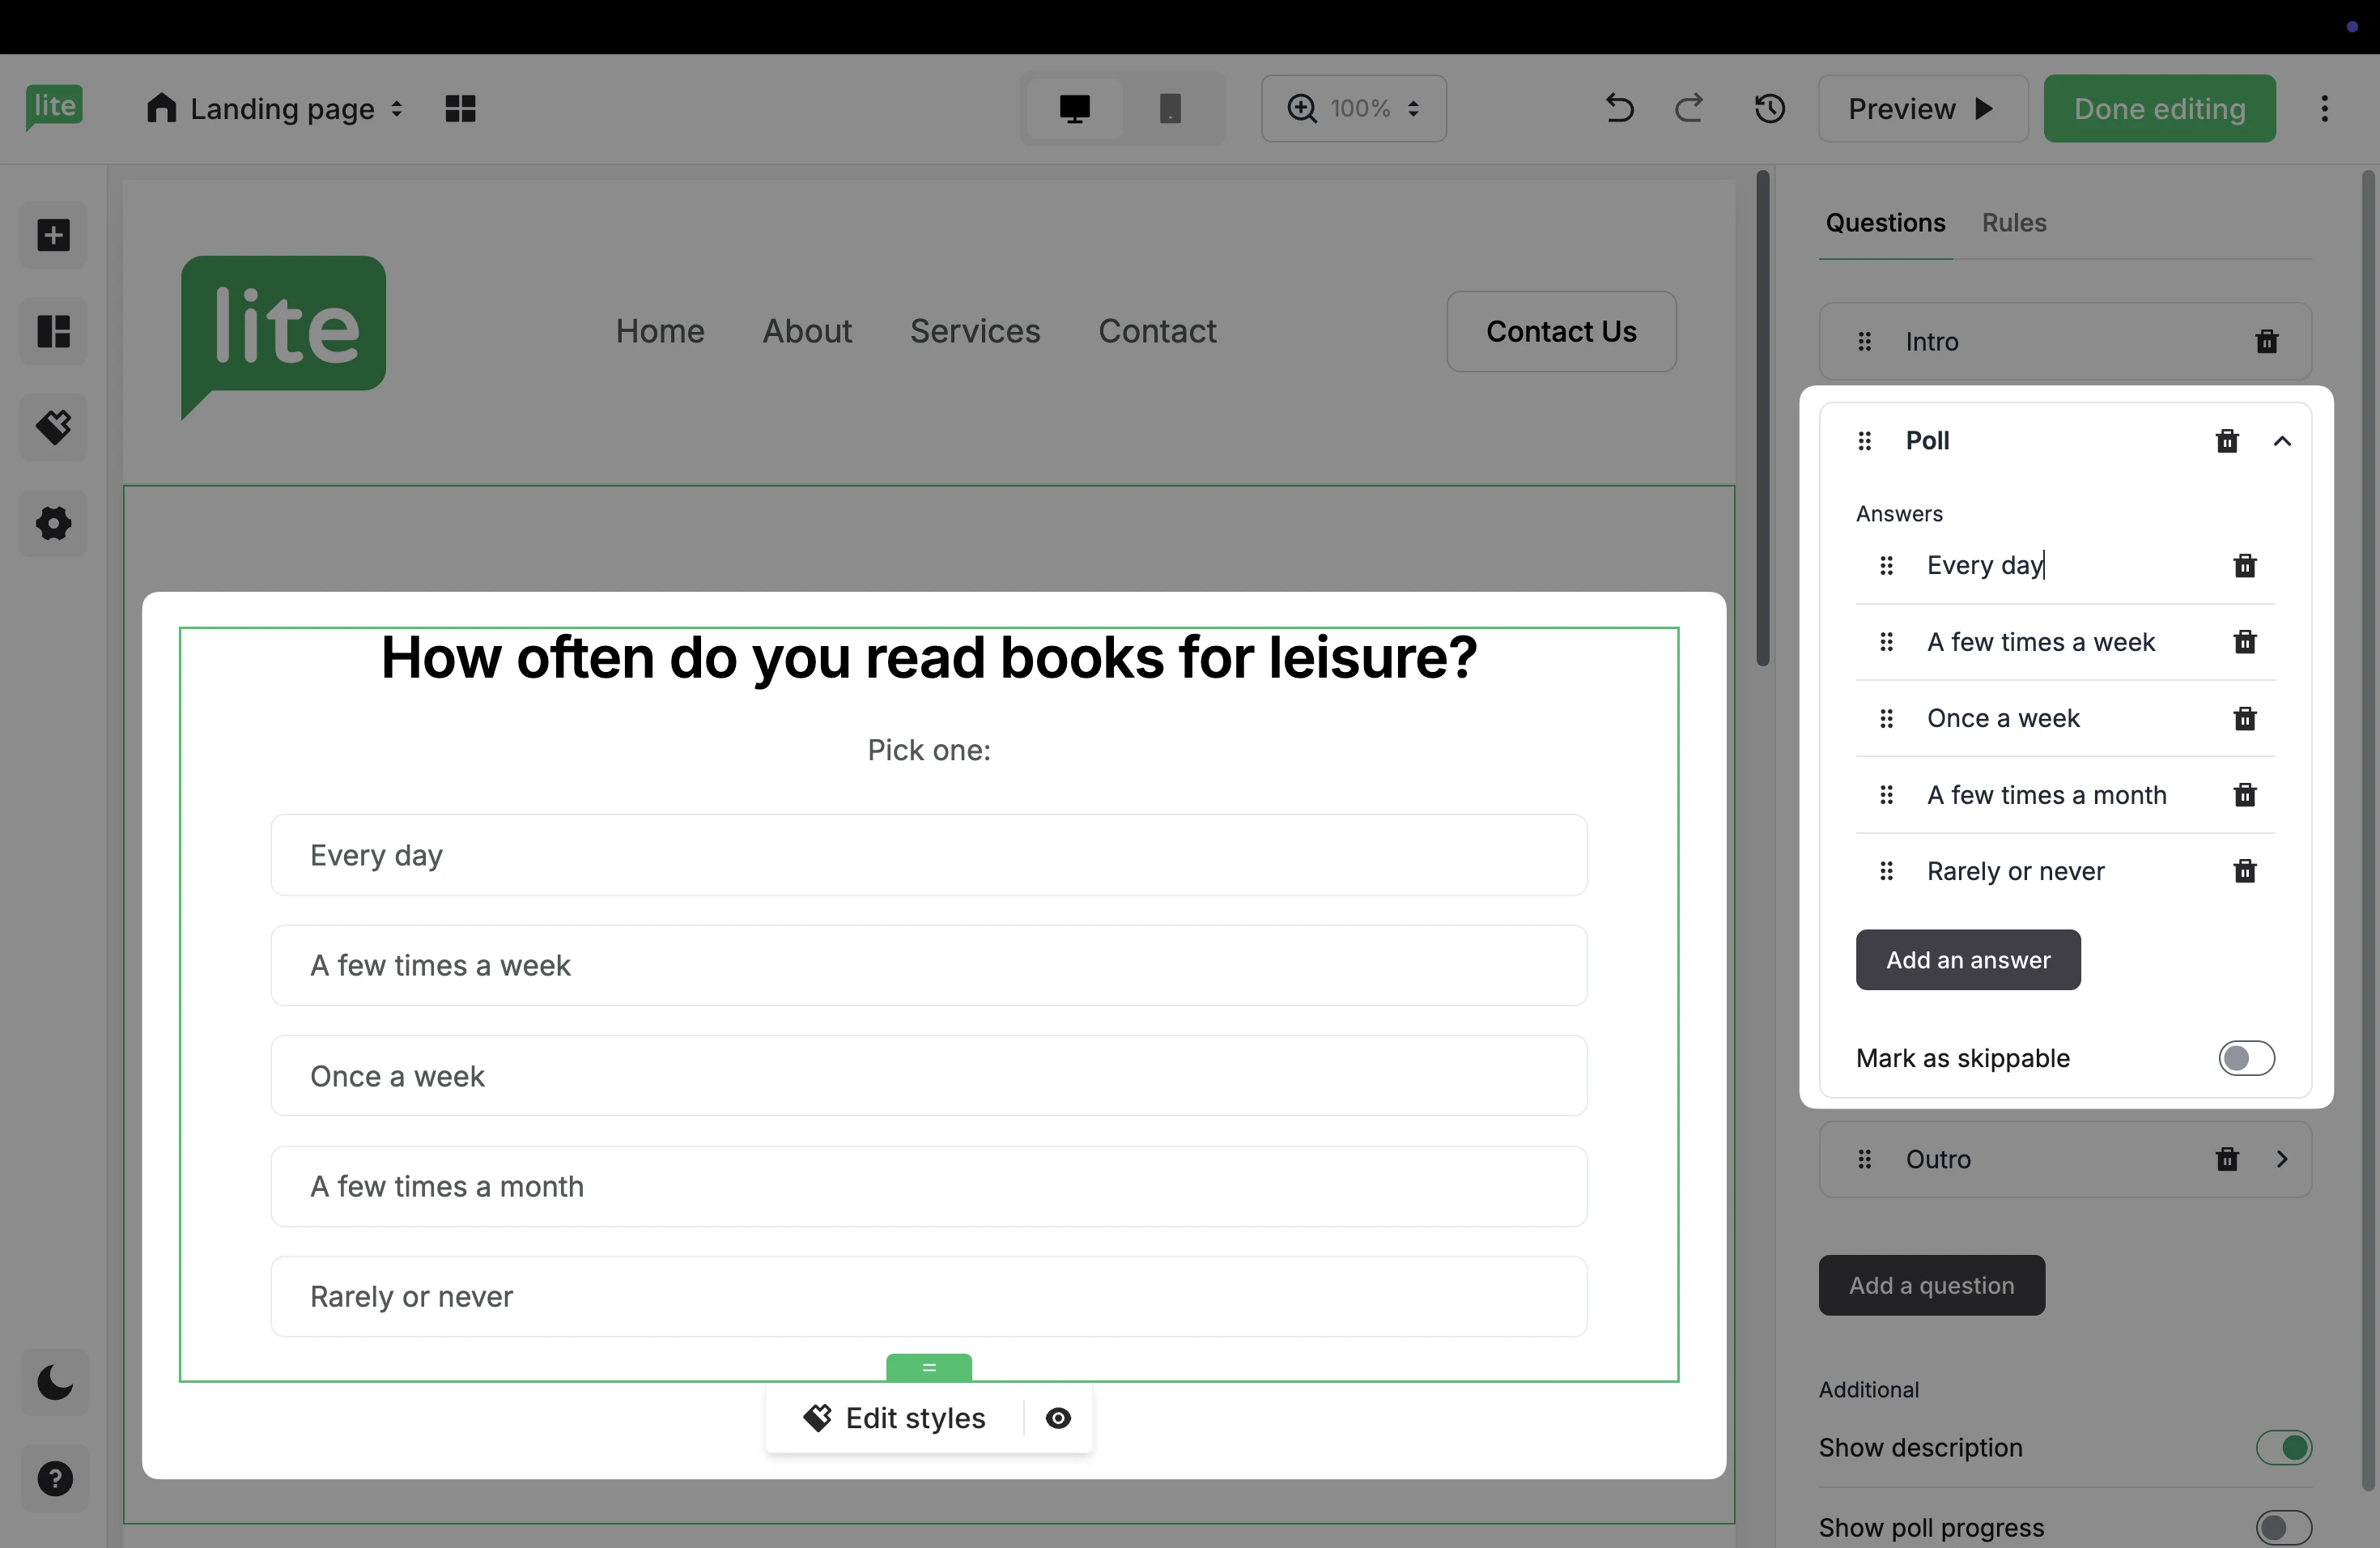
To make a question optional, toggle ON Mark as skippable.
3. To add more answer options, click Add an answer.
4. To add more questions to your poll, click Add a question.
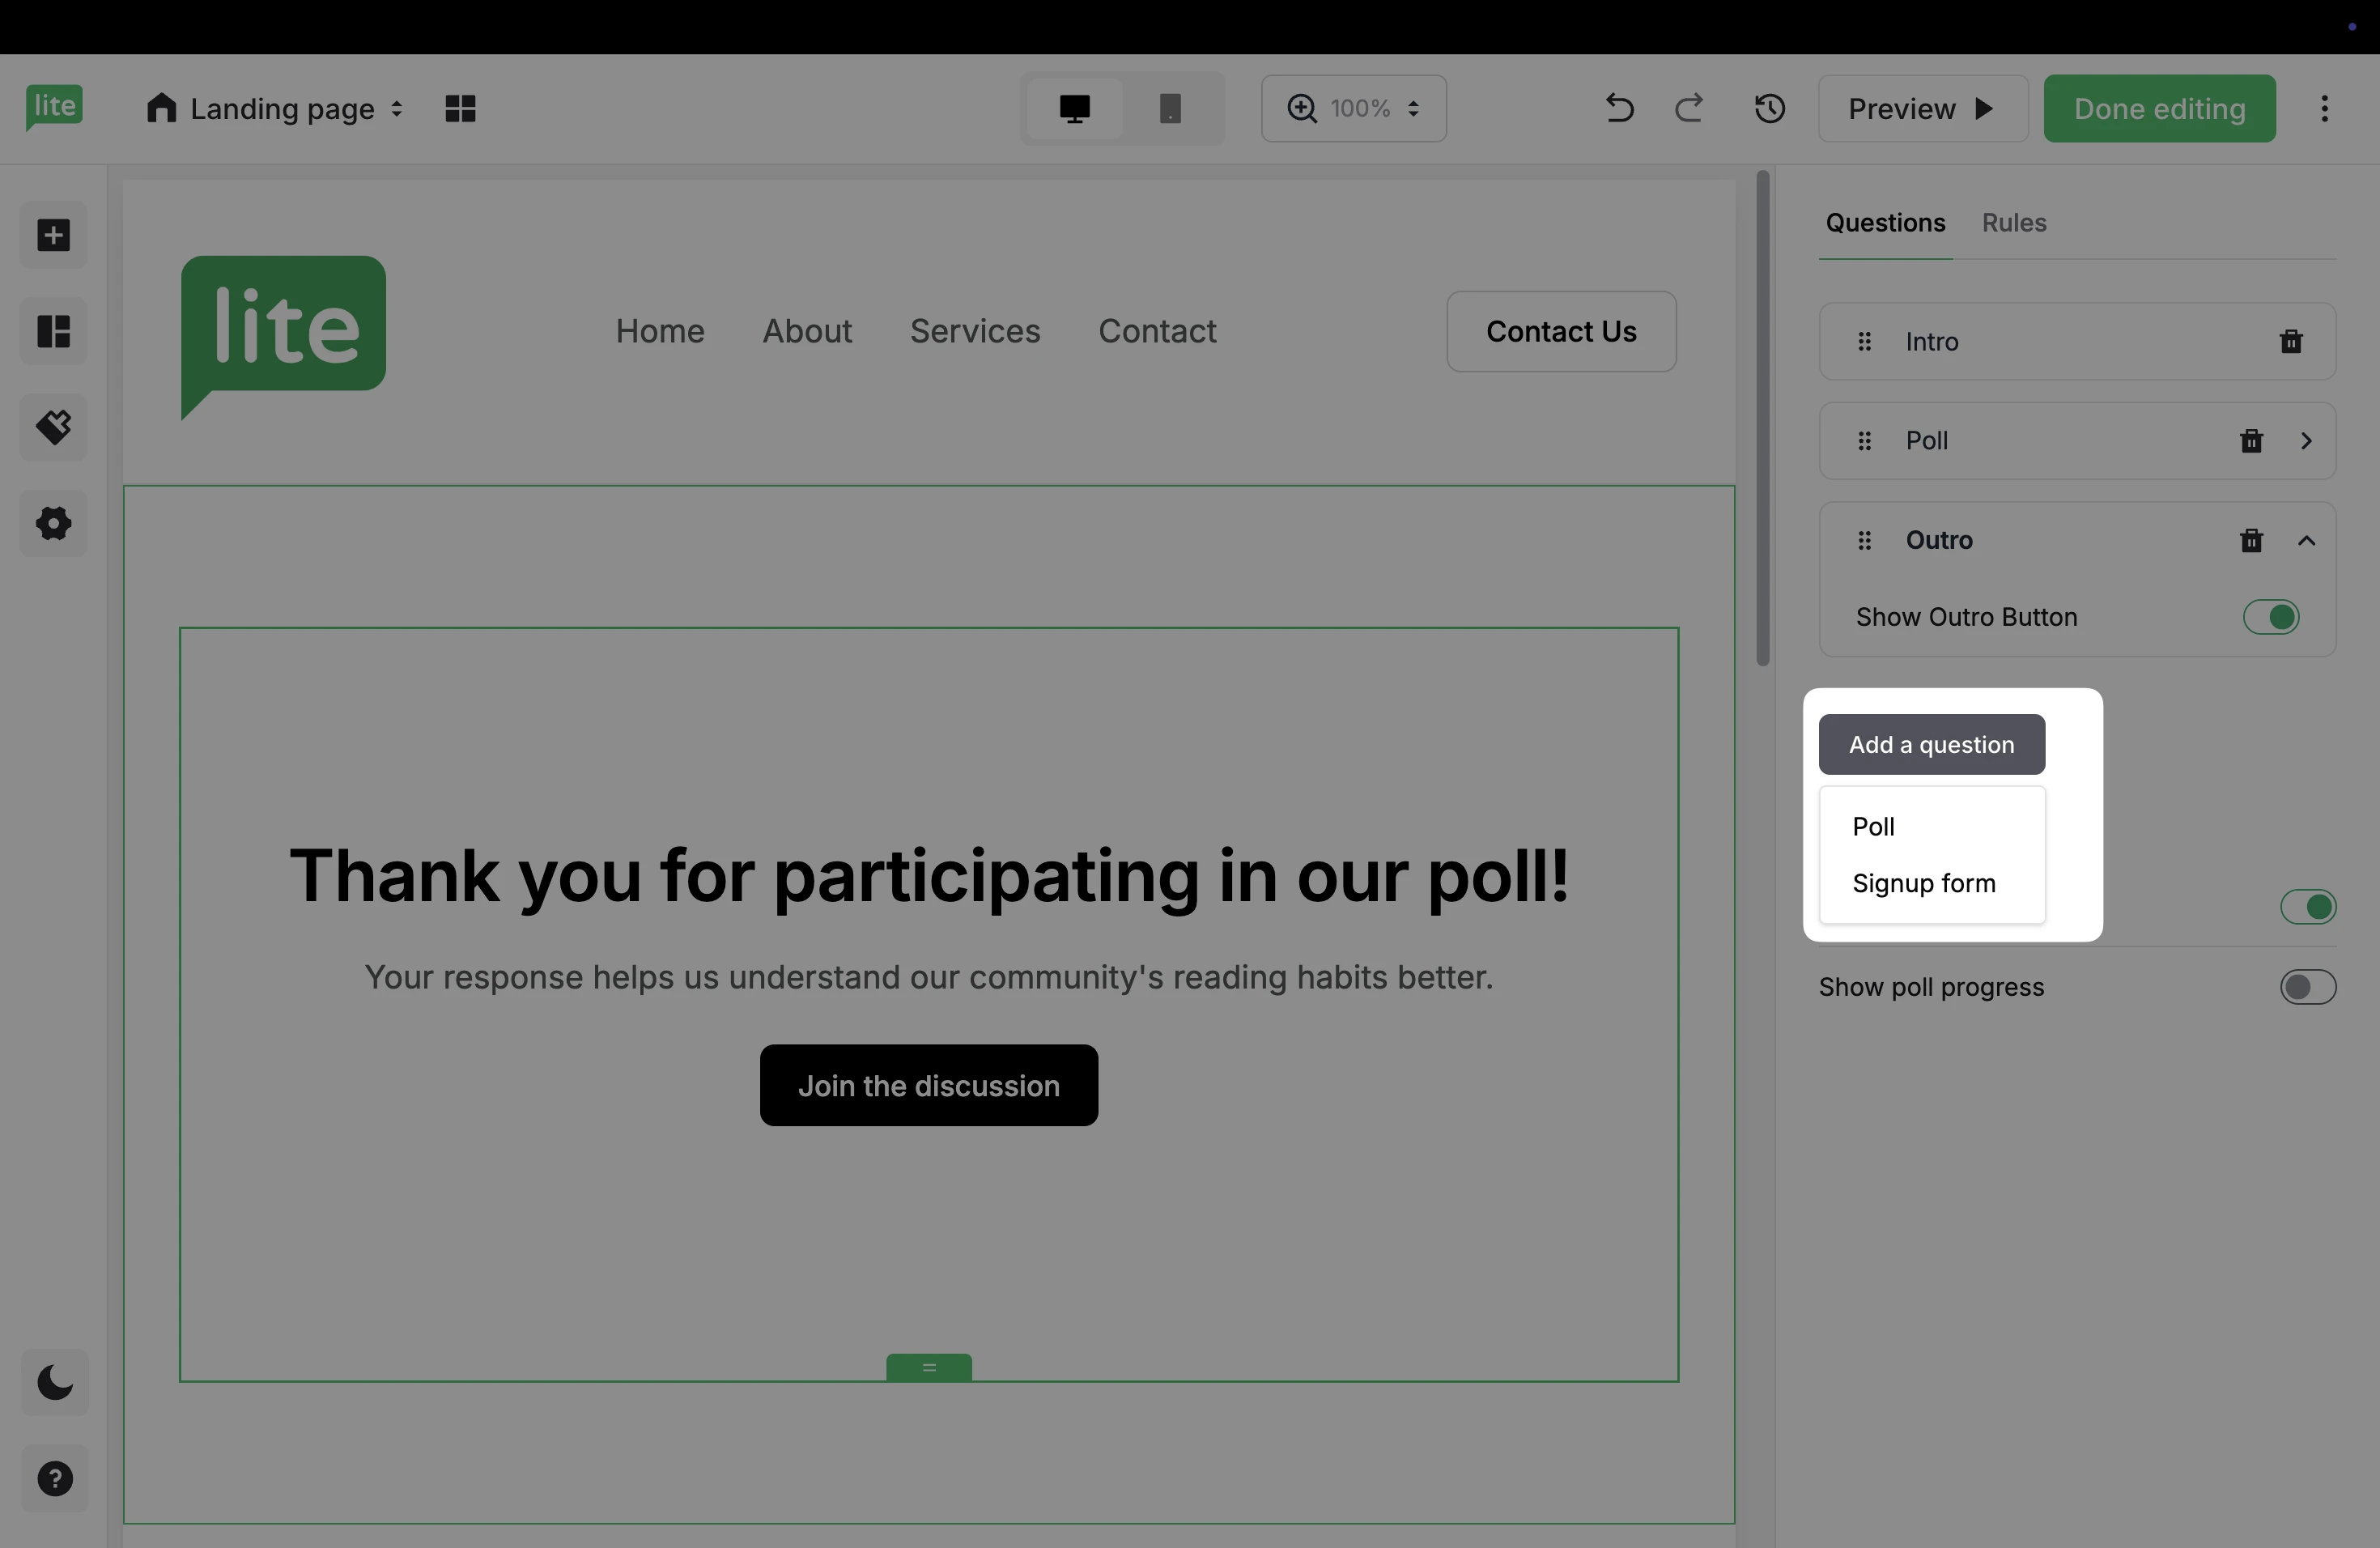
5. Choose between adding another poll question, or a Signup form that allows visitors to enter their email and become subscribers.
6. When adding a Signup form, select a subscriber group in MailerLite that email submissions will be added to.
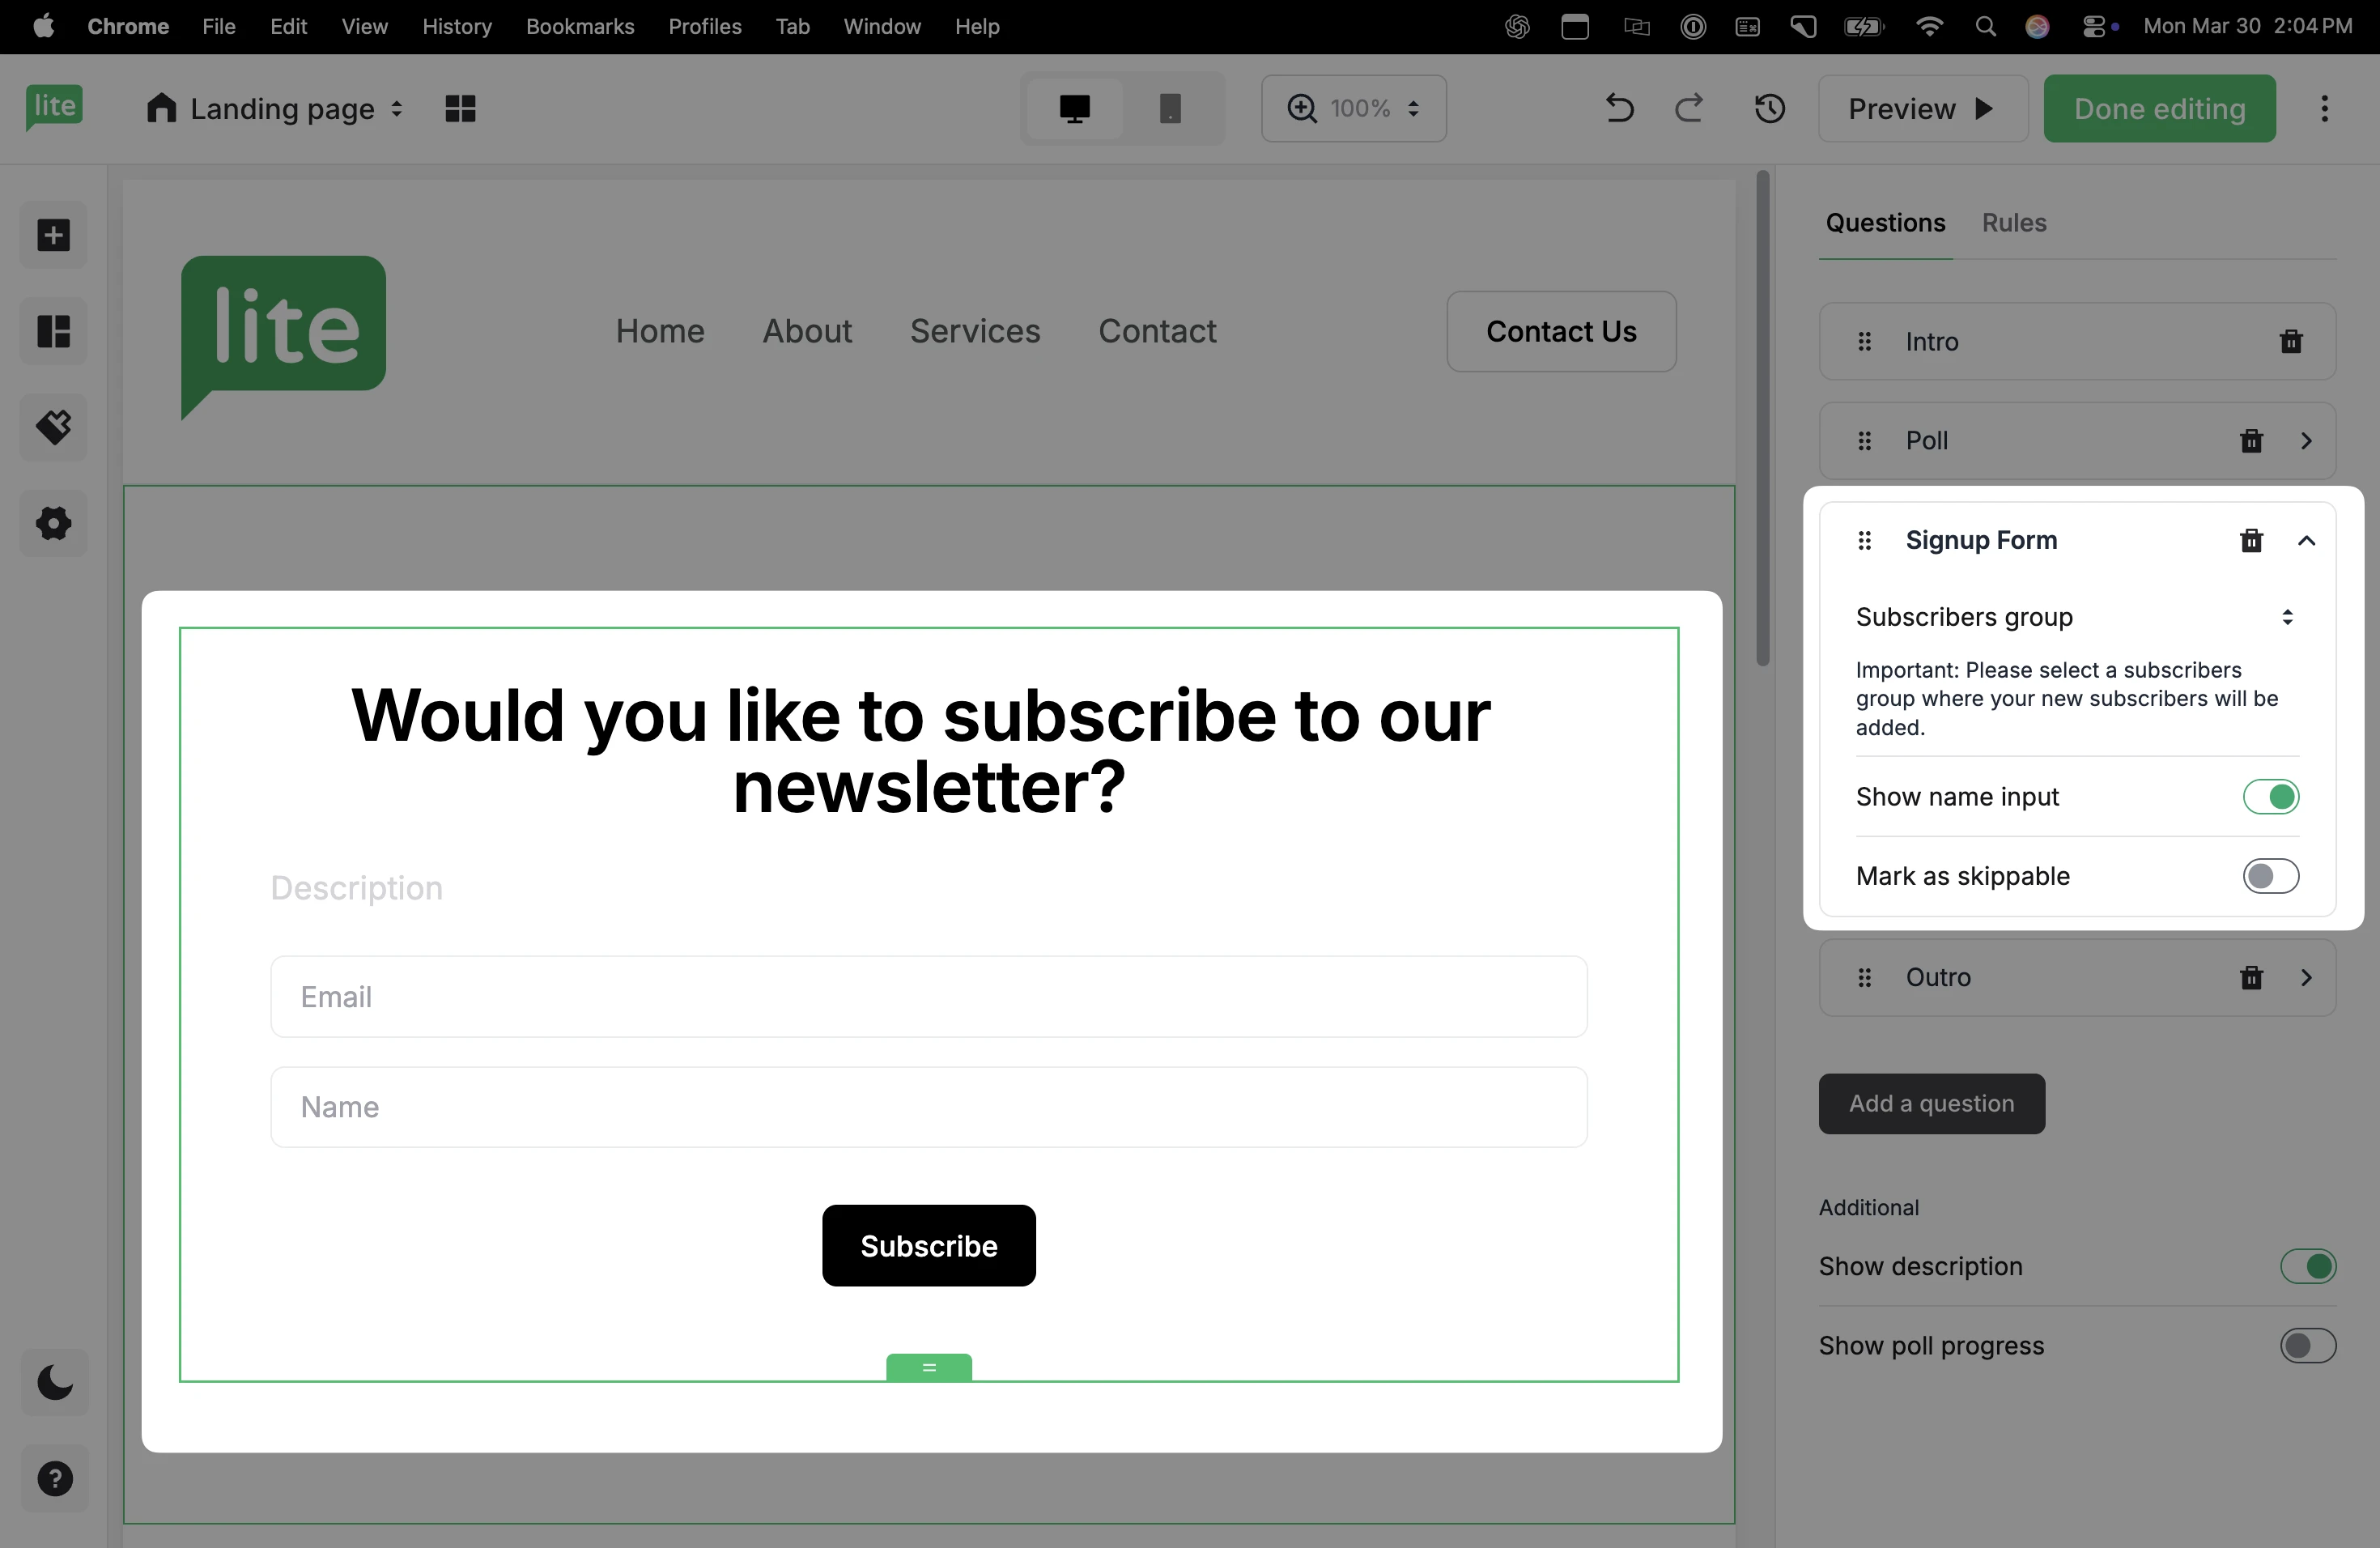
🔔 Keep in mind, answers to poll questions on landing pages will be anonymous unless the user enters their email address.
Step 4: Customize the outro
Add a message to the end of your poll to indicate that the visitor has completed it, or remove this page using the Trash icon.
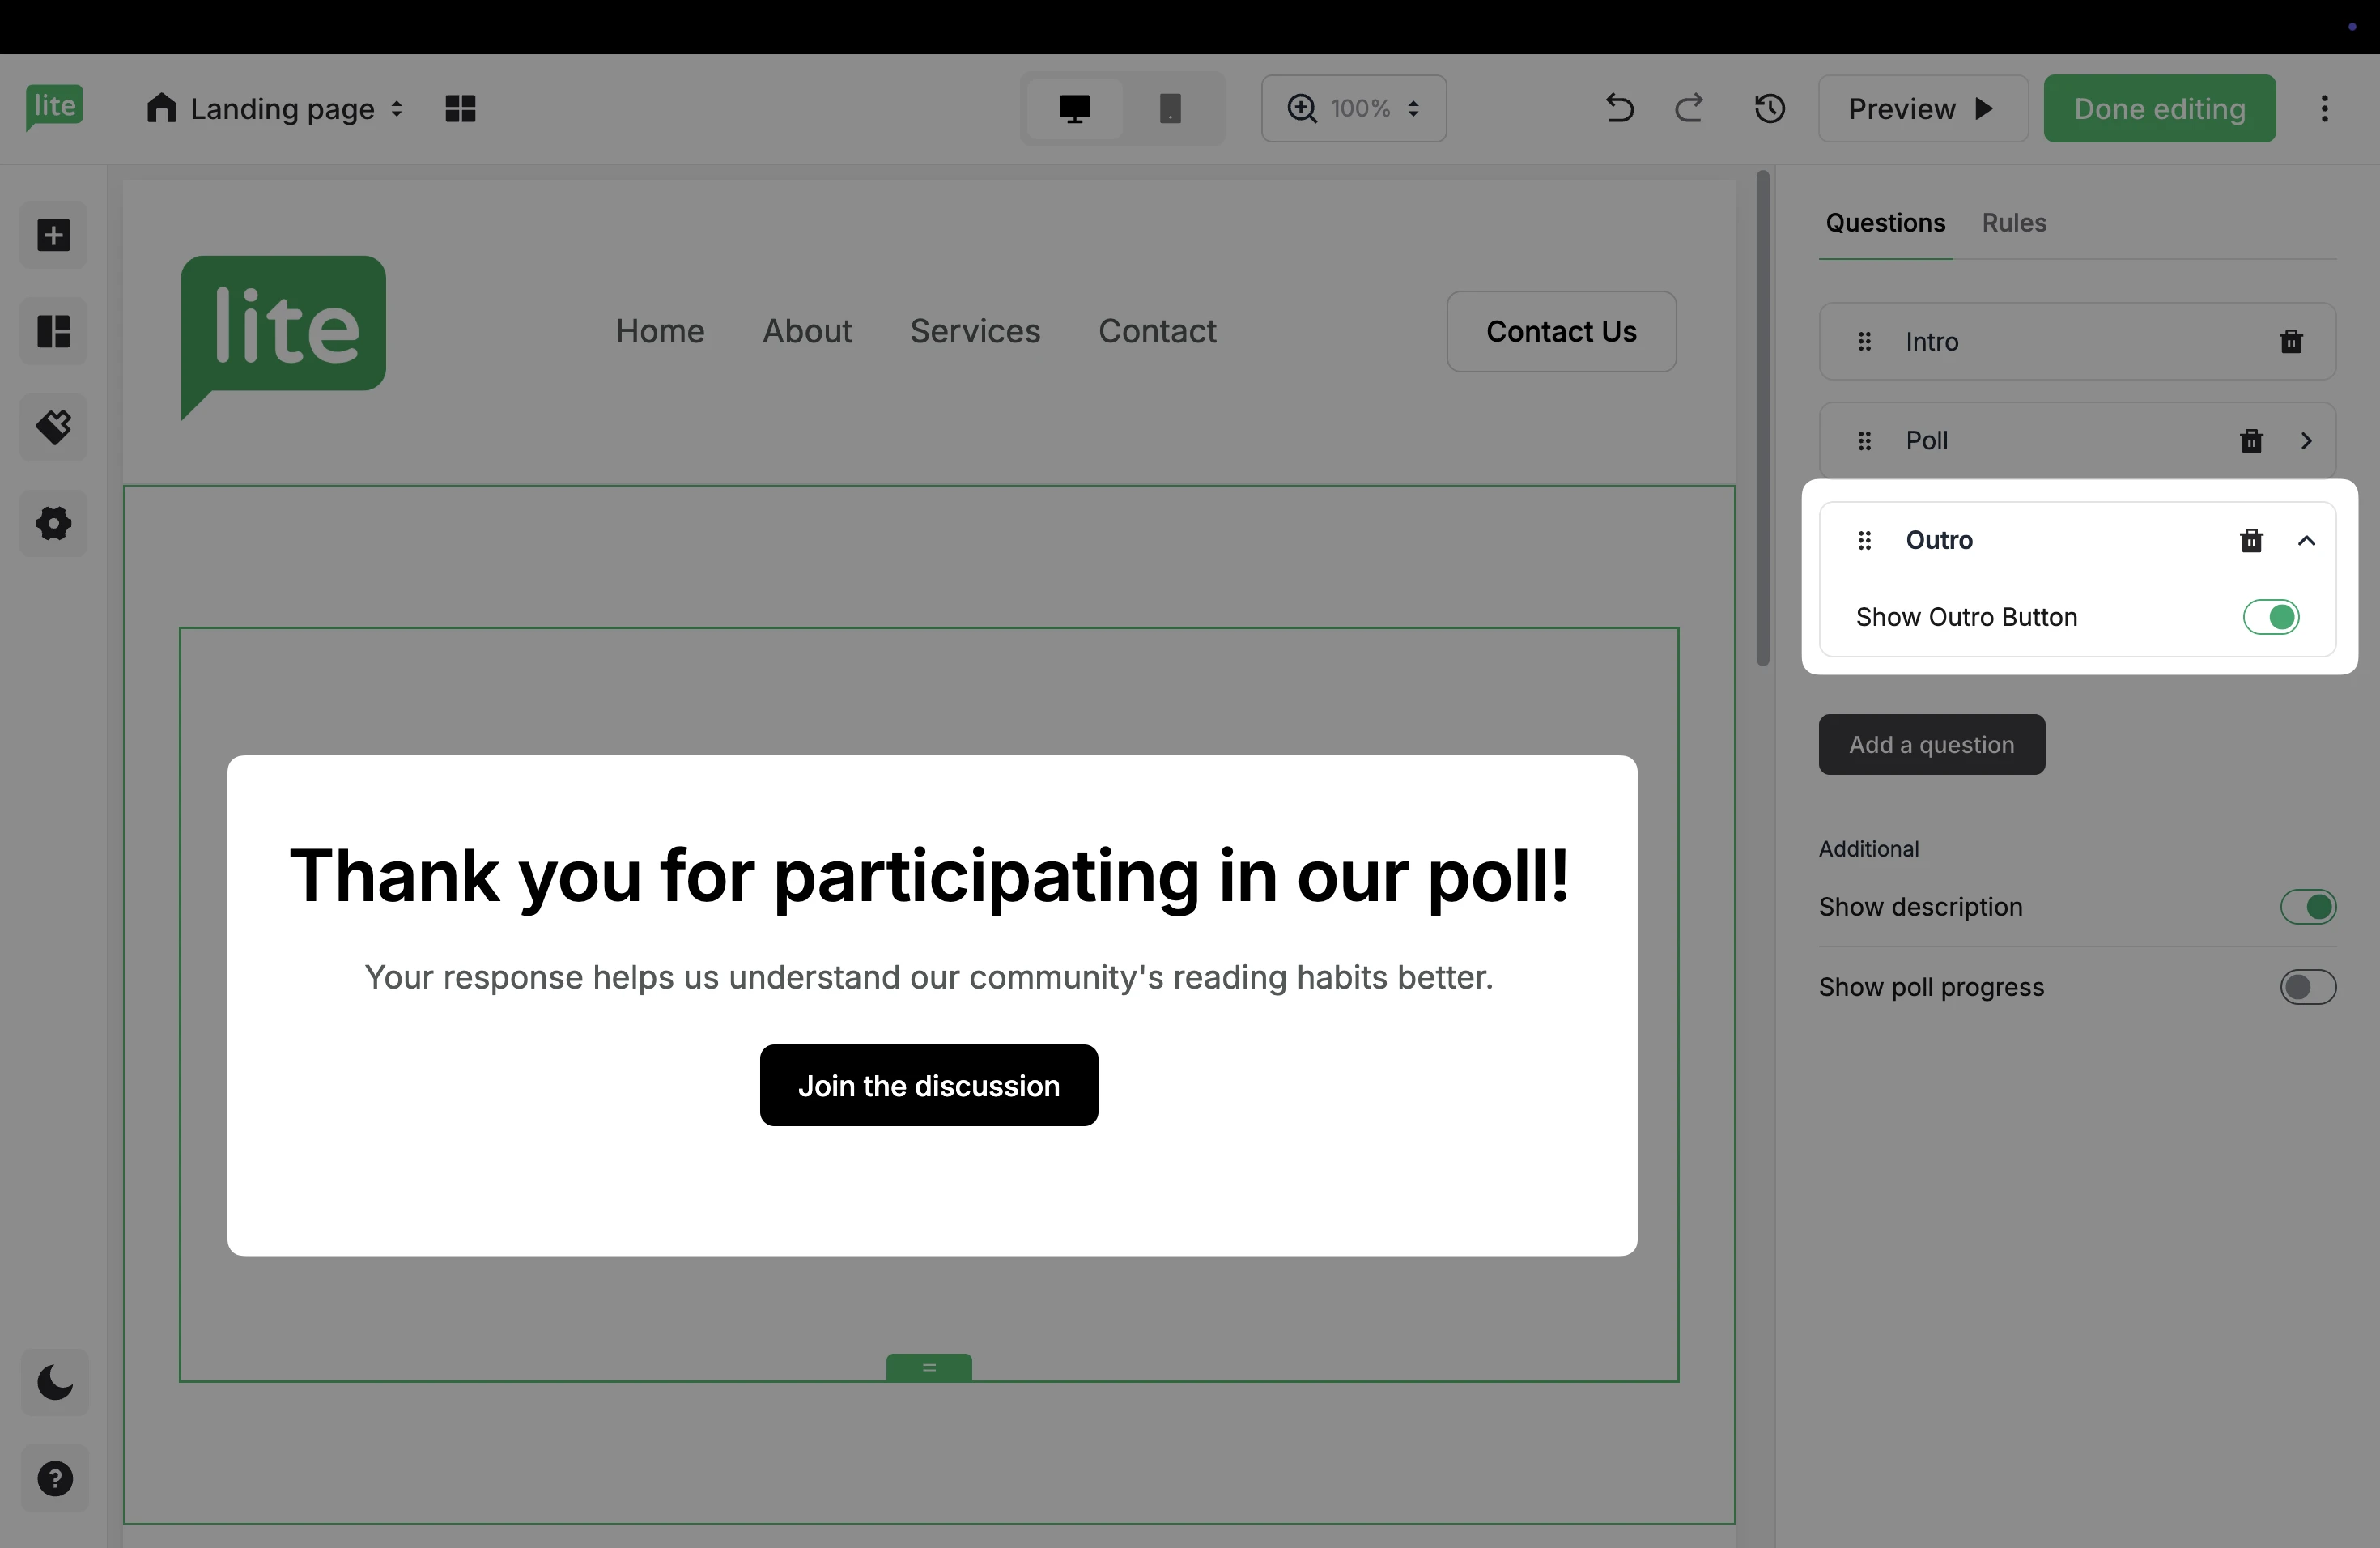
Use the toggle to add an Outro button.
When including an Outro button, select if the button will link to an external URL, Anchor block, Pop-up form, a different Landing page, or a File.

Use the toggle under Additional settings to remove the option to Show description, or Show poll progress.

Rules
The Rules tab lets you control what happens after someone answers a question. You can use it to skip steps, personalize the flow, or guide users to different outcomes.
In the right sidebar, open the Rules tab.
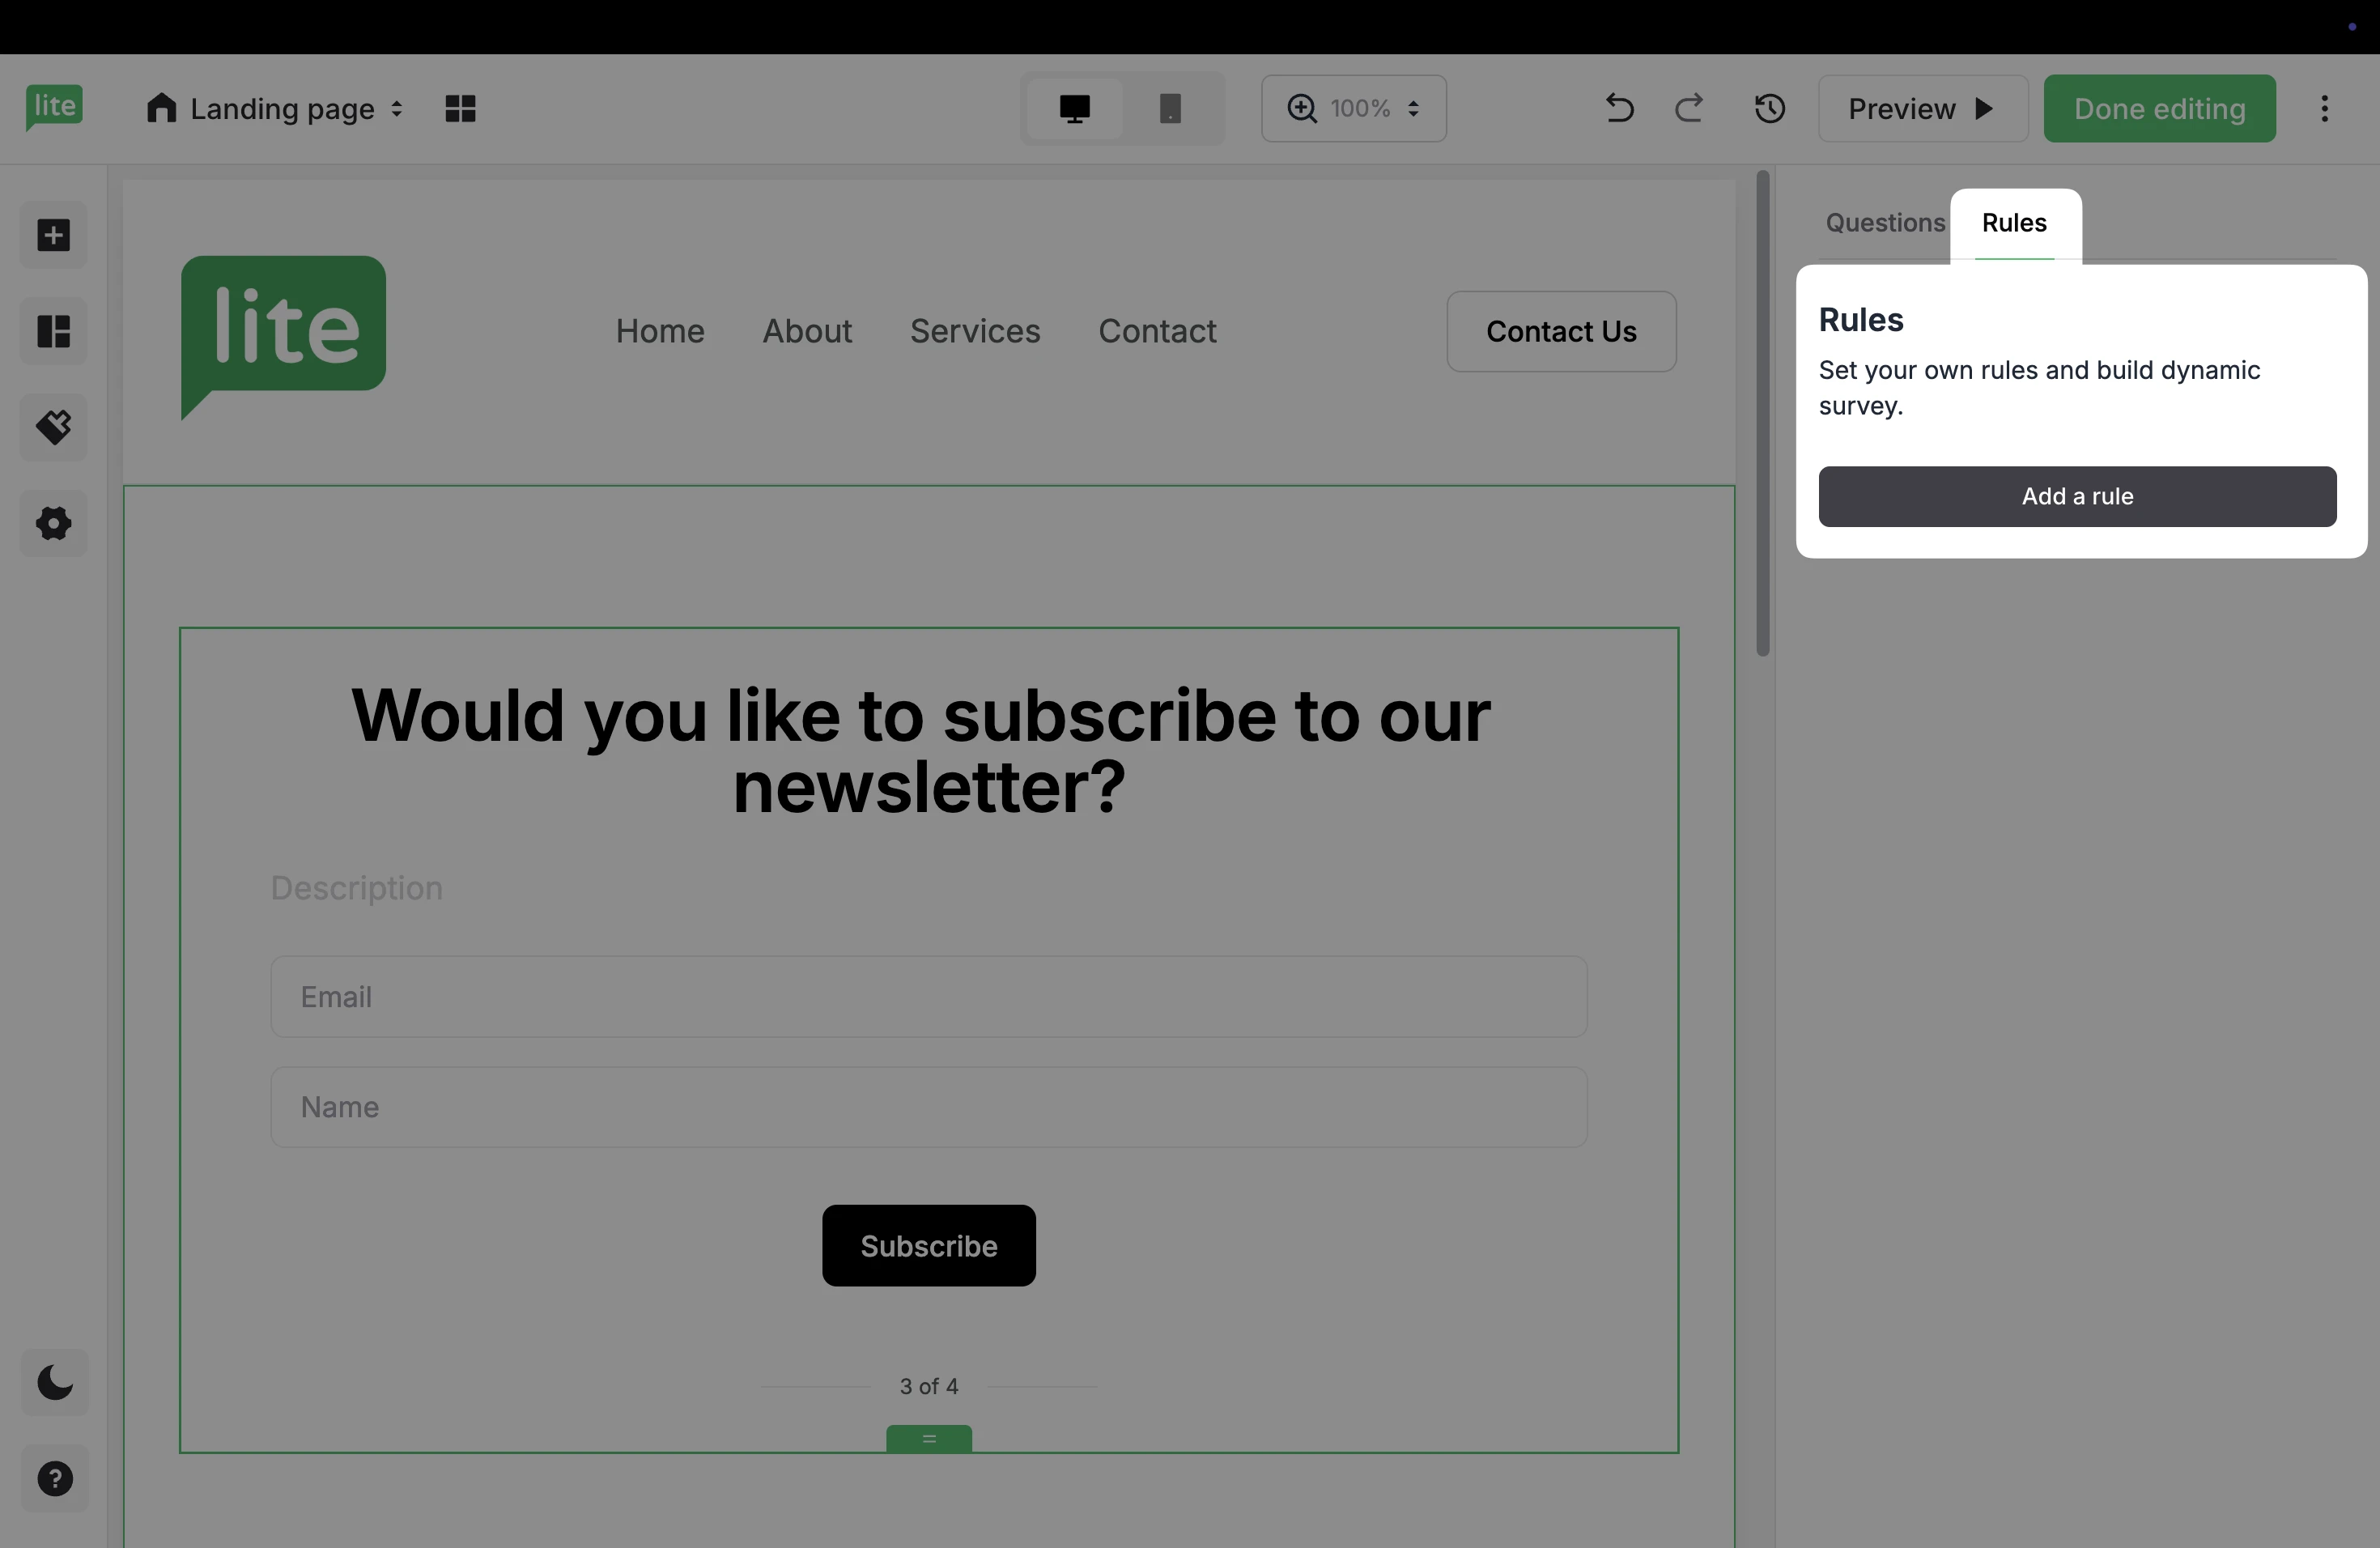
2. Click Add a rule.
3. Use the pencil icon to open the Rule settings.
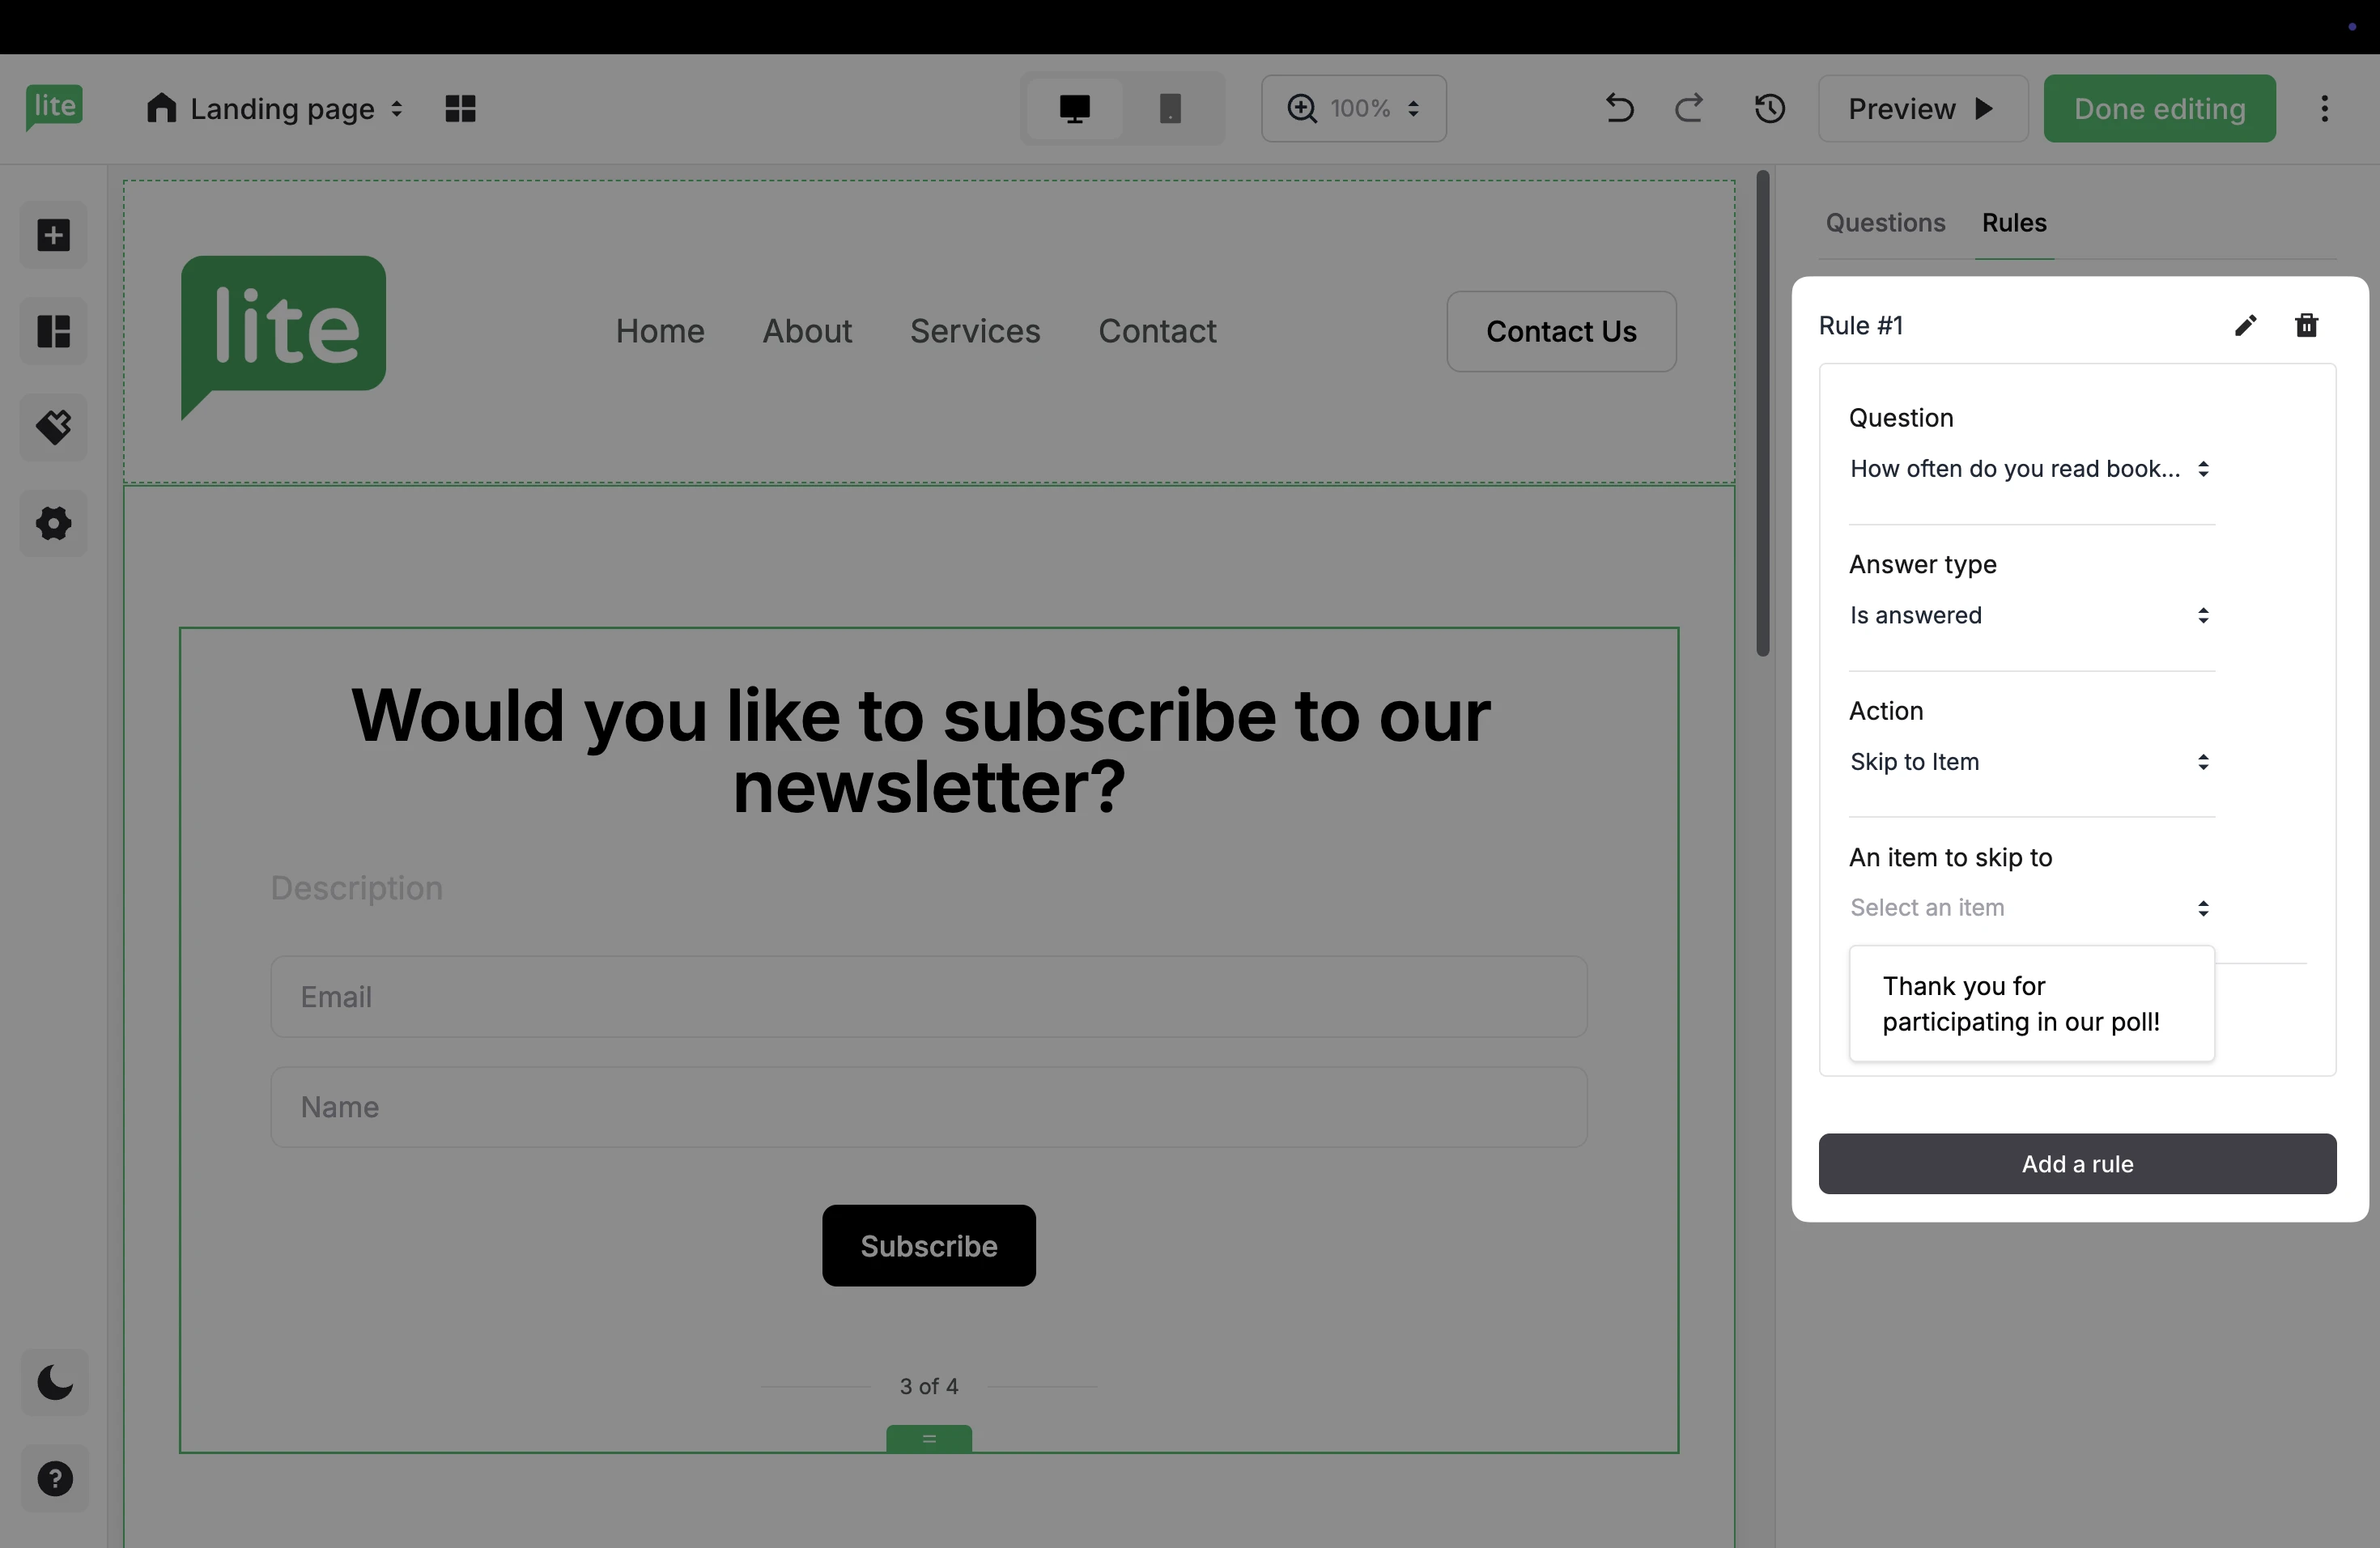
4. In the Question dropdown, select the question you want the rule to apply to.
5. In Answer type, choose how the rule should trigger:
Is answered → triggers when the question is completed
Is answered with a specific answer → triggers only when a specific answer is selected.
6. In Action, select Skip to item → jumps the user to another step in the poll.
7. In An item to skip to, choose the step users should go to.
8. Click Save.
9. To add more Rules, click Add a rule.
10. Click Done editing to save and exit the landing page editor when you are finished.
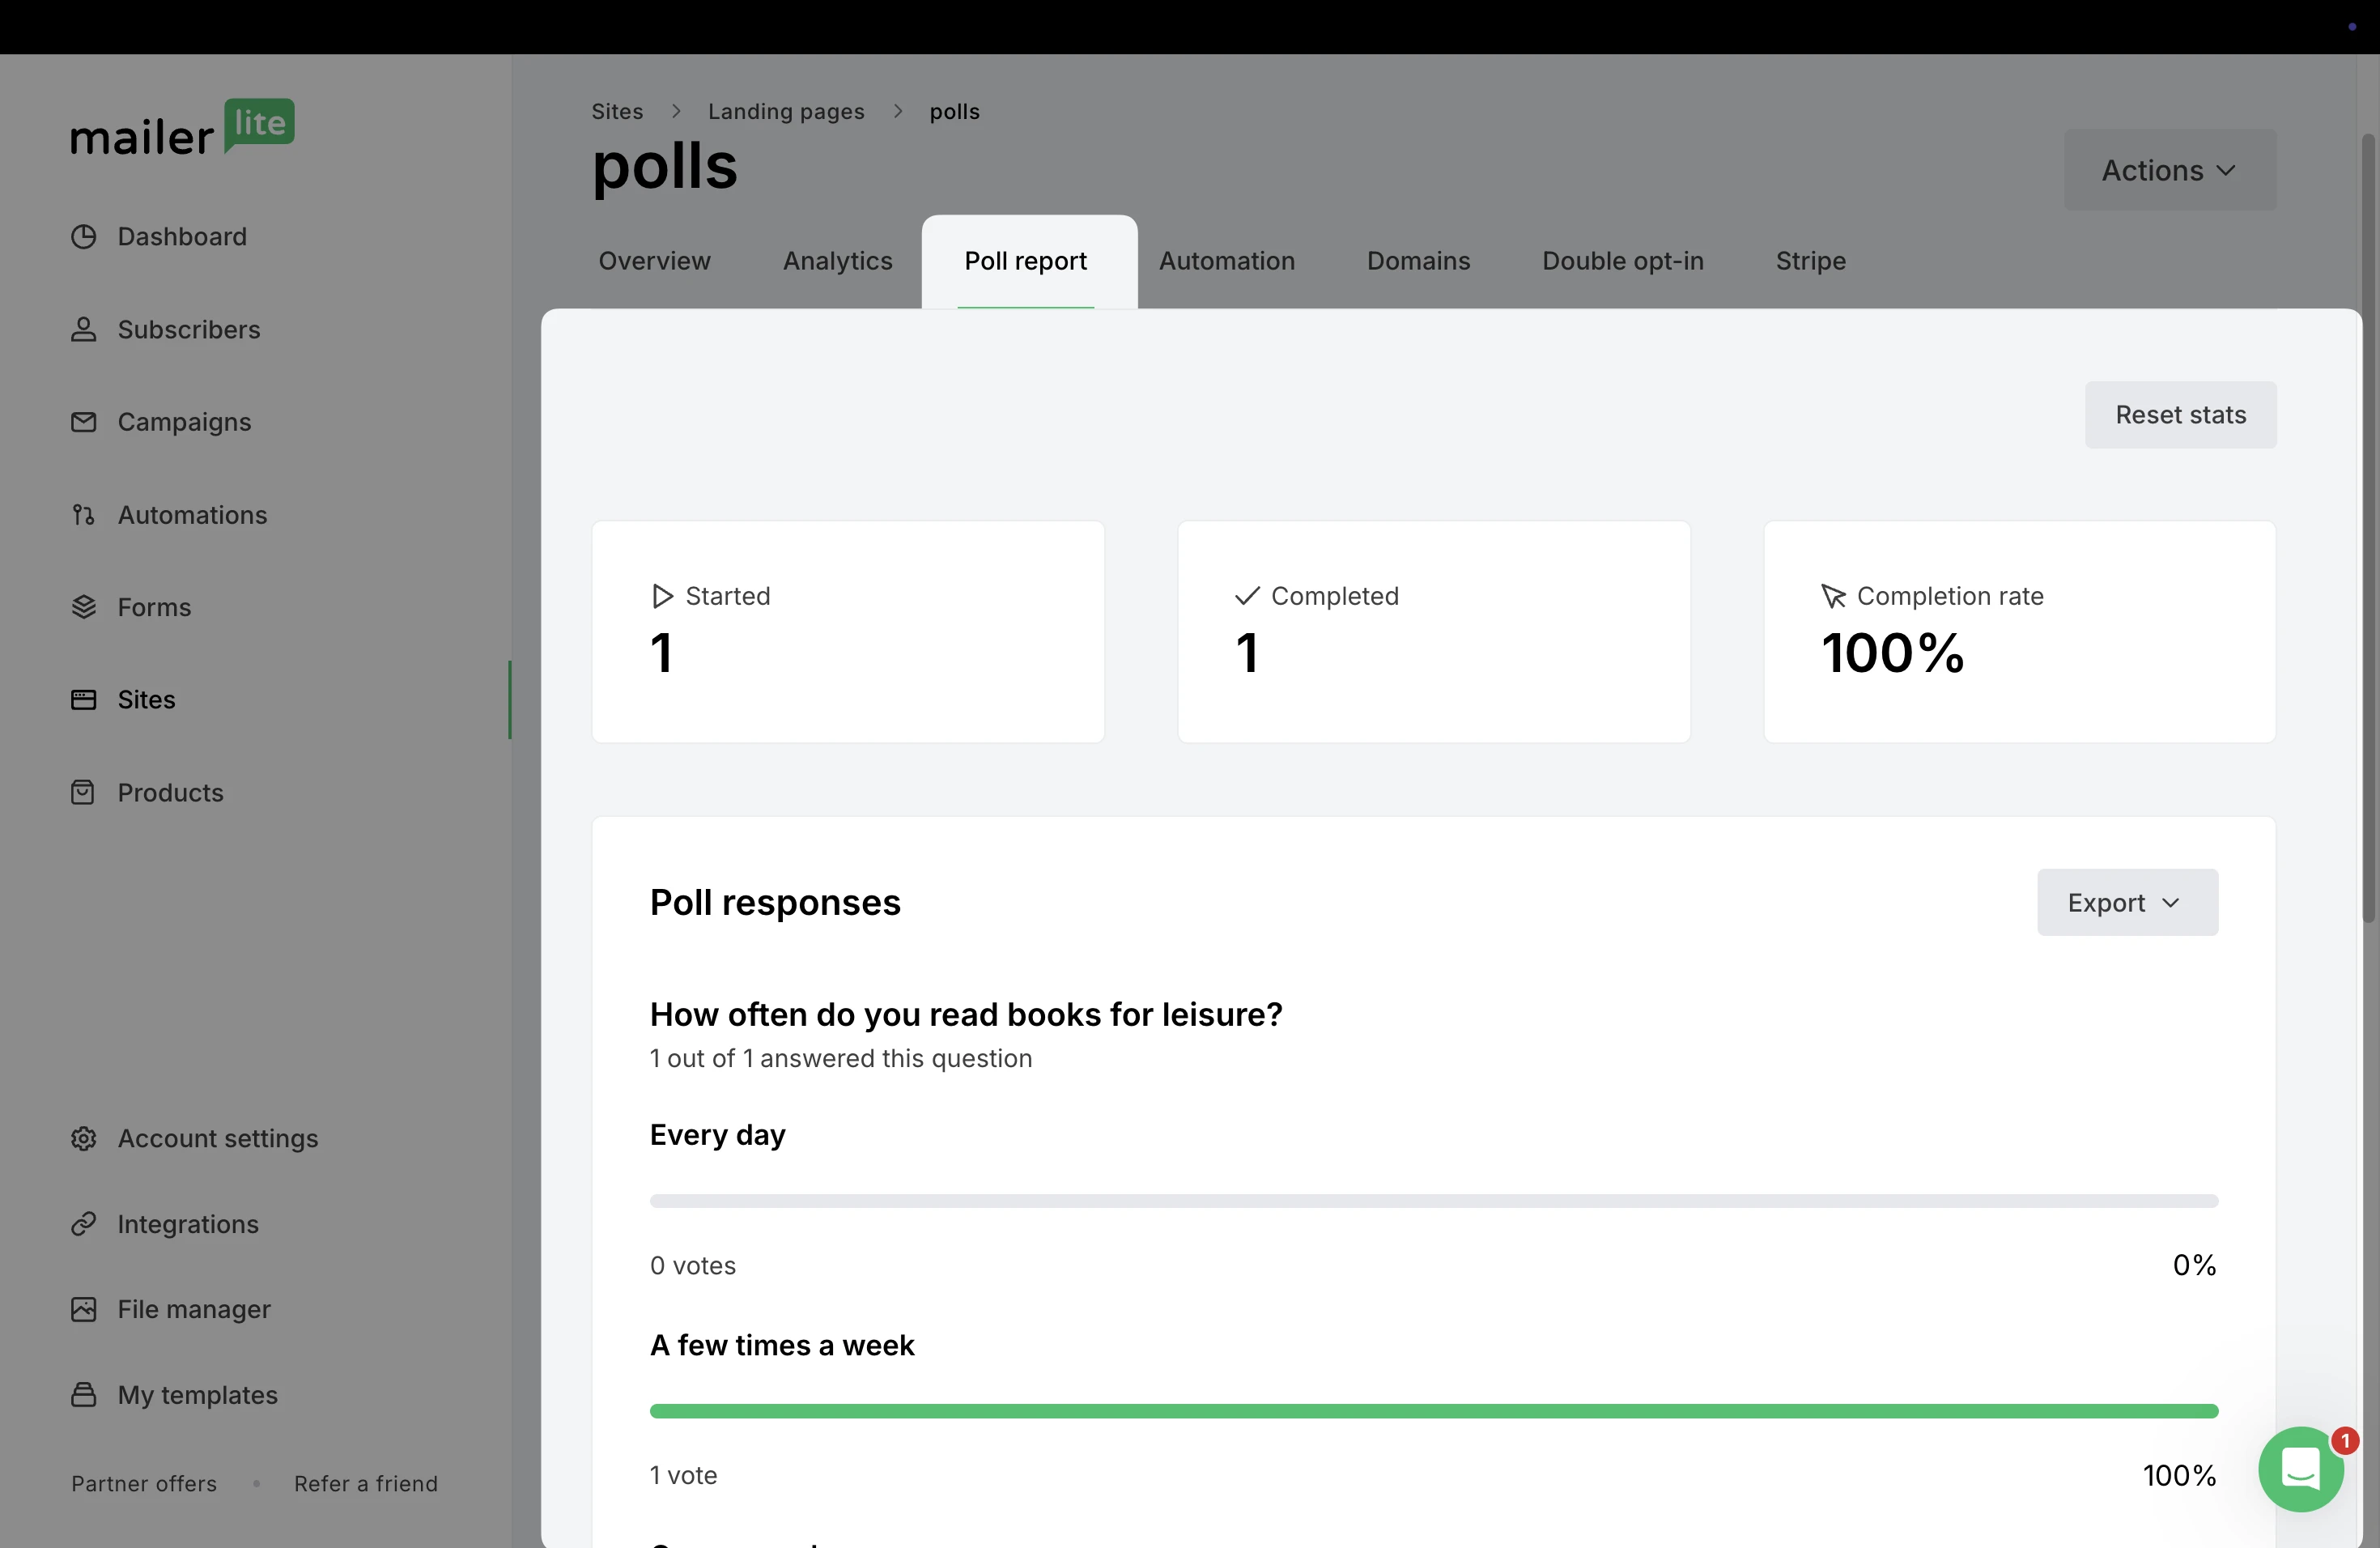
Track poll responses
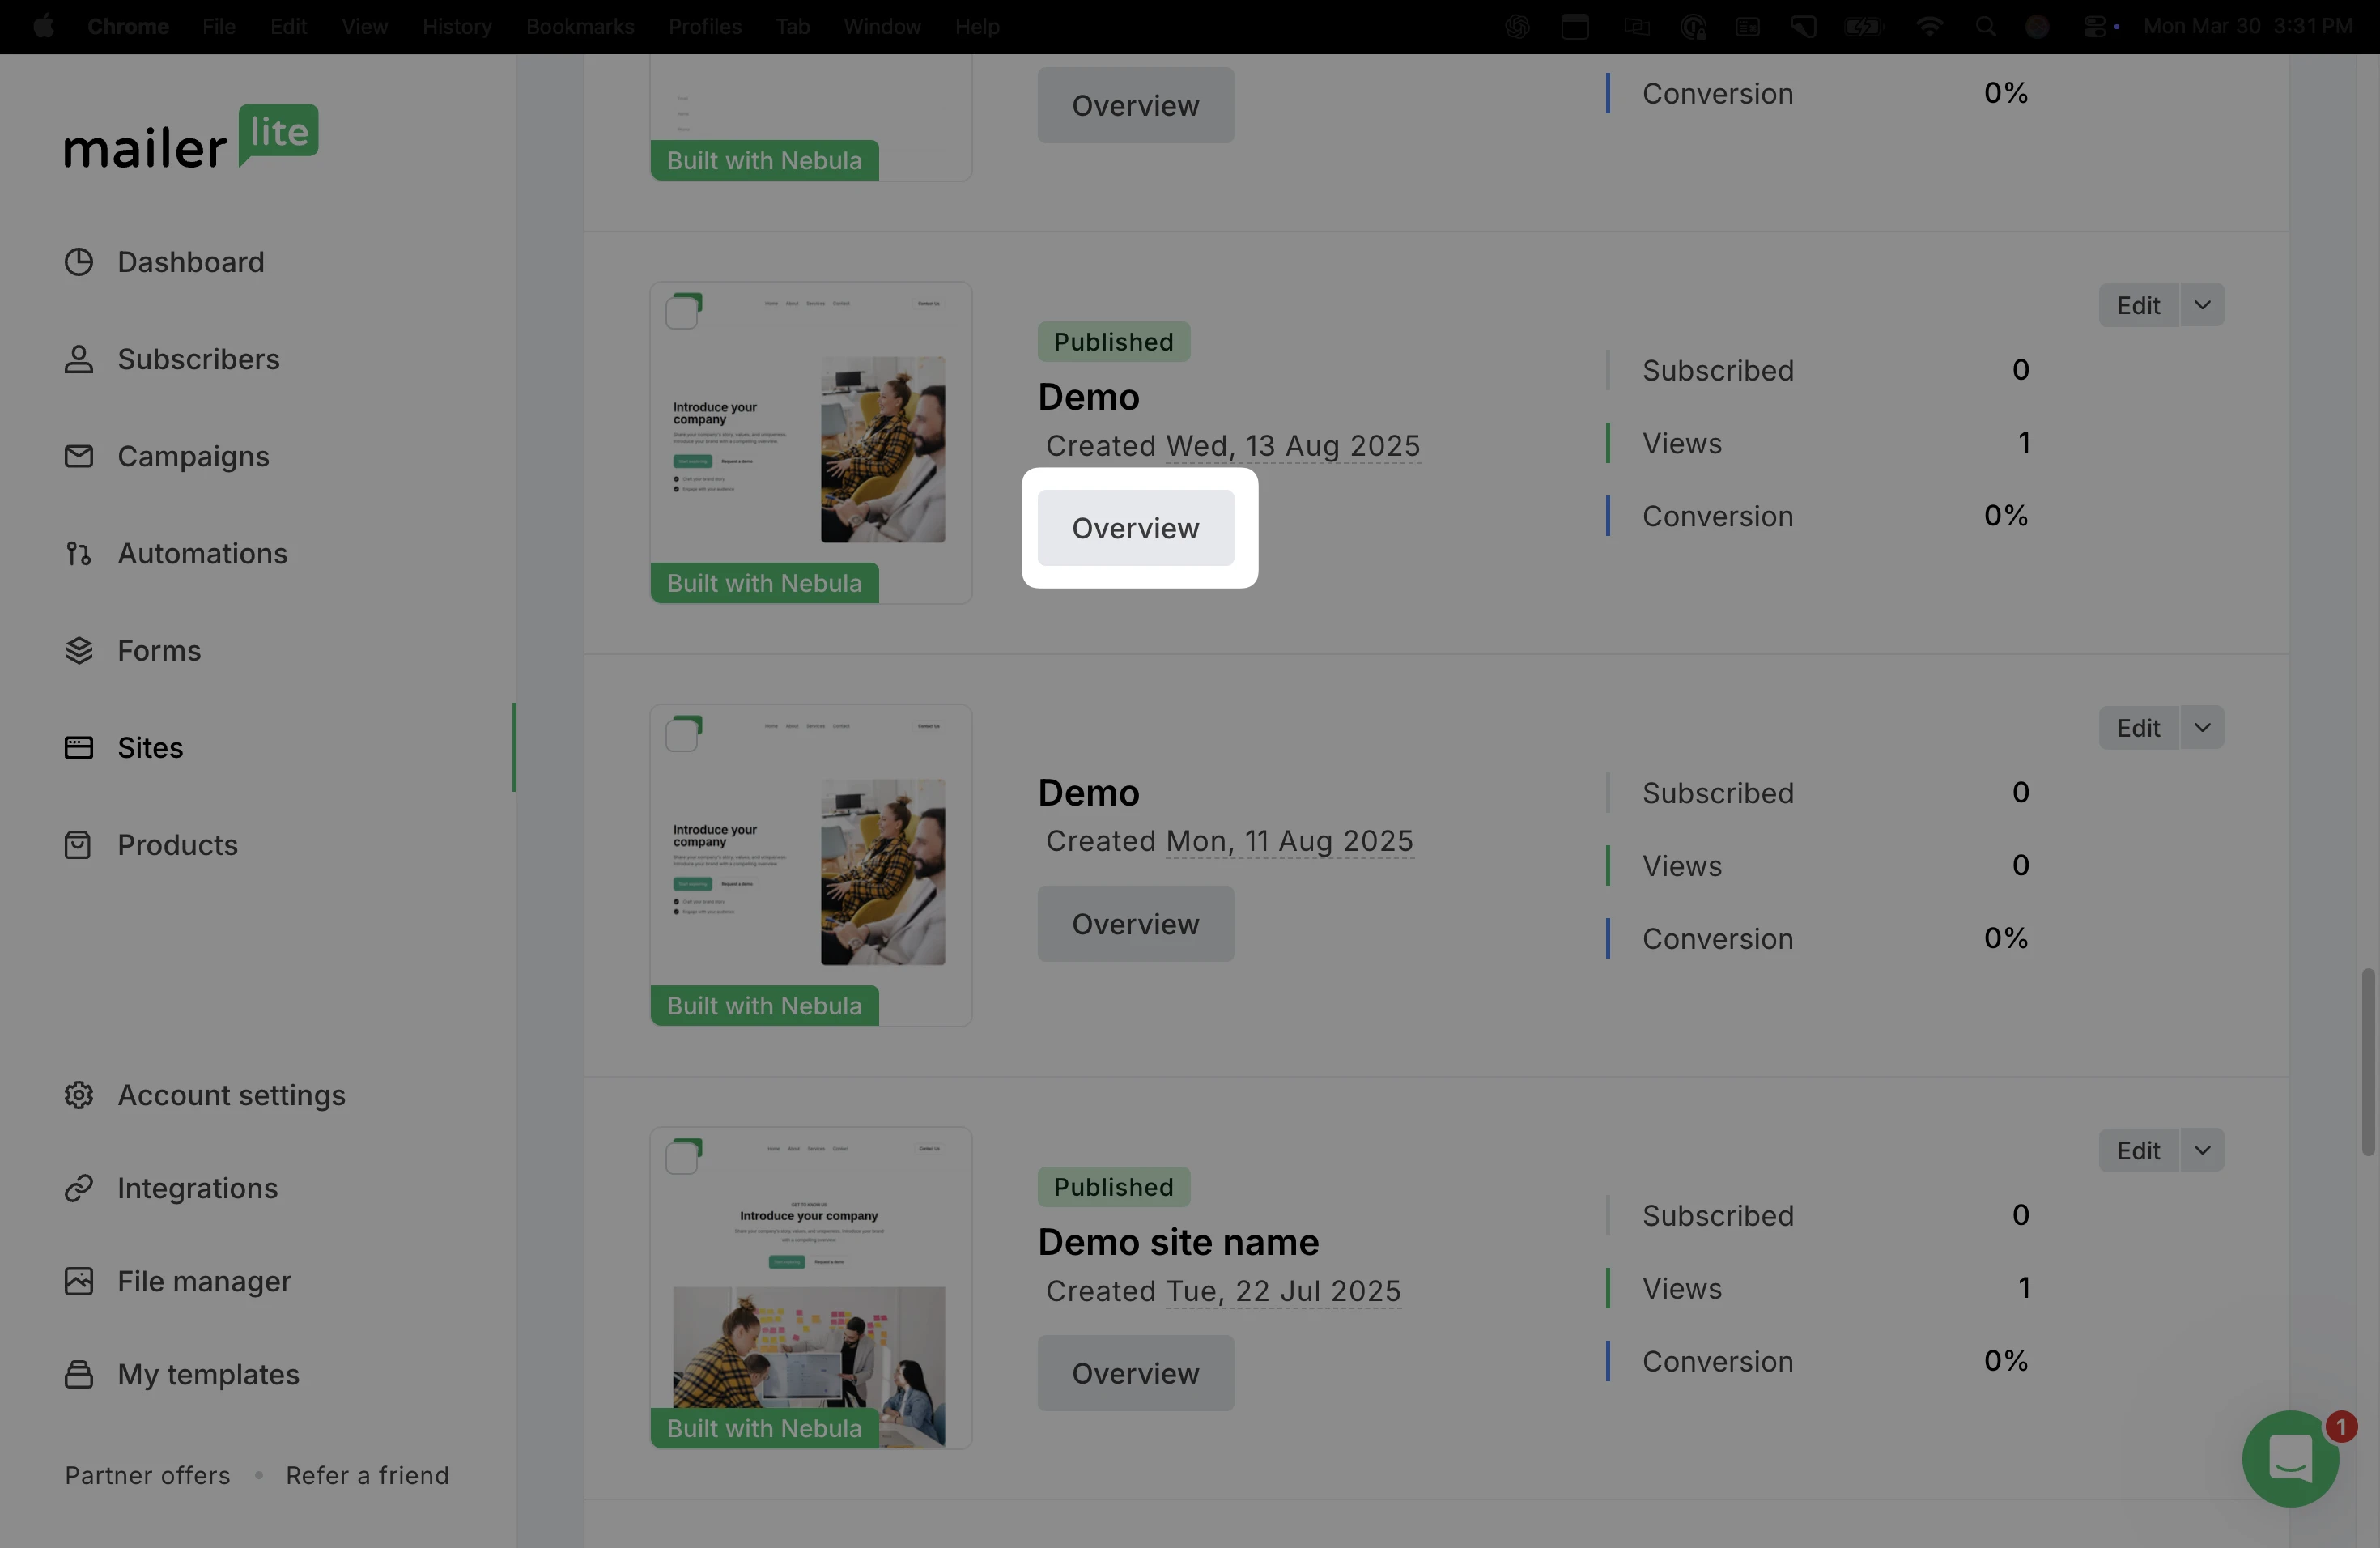
Once your landing page has been published, visitors can begin submitting answers to your poll. To see these responses and track any new subscribers:
Click Overview for the landing page that contains your poll.
2. In the Poll report tab, you can view and export general answer data, as well as see any subscribers who submitted their info via a signup form.
⚠️ Keep in mind, once poll responses are submitted, it will no longer be possible to make additional changes to the rules or questions.