Note: If you're a Legacy (Classic) user, please log in to your account to access the dedicated Legacy (Classic) Help Center.
The MailerLite plugin for WooCommerce allows you to automatically sync your WooCommerce customers with your MailerLite subscribers.
How to set up the MailerLite plugin for WooCommerce
To install the MailerLite plugin for WooCommerce:
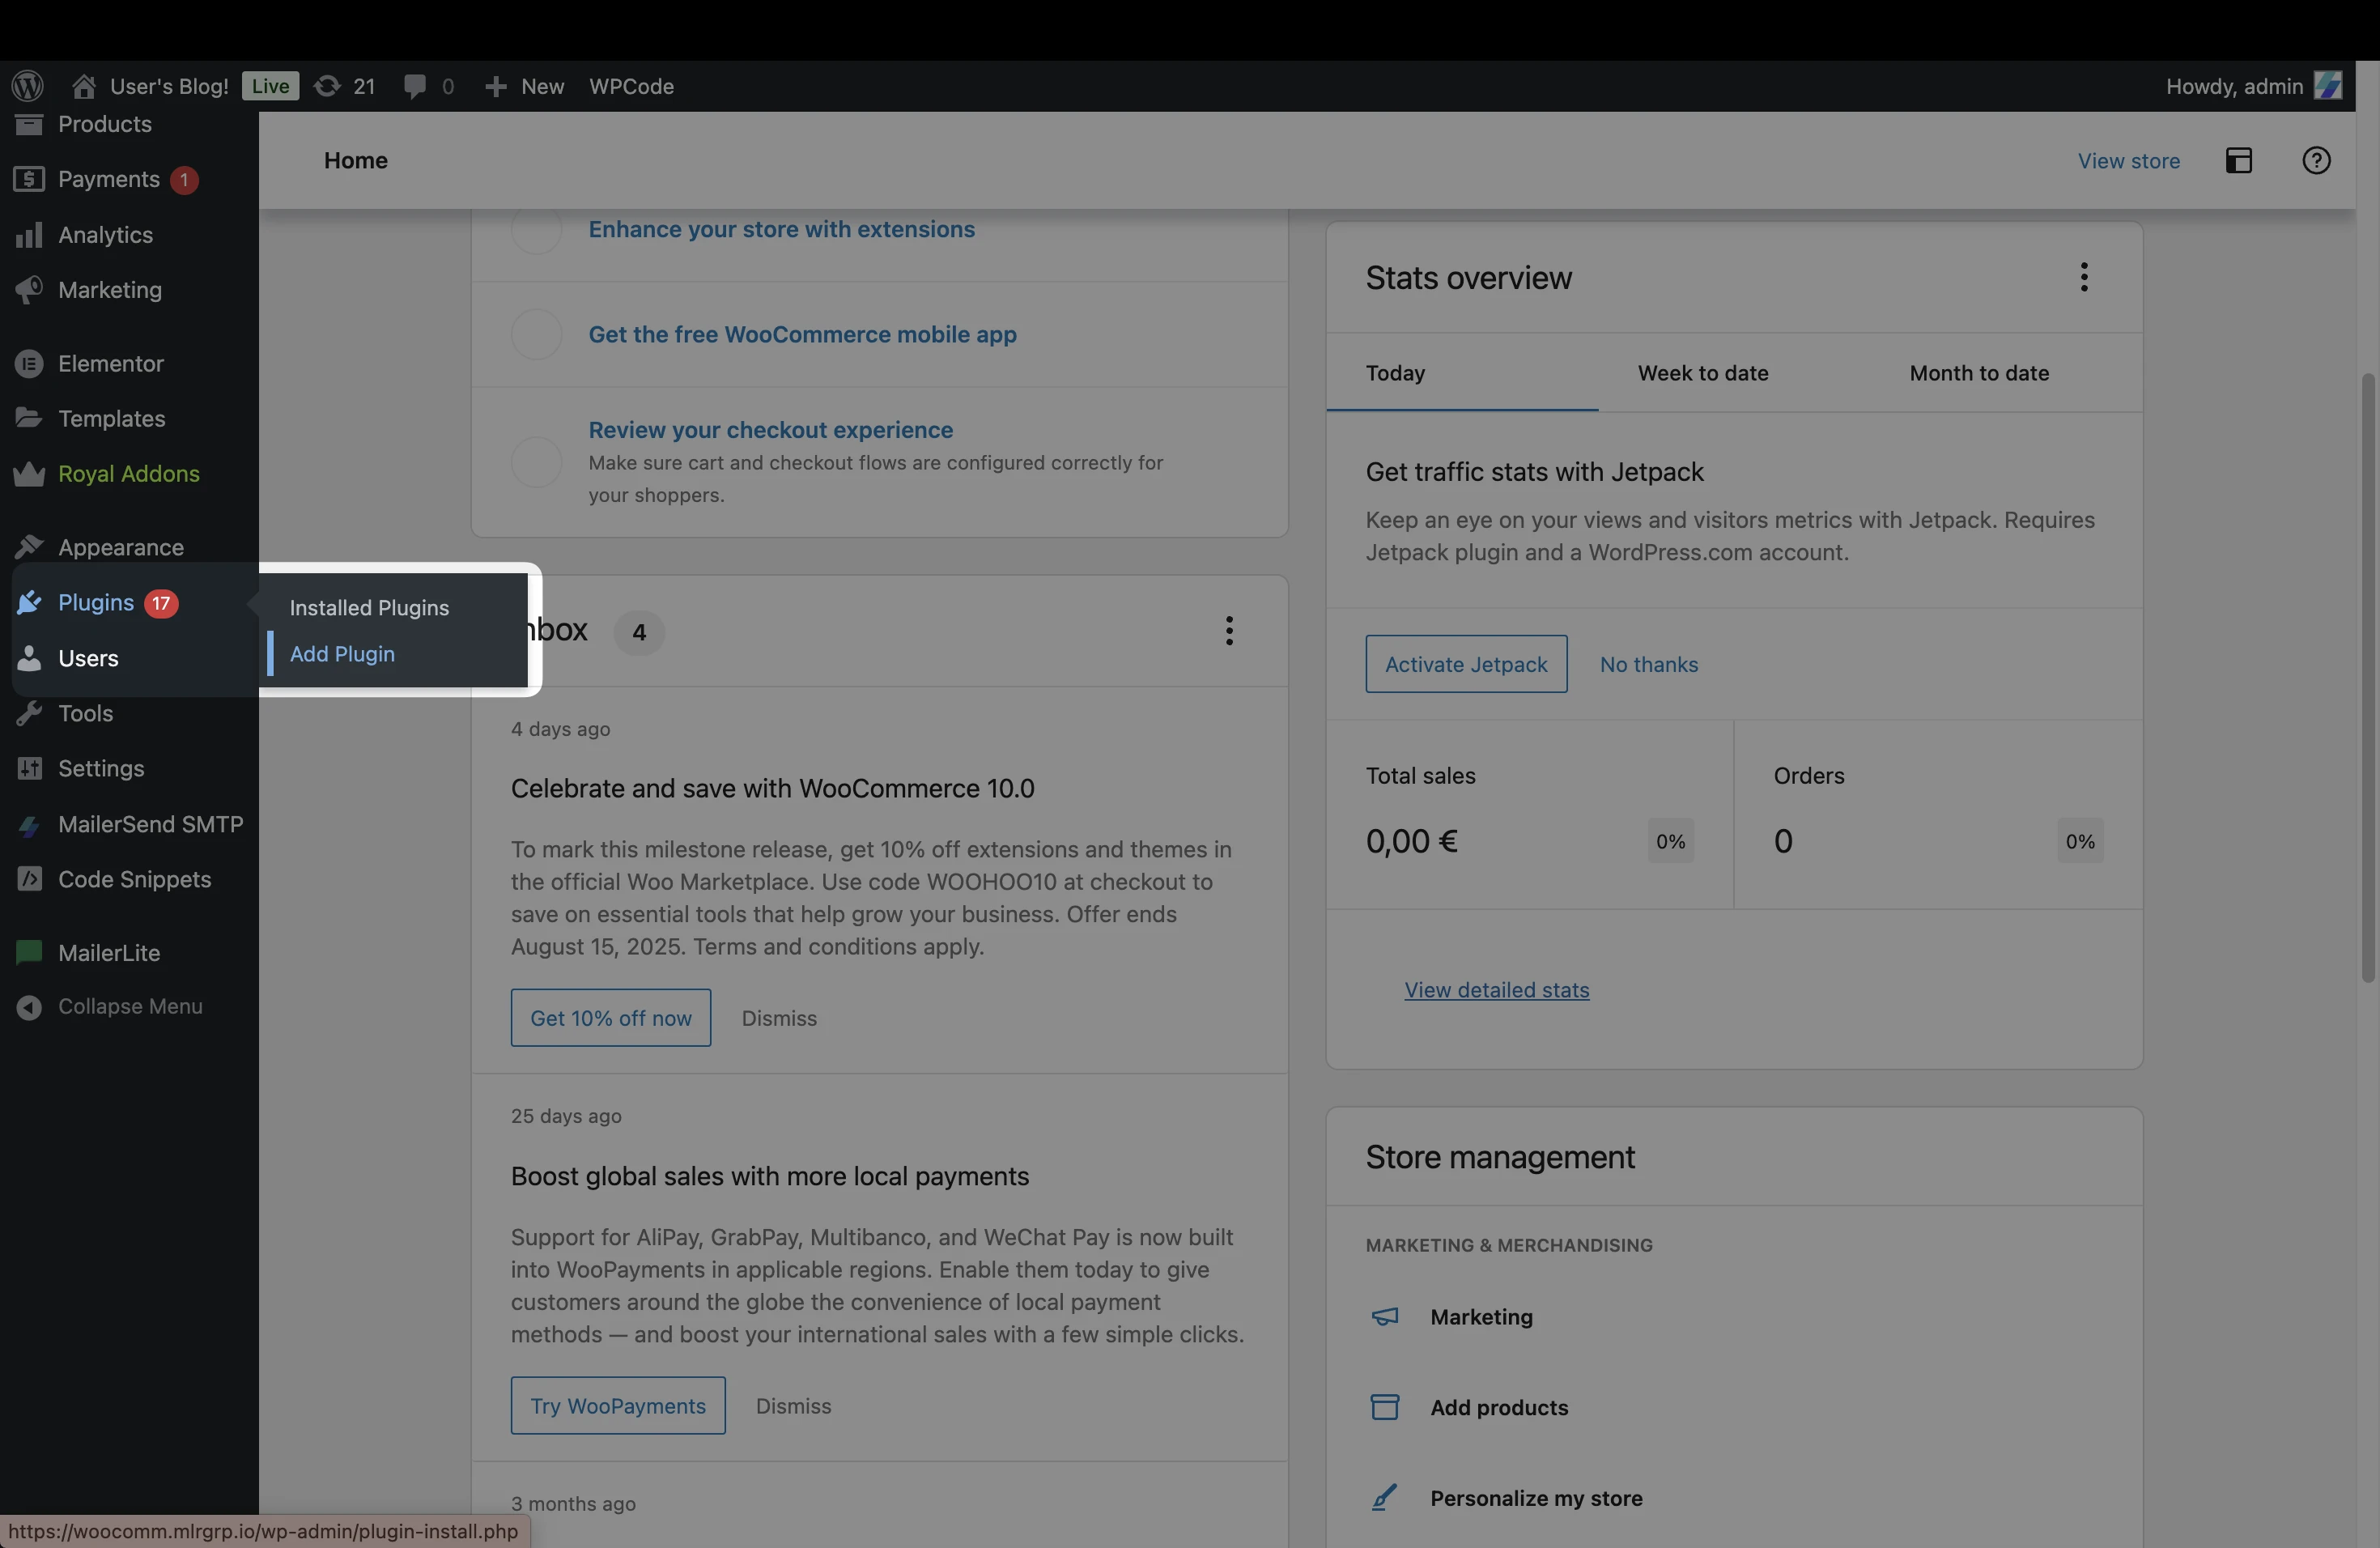
Go to your WordPress dashboard.
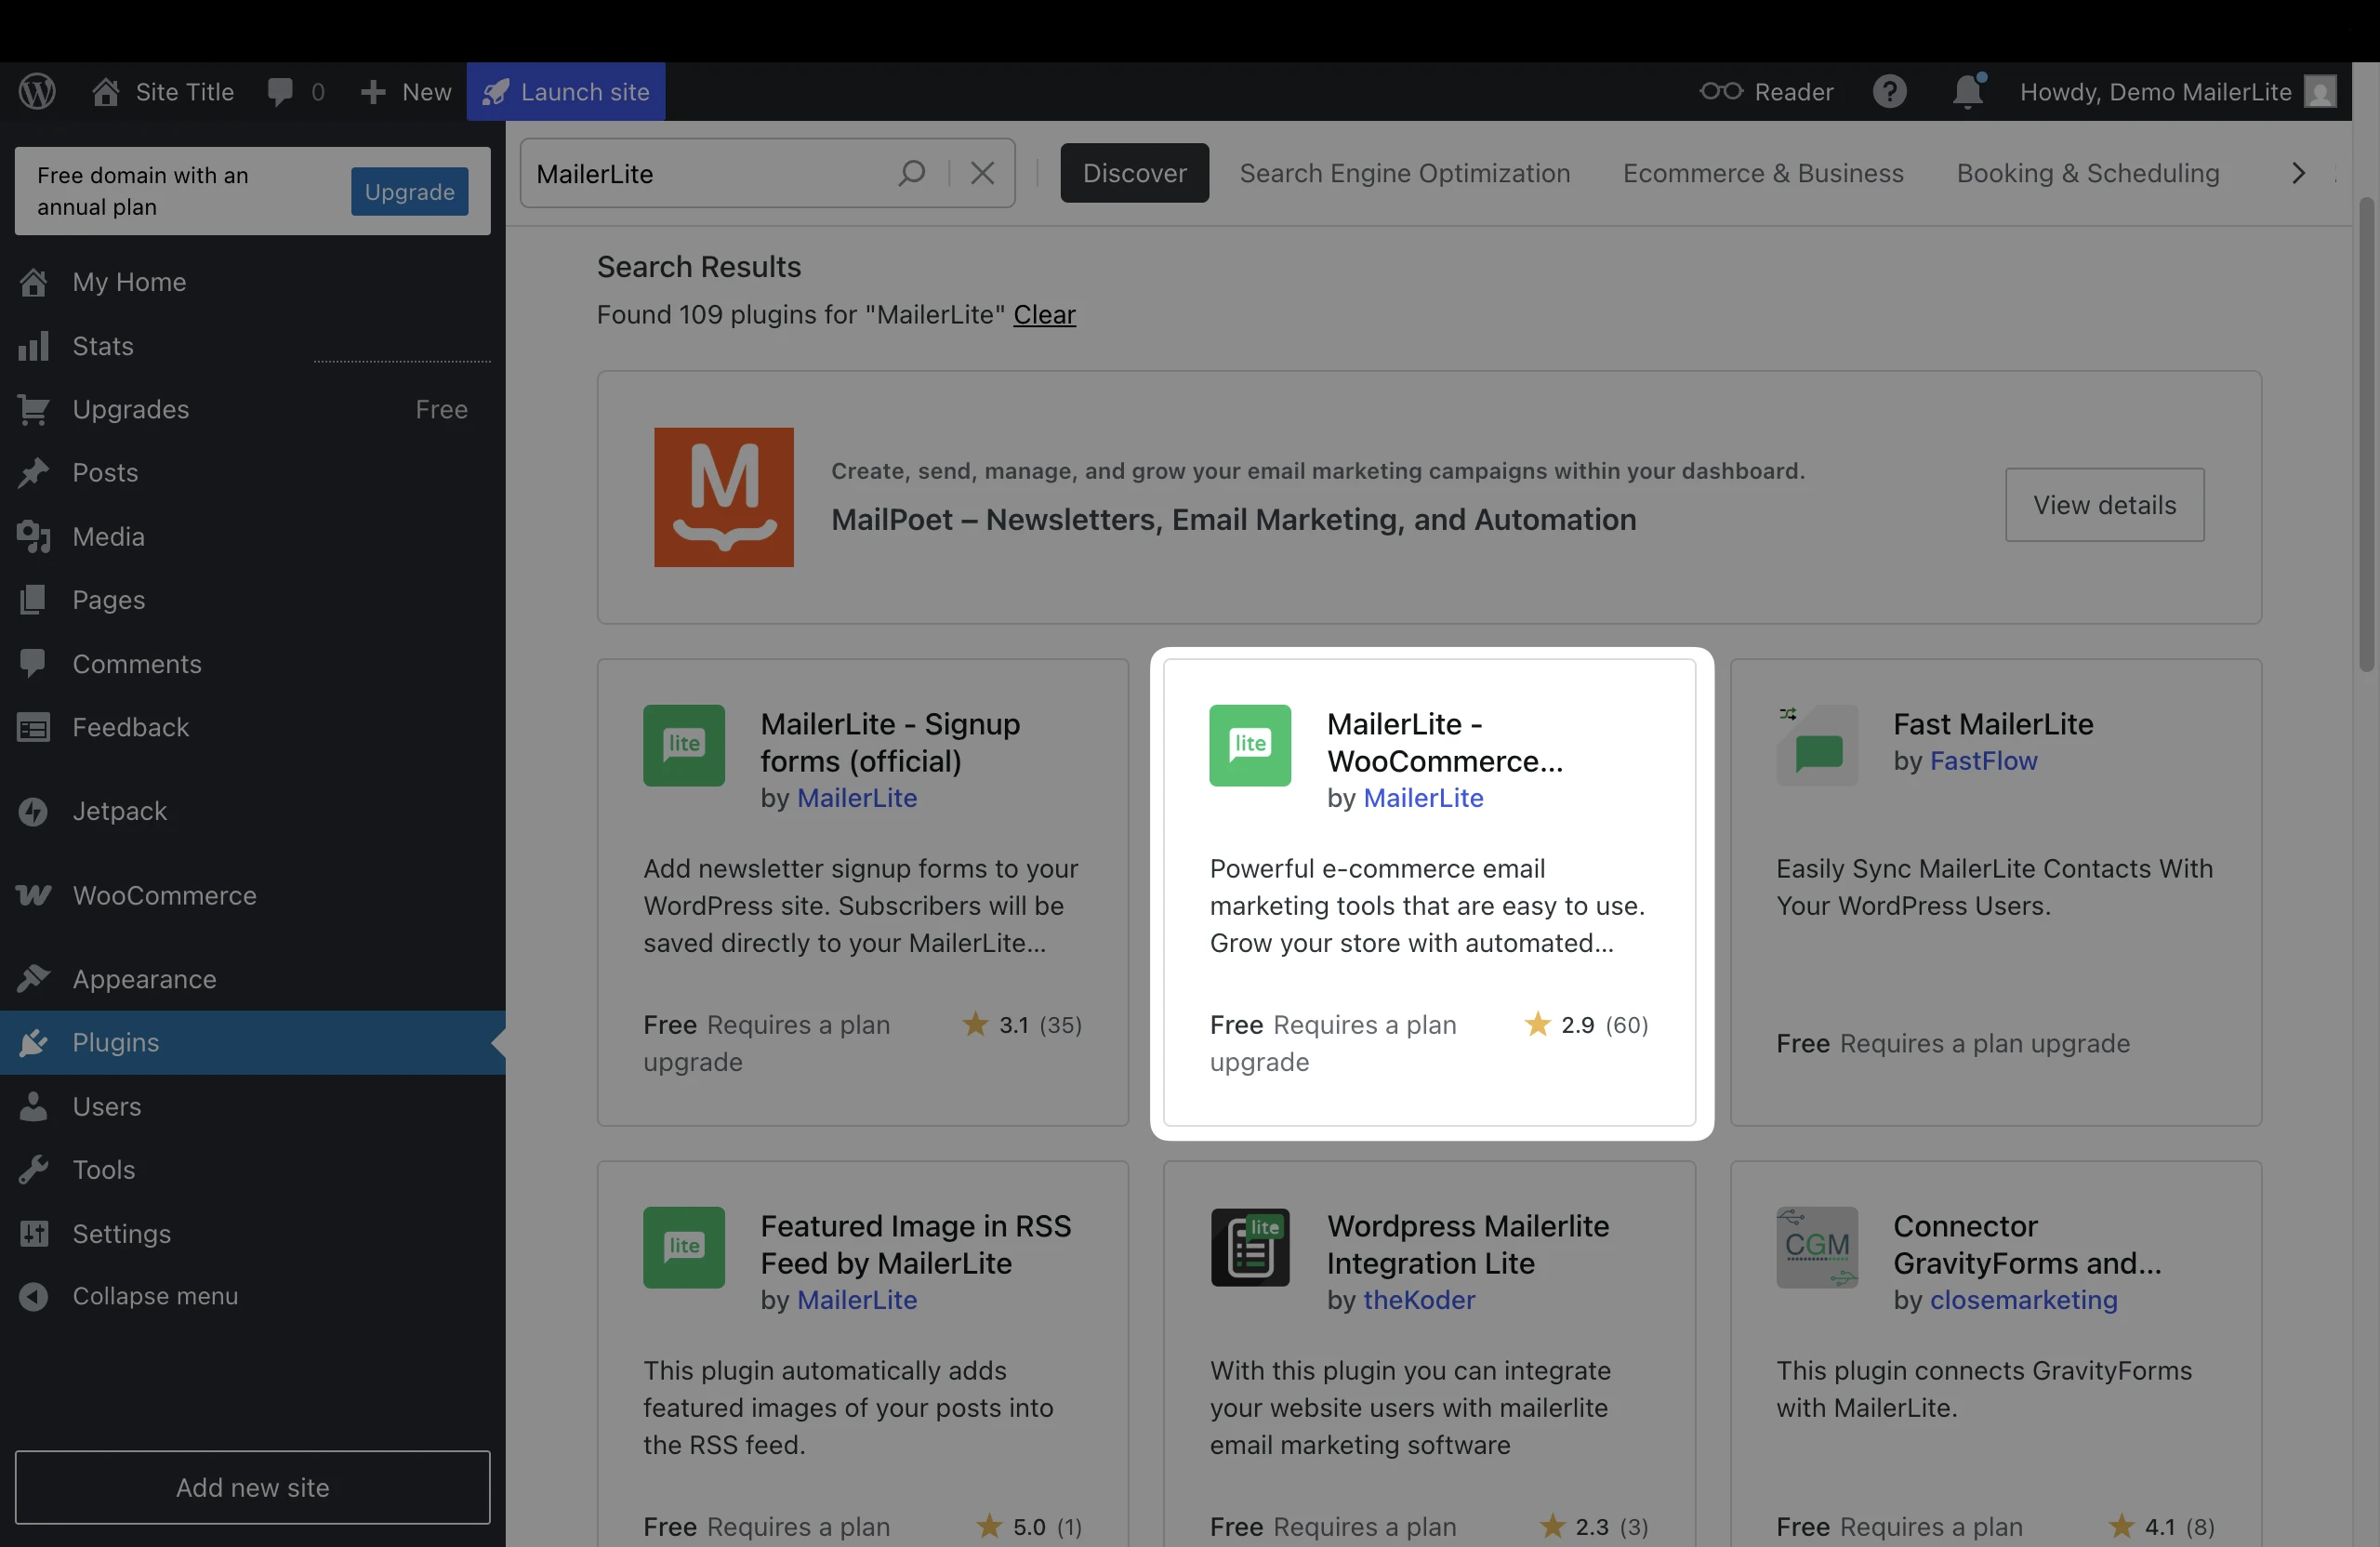
In the sidebar, click Plugins and choose Add plugin.
3. Use the search field to search for “MailerLite” to locate the WooCommerce - MailerLite plugin.
4. Click Install now followed by Activate. You will need to be on a Business plan in Wordpress in order to connect plugins.
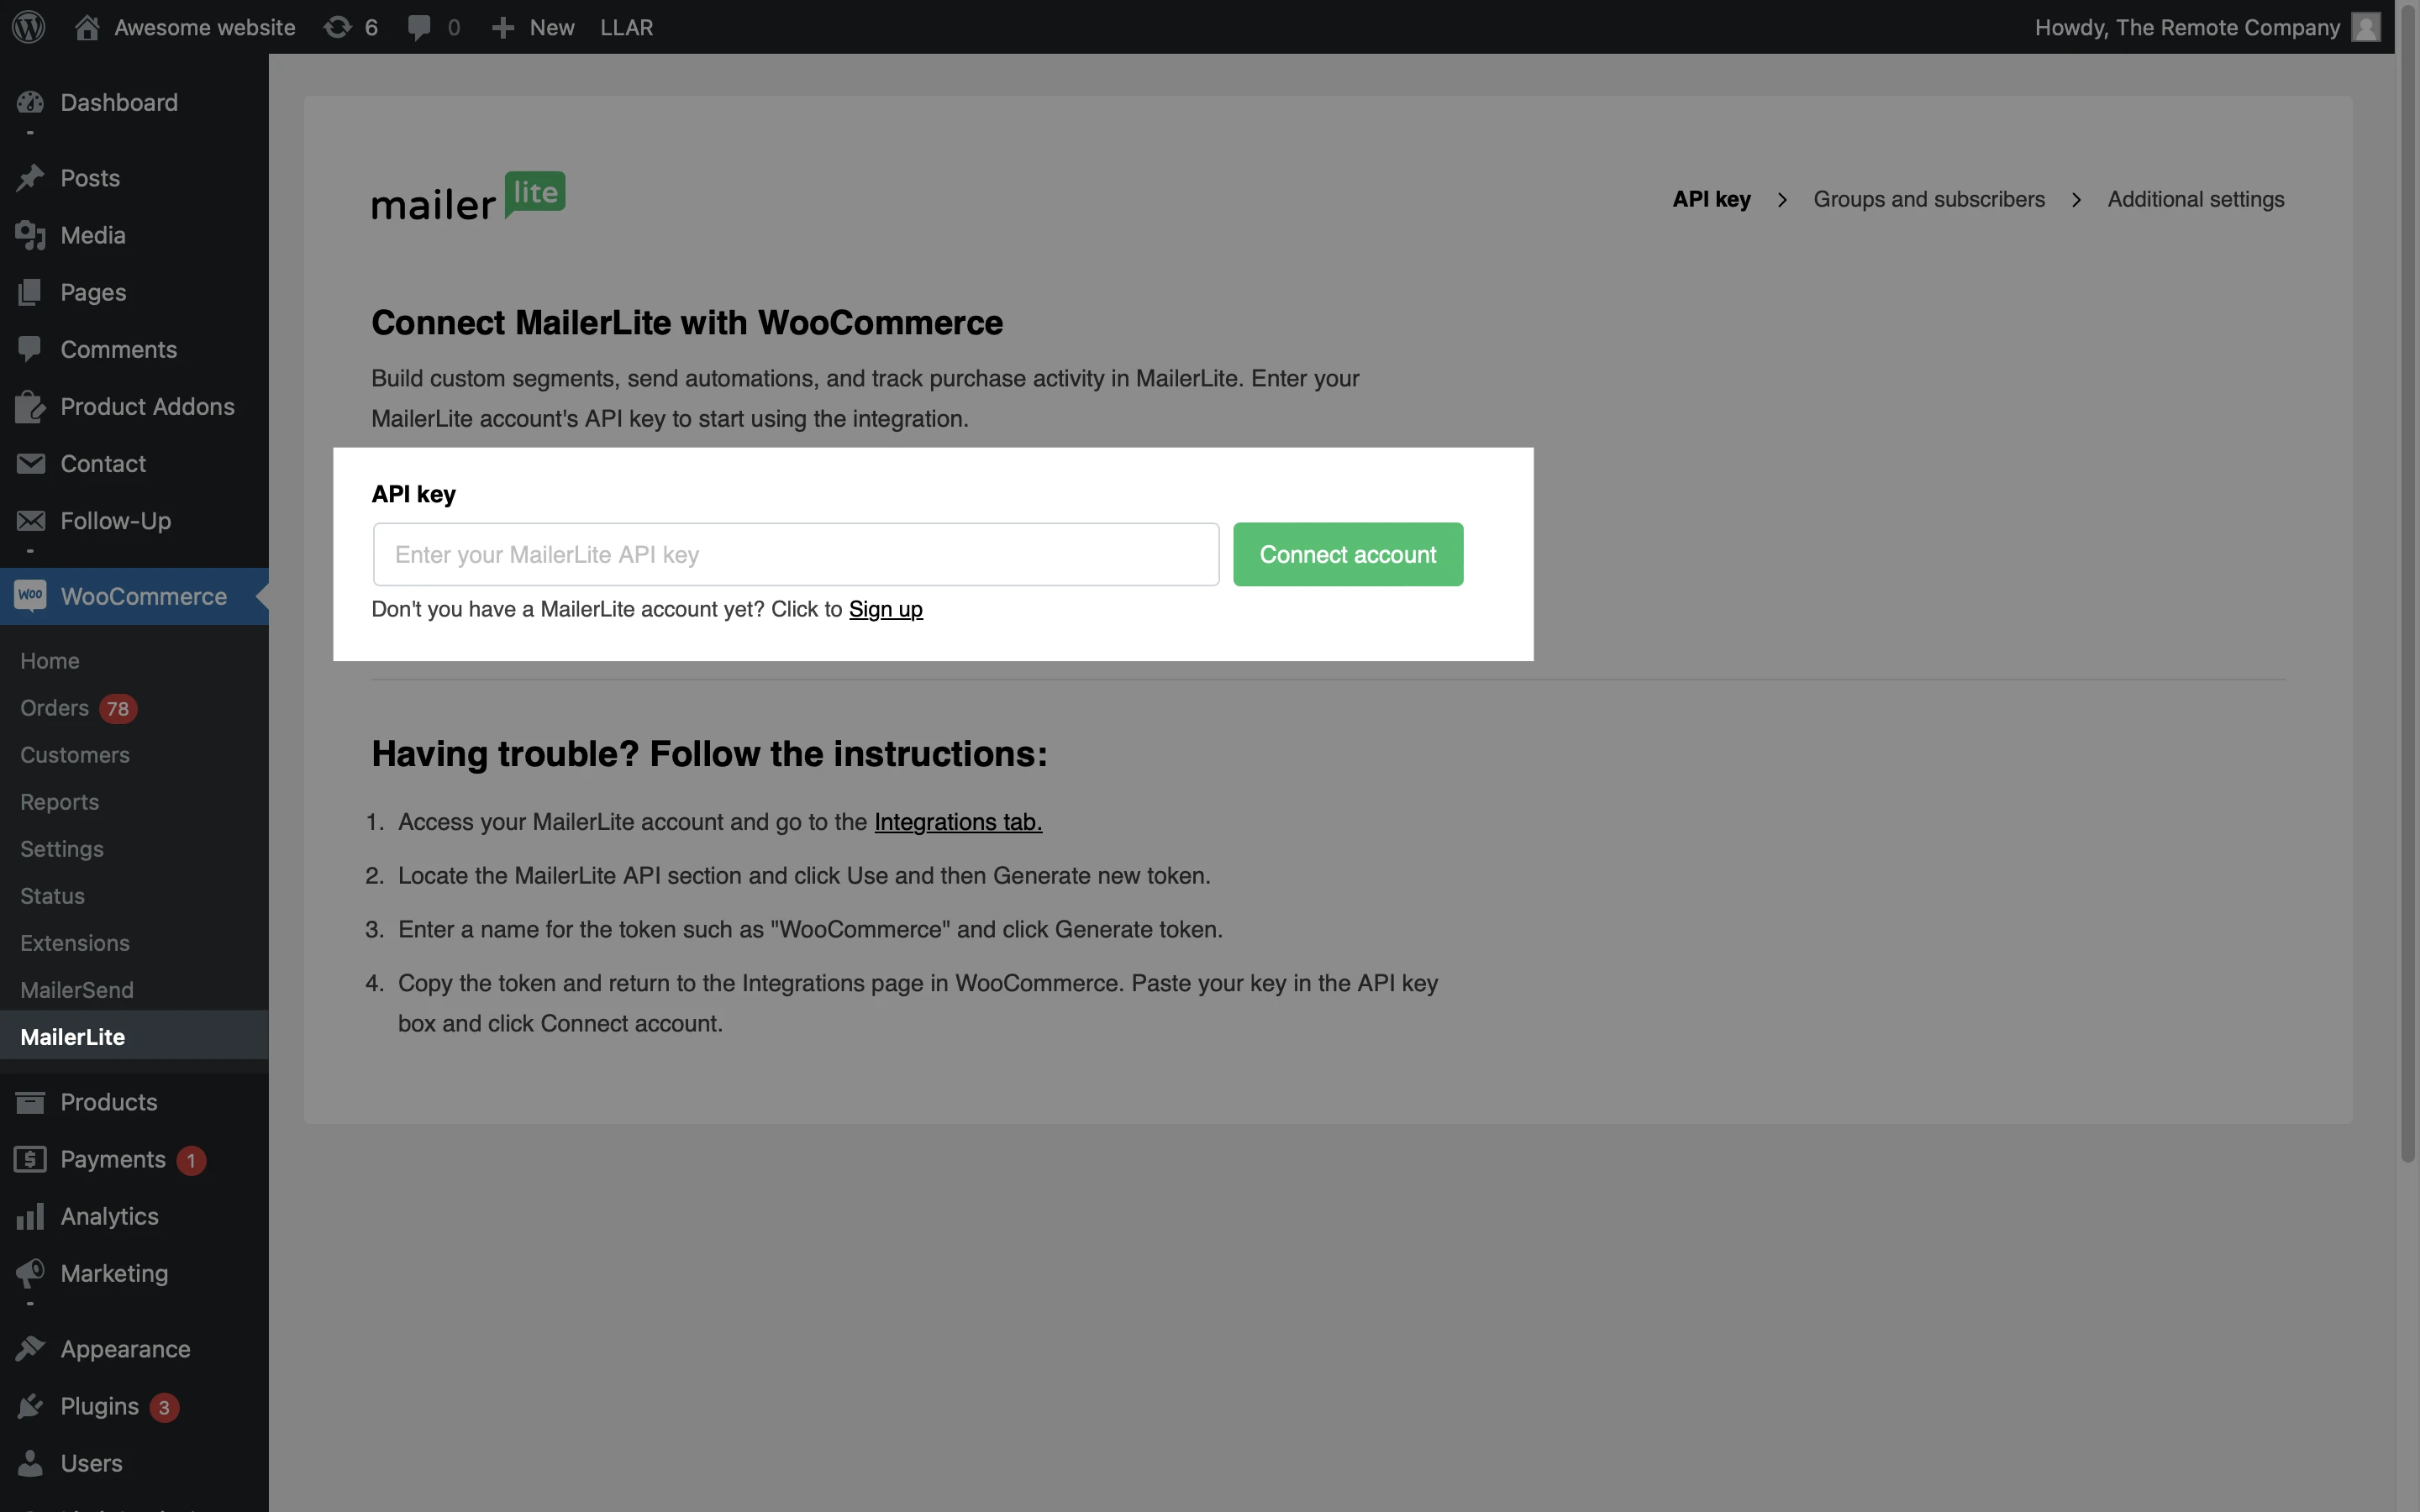
5. In the sidebar, click WooCommerce and choose the tab MailerLite.
6. You will need your API key. To find it, open your MailerLite account and go to the Integrations tab.
7. Locate the MailerLite API section and click Use.
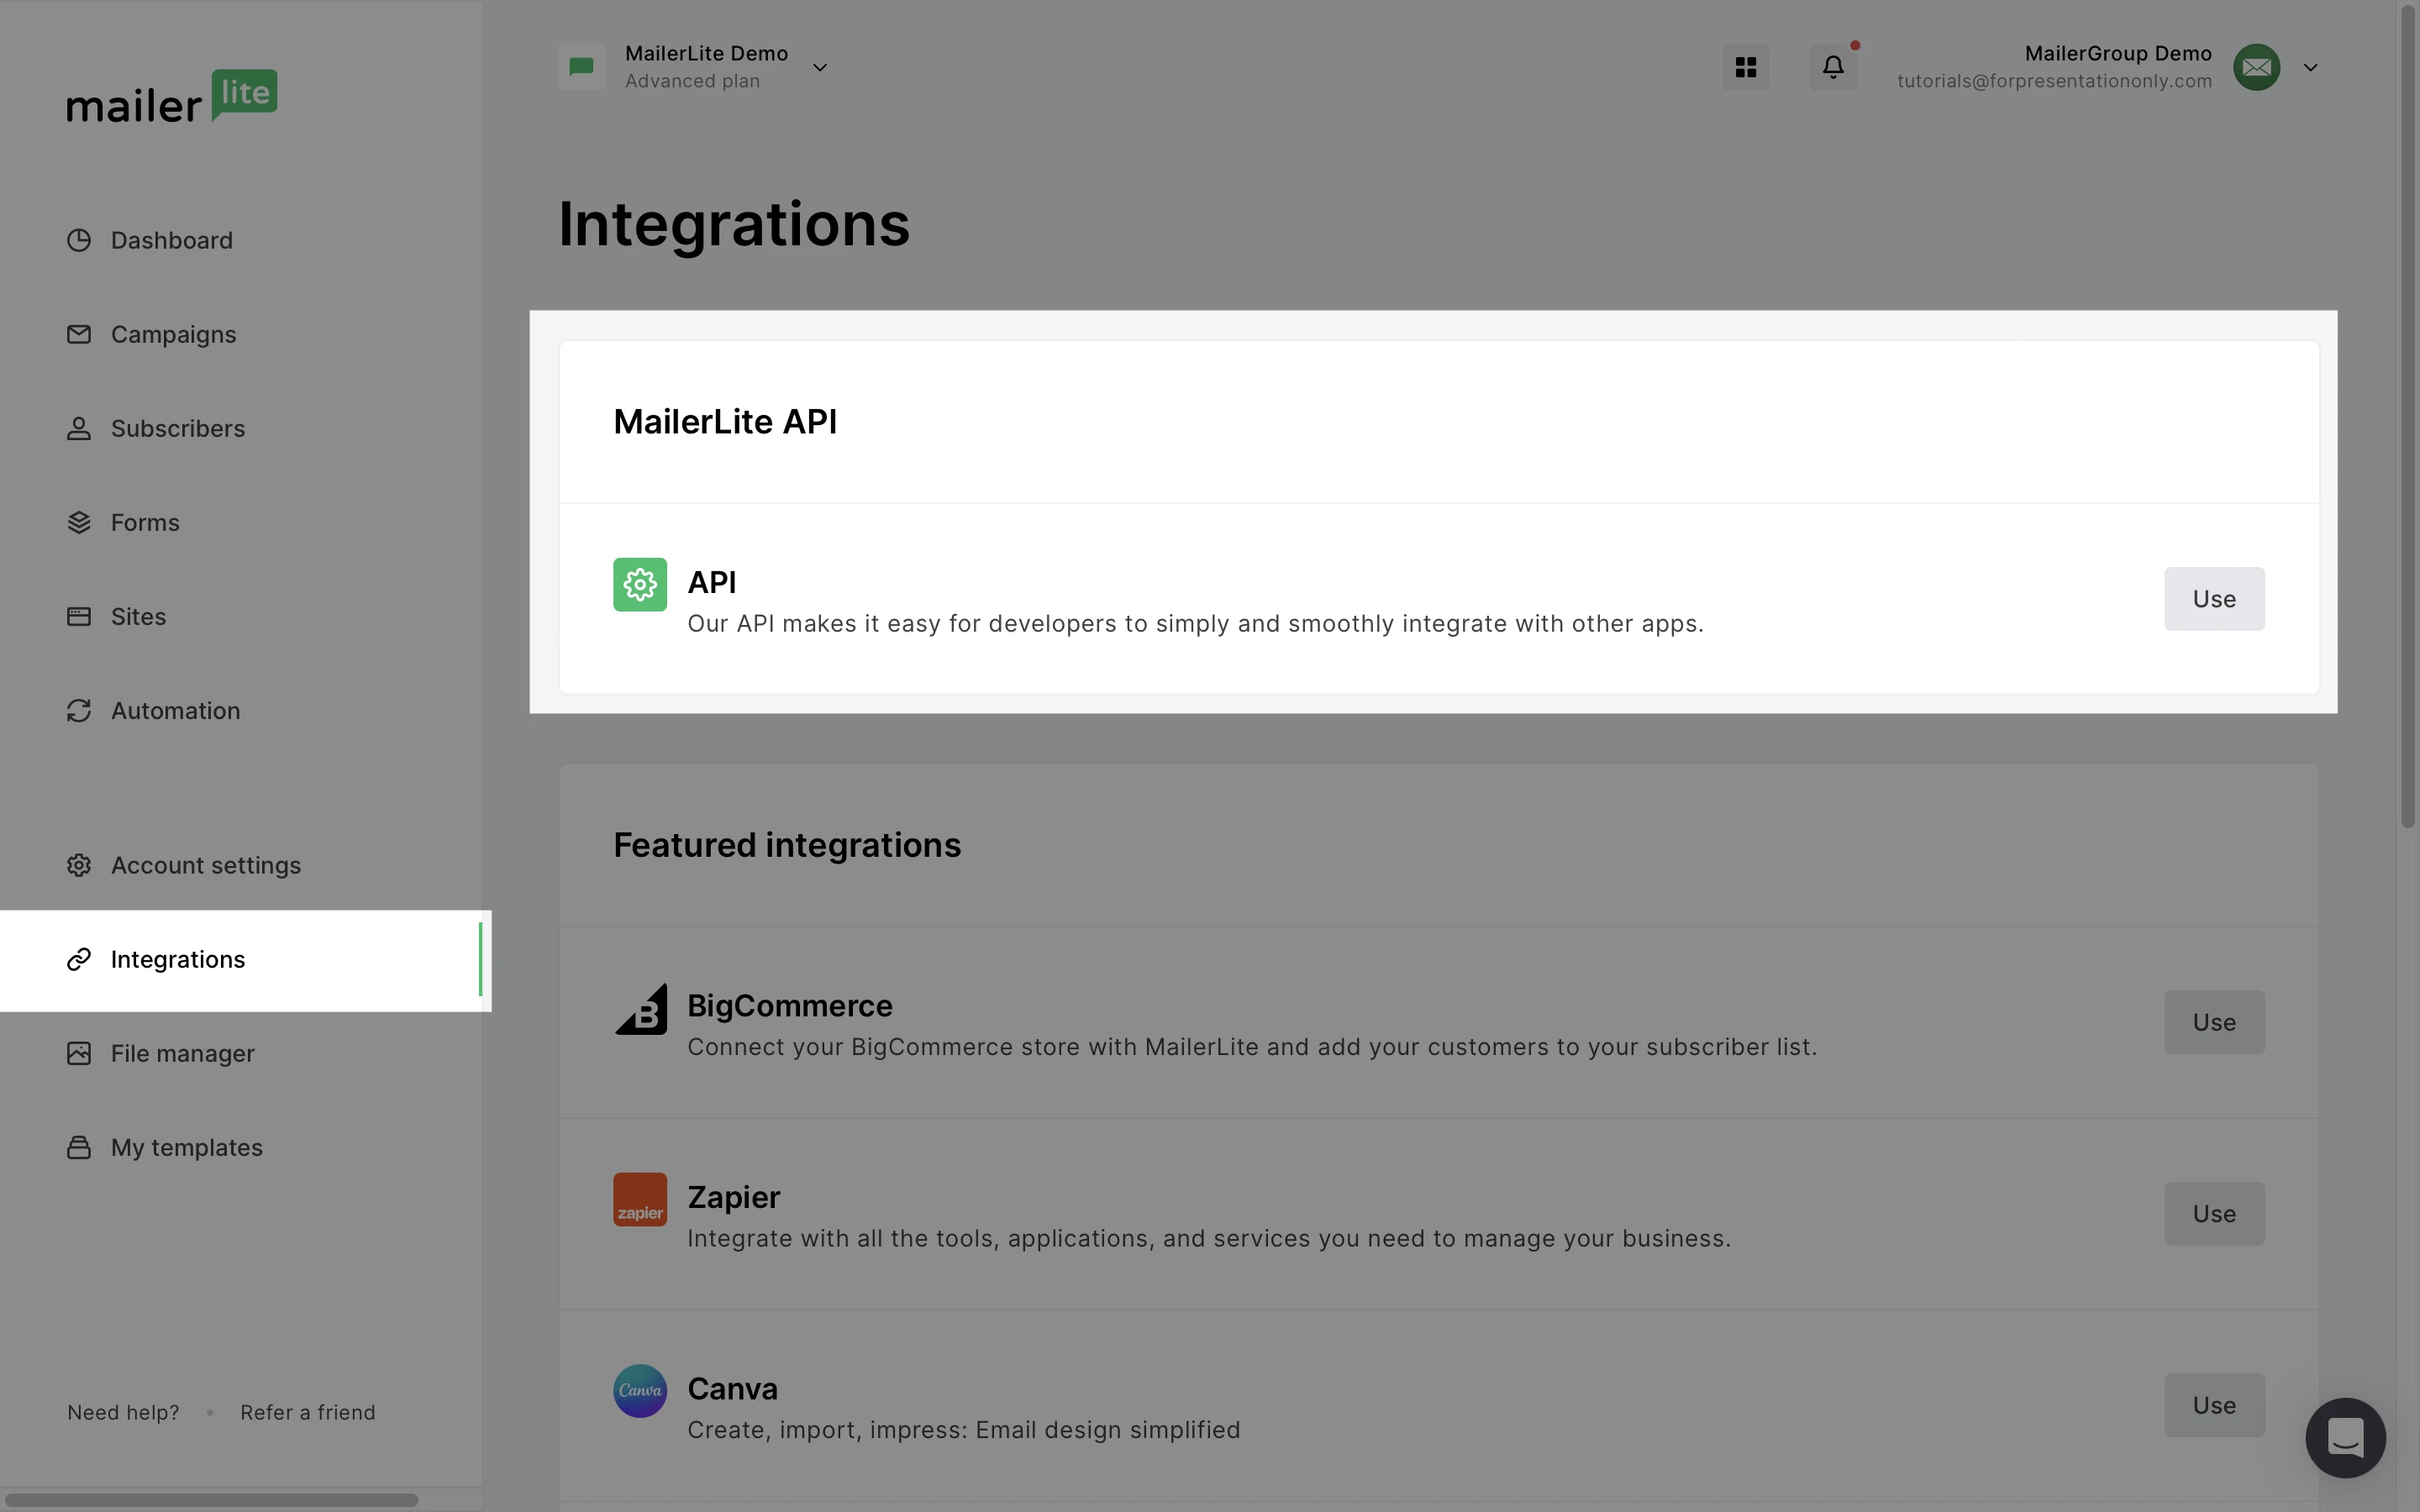
8. Click Generate new token.
9. Enter a name for the token such as "WooCommerce" and click Create token.
10. Copy the token and return to the MailerLite page in WooCommerce. Paste your key in the API key box and click Connect account.
11. Select the MailerLite group or create a new group that your WooCommerce customers will be added to after they make a purchase and subscribe to your newsletter.
12. Click Start import.
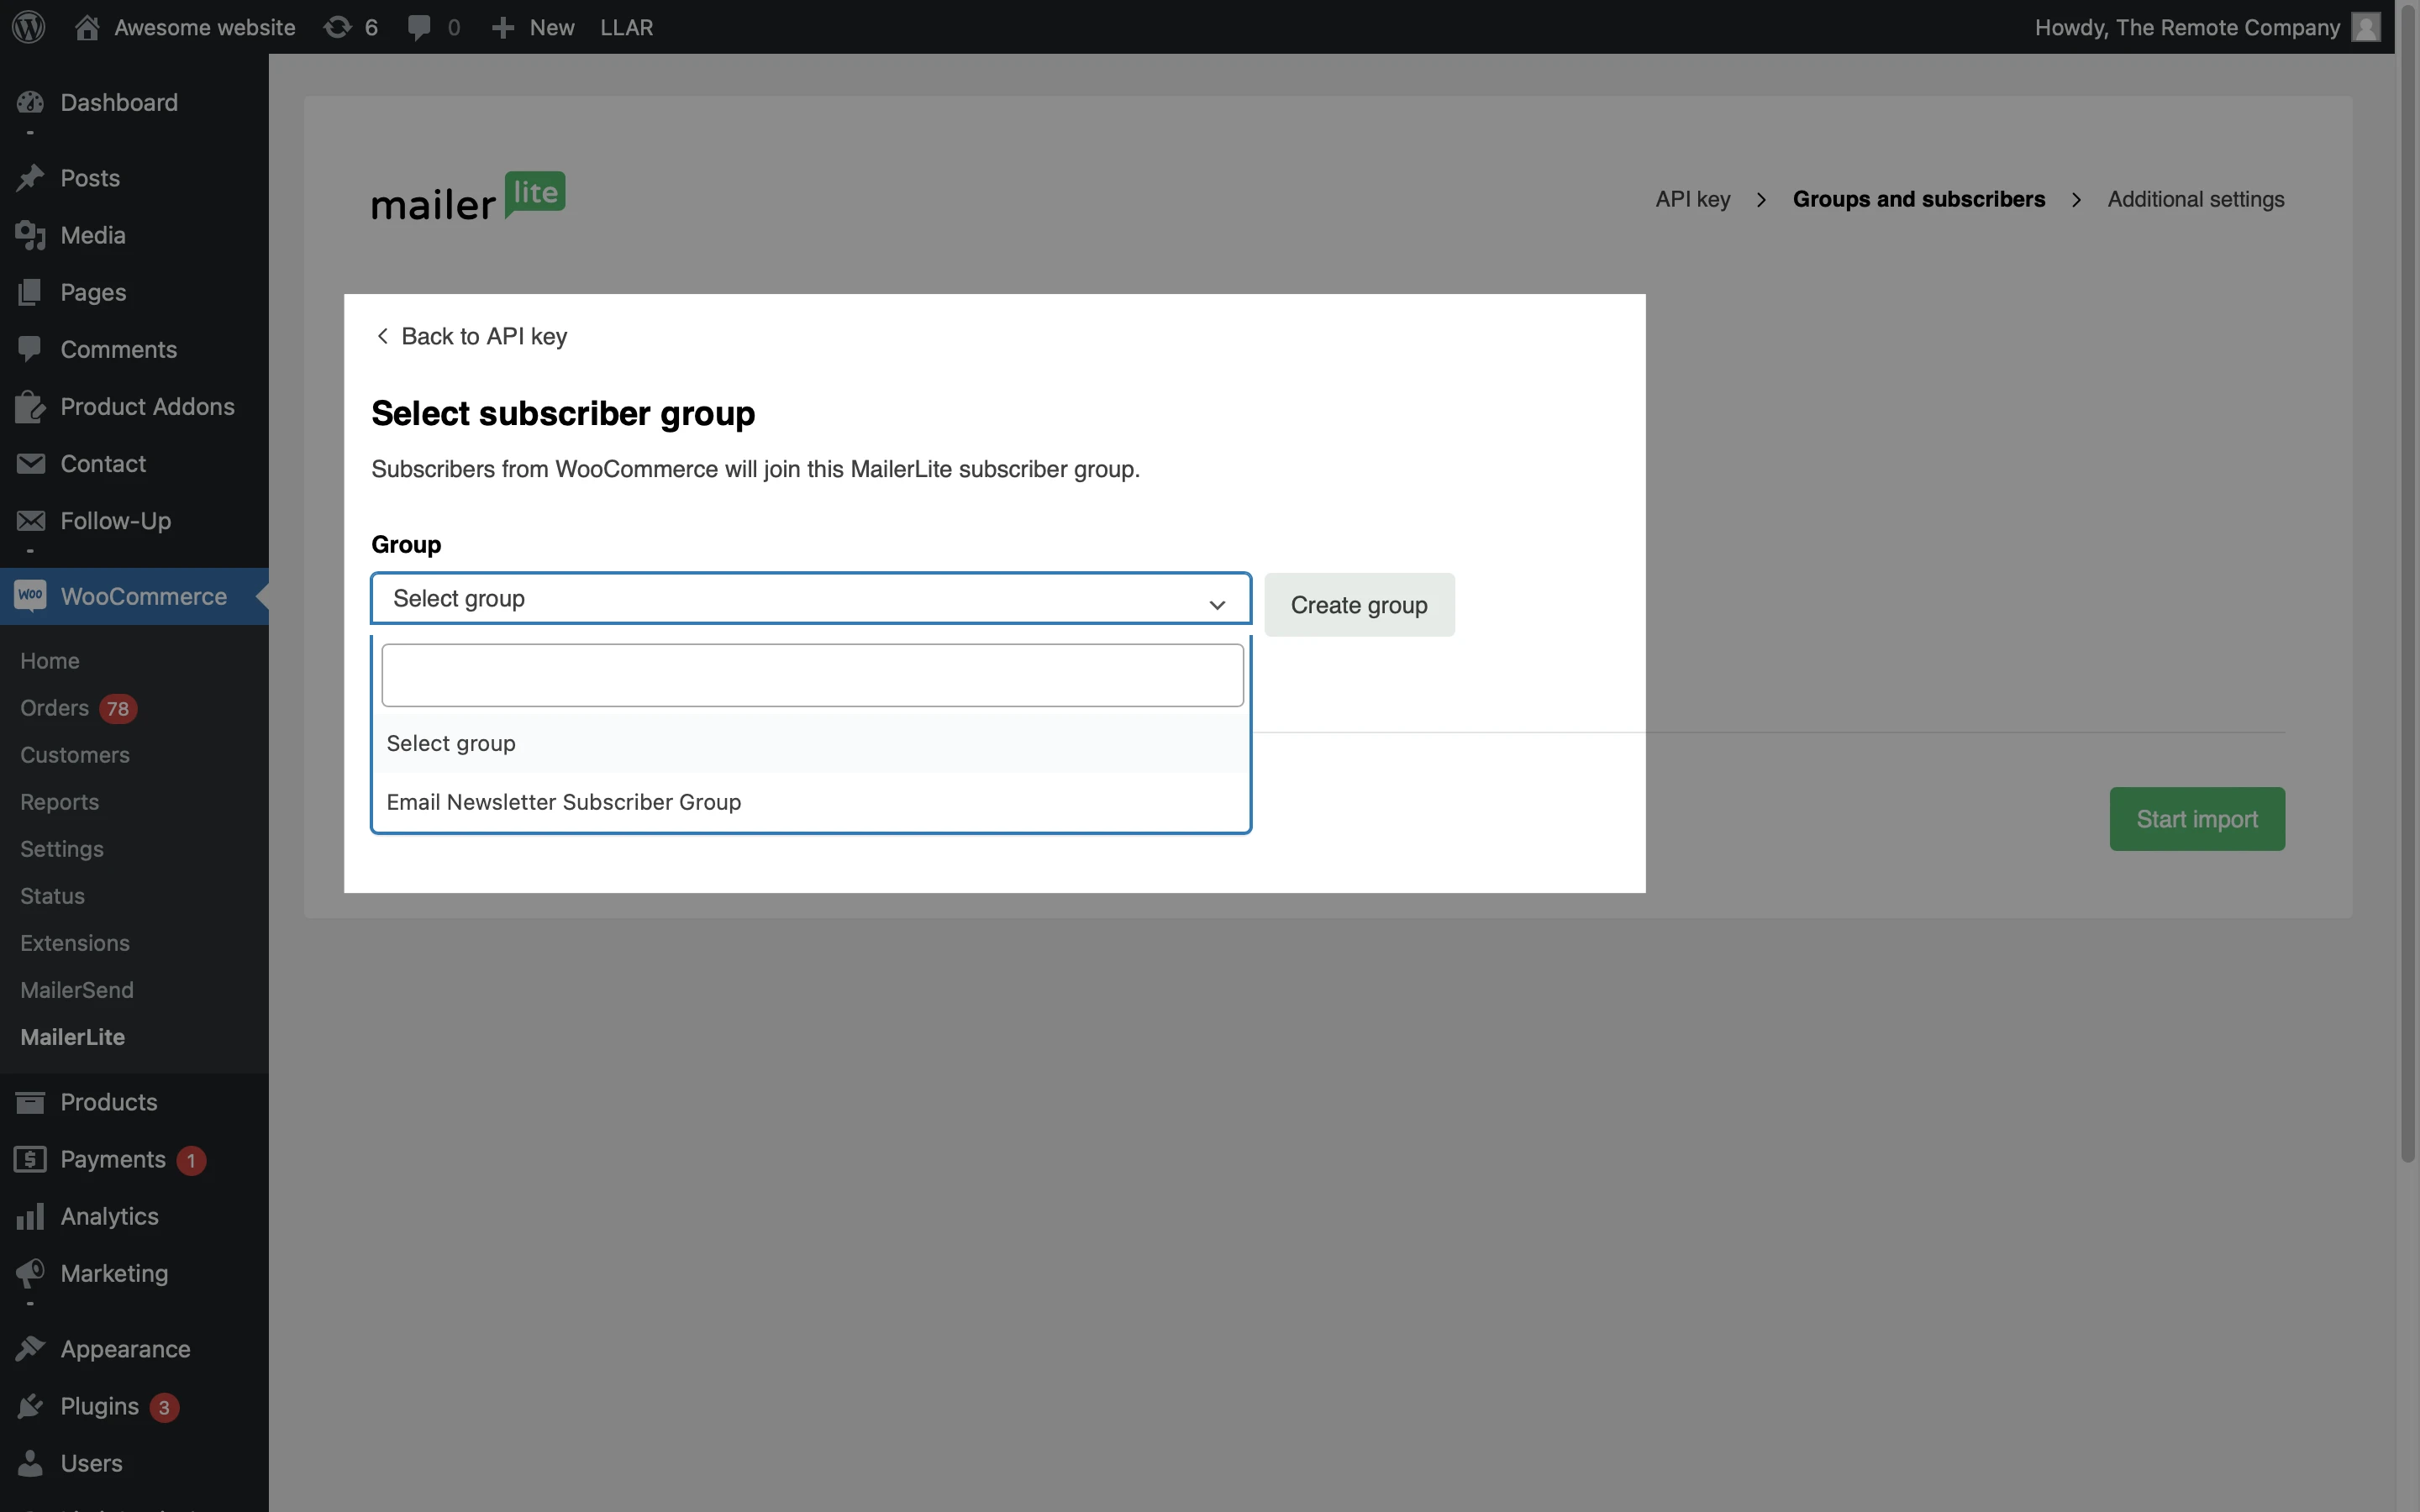
That’s it! Your WooCommerce account is now connected to your MailerLite account.
Syncing WooCommerce customers with MailerLite
When you install the WooCommerce-MailerLite plugin, your existing subscribers in MailerLite will have their purchase data synced.
Additionally, all new subscribers that agree to join your mailing list will automatically be added to MailerLite.
Customers that already existed in your WooCommerce list but did not already exist in your MailerLite list will not be synced, along with new subscribers that sign up without accepting marketing emails.
WooCommerce subscriber fields
When you sync your WooCommerce customers with MailerLite, their data is synced with them including their name, email address, and order information. This information is added to your subscriber Fields. You can then create segments using your subscriber fields.
WooCommerce fields include:
Woo orders count - The number of orders that the subscriber has made
Woo total spent - The total amount of money that subscriber has spent on your WooCommerce store
Accepts marketing - Whether or not your subscriber gave their permission to receive marketing emails.
In addition to using these fields to collect data, you can also use them to search for subscribers and create segments.
Place your products in a newsletter
Need help creating a newsletter? Learn more here ➡️ How to create and schedule a campaign
Our Products element in the Drag & drop editor allows you to add your WooCommerce product directly into your MailerLite campaigns.
This will automatically import images, descriptions, and prices of your products and link directly to your Shopify store.
To add a product to your newsletters:
Open your campaign in the Drag & drop editor.
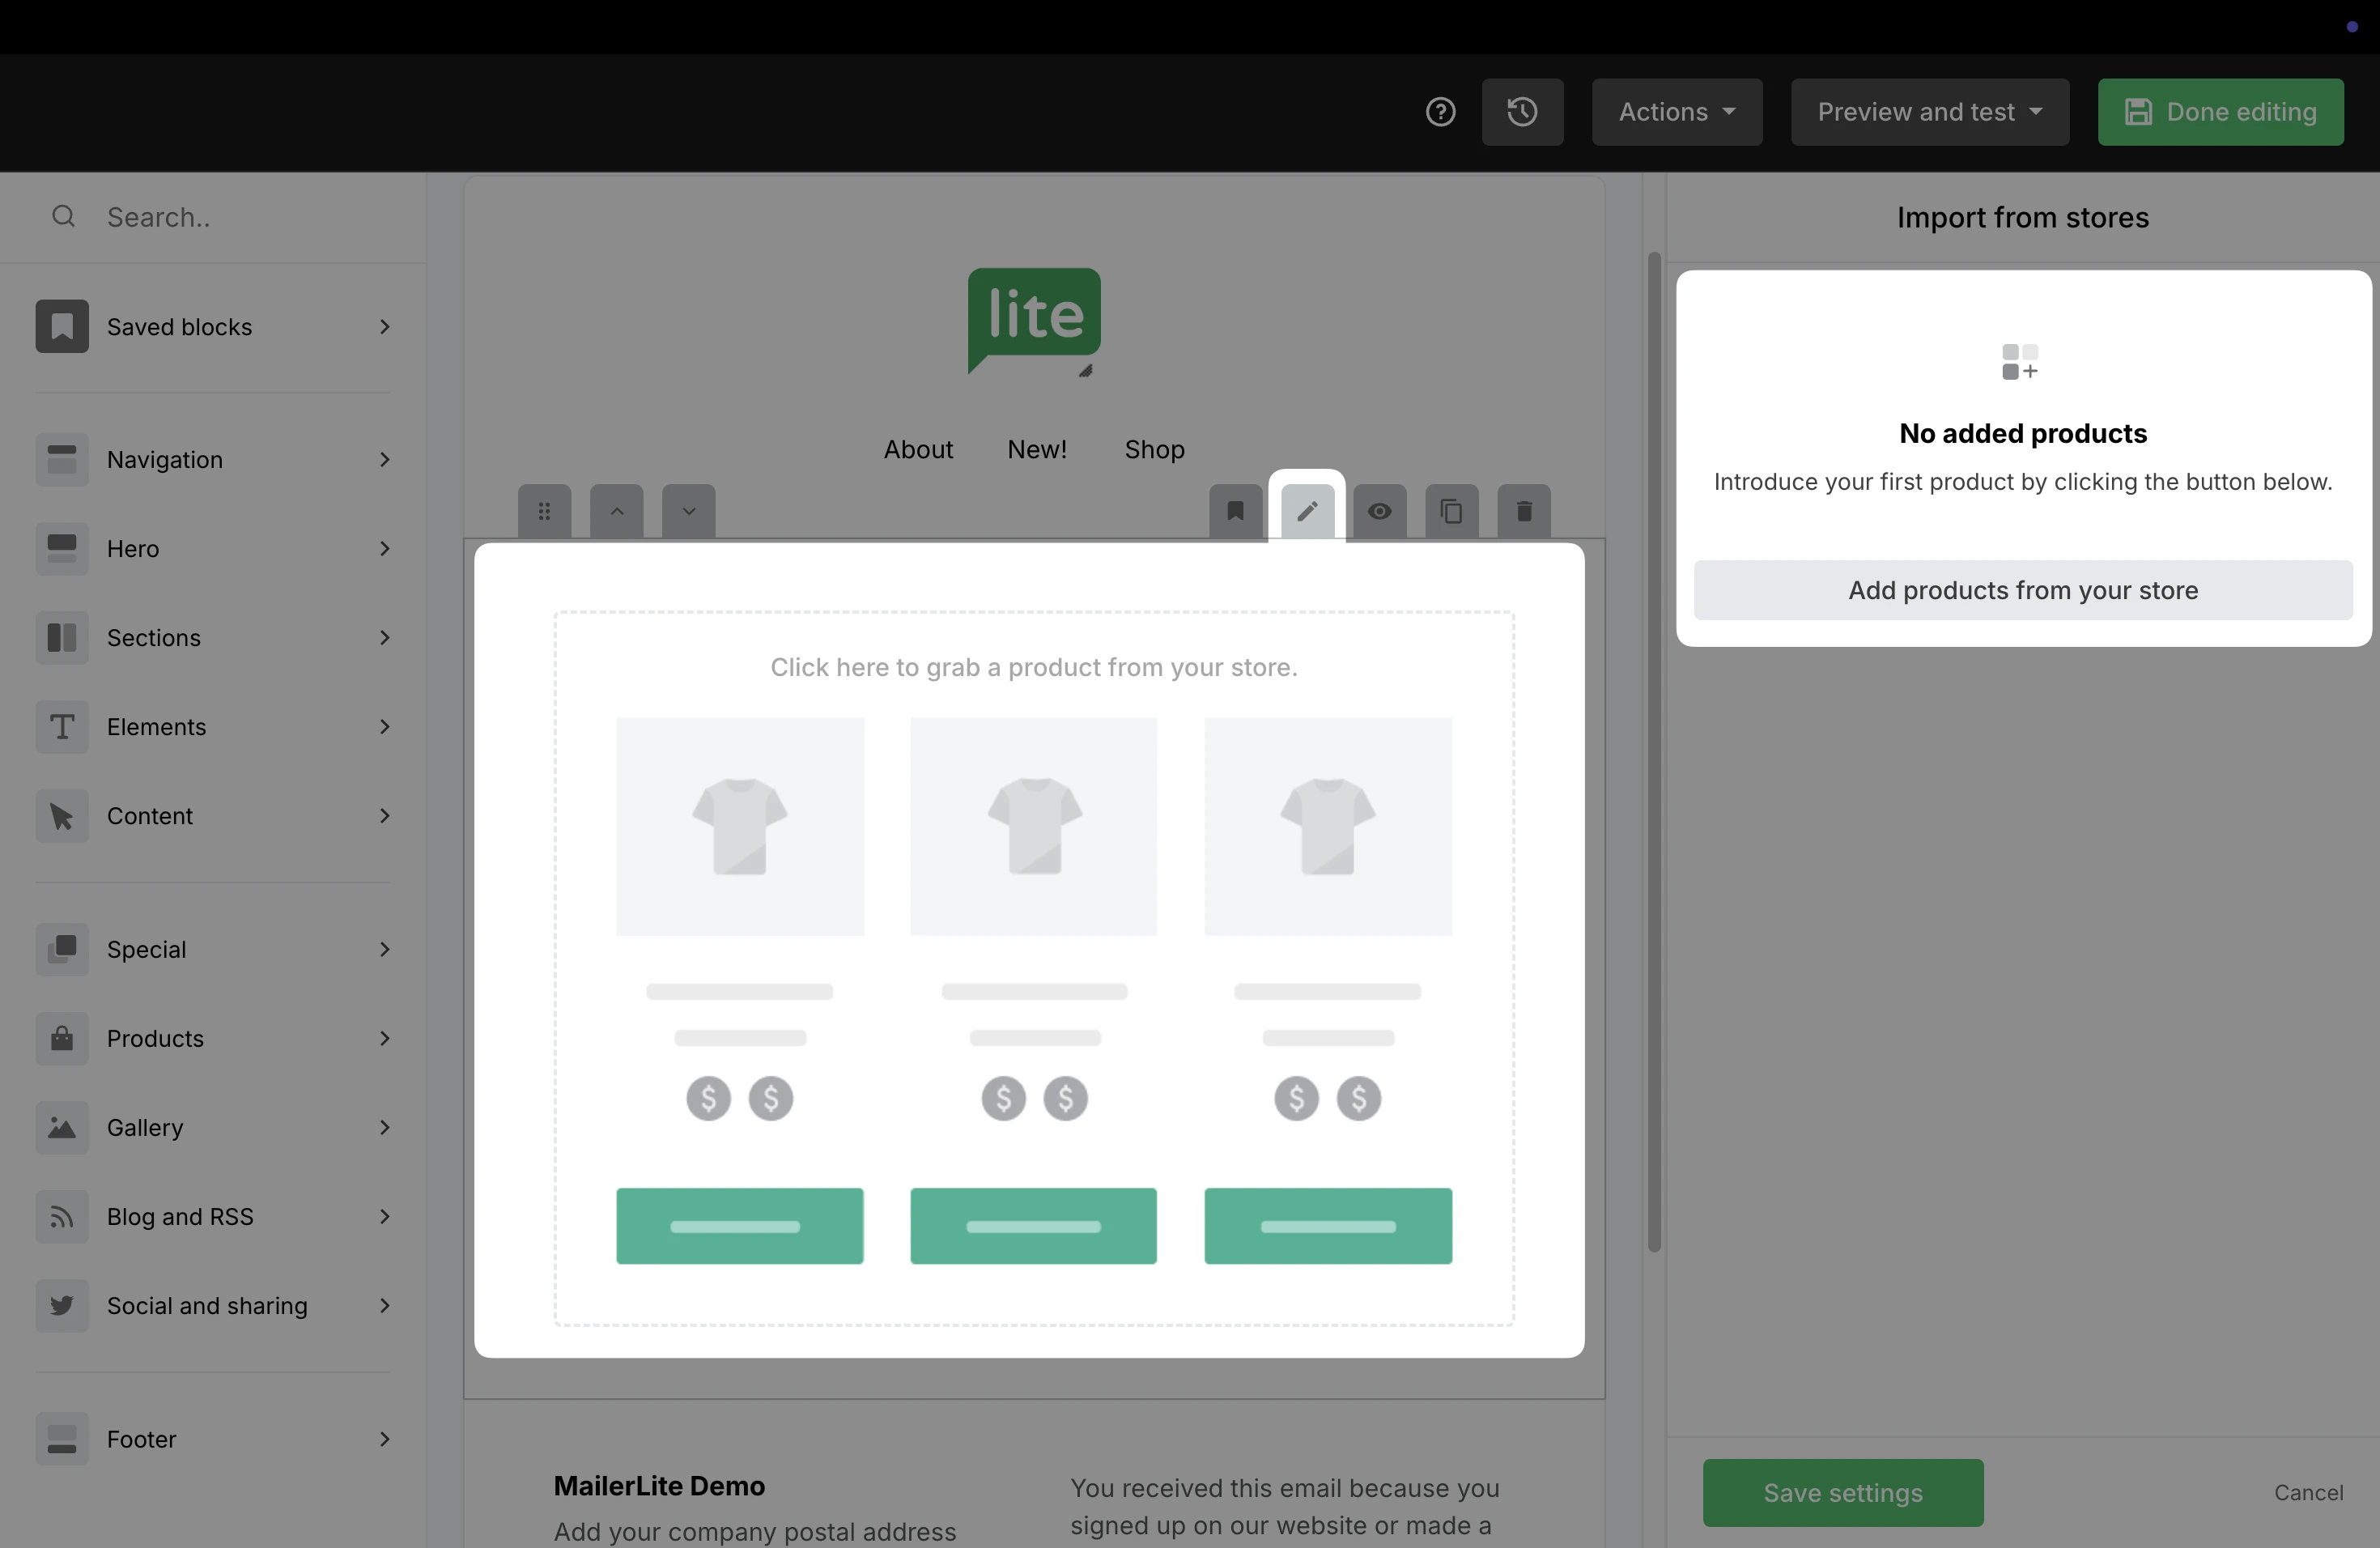
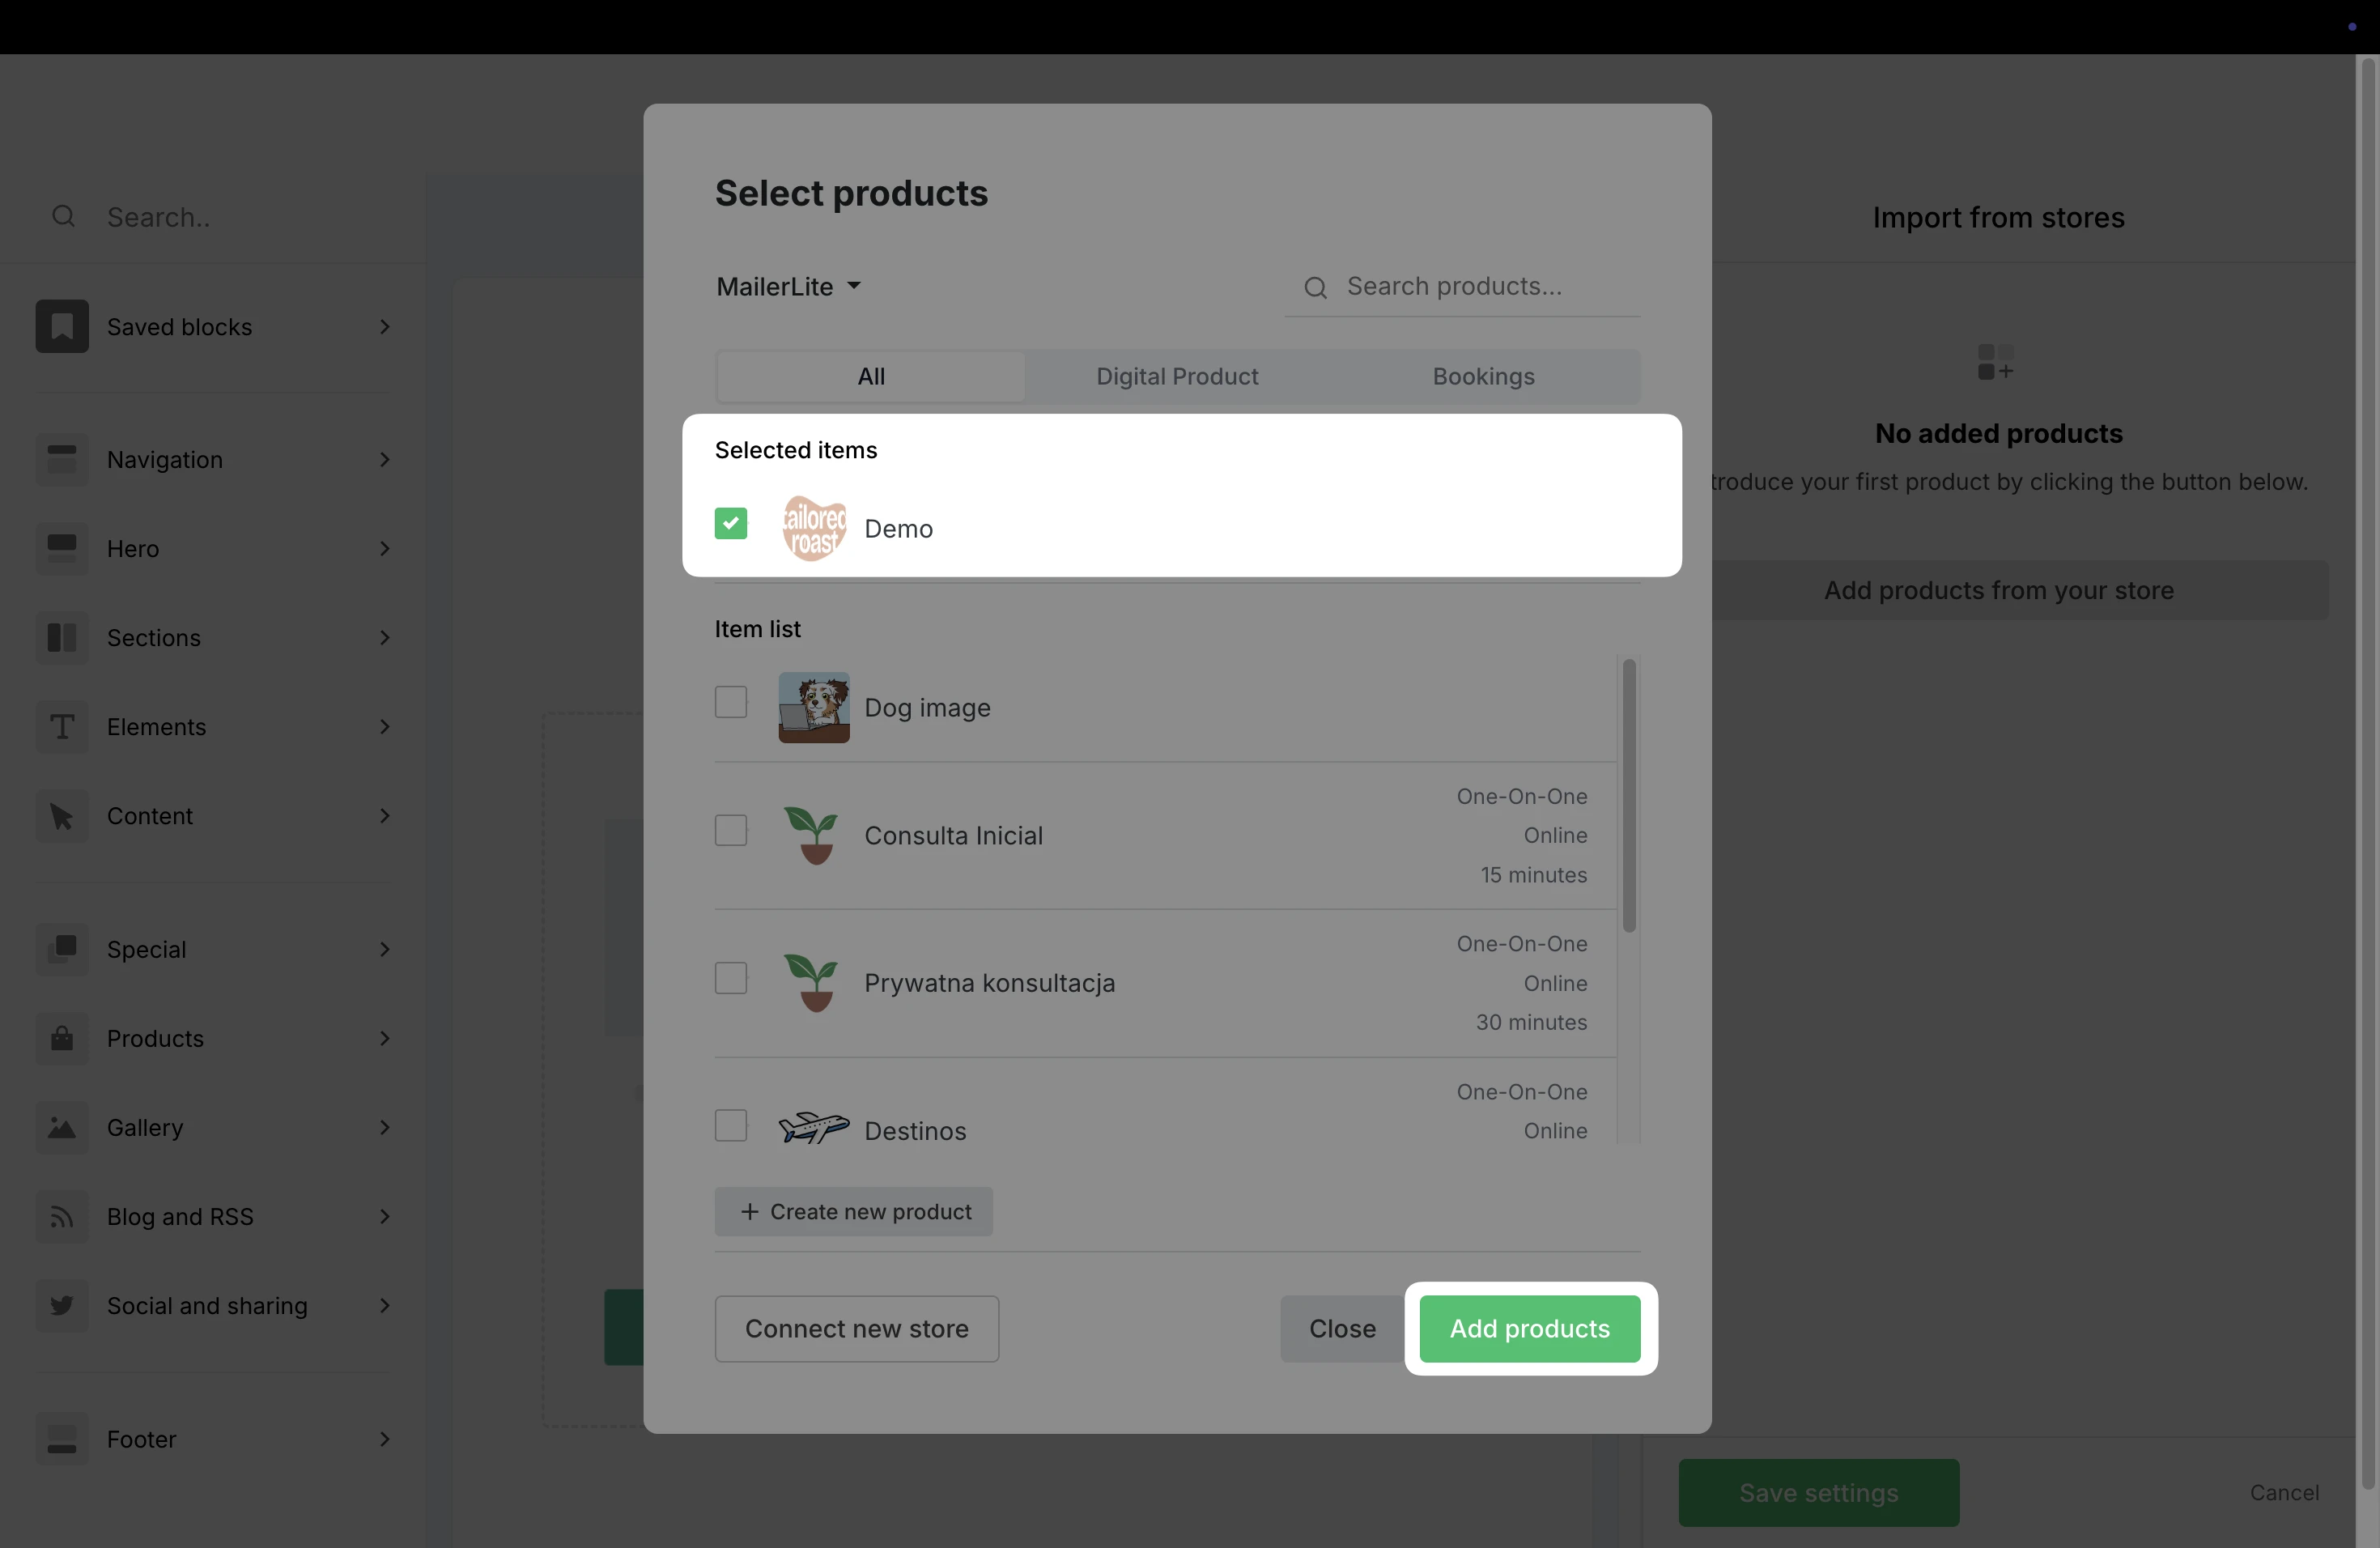
Under the Products section, you will find Import from stores. Simply drag and drop the element into your email.
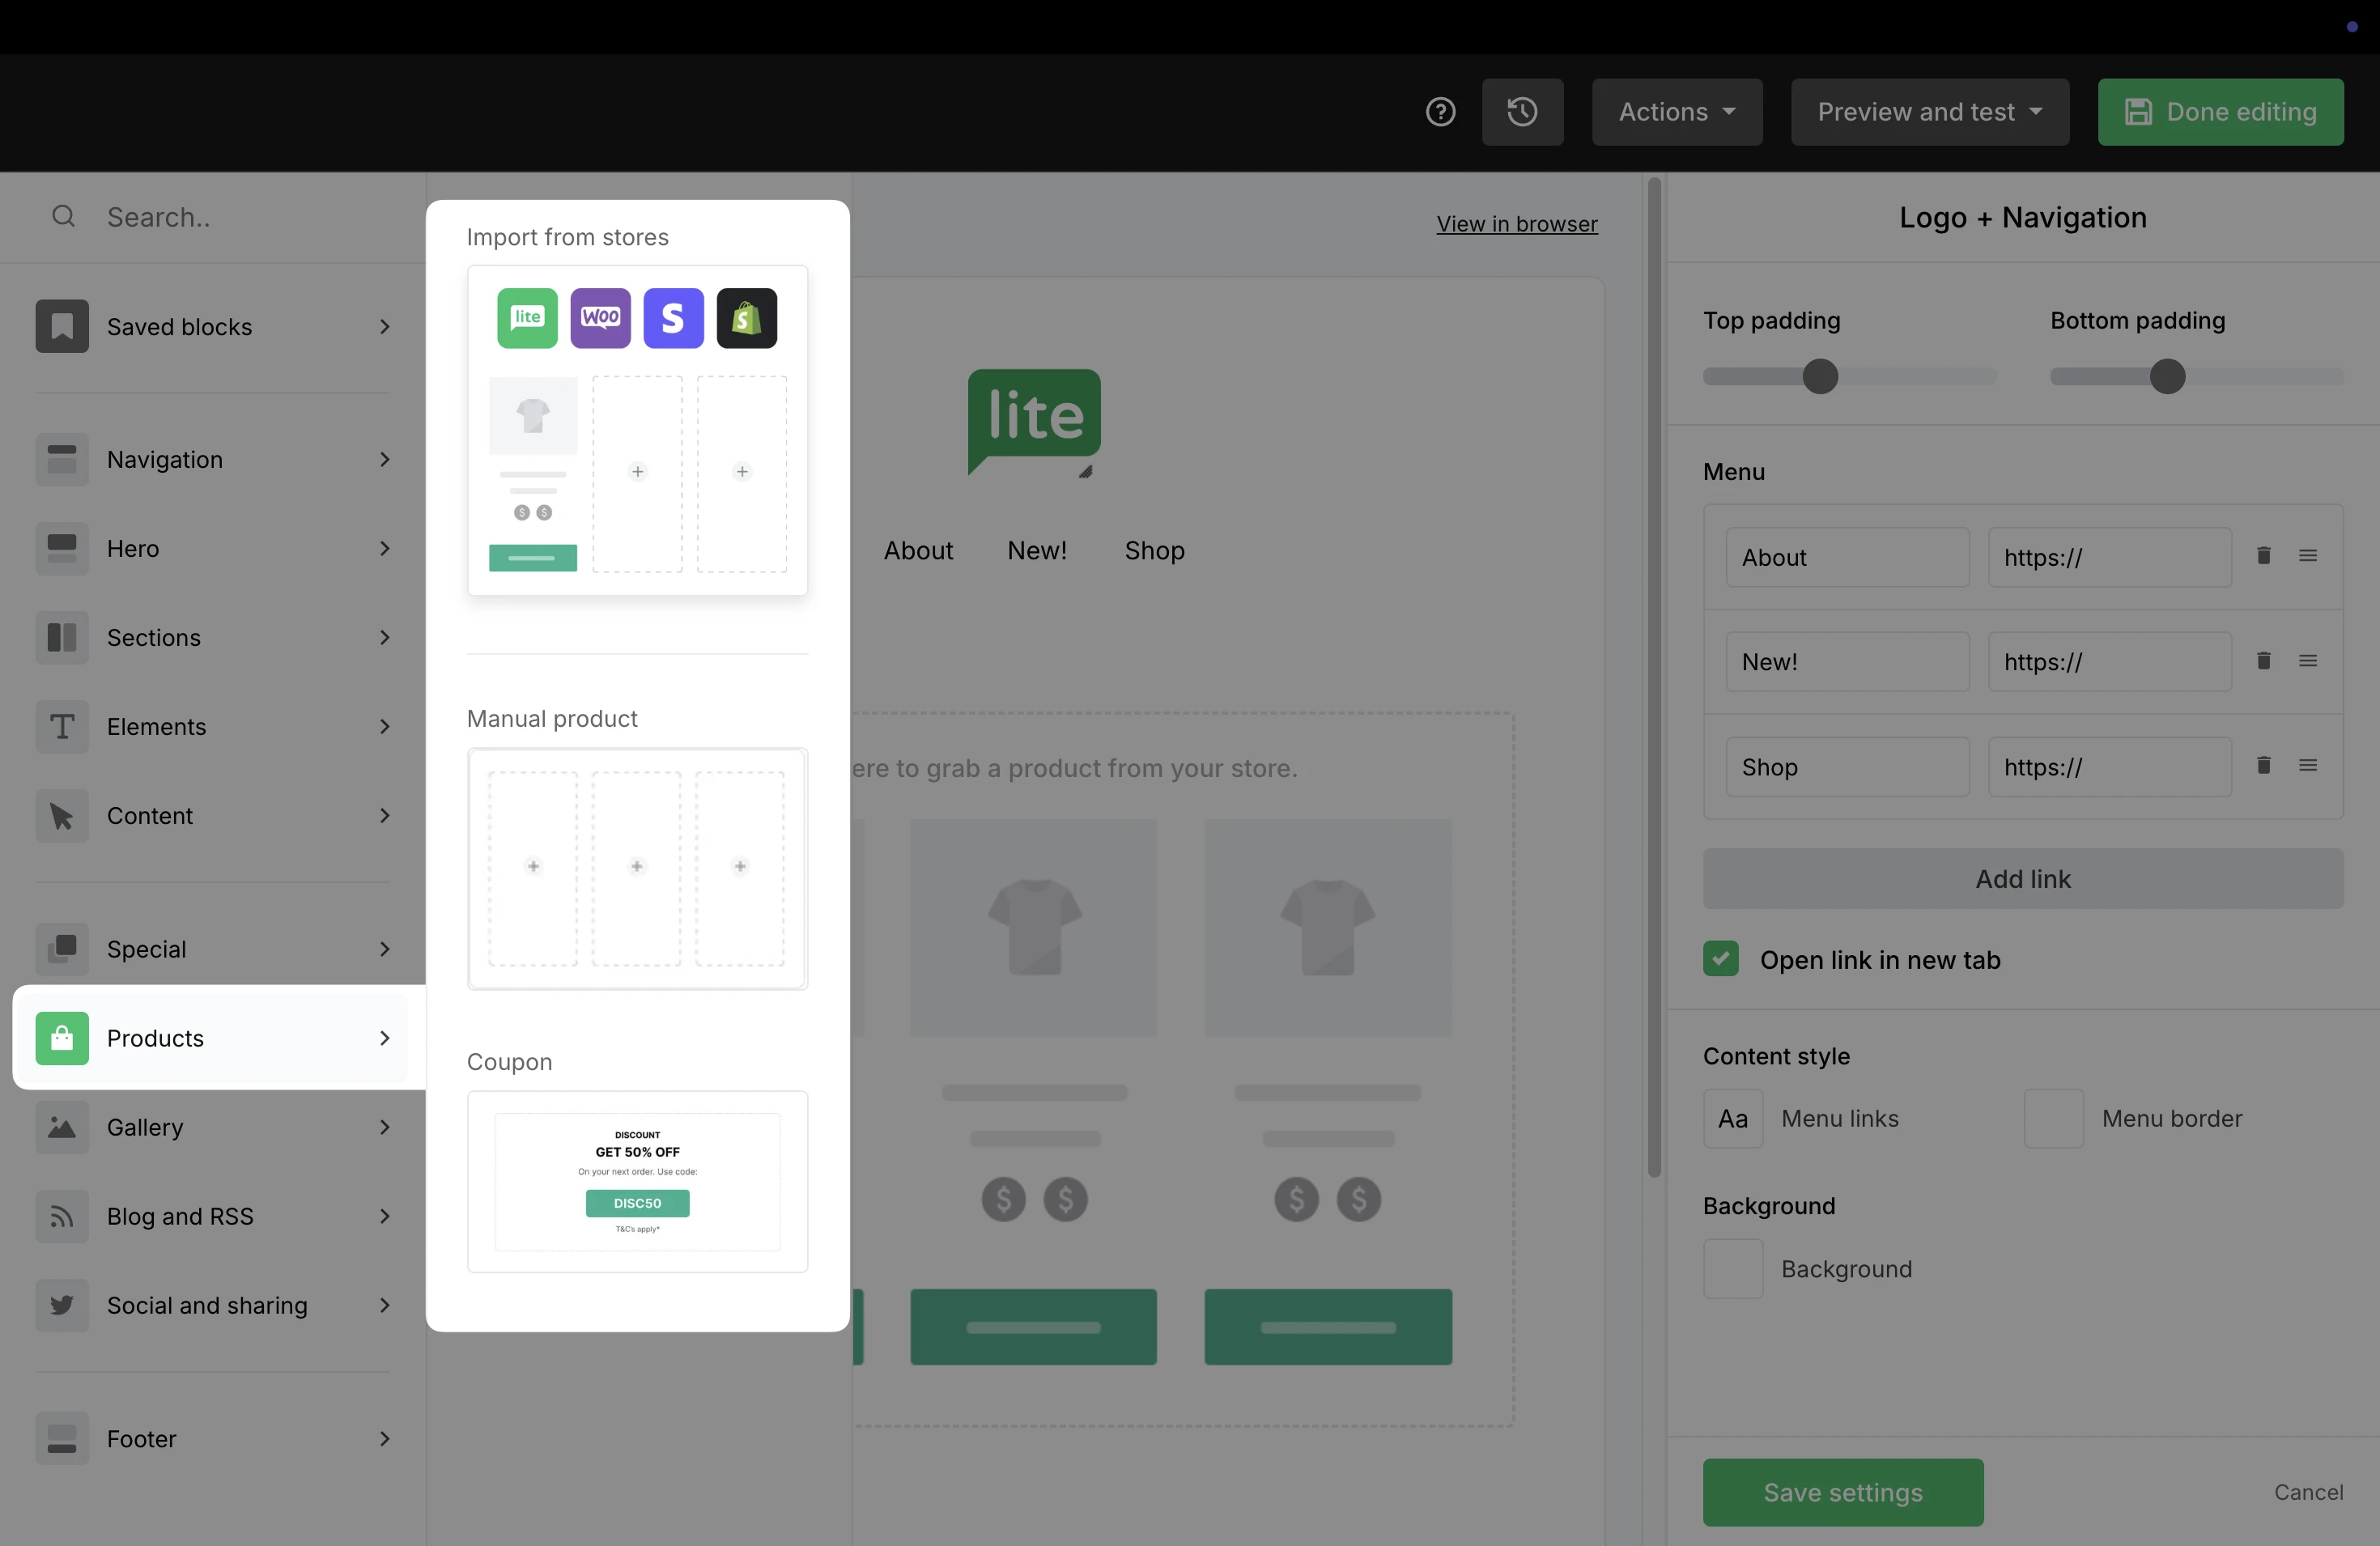
3. Click into the block to open the settings on the right. Use the Add products from your store button to add products from WooCommerce.
4. If your account has multiple stores connected, be sure to select your WooCommerce store from the drop-down list.
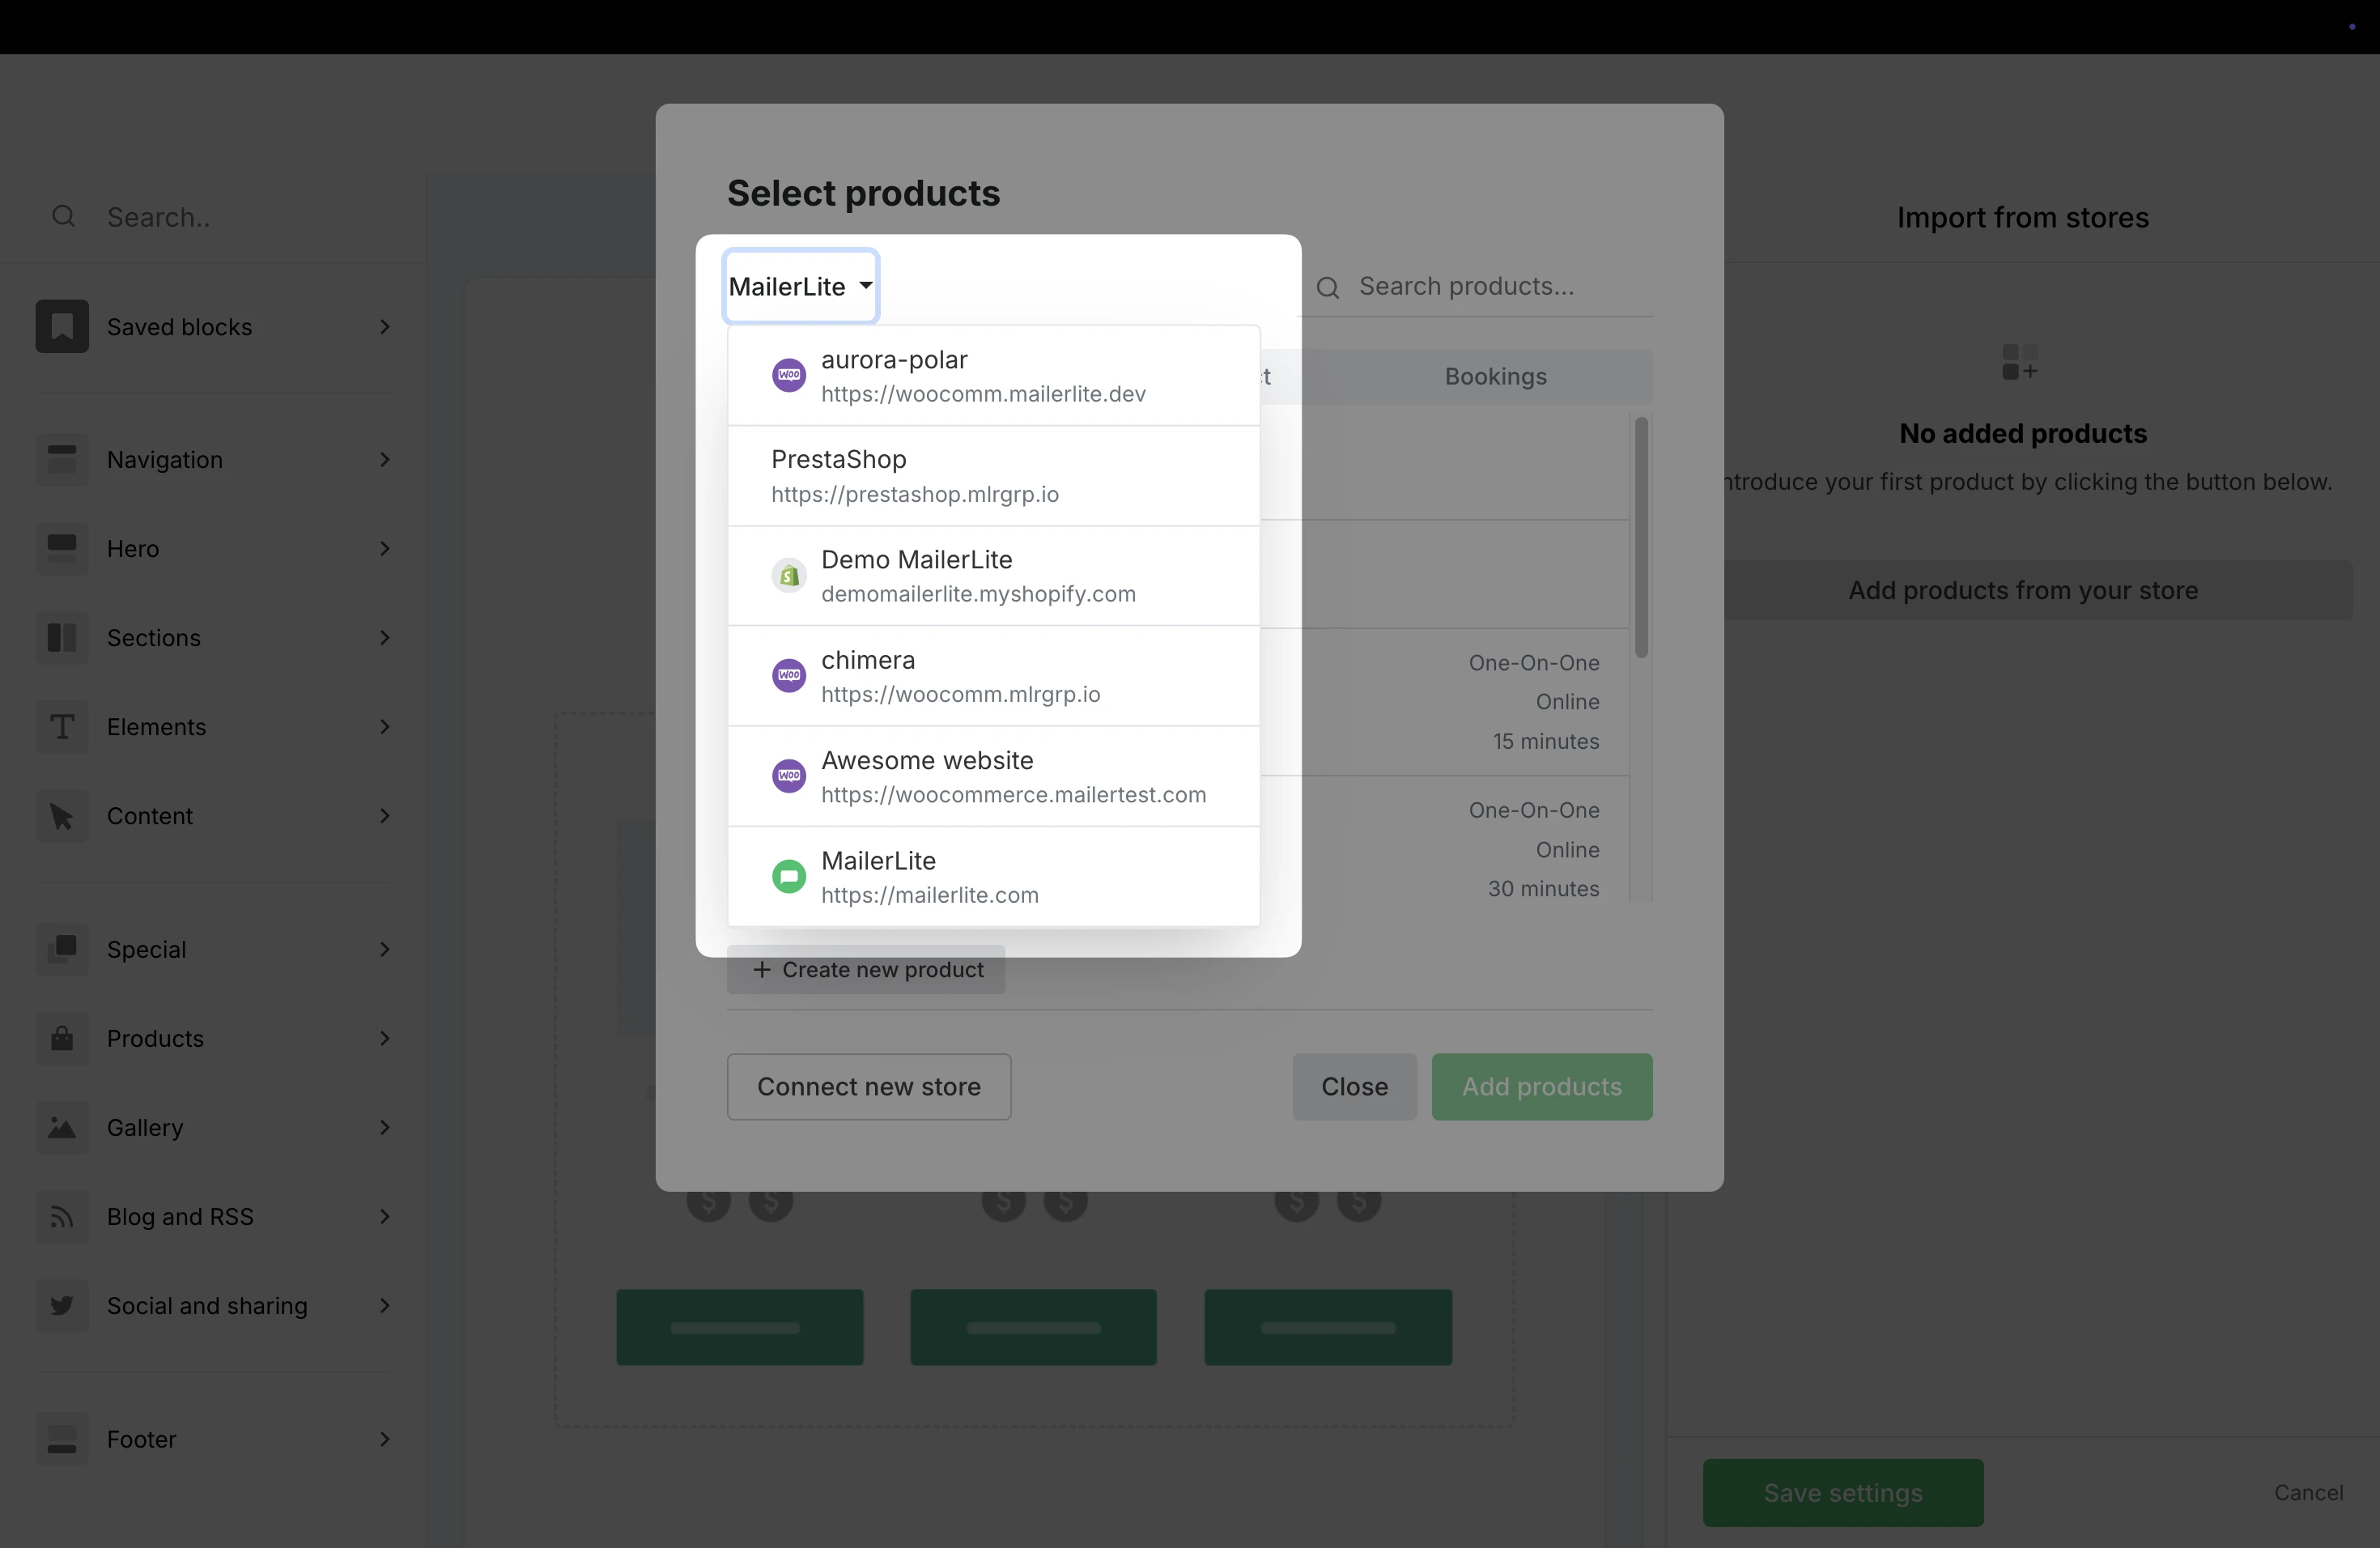
5. You can choose to display one product or multiple. Once the product is selected, click Add products.
6. Click into the block to open the Settings on the right. From here, you can adjust elements like image positioning, alignment, and choose which details such as Price and Description are displayed.
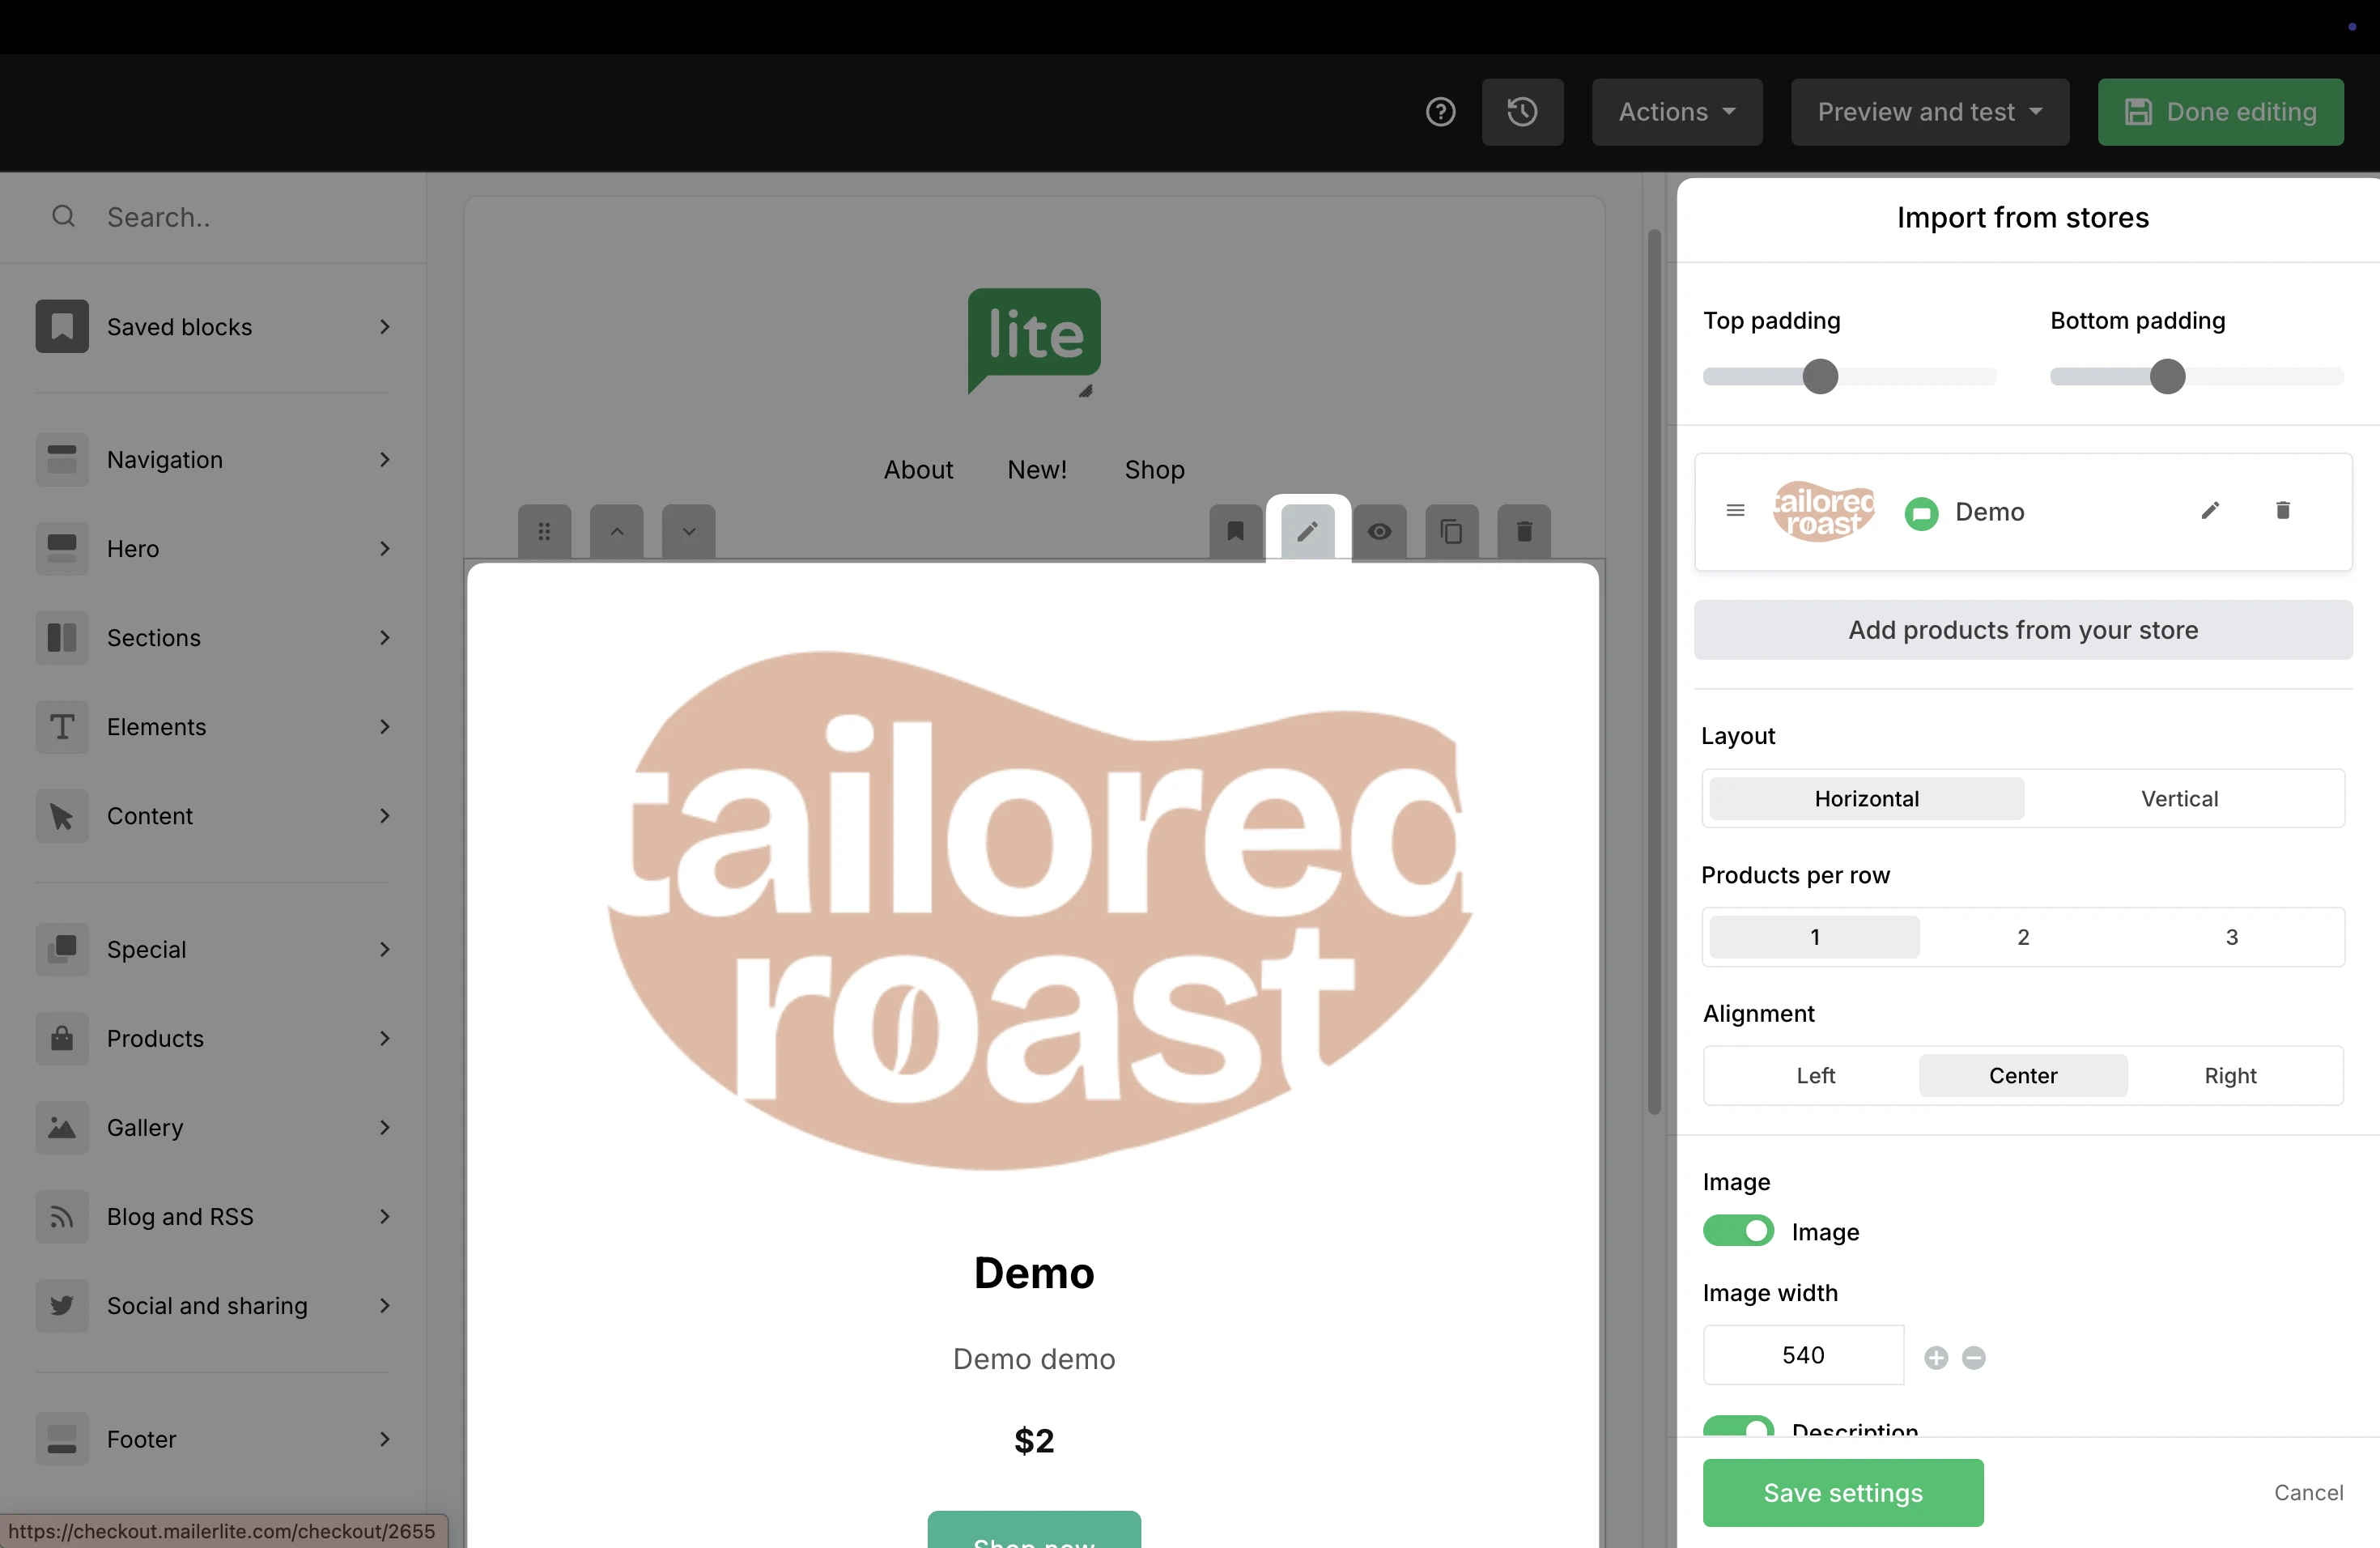
7. Click Save settings to save your edits.
8. When you are done editing your campaign, click Done editing.
9. On the Campaign details page, fill out the Subject line, Preheader, and choose the Recipients to send your campaign.
⚠️ Important: To make sure that any WooCommerce products through your campaign are tracked in MailerLite, toggle ON the option to Track links.

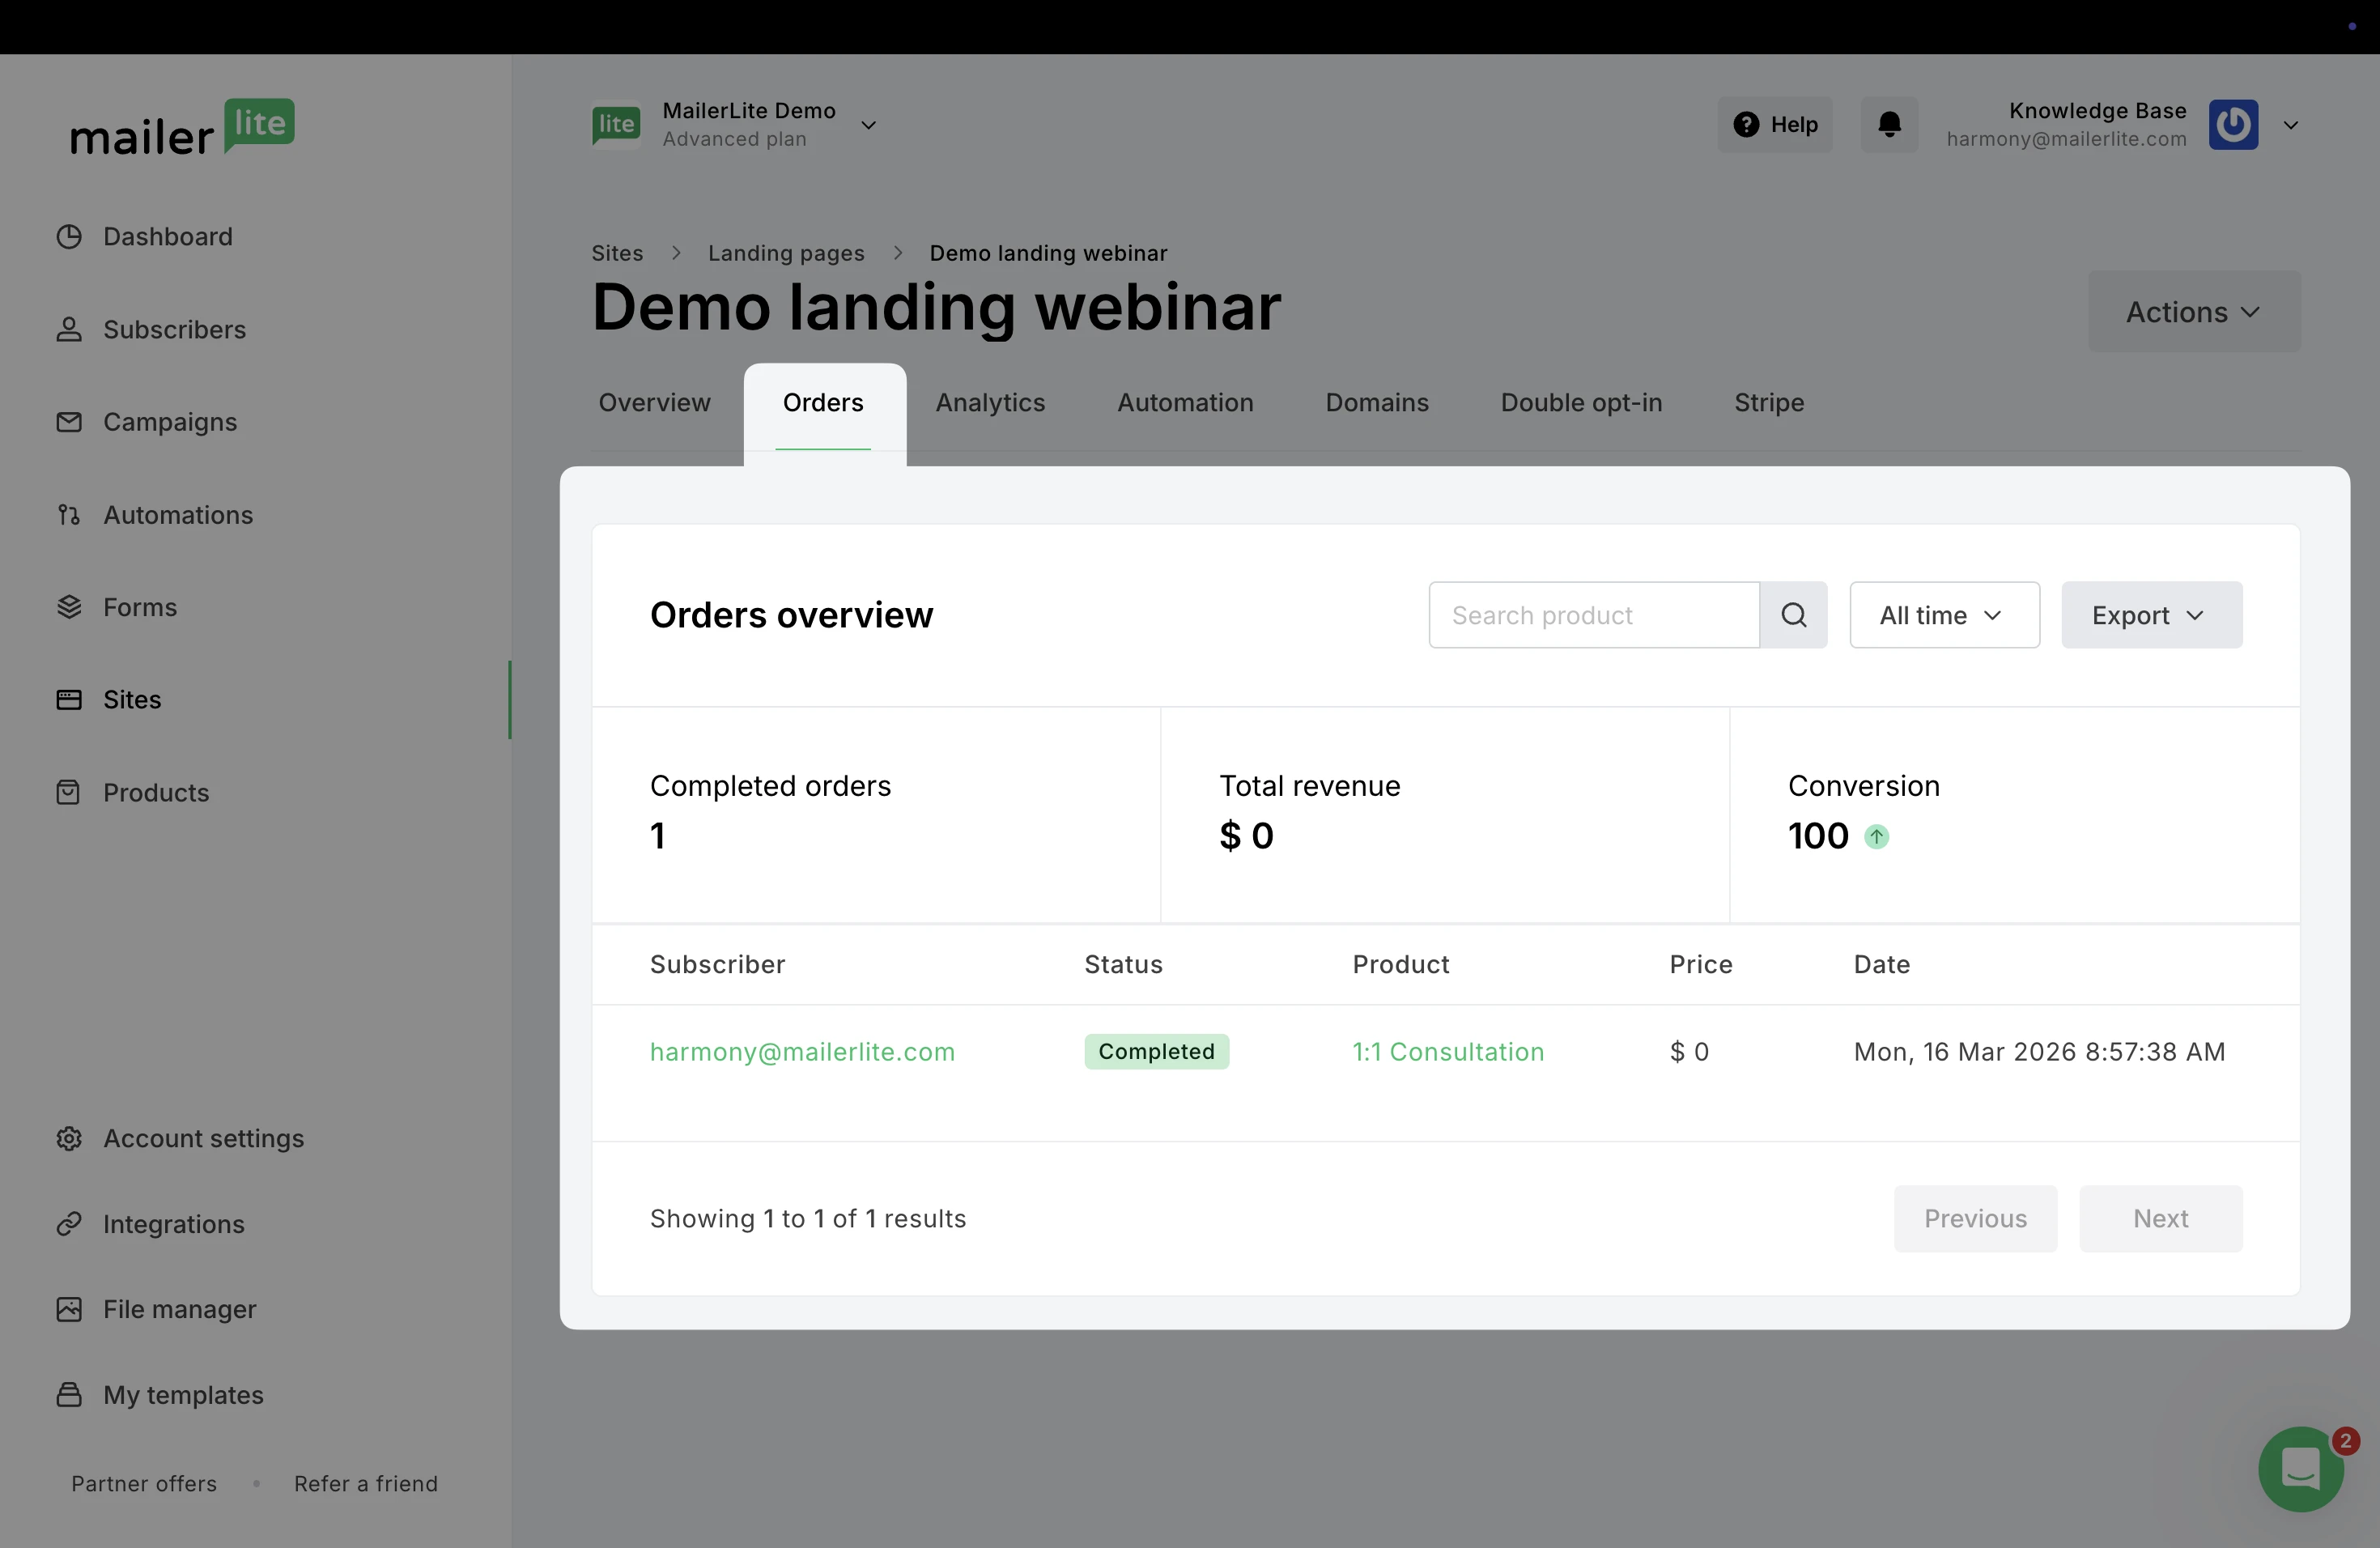
When a subscriber purchases your WooCommerce product through the newsletter and completes the transaction, the order will be tracked in the campaign’s report in the Orders tab.
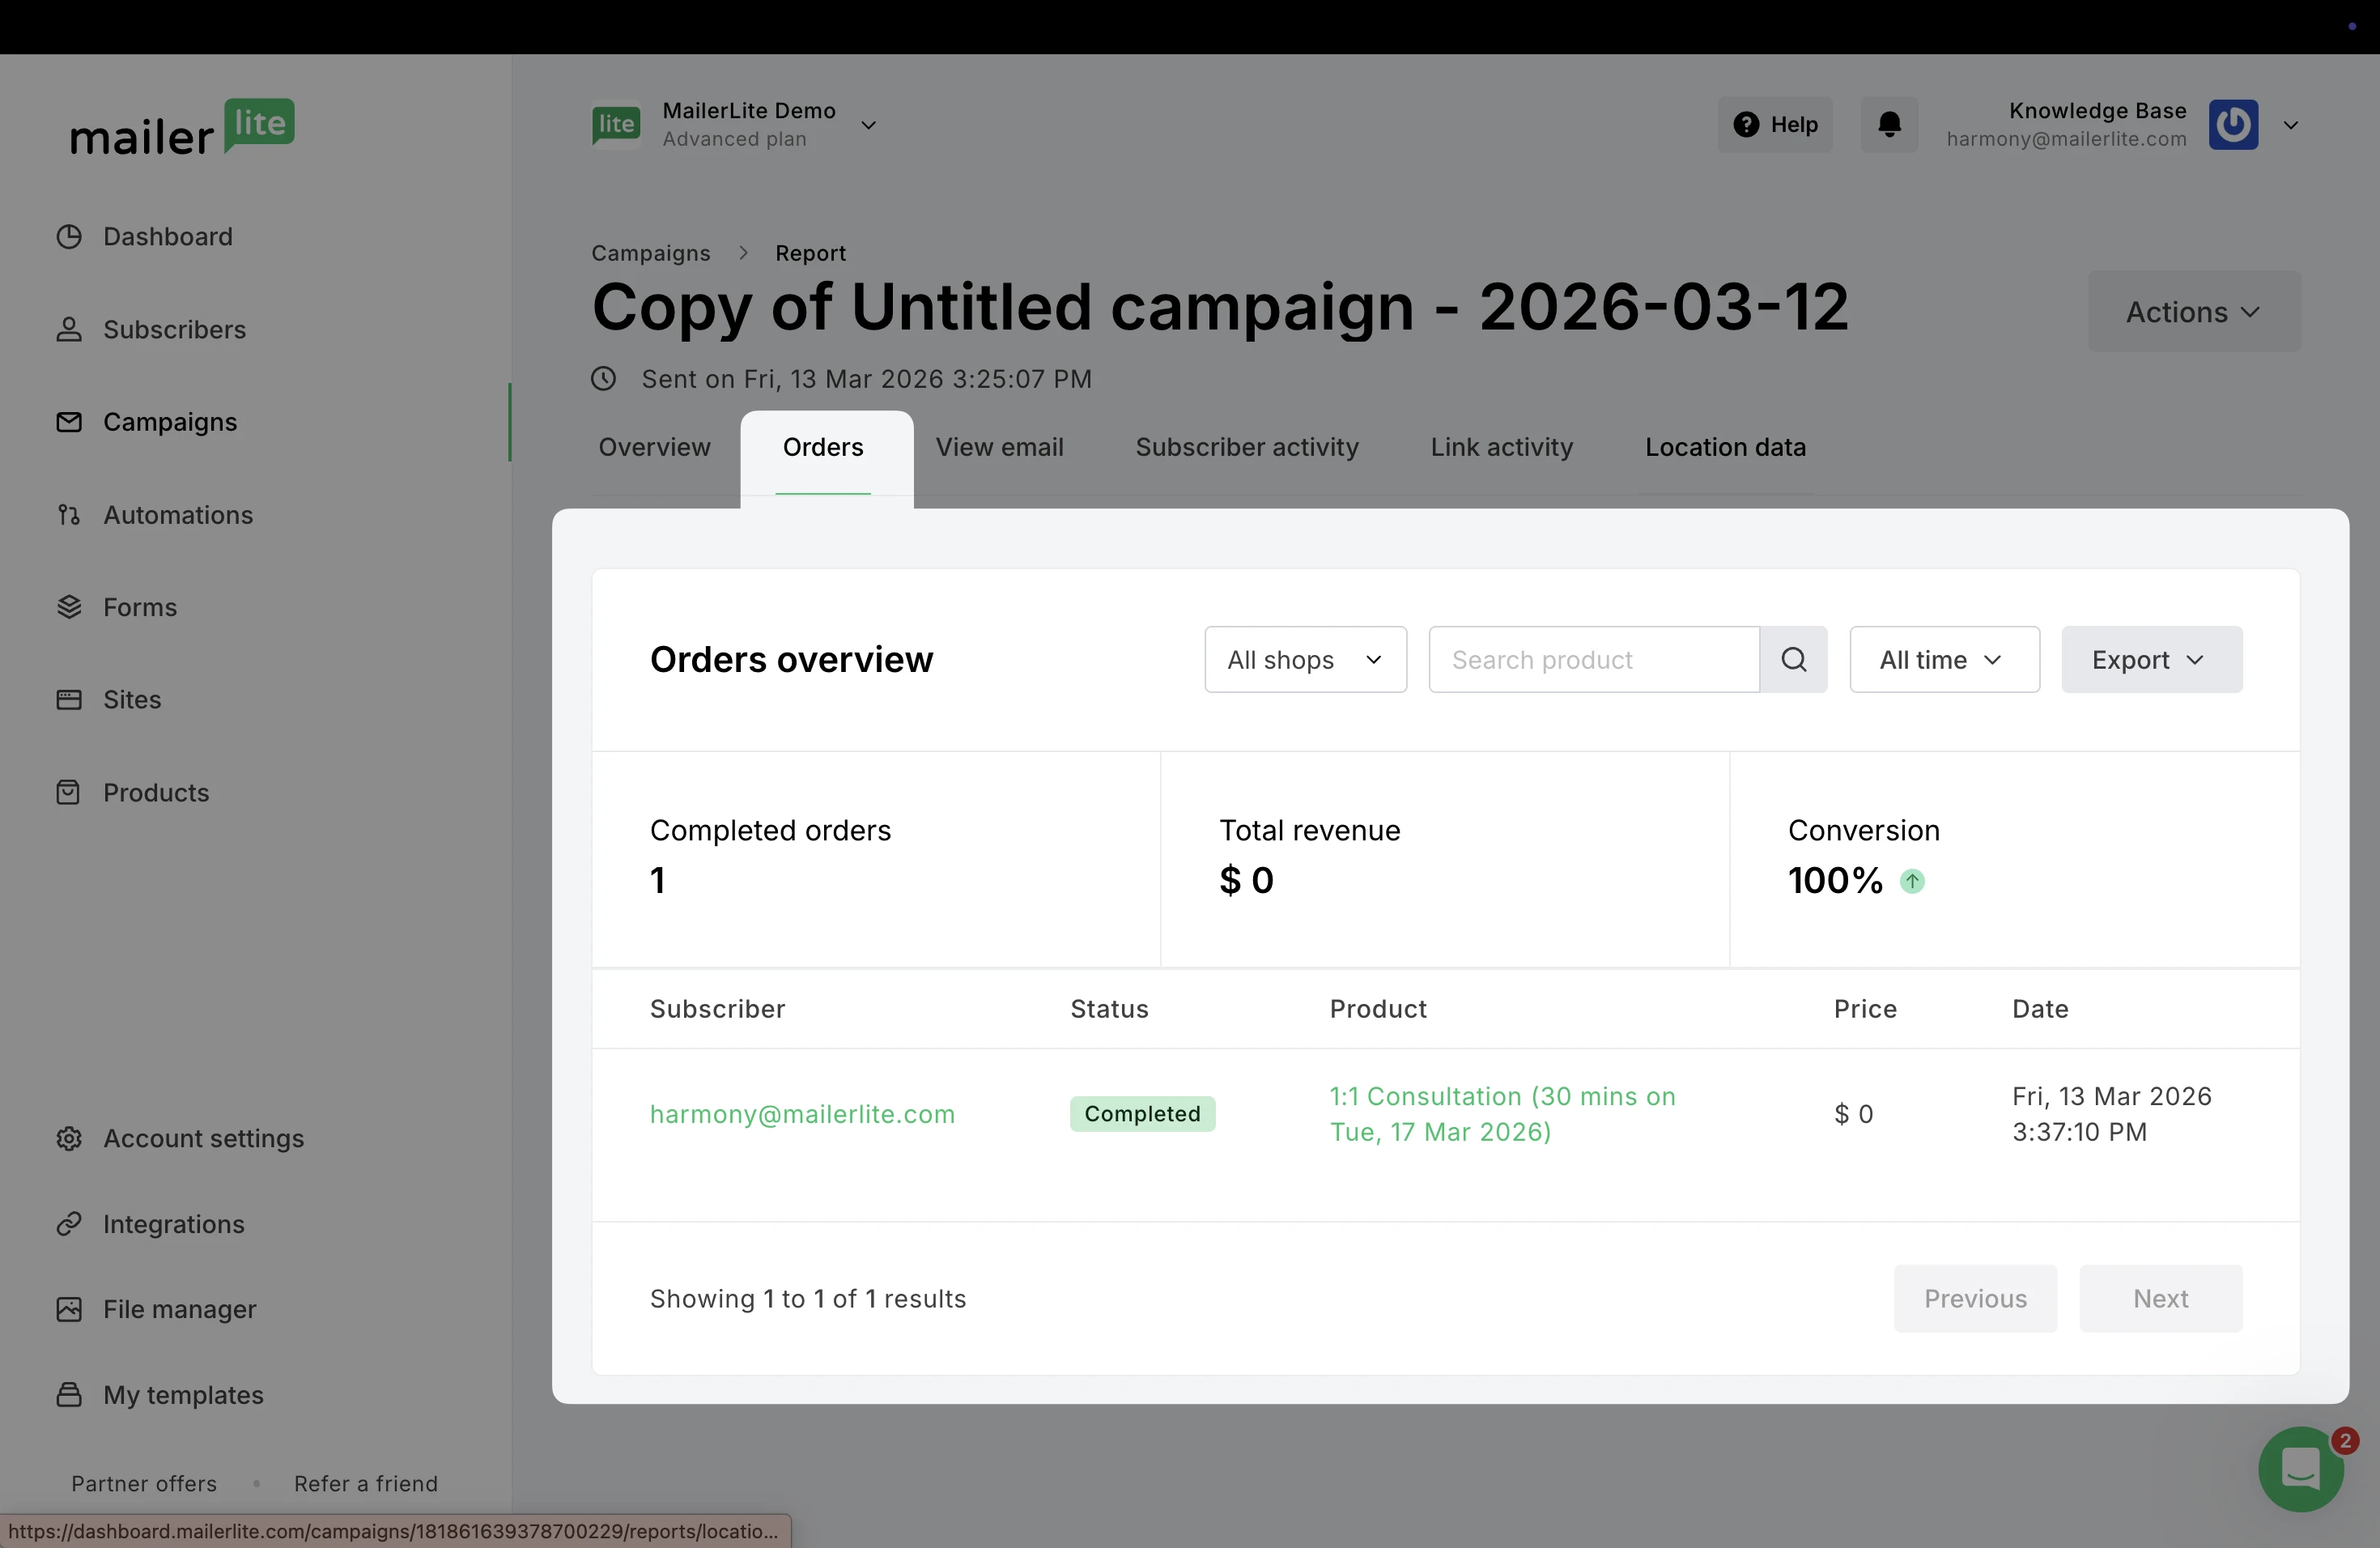
Note: You may find that the Total revenue data in your campaign report does not match the number in your subscriber’s Woo total spent field. This is because Total revenue only refers to the revenue generated from that MailerLite campaign. Your Woo total spent field includes all purchases, including those not made through MailerLite.
Add WooCommerce products to a landing page
Need help creating a landing page? Learn more here ➡️ How to create a landing page
To promote your WooCommerce products in a landing page:
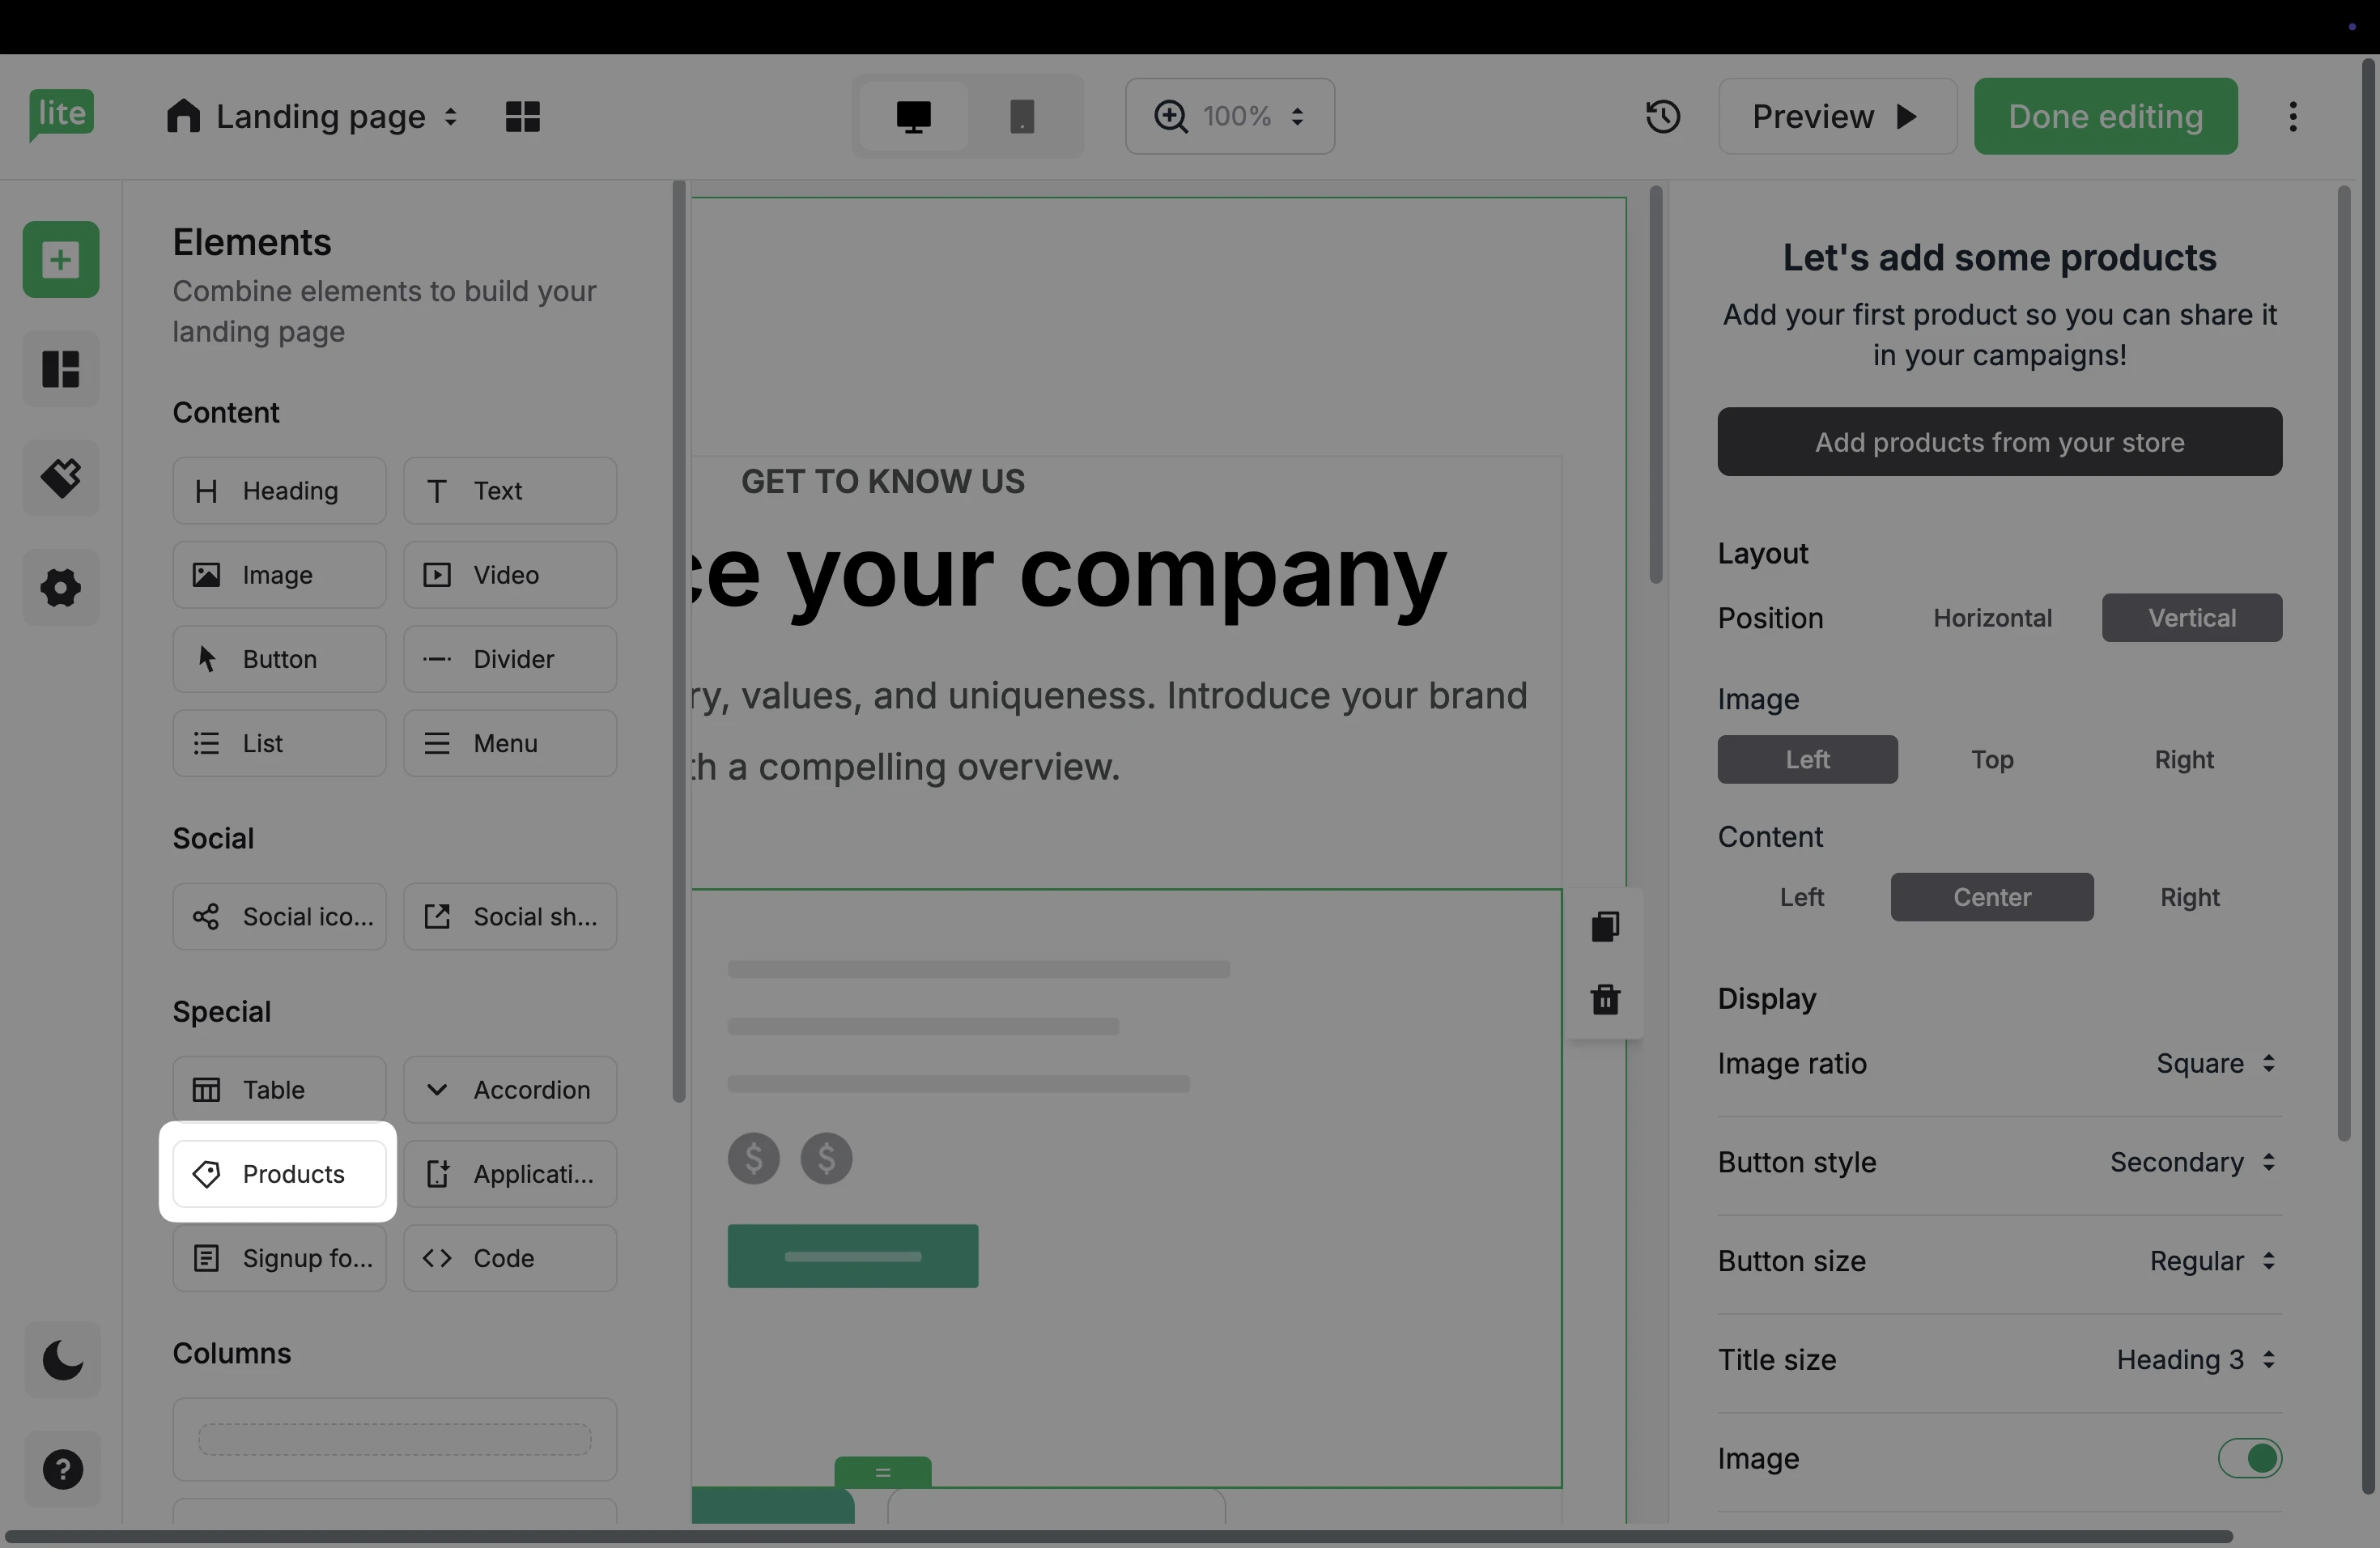
In the landing page editor under Elements, check the Special category to locate the Products element.
2. Or, under Sections, you can find Multiple product sections in the Pricing & Purchase category.
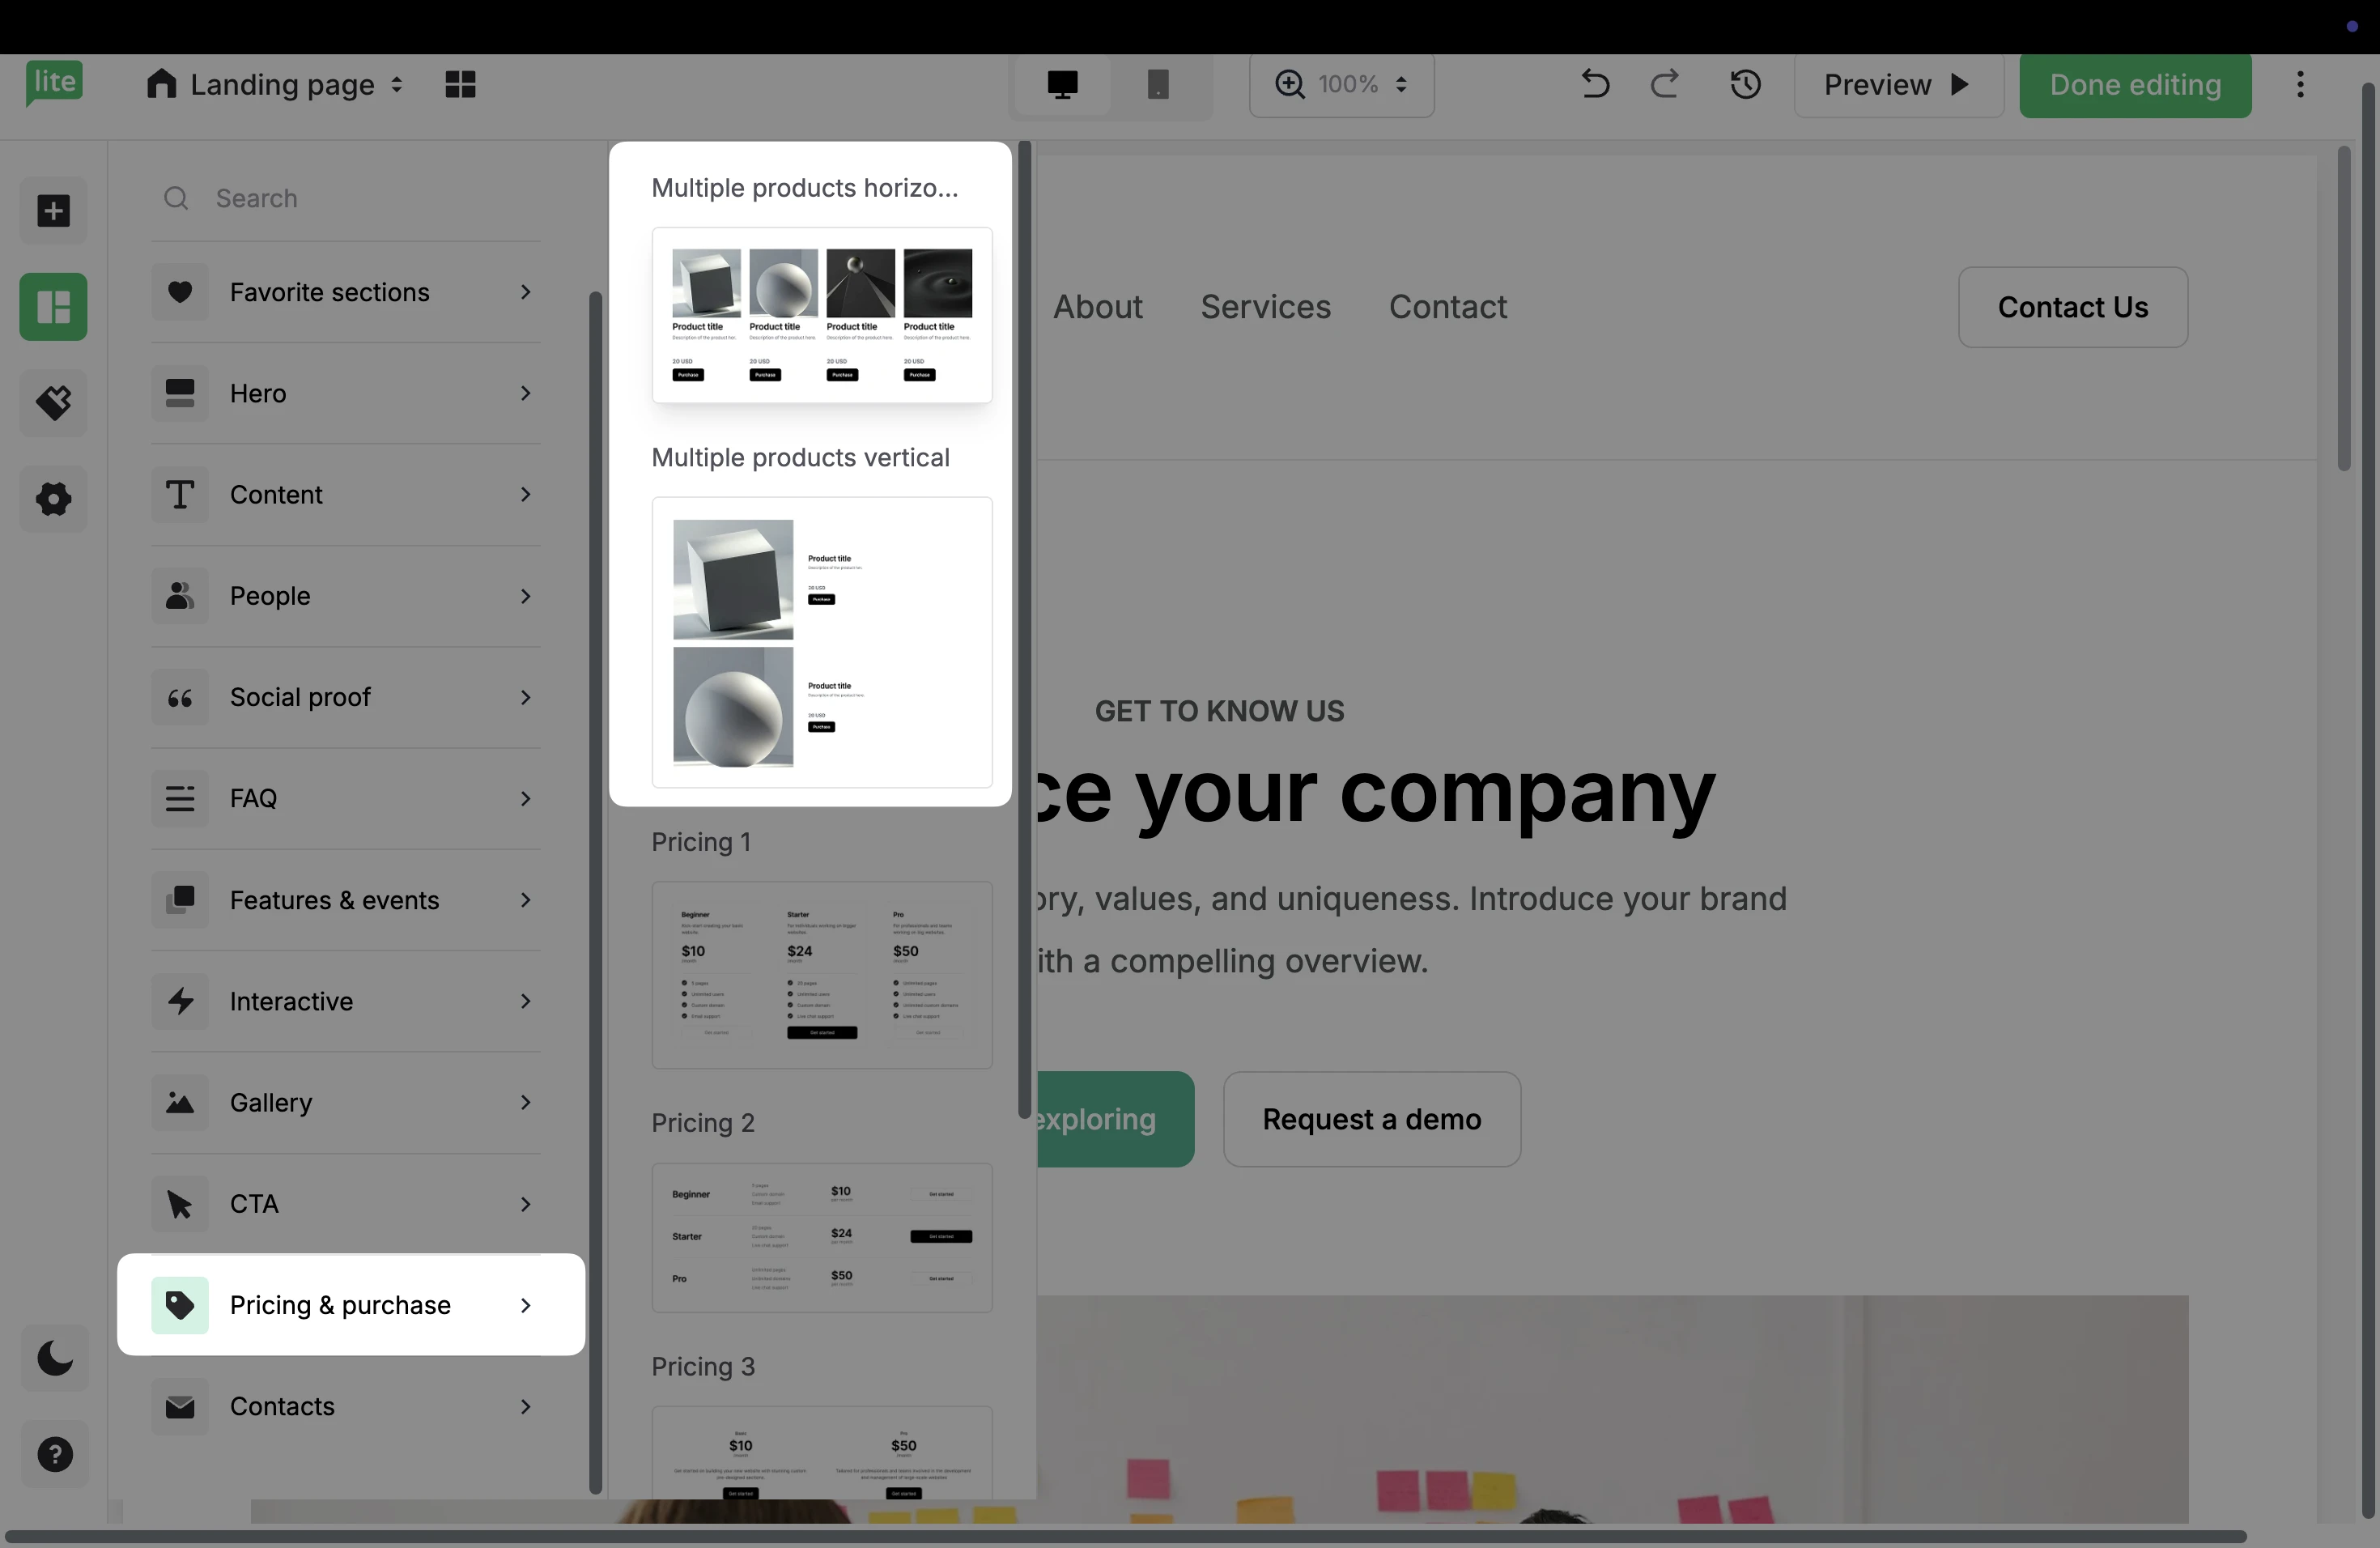
3. Drag and drop either of these elements into your landing page to add your WooCommerce products.
4. Click the Settings icon to open the panel on the right.
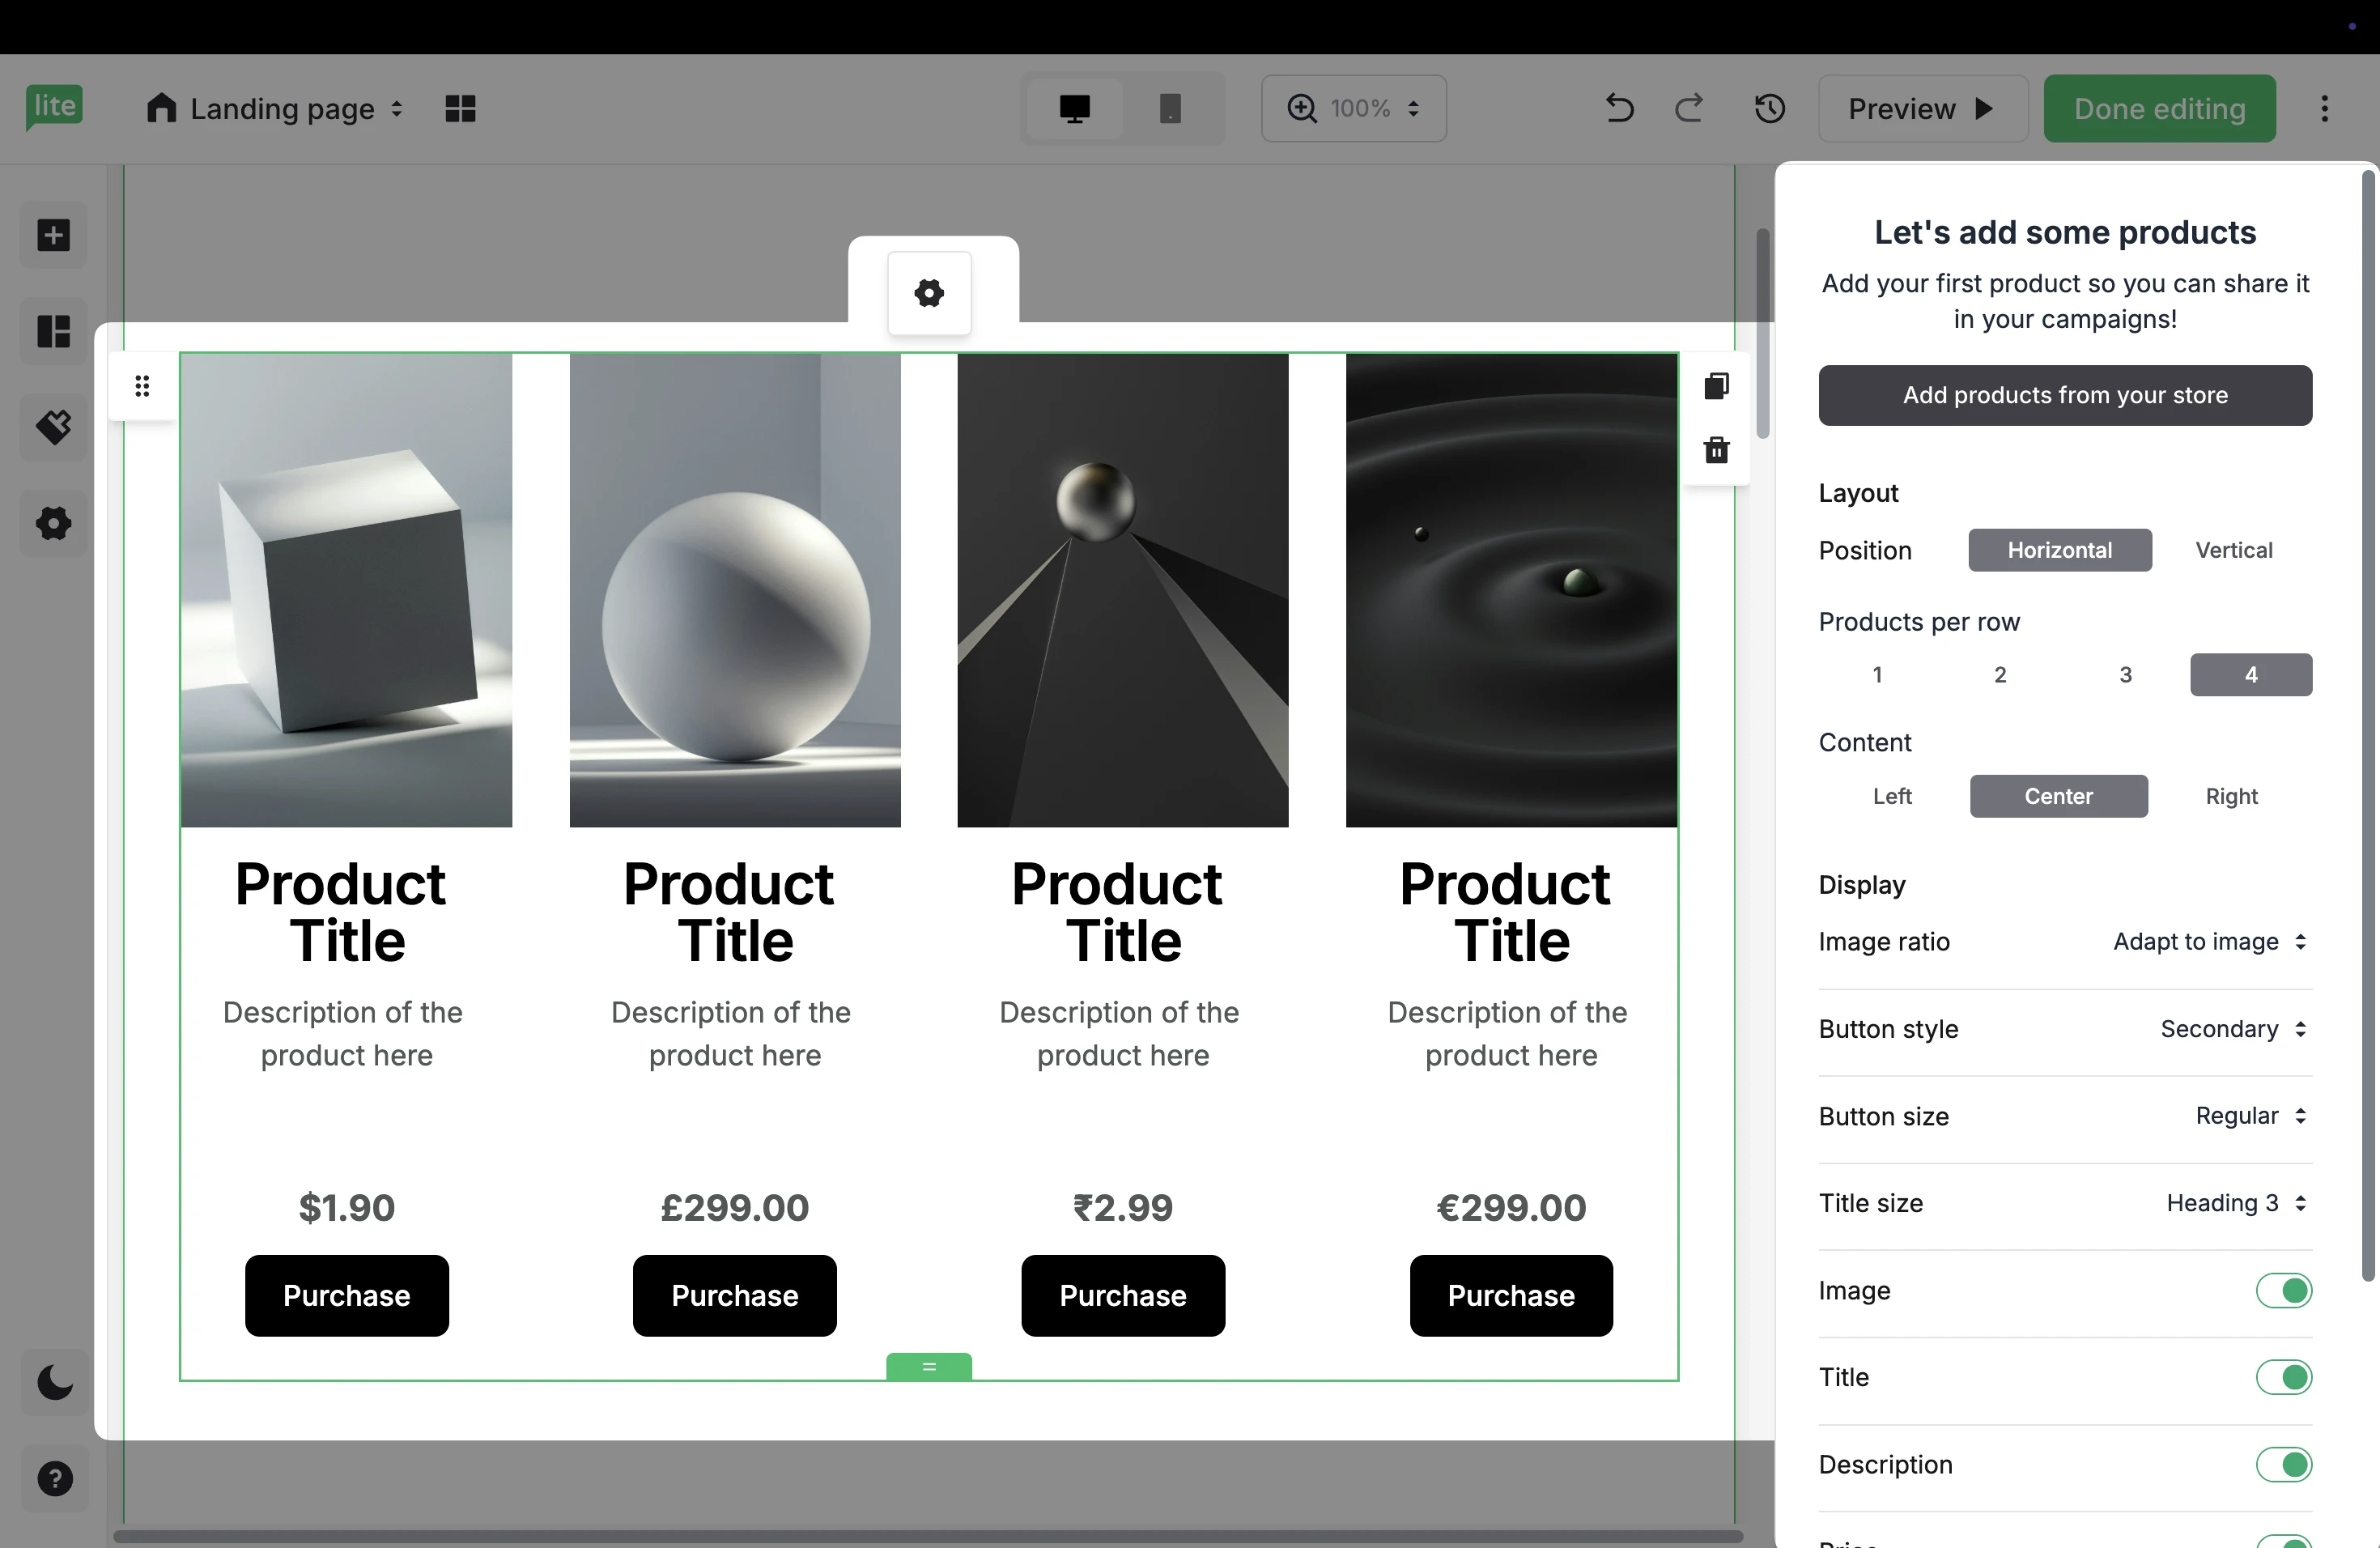
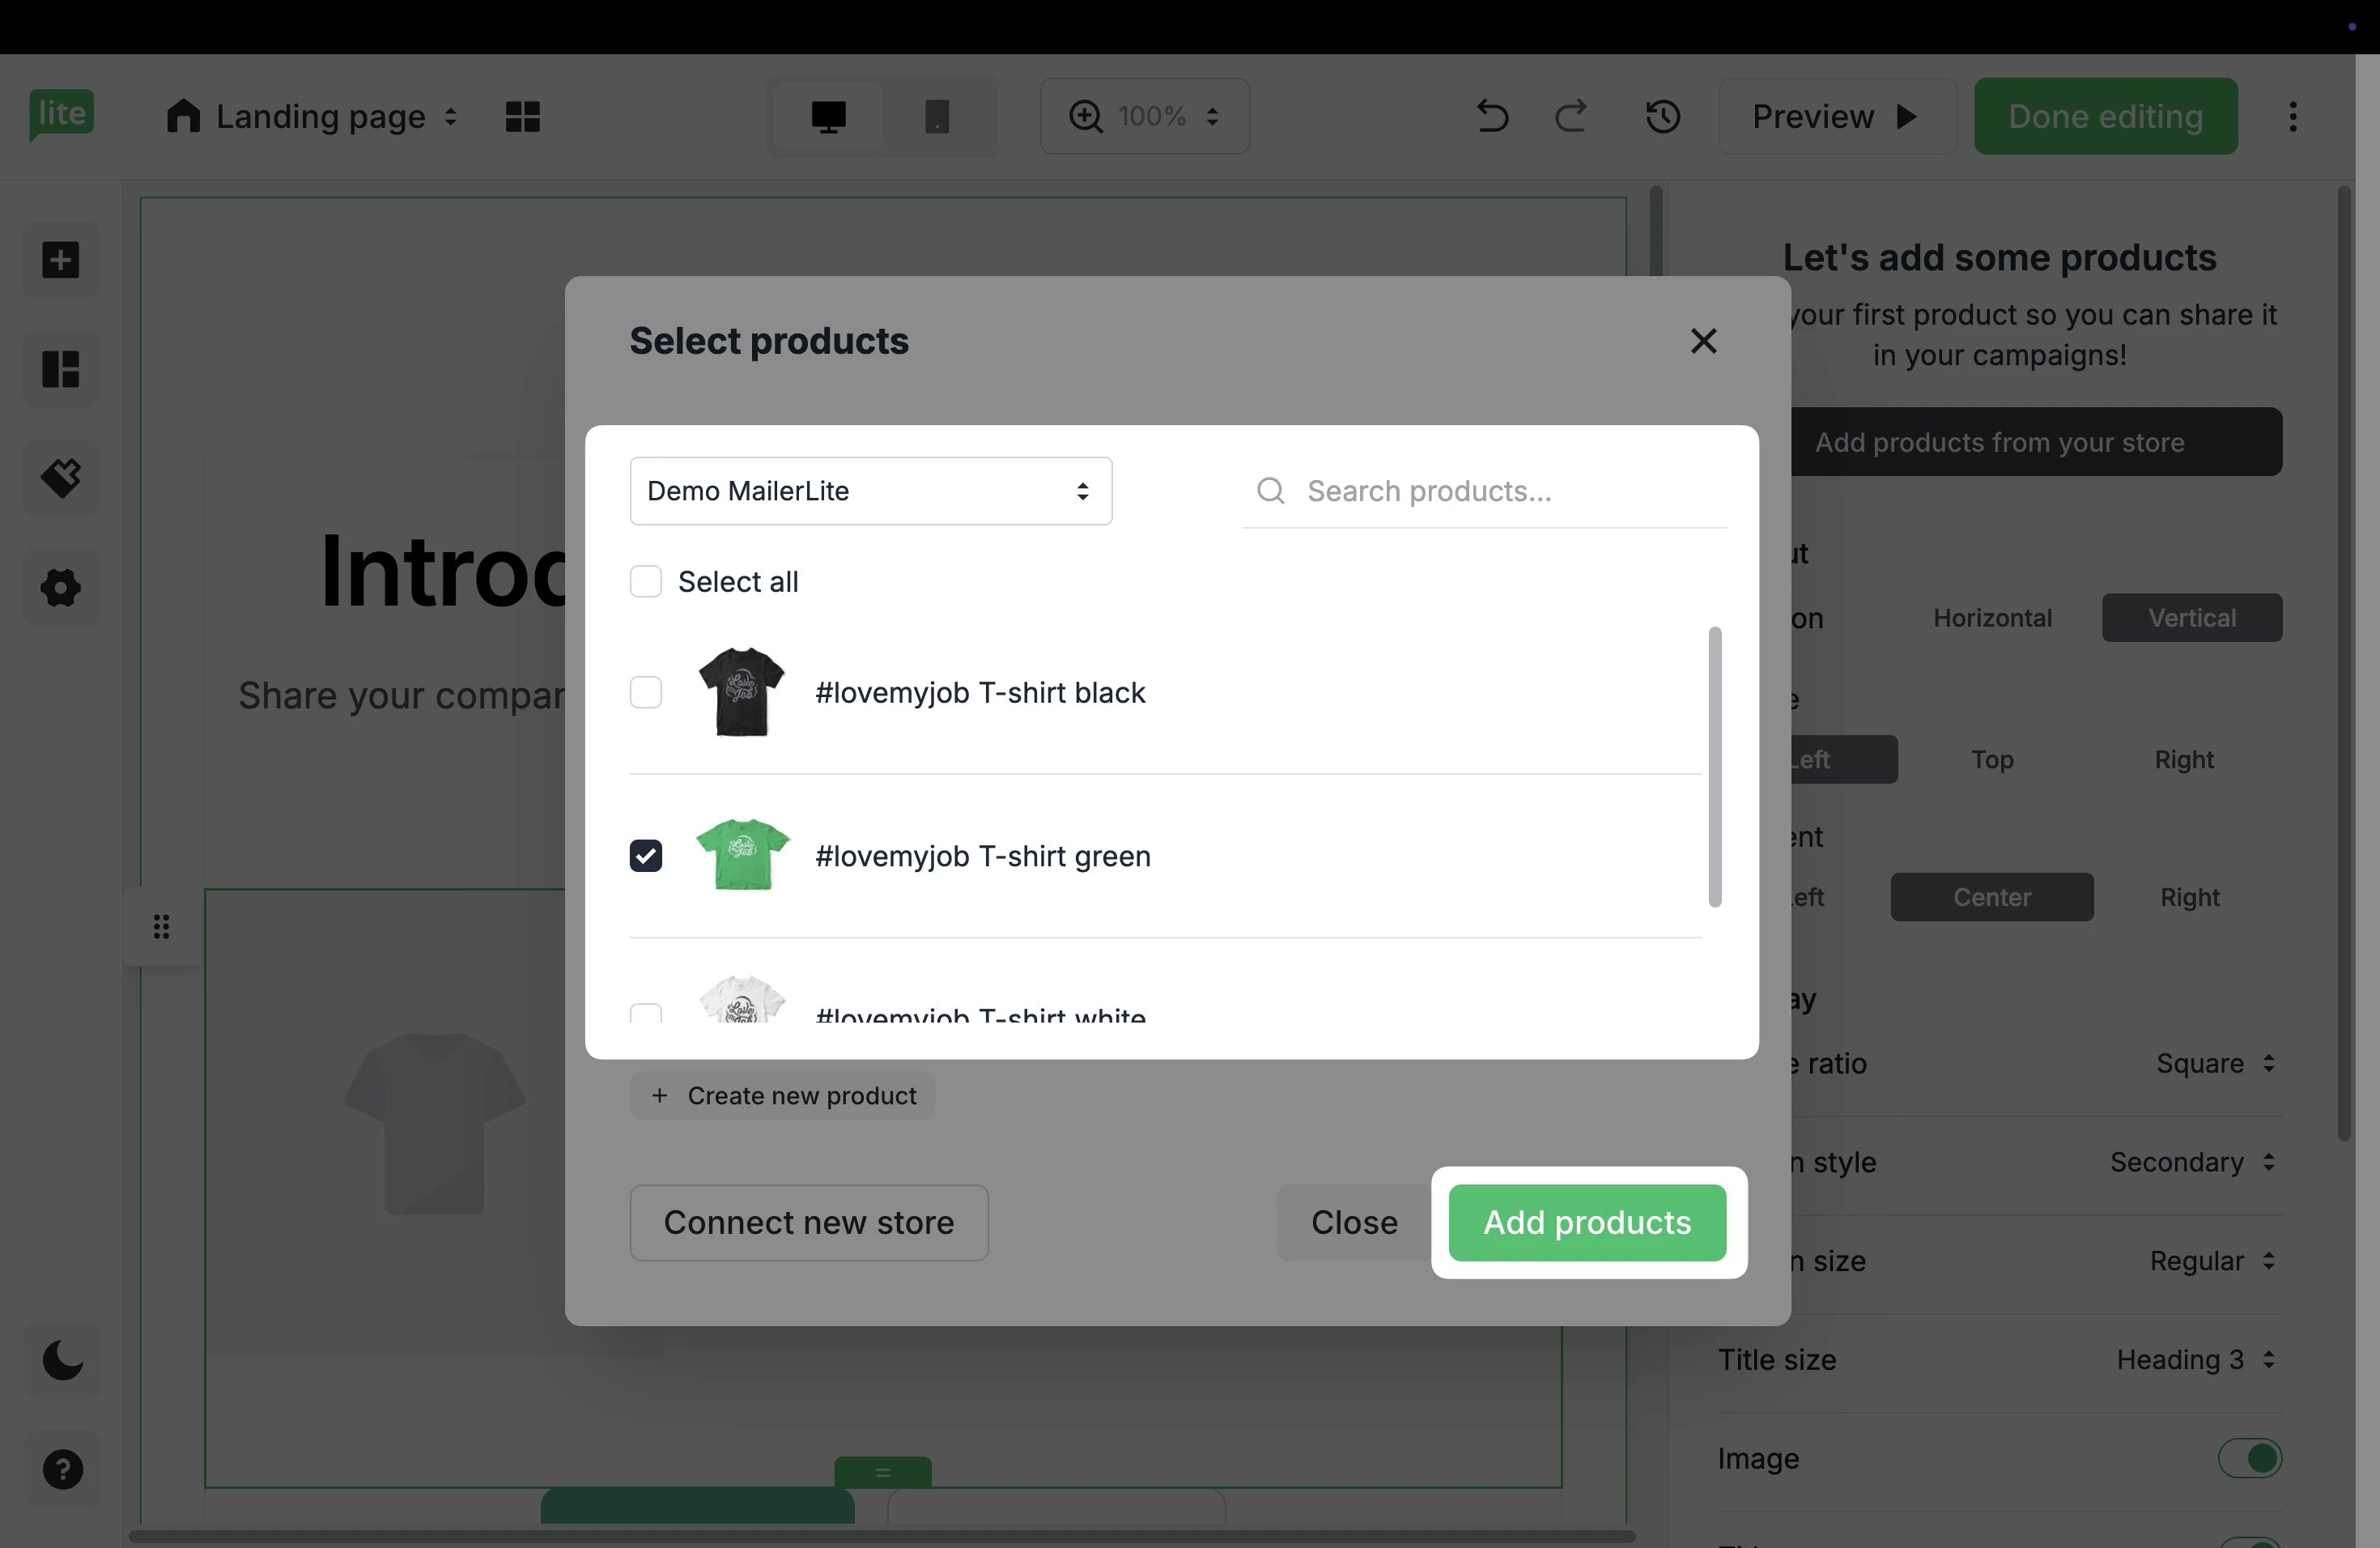
5. Choose Add products from your store to select the products to add to this site.
6. If you have multiple e-commerce stores connected to your MailerLite account, choose your WooCommerce store.
Once you have selected your Shopify products, click Add products.
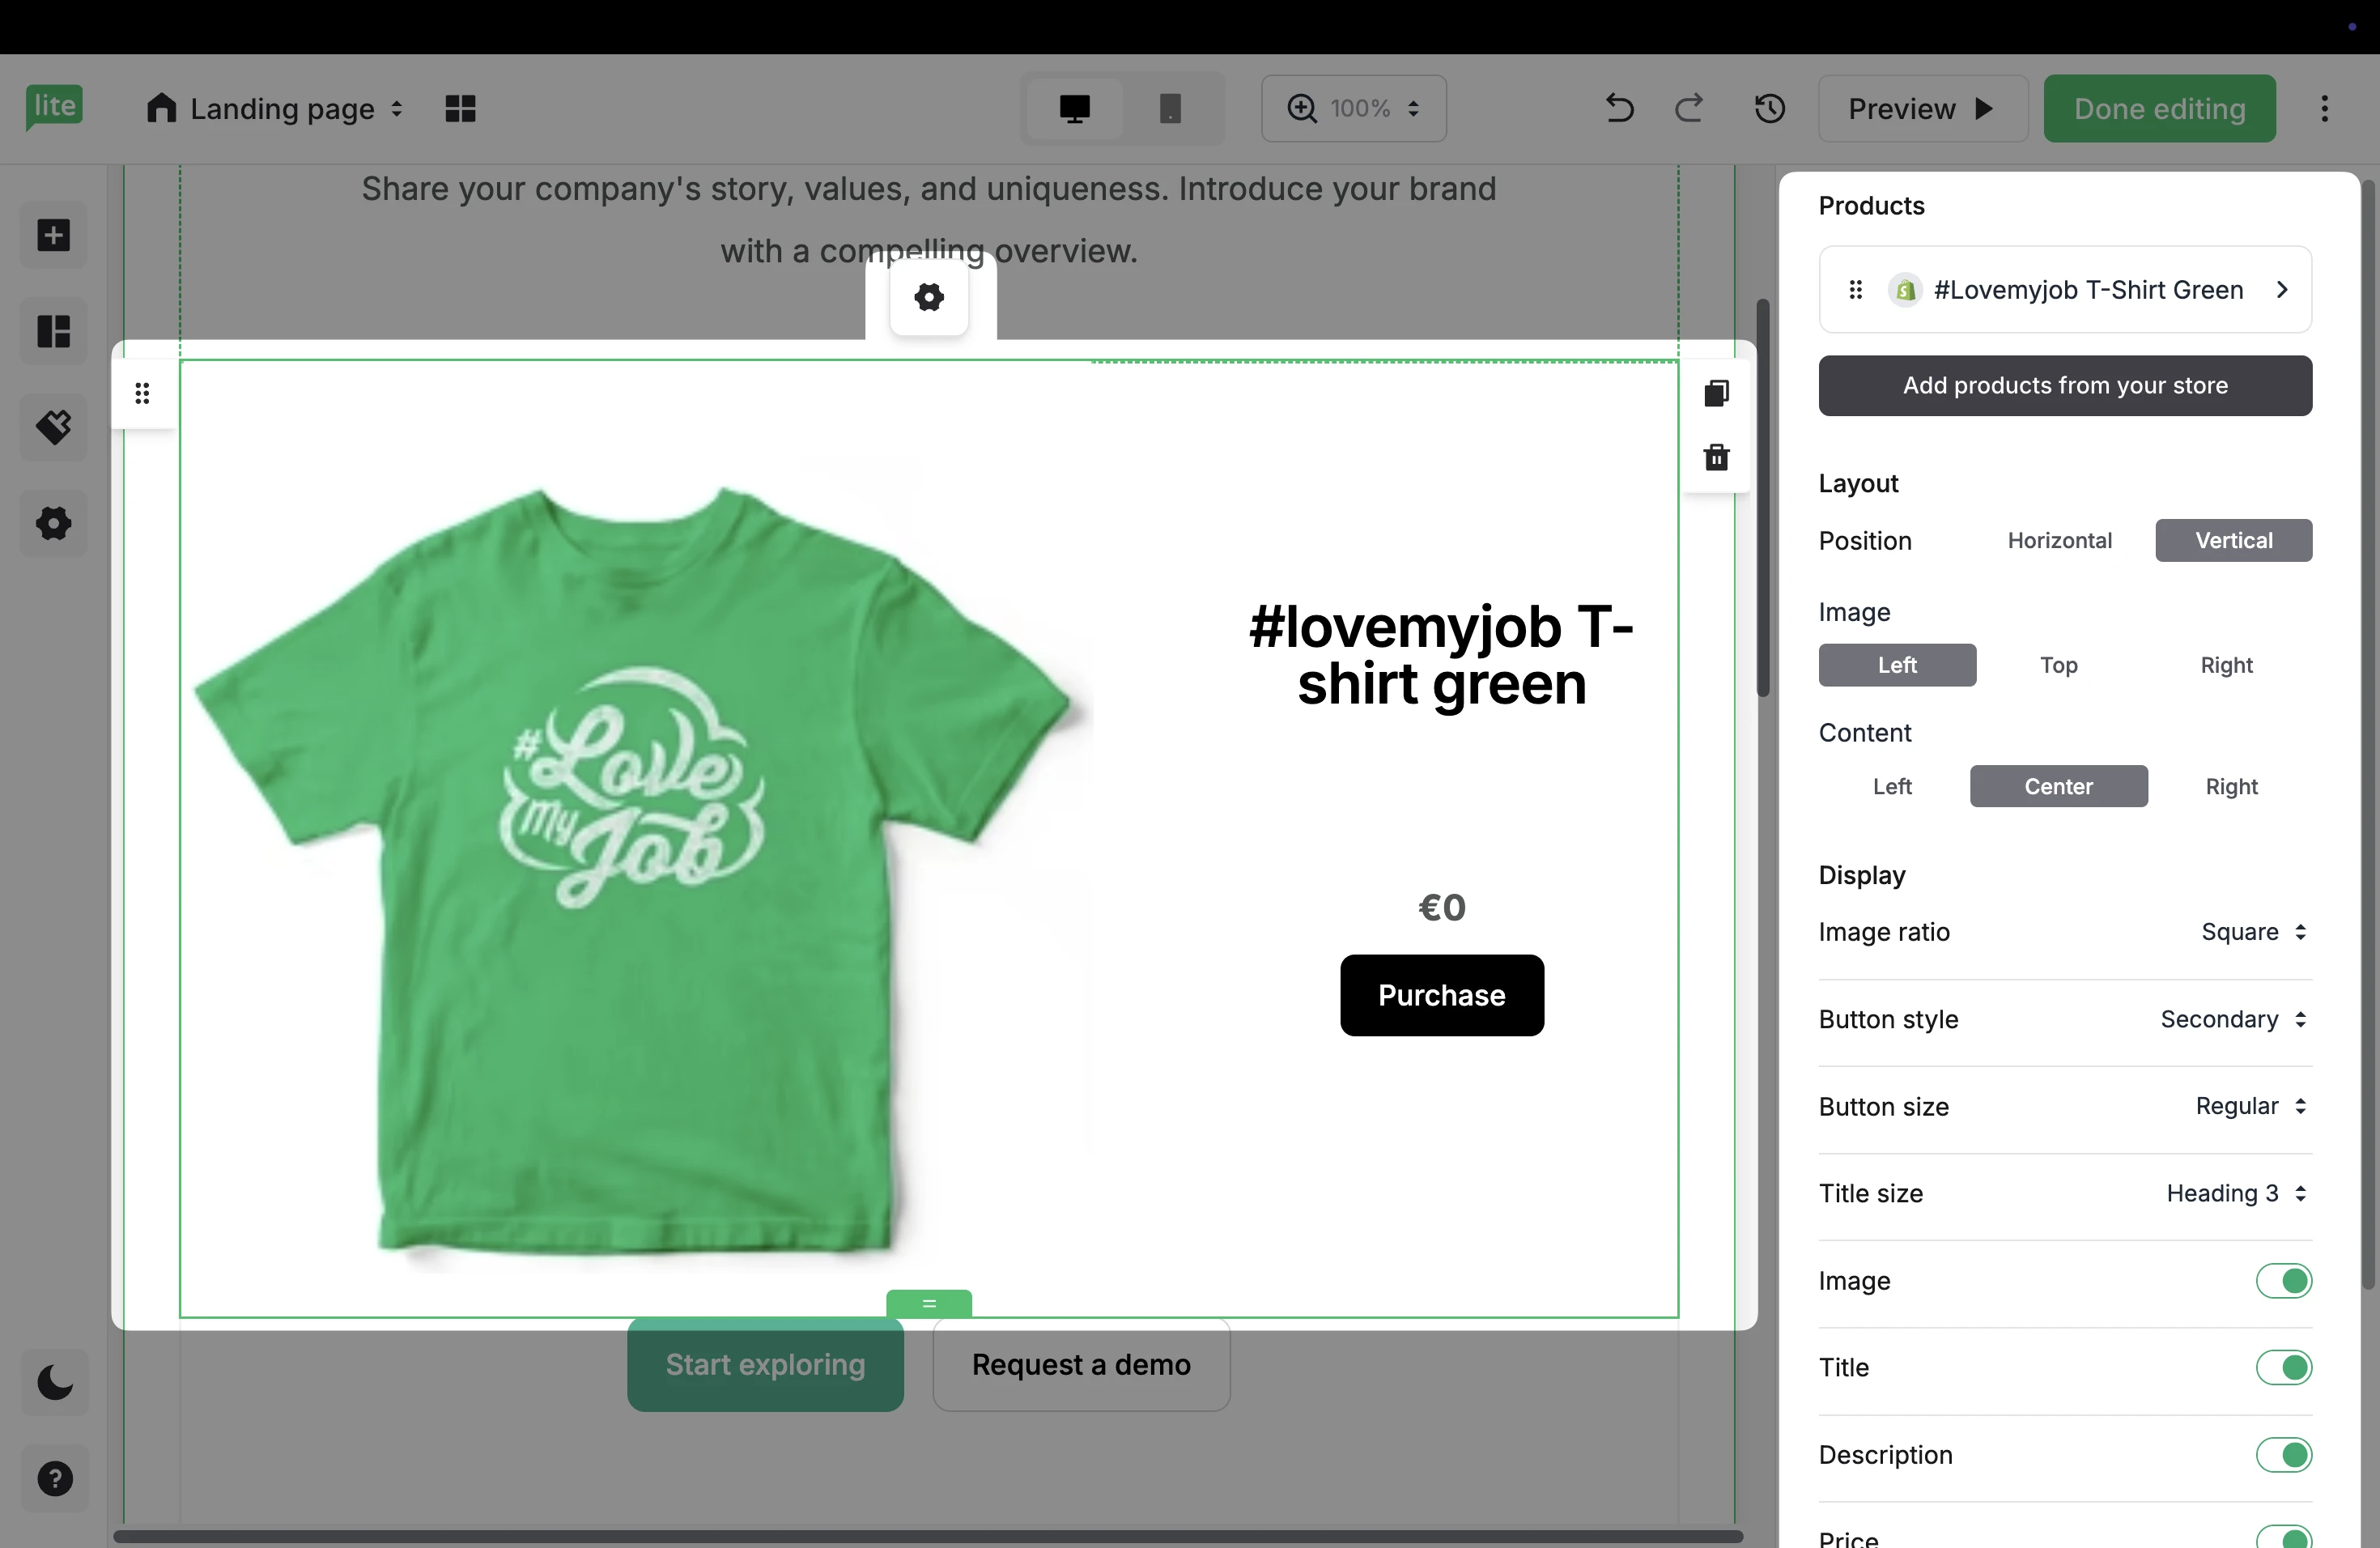
7. Once you have added your products, click the Settings button to open the configurations on the right. Here, you can edit the Product and Success view, as well as choose Layout, Content, and Button settings.
8. When a subscriber purchases your WooCommerce product via the landing page and completes the transaction, the order will be tracked in the site’s report in the Orders tab.
E-commerce automation triggers
Need help creating automations? Check our guide ➡️ How to create an automation workflow
When you connect your WooCommerce store, it sends customer and order data to your account in real time.
MailerLite automations (e-commerce triggers specifically) use this data to automatically start workflows based on customer actions, such as when someone places an order or abandons their cart.
The WooCommerce integration supports these e-commerce triggers:
Abandoned cart
Abandoned checkout
Purchases any product
Purchases specific product
Purchases from category
Purchase frequency
In order to trigger an automation that uses an e-commerce trigger, customers of your store must also be newsletter subscribers and accept to receive marketing from you. This can be by completing any of your sign-up forms, or by checking the box to accept marketing at checkout.
💡 Curious how these triggers work?
Learn how to use them in our E-commerce automation triggers article.
How to troubleshoot WooCommerce integration issues
If a customer of your WooCommerce store makes a purchase, and is not added to your active subscriber list or does not trigger a purchased-based automation, you can check the following factors:
Order status -In platforms like Shopify and WooCommerce, the order status needs to be marked as Pending payment, Processing or Completed in the store before an e-commerce automation will trigger.
Accepts marketing - If your customer did not check the box to accept email marketing at checkout, they cannot be synced to your MailerLite account.
Additionally, on your order page in the bottom right corner, you will find a window labeled MailerLite. The information in this window is there to assist you in making sure your customers are synced successfully. There are six factors in the MailerLite window that you can review:
Signed up for mailing list - Indicates whether or not a subscriber has accepted marketing or signed up for your mailing list
Subscribed to mailing list - This factor then indicates whether or not the subscriber has been successfully added. For example, if you have double opt-in for API enabled subscribers won’t be subscribed to the mailing list until they confirm their subscription in their inbox
Already in the subscriber list - Indicates that the subscriber was previously subscribed to your mailing list prior to making this purchase
Subscriber data updated - Indicates that the existing subscriber has been updated with new information included in this order
Order data submitted - This will show whether or not the subscriber's order information was added to MailerLite
Order tracking completed - Simply indicates that the customer, along with their order data, have been successfully added to MailerLite and the sync is complete
If your WooCommerce product images are not loading in your MailerLite e-commerce blocks, make sure that the images are in JPG or PNG format. WEBP images are not supported.