Note: If you're a Legacy (Classic) user, please log in to your account to access the dedicated Legacy (Classic) Help Center.
A sender avatar is the small image that appears next to your email in a recipient's inbox. Displaying an avatar helps your emails look more trustworthy and professional, boosting brand recognition and open rate.
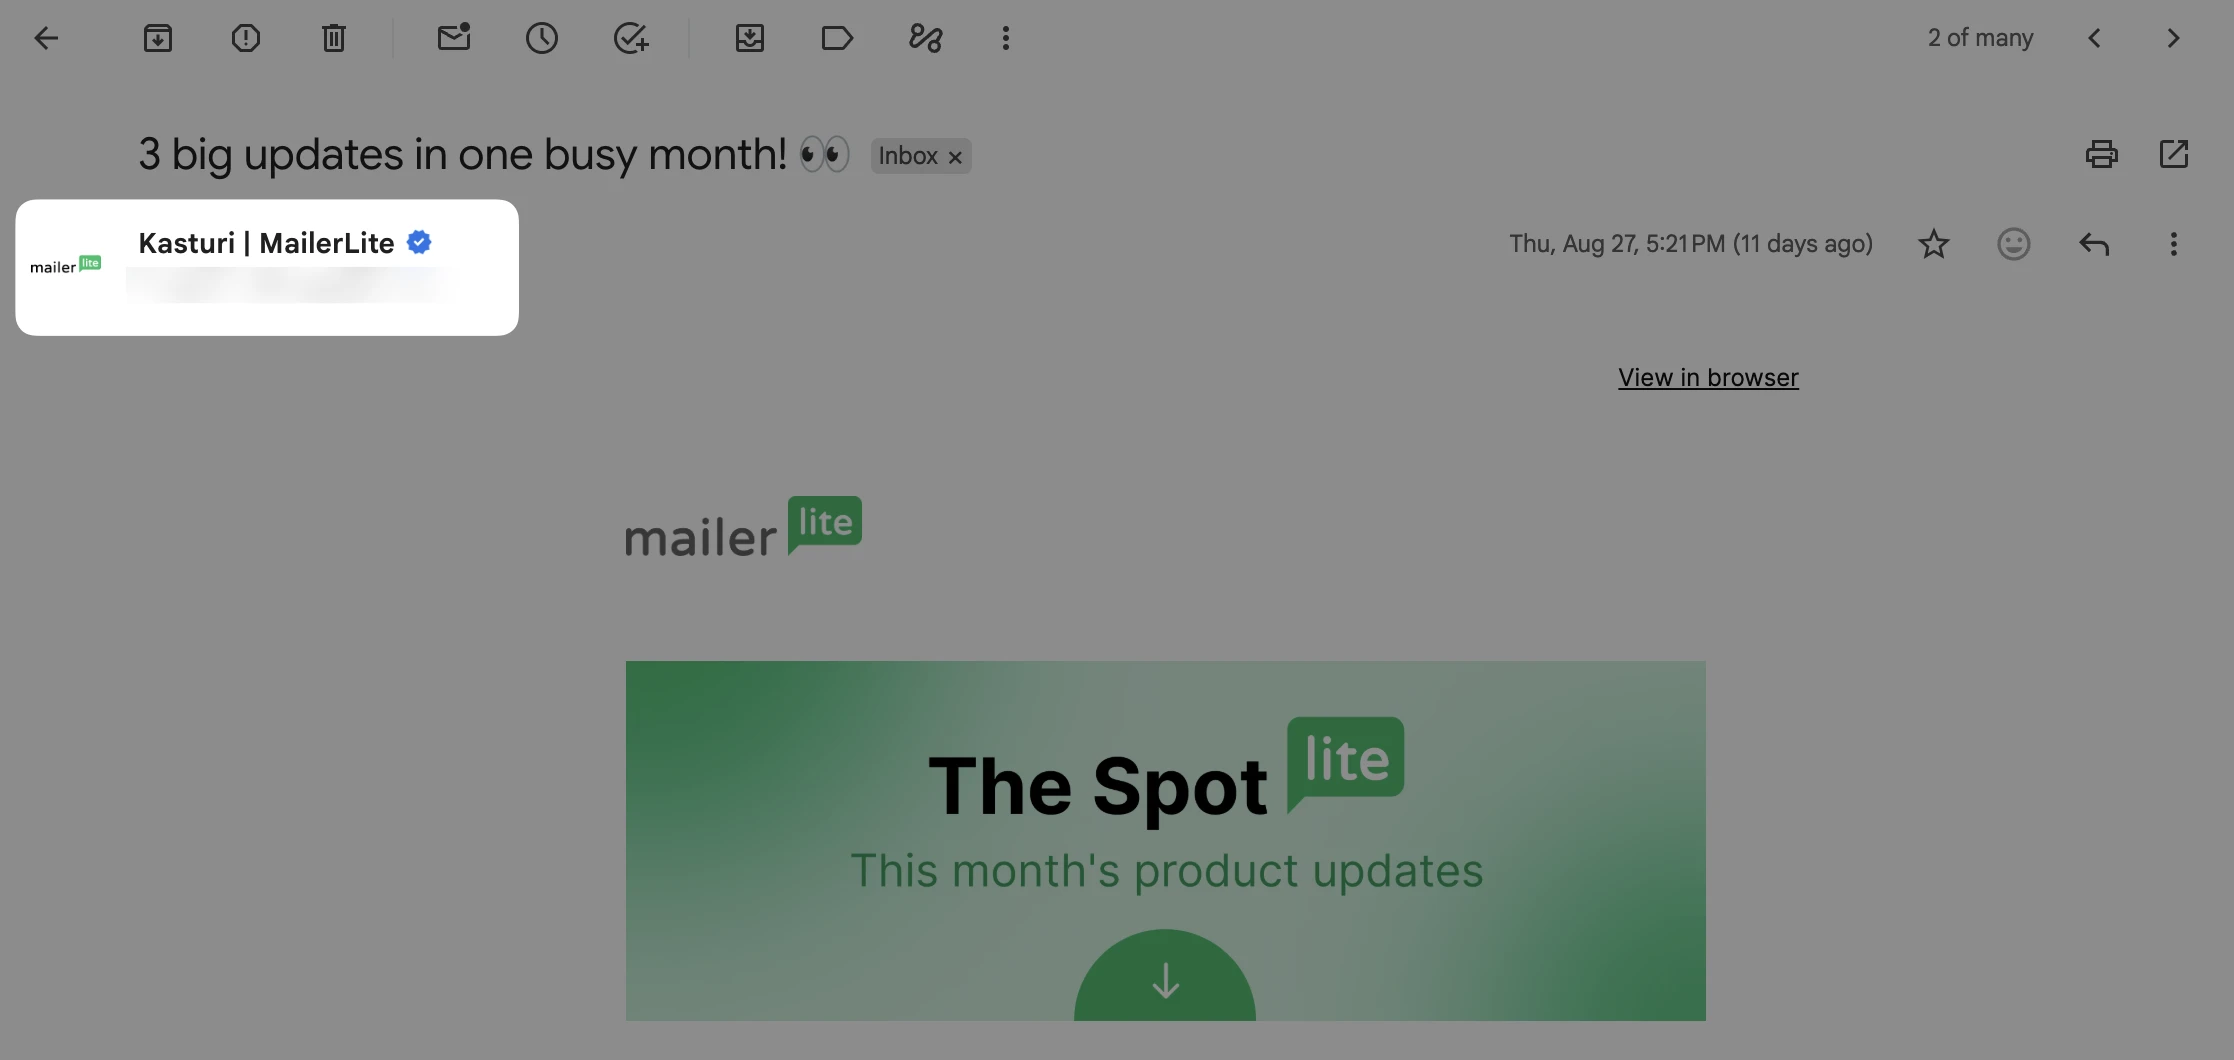
Sender avatar isn't a MailerLite setting: each inbox provider decides where it pulls that image from. You can set it directly through the email client, Gravatar, or BIMI.
How to set a sender avatar directly through your email client
Some email clients let you attach a profile photo directly to the email address you send from. This is the simplest option; however, it only affects that one address on that one provider. Recipients using a different provider won't see it.
Gmail
Sign in to the Google Account for the address you send from.
Go to the account's Personal info settings.
Upload a profile photo.
Outlook
Sign in to the Microsoft account for the address you send from.
Go to the account's Your info settings.
Upload a profile photo.
How to use Gravatar
Gravatar (Globally Recognized Avatar) is a free, separate service that several email clients, including Thunderbird, Airmail, and others, check for a sender's image. Gmail and Outlook don't pull from Gravatar, so treat it as a complement to the provider-specific method above.
To set a Gravatar:
Create a free account on Gravatar.
Verify the same email address you send from in MailerLite.
Upload the image you want to use as your avatar.
Note: The image may not show up right away. Allow some time for your email client to pick up the change.
How to set up BIMI
BIMI (Brand Indicators for Message Identification) works across your whole sending domain, regardless of which address or tool sends the email. Once set up, your logo will appear in any supporting inbox, including Gmail, Yahoo, Apple Mail, and Fastmail.
Note: Outlook doesn't currently support BIMI.
BIMI is set up through your domain's DNS records. To configure it:
Authenticate your domain and add a DMARC policy. Your DMARC policy needs to be set to quarantine or reject.
Create your logo as an SVG Tiny PS file, the specific format BIMI requires. Follow these steps to create the file, or get help from a designer.
Apply for a VMC or CMC. Keep in mind that these are paid certificates, and though they are not a necessary part of the BIMI implementation process, you need one for major mailbox providers like Google to display your logo.
Publish the BIMI TXT record in your domain's DNS zone. Check out this guide on how to create a BIMI record for more information. Afterwards, check if the record is set up correctly here.
Learn more: What is BIMI and how does it help with email marketing?
💡 Keep in mind: These methods aren't exclusive. You can set up a Gmail/Outlook photo and Gravatar for immediate use, then add BIMI as a long-term solution.