Note: If you're a Legacy (Classic) user, please log in to your account to access the dedicated Legacy (Classic) Help Center.
⚠️ Feature use limits apply. Learn more here.
What is a promotional pop-up?
A promotional pop-up is an informational window that appears while a visitor is browsing your website. It can be used for important announcements, discounts, and promotions.
How to create a promotional pop-up
To create a promotional pop-up:
Navigate to the Forms page.
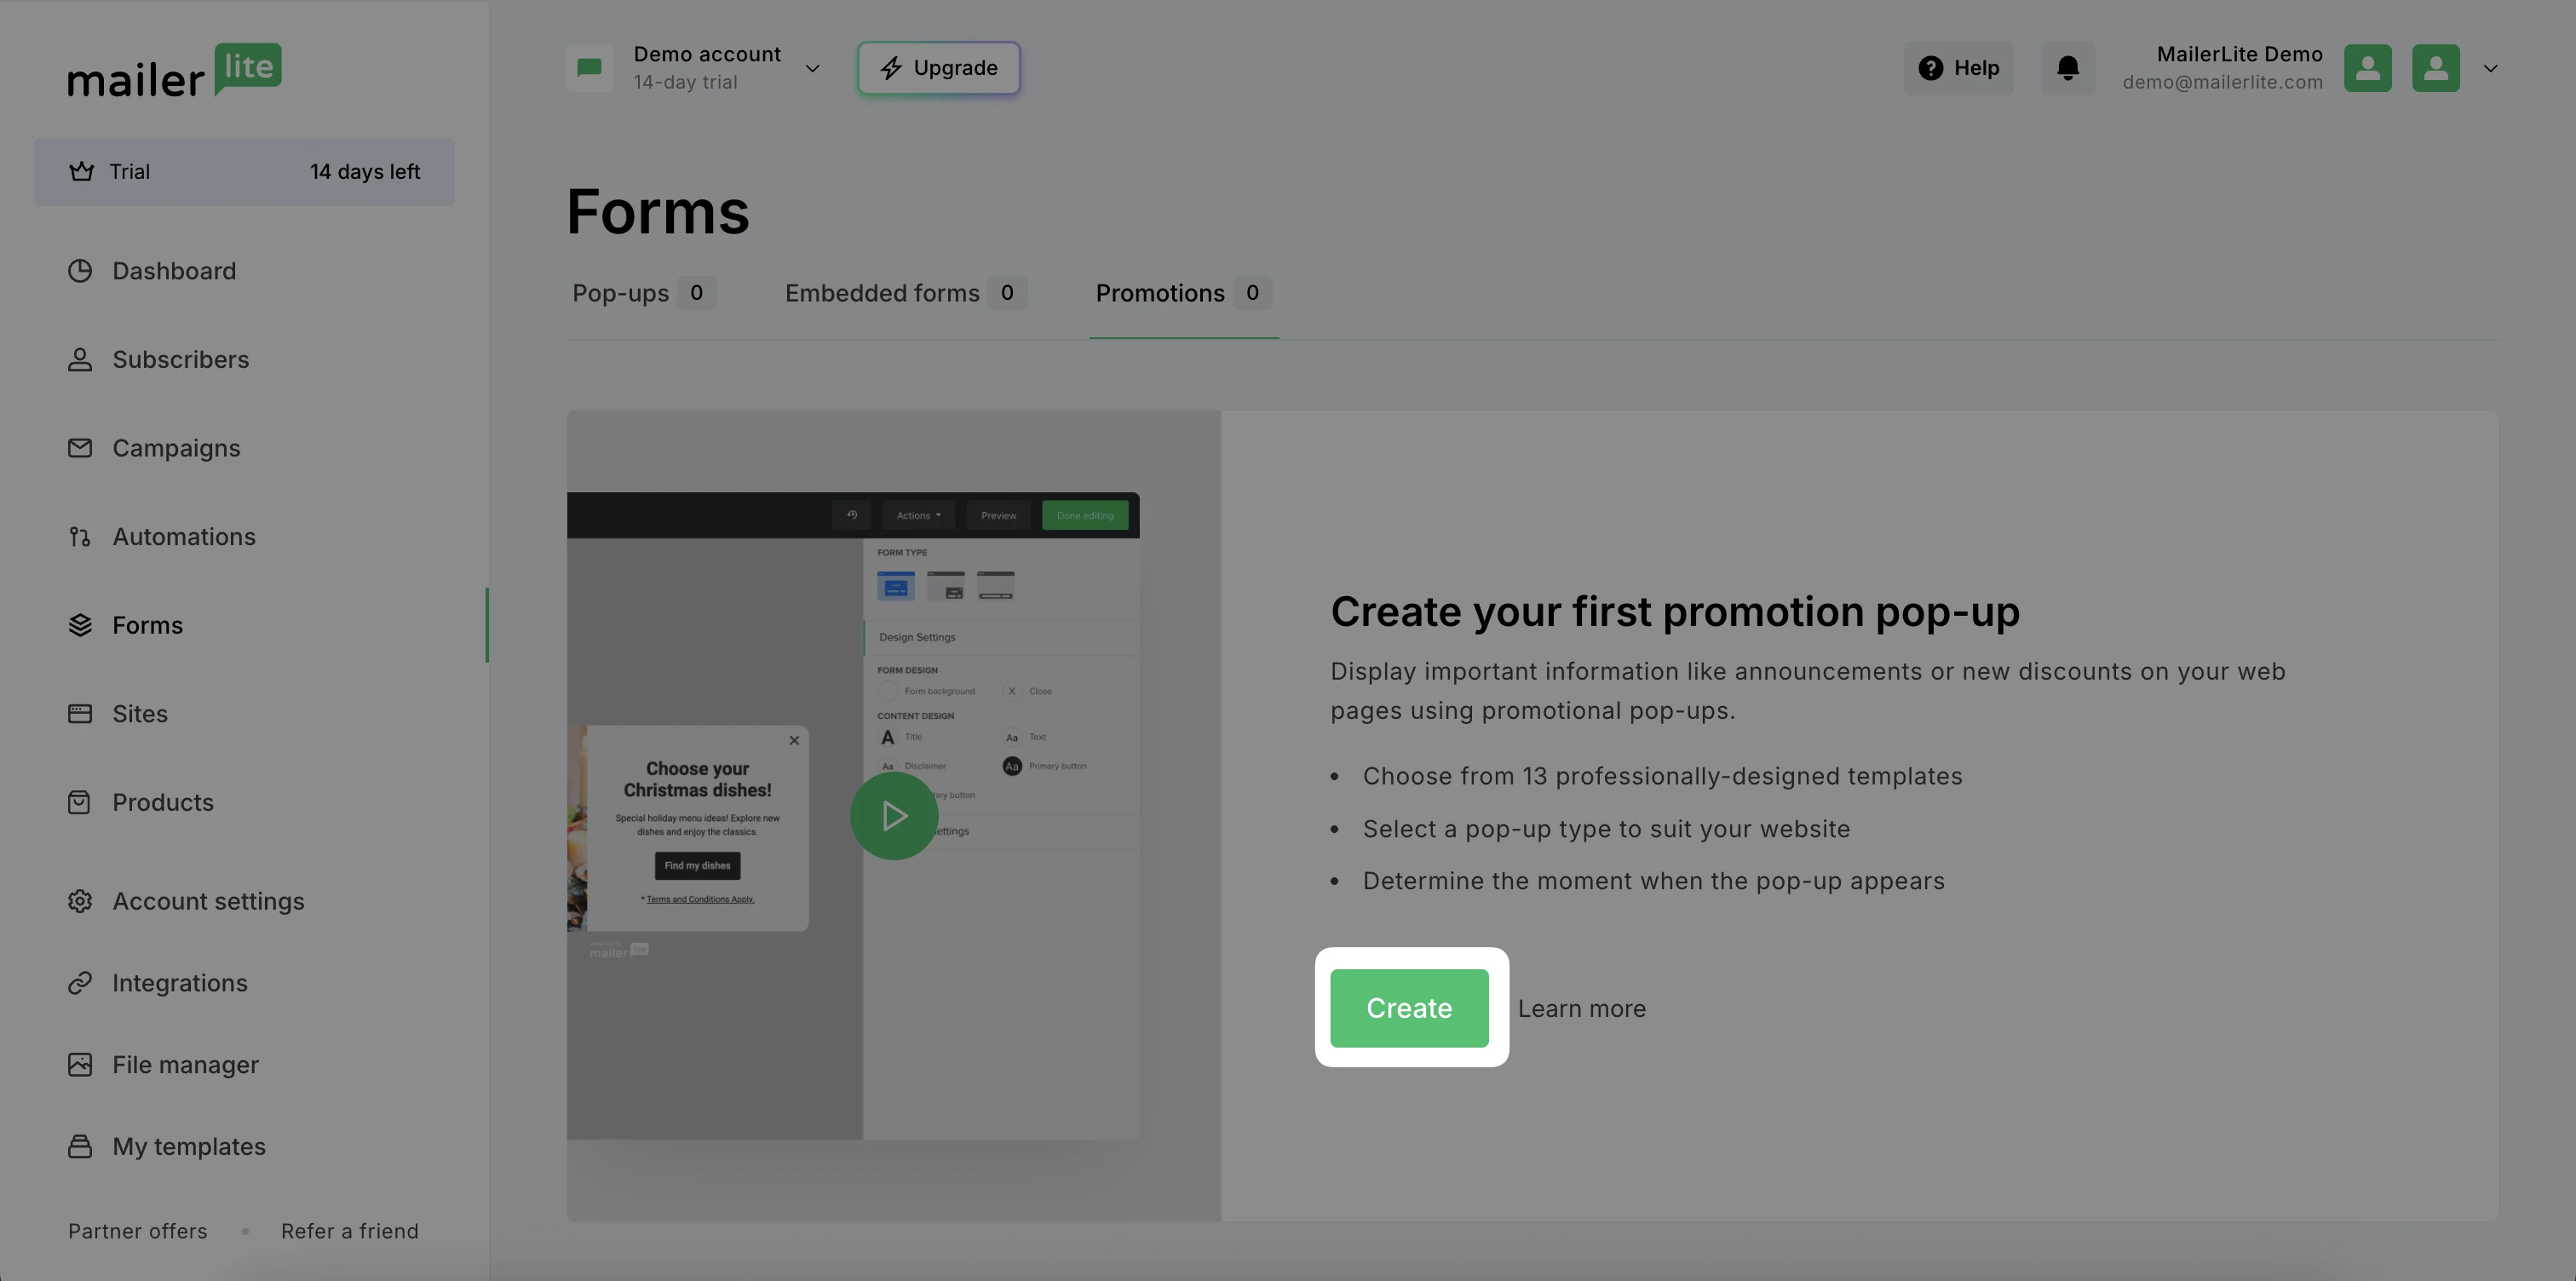
Click on the Promotions tab.
Click Create.
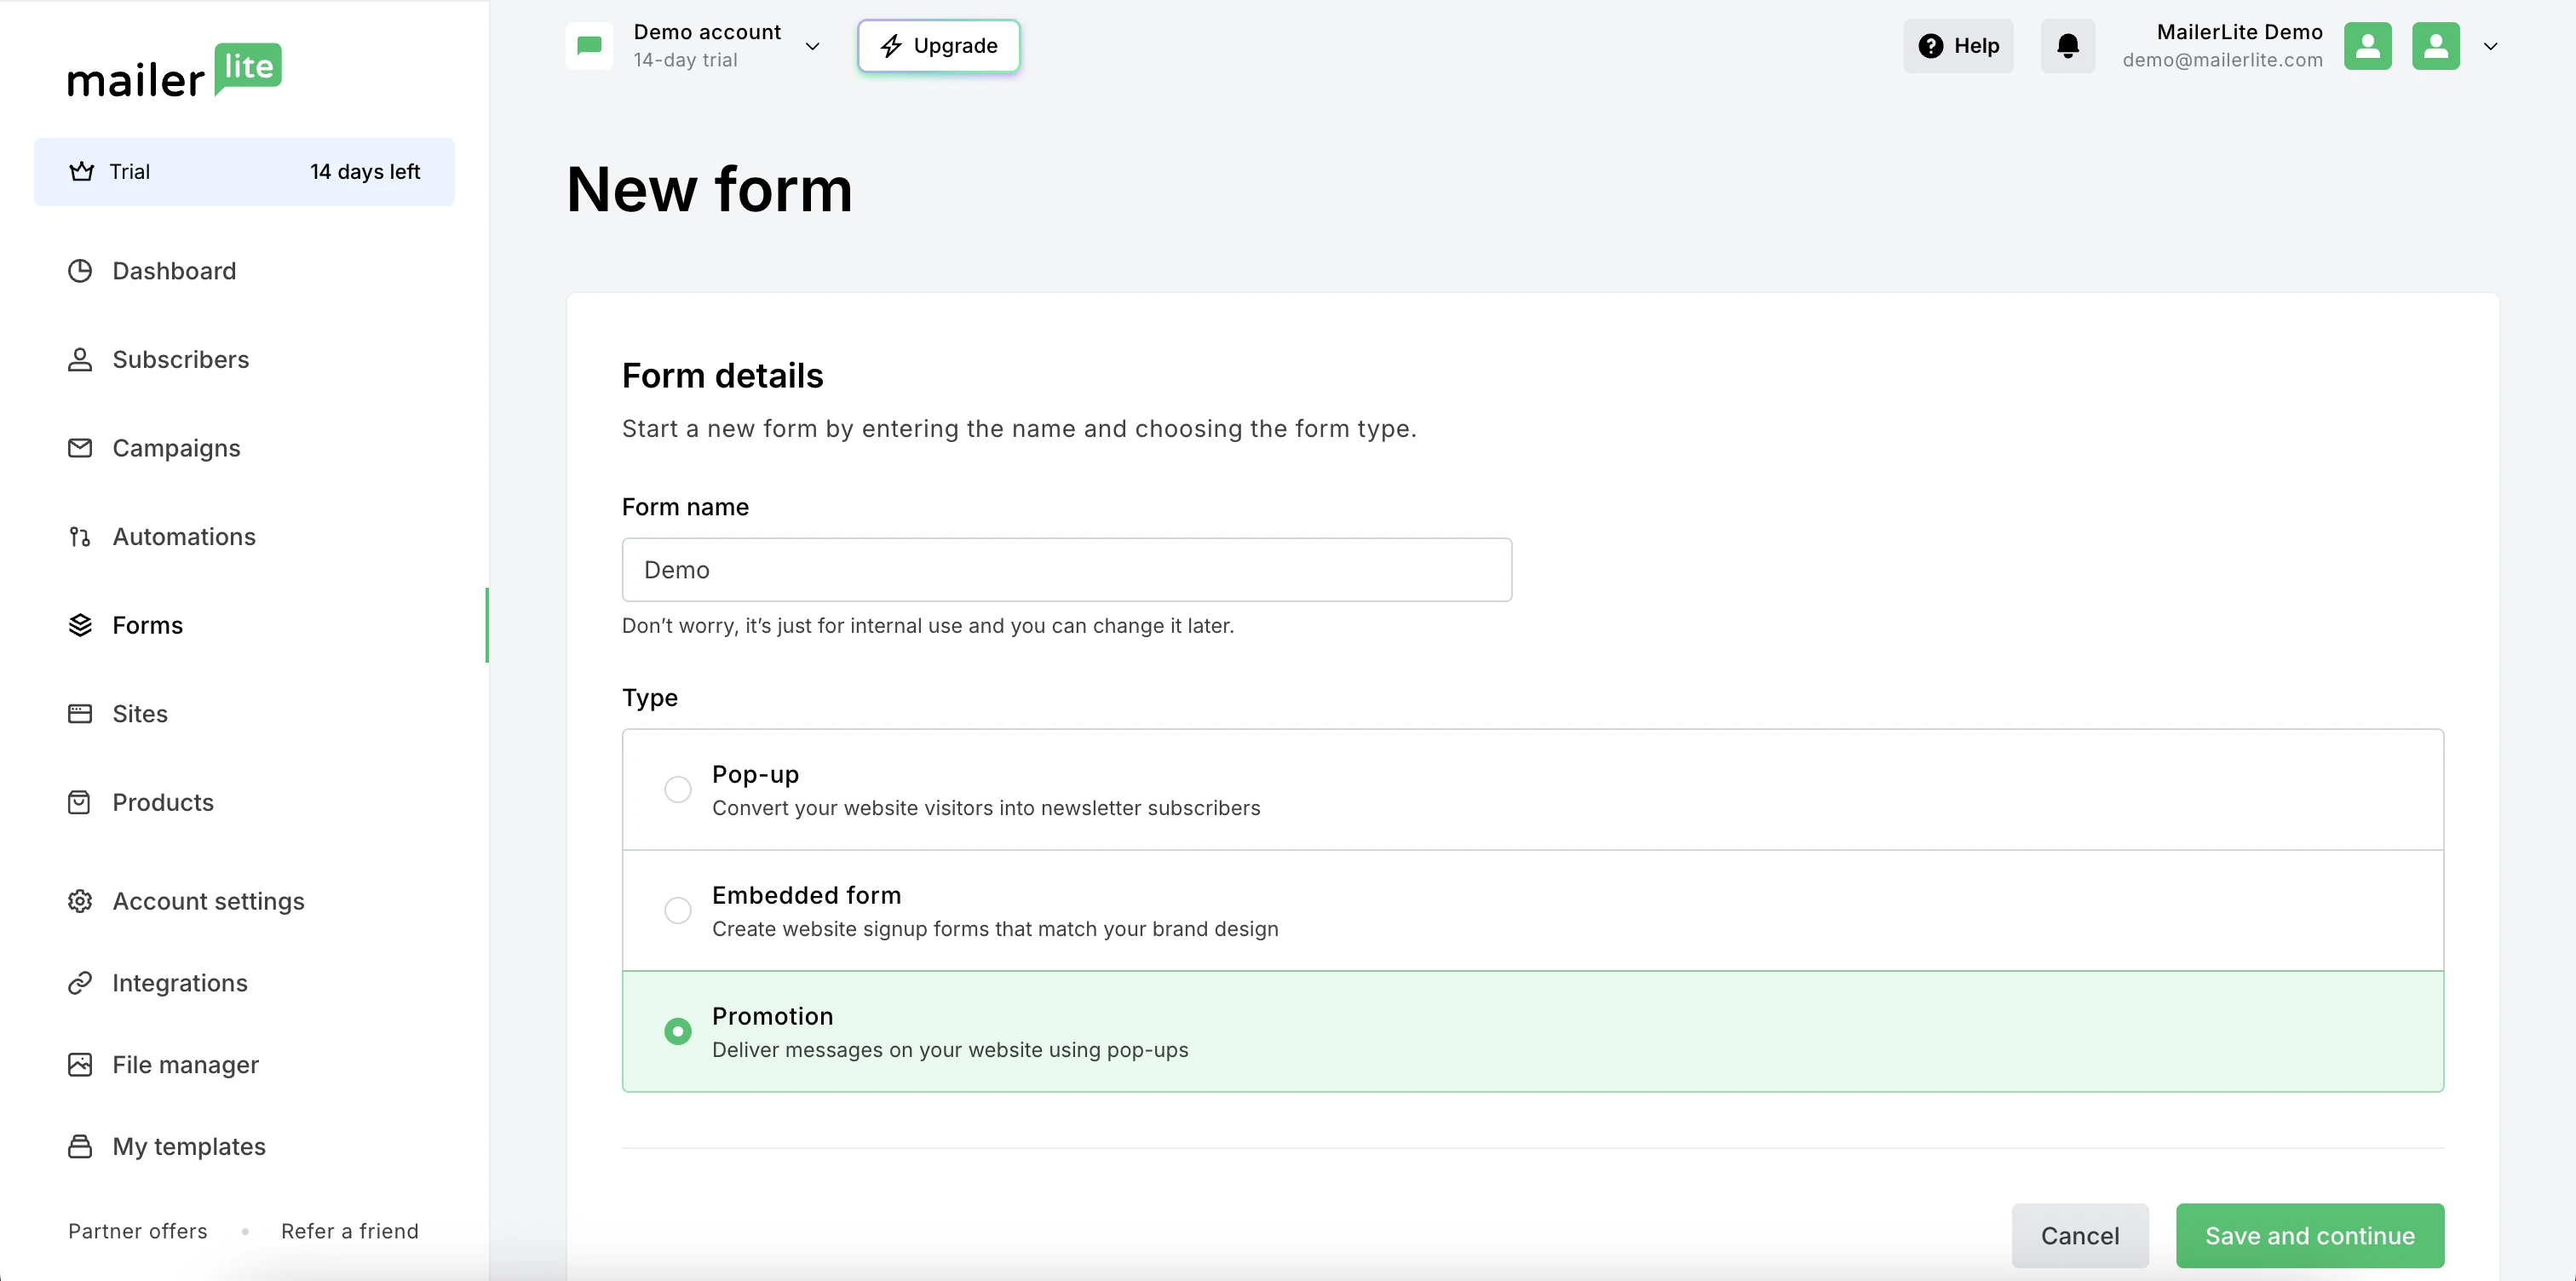
Name your promotional pop-up
Click Save and continue.
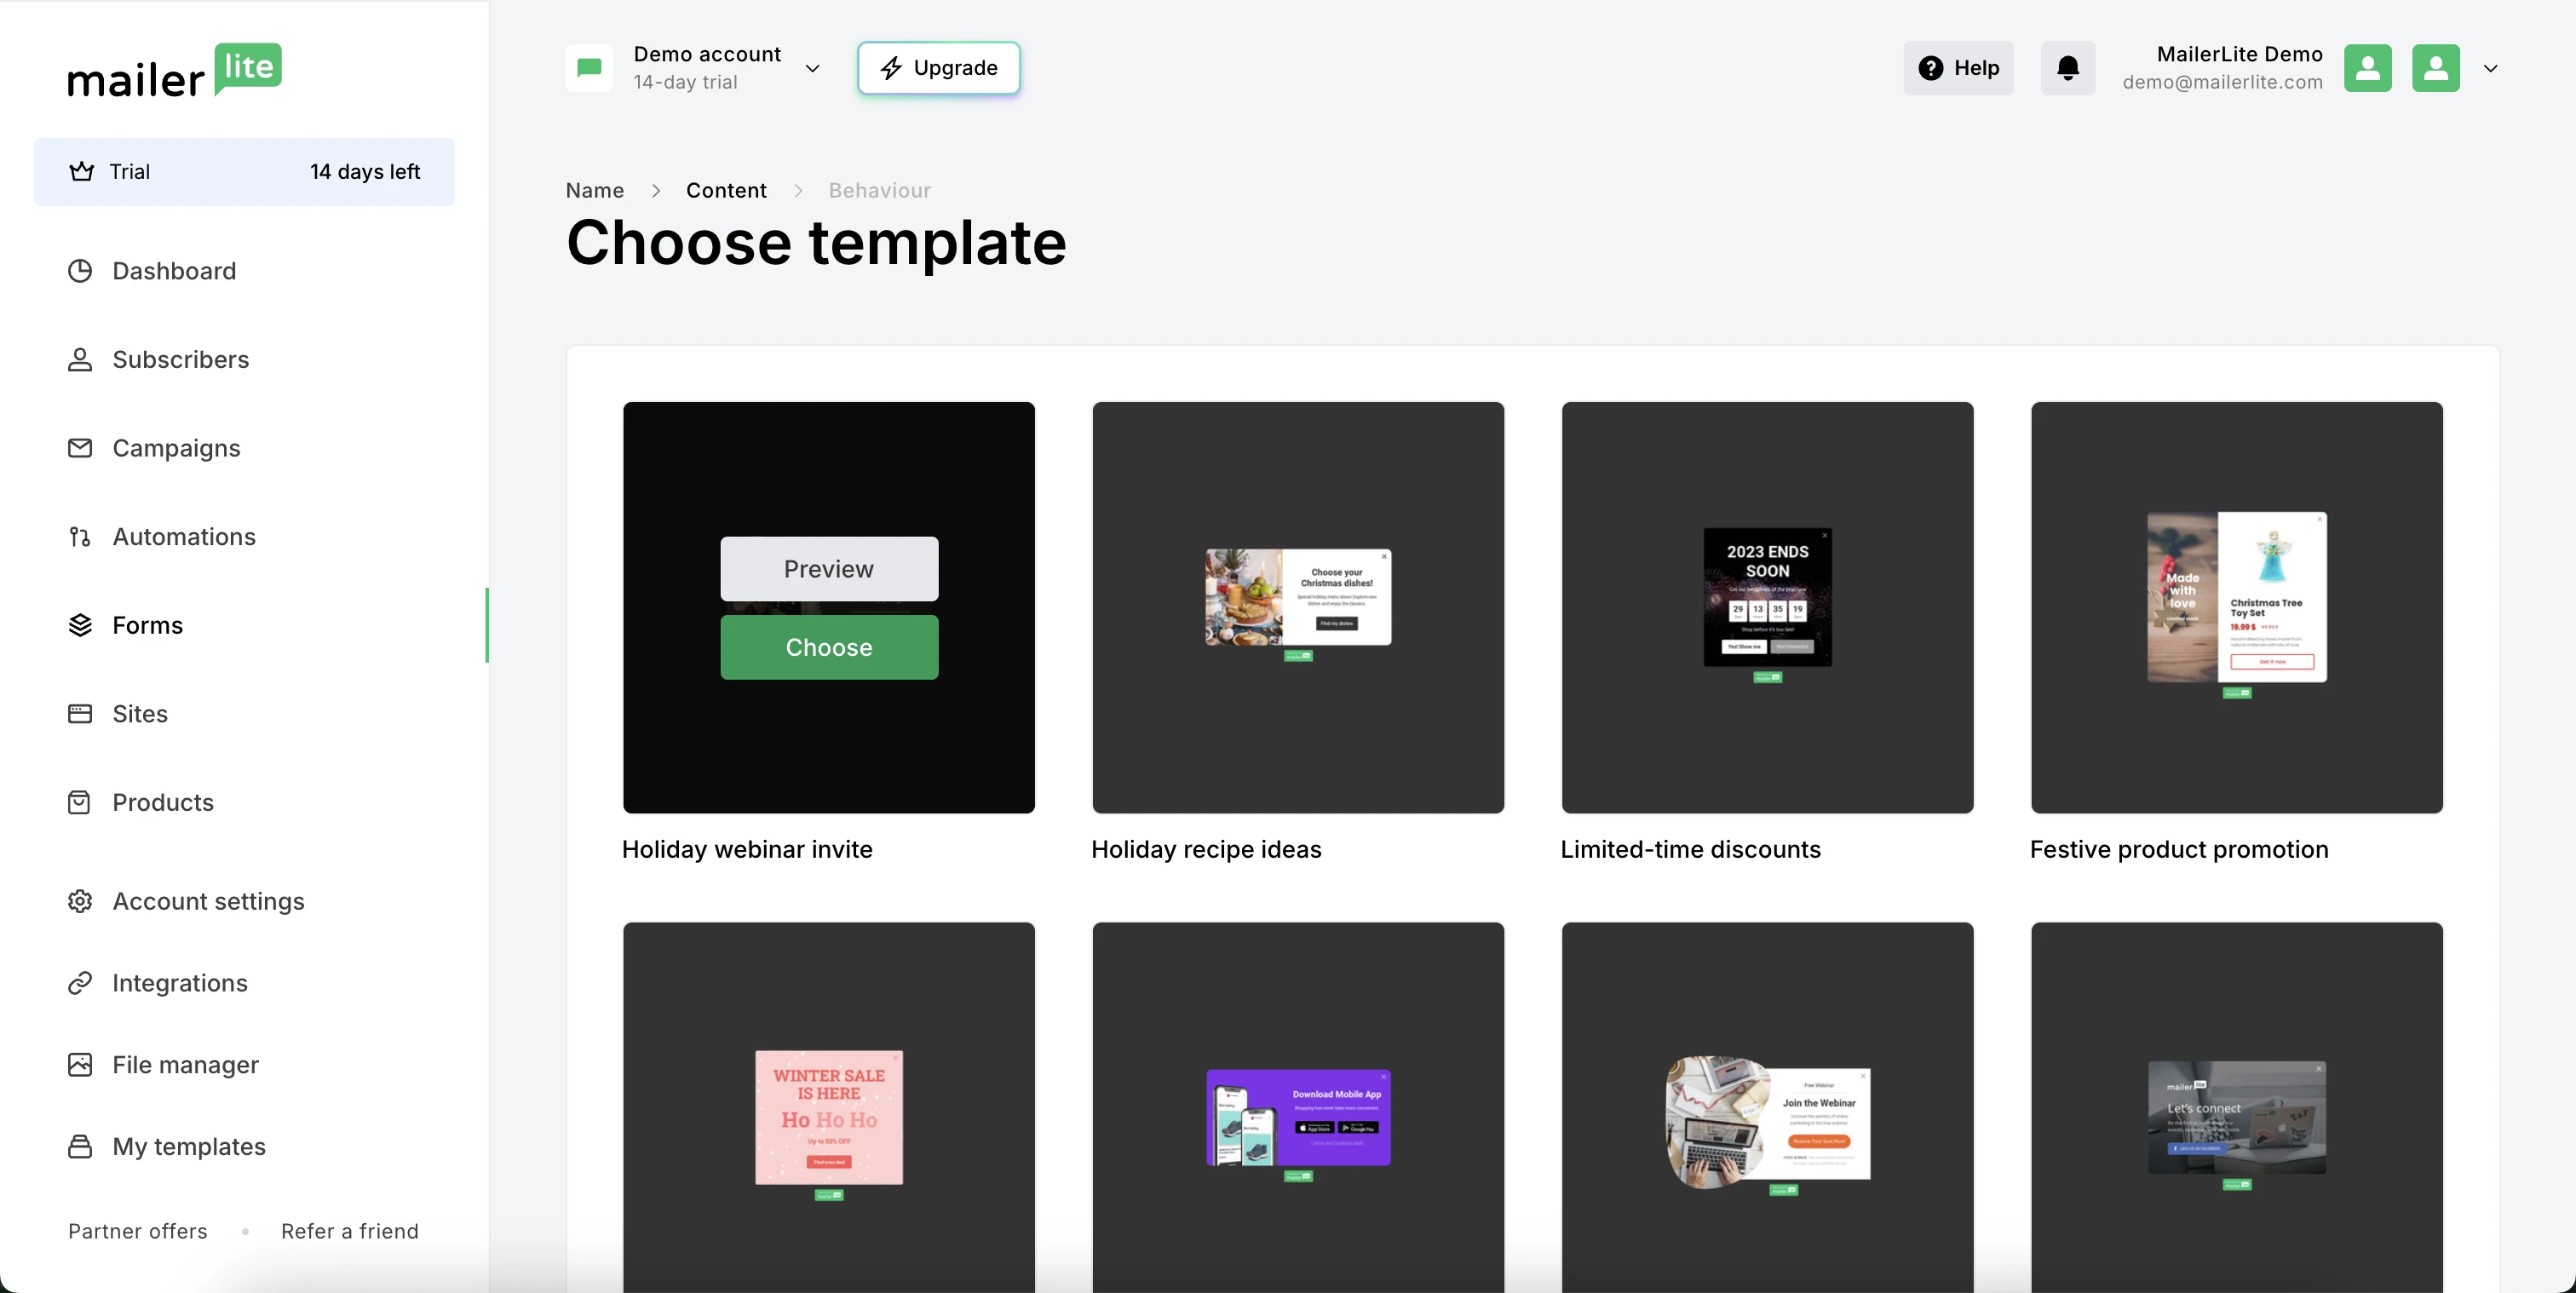
Choose a template. Take your time reviewing them, as templates include different elements.
To edit the blocks within your pop-up, hover over them and click the pencil icon.
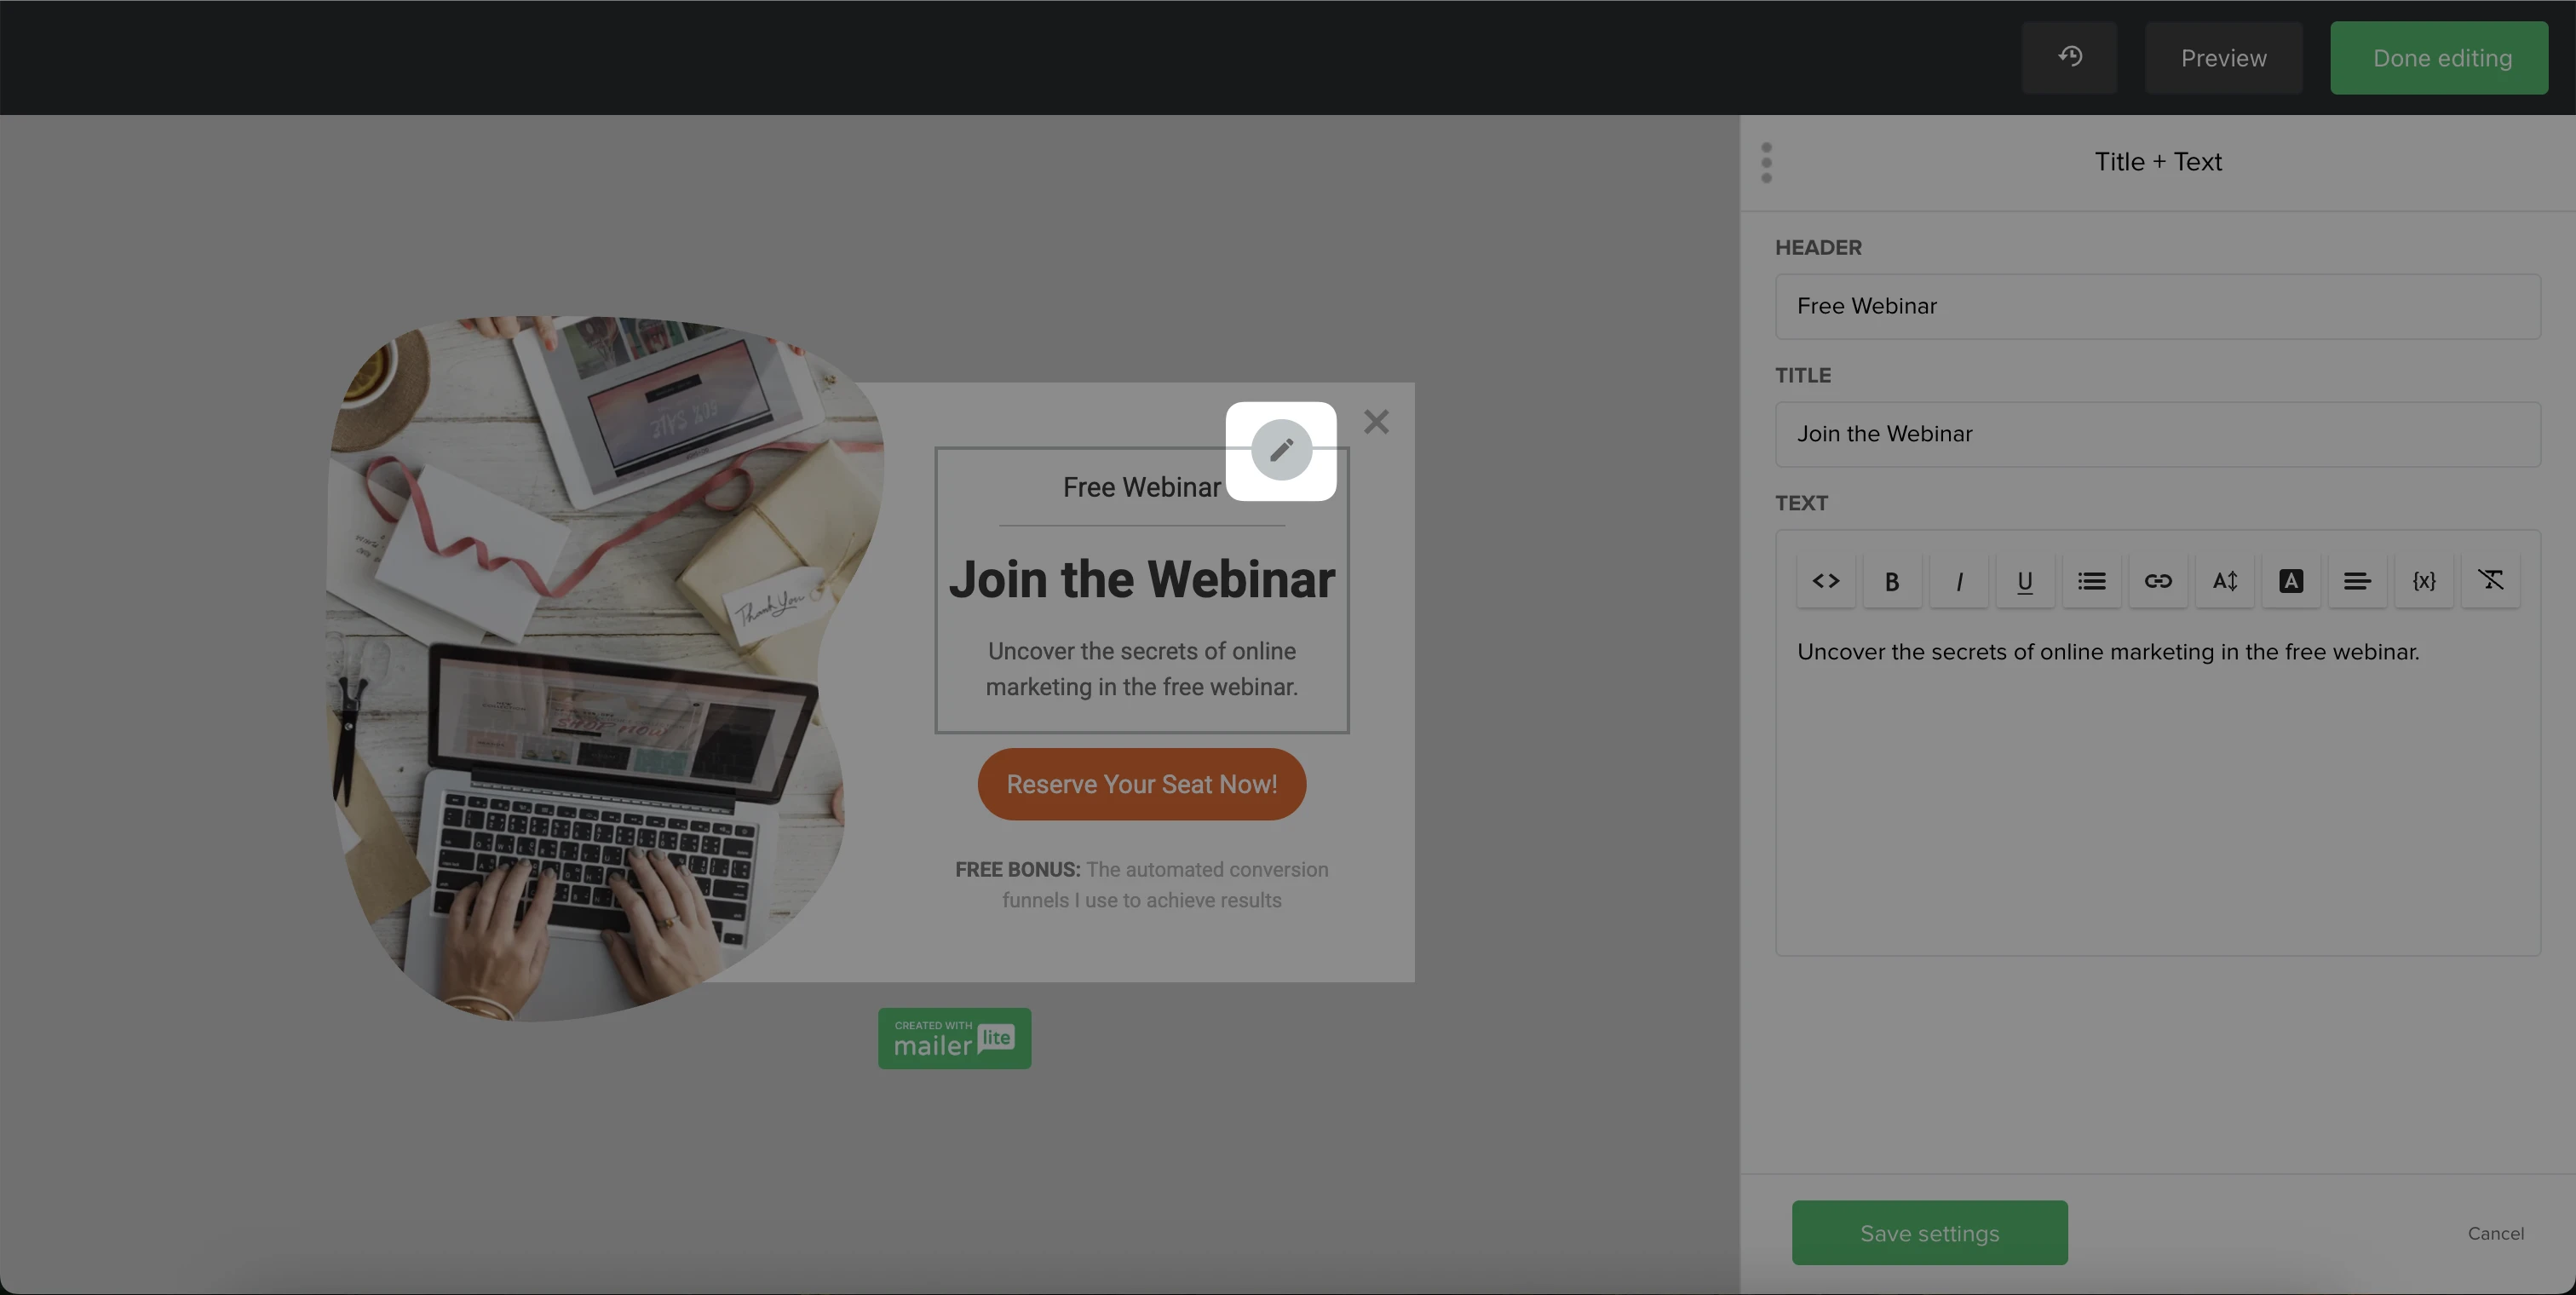
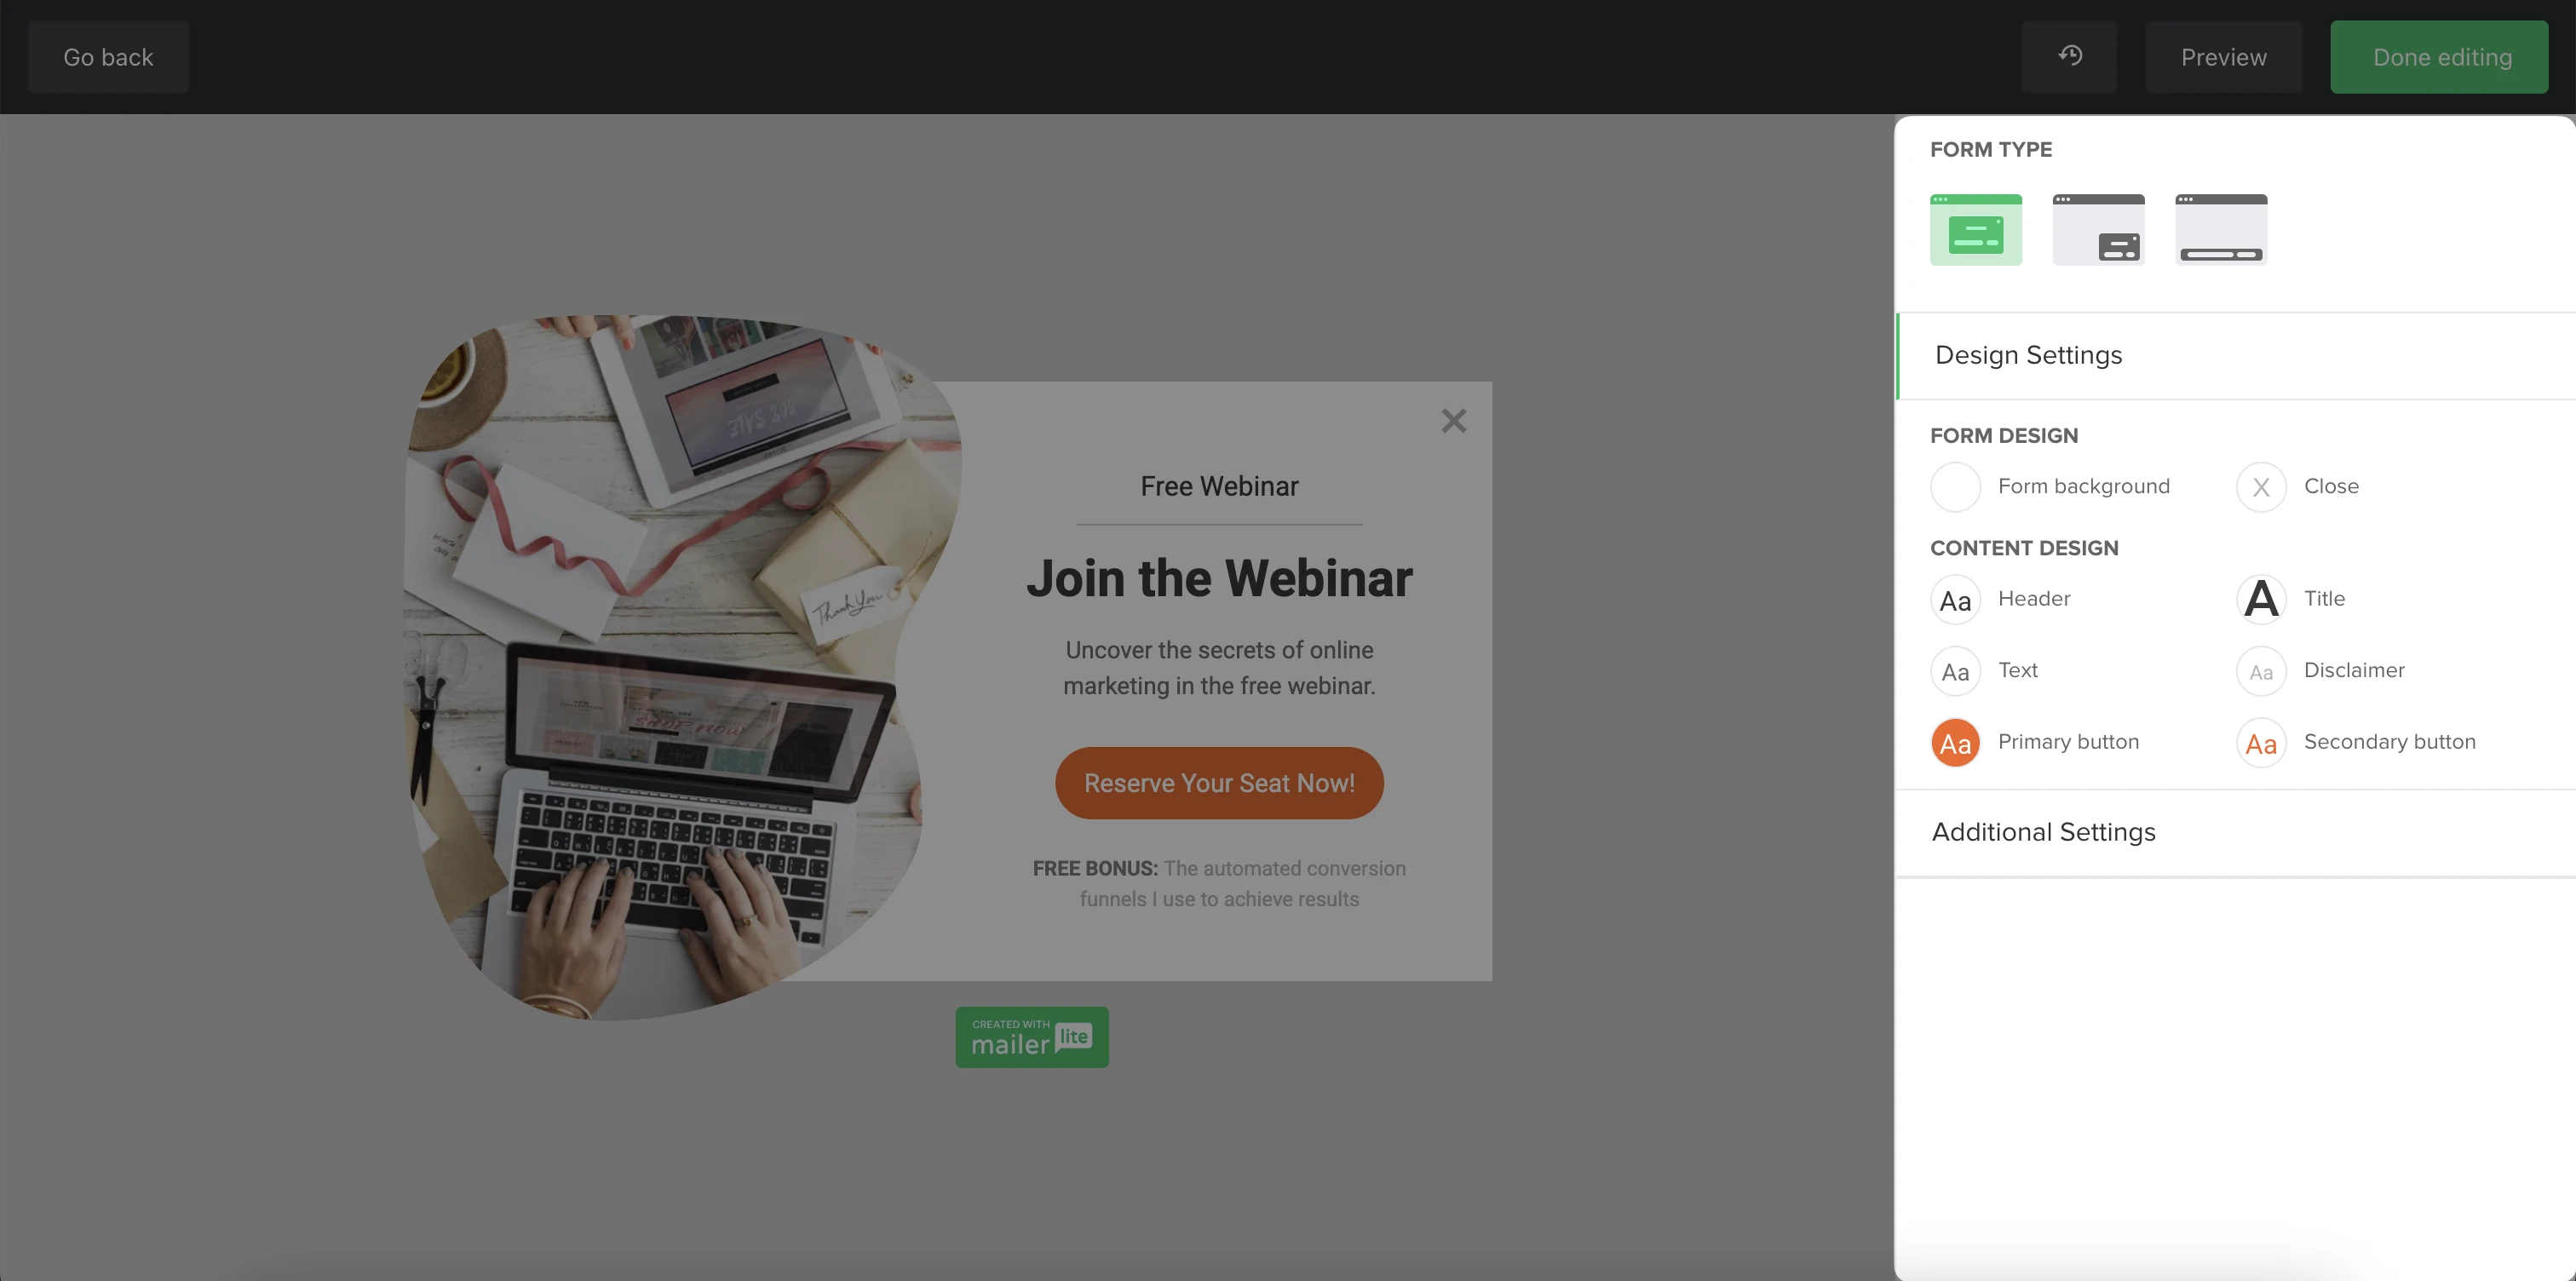
Use the sidebar on the right to adjust form type, design, and other settings.
Once your promotional pop-up is complete, click Done editing to exit the editor and apply some settings to your pop-up.
How to use the promotional pop-up editor
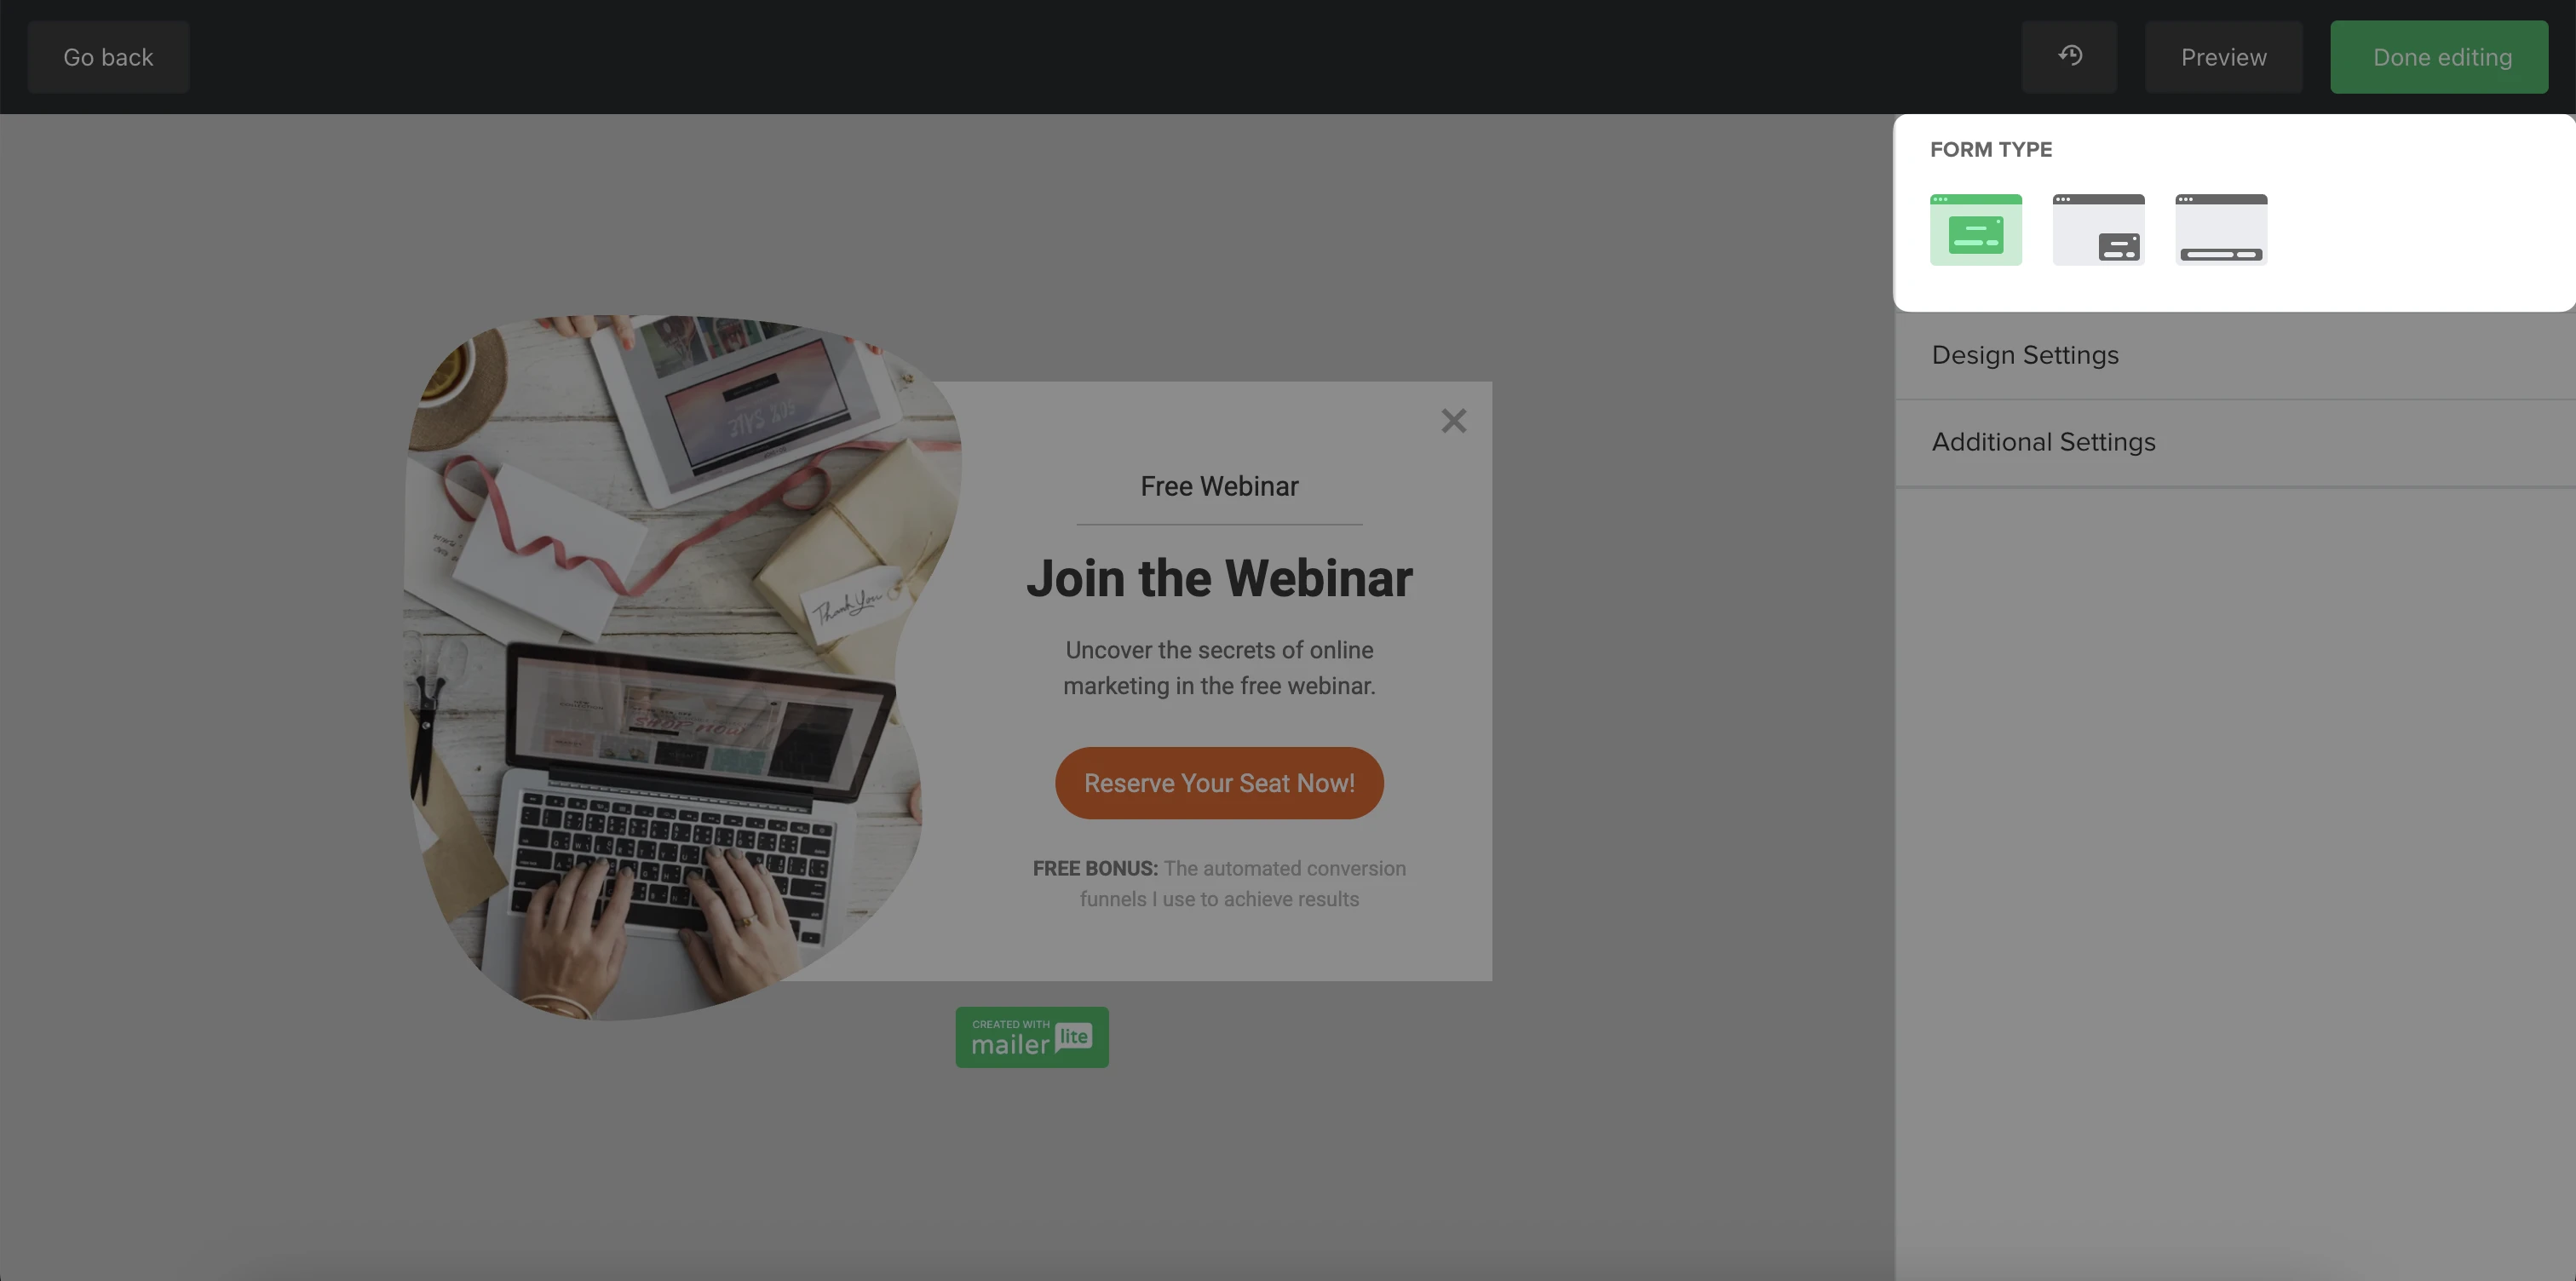
On the right side of the editor, you can find form type, design, and additional settings that you can use to customize your pop-up.
Form type
Choose the style of your form: centralized pop-up, corner pop-up, or bottom banner.
Design settings
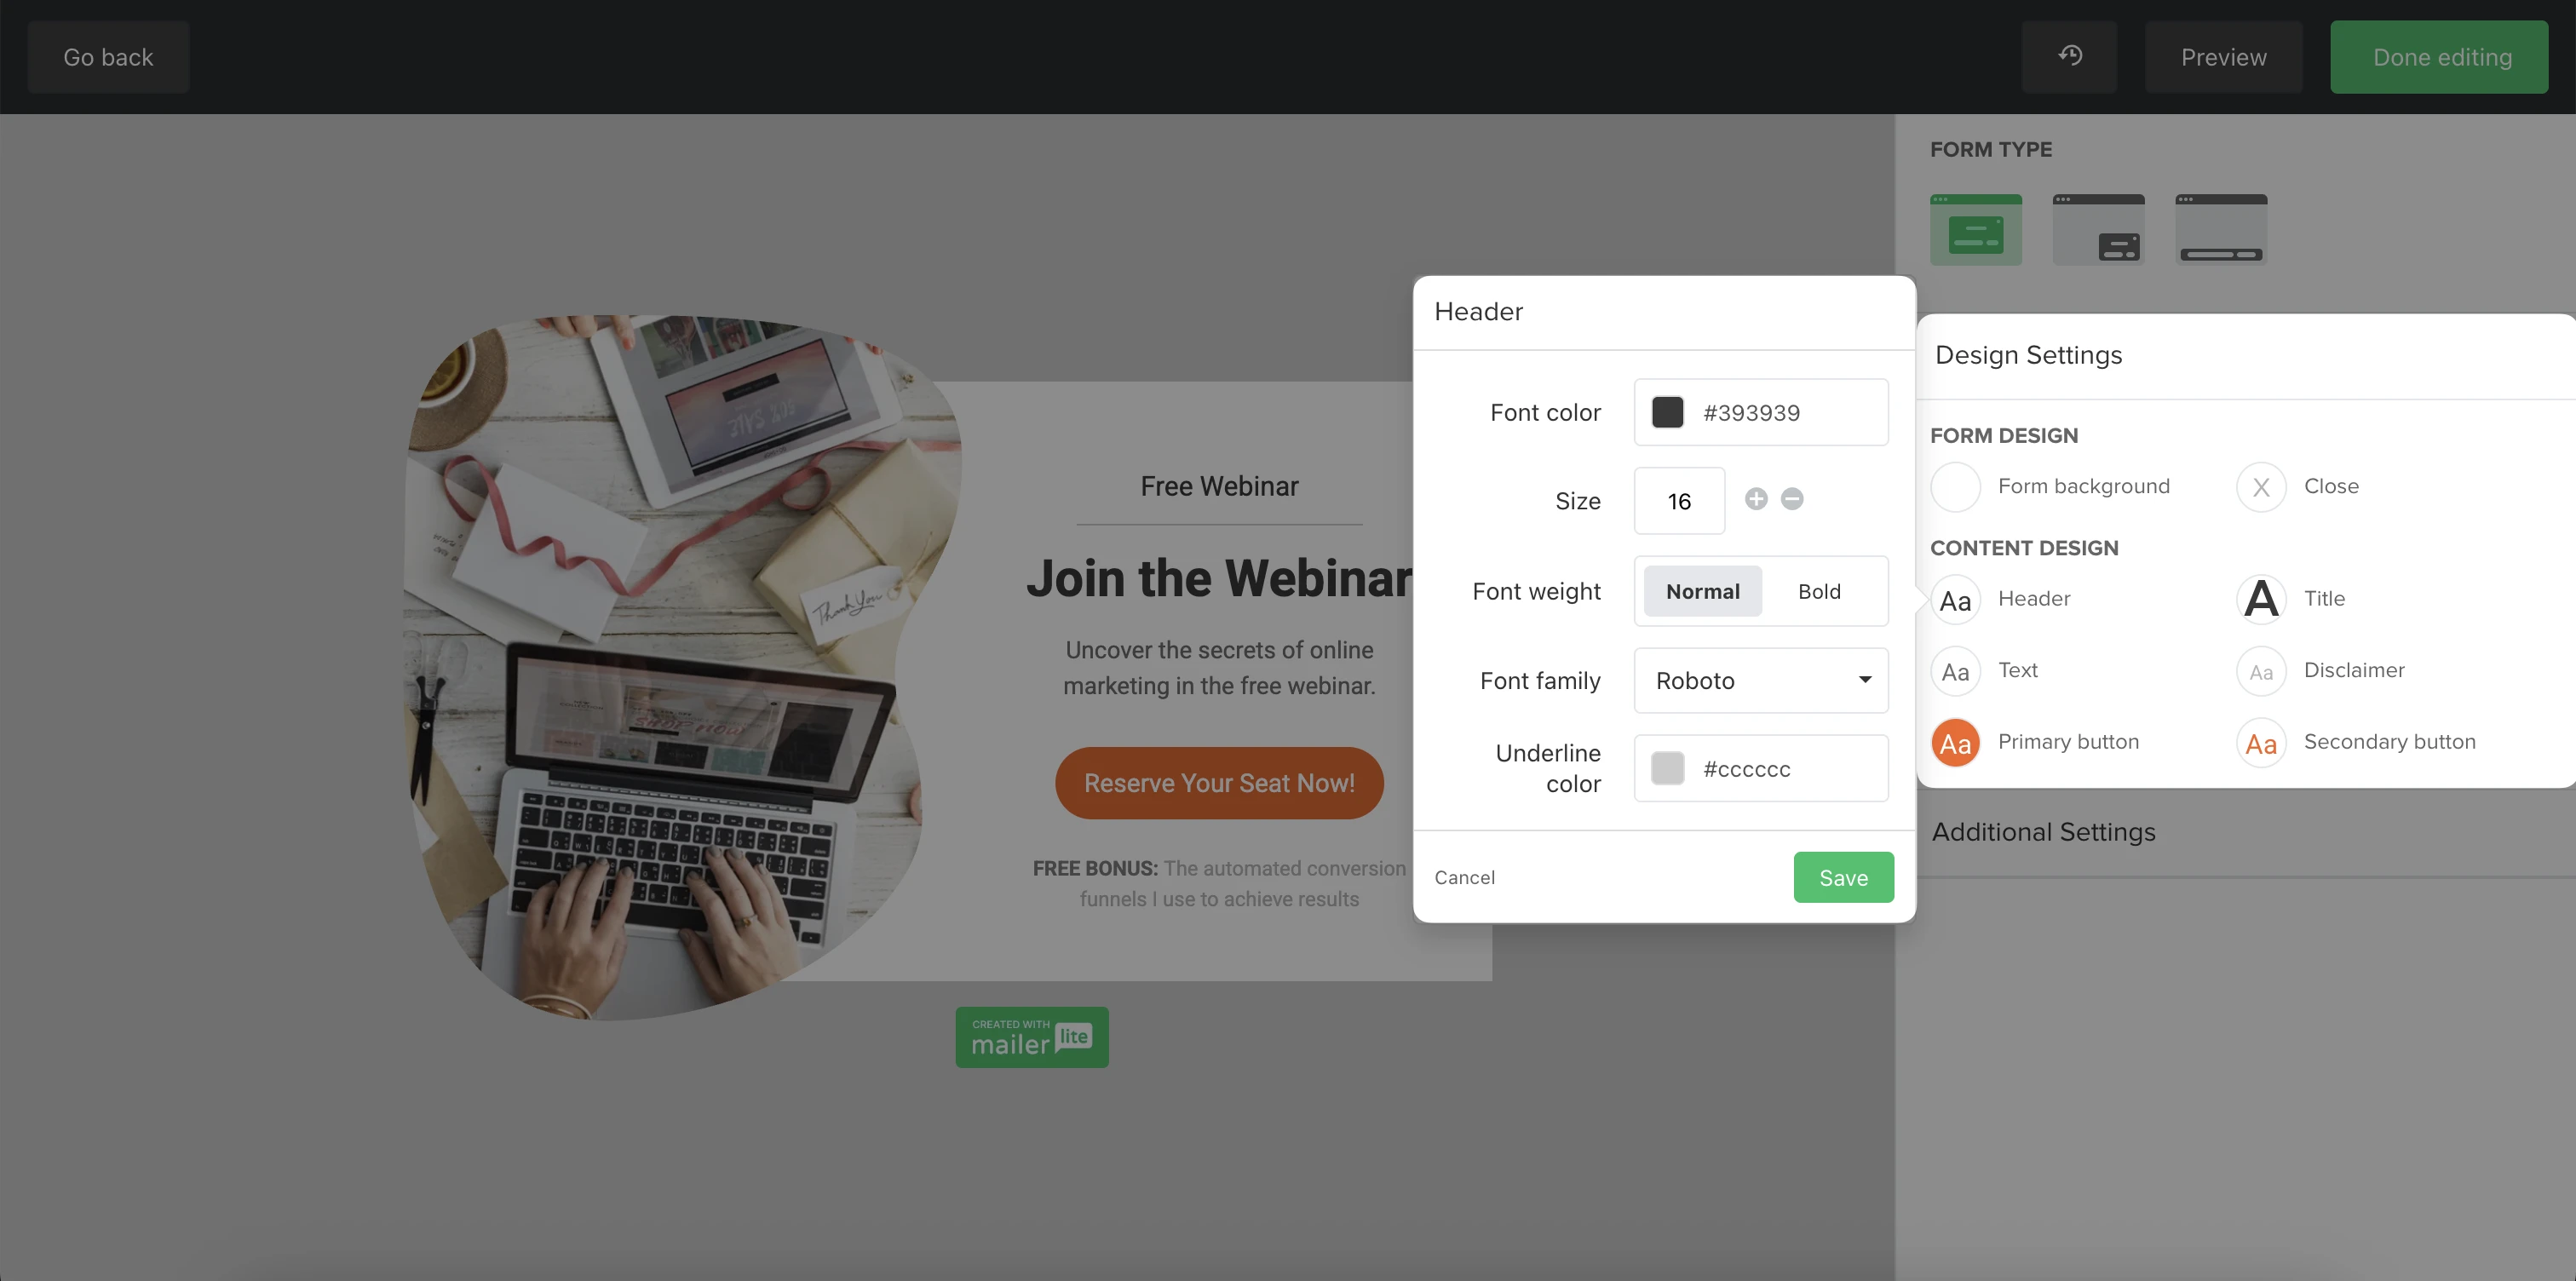
Customize form and content design:
Form design: Set the background color, border size and radius, shadow; edit close button size and color.
Content design: Choose header, title, text, and disclaimer color and font; adjust button color, size, and font.
Additional settings
Select image shape, alignment, and manage overlay.
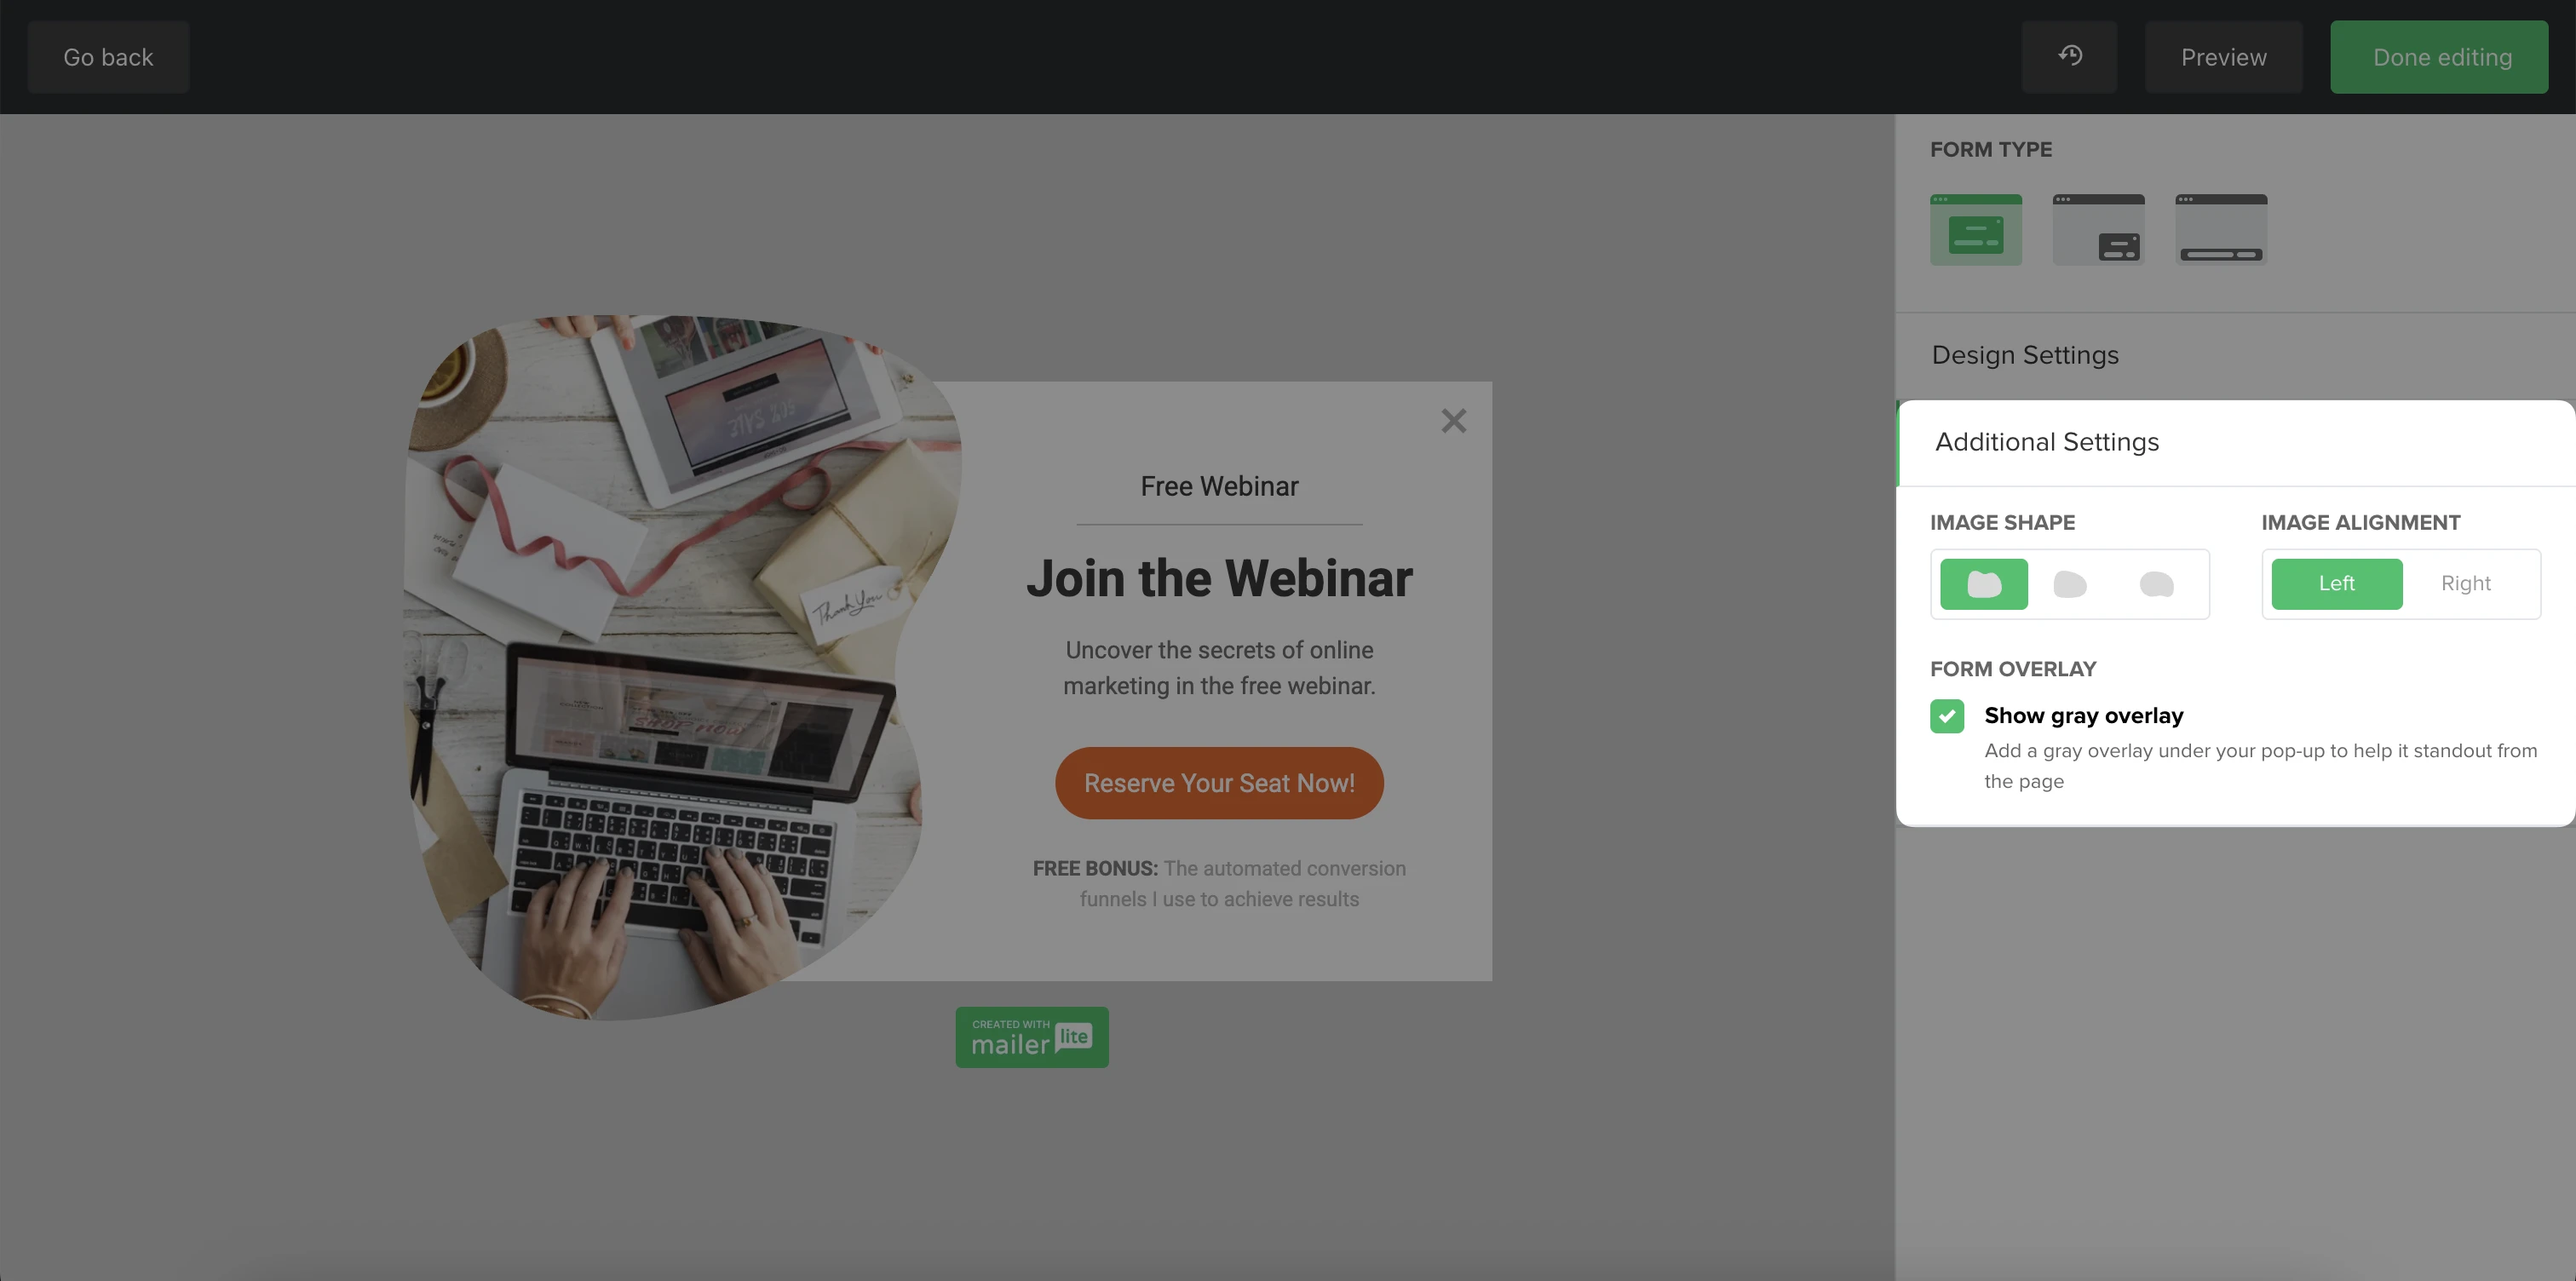
Note: Design and Additional settings may differ based on the template you chose.
How to apply settings to a promotional pop-up
These settings are the rules that determine when and where the promotional pop-up appears.
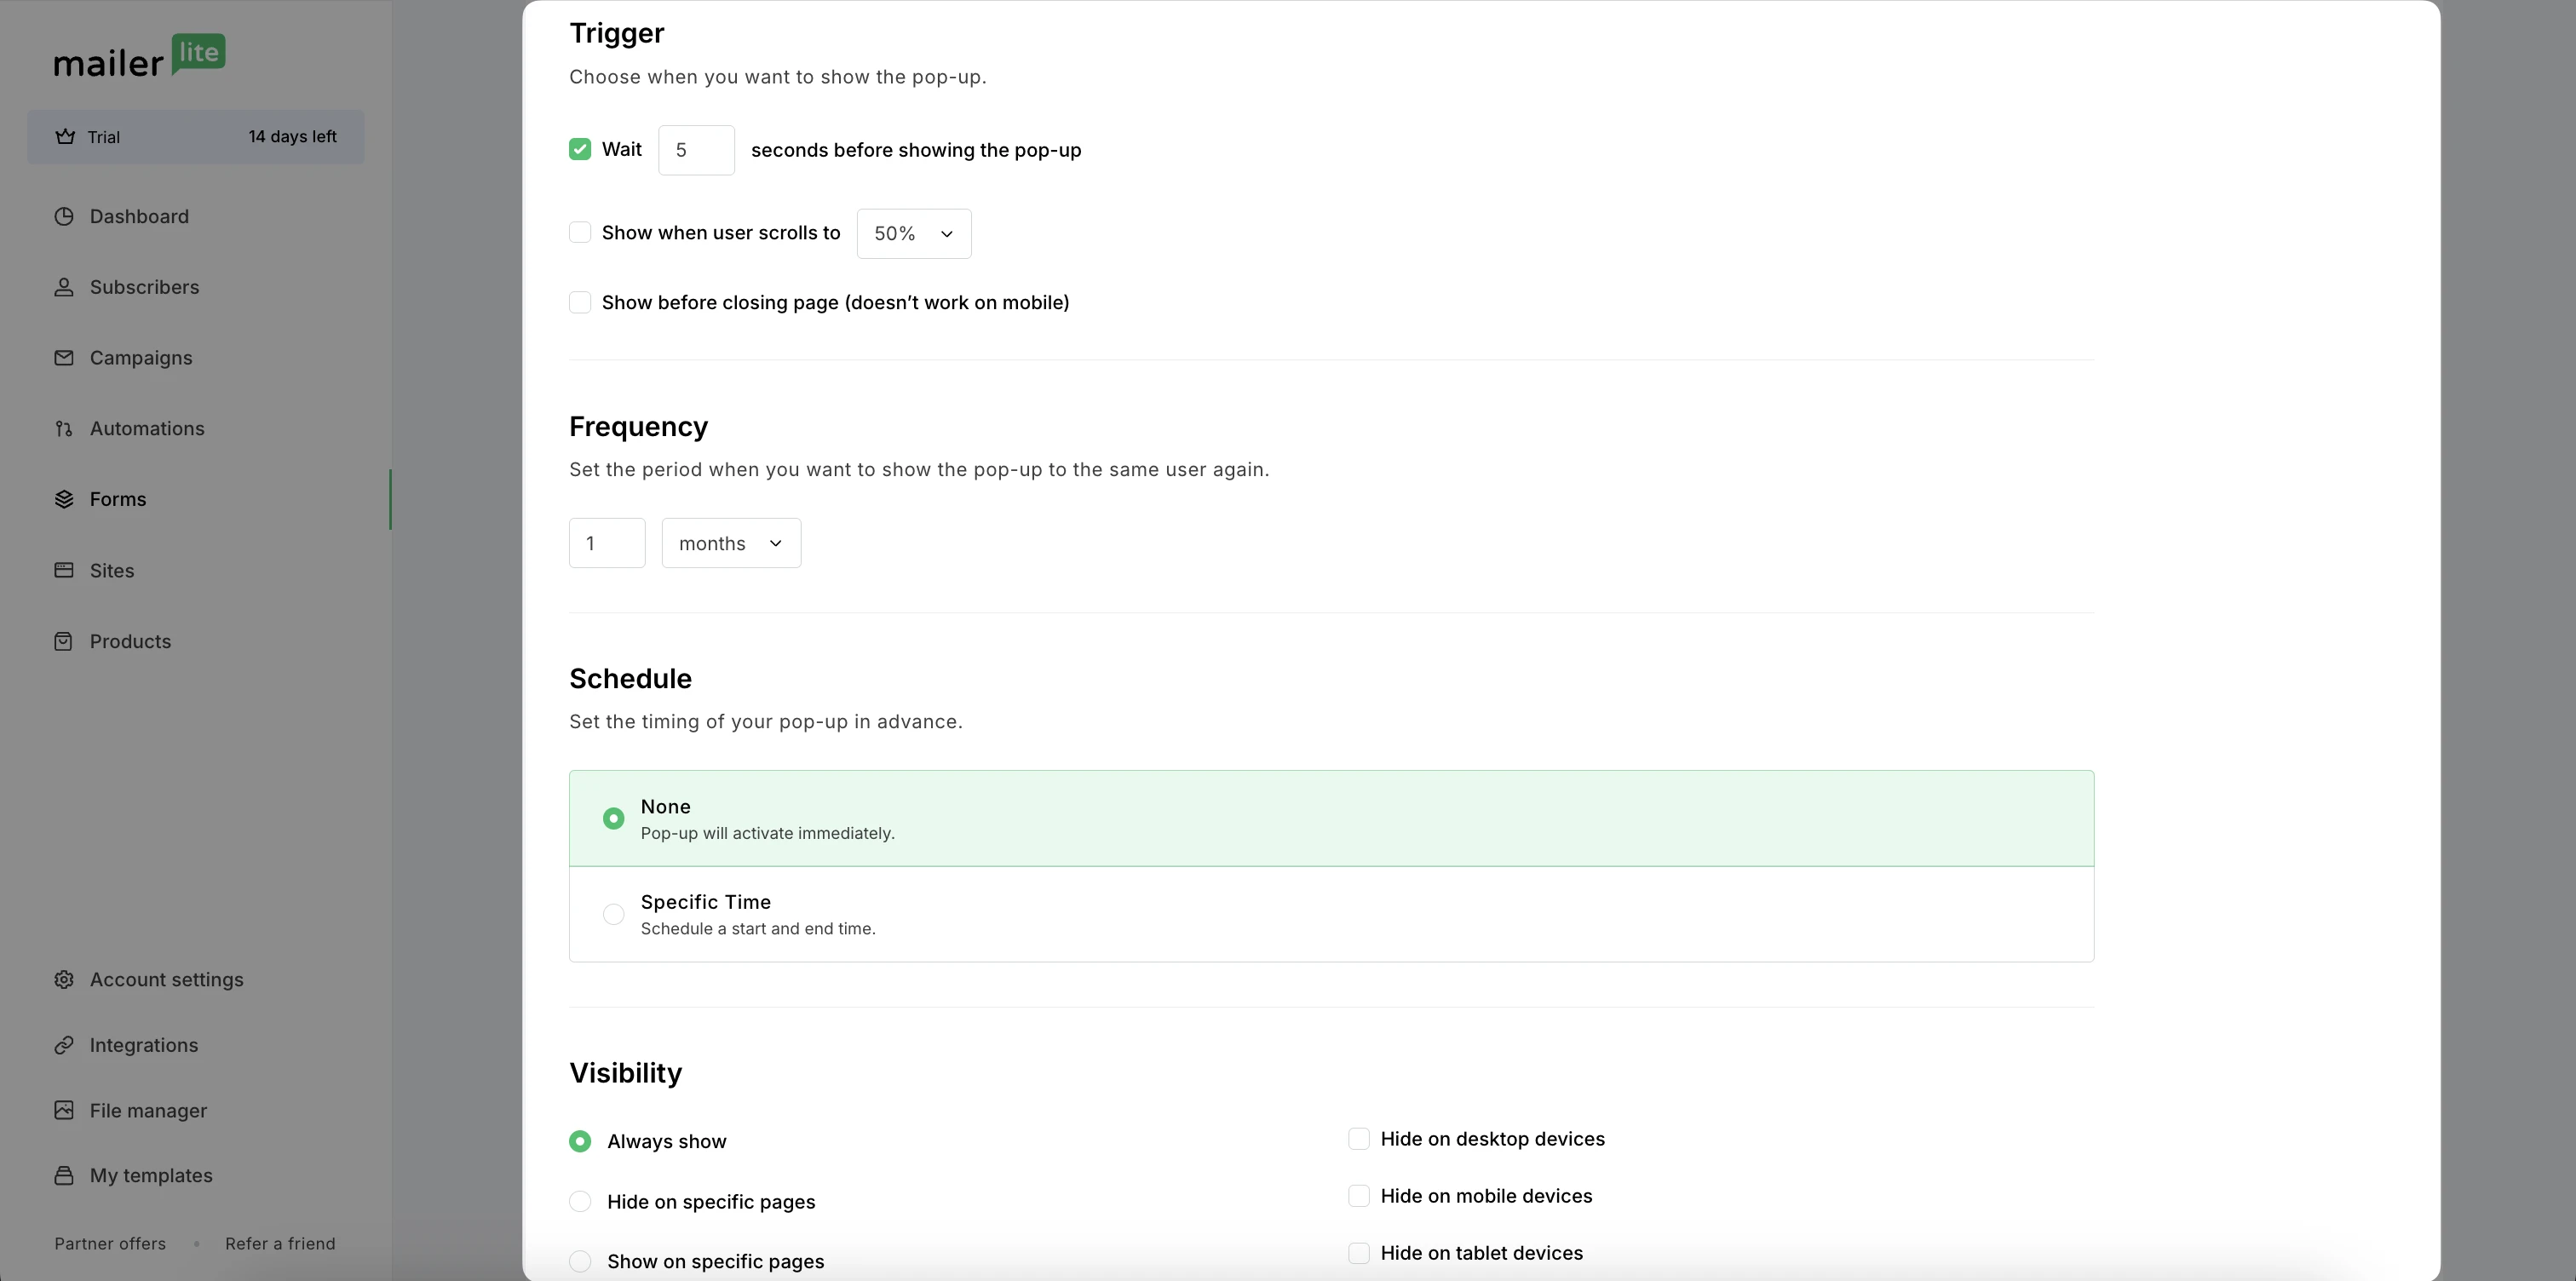
There are four behavioral factors you must apply settings to:
Trigger - Choose when your pop-up will appear. For example, five seconds after the page is opened, when the visitor scrolls to 50% of the web page, or when the visitor intends to exit the page.
Frequency - Choose how often your pop-up appears for the same visitor.
Schedule - Have your pop-up go live immediately or set a start and finish date.
Visibility - Choose whether you want to hide your pop-up on specific devices, or hide/show your pop-up on specific webpages.
Once you’re satisfied with your pop-up’s behavior settings, click Save changes to carry on to the next step: installing your pop-up.
How to hide/show promotional pop-ups on specific pages
When you create a promotional pop-up, it will show on every page of your website by default. However, in your Visibility settings, you can decide whether to have that pop-up show on every page of your website, some pages of your website, or you can choose to hide it on specific pages of your website.
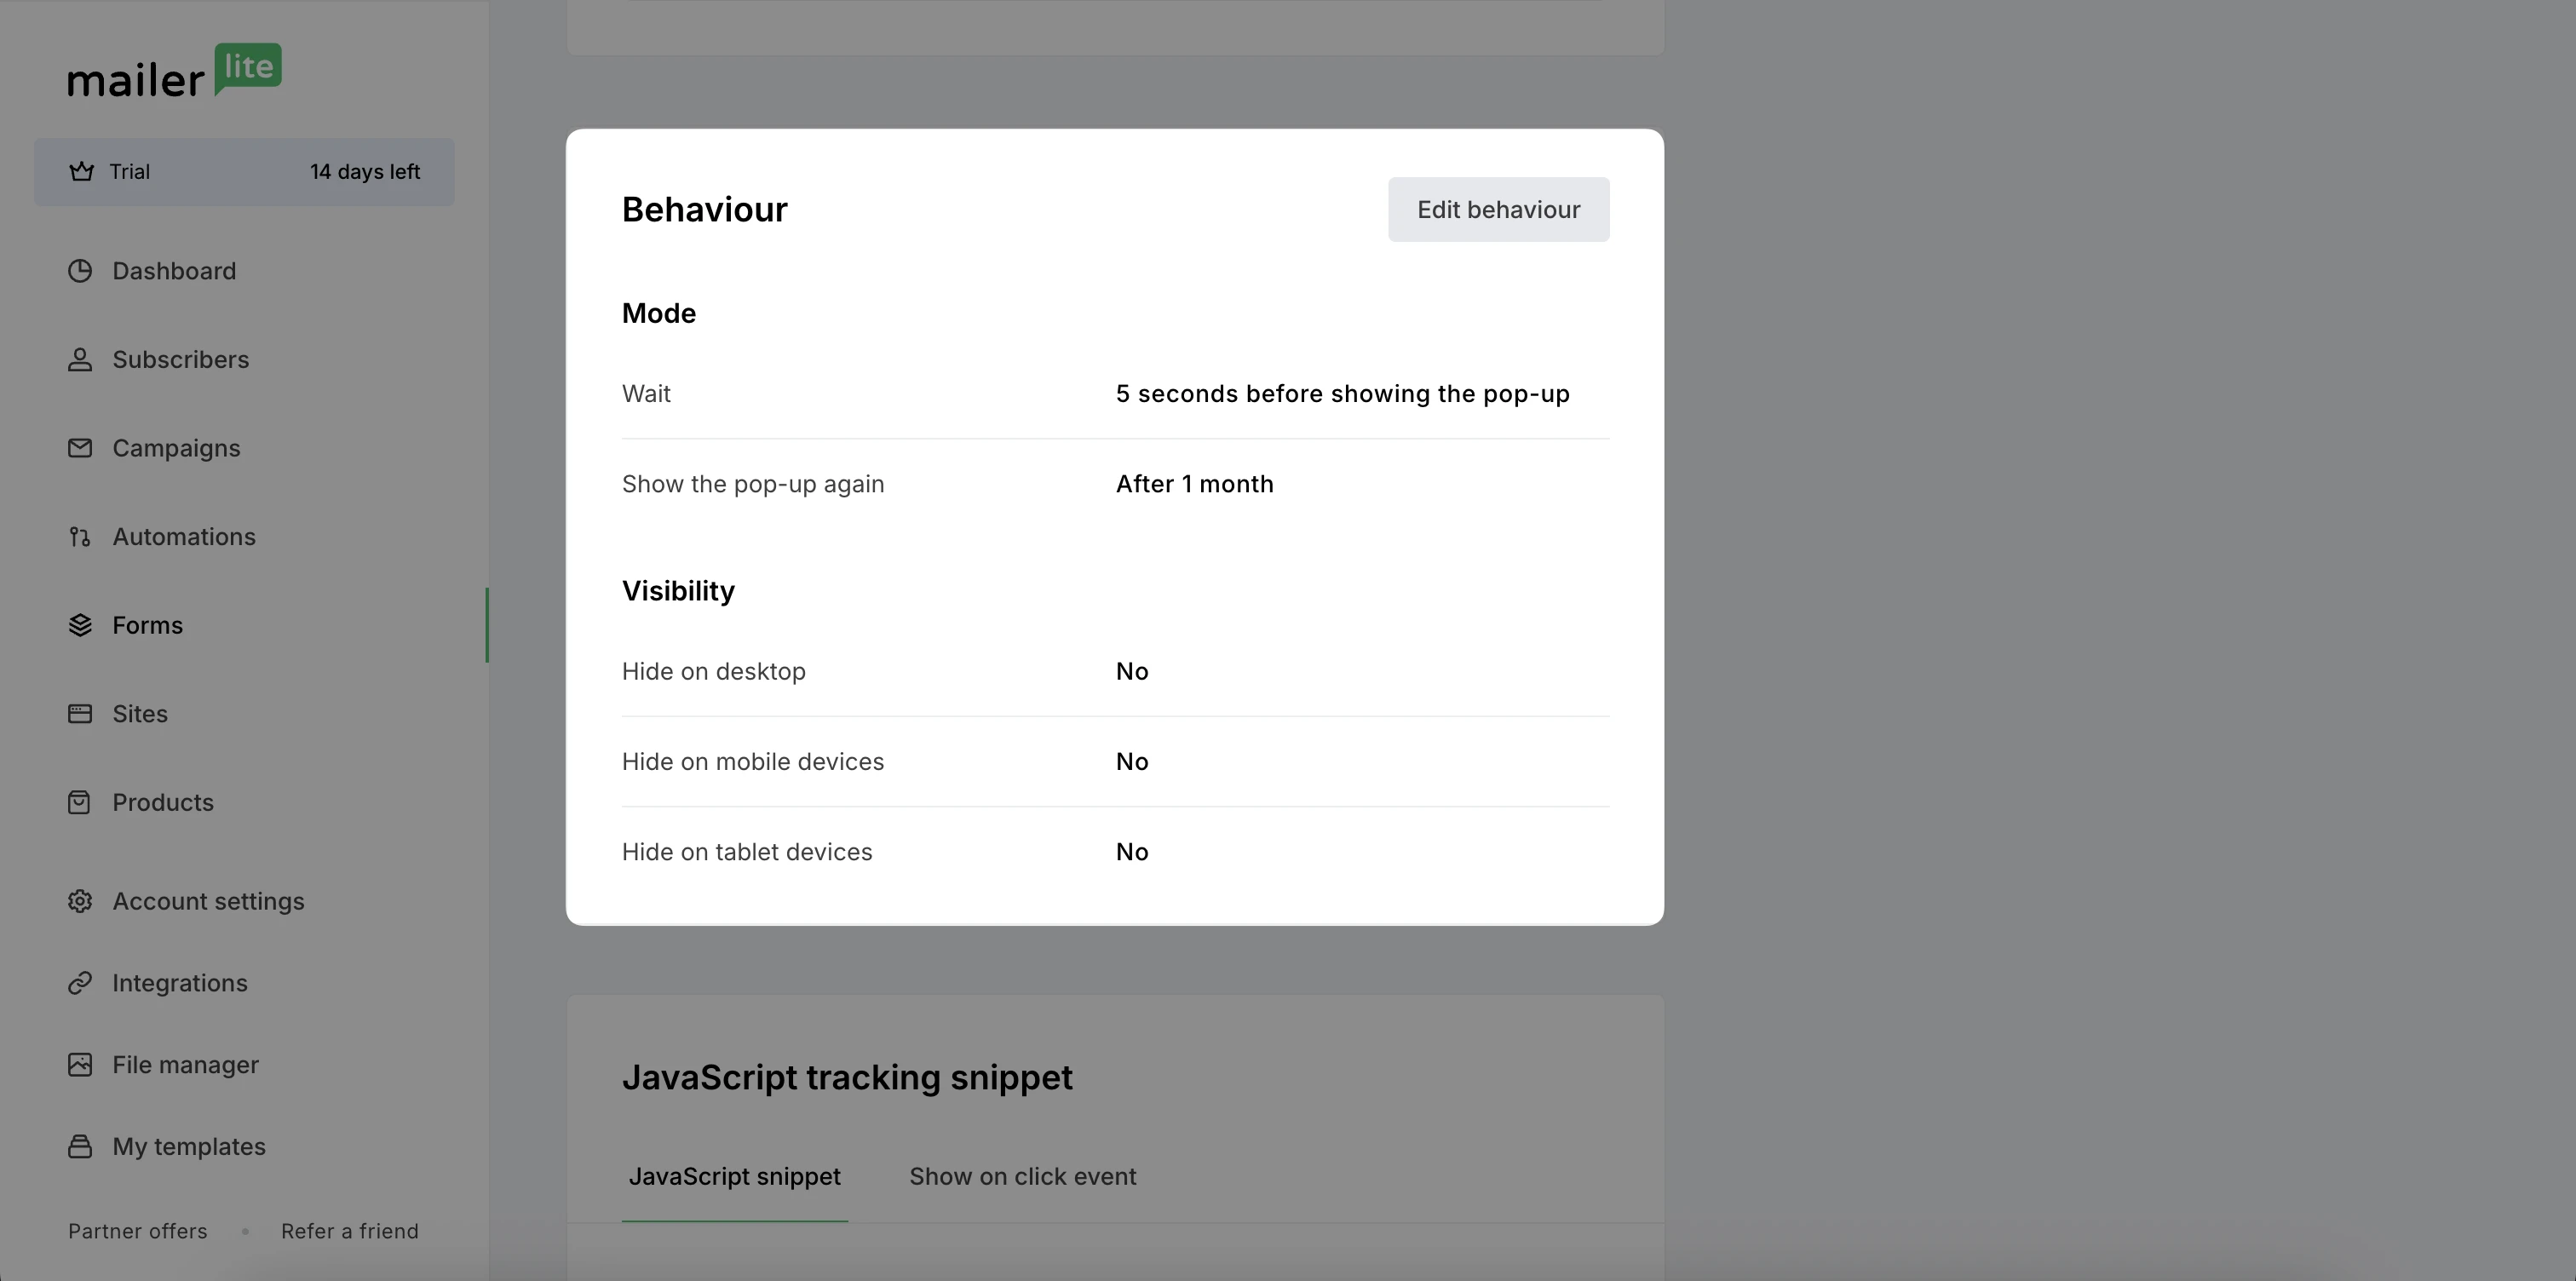
To hide your pop-up on specific pages:
Select Hide on specific pages.
Copy and paste the webpage URL(s) of the pages you do not want your pop-up to appear on. Paste each URL on its own line.
Check the box labeled Apply strict equality to have your pop-up hidden only on pages that match the entered URLs exactly.
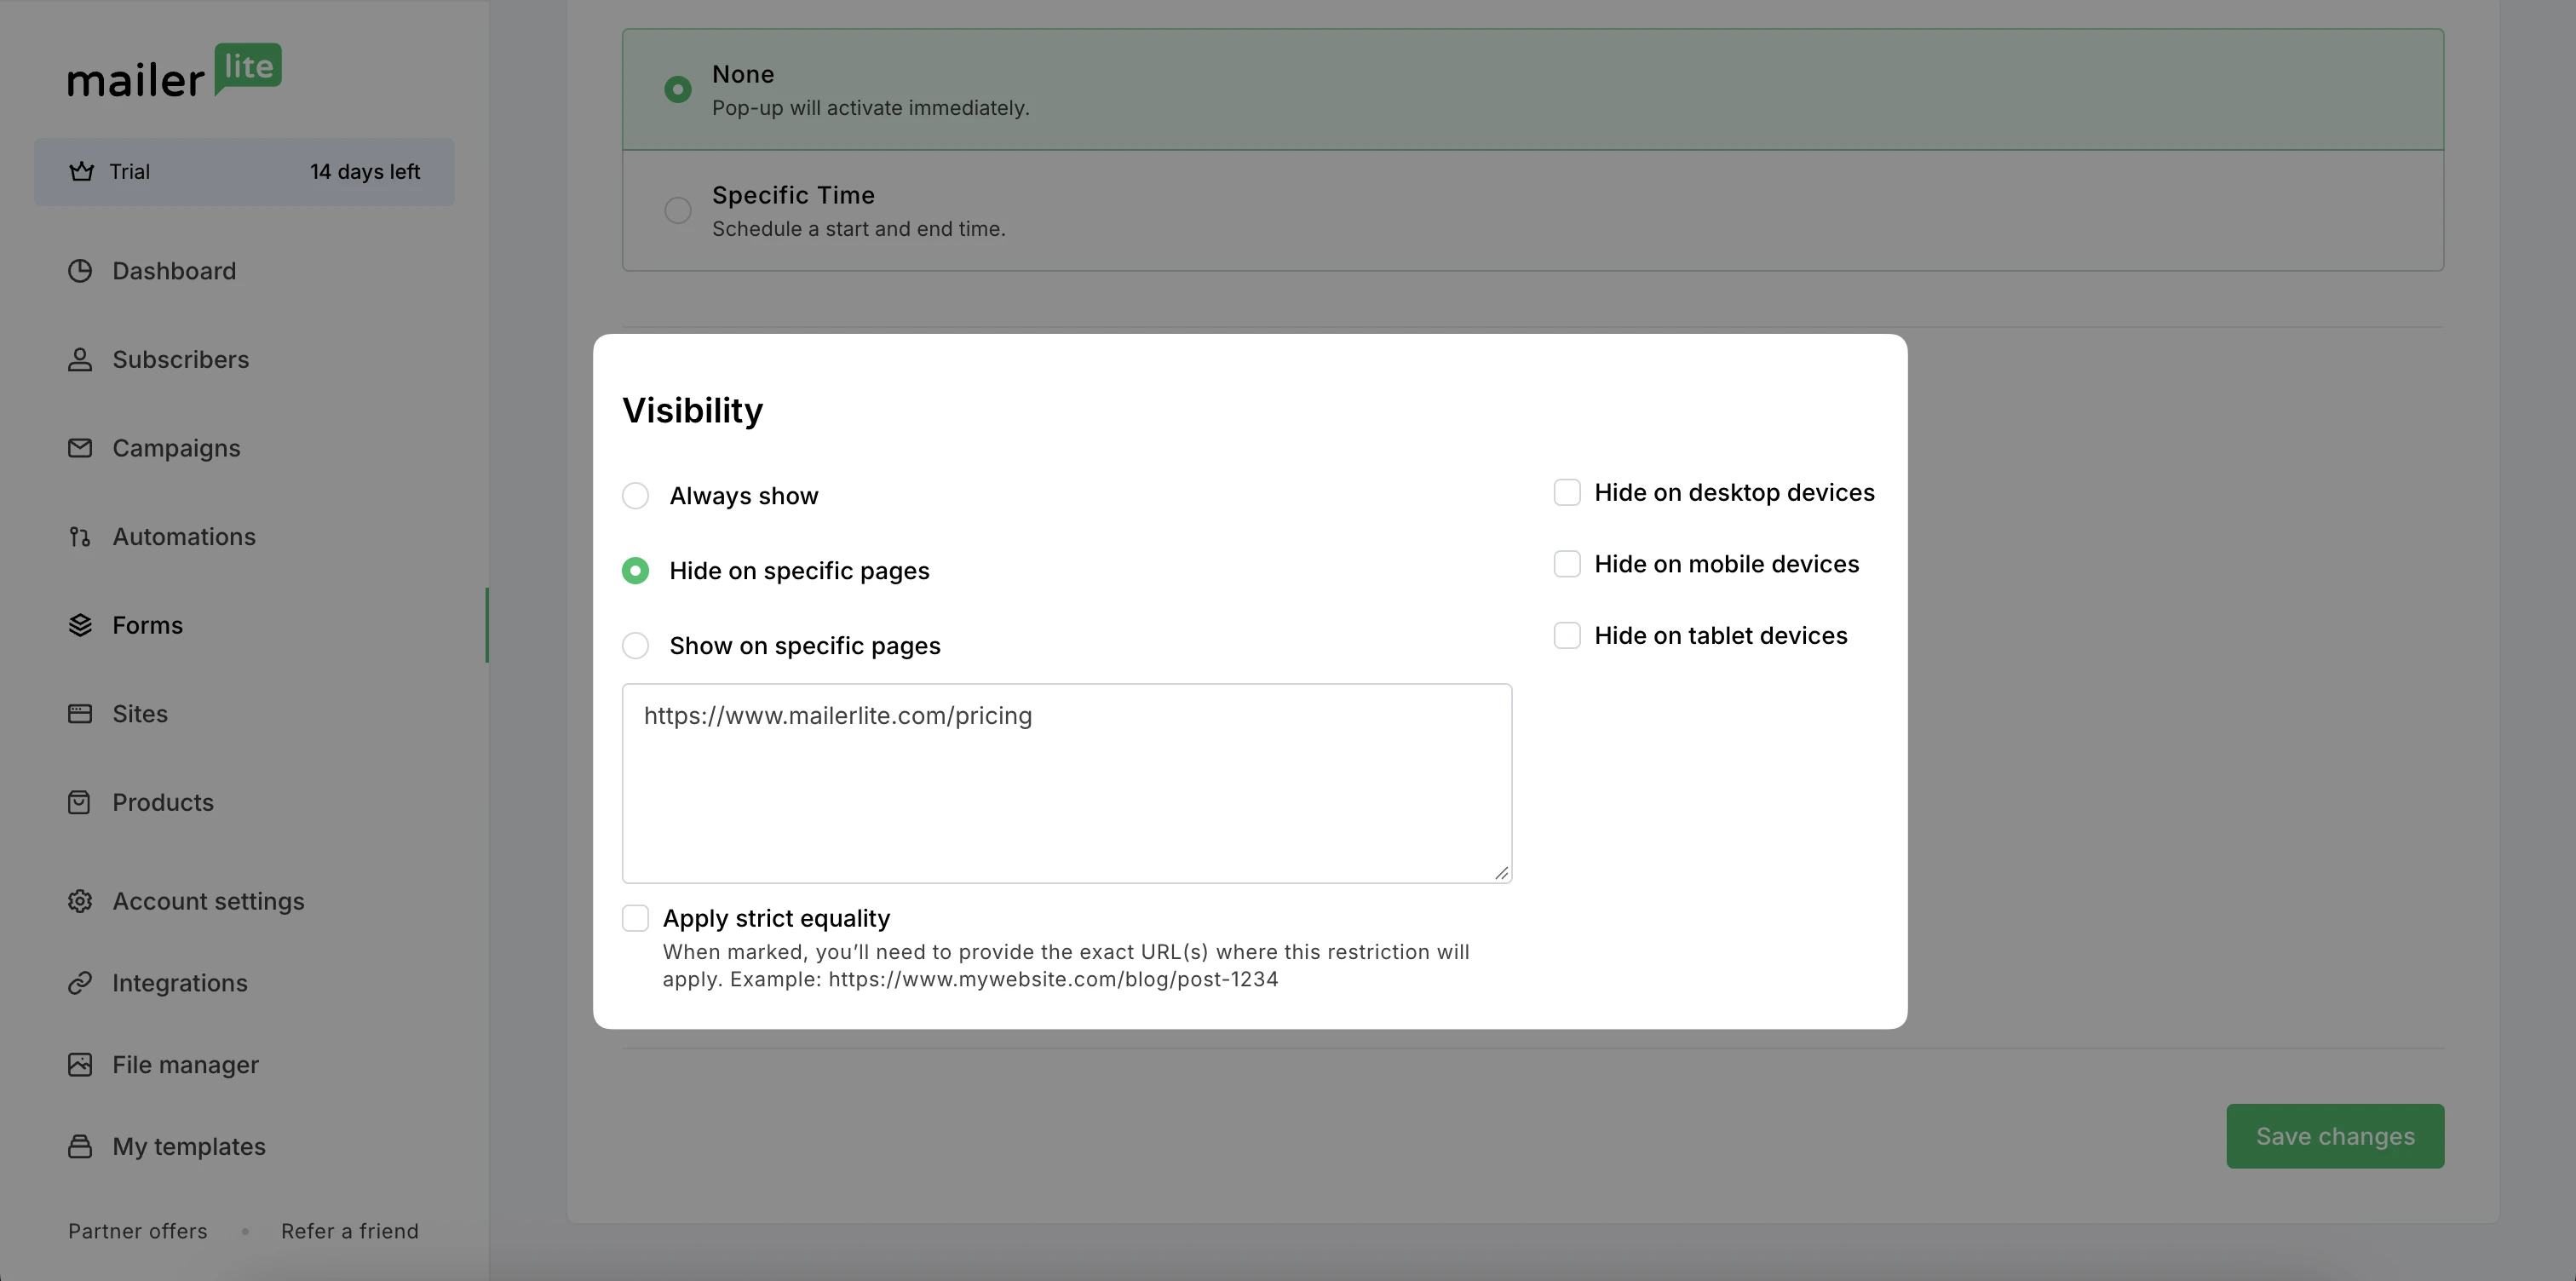
To show your pop-up only on specific pages:
Select Show on specific pages.
Copy and paste the webpage URL(s) of the pages you want your pop-up to appear on. Paste each URL on its own line.
Check the box labeled Apply strict equality to have your pop-up show only on pages that match the entered URLs exactly.
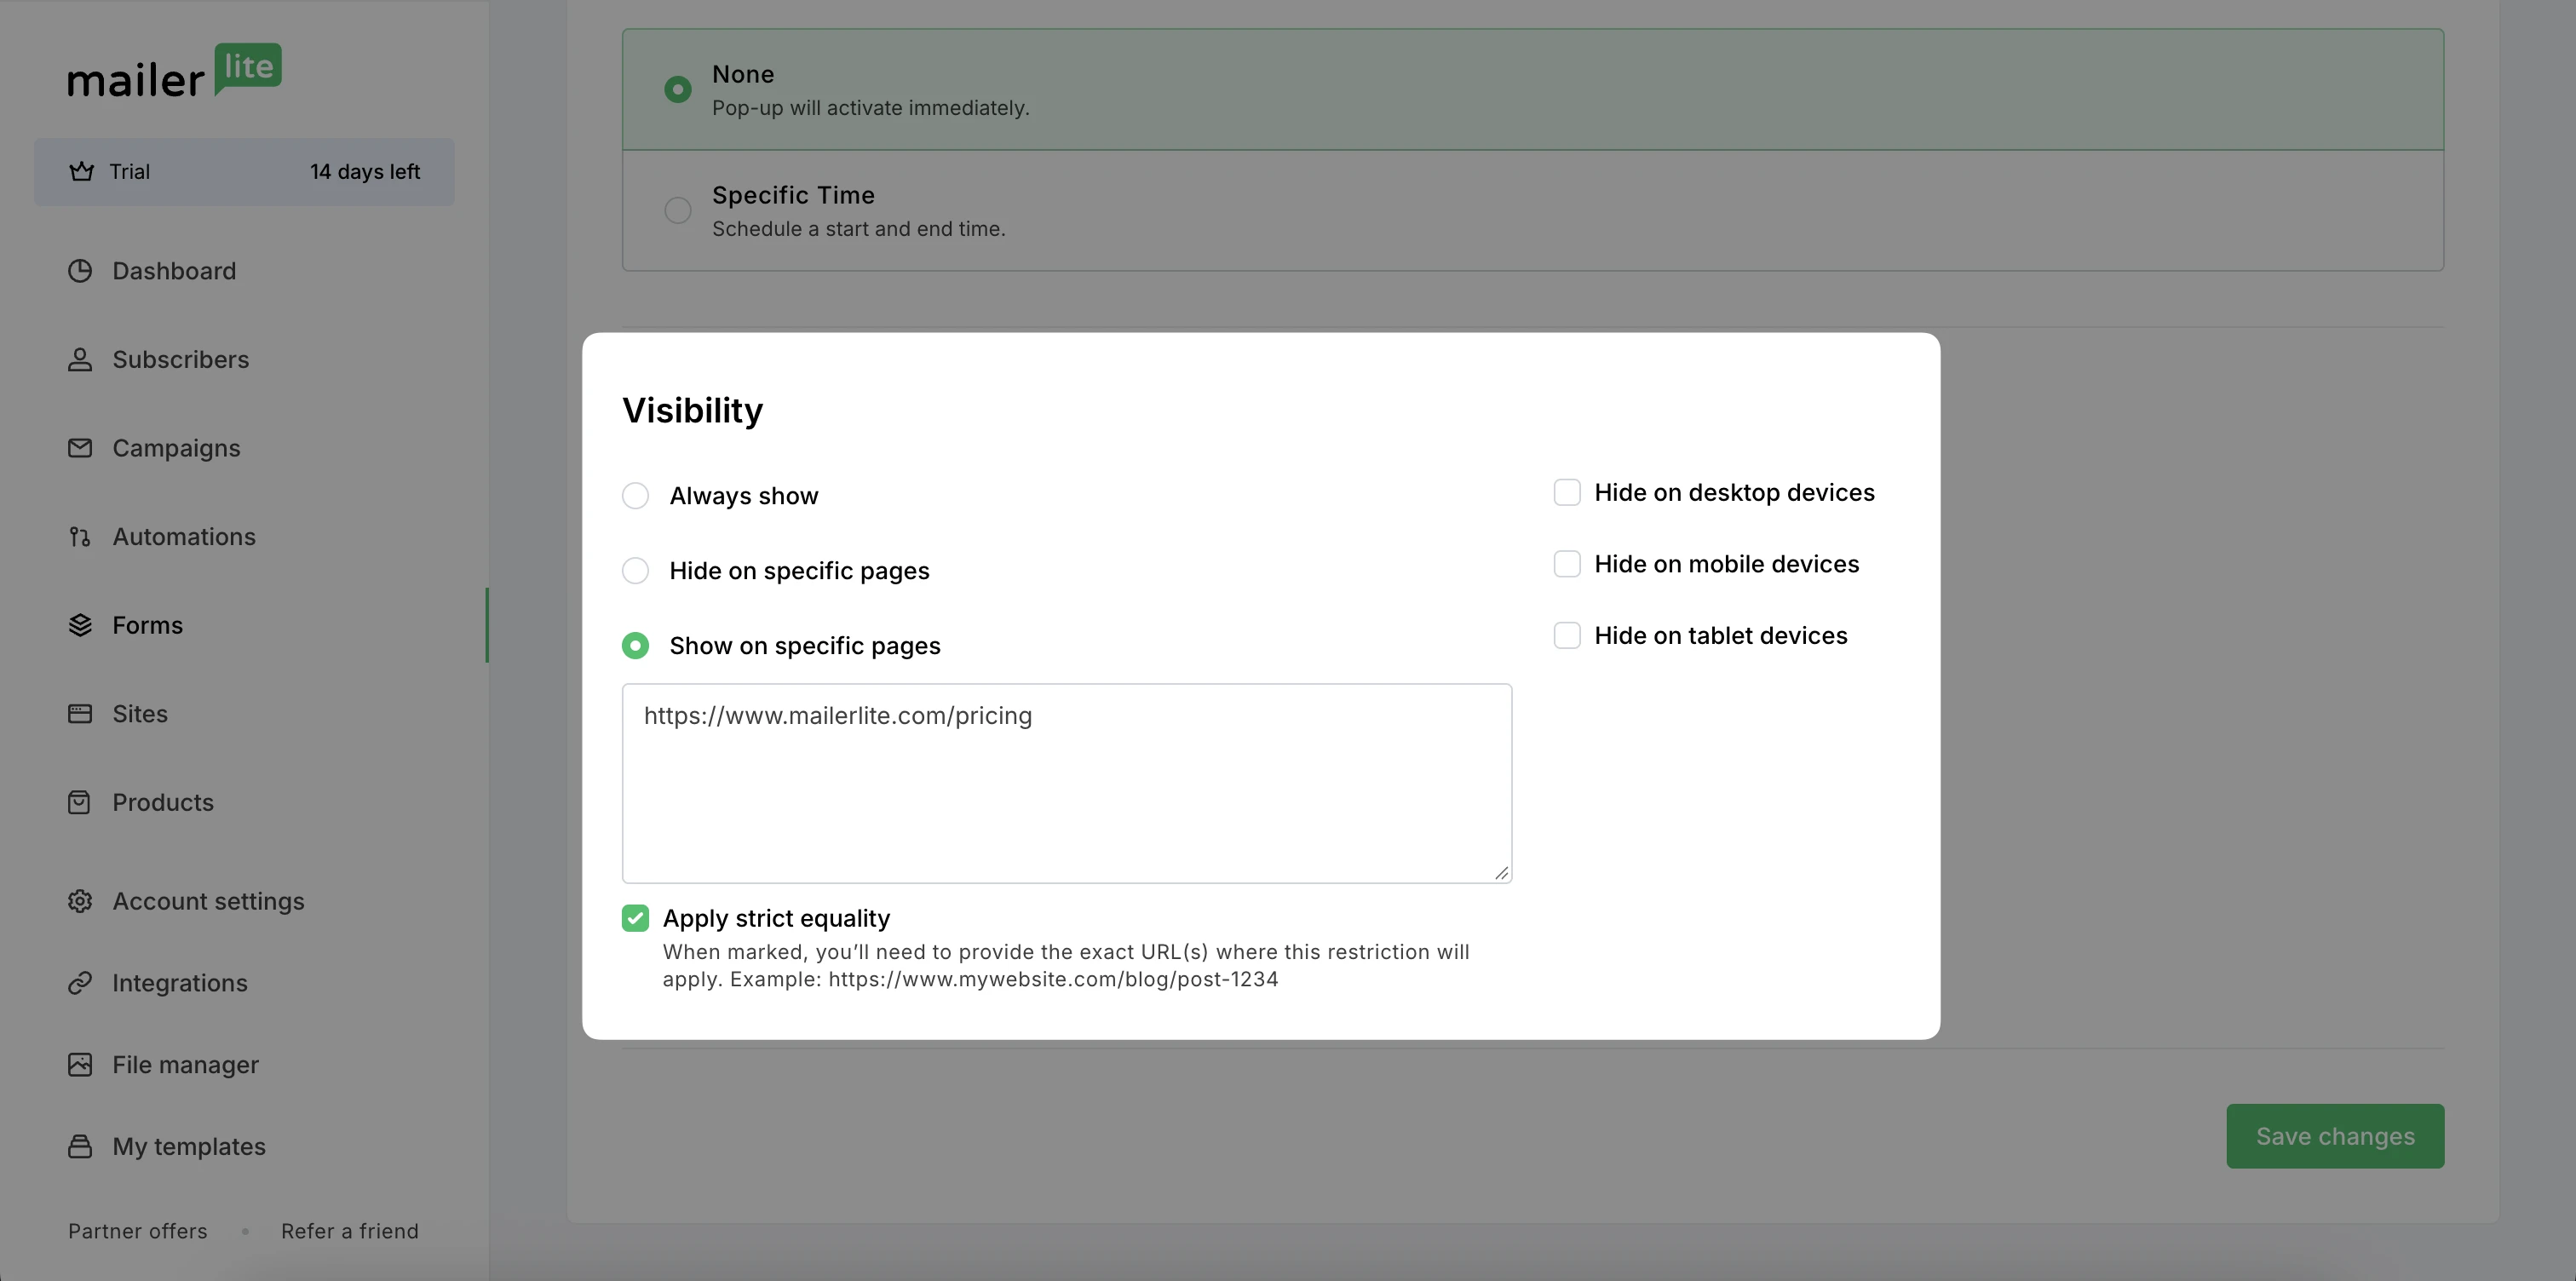
Note: If you do not check the box labeled Apply strict equality, then all URLs that contain the URL you entered will be included in your visibility settings.
For example, if you set your pop-up to hide on www.mailerlite.com and you don’t check Apply strict equality, then your pop-up will be hidden on all web pages containing www.mailerlite.com, including www.mailerlite.com/blog and www.mailerlite.com/about, etc.
How to install a promotional pop-up on your website
You can have the promotional pop-up come up on your website by itself or on a click event. Find the steps for installing the pop-up on your website in How to add a form to your website.
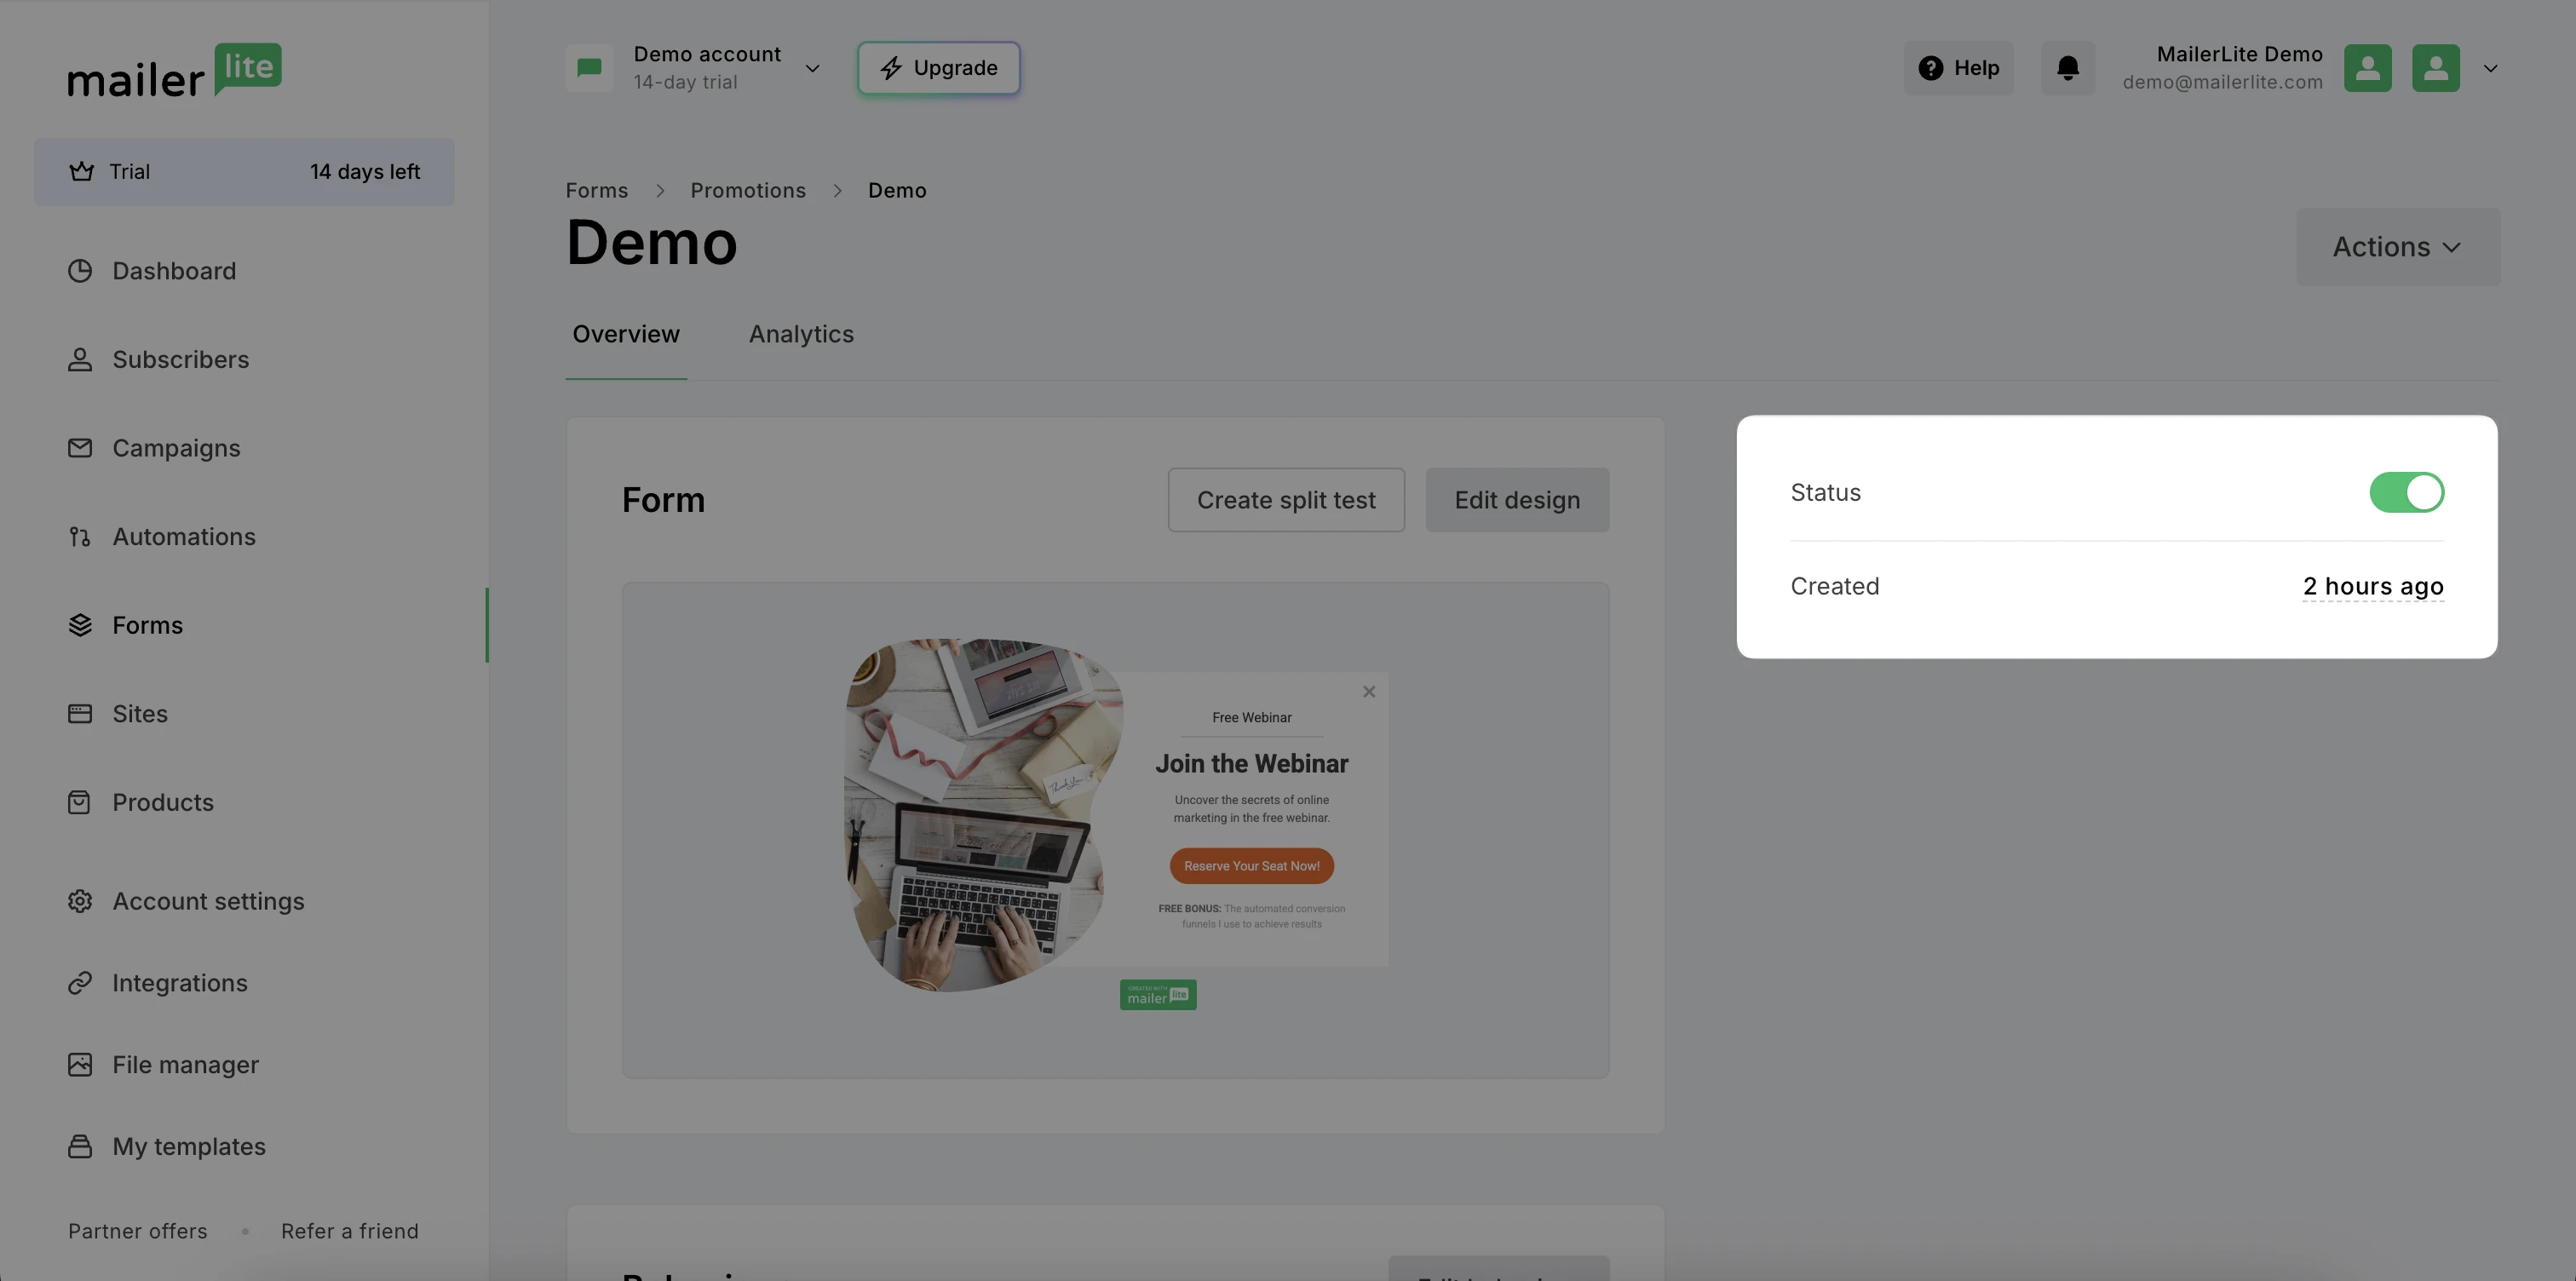
Once you’re done, don’t forget to set your pop-up Status to active: