Note: If you're a Legacy (Classic) user, please log in to your account to access the dedicated Legacy (Classic) Help Center.
E-commerce automation is a workflow aimed at sending targeted emails to your customers based on specific actions they take in your online store. E-commerce triggers are the first steps in these automations and specify which actions should kick-start the workflows.
💡 Get some inspiration for using these triggers: 8 essential e-commerce email marketing automations for more sales and less work
E-commerce triggers
MailerLite offers 6 e-commerce triggers that can be accessed as soon as a supported e-commerce store is connected. E-commerce triggers include:
Abandoned cart
Abandoned checkout
Buys any product
Buys specific product
Buys from category
Purchase frequency
The availability of these triggers depends on the e-commerce integration you use:
PrestaShop, Shoper, Wix, and our e-commerce API support all e-commerce triggers.
Shopify and BigCommerce support all triggers except for Abandoned cart.
MailerLite digital products support Abandoned checkout, Buys any product, Buys specific product, and Purchase frequency triggers.
Squarespace supports Buys any product, Buys specific product, and Purchase frequency triggers.
Note: In order to trigger an e-commerce automation, your customers must also subscribe to your newsletter and accept receiving marketing from you.
Abandoned cart
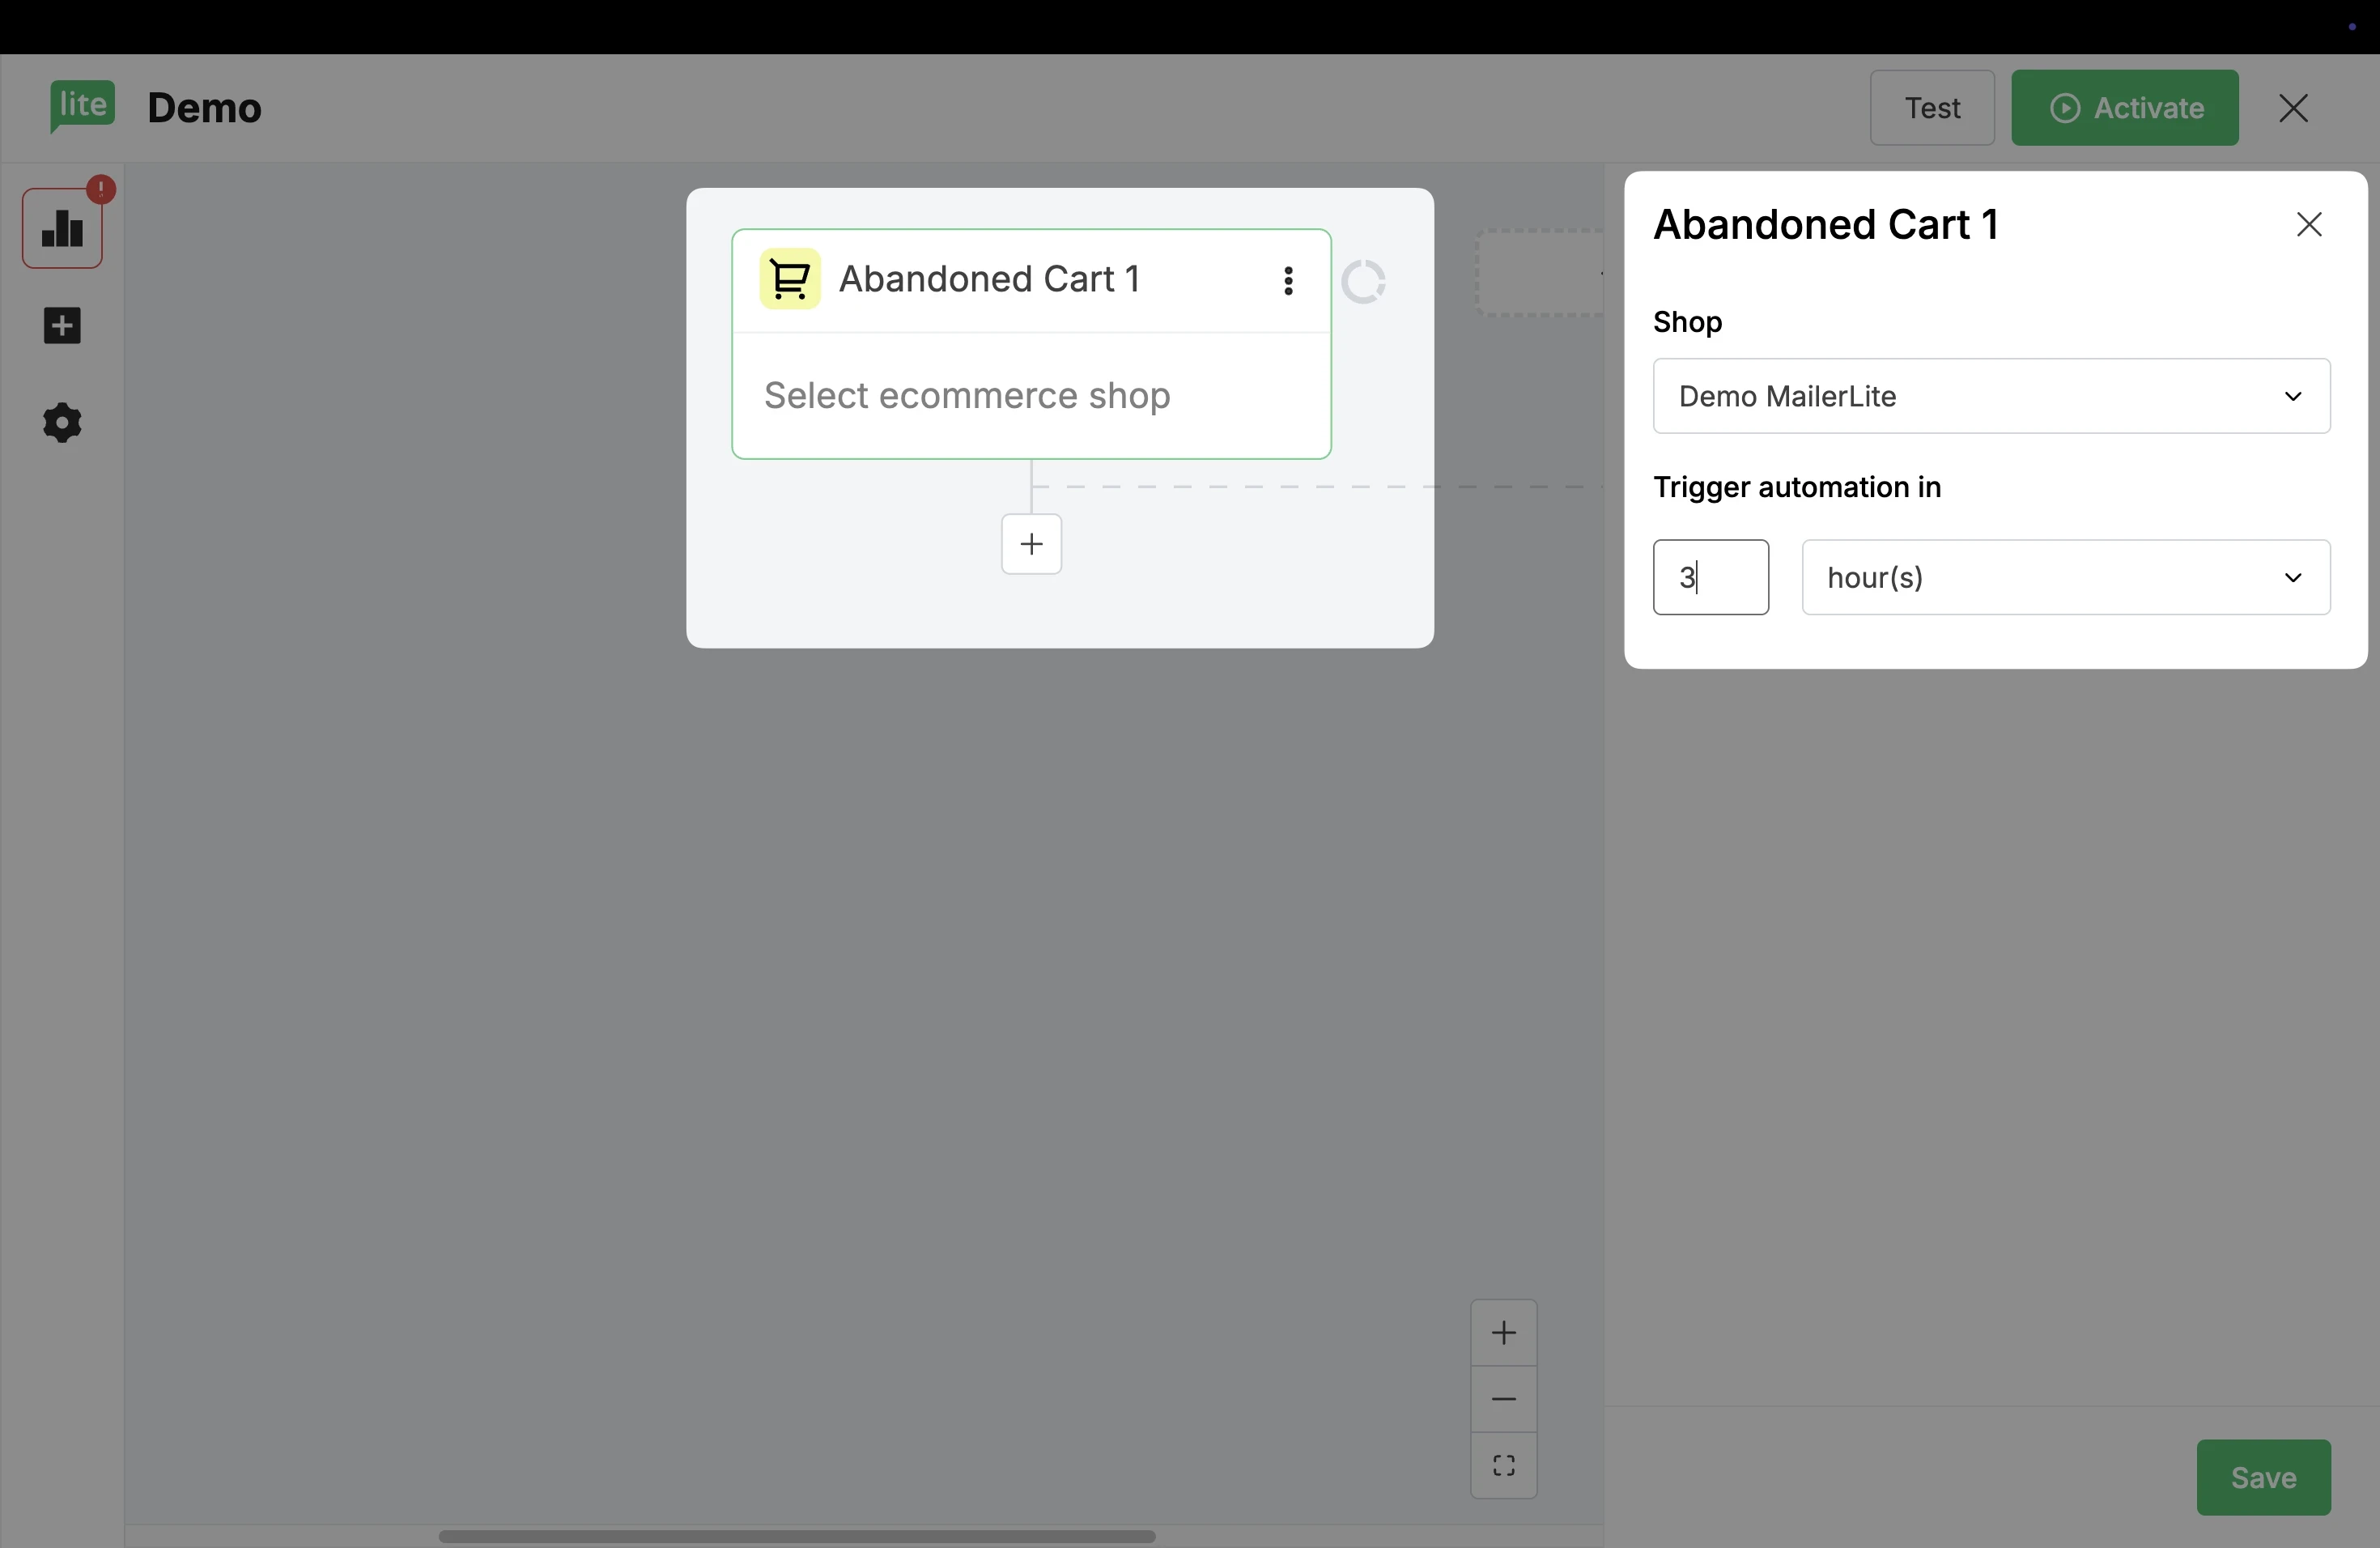
When you select the Abandoned cart trigger, the workflow will trigger when a subscriber adds items to their cart but leaves before proceeding to checkout.
To set up your abandoned cart trigger:
In the sidebar in the Triggers tab, scroll down to the E-commerce automation triggers.
Select the trigger Abandoned cart.
In the sidebar, select your Store.
Select the number of hours (or days/weeks/months) after cart abandonment when you’d like your automation to trigger.
Click Save to apply your trigger settings.
You can complete your automation setup following these instructions: How to create an abandoned cart email automation
Note: A cart counts as abandoned 30 minutes after leaving. If during this time the subscriber proceeds to checkout, their cart will no longer be considered abandoned. Depending on order completion, an abandoned checkout or a completed order will be registered.
Abandoned checkout
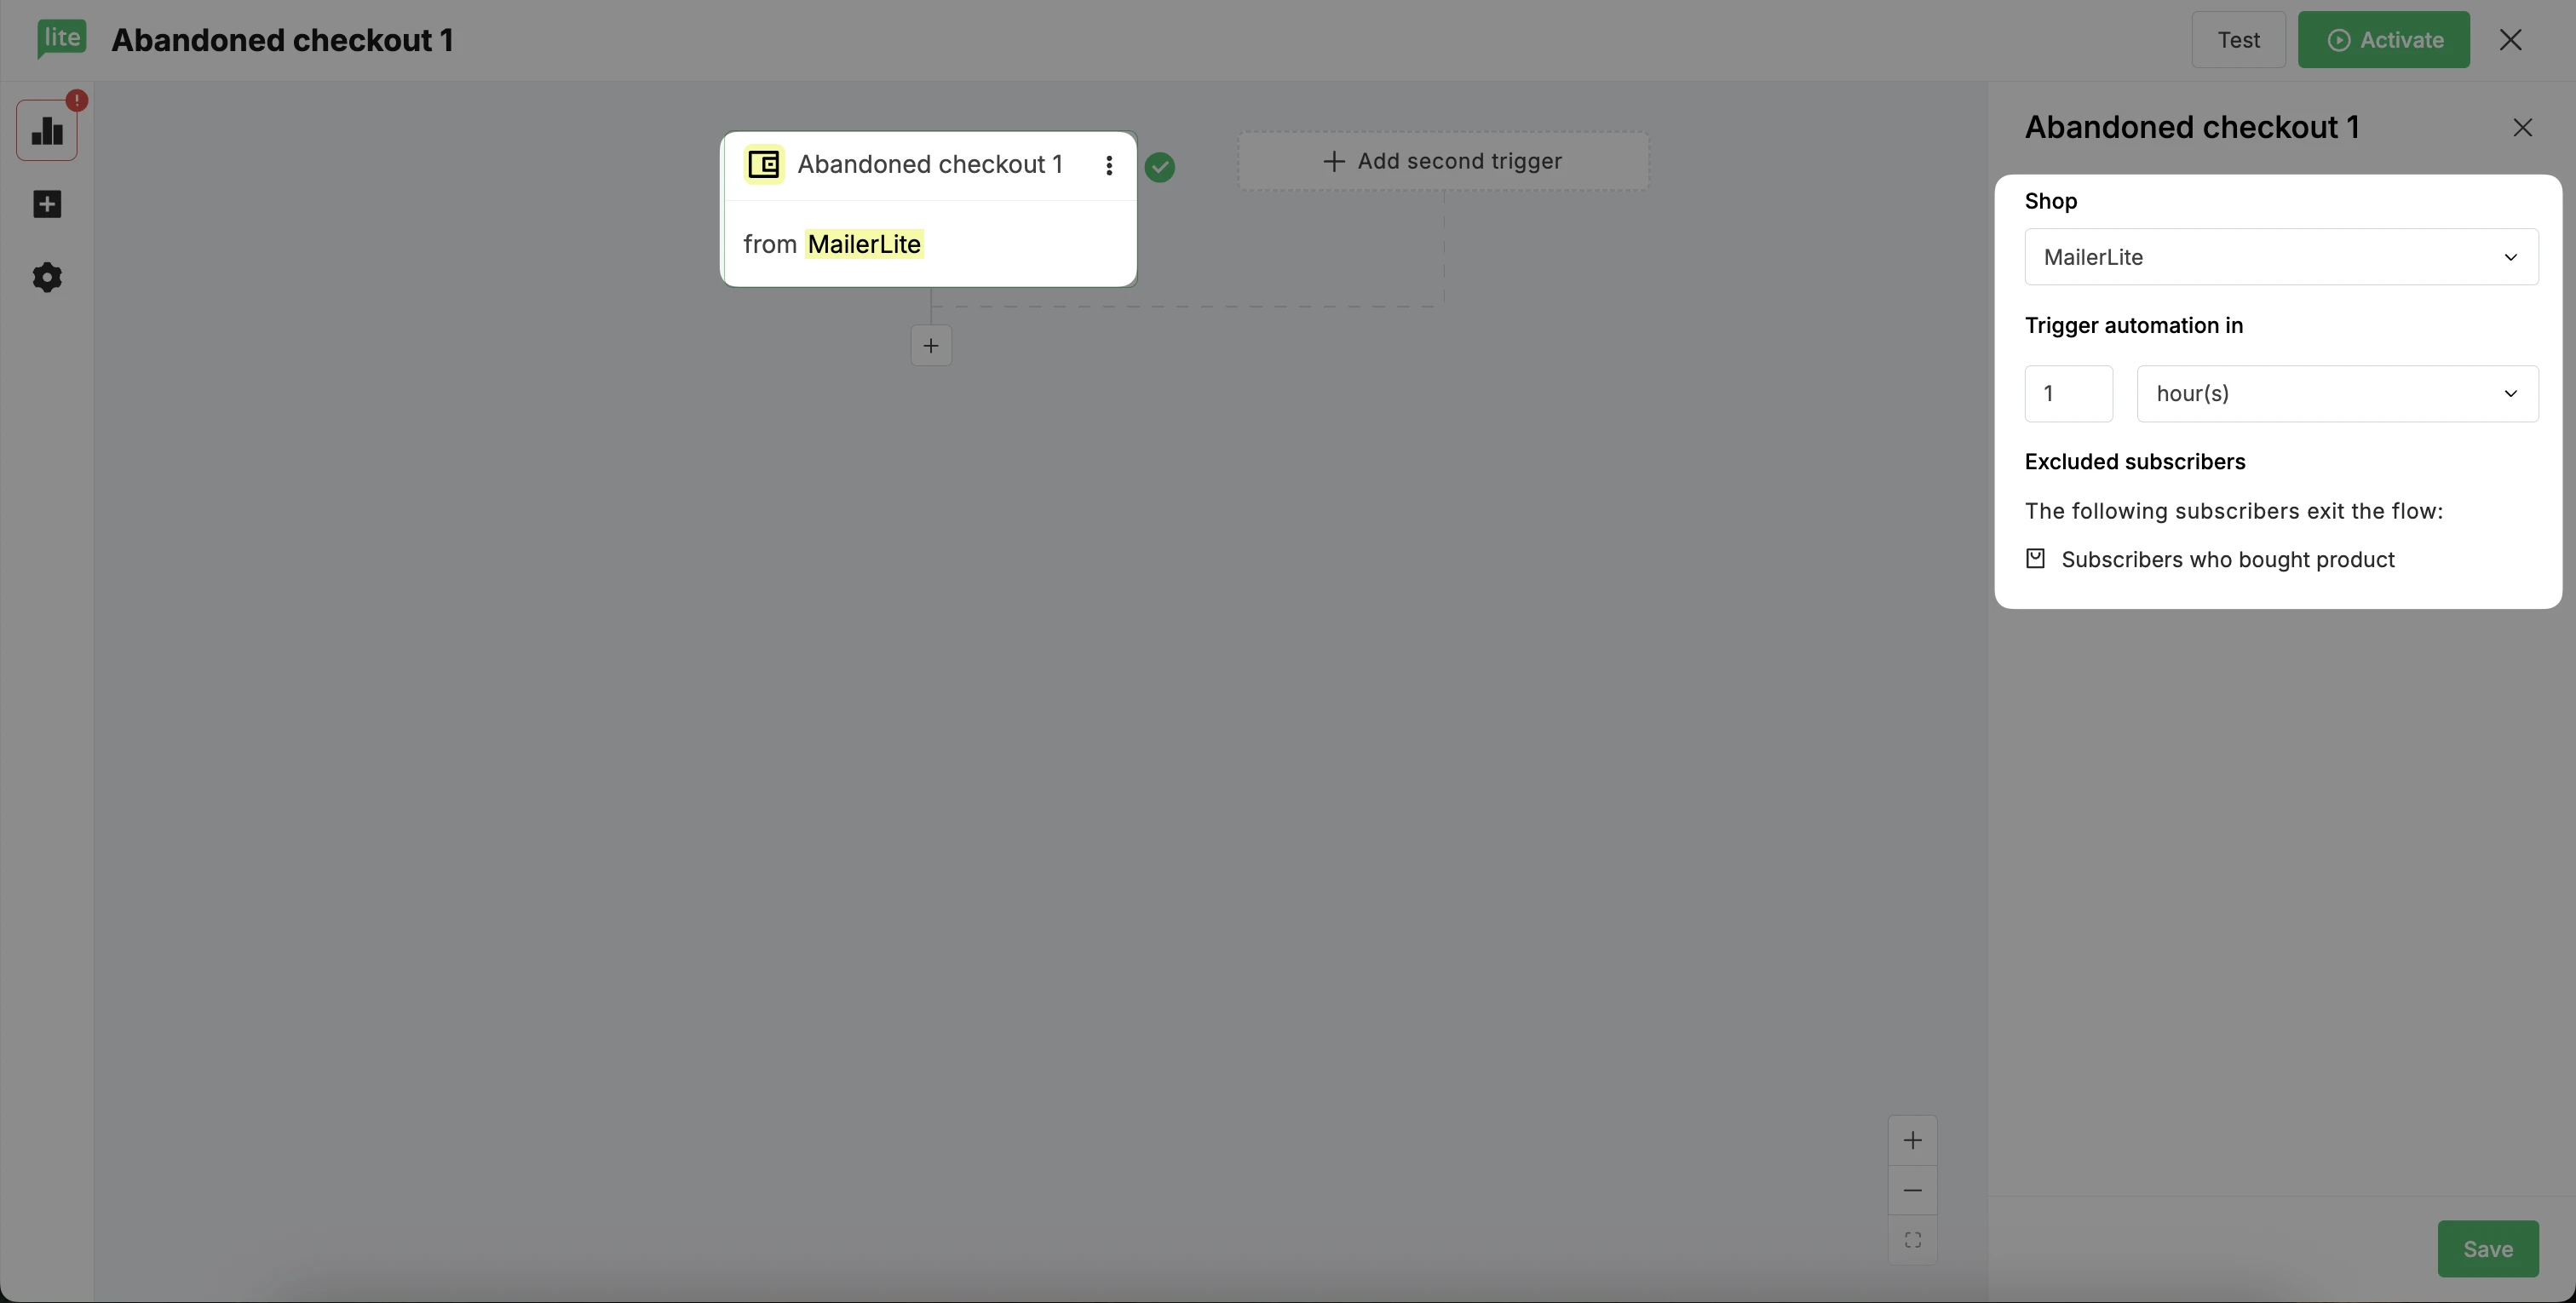
When you select the Abandoned checkout trigger, the workflow will trigger when a subscriber begins the checkout process but does not complete the purchase.
To set up your abandoned checkout trigger:
In the sidebar in the Triggers tab, scroll down to the E-commerce automation triggers.
Select the trigger Abandoned checkout.
In the sidebar, select your Store.
Select the number of hours (or days/weeks/months) after checkout abandonment when you’d like your automation to trigger.
Click Save to apply your trigger settings.
You can complete your automation setup following these instructions: How to create an abandoned checkout email automation
Note: When using MailerLite Abandoned checkout/cart emails, make sure you have disabled Abandoned checkout/cart emails in your e-commerce platform.
Buys any product
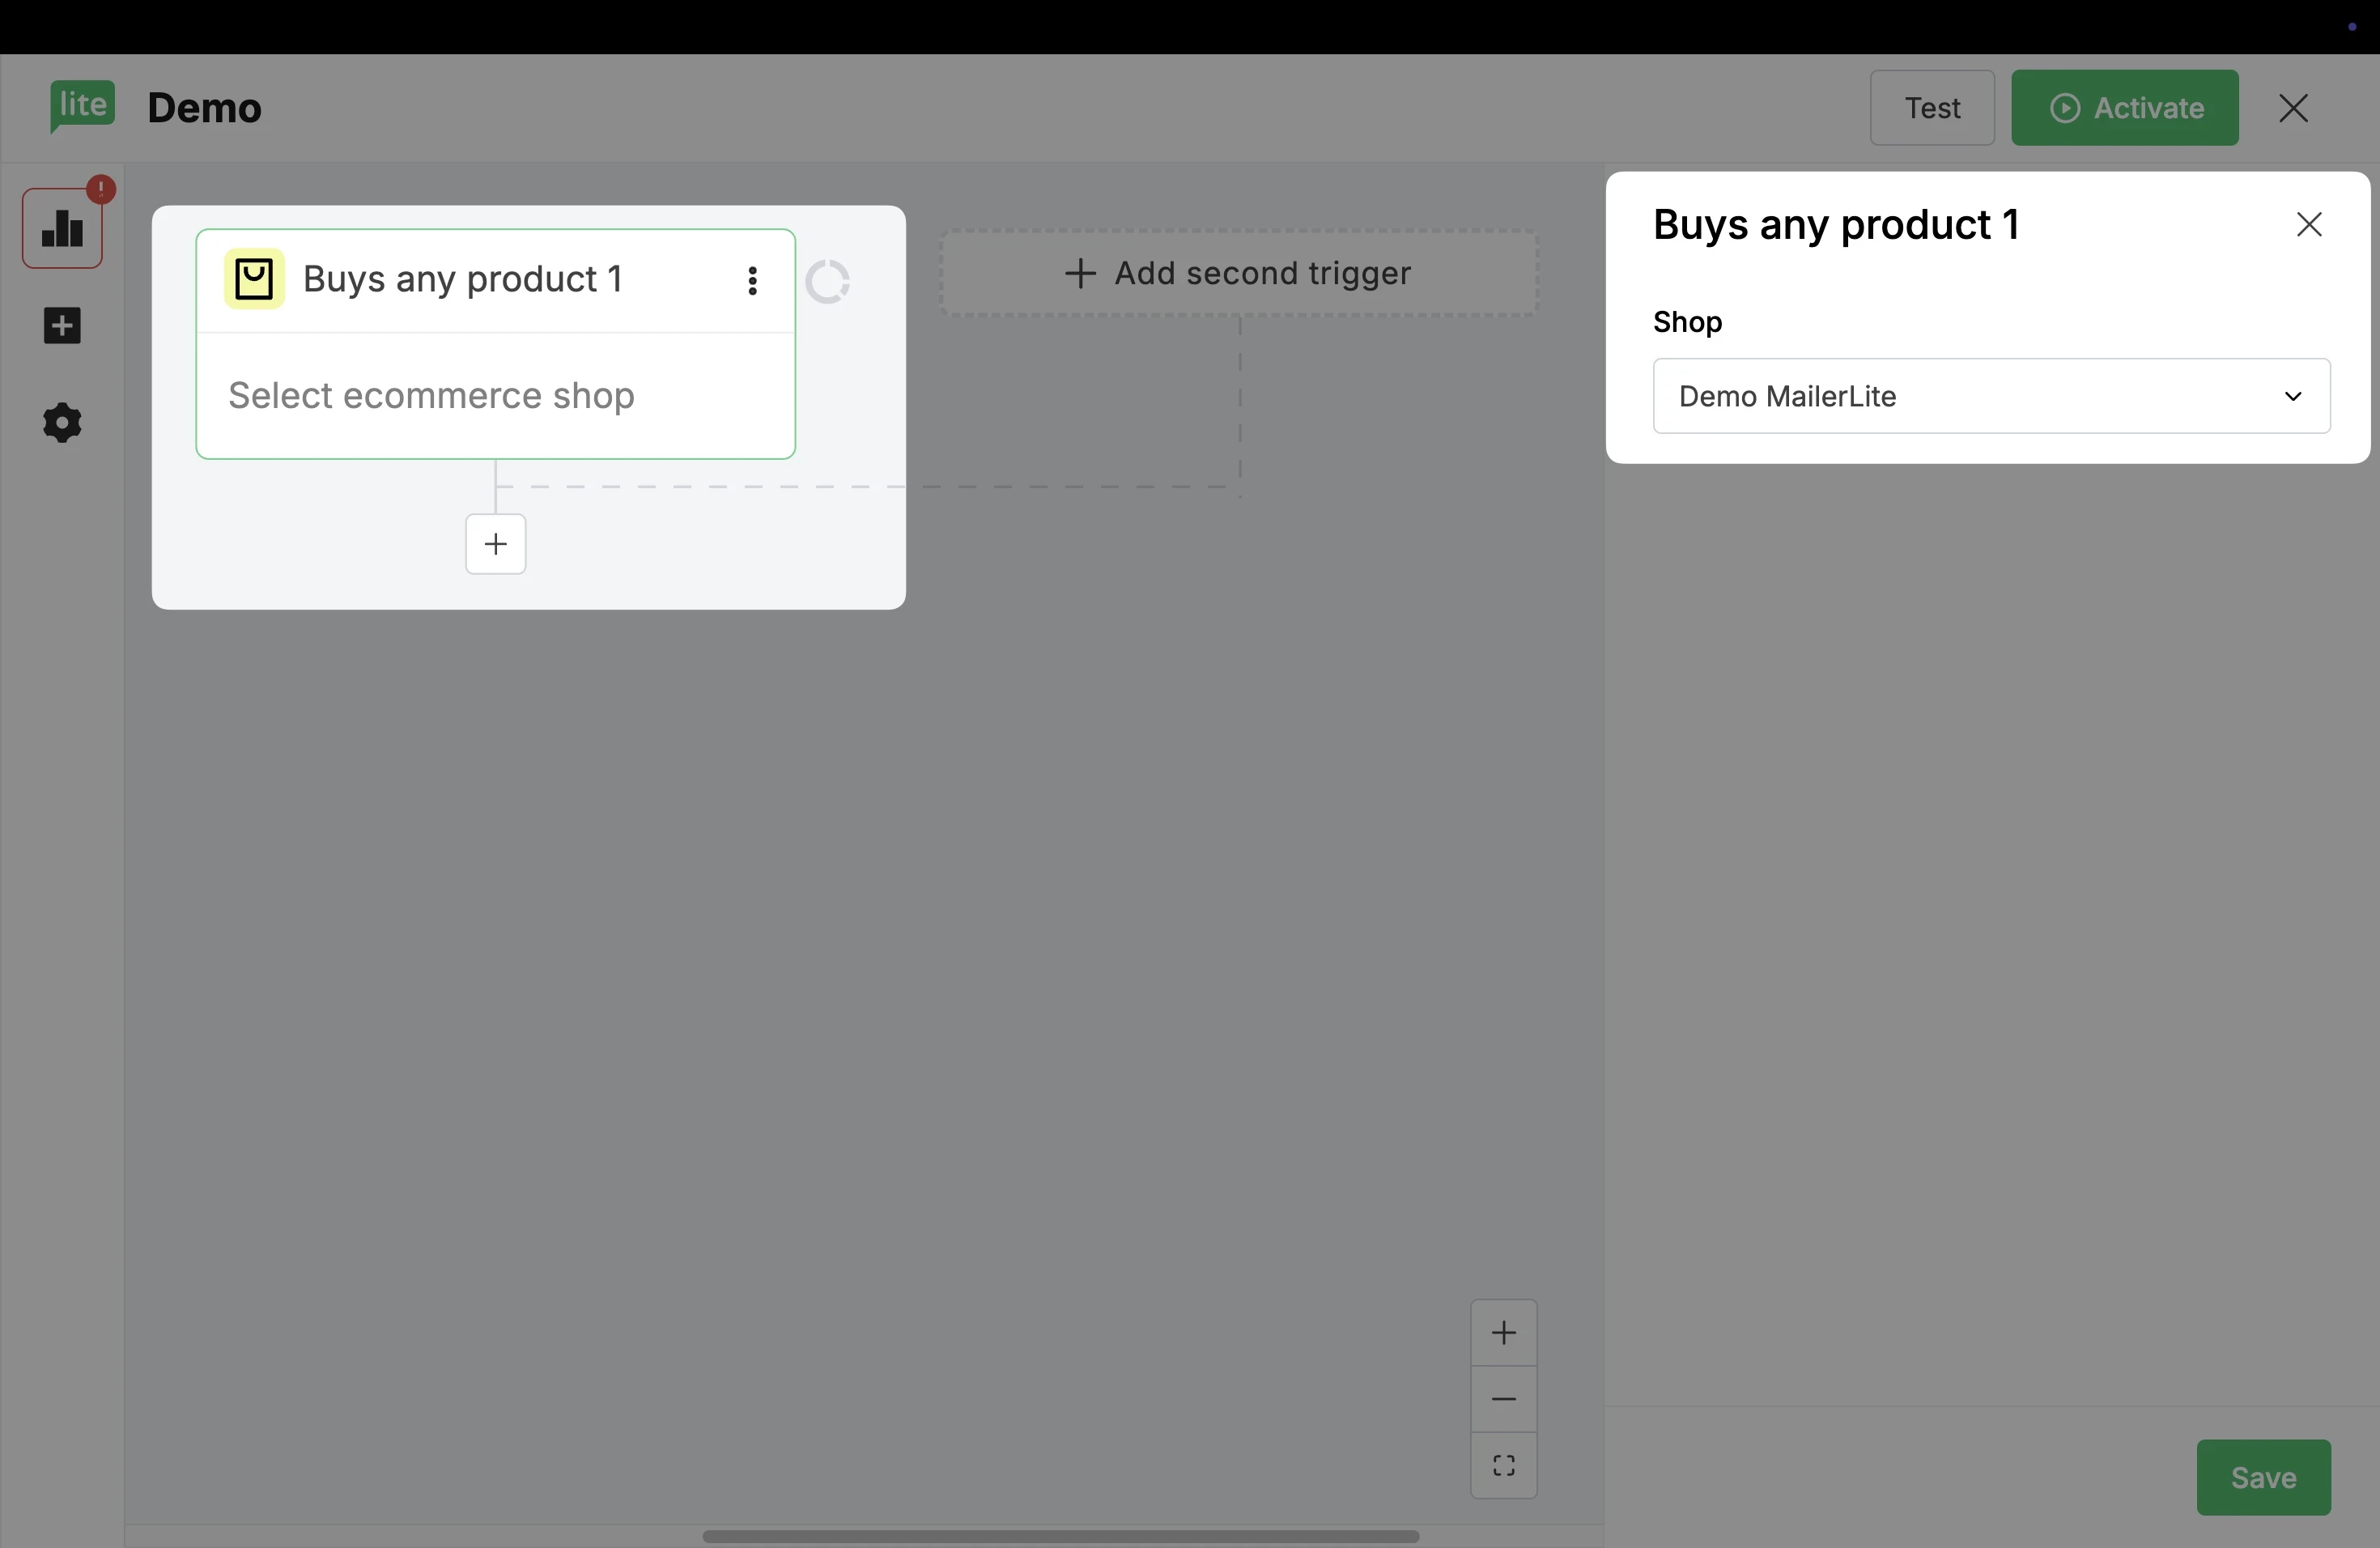
When you select the trigger Buys any product, the automation workflow will be triggered when a subscriber makes a purchase from your store and that purchase is marked as complete.
To set up this trigger:
In the sidebar in the Triggers tab, scroll down to the E-commerce automation triggers.
Select the workflow trigger Buys any product.
Select your Store.
Click Save to apply your trigger settings.
Buys specific product
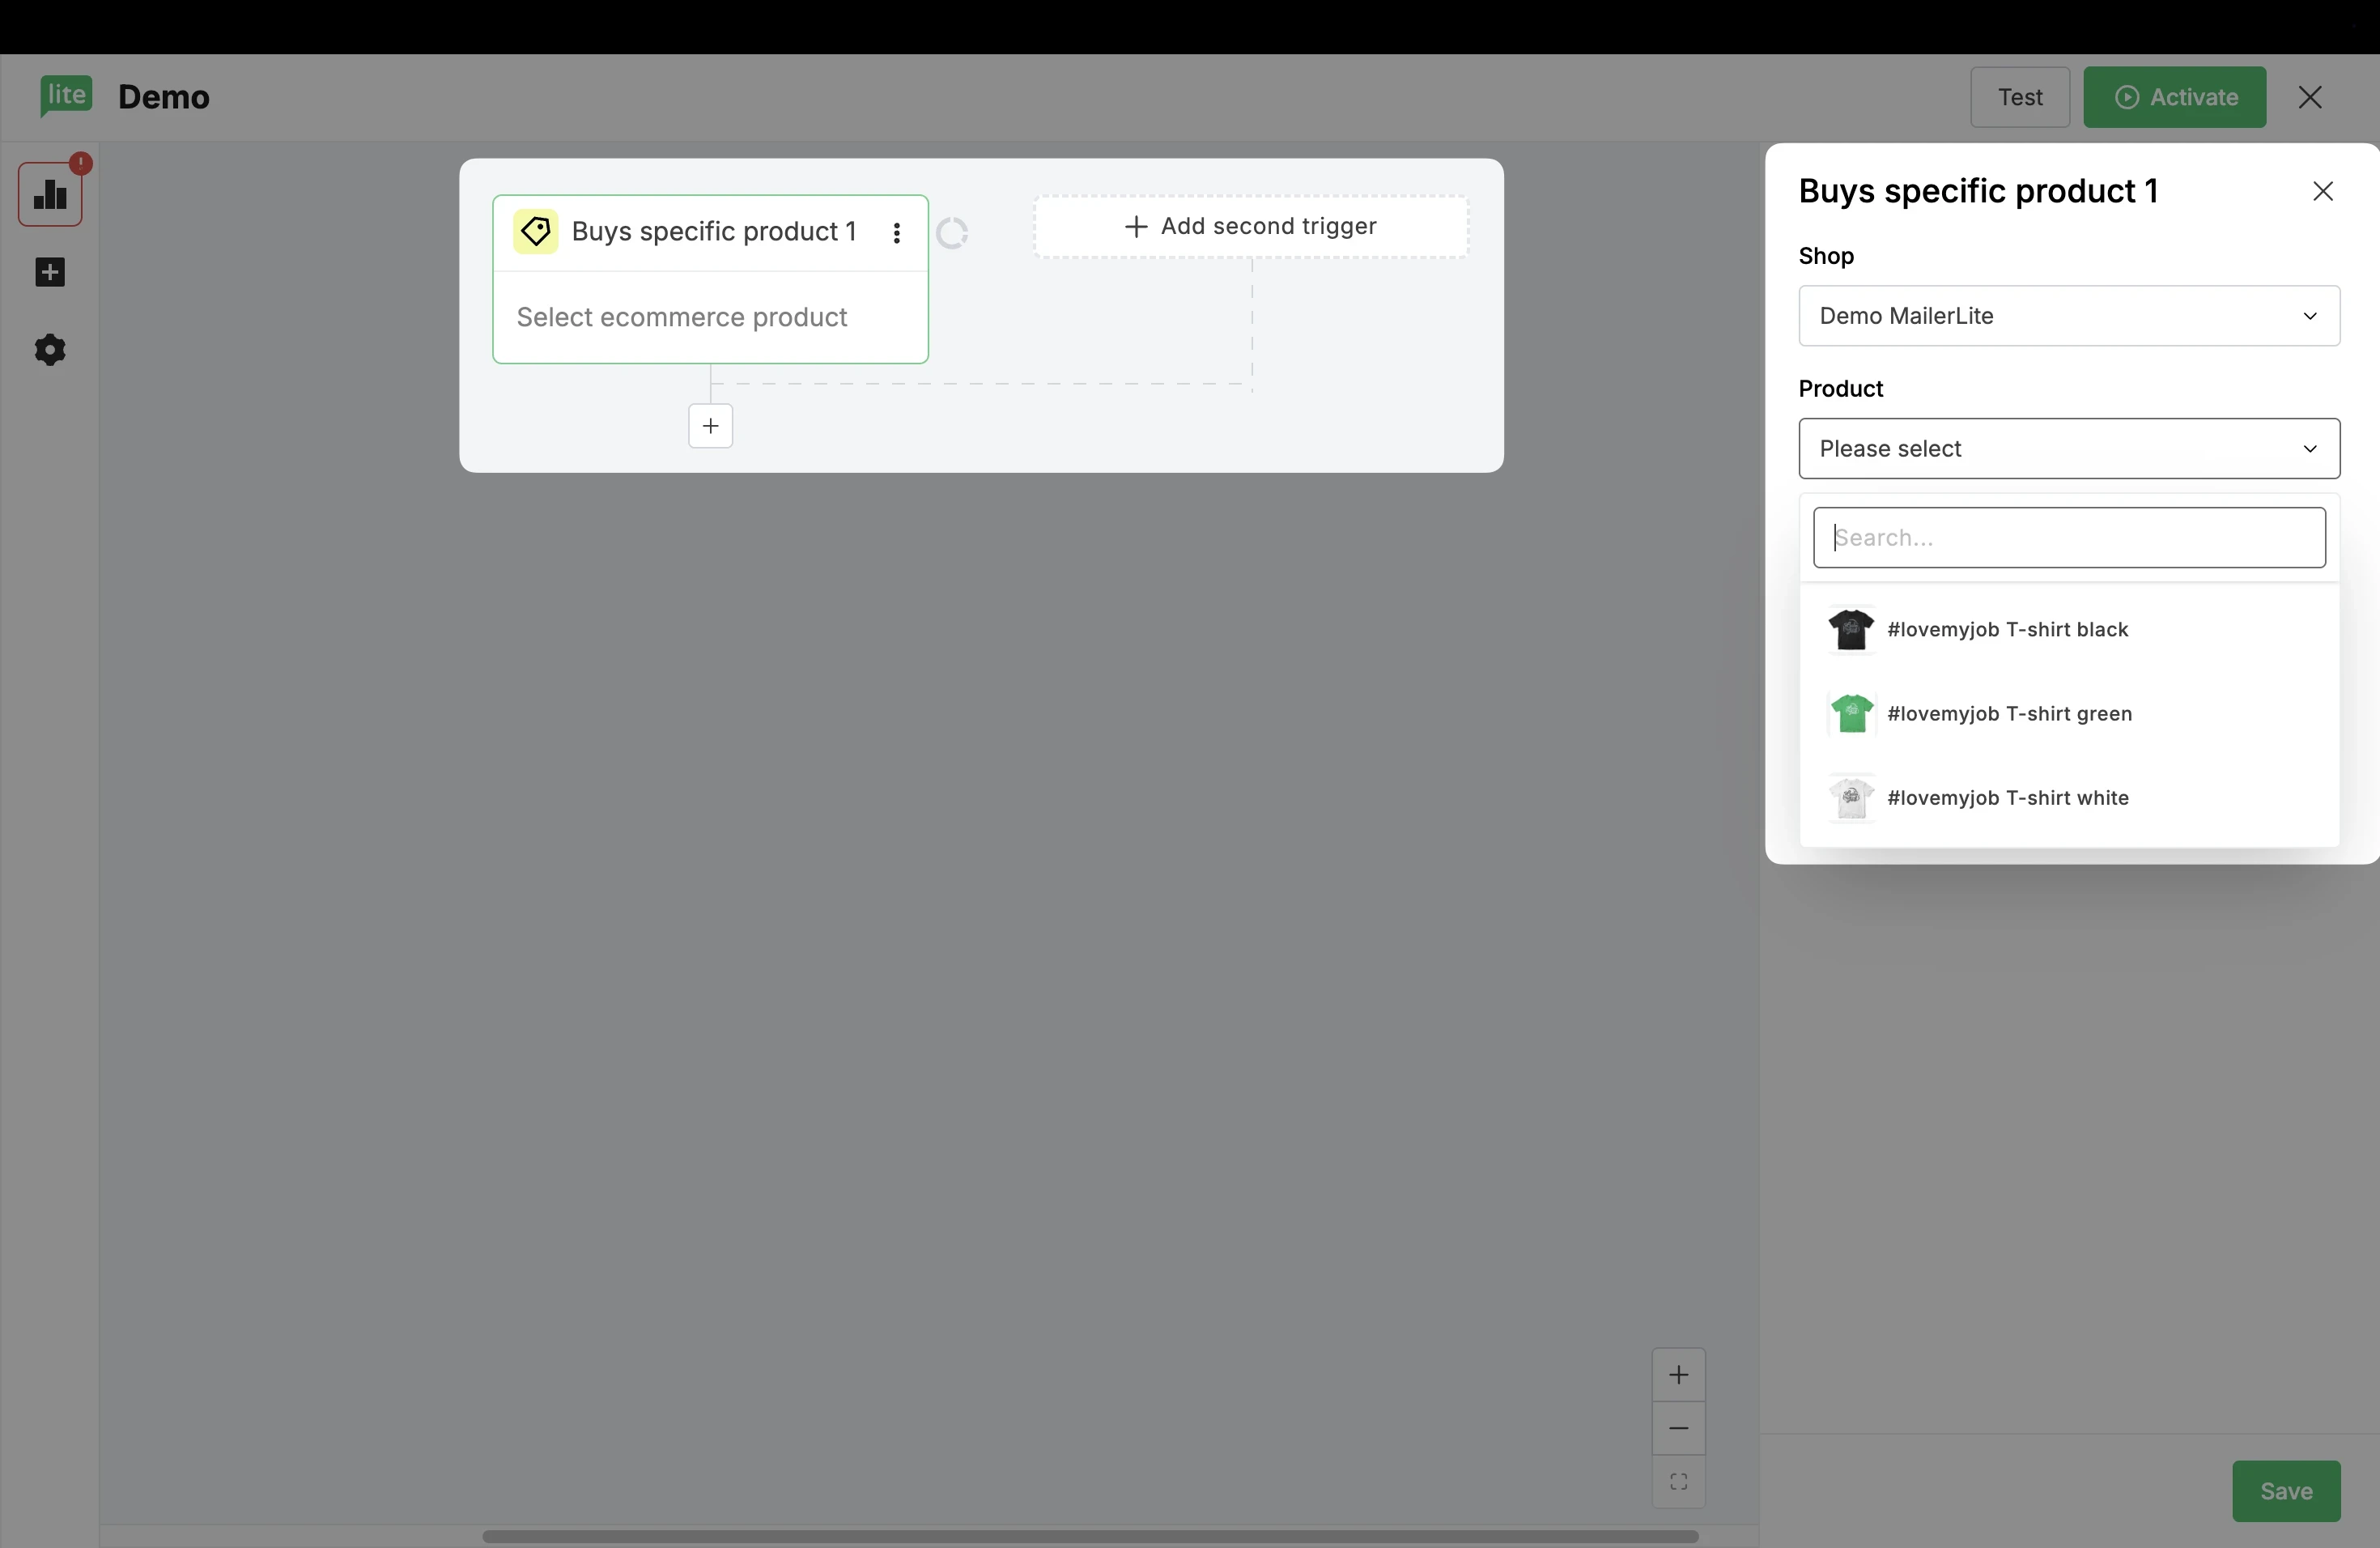
When you select the trigger Buys specific product, the automation workflow will trigger when a subscriber purchases a specific product that you have selected, and that purchase is marked as complete.
To set up your specific product trigger:
In the sidebar in the Triggers tab, scroll down to the E-commerce automation triggers. Select the workflow trigger Buys specific product.
Select your Store.
Select the product that, when purchased, you would like to trigger this workflow.
Click Save to apply your trigger settings.
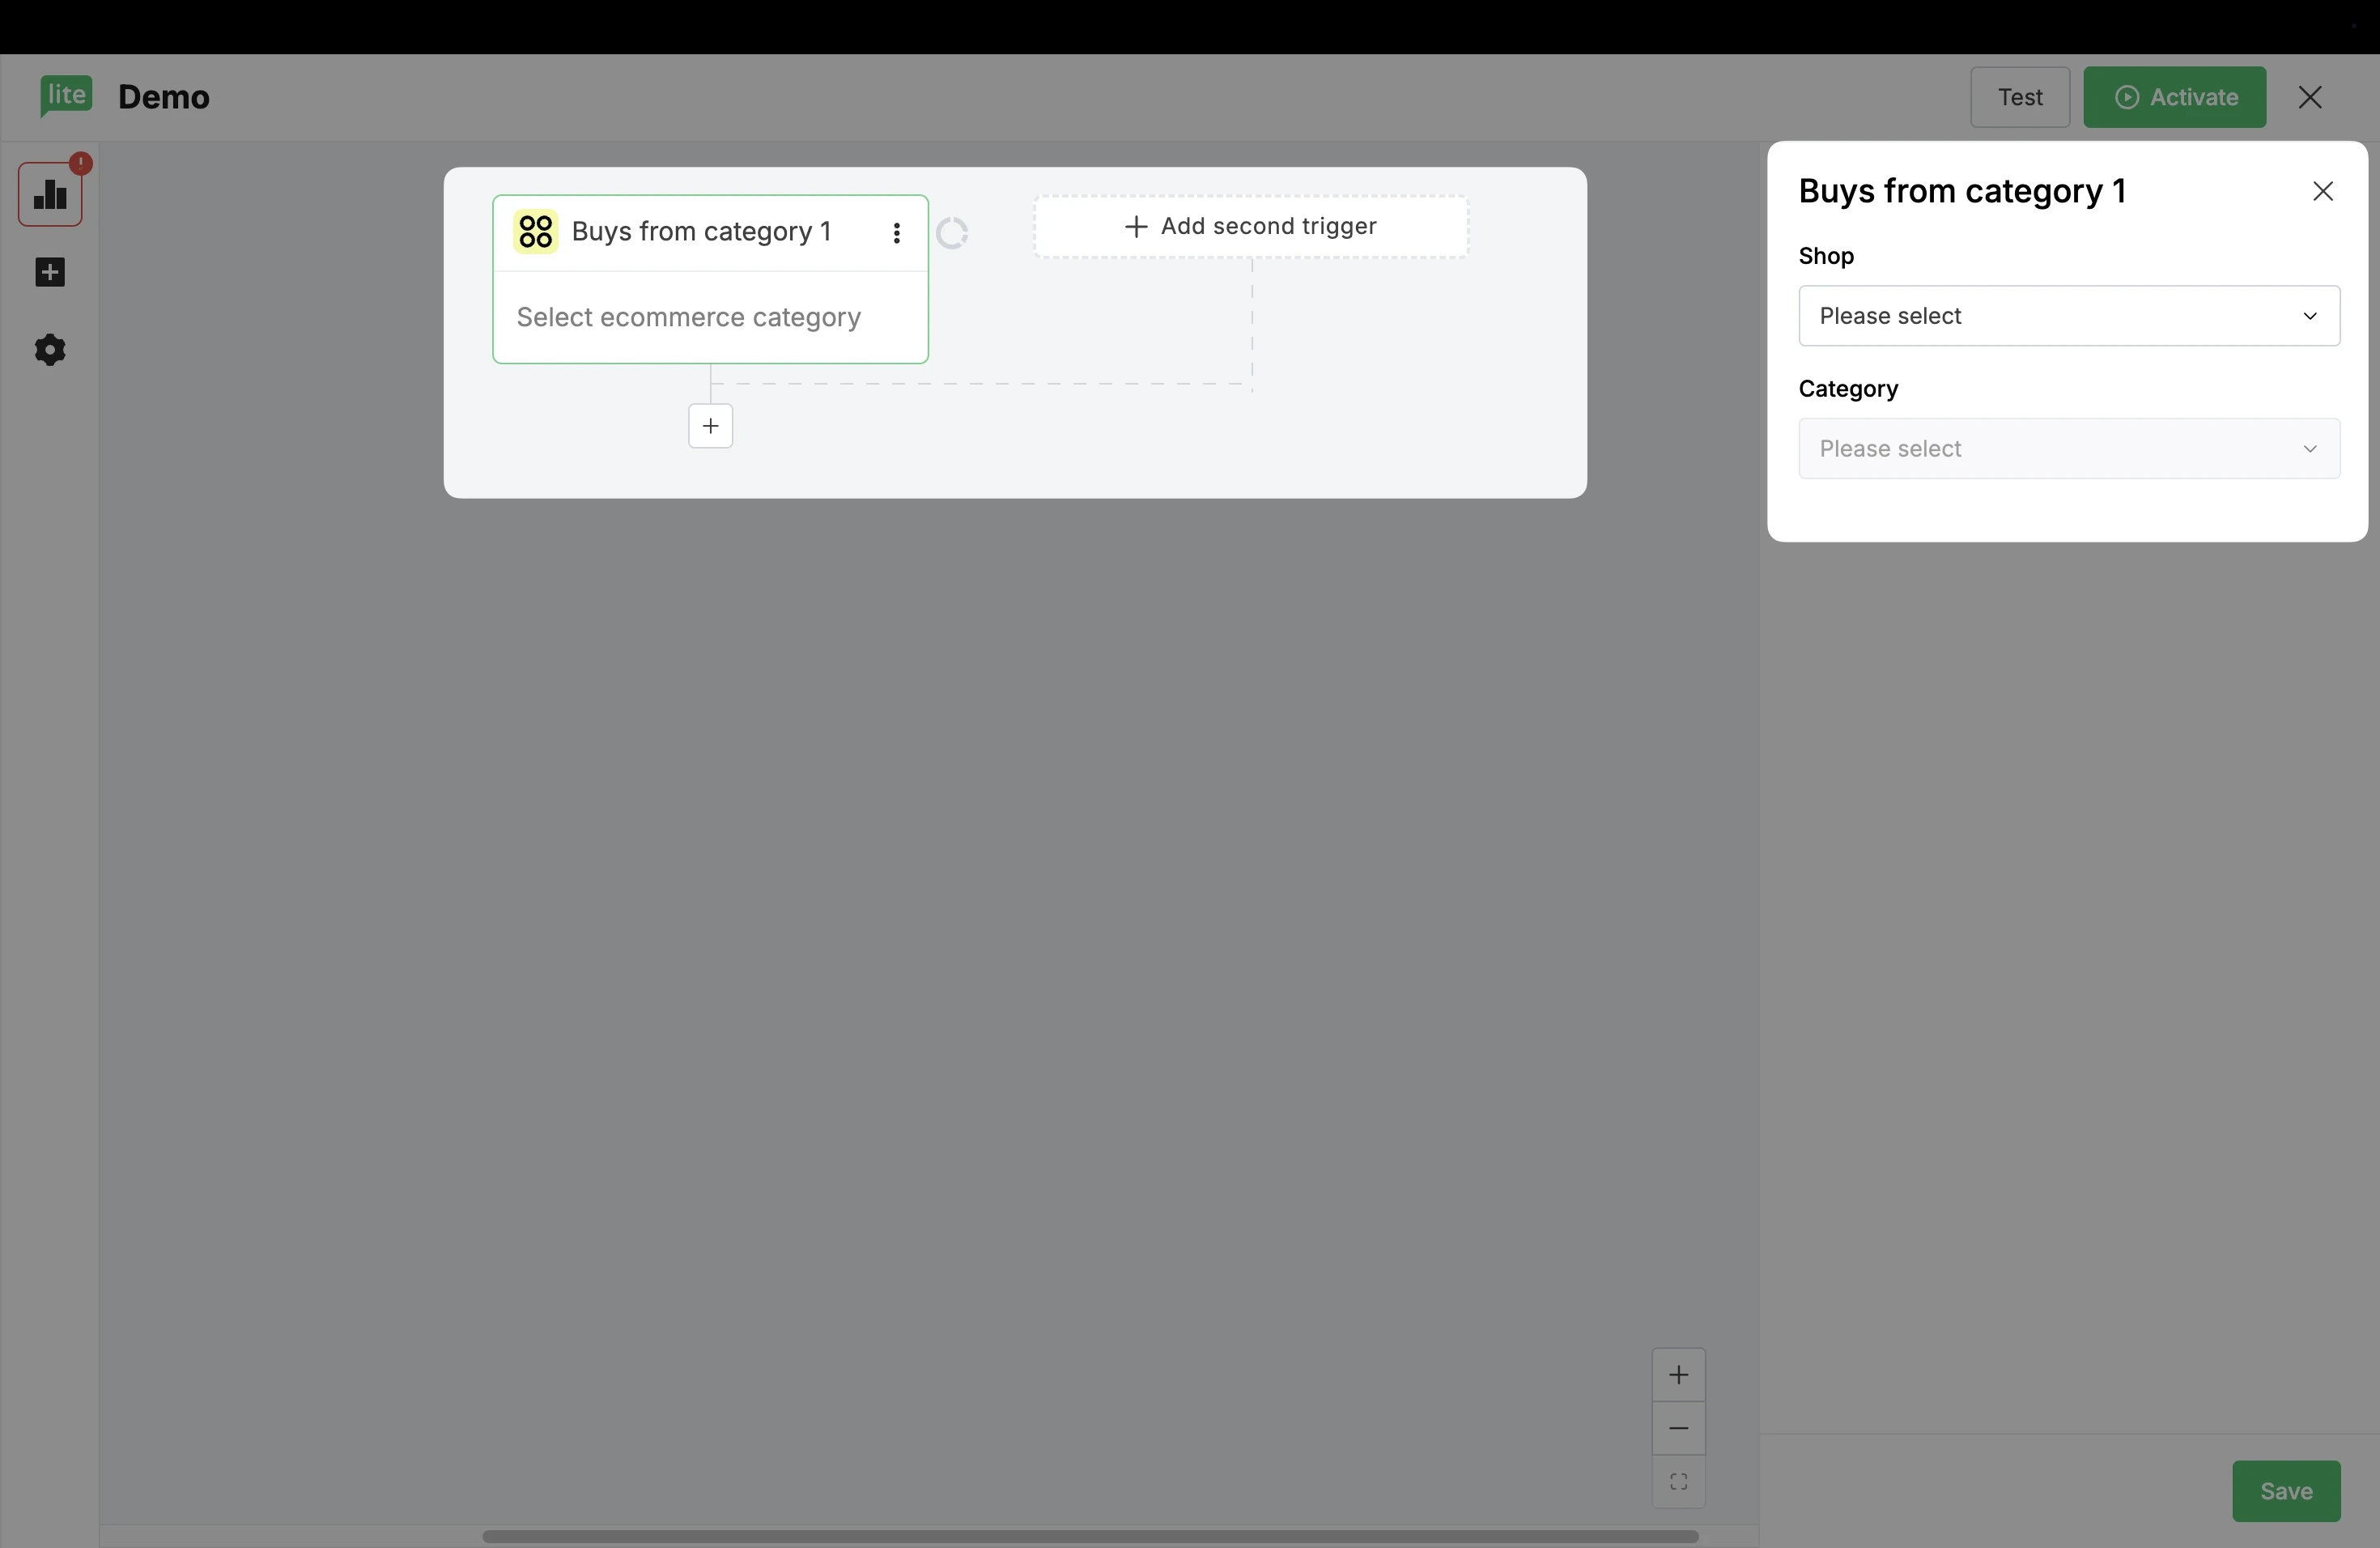
Buys from category
When you select the trigger Buys from category, the automation workflow will trigger when a subscriber purchases any product from a category that you specify.
To set up this trigger:
In the sidebar in the Triggers tab, scroll down to the E-commerce automation triggers.
Select the trigger Buys from category.
Select your Store.
Select the category you want to use as your workflow trigger.
Click Save to apply your trigger settings.
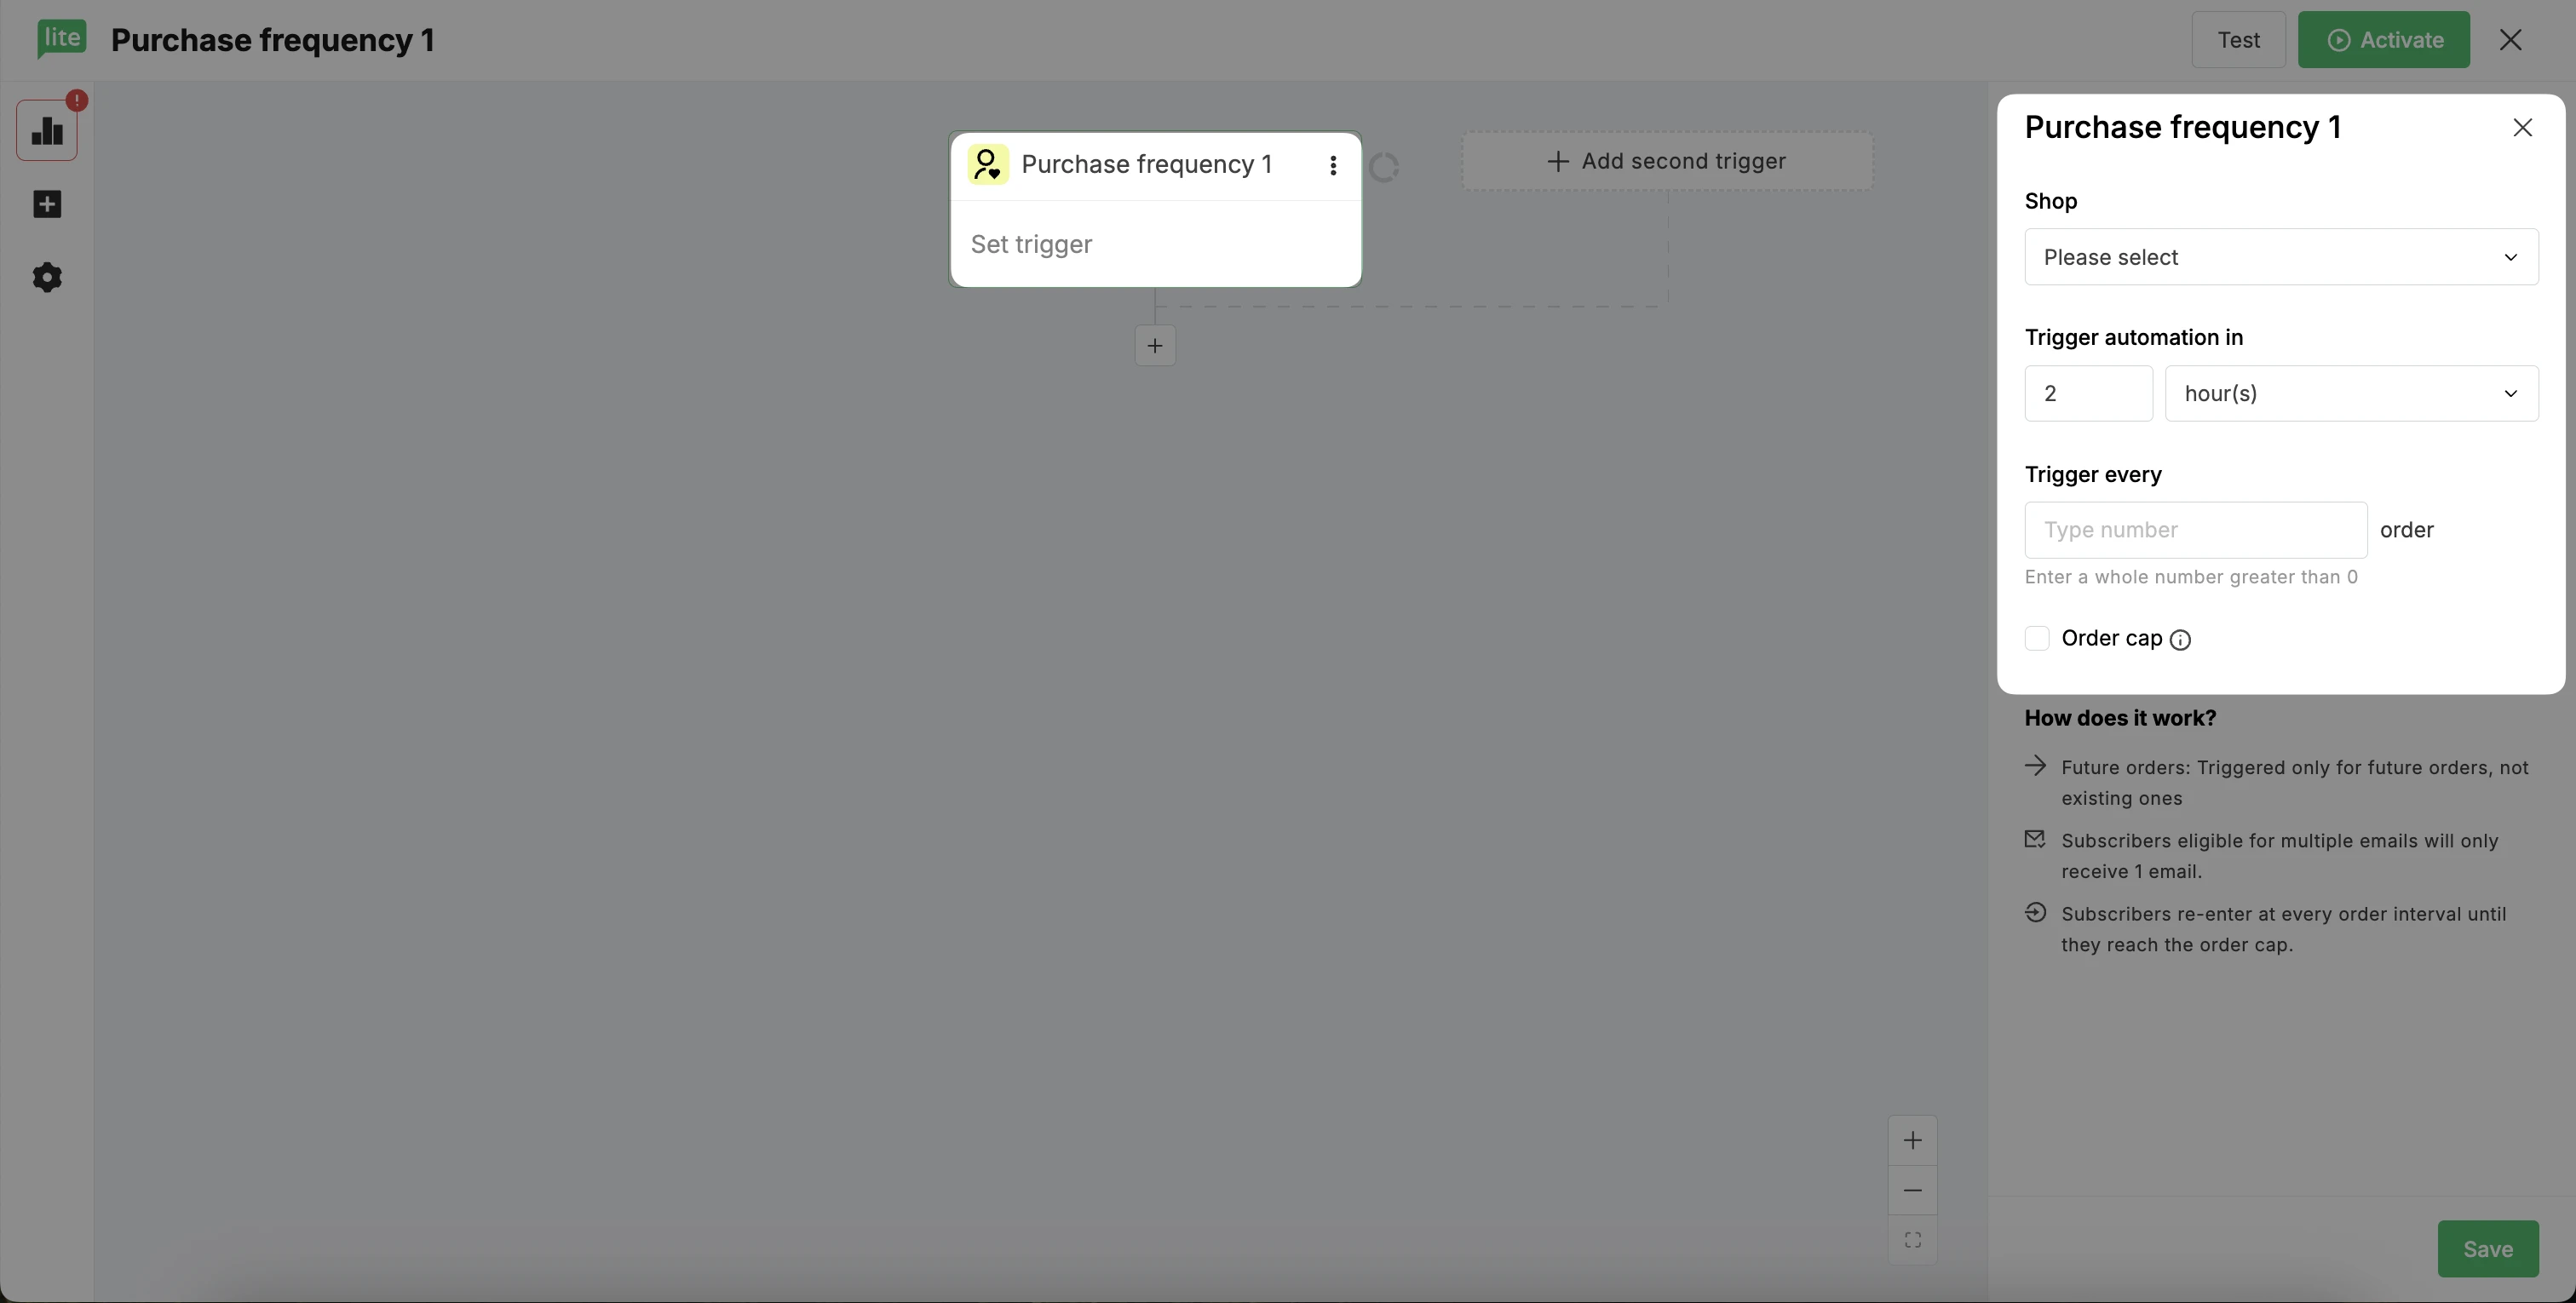
Purchase frequency
When you select the trigger Purchase frequency, the automation workflow will trigger every time a customer hits a specific milestone number of orders. For example, you can set it to fire on their 3rd, 6th, and 9th orders.
To set up your purchase frequency trigger:
In the sidebar in the Triggers tab, scroll down to the E-commerce automation triggers.
Select the trigger Purchase frequency.
Select your Store.
In the sidebar, select the number of hours (or days/weeks/months) after the purchase milestone when you’d like your automation to trigger.
Specify the trigger frequency. For example, every 3rd, 5th, or 10th order.
If you wish to add a trigger stopping point, enable Order cap, select Stop triggering when customer reaches and specify the number of orders.
Click Save to apply your trigger settings.
You can complete your automation setup following these instructions: How to create a purchase frequency email automation
Note: If you want to include specific people or groups in an automation without relying on triggers, you can also add subscribers manually.