Note: If you're a Legacy (Classic) user, please log in to your account to access the dedicated Legacy (Classic) Help Center.
The Simple editor is a clean, keyboard-friendly builder designed for focused writing. With everything you need to create an engaging email and fewer advanced elements compared to the Drag & drop editor, you can move from idea to finished email in minutes.
Getting started
To create a campaign using the Simple editor:
Start in the Campaigns tab.
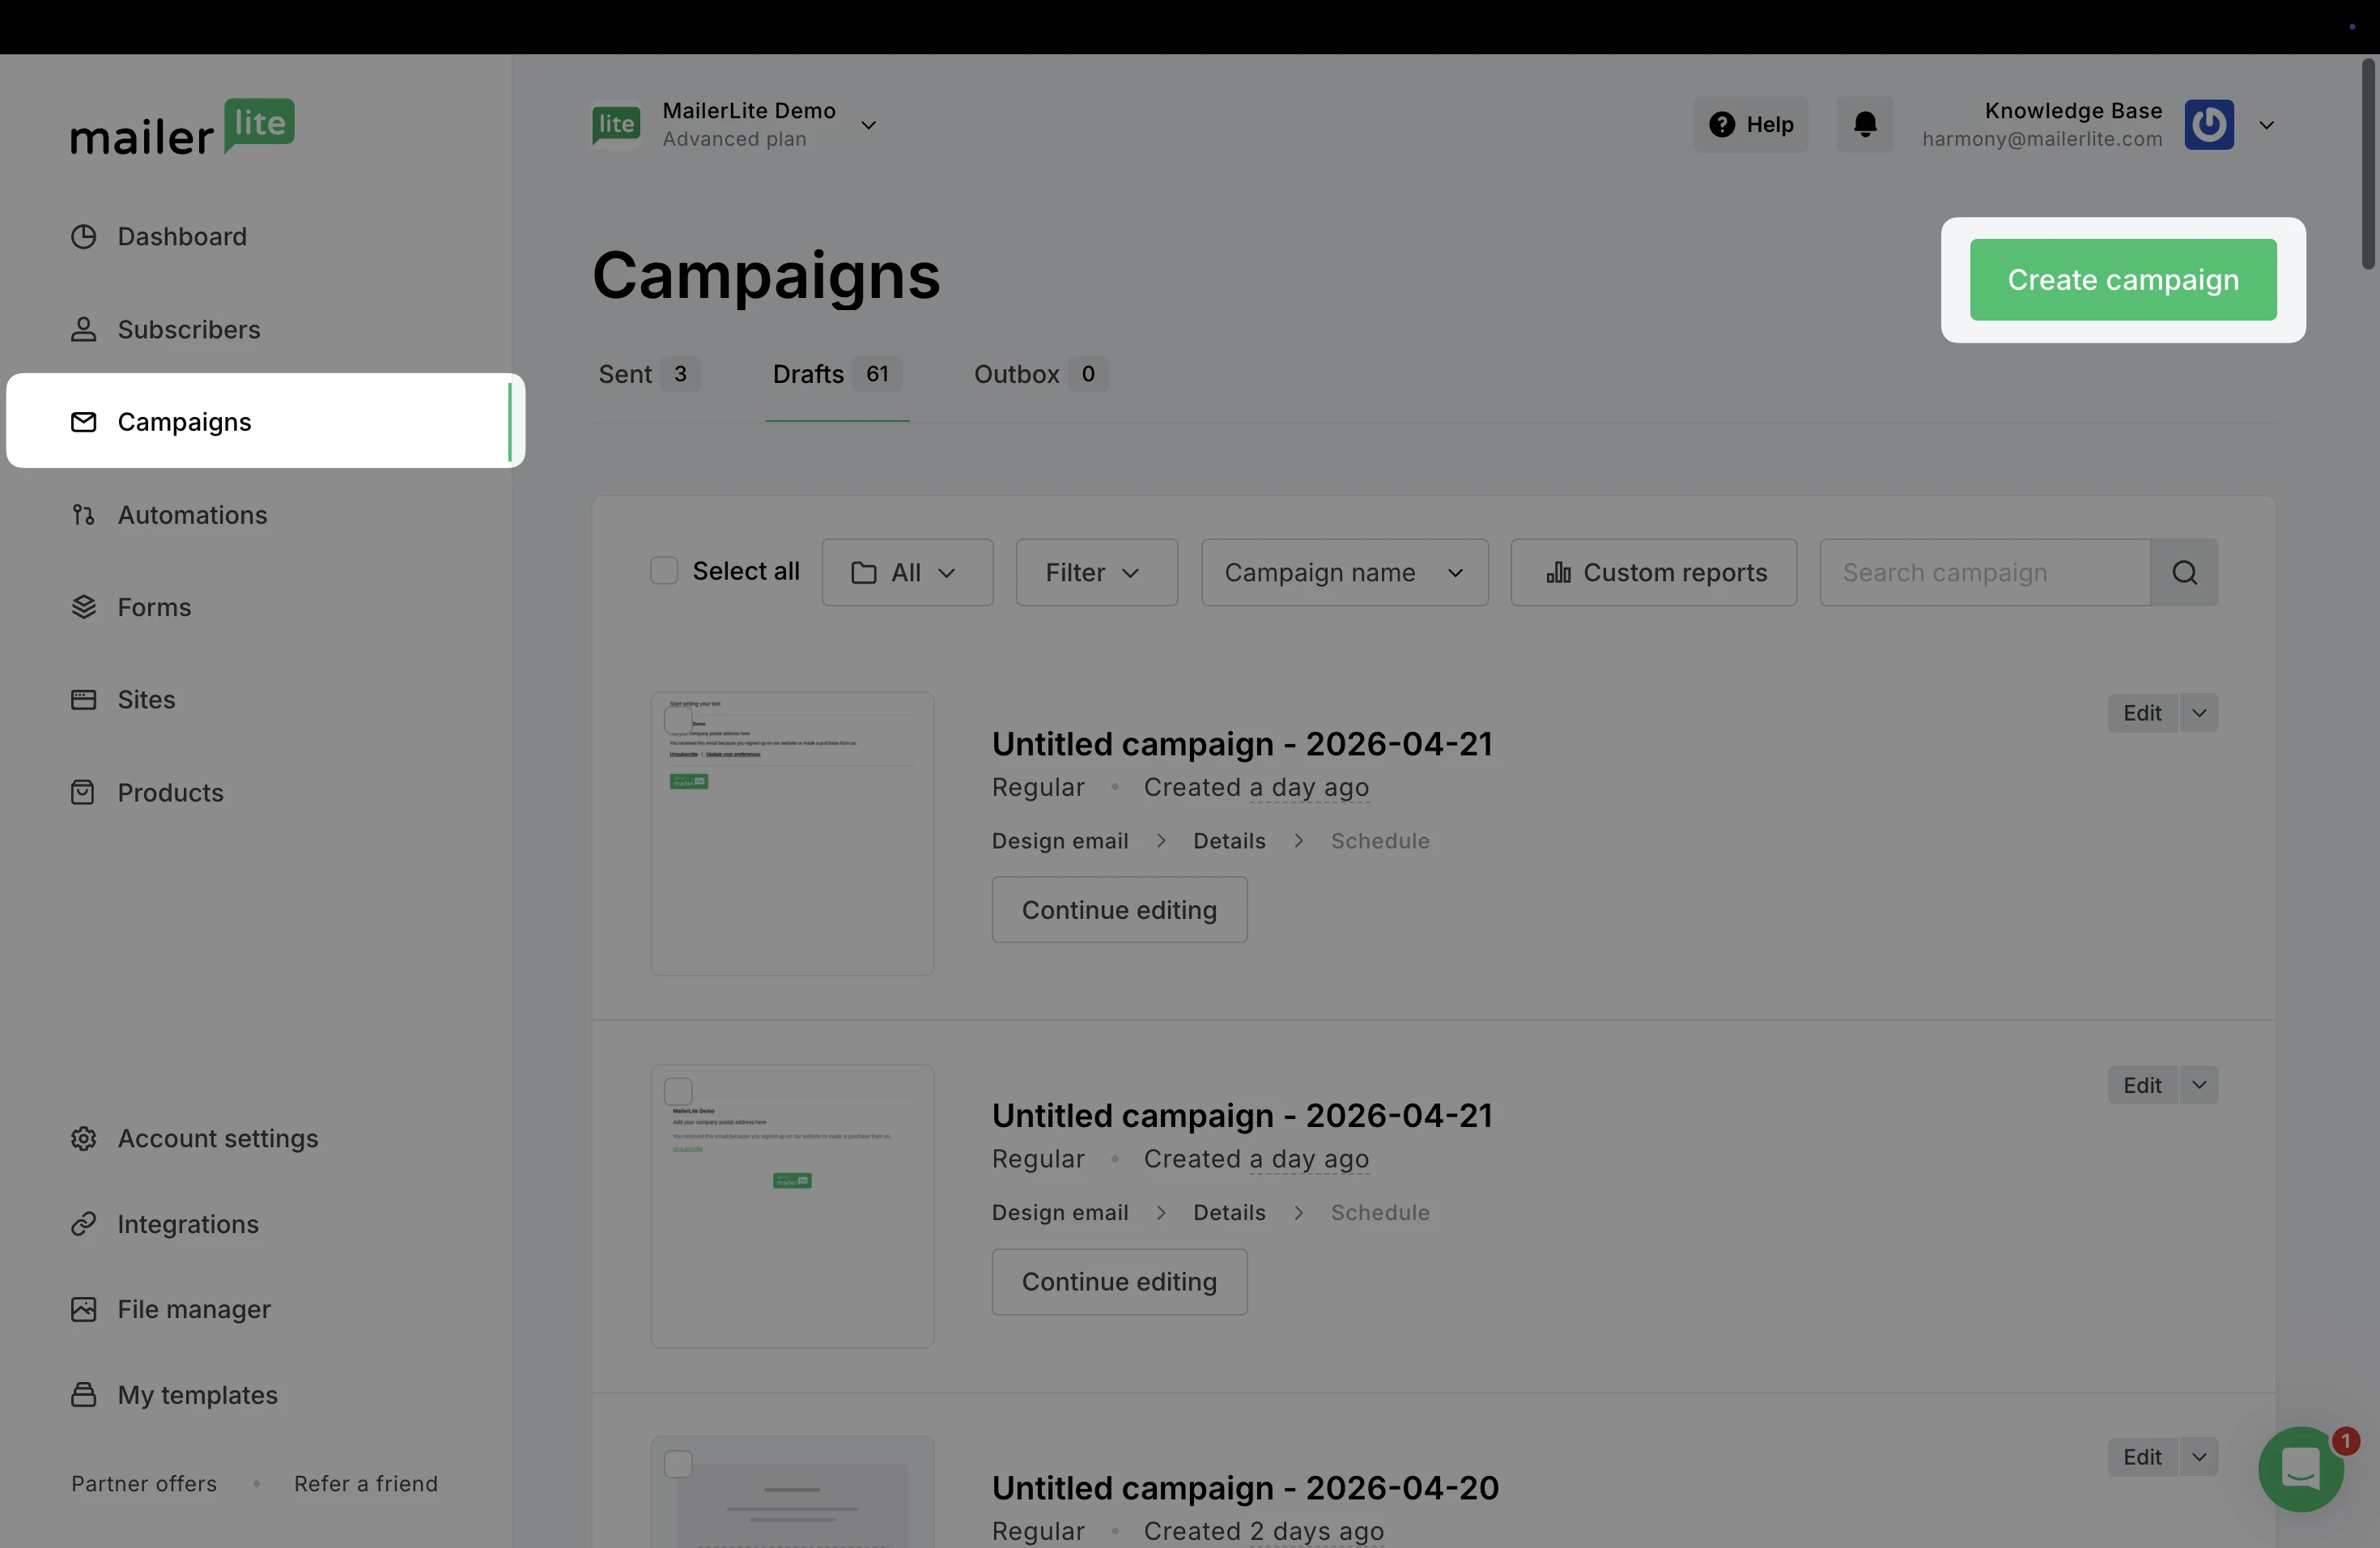
Click Create campaign.
3. Choose to Start from scratch.
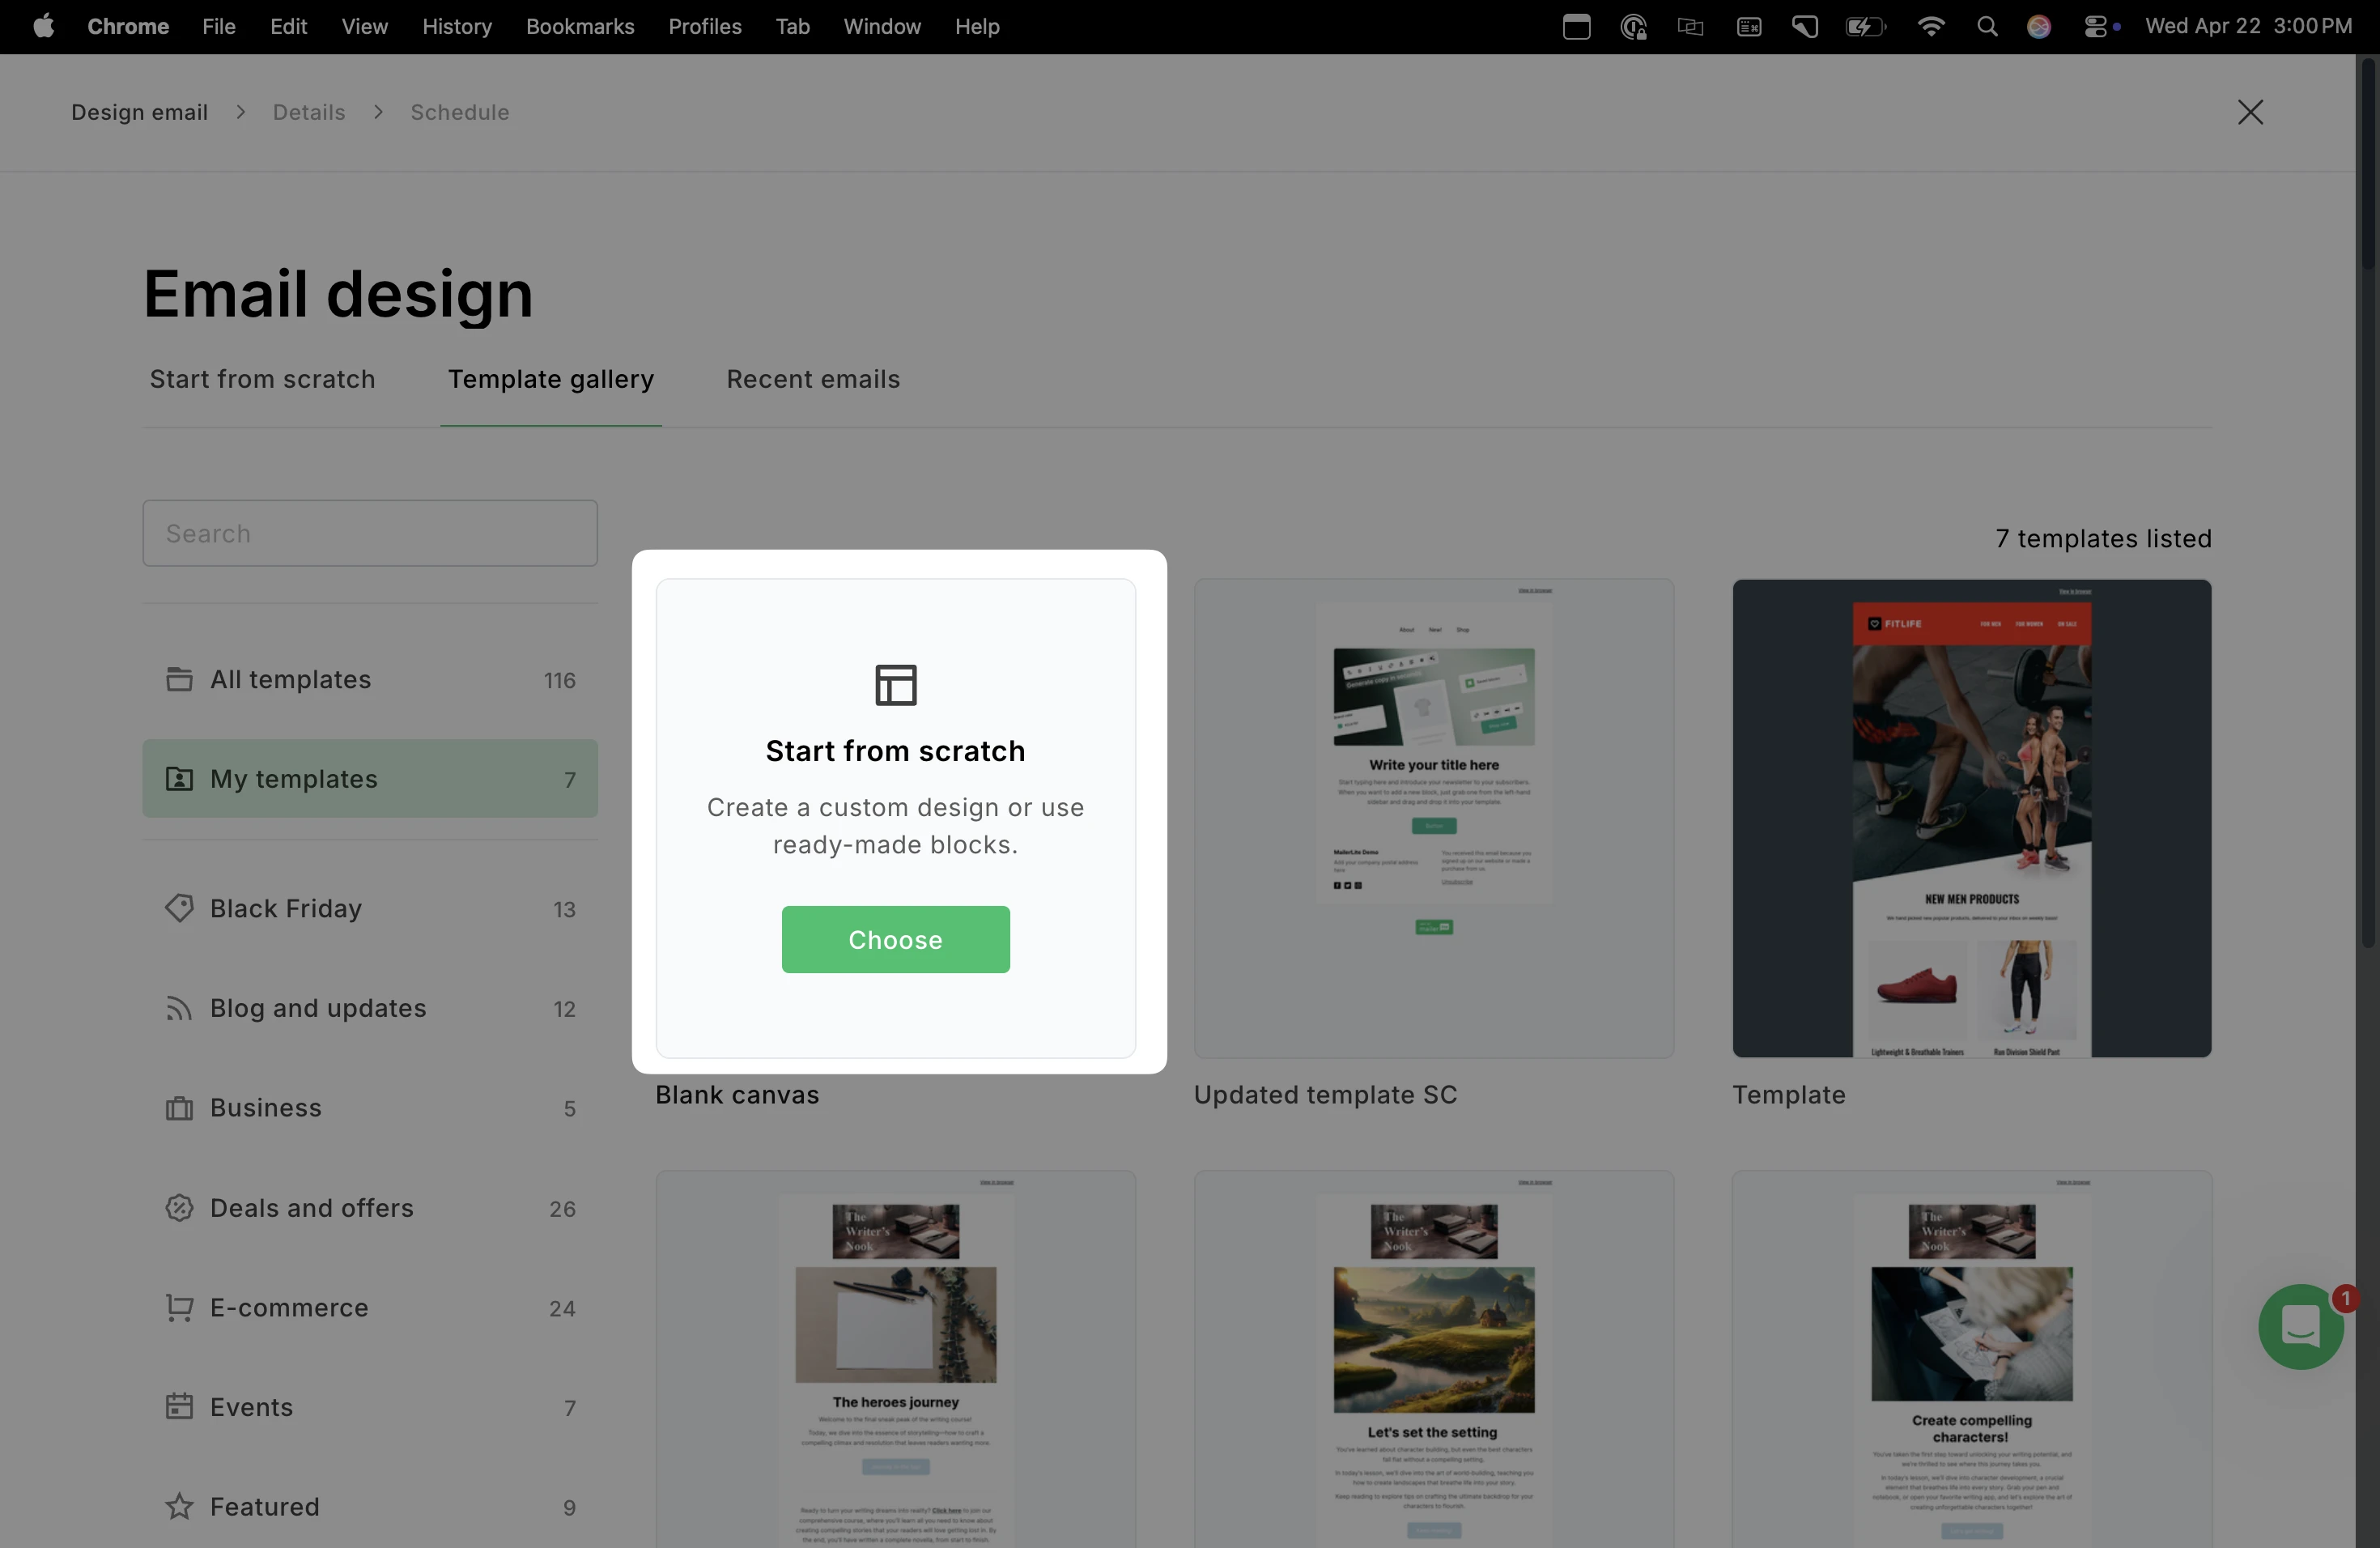
4. Select your chosen campaign type.
5. Choose the Simple editor.
6. Start creating your newsletter by typing directly into the editor. To add elements such as images, dividers, headers, and more - use the + symbol to the left of the text area, or use the / keyboard command.
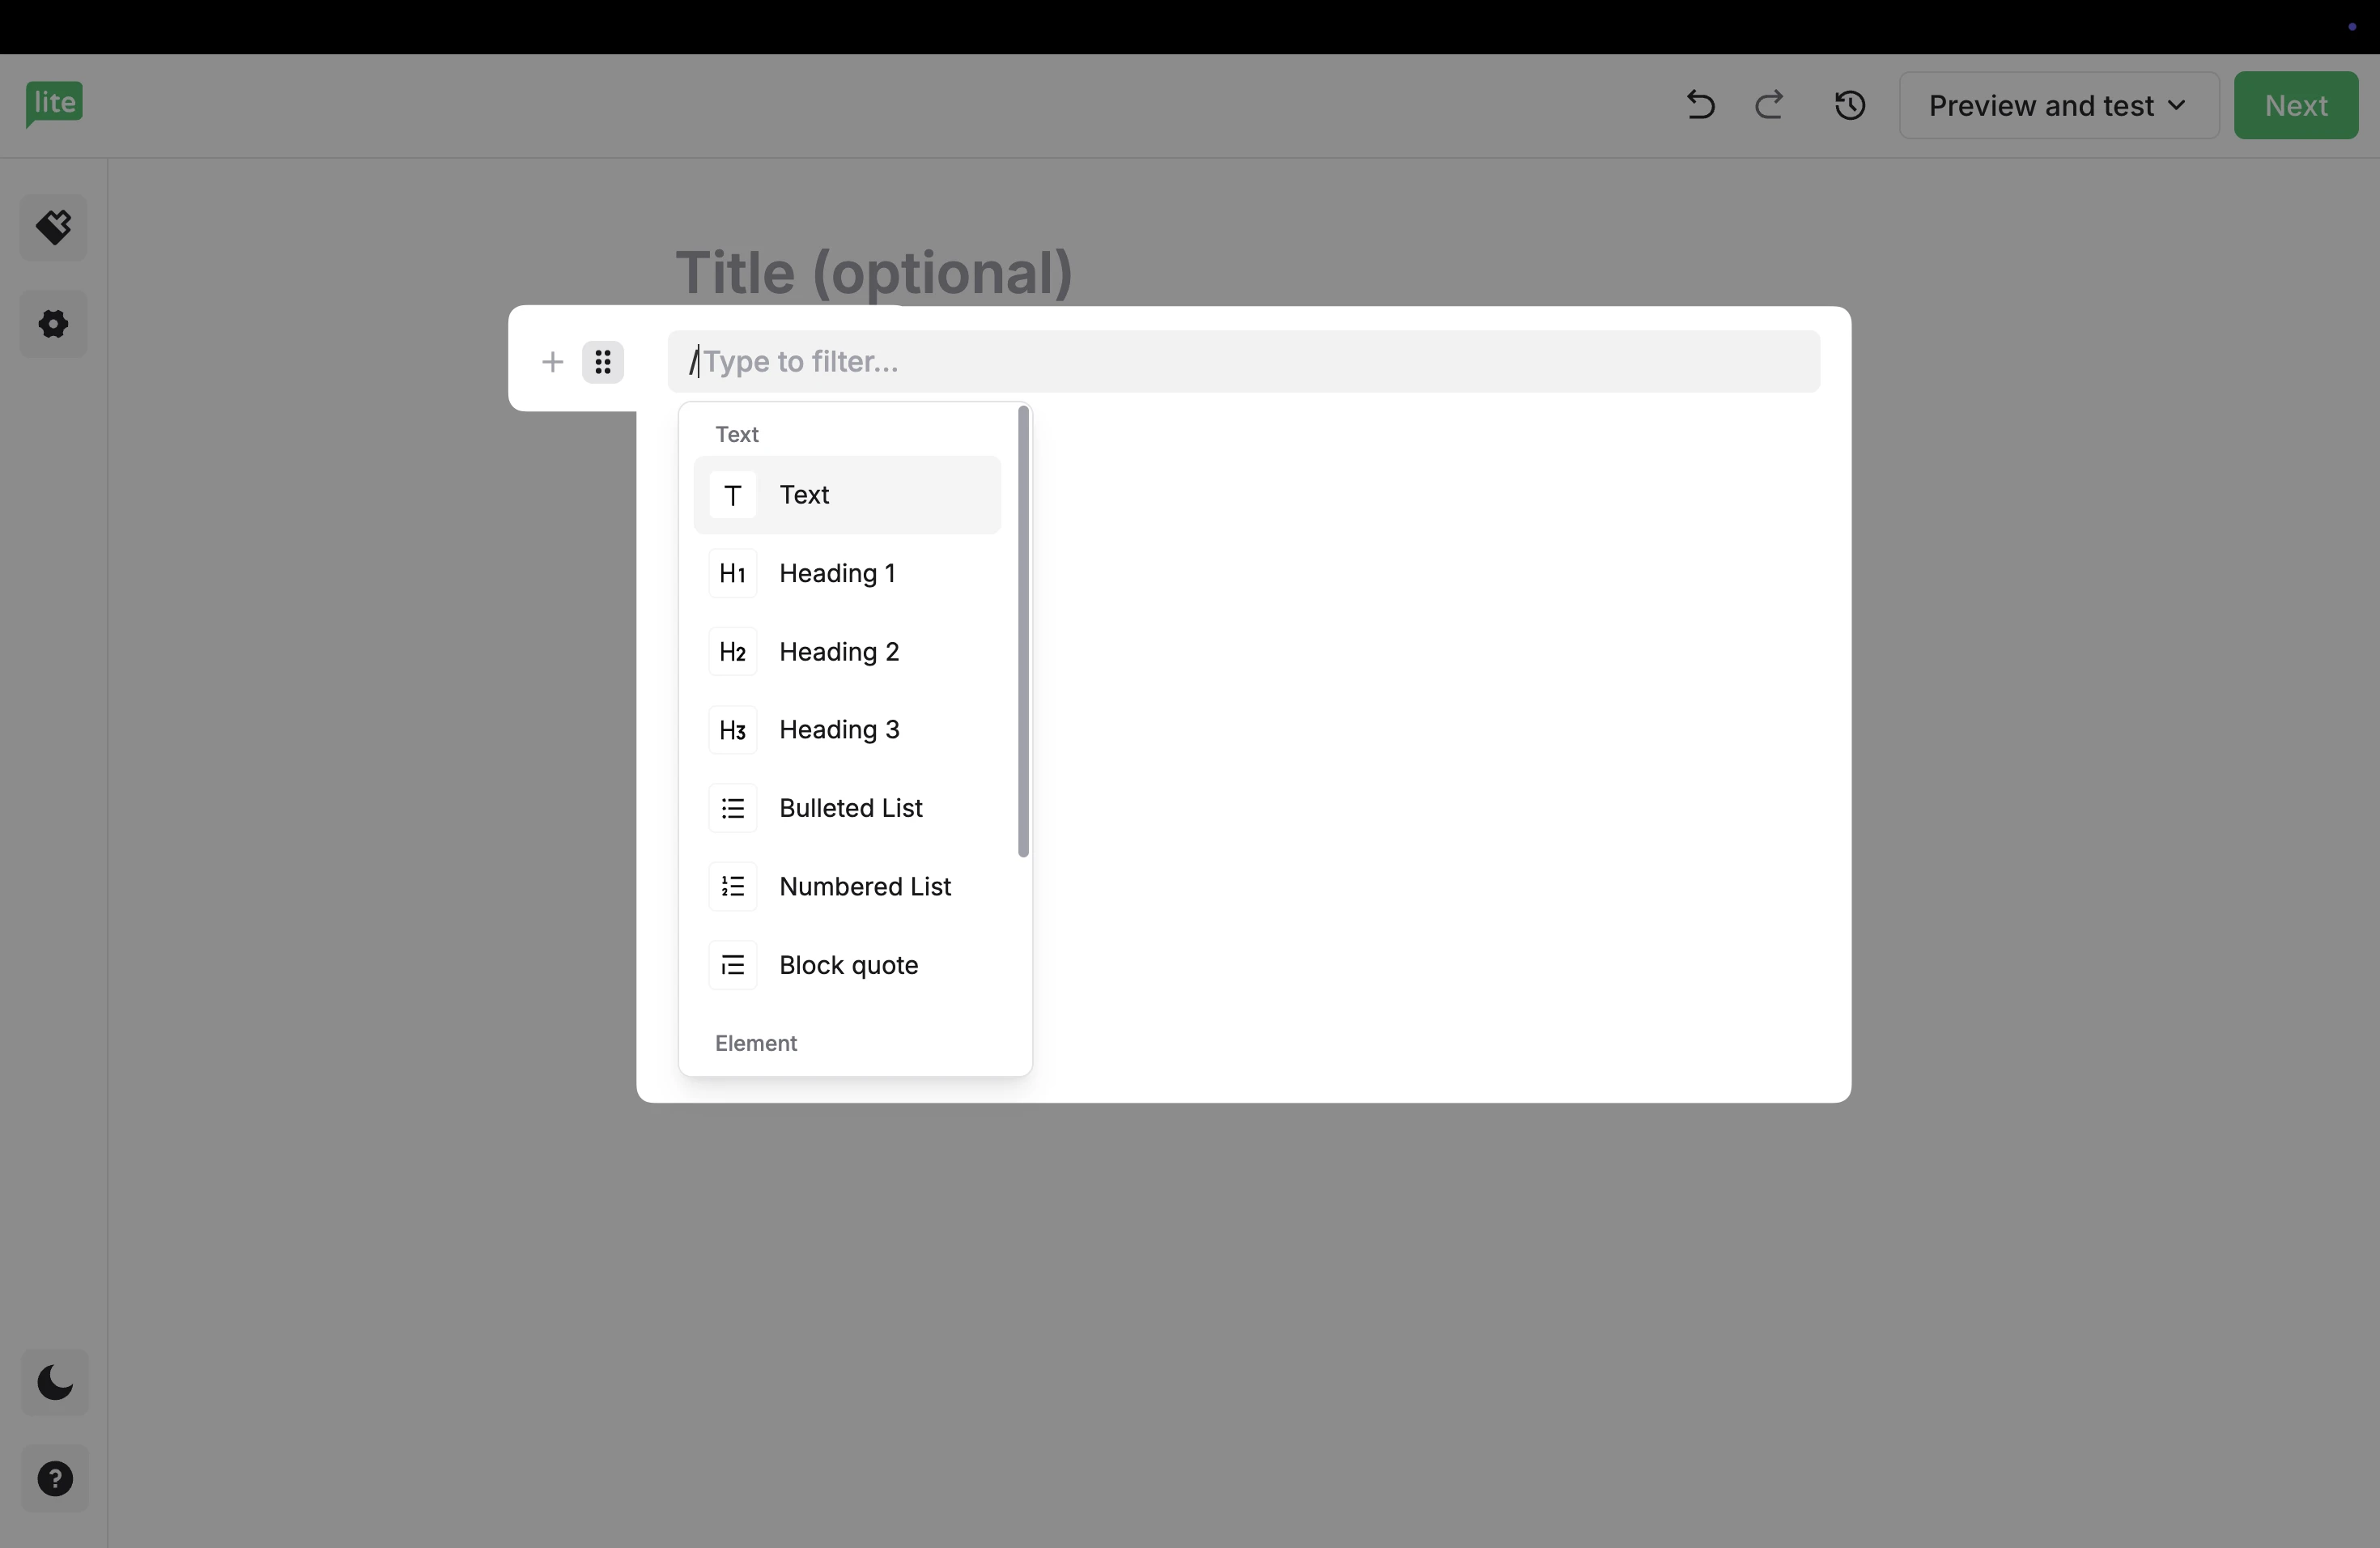
Elements include:
Divider - Place a horizontal line to separate elements.
Variable - Personalize your campaign by including subscriber-specific information, such as the subscriber name.
Image - Add visual elements to your design.
Button - Include CTA buttons to direct your subscribers to specific links or files.
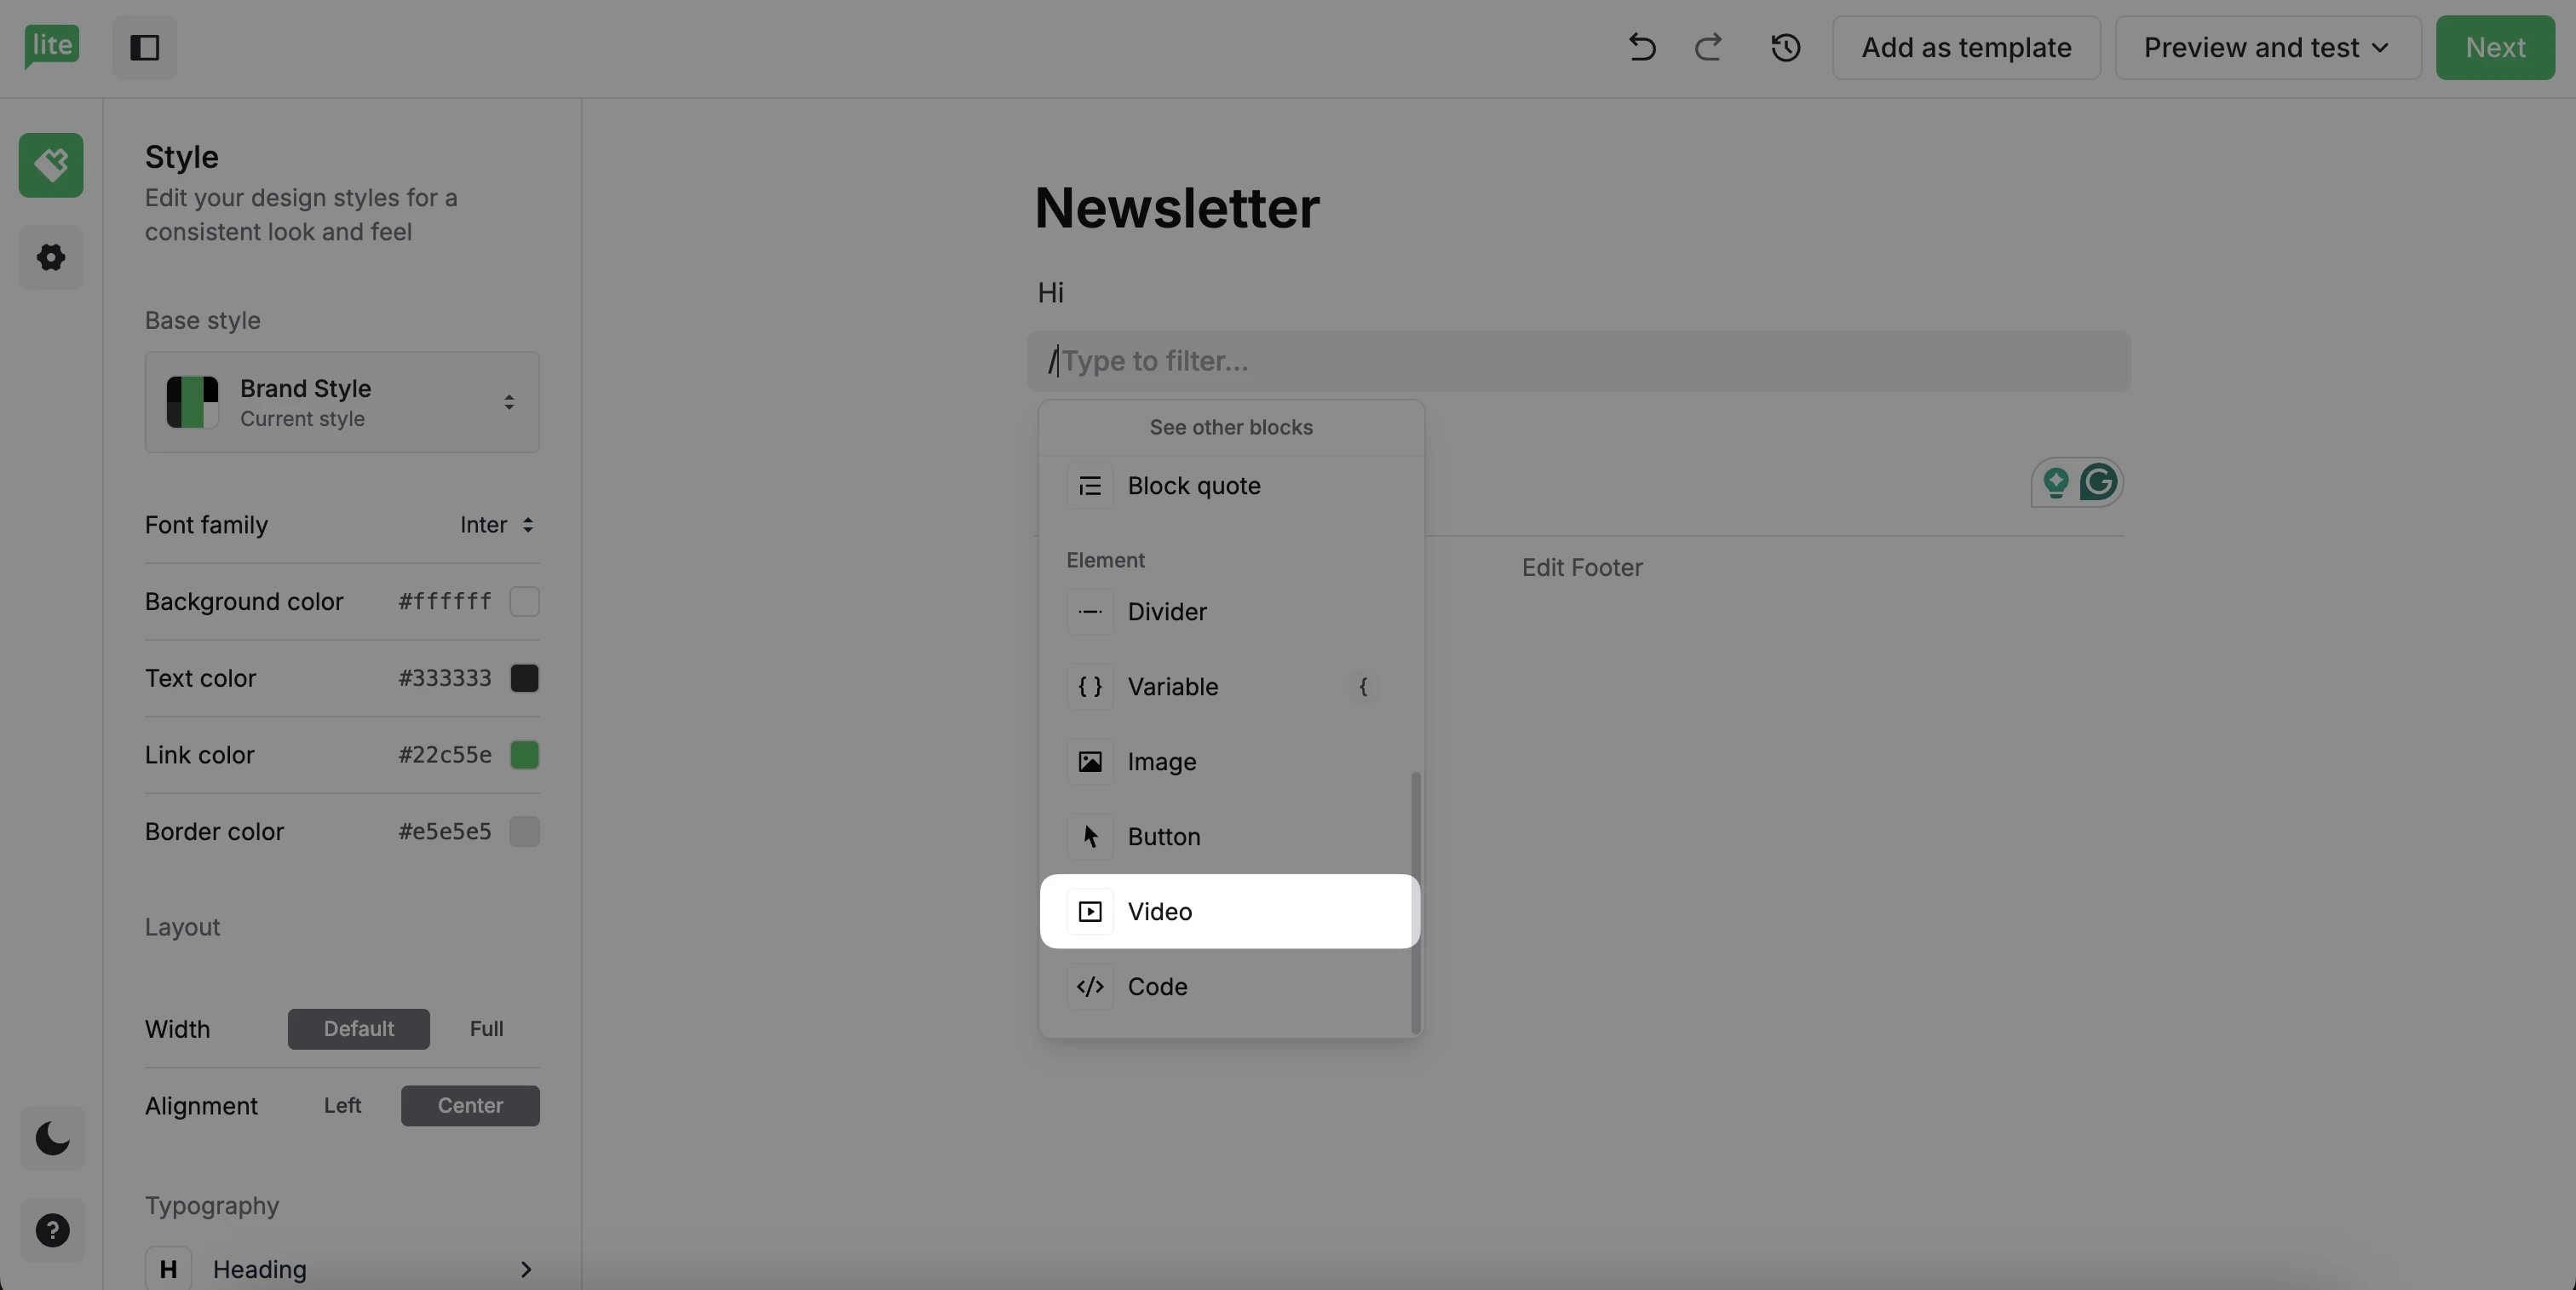
Video - Make your newsletter more dynamic by embedding a video.
Code - Add HTML code to include custom elements.
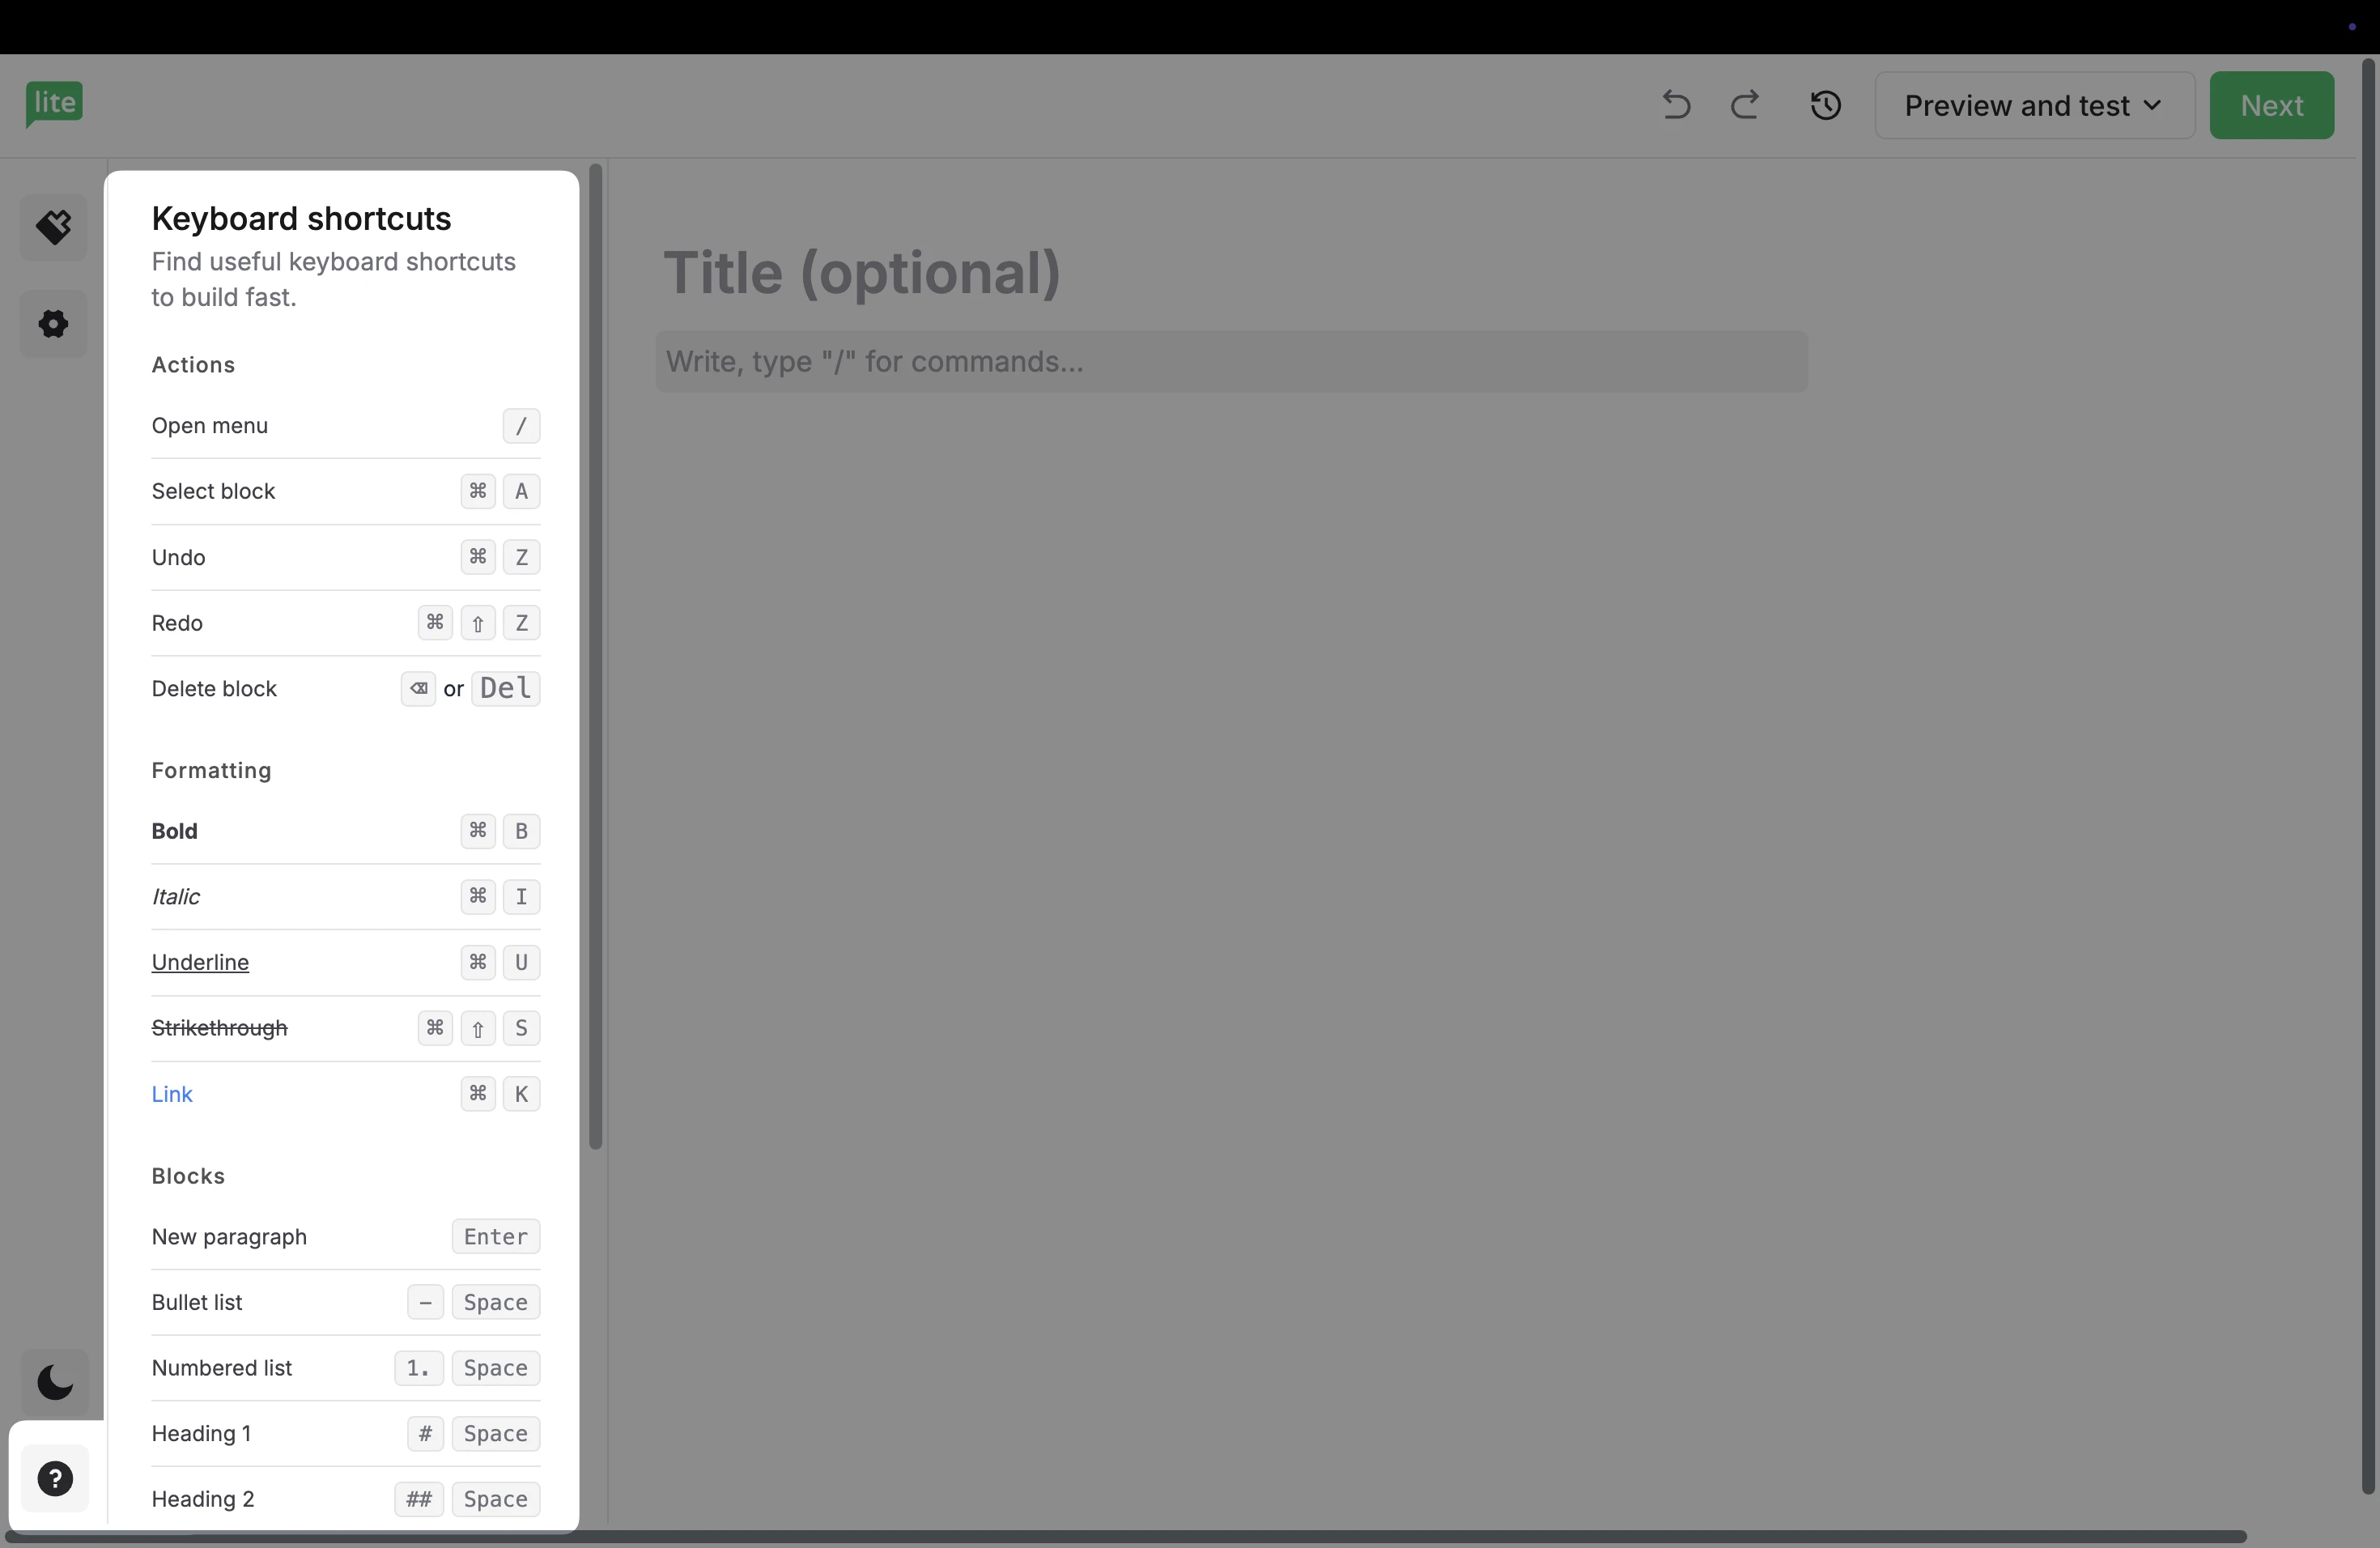
Keyboard shortcuts
Our Simple editor is designed to be easy to use with various keyboard shortcuts to add elements to your email.
In the bottom left corner, click the ? symbol and choose Keyboard shortcuts to see a list of the different commands.
Images
To add an image to your email:
Click the + symbol or use the / keyboard command to open additional elements.
Choose Image.
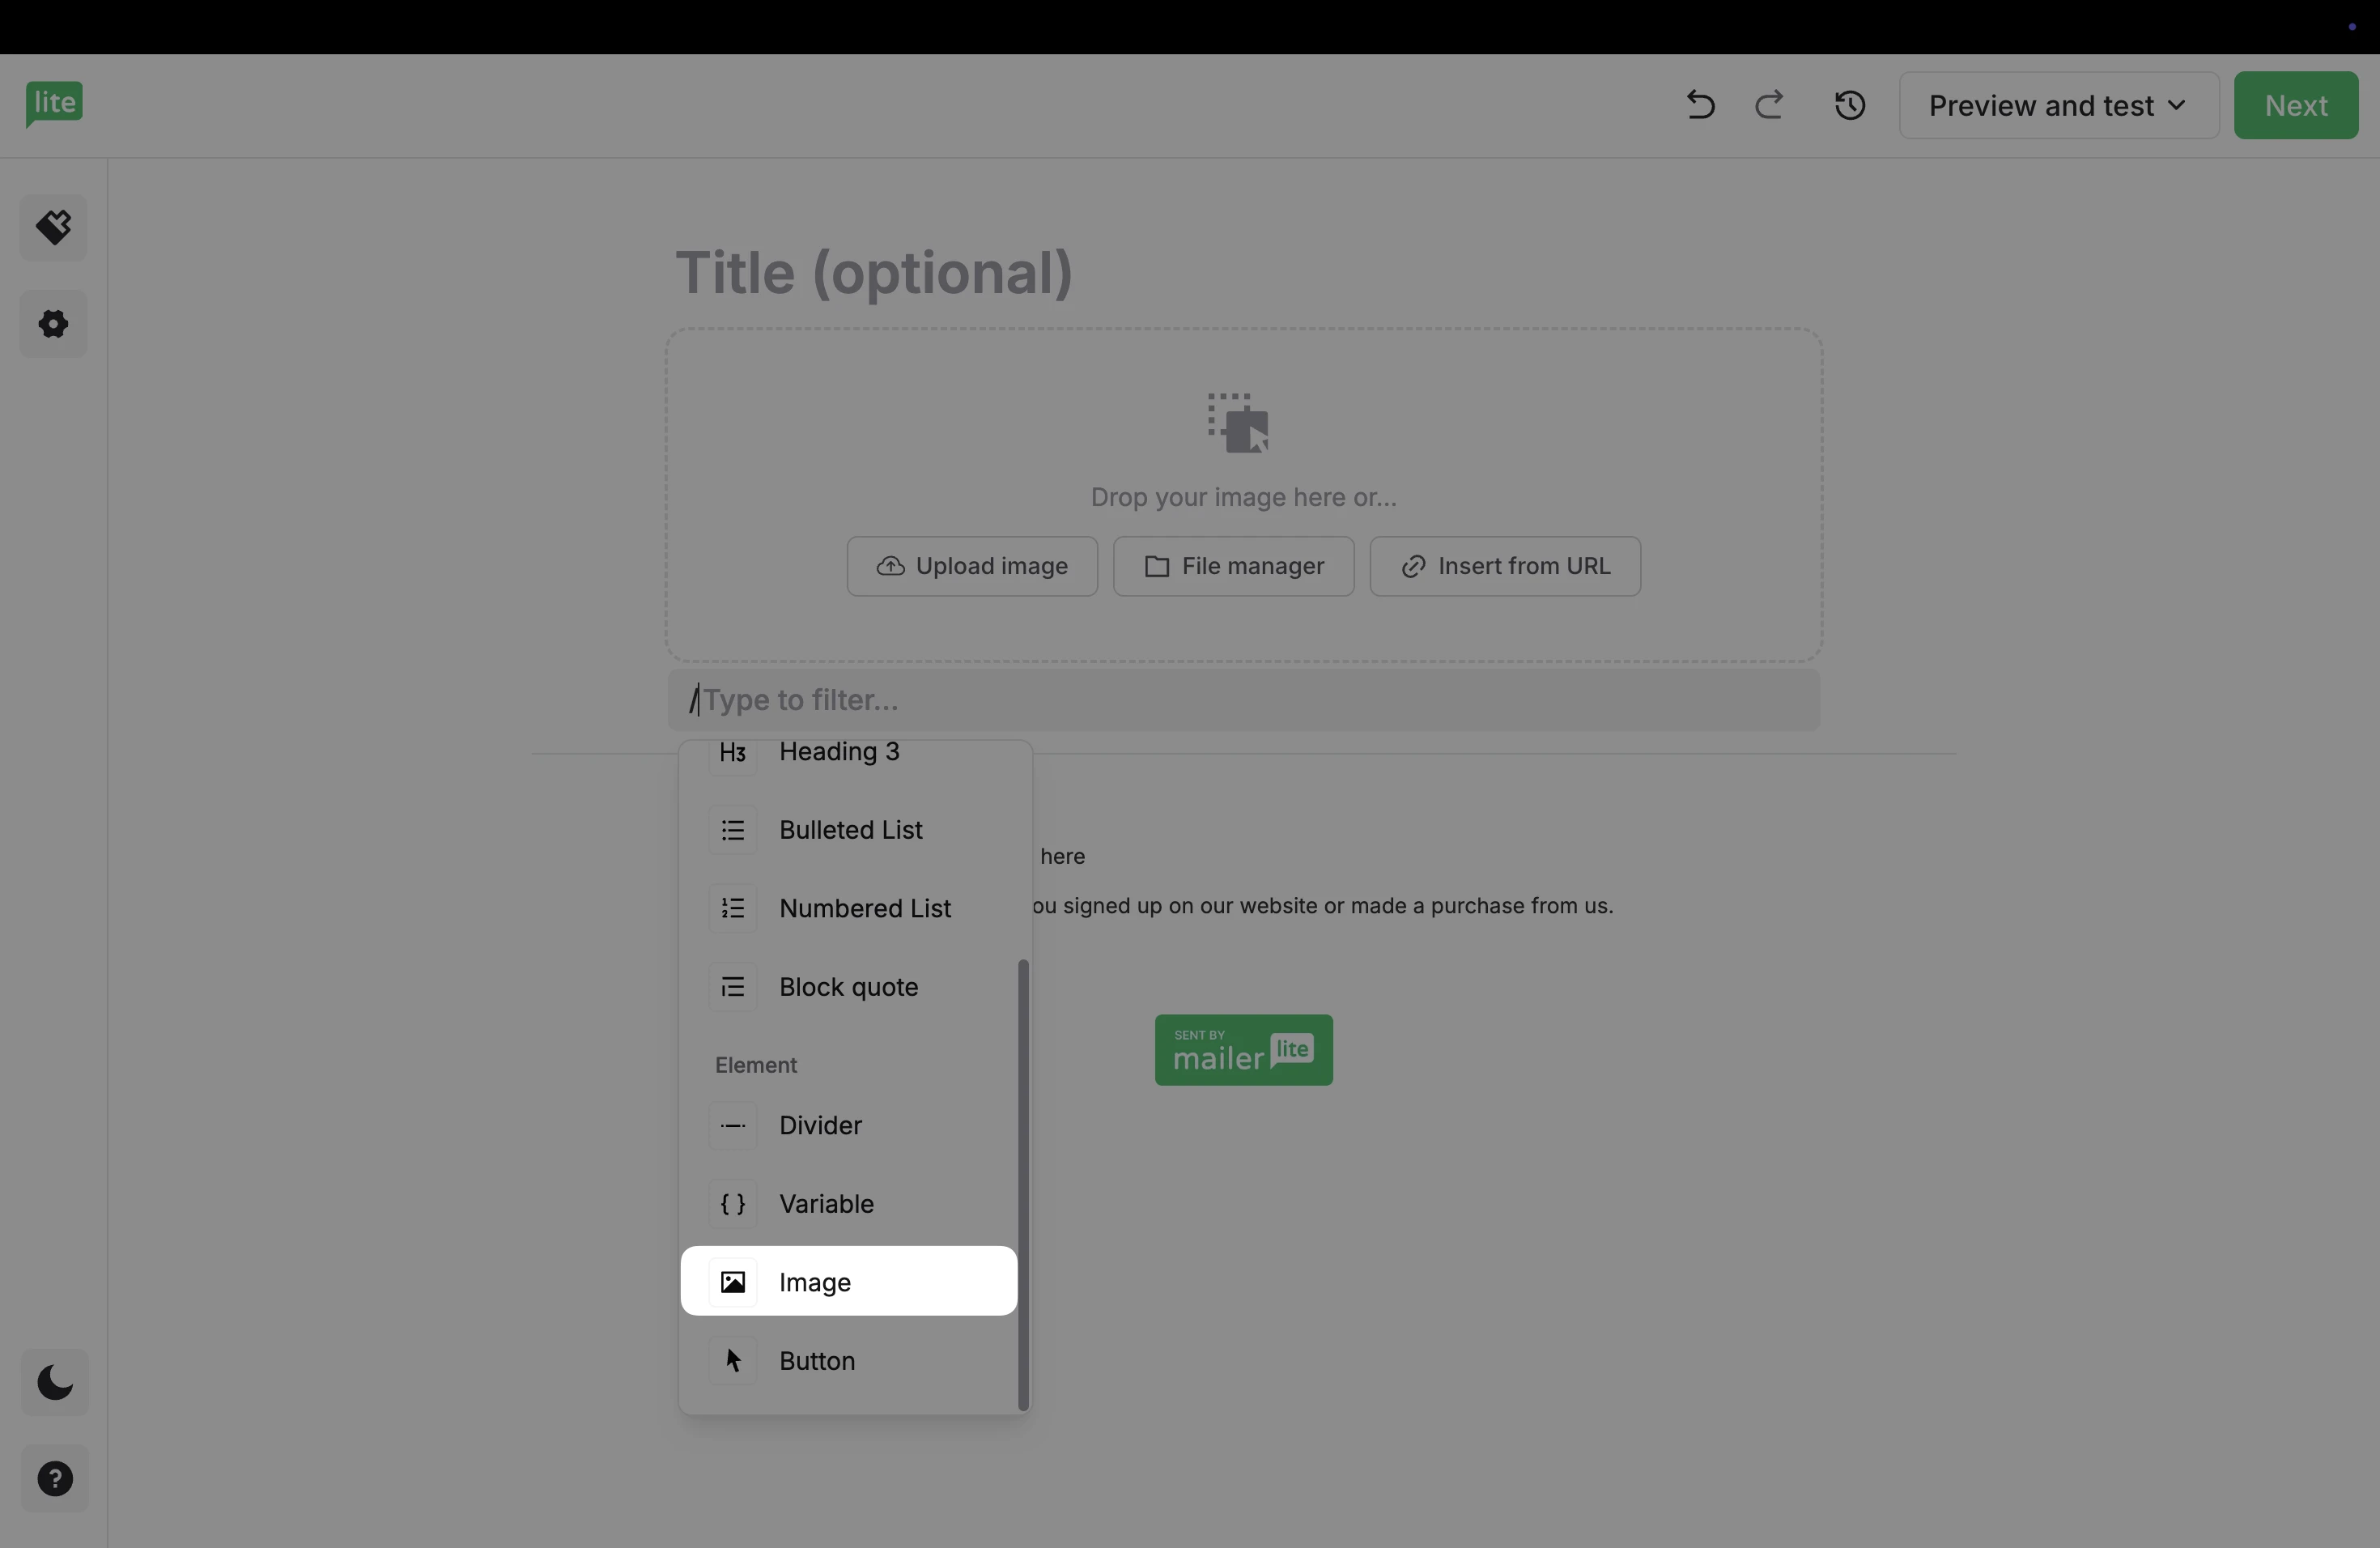
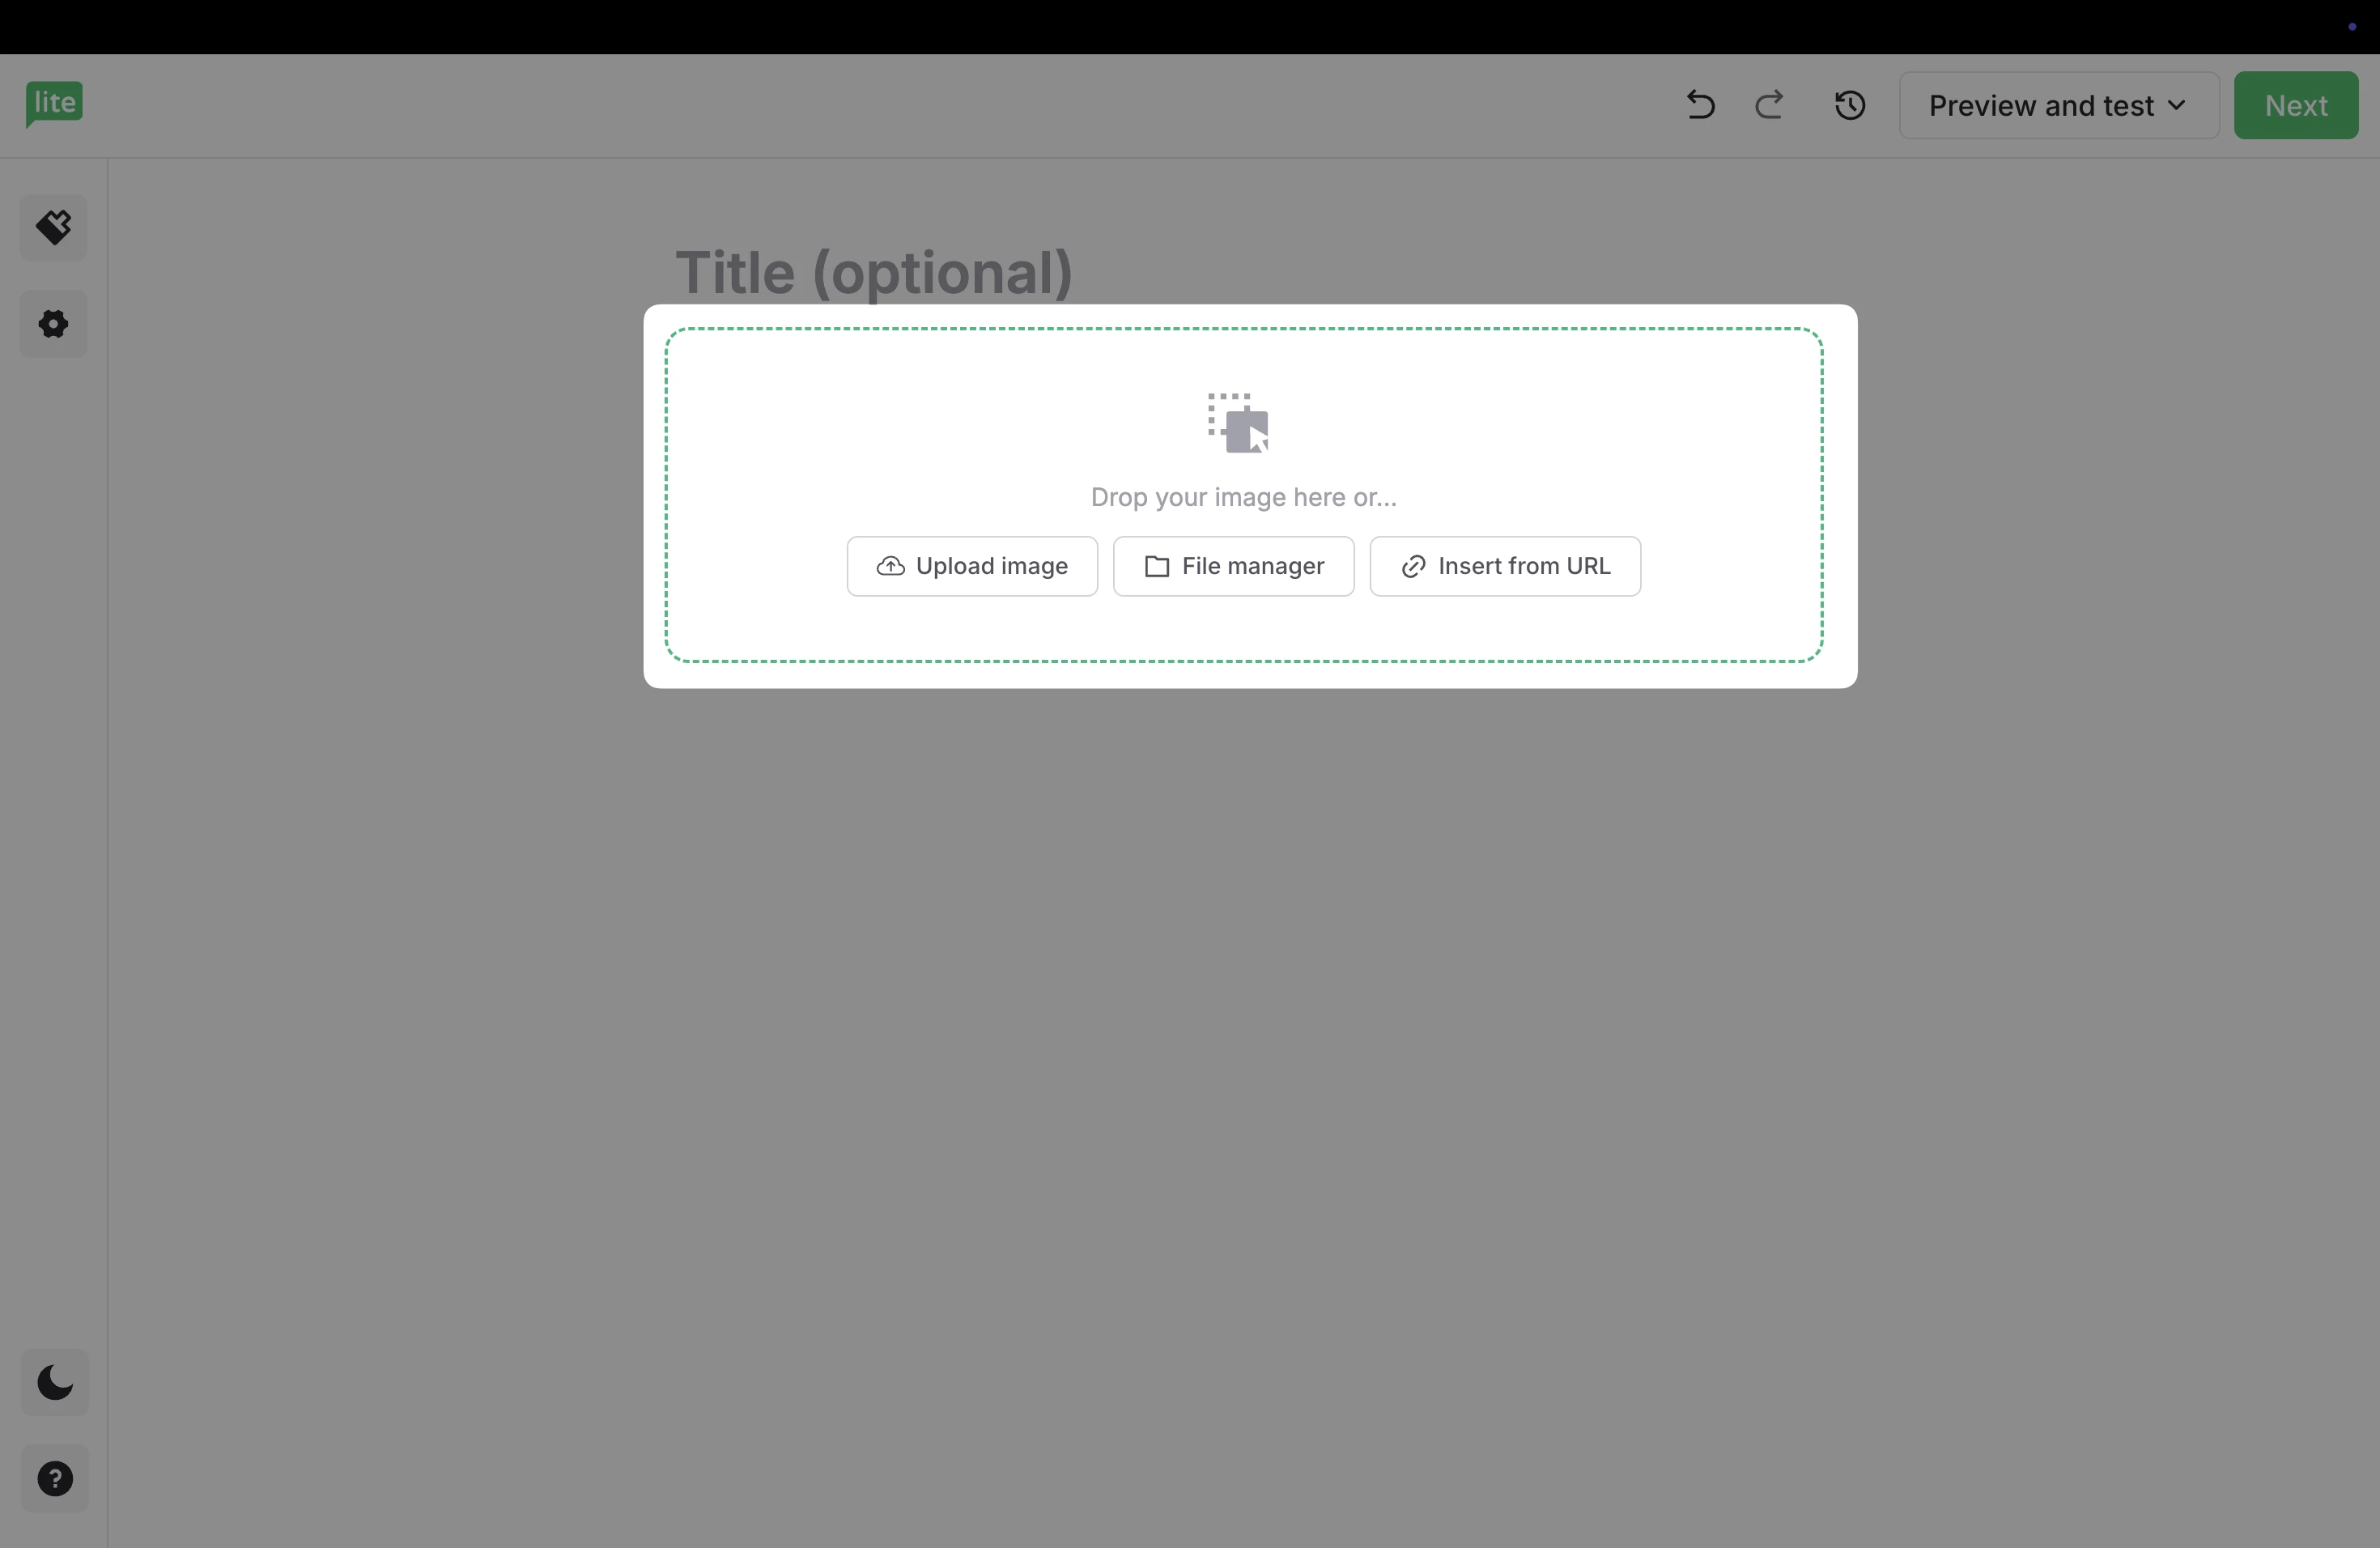
3. This will add a placeholder in your email, where you can choose how to import your image. Either upload directly from your device, import directly from the File manager, or from a URL.
Videos
To add a video to your email:
Click the + symbol or use the / keyboard command to open additional elements.
Choose Video.
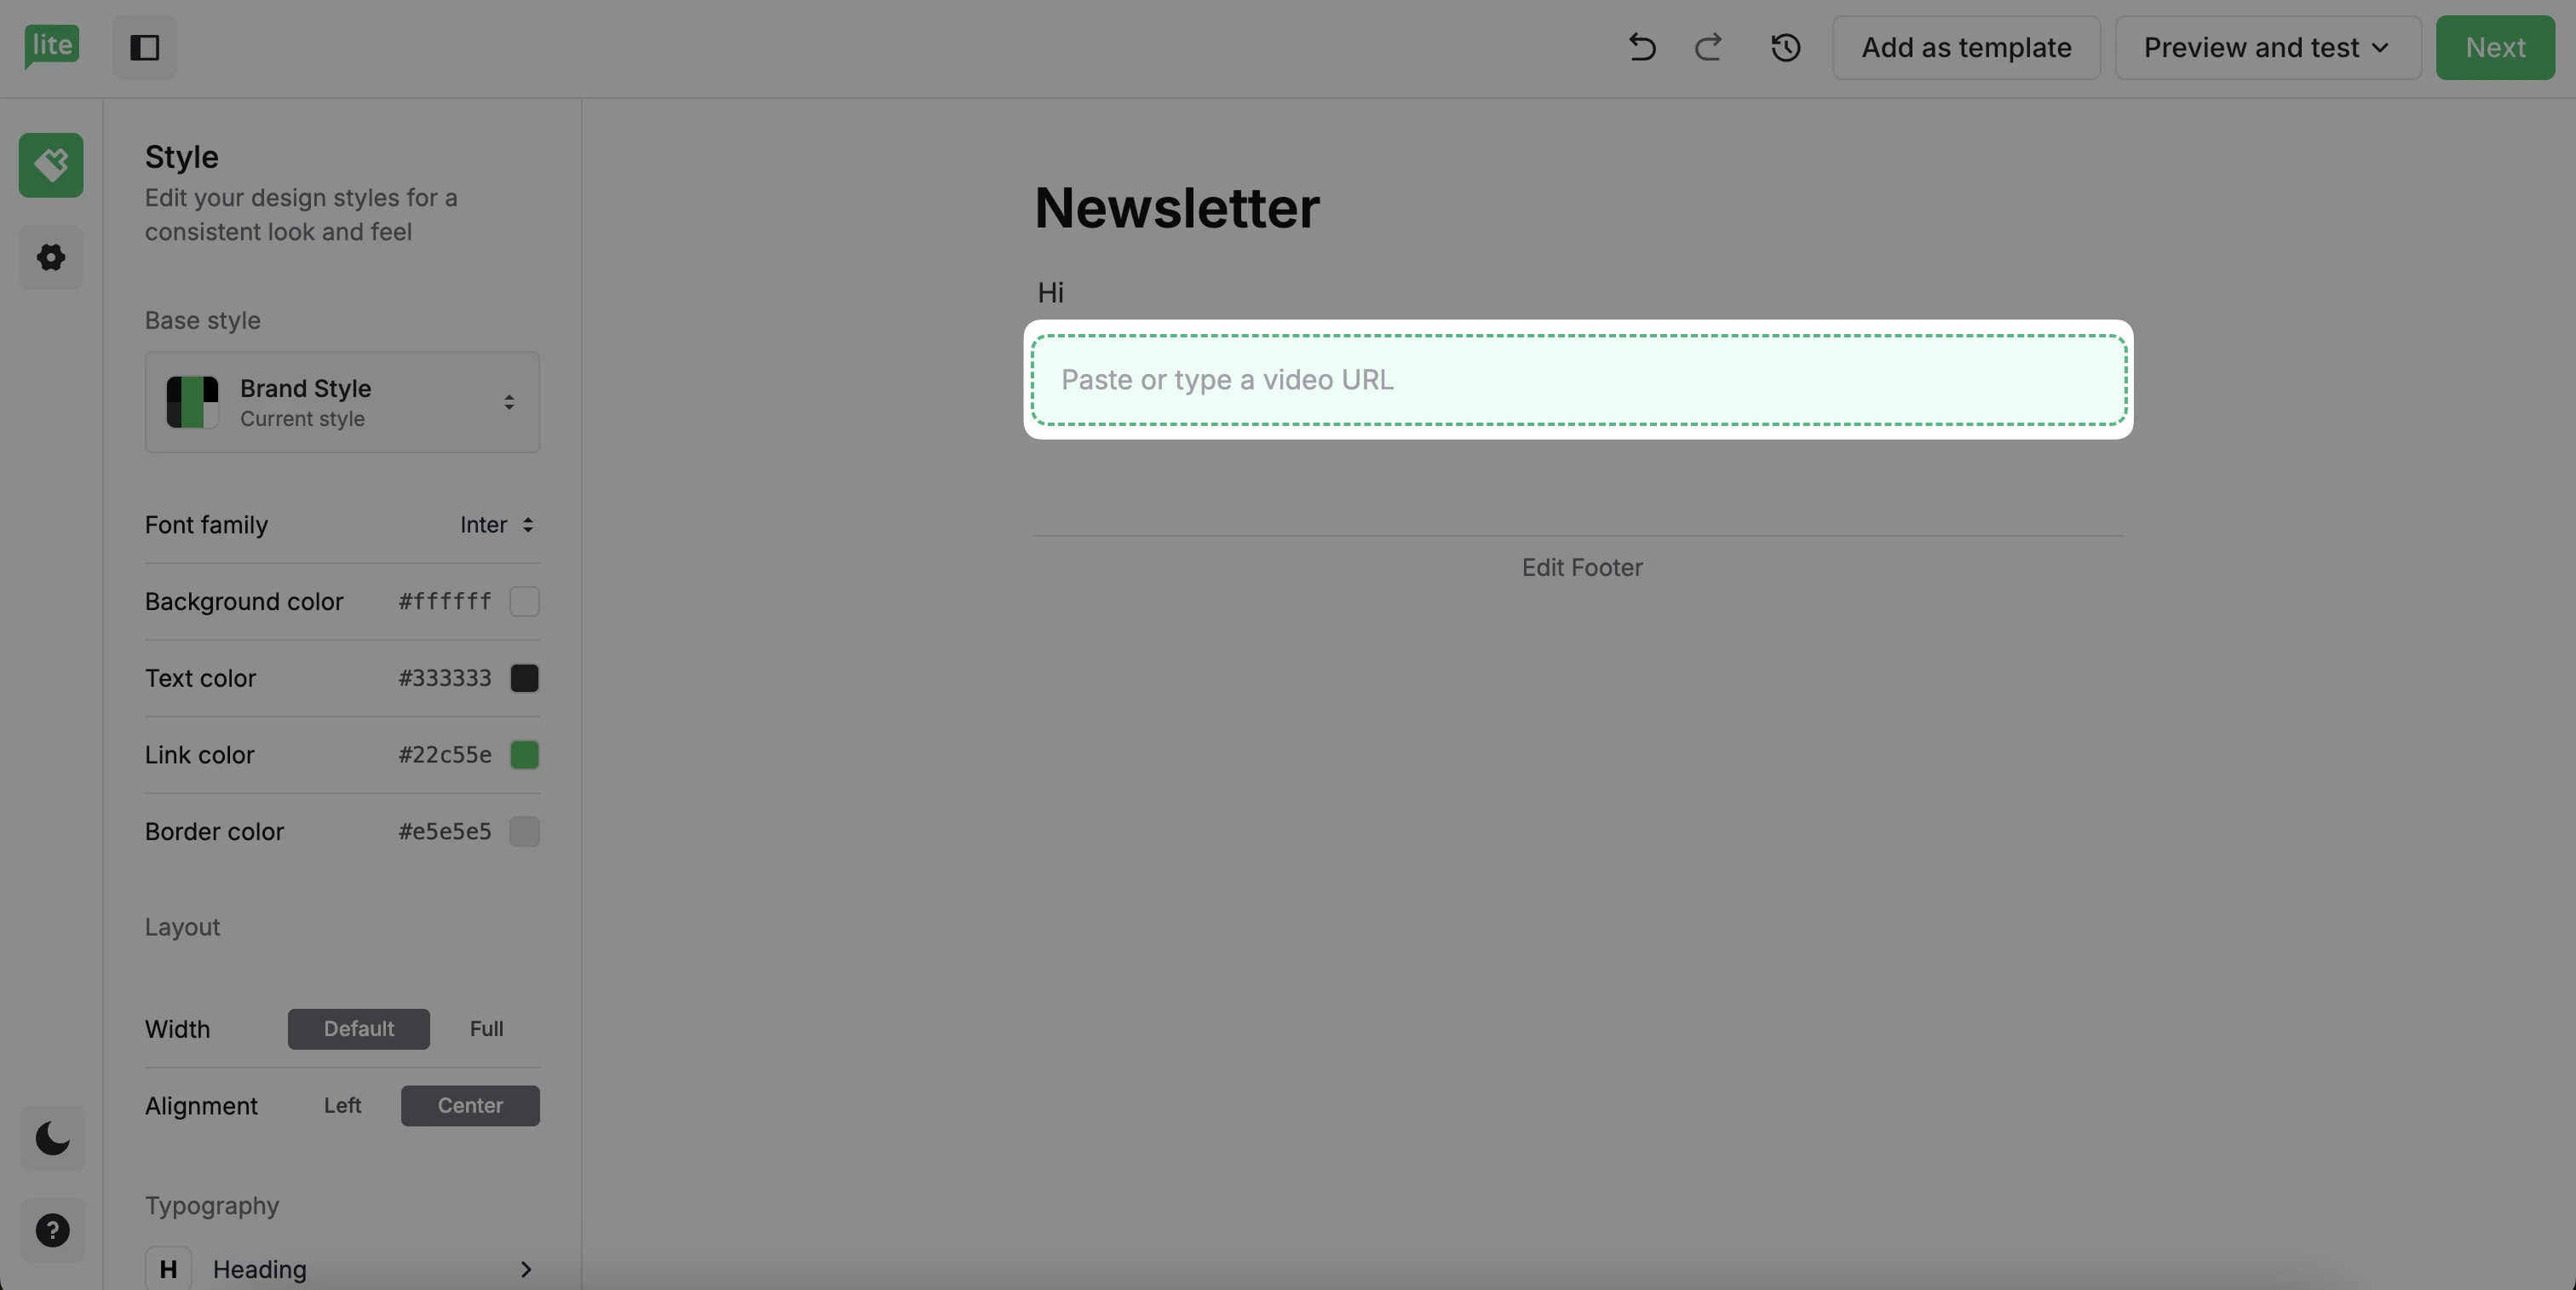
Paste your video URL.
If needed, adjust video layout and display settings in the right-side menu.
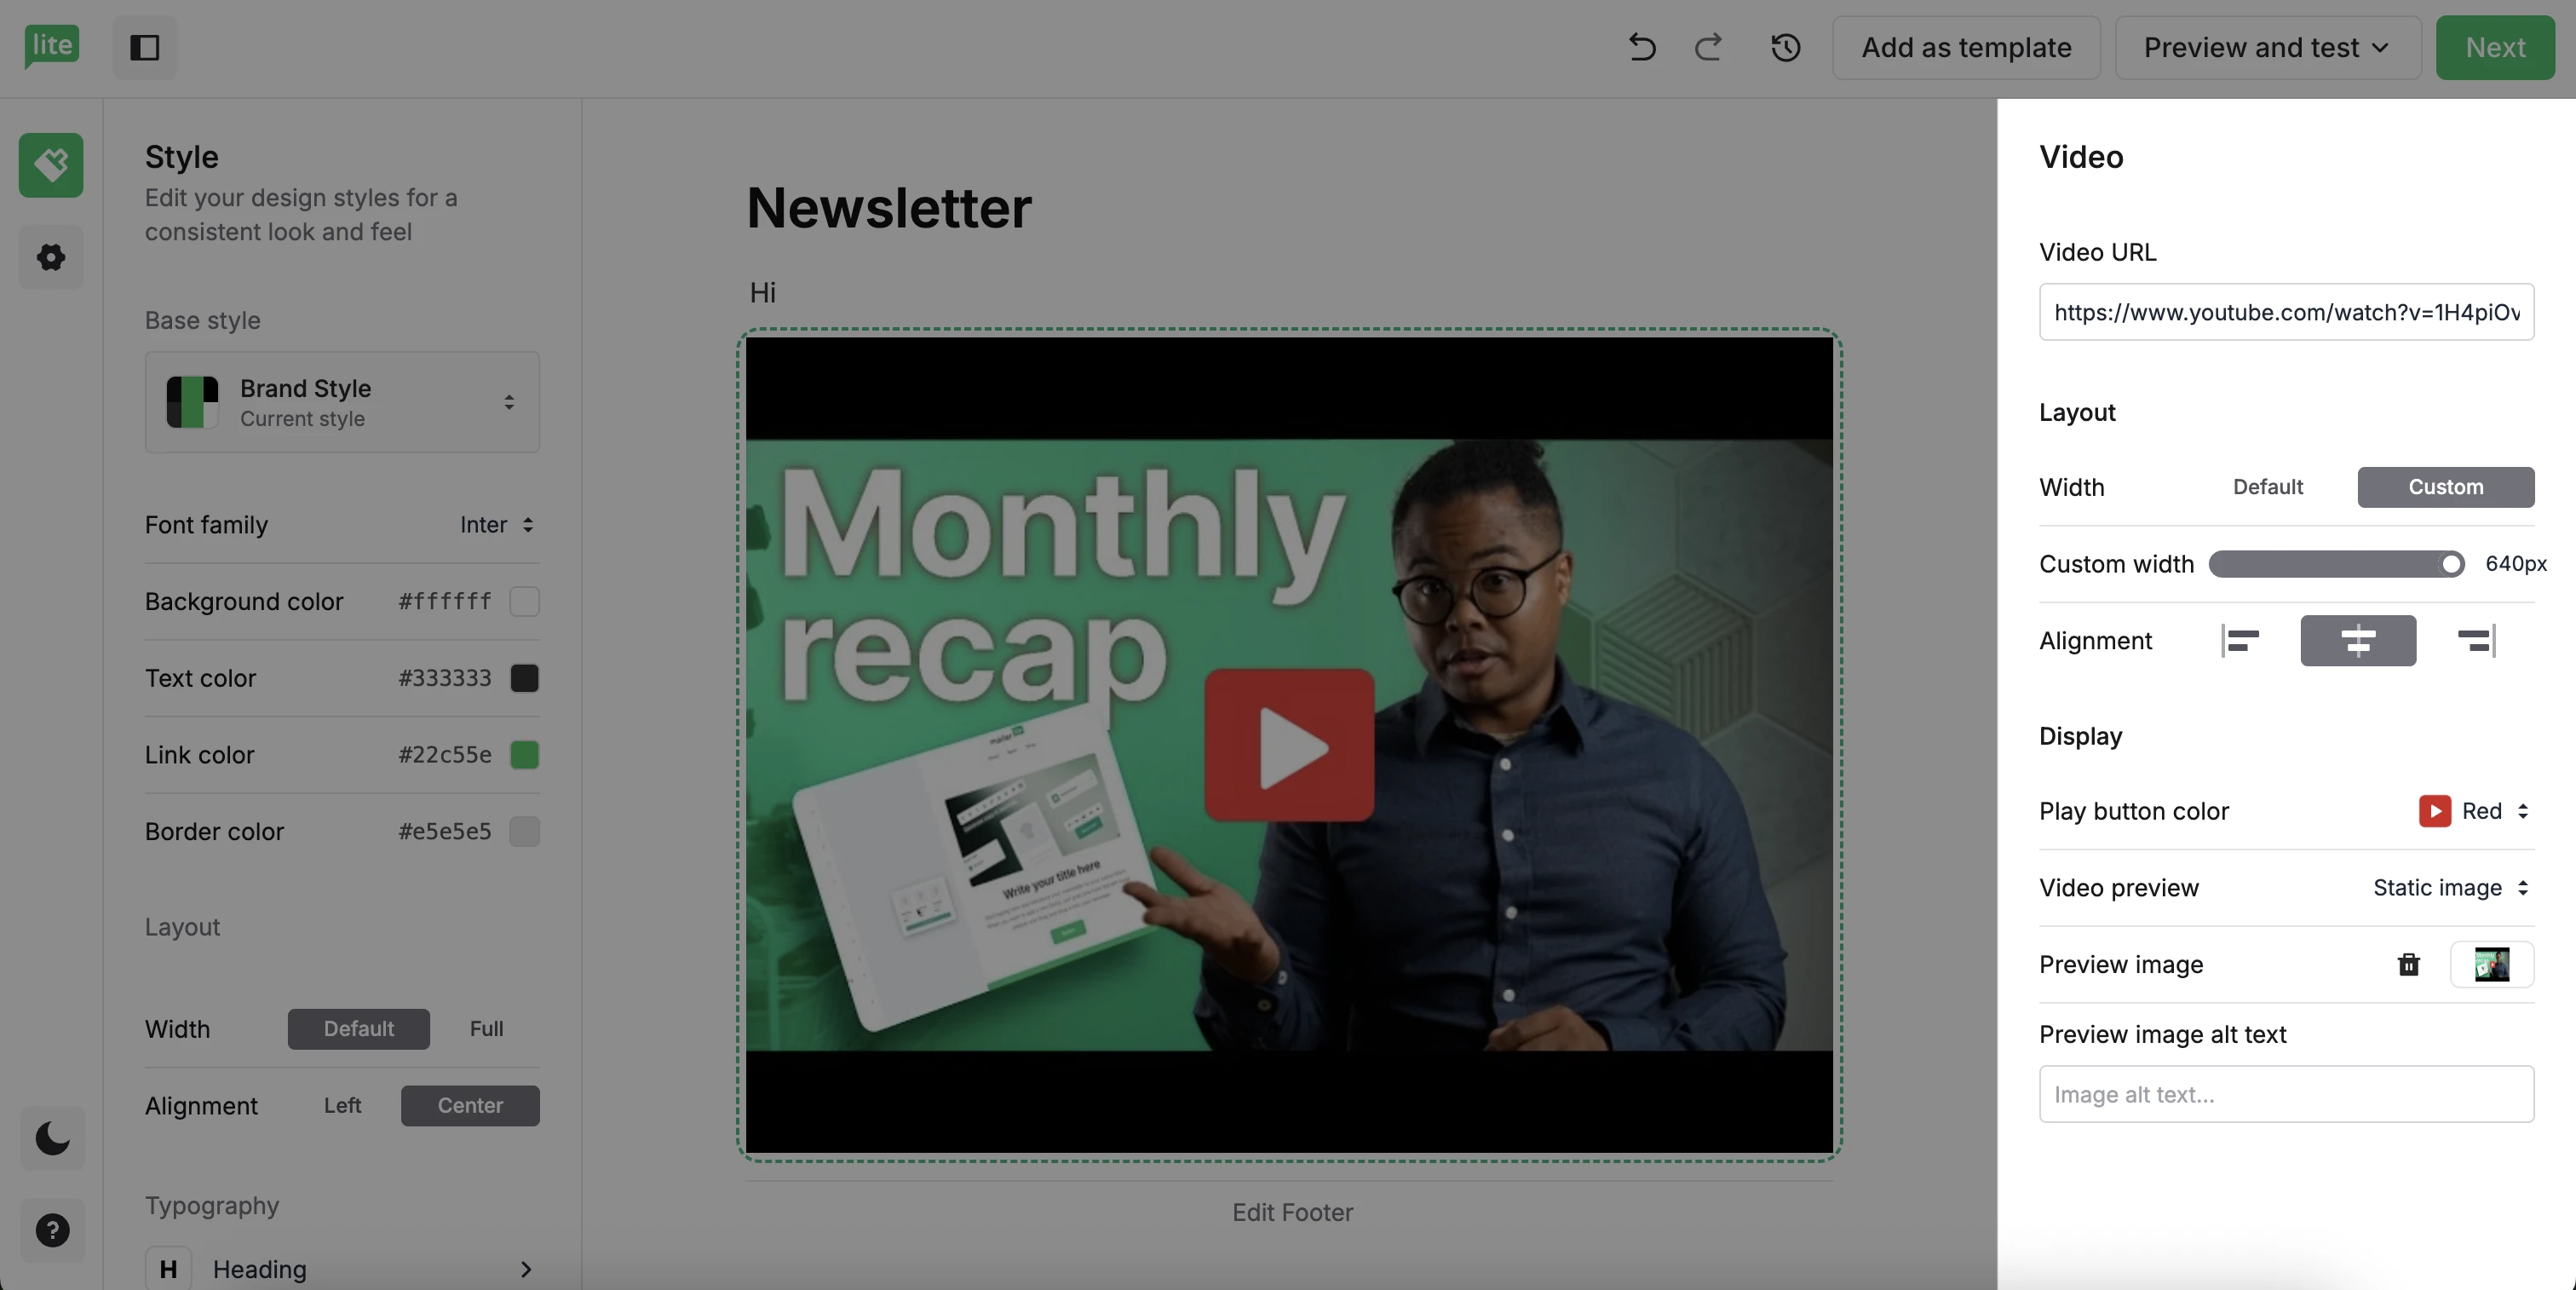
Note: The Video block is designed to support YouTube and Vimeo videos. While other video sources such as Facebook and TikTok also work most of the time, it is possible that some of your videos won’t display as intended.
For more information, check out Troubleshooting: Video block
How to add variables (personalization) to your email
To insert variables in your email:
Click the + symbol or use the / keyboard command to open additional elements.
Choose Variable.
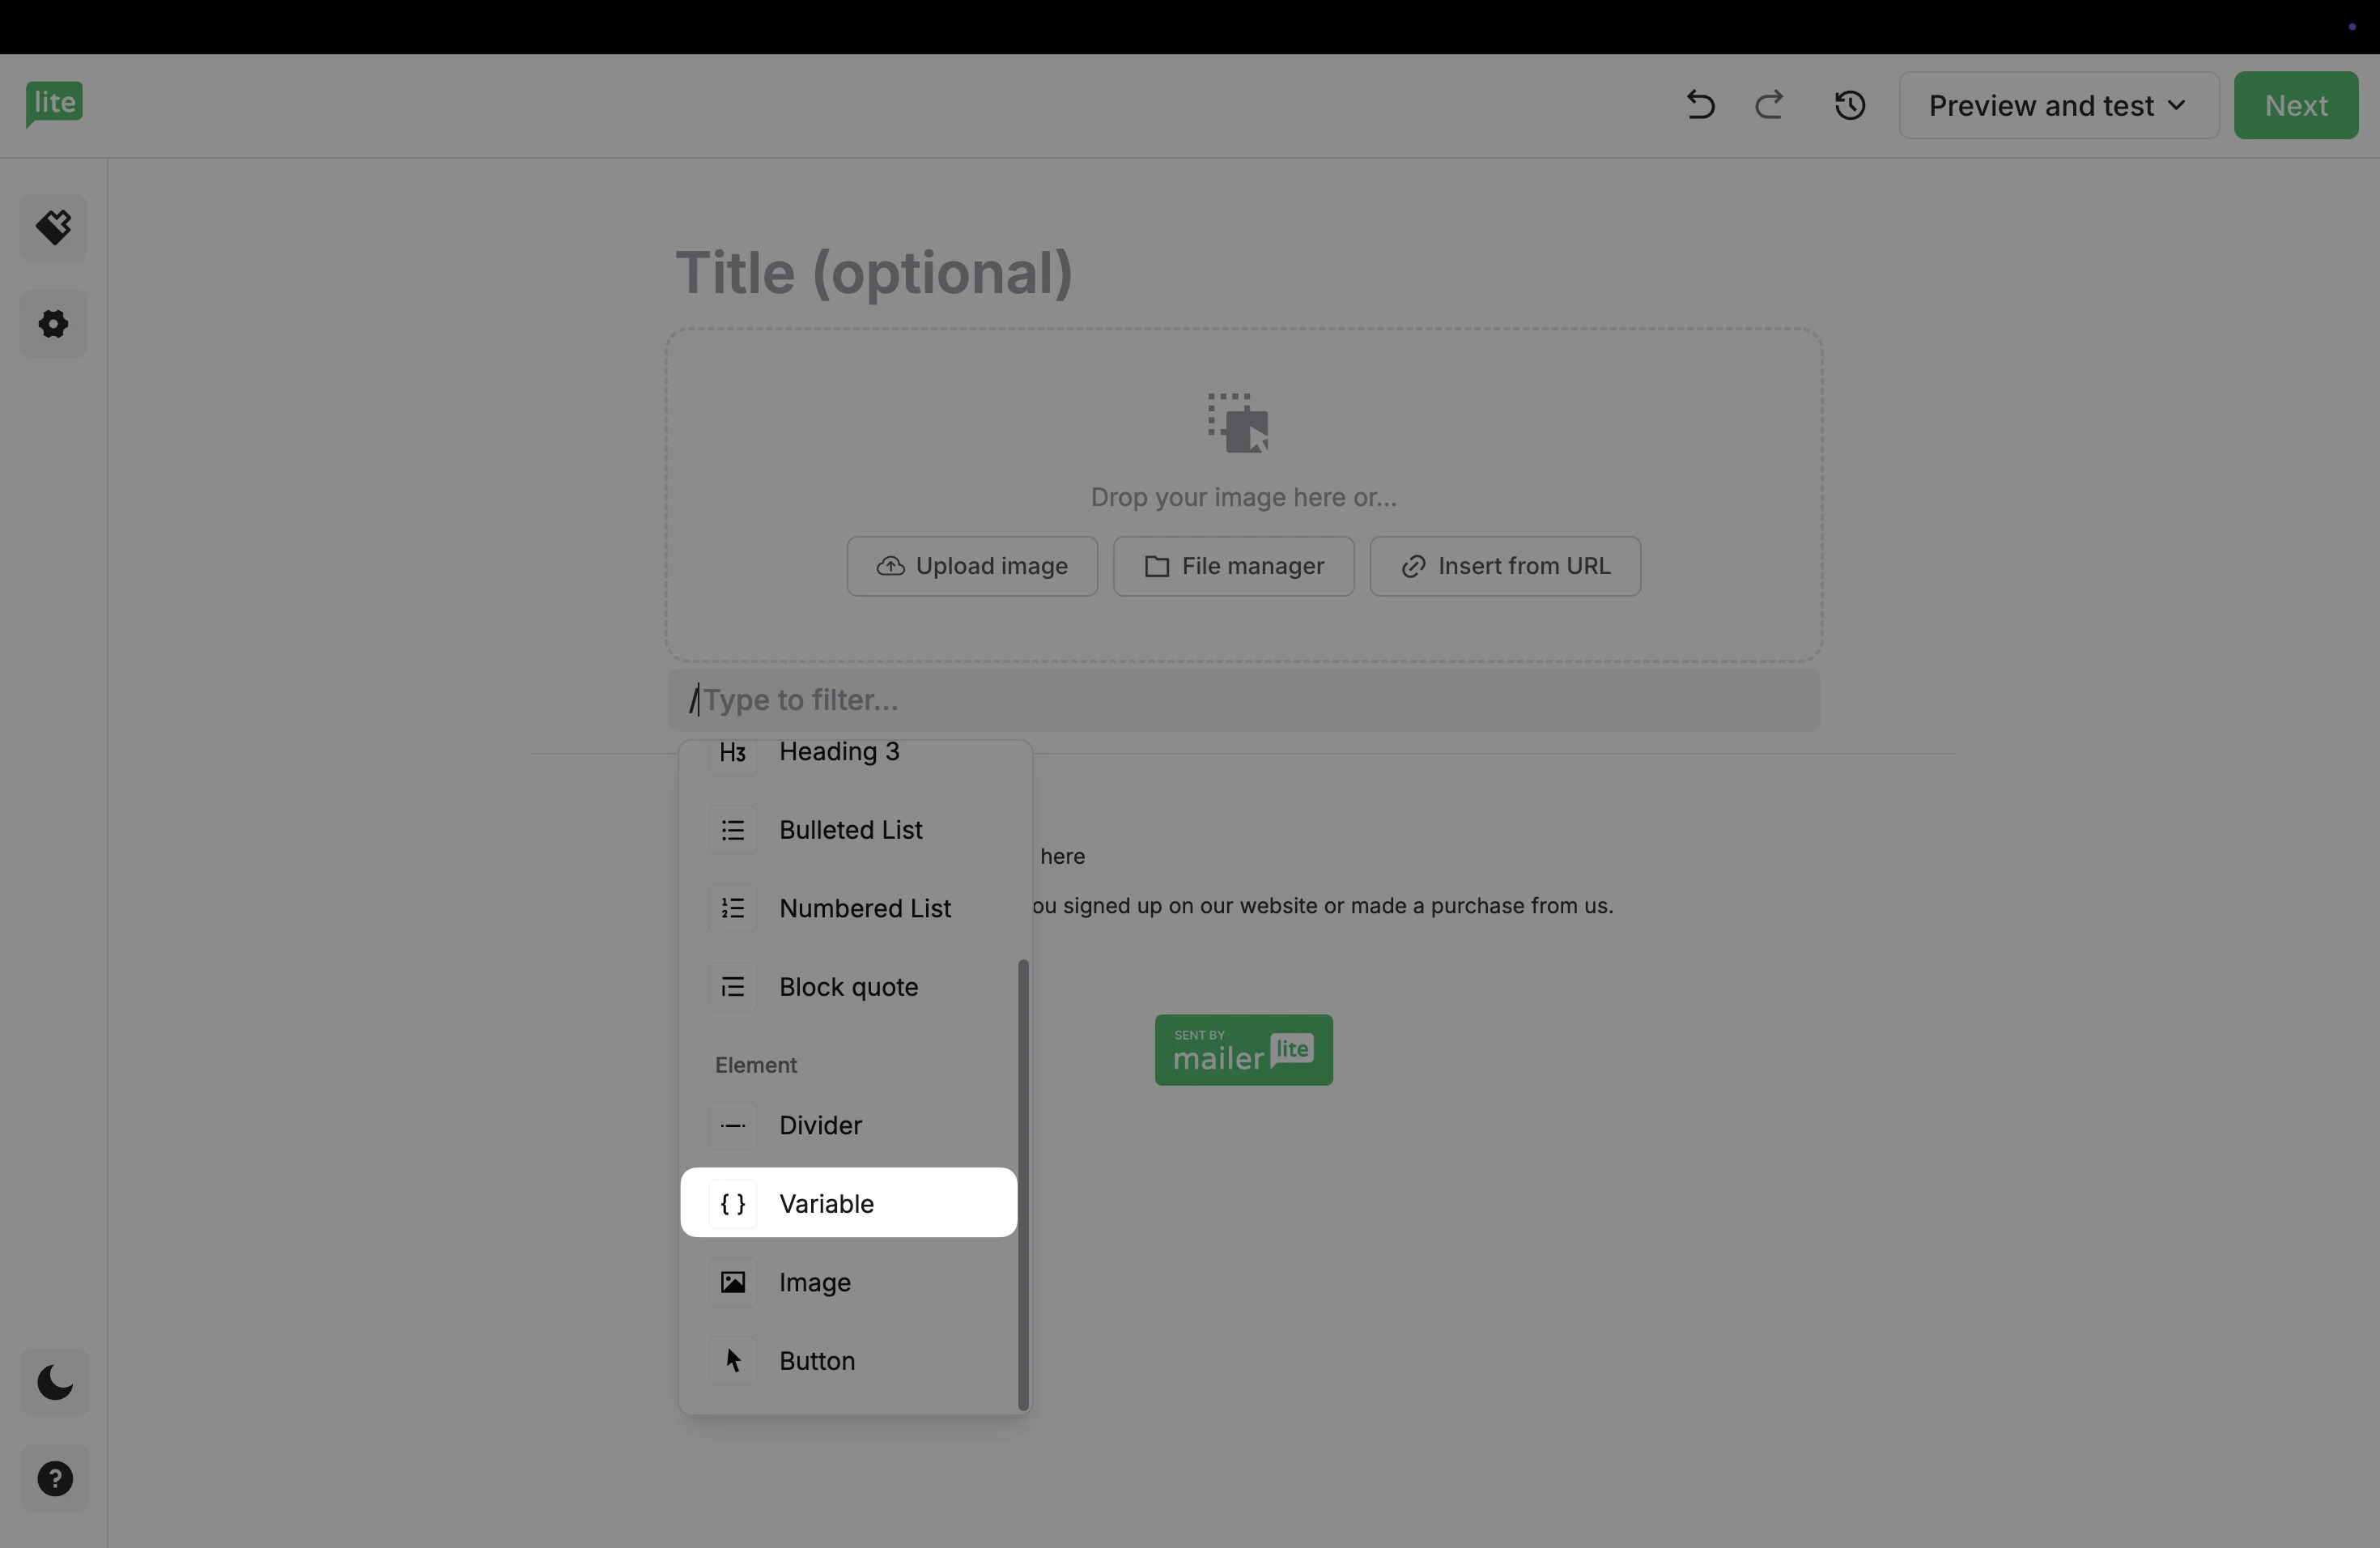
3. Select a variable from the dropdown menu to add to the email.
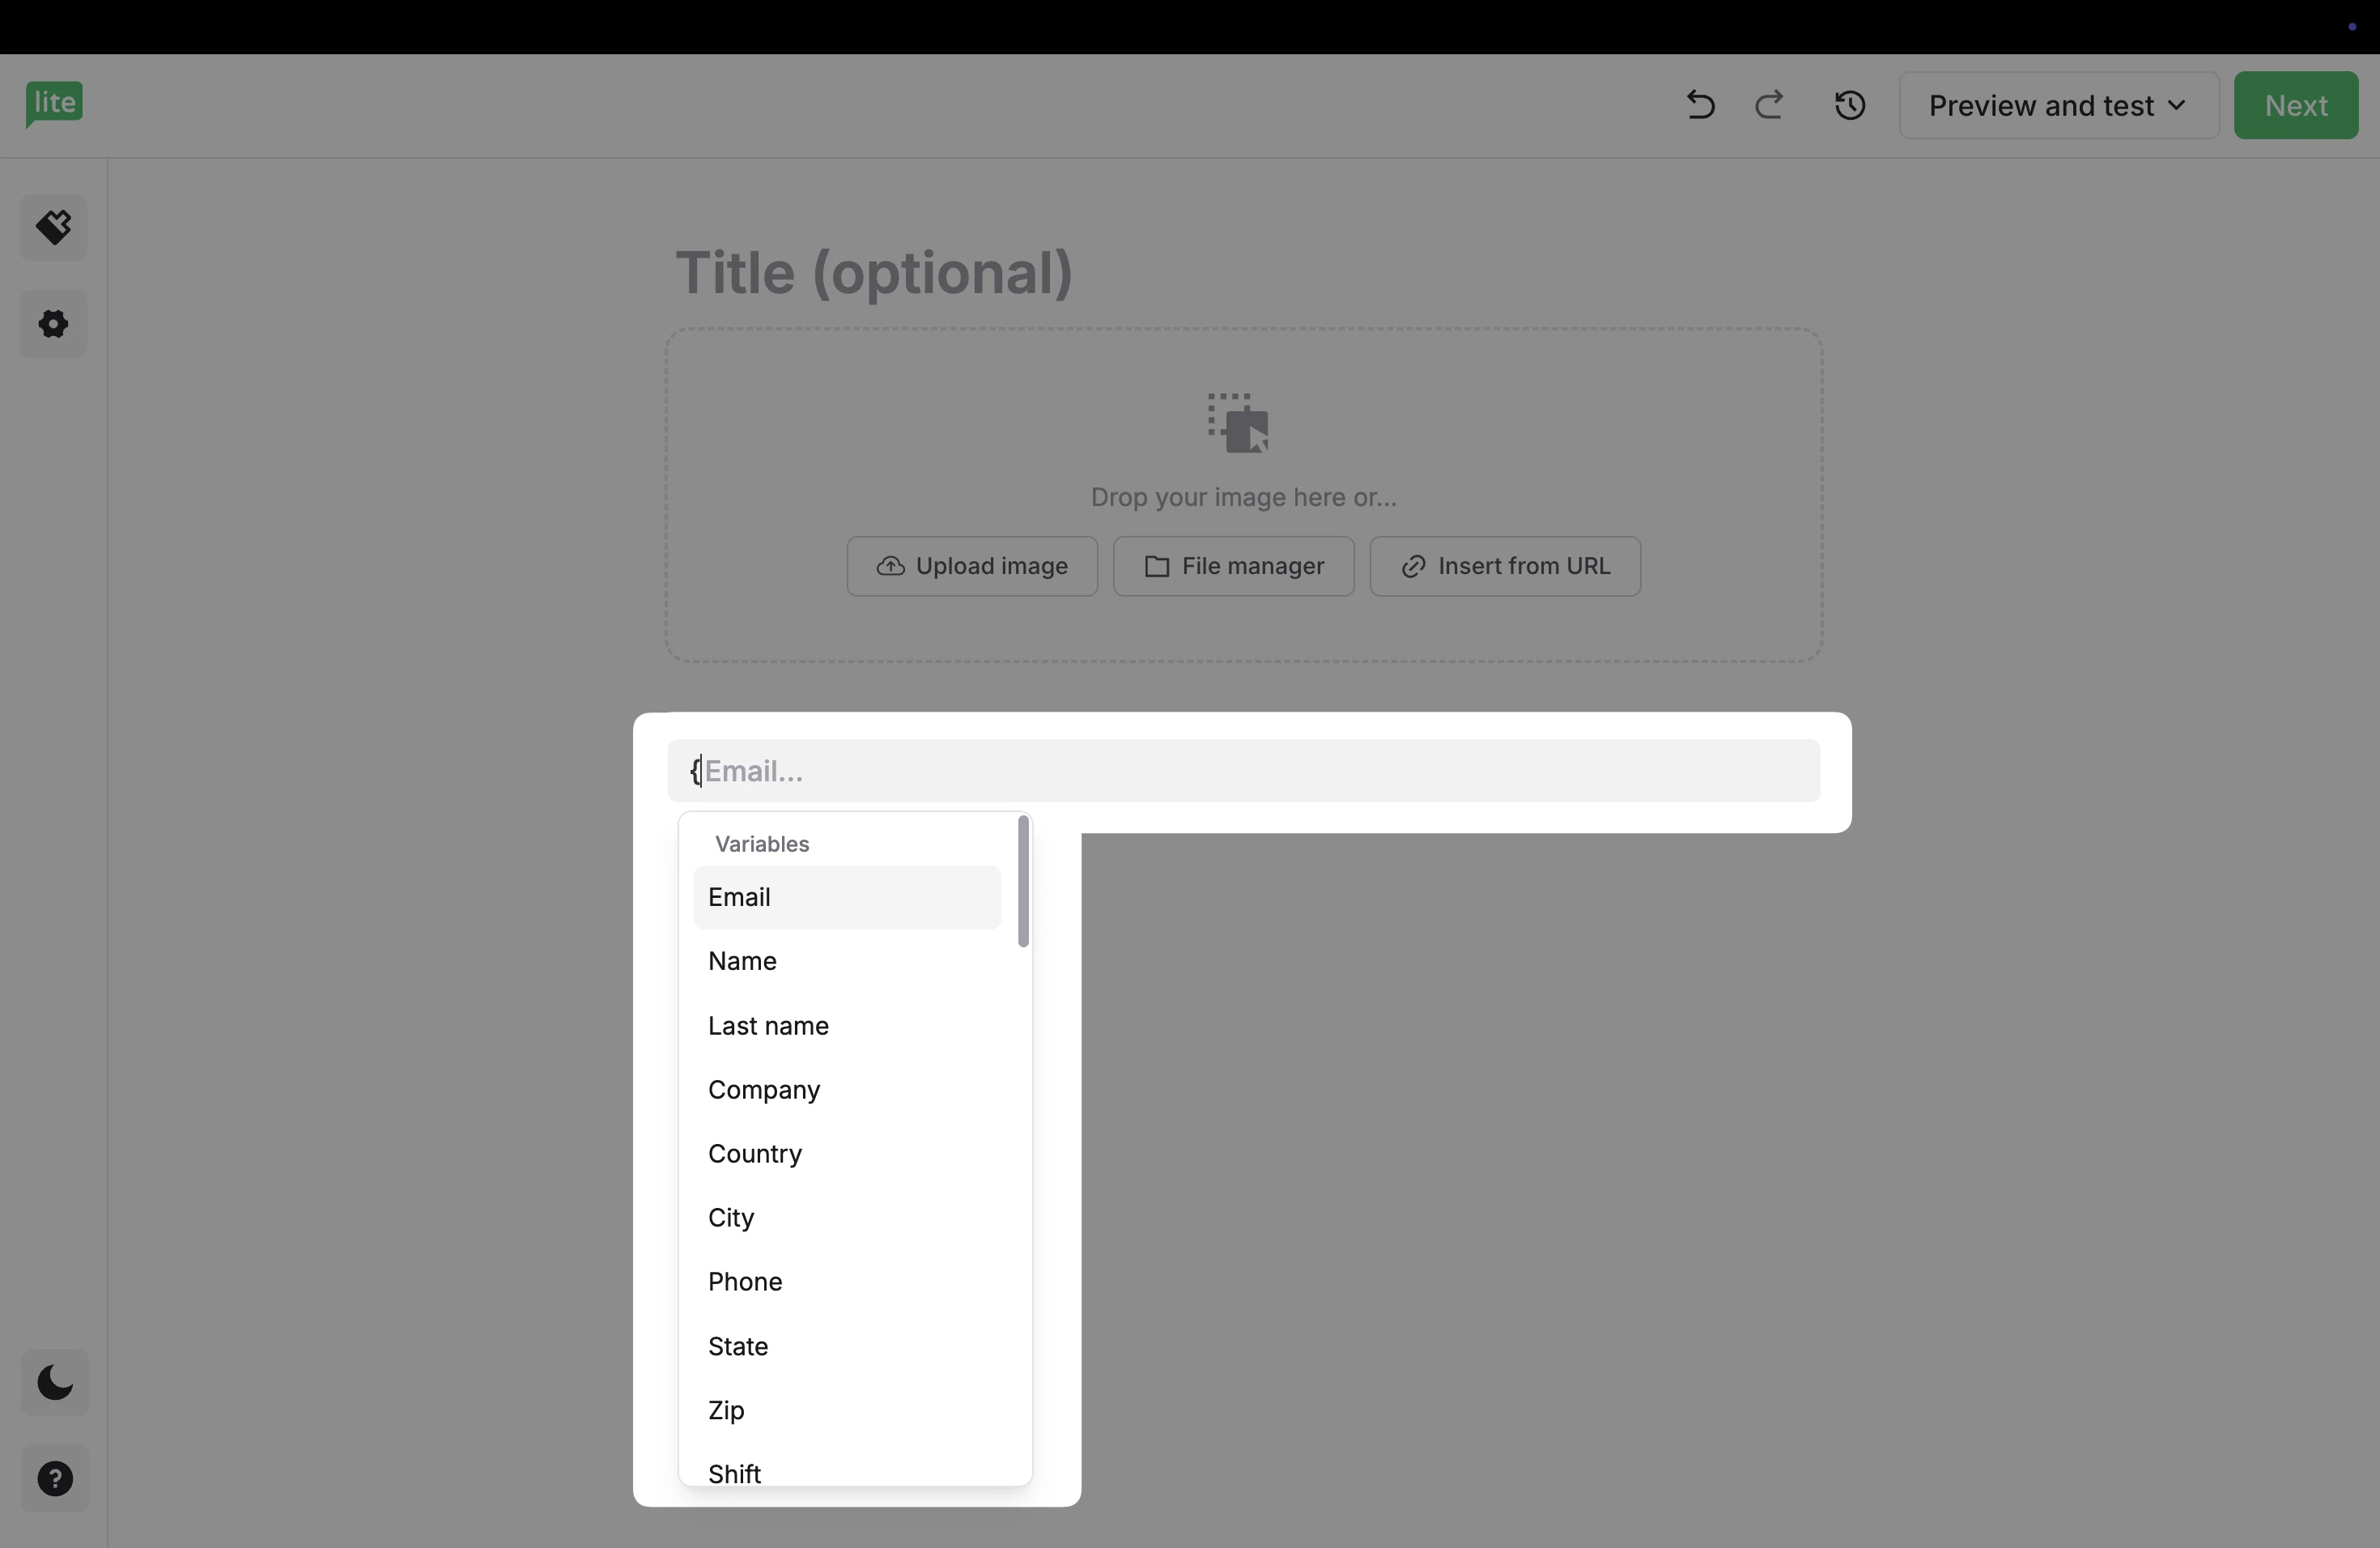
It is also possible to add variables to your campaign directly using the tags that correspond to that variable.
For example:
{$email} – inserts your subscriber’s email address.
{$name} – inserts your subscriber’s first name (if it’s available).
Want to learn more about how to use Variables in MailerLite? Click here ⬅️
How to add custom code to your email
To add code to your email:
Click the + symbol or use the / keyboard command to open additional elements.
Choose Code.
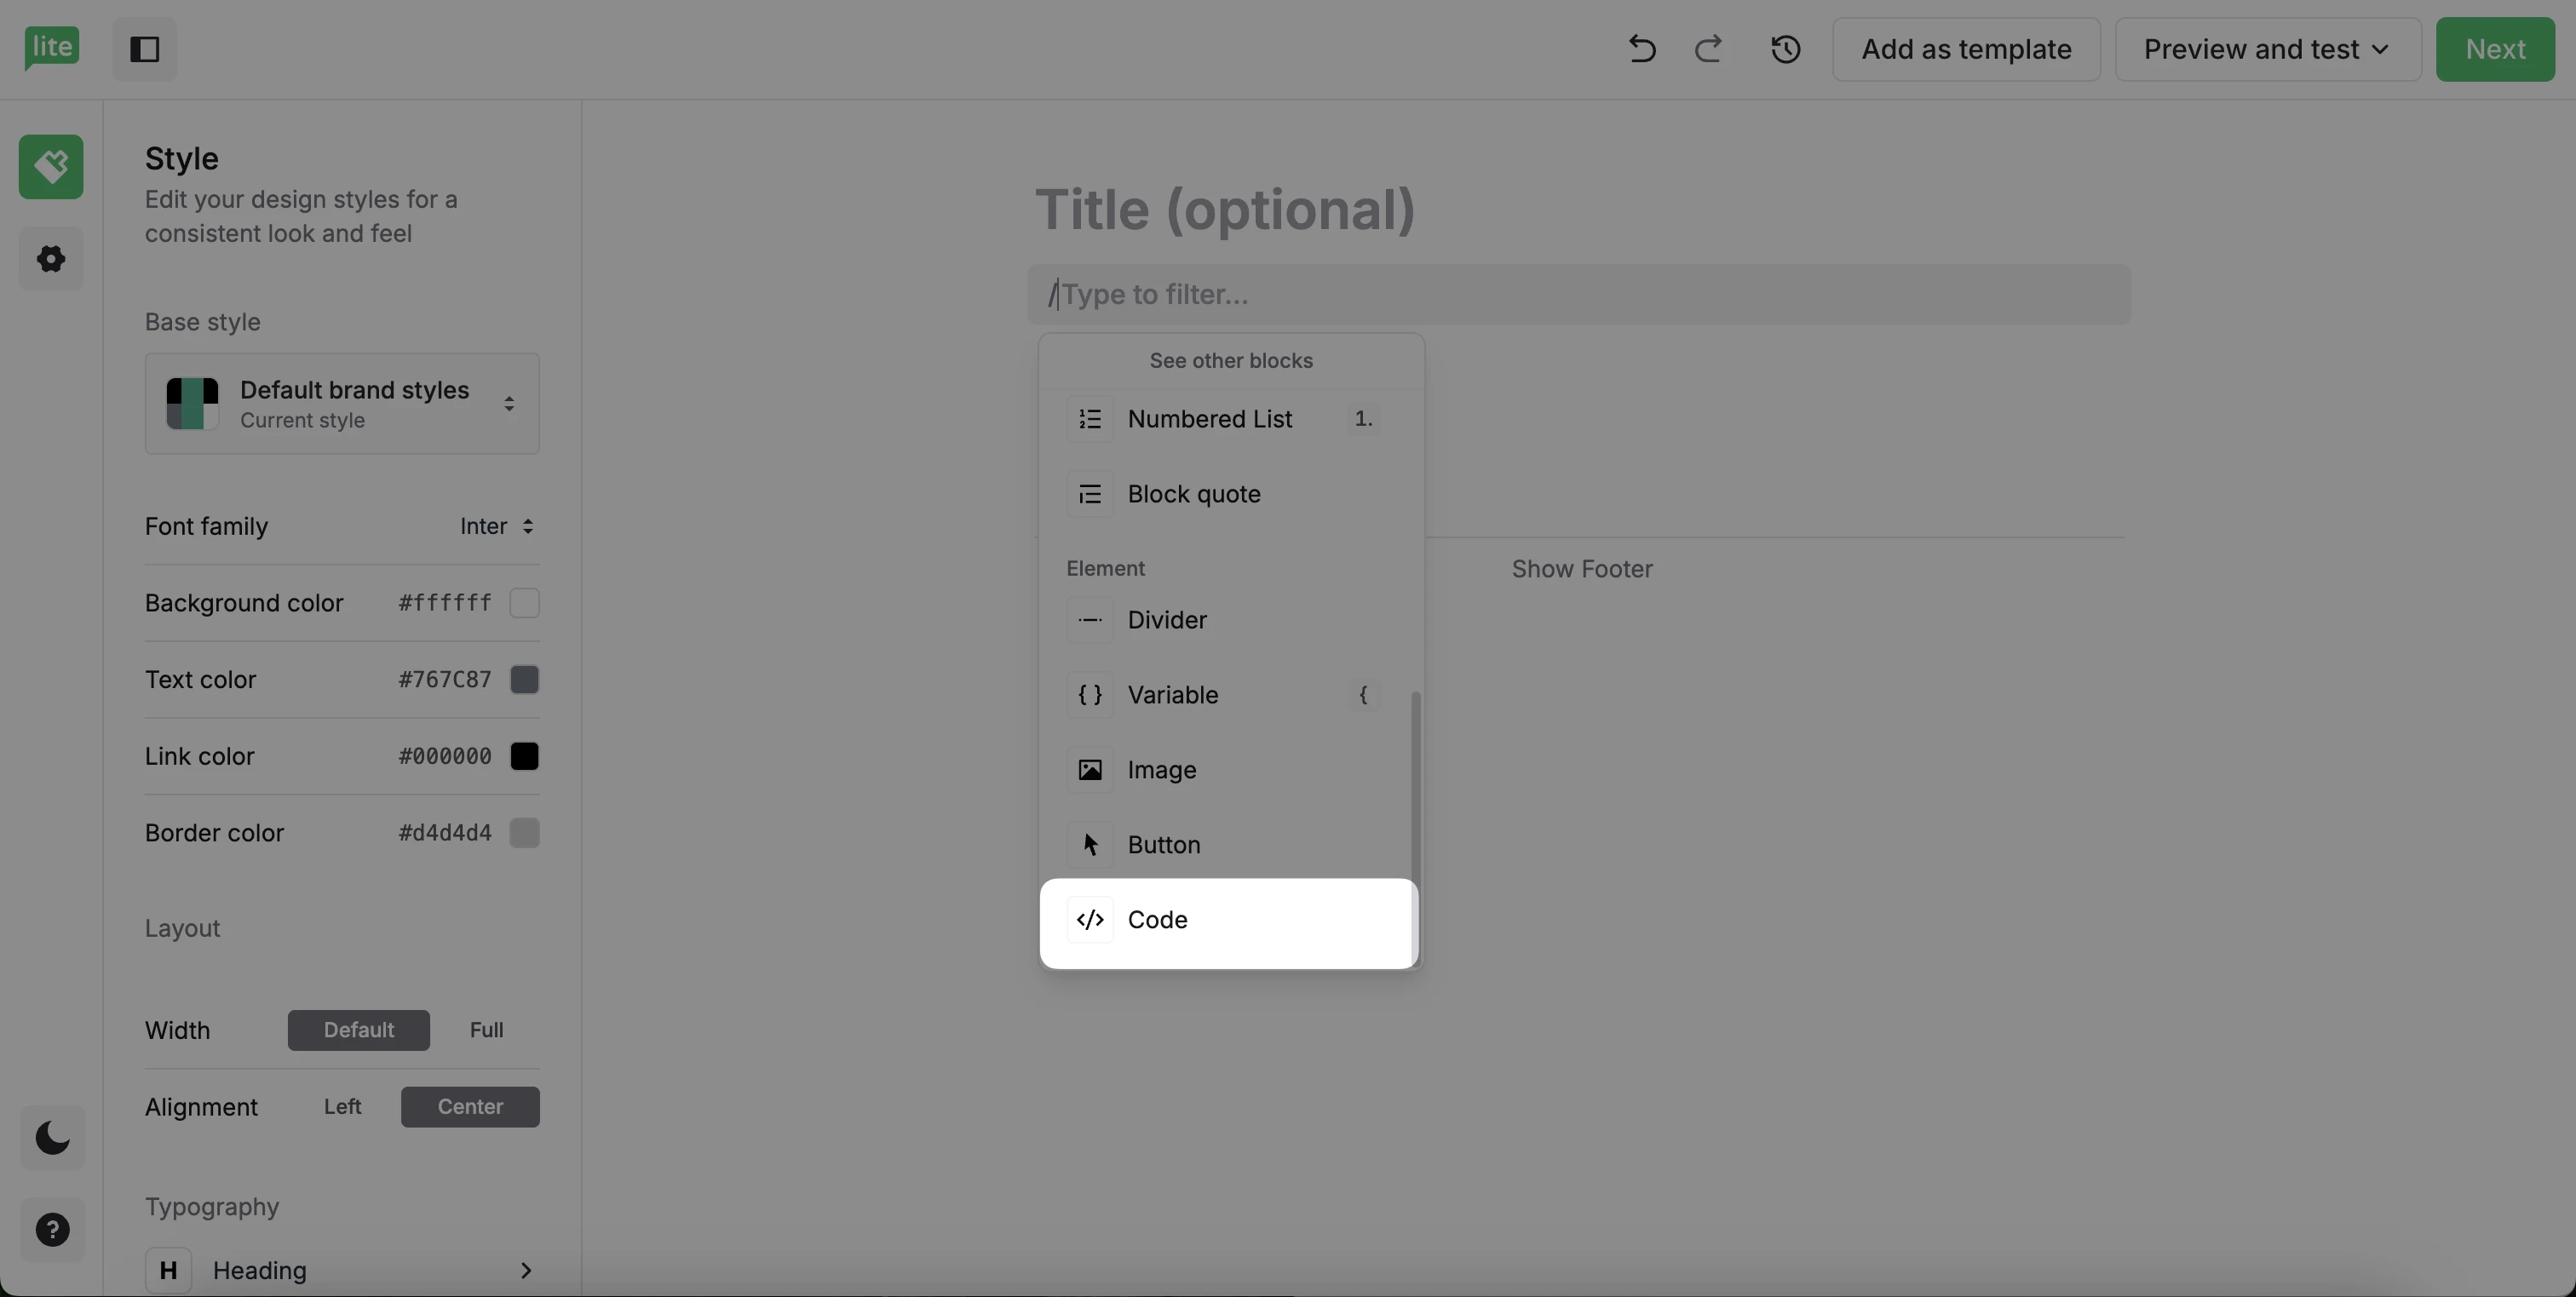
Paste your code between
<div>and</div>.
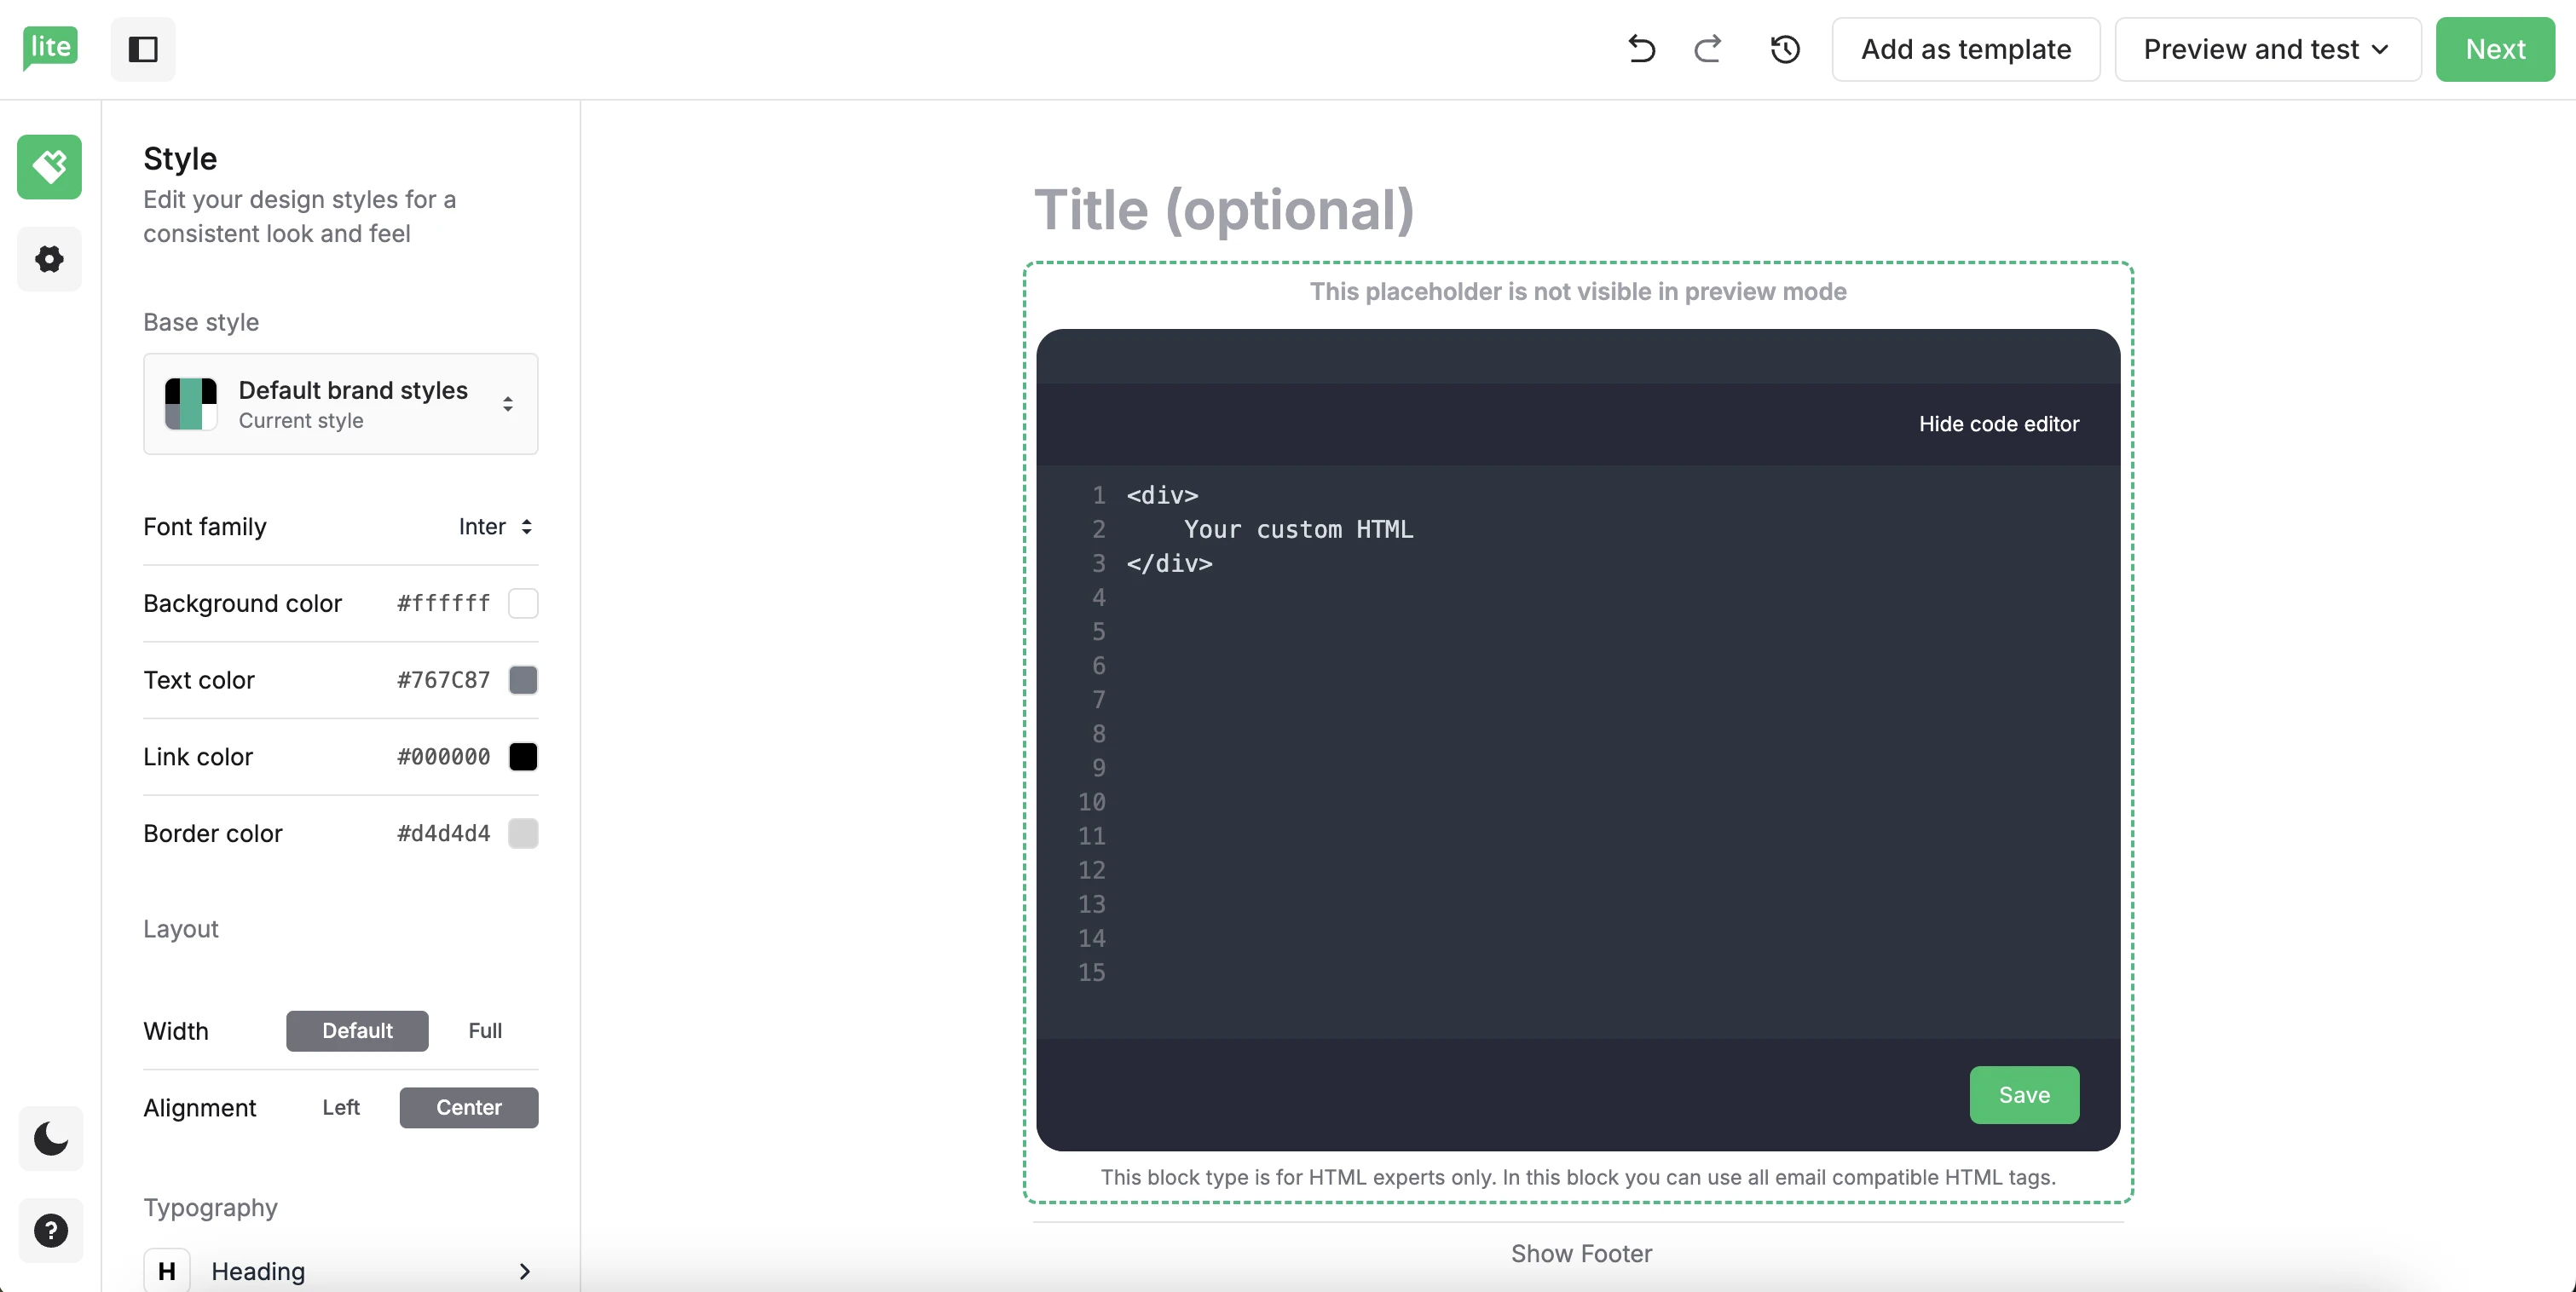
Click Save.
Note: Code block supports plain HTML code only. To protect security and email deliverability, the Code block does not support JavaScript or interactive elements such as <iframe>, <embed>, <frame>, <form>, <input>, <object>, or <textarea>.
How to add social icons to your email
To add social icons to your email:
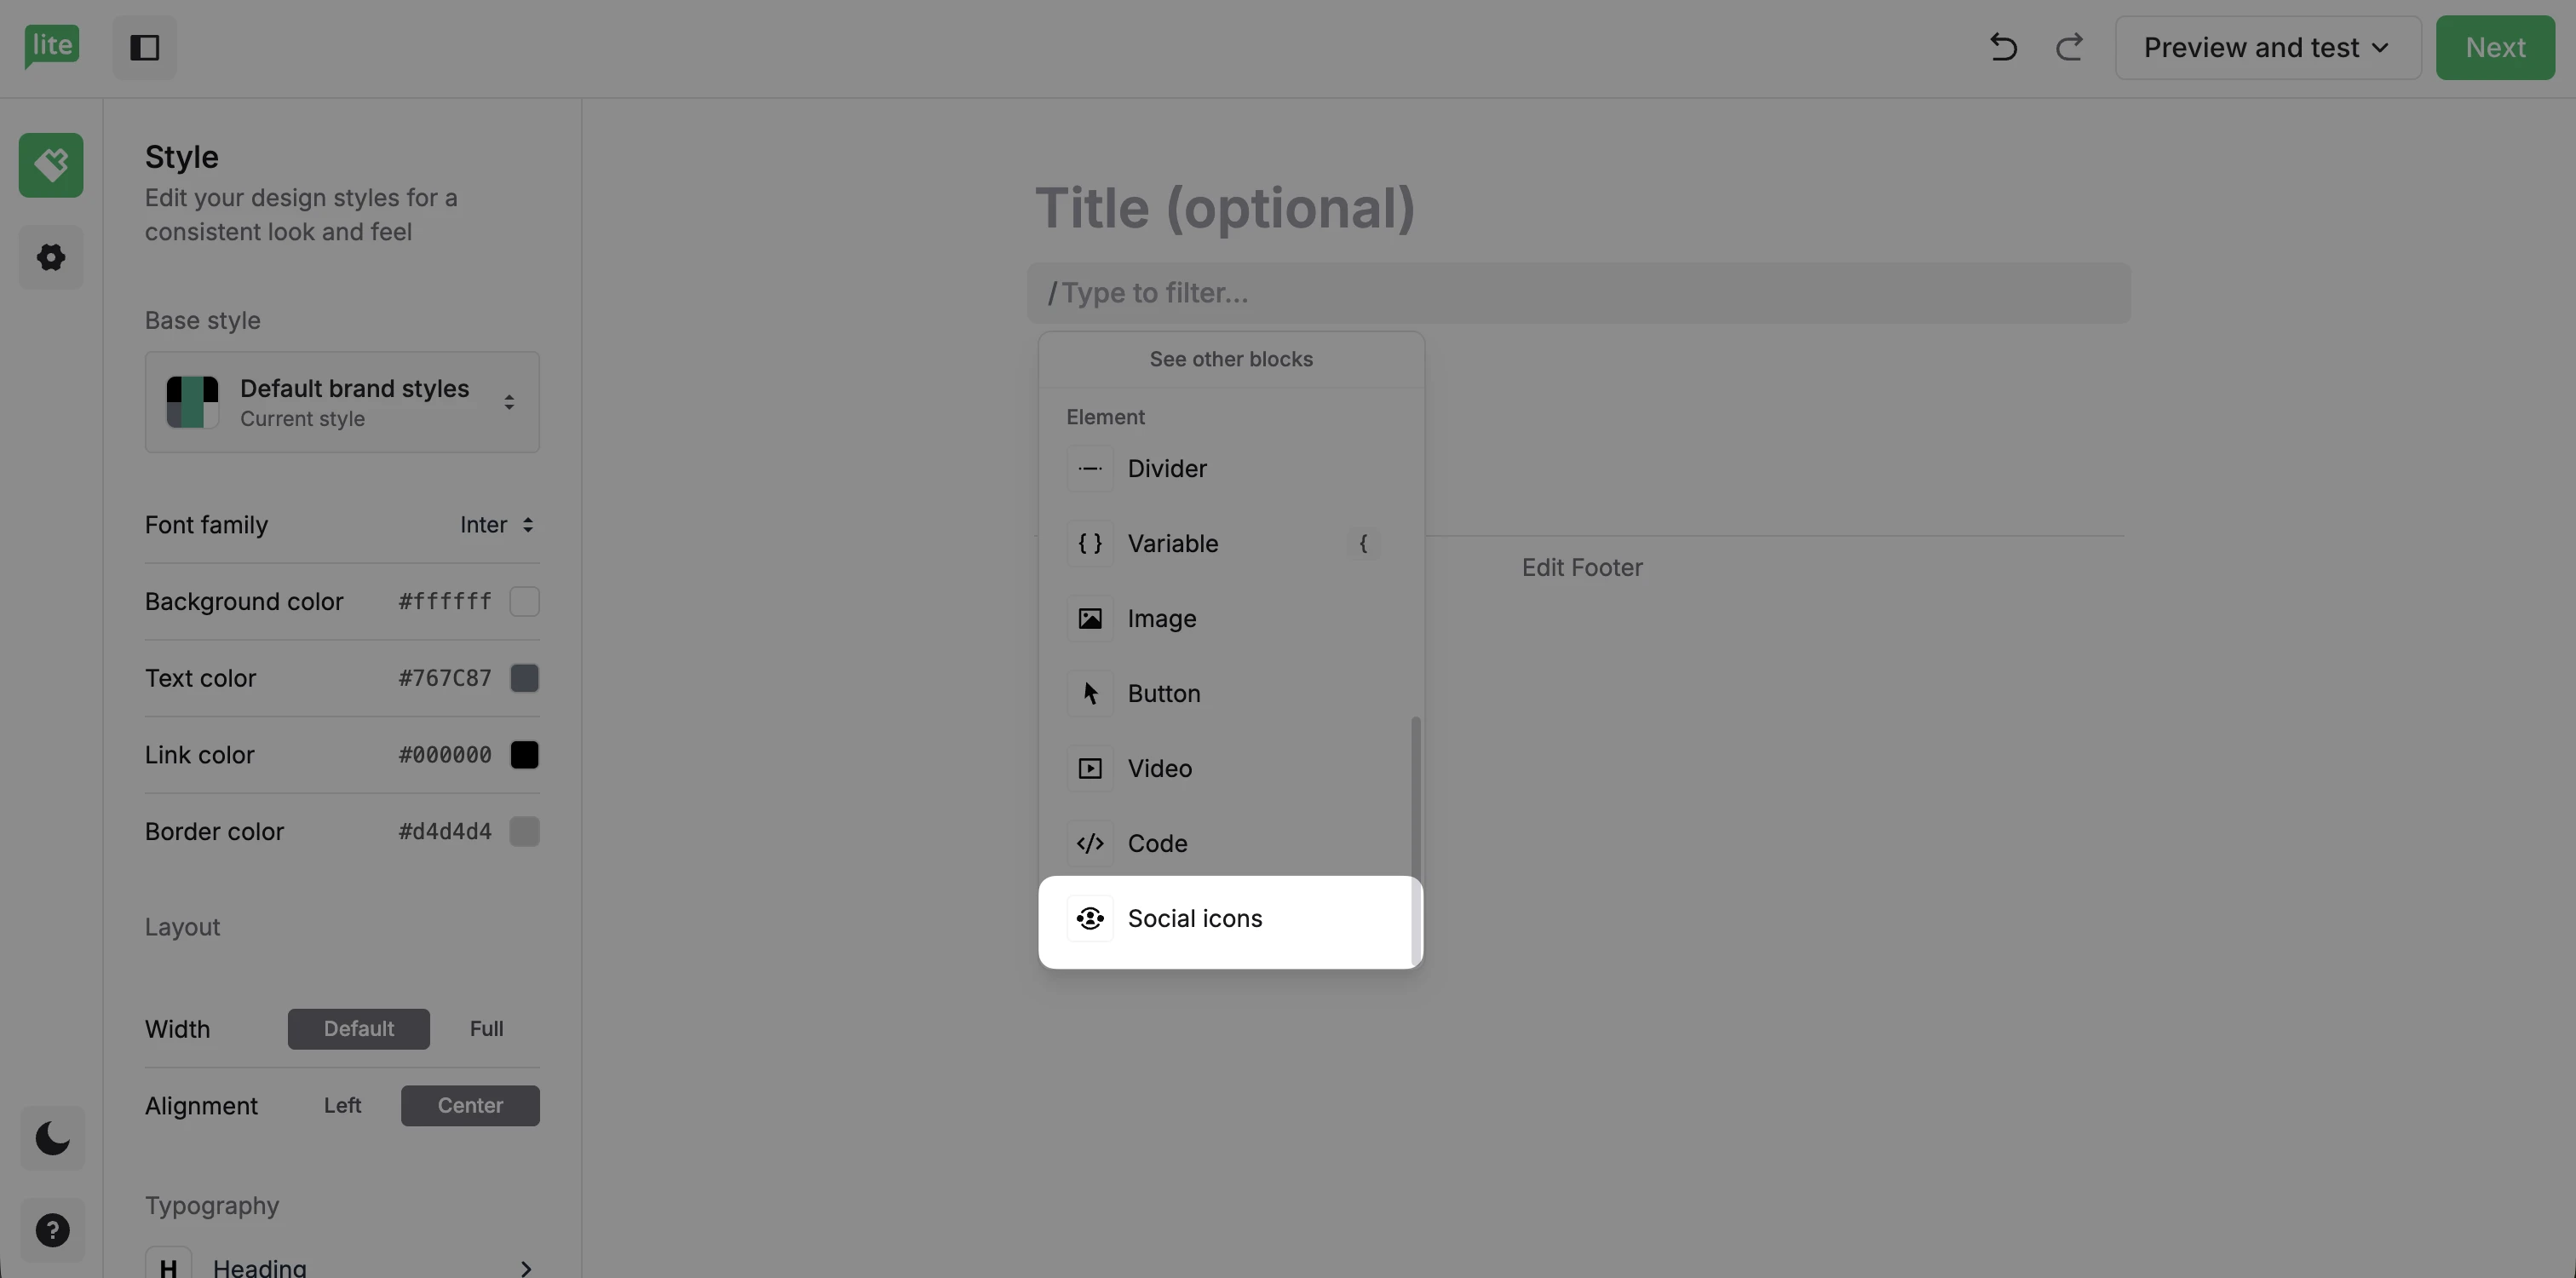
Click the + symbol or use the / keyboard command to open additional elements.
Choose Social icons.
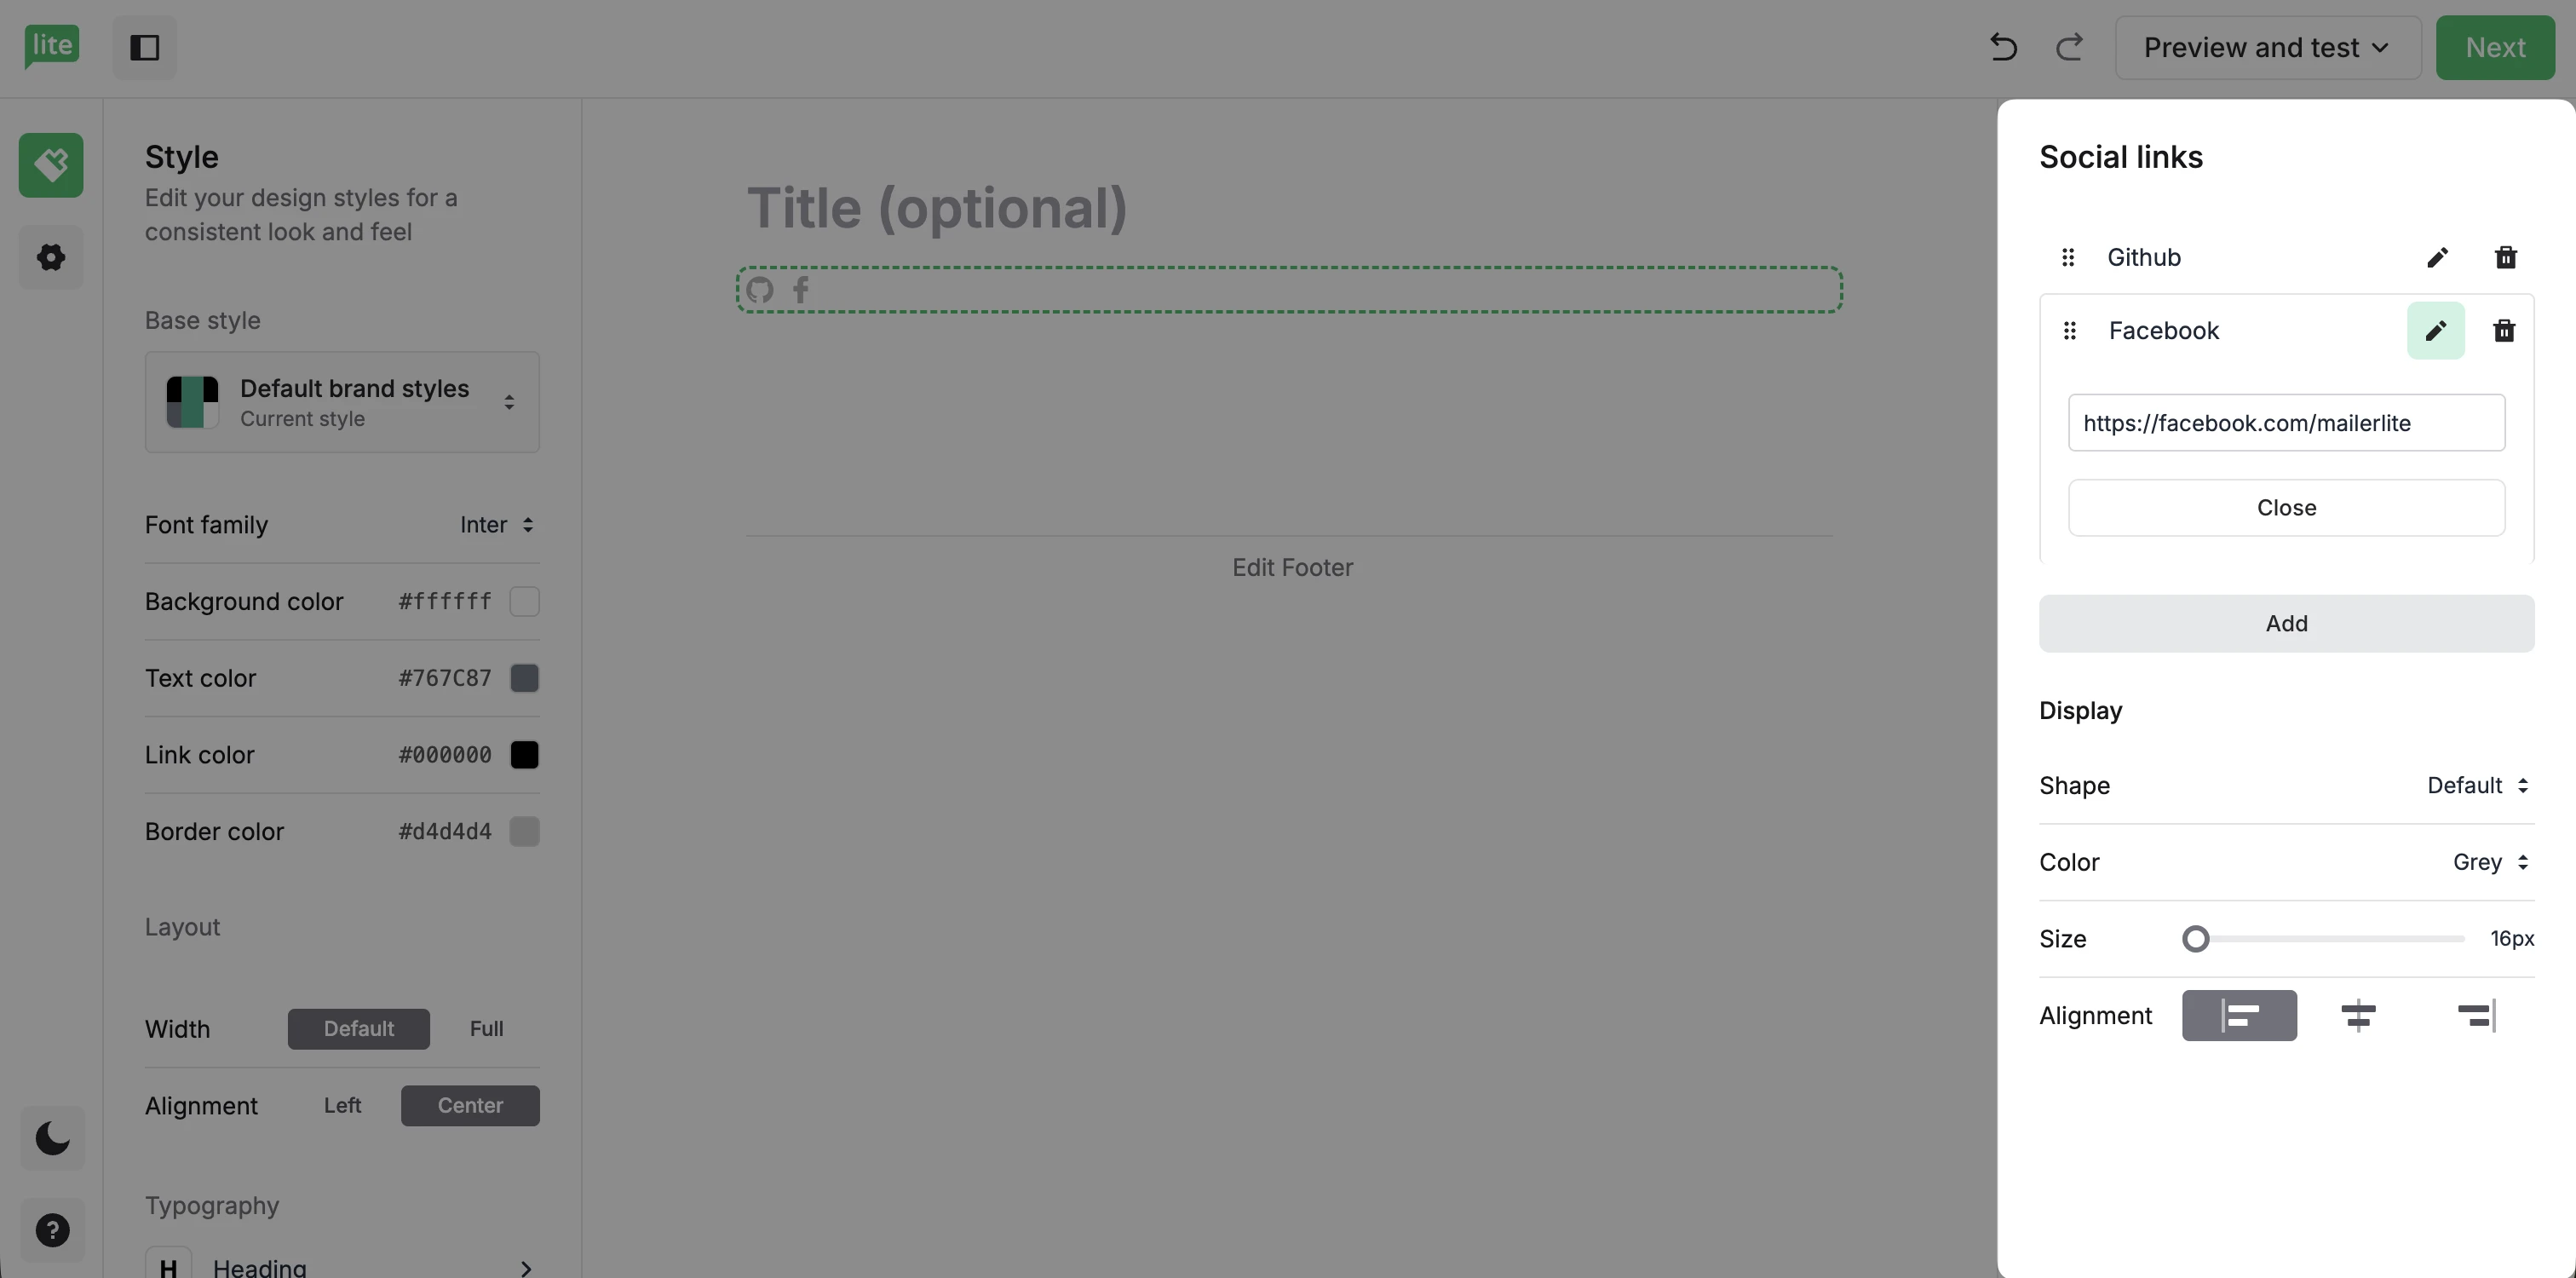
3. Click Add to select the social icons you’d like to include. After selecting, click the pencil icon to add your links.
4. If needed, edit the Shape, Color, Size, and Alignment of the social icons.
How to add files to your email
Files can be added to your campaign as hyperlinks to text, images, and buttons.
Text
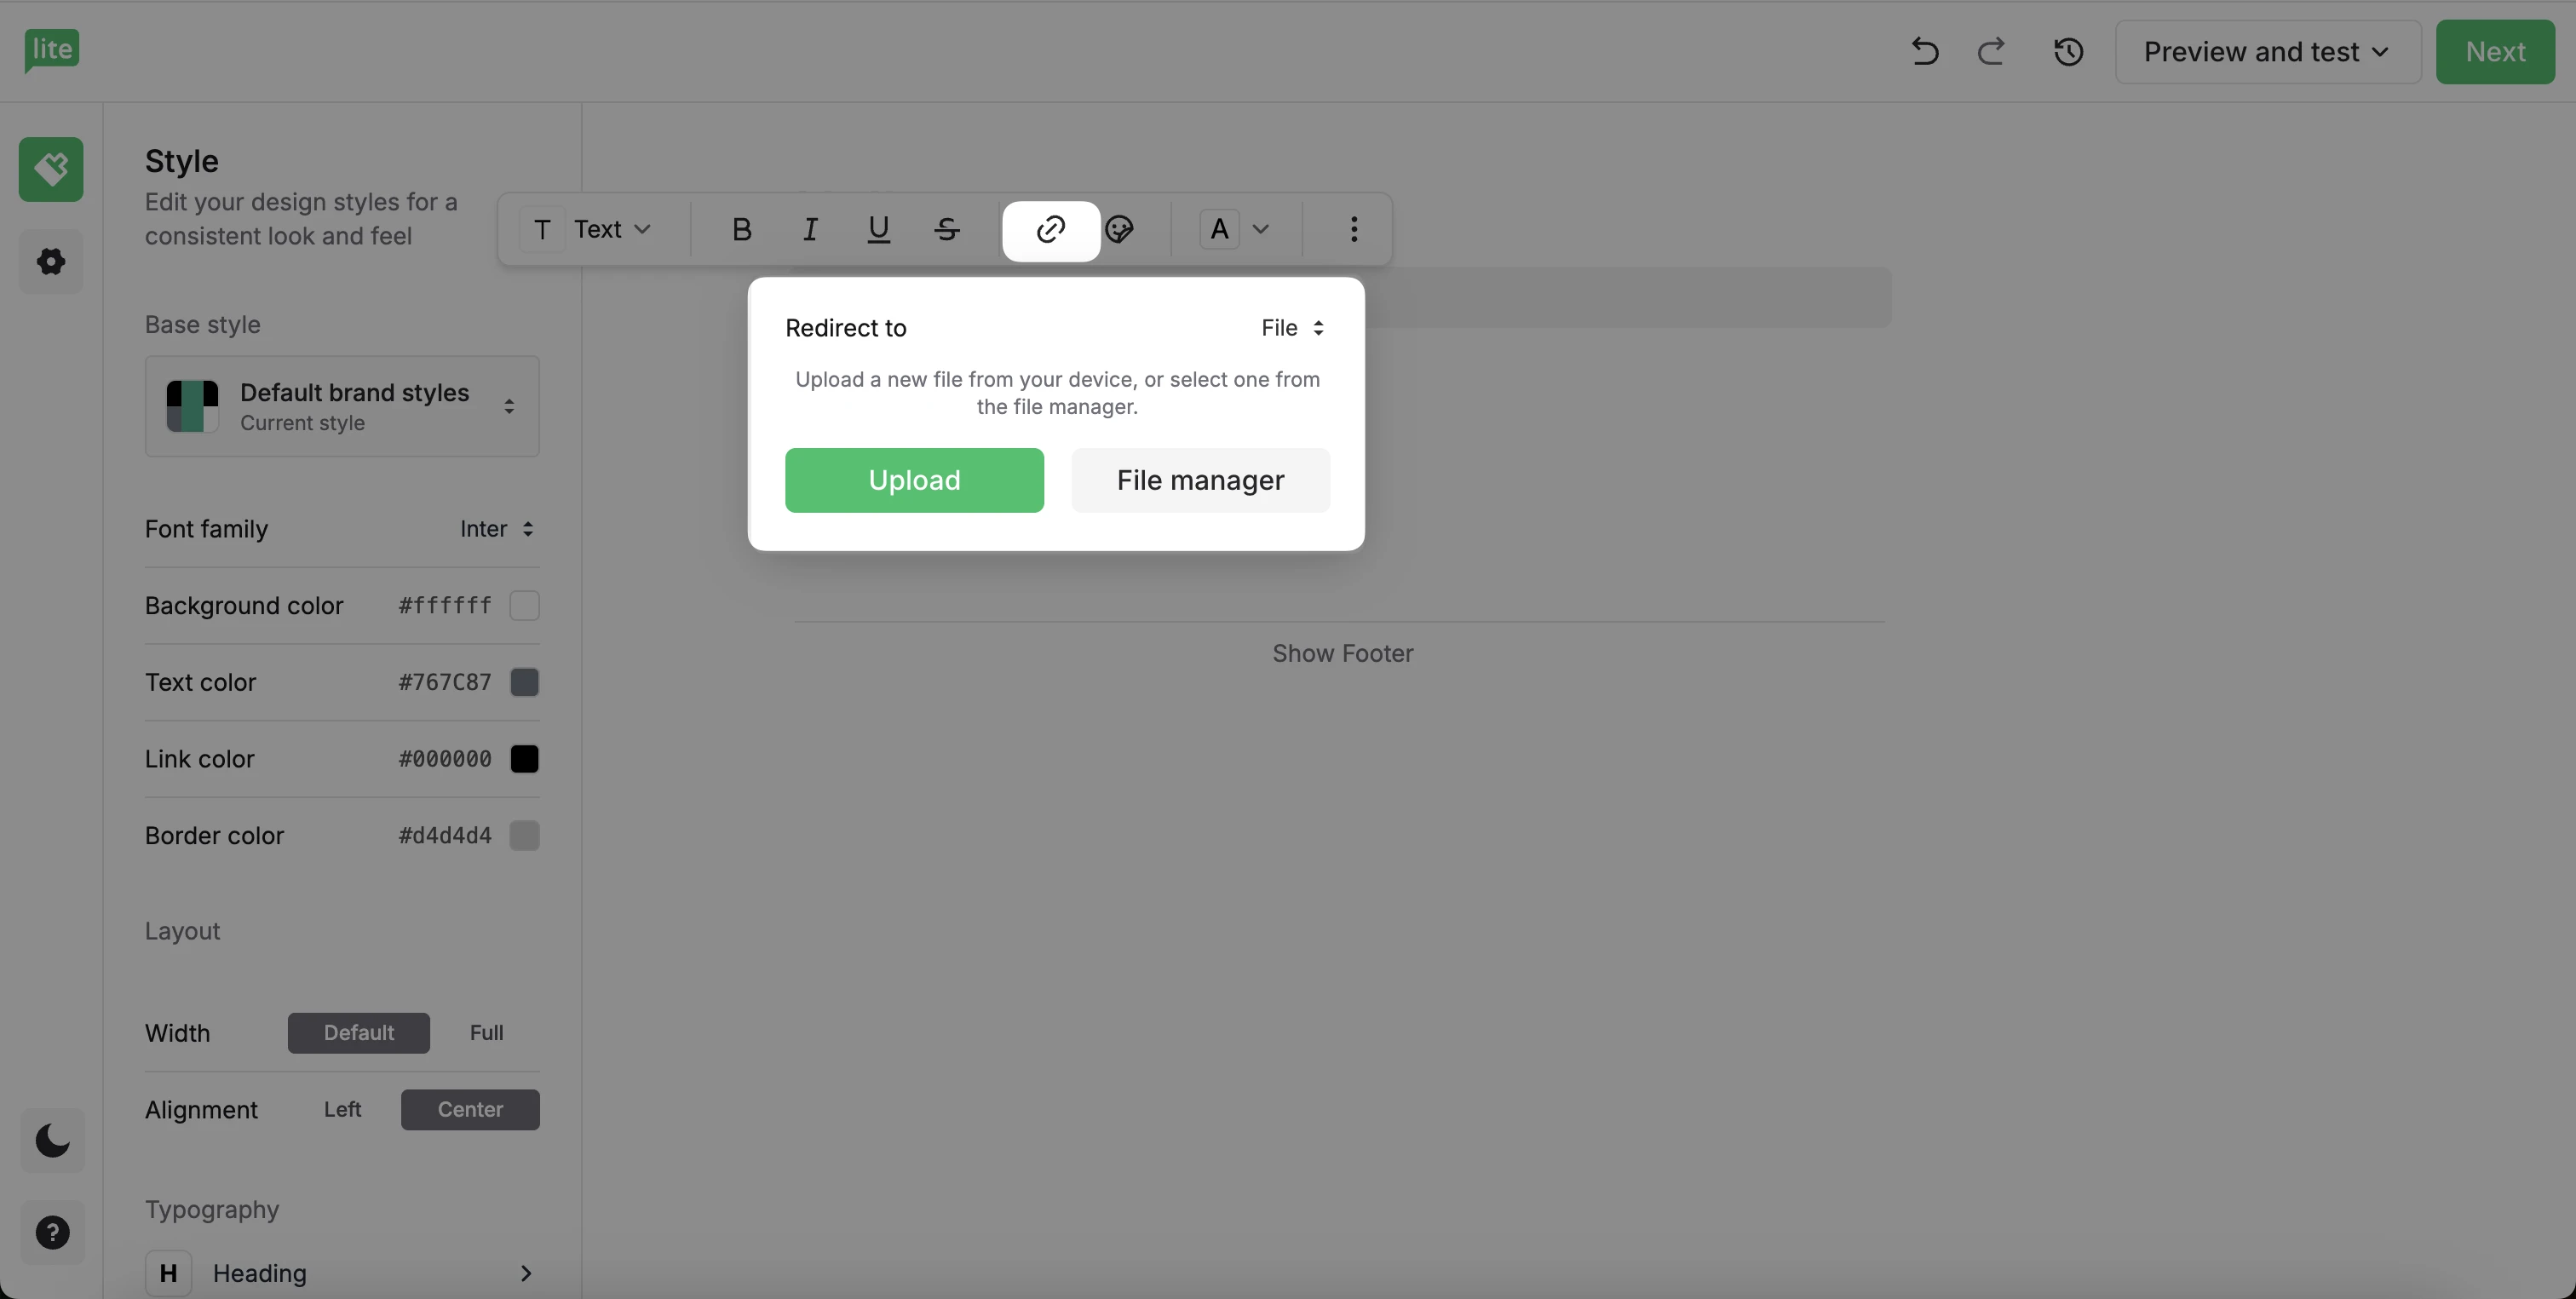
Highlight the piece of text that you want to hyperlink, and a menu will appear above it. Click the Link icon and choose Redirect to File, then upload or select your file.
Image
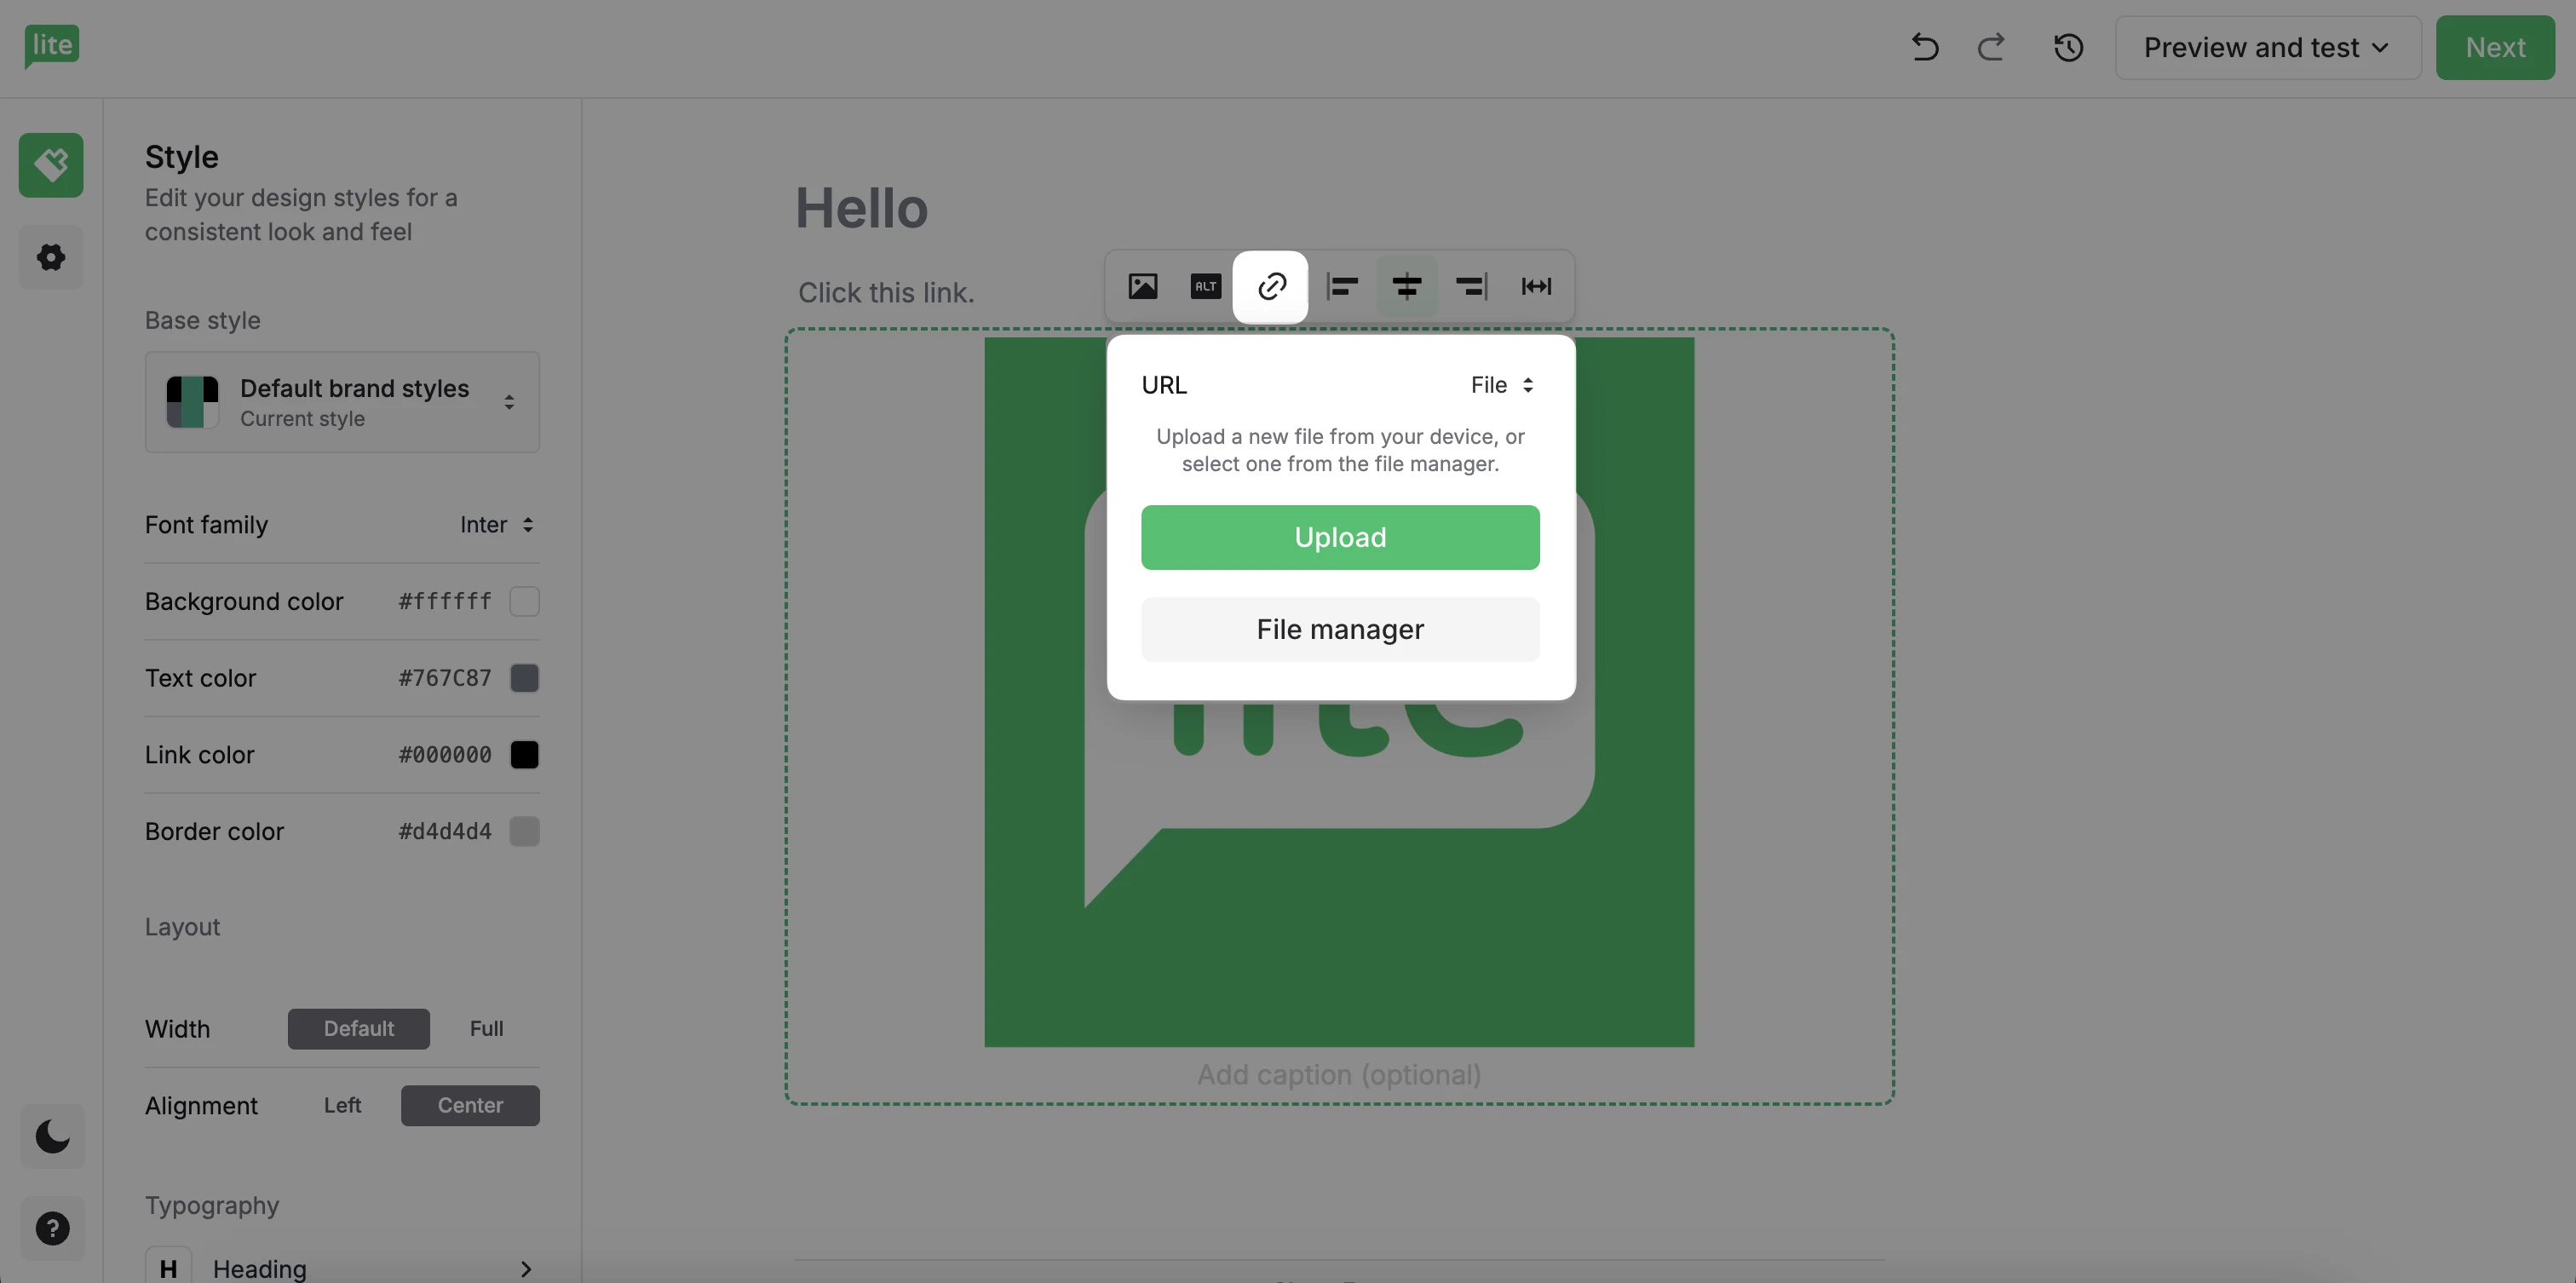
Click on the image and select the Link icon above it. Choose File, then upload or select your file.
Button
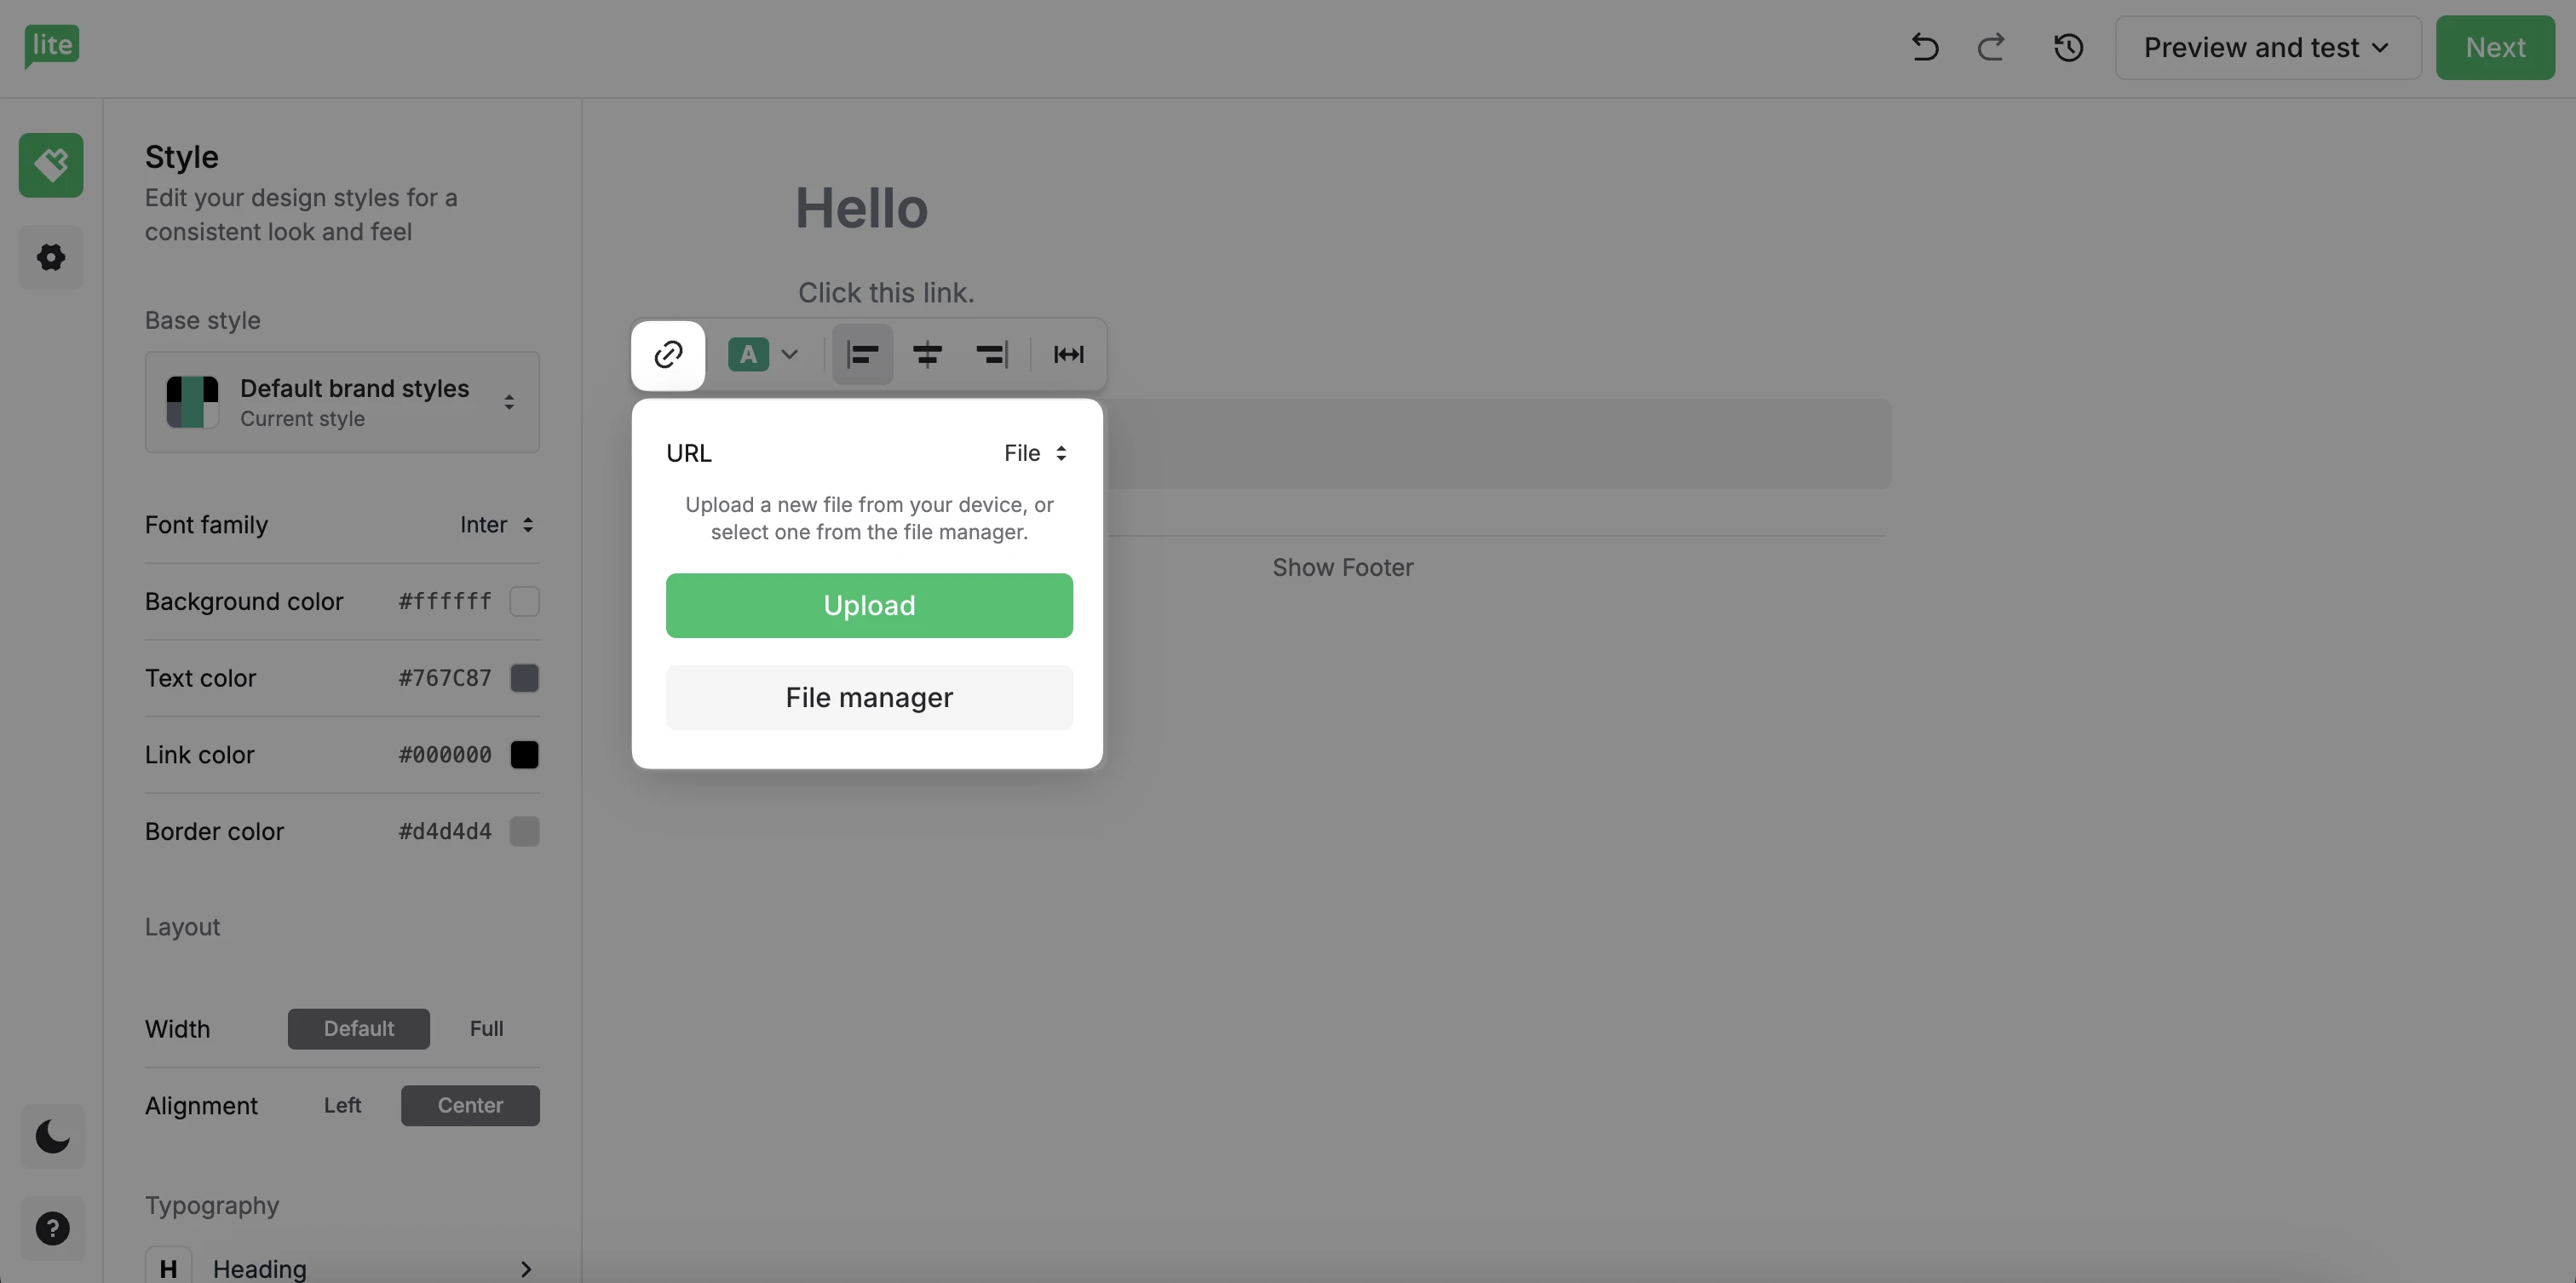
Click on the button and select the Link icon above it. Choose File, then upload or select your file.
Delete, re-arrange, and duplicate elements
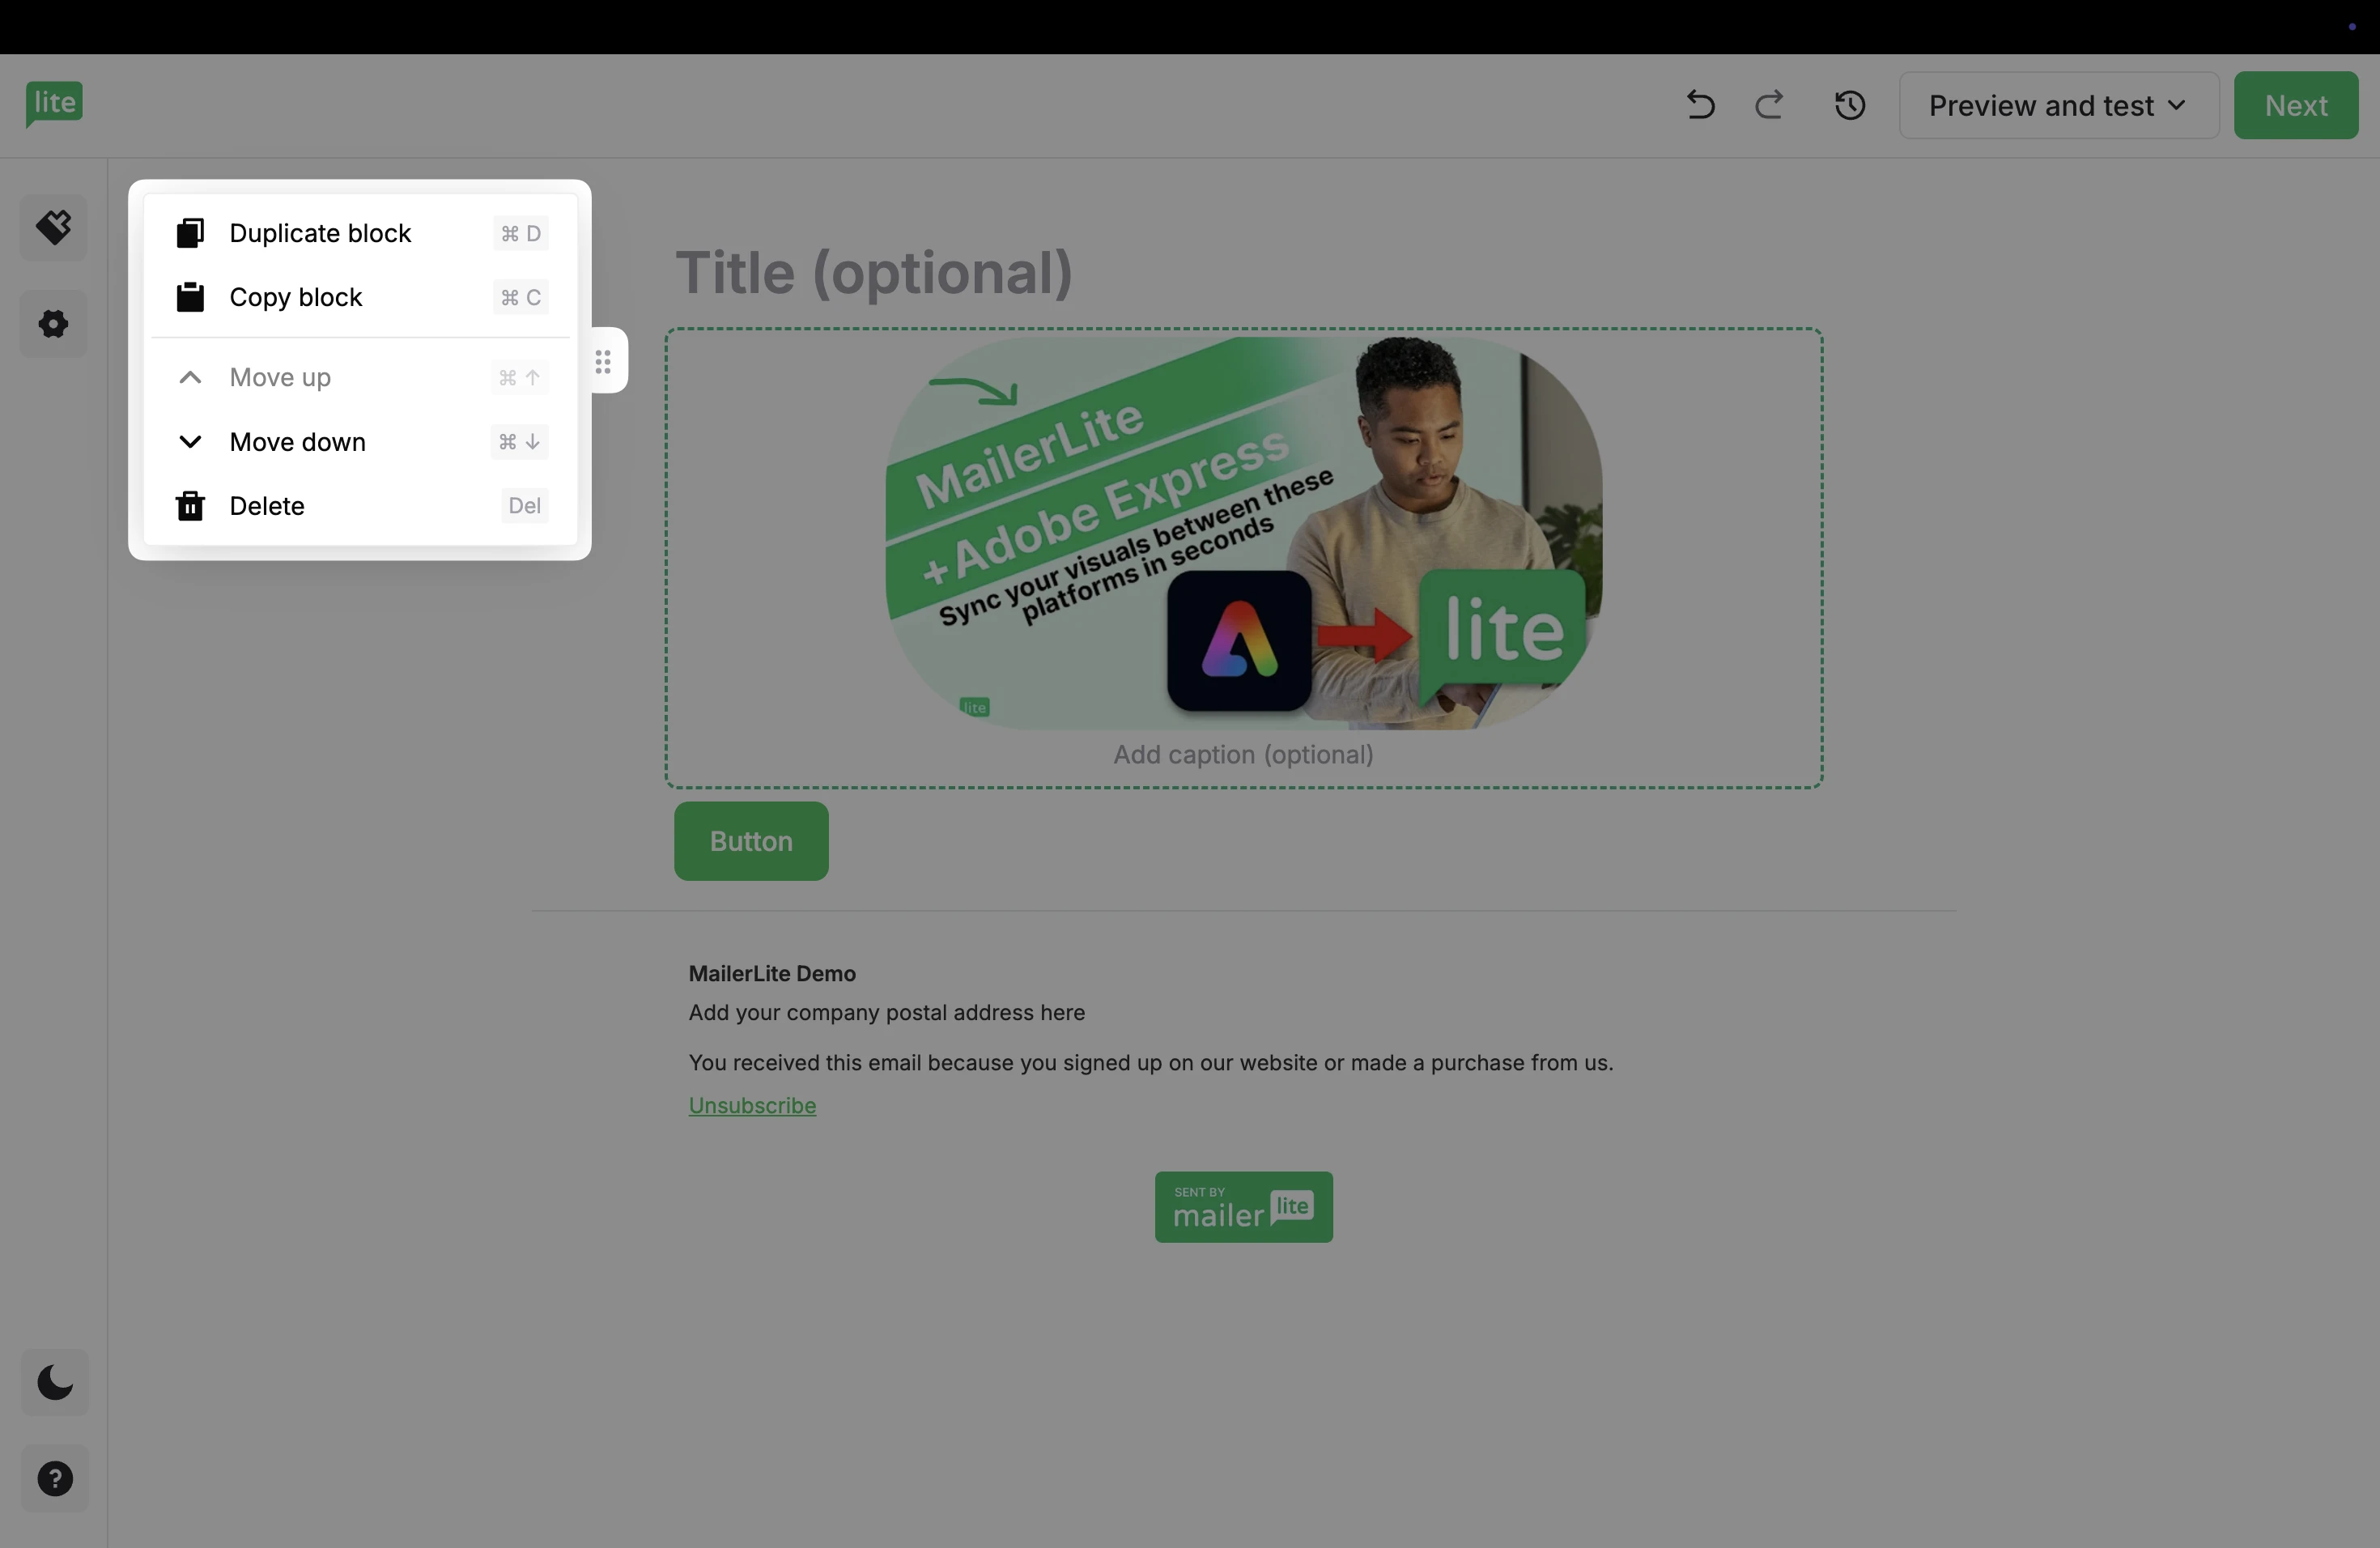
On the left side of each element, you will see a drag handle. Click this to open additional settings to Duplicate, Copy, Move, or Delete that element.
Style settings
To configure brand and style settings:
Open the Style panel in the sidebar.
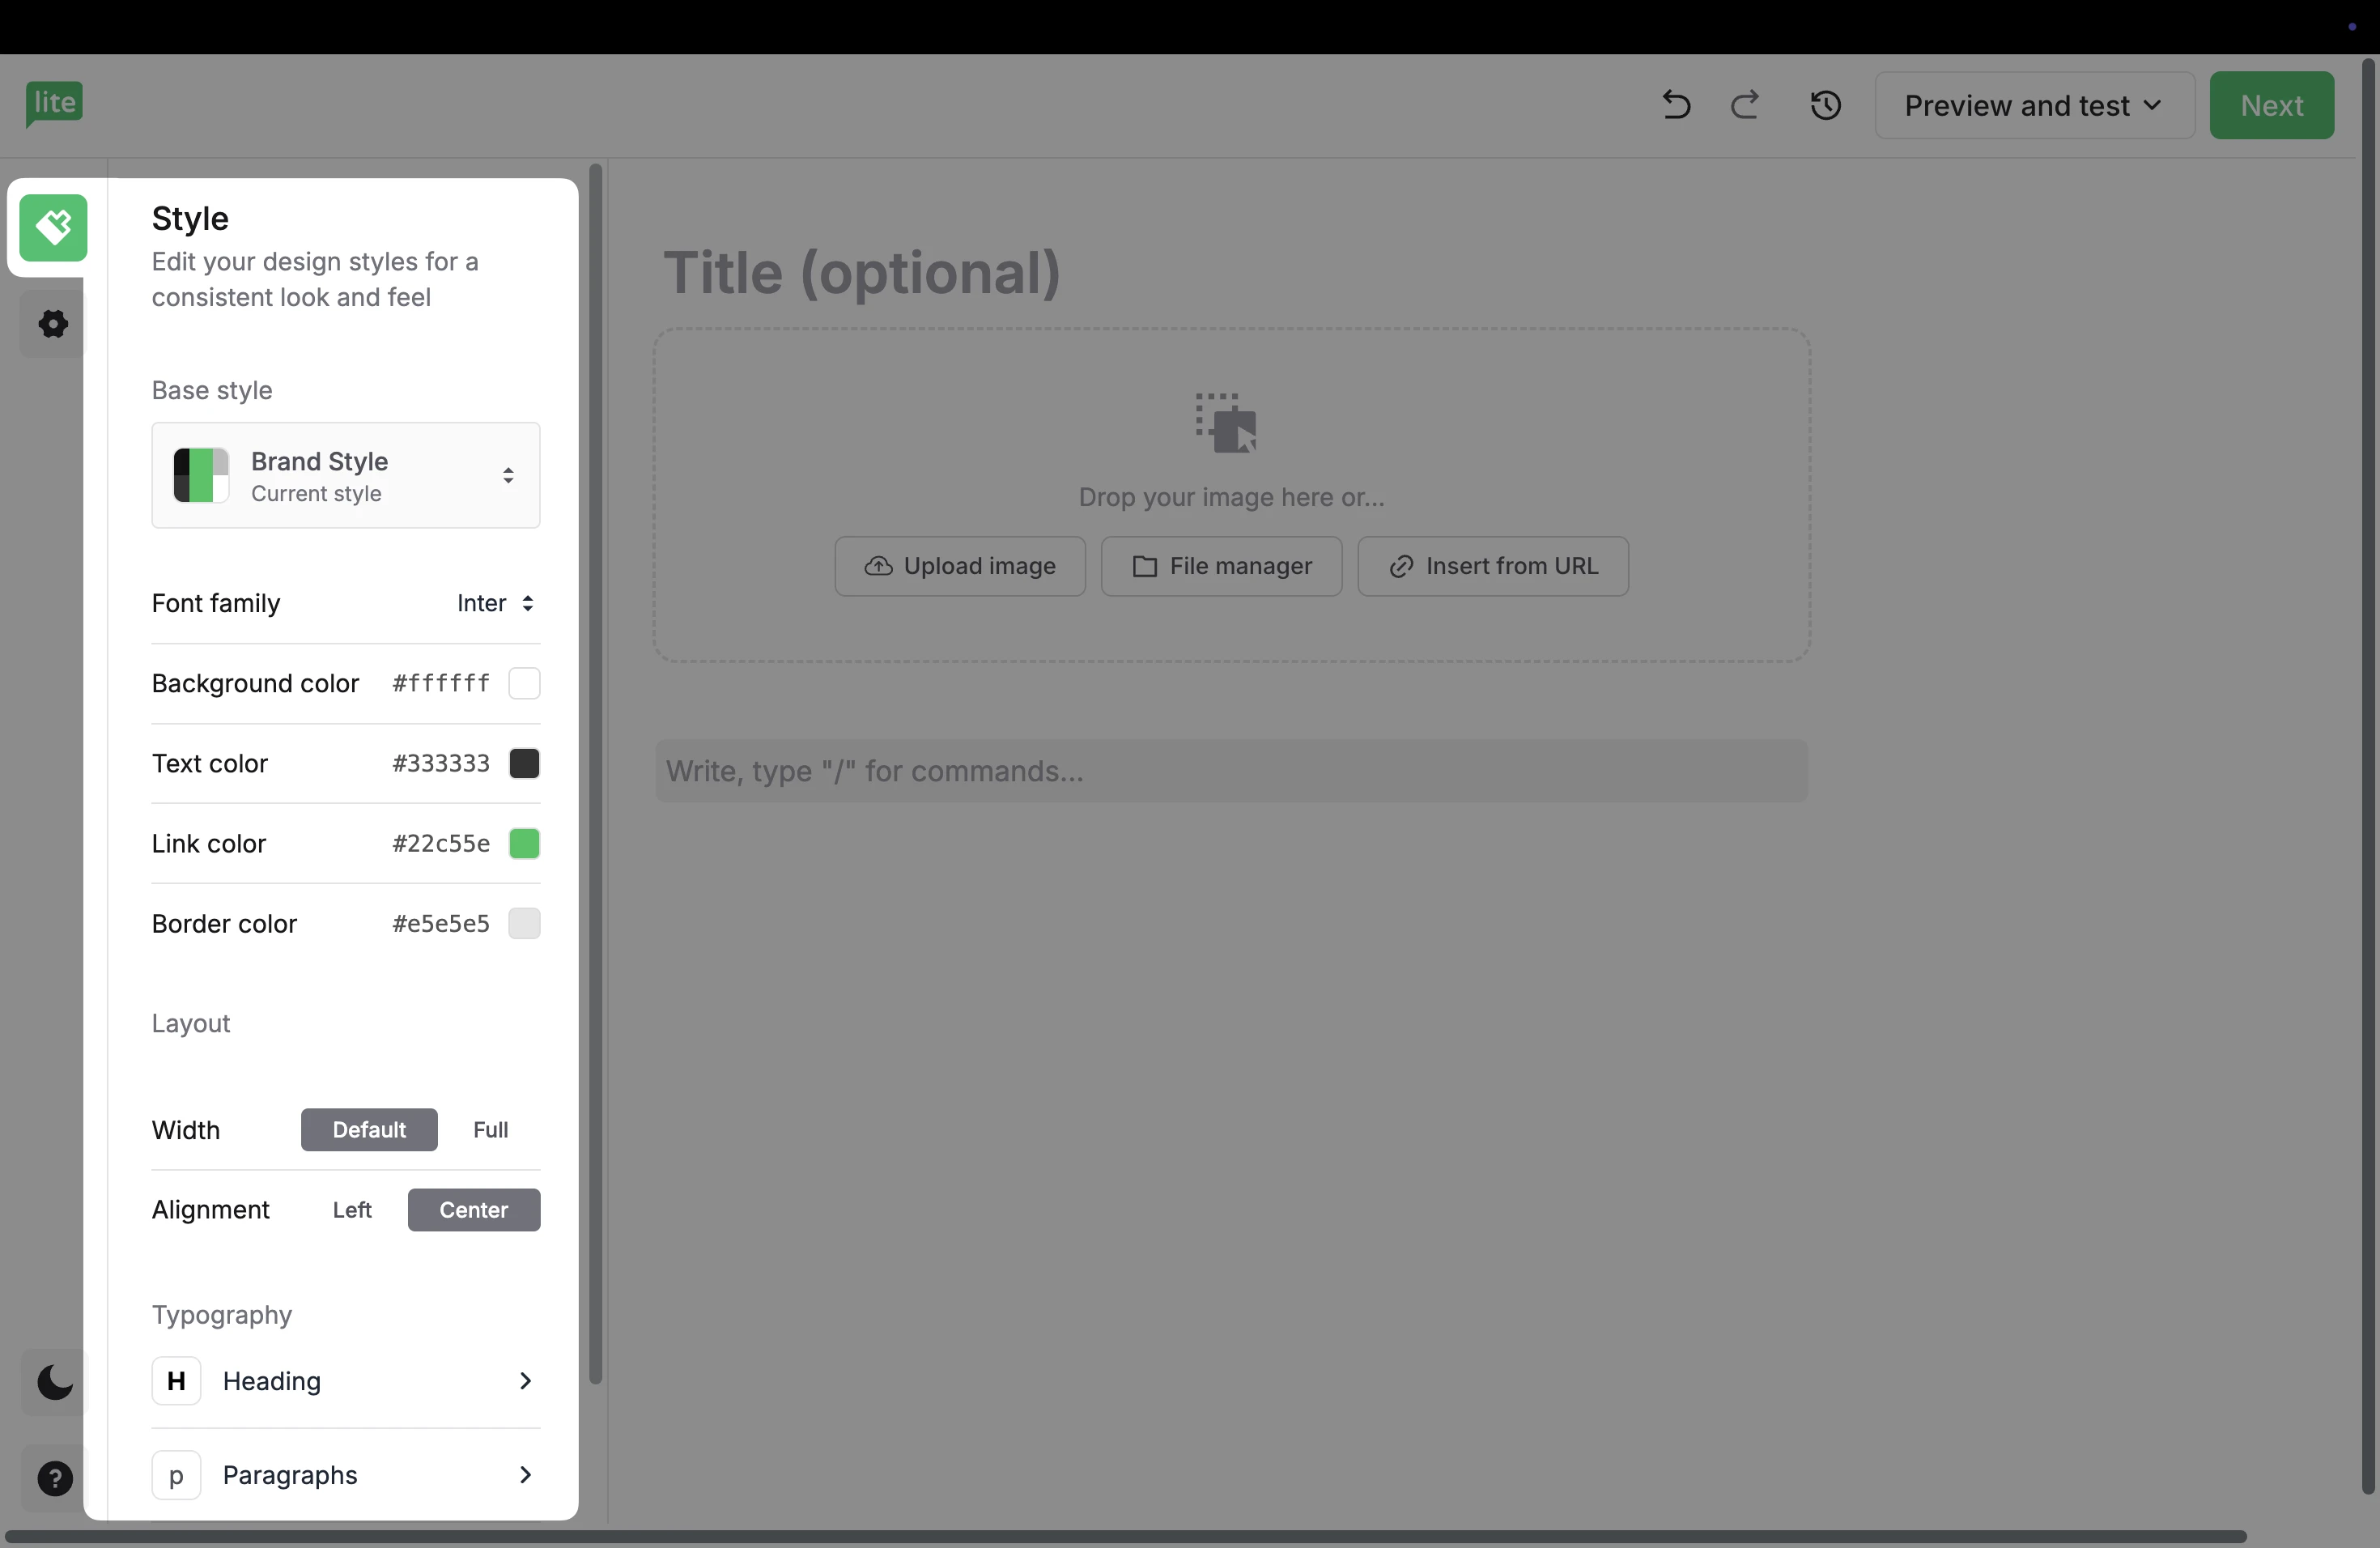
2. Here, you can set your brand style as well as additional settings such as Font family, Background color, and additional Typography settings. These settings will apply to all your newsletter content.
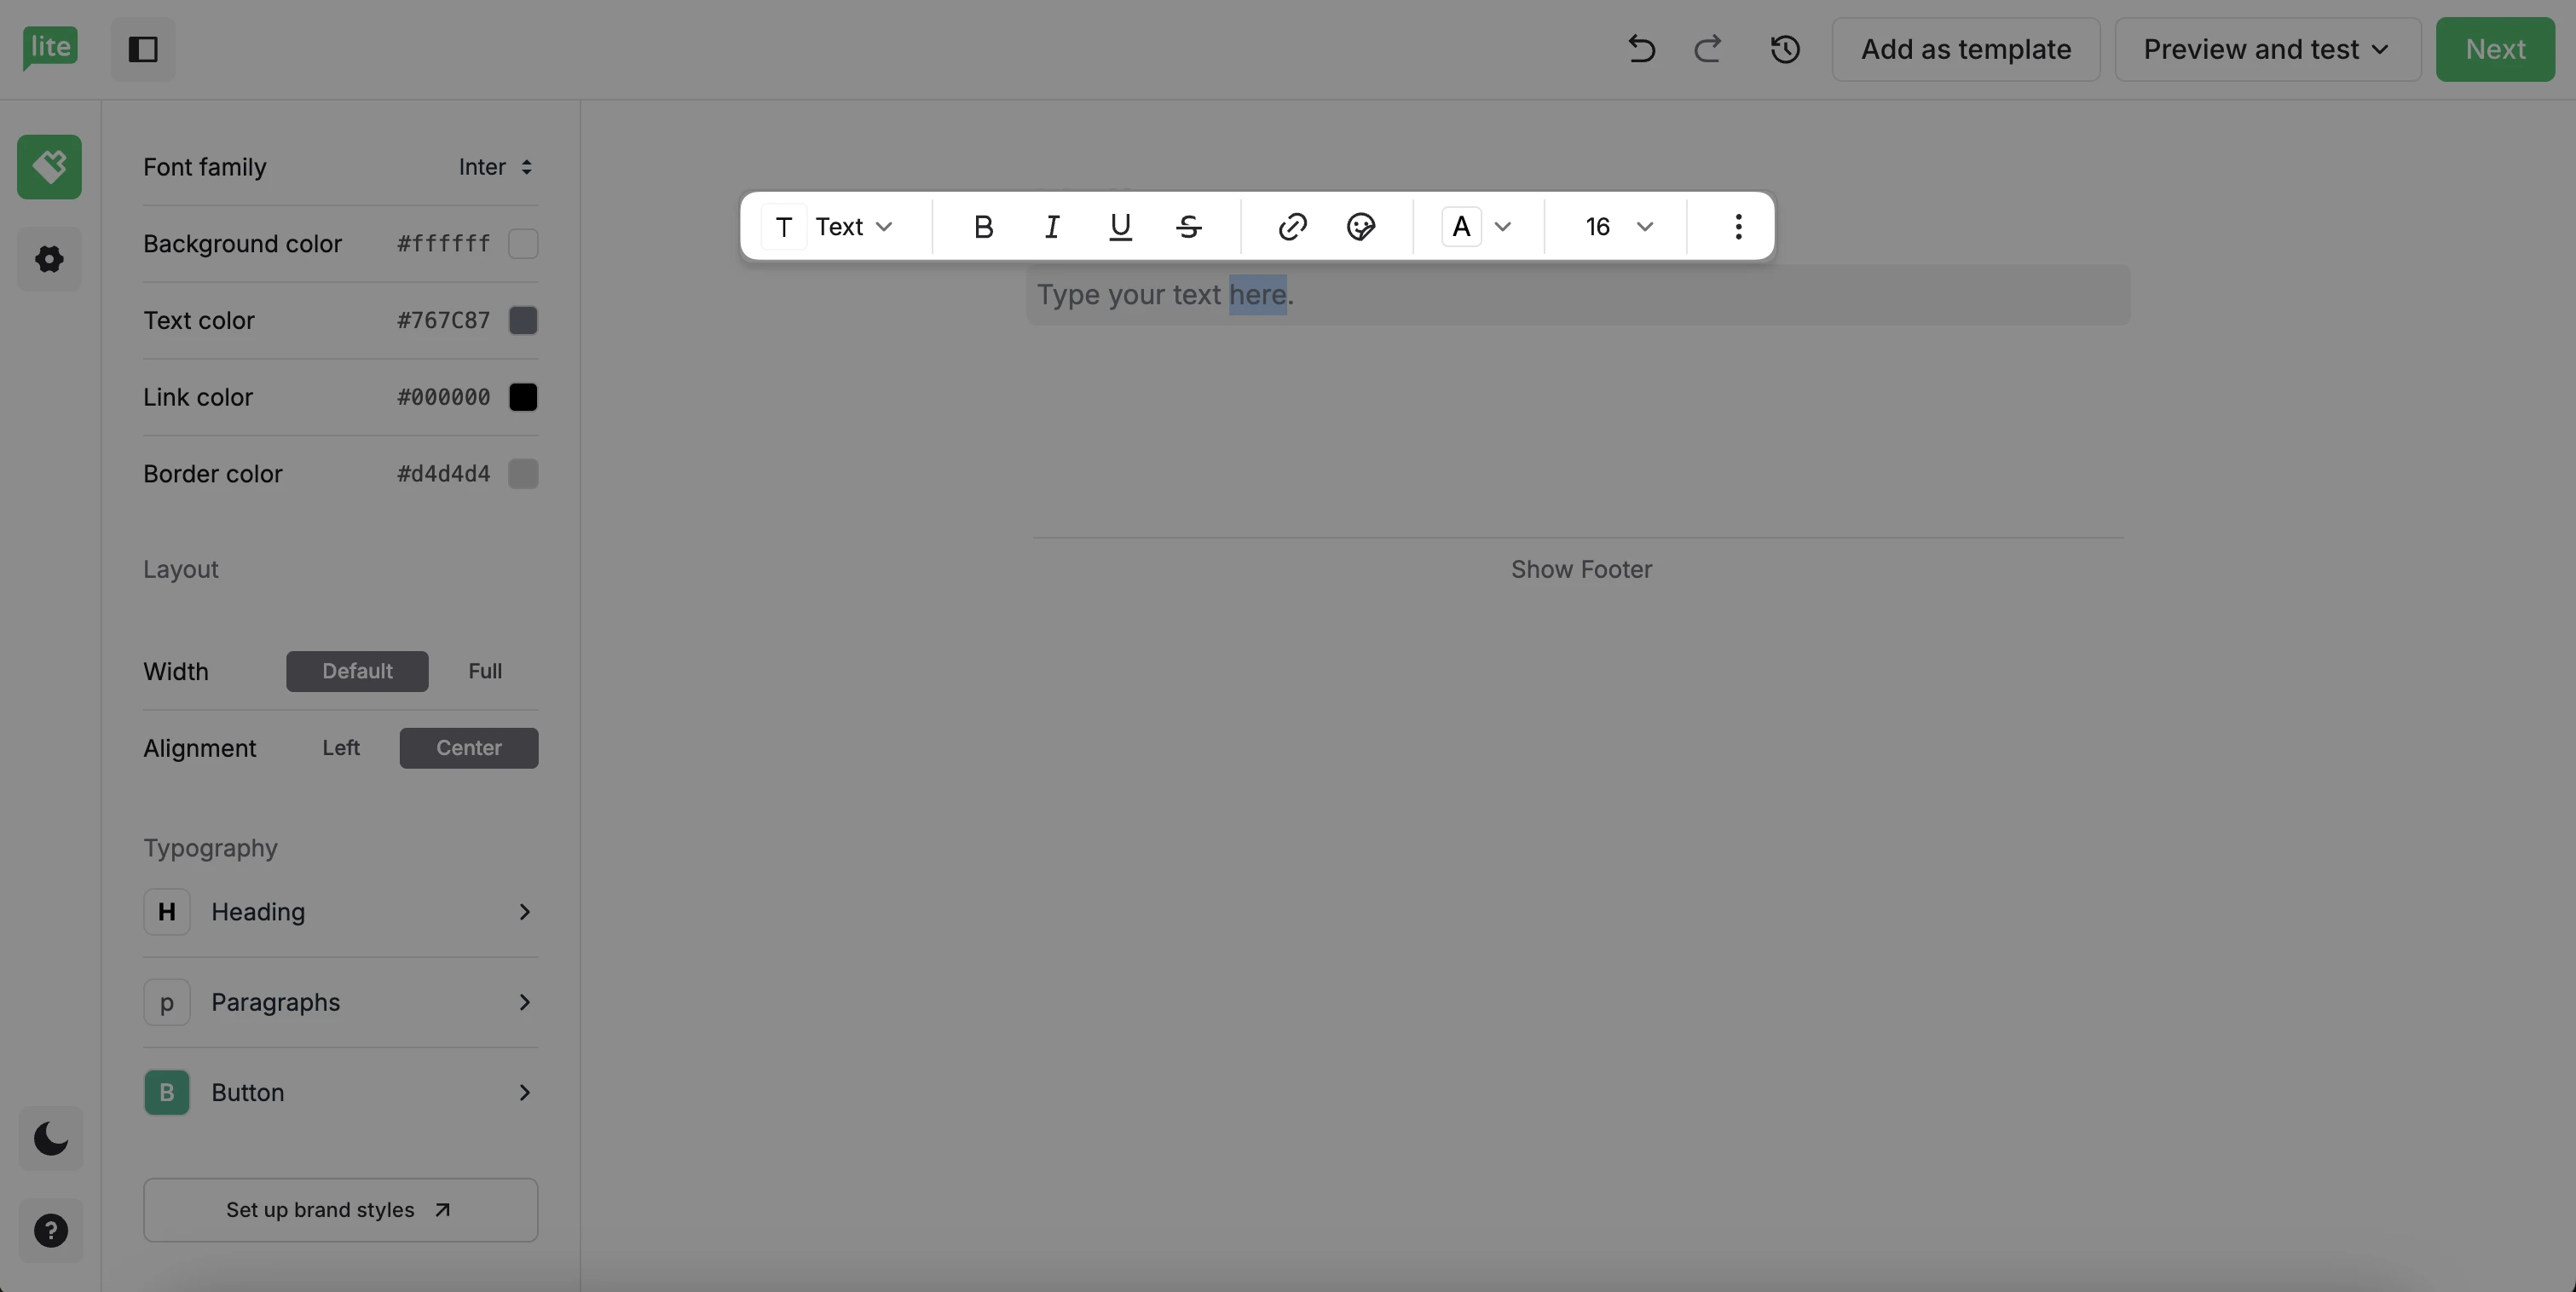
To customize individual elements, such as changing the font size or color of a specific piece of text, highlight the text and use the floating toolbar above it.
Footer
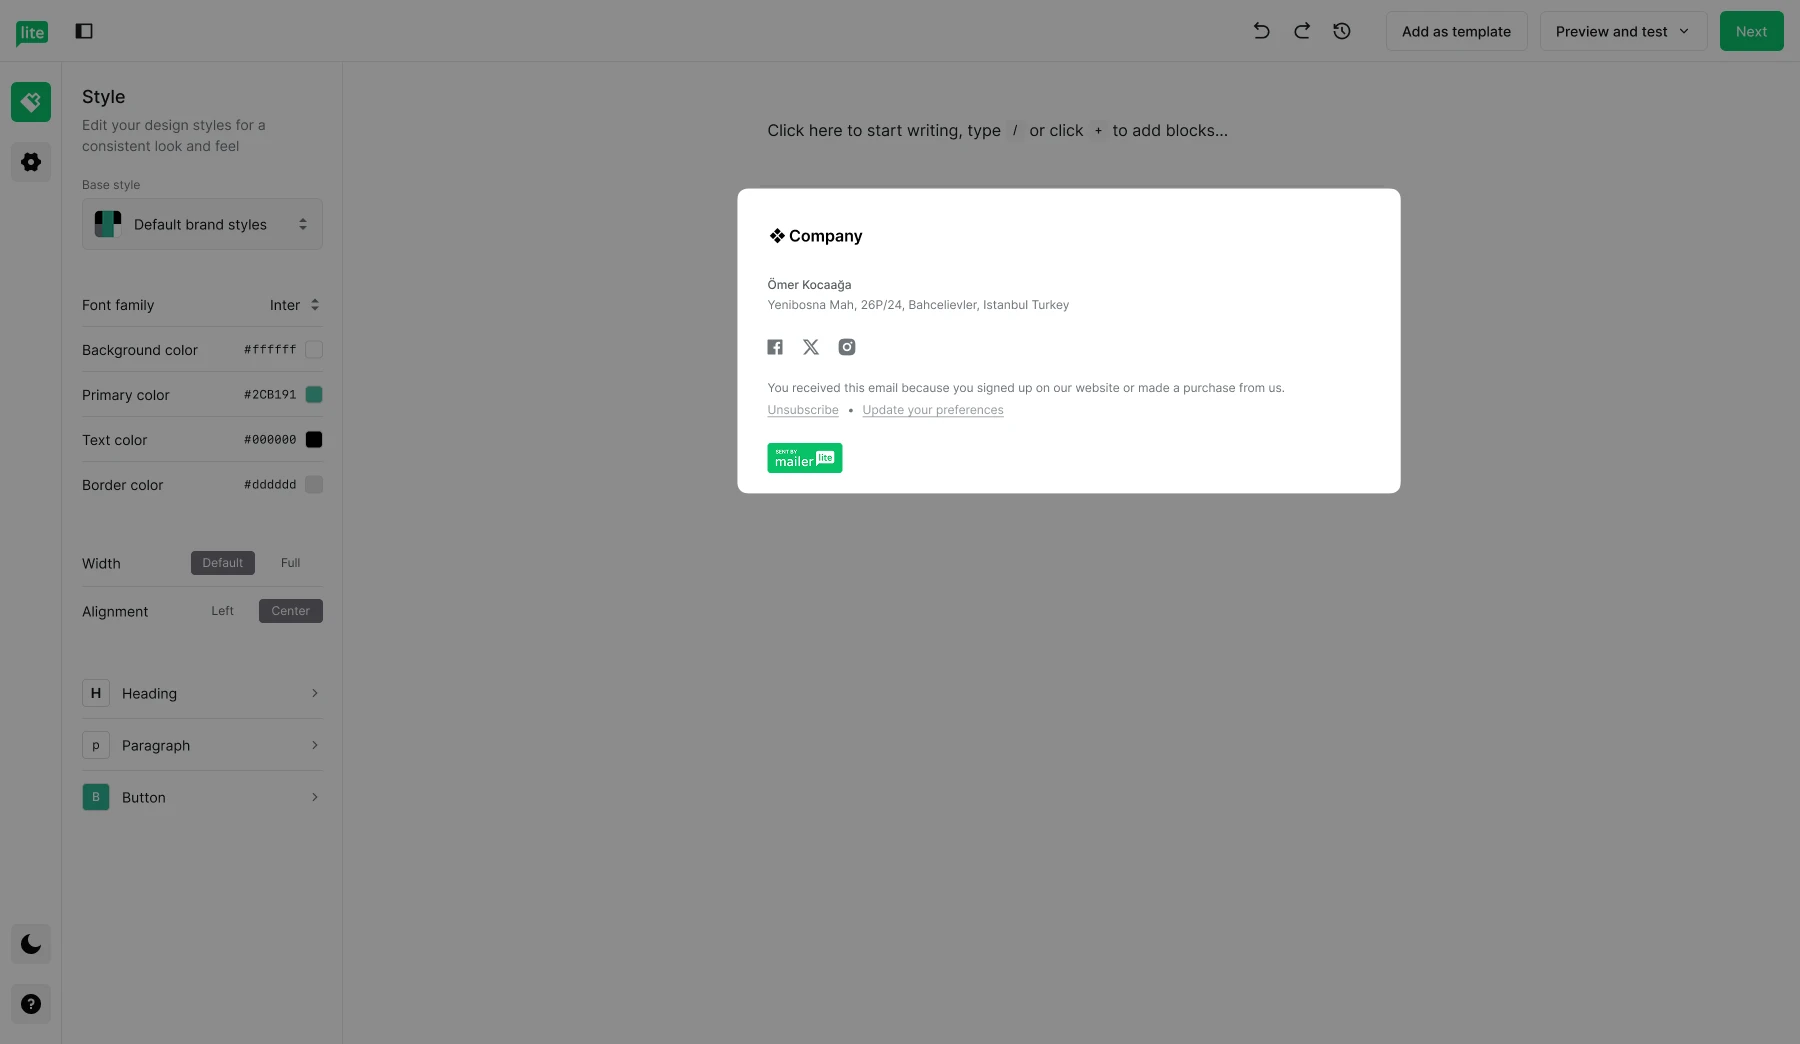
A footer block is automatically added at the end of every campaign. You can edit or remove the logo, address, and unsubscribe disclaimer. However, keep in mind that the unsubscribe link cannot be removed.
How to use the navigation bar
The navigation bar across the top of the Simple editor has several options.
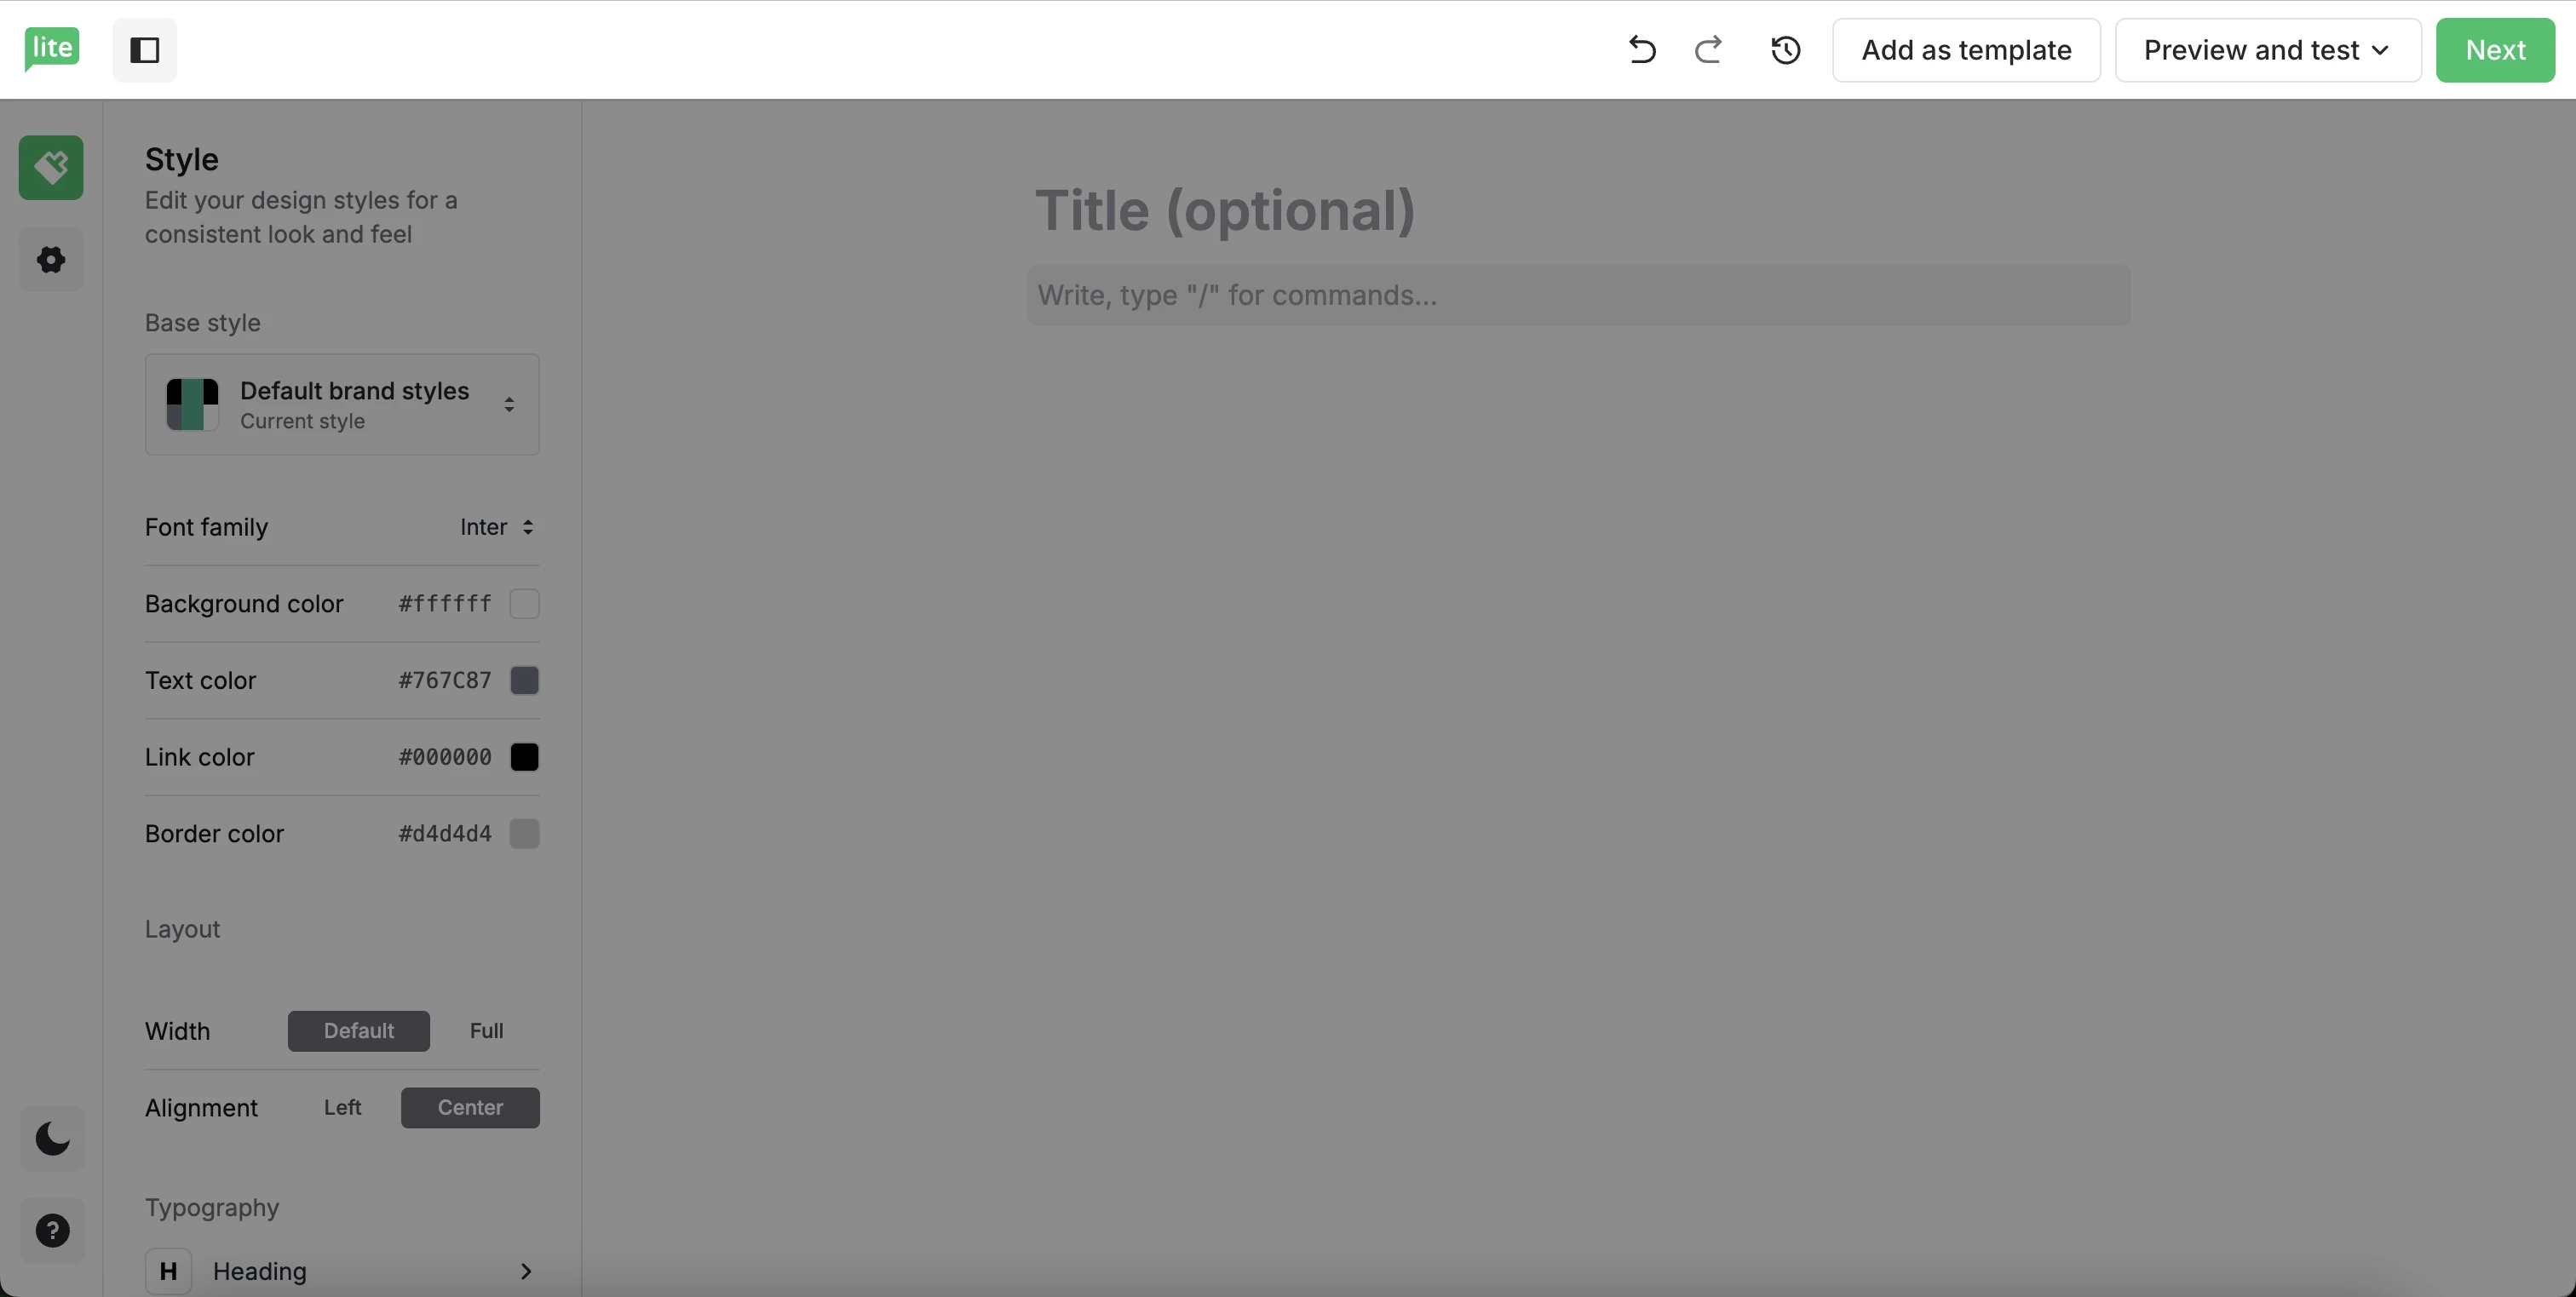
Close sidebar - The sidebar icon in the top left corner allows you to close the sidebar while working on your newsletter content.
Undo and redo - The backwards and forwards pointing arrows allow you to undo and redo previous actions.
Restore version history - The anti-clockwise clock icon allows you to view the recent changes you’ve made and restore past saved versions of the newsletter.
Add as template - Save the newsletter as a template to reuse your design in the future.
Preview and test - Preview the desktop and mobile versions of the campaign and send a test email so you can see how it will appear for your subscribers.
When you are ready to add your Campaign details, click Next at the top right of the editor to move to the next step.