Note: If you're a Legacy (Classic) user, please log in to your account to access the dedicated Legacy (Classic) Help Center.
The MailerLite integration for Shoper is a free solution for Shoper users and anyone who wants to start or grow email marketing for their store.
With the integration, you can easily connect your online store to MailerLite, and your data, such as subscribers, products, categories, and orders, will be synced automatically and ready to use in your marketing campaigns.
It also gives you access to additional e-commerce features in MailerLite, like abandoned cart automations and product blocks in email templates.
How to set up the MailerLite integration for Shoper
To set up the MailerLite integration for Shoper:
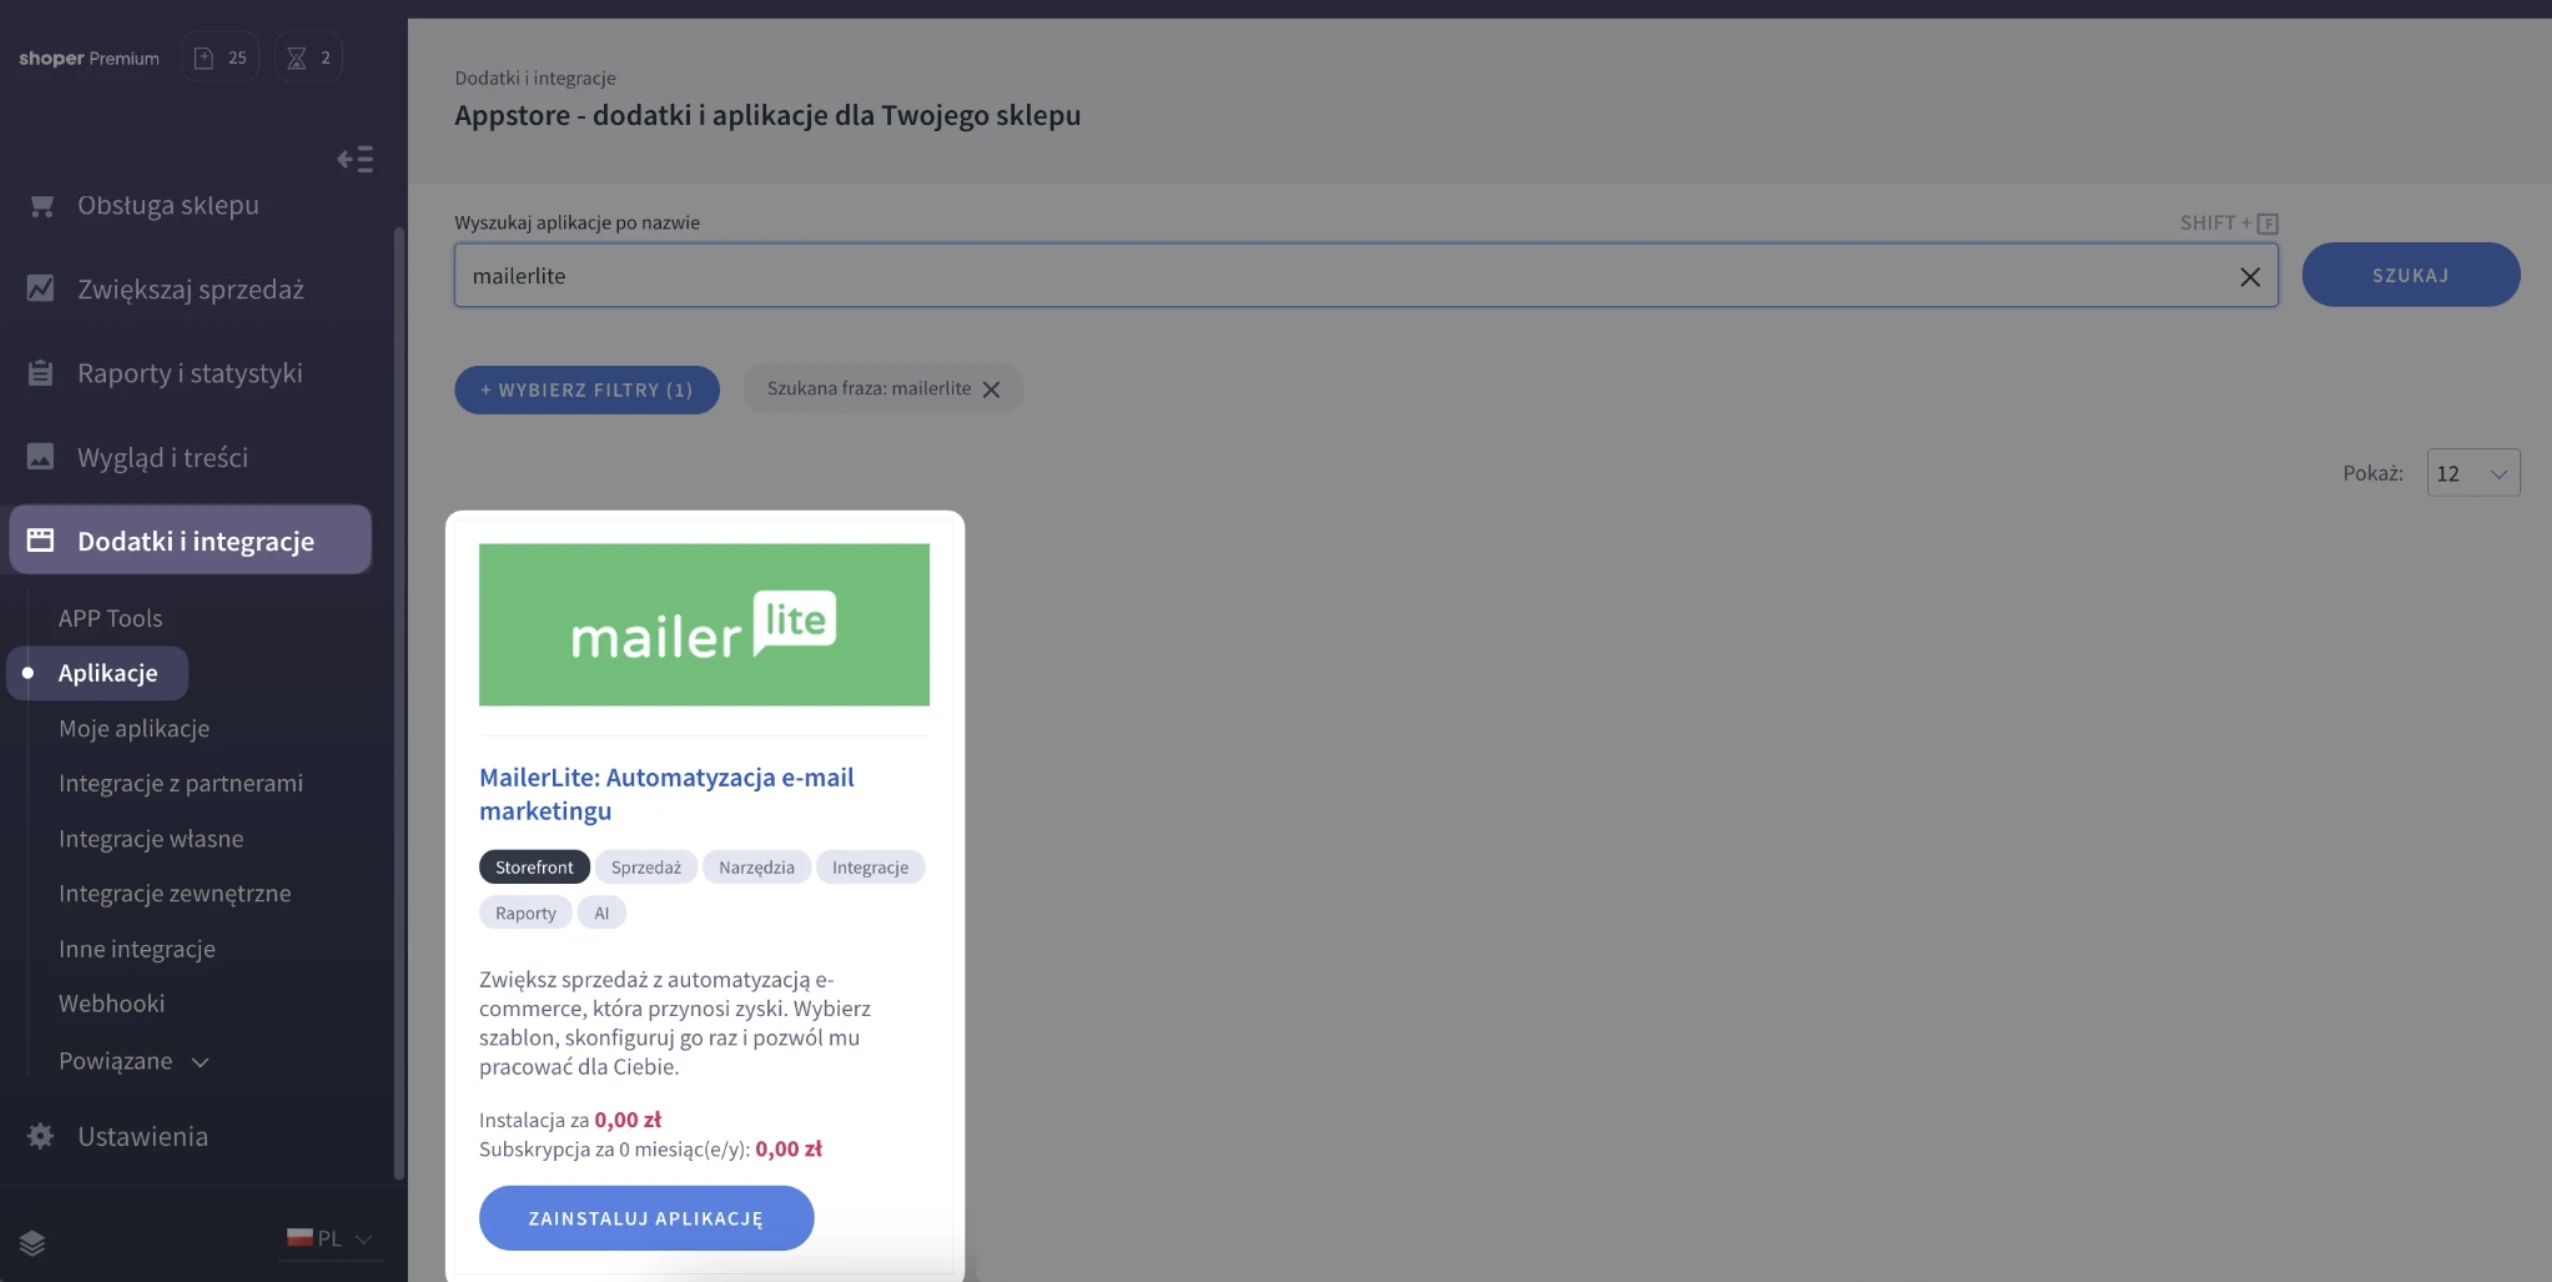
In your Shoper store admin panel, go to the Add-ons and integrations (Dodatki i integracje) tab, then Applications (Aplikacje).
Search for the app by typing "MailerLite".
Click Install application (Zainstaluj aplikację).
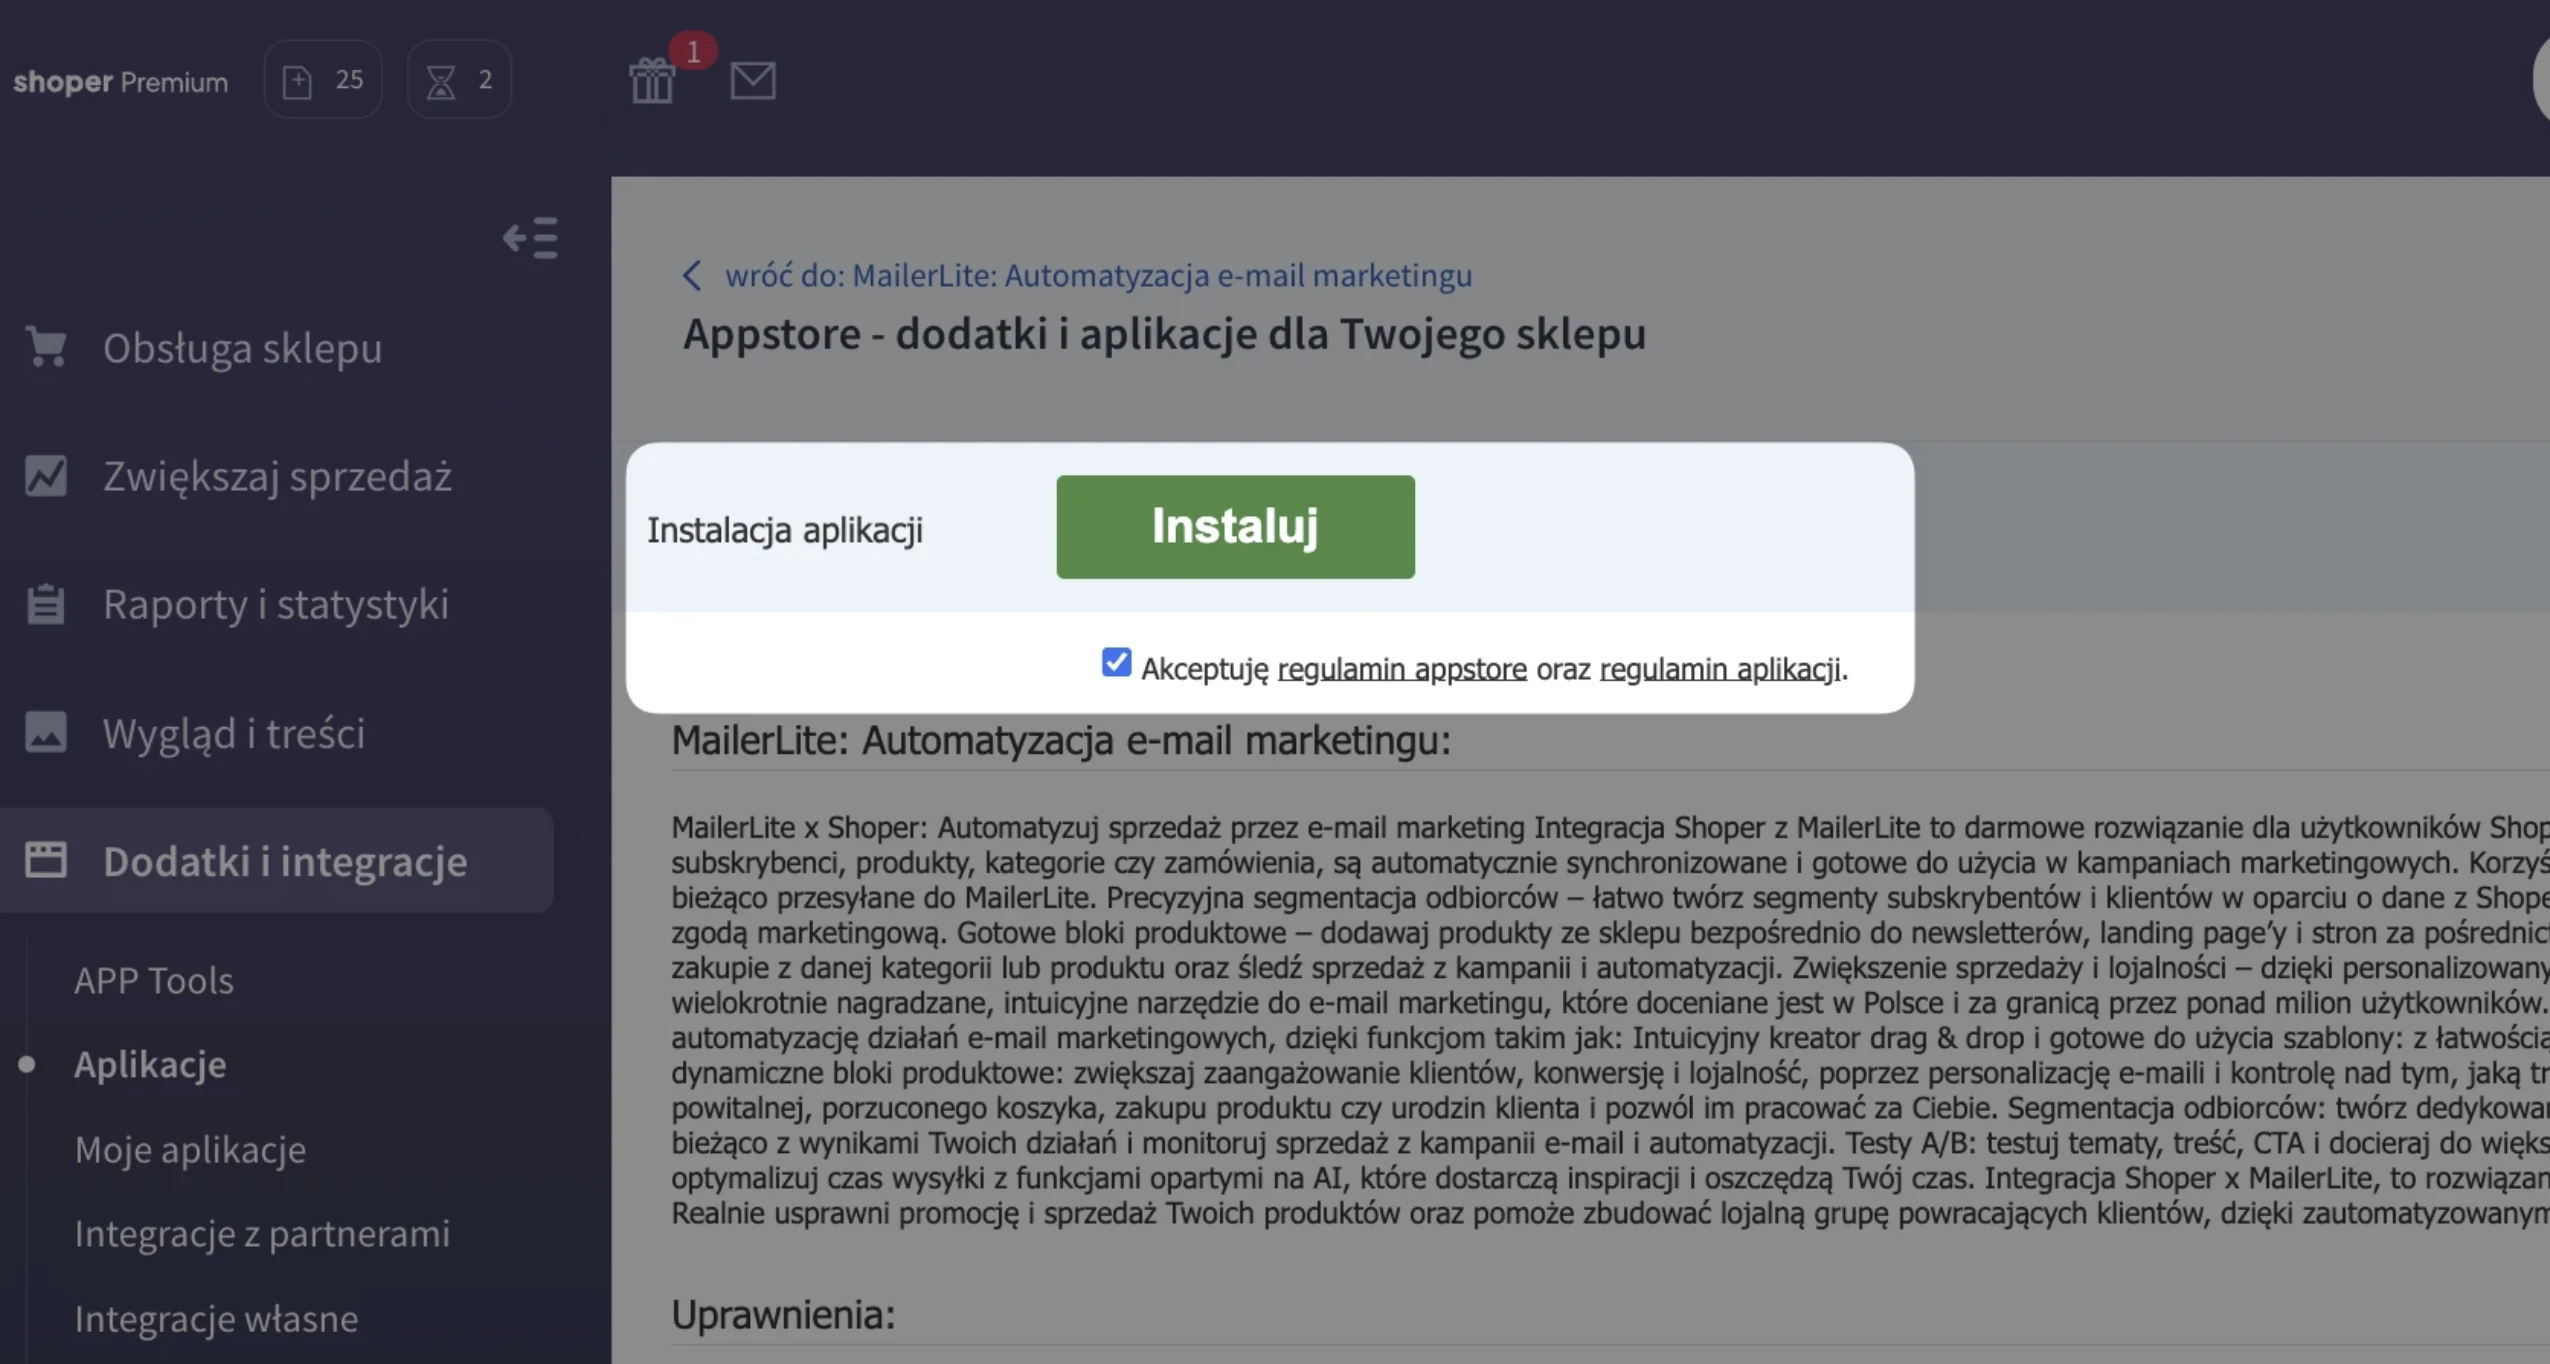
You'll be redirected to the next step. Review the integration details described there, accept the Terms and Conditions, and click Install (Instaluj).
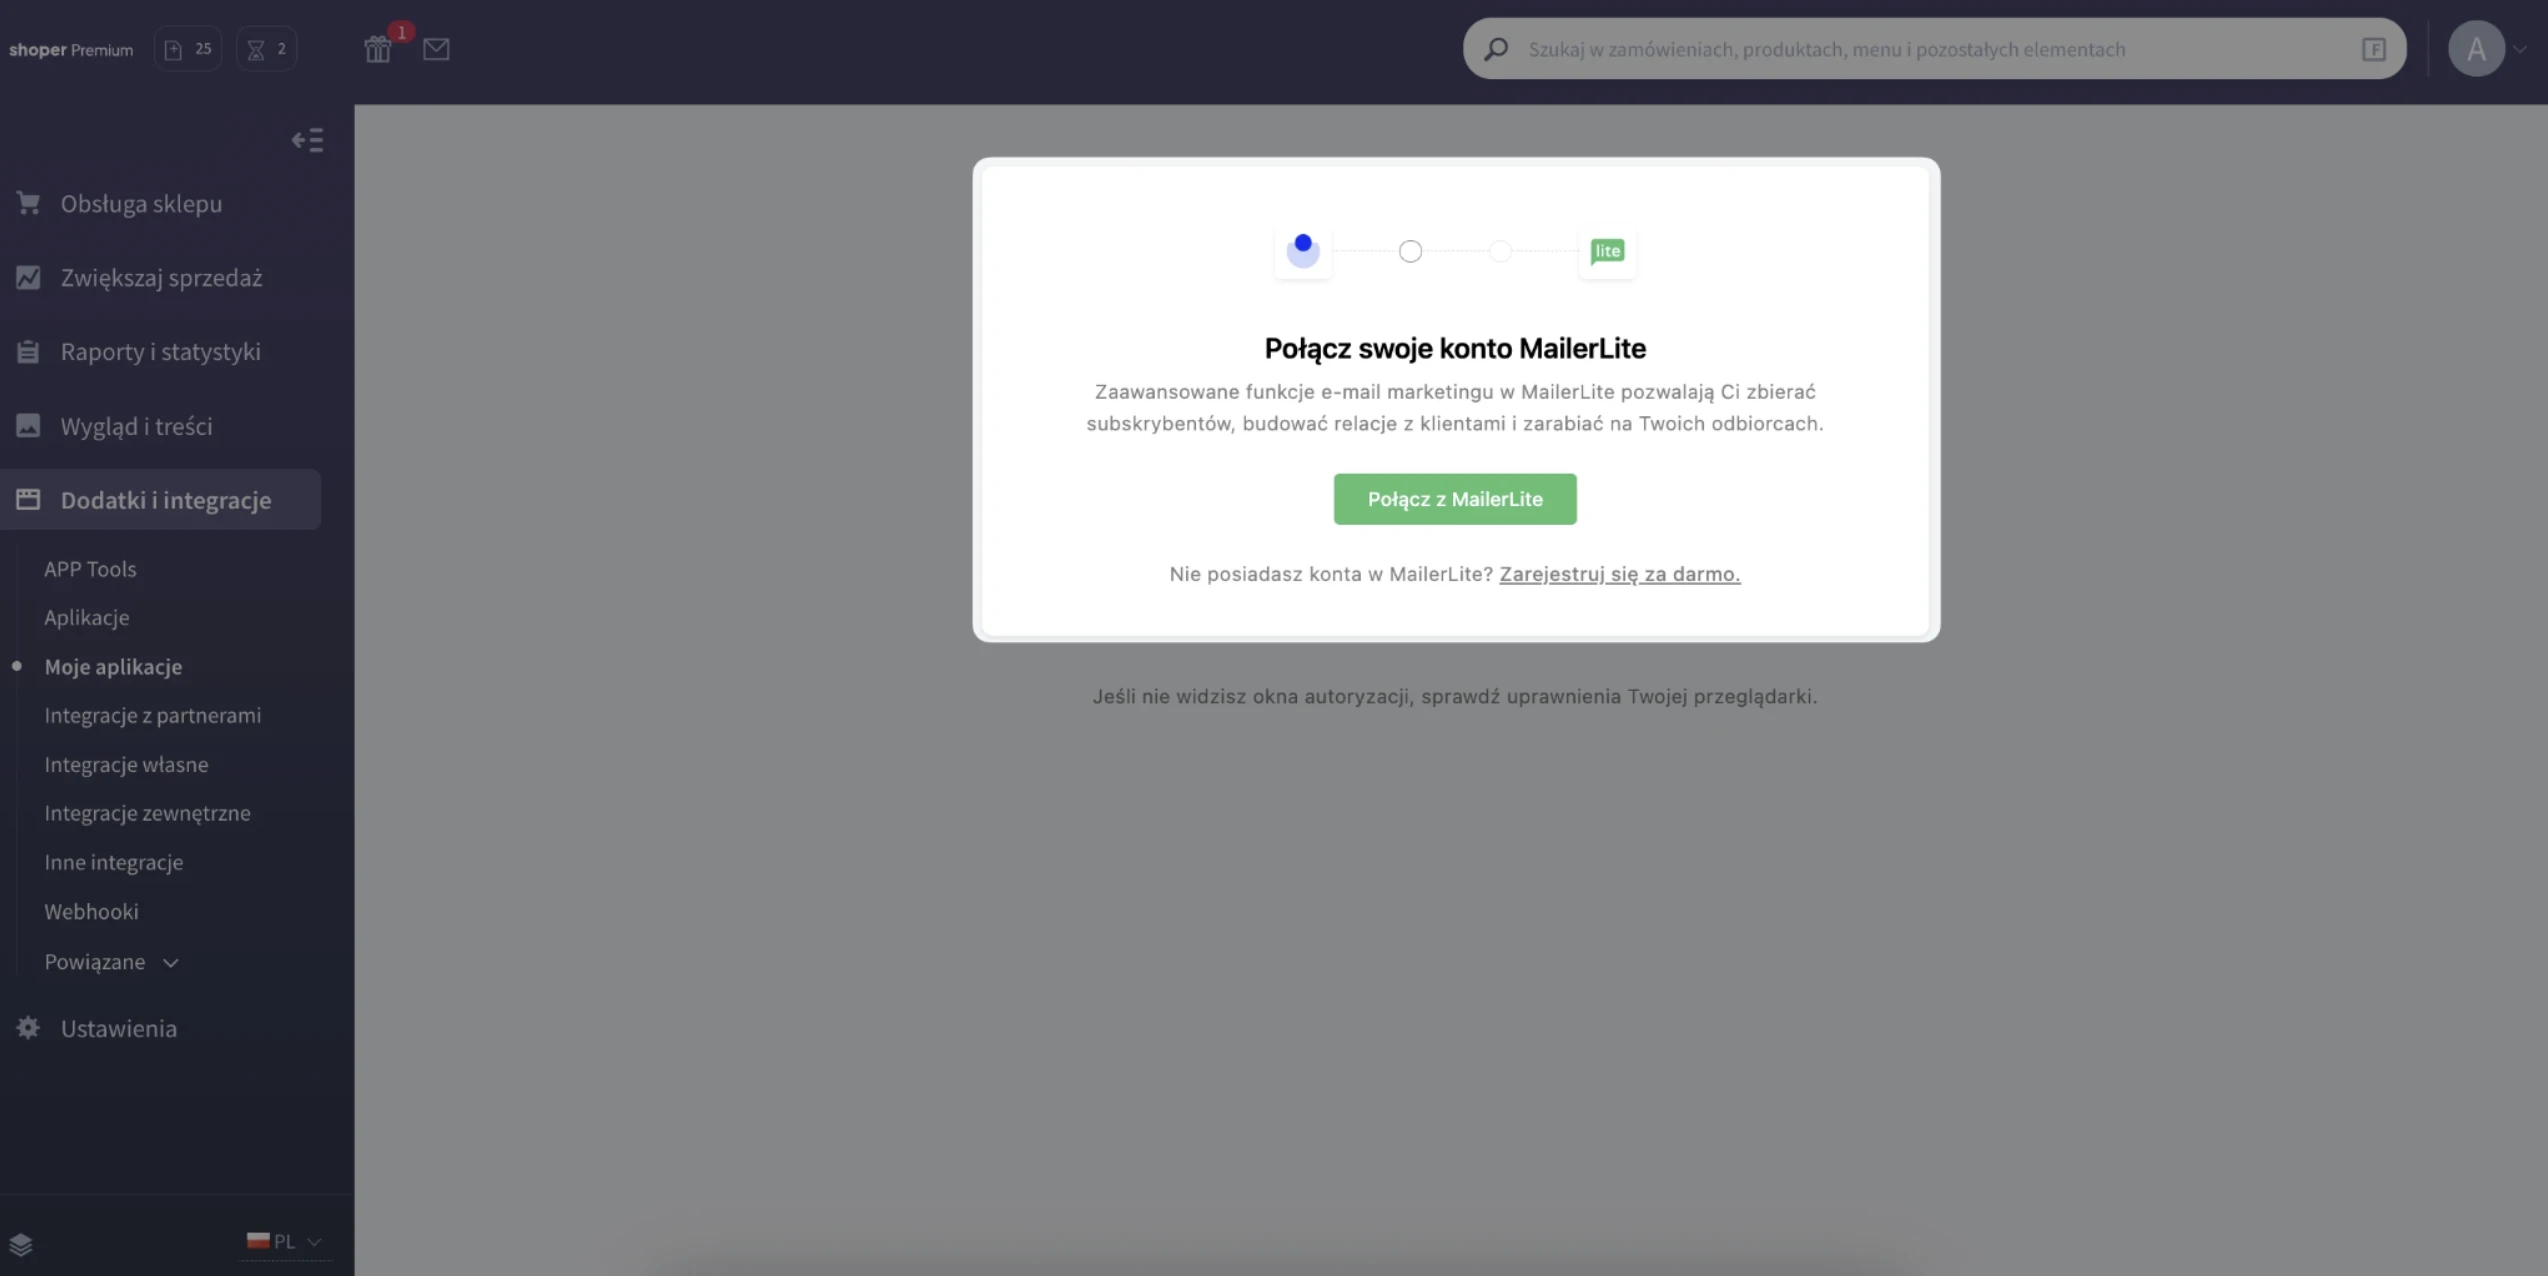
After you click Install (Instaluj), you'll be redirected to a new view.
Now it's time to connect your Shoper store to your MailerLite account.
If you already have a MailerLite account:
Click Connect with MailerLite (Połącz z MailerLite) and enter your login details.
If you don't have an account yet:
Create one right at this step by clicking Sign up for free (Zarejestruj się za darmo).
After creating your account and verifying your email address, go back to your store admin panel and open the app again.
Click Connect with MailerLite (Połącz z MailerLite).
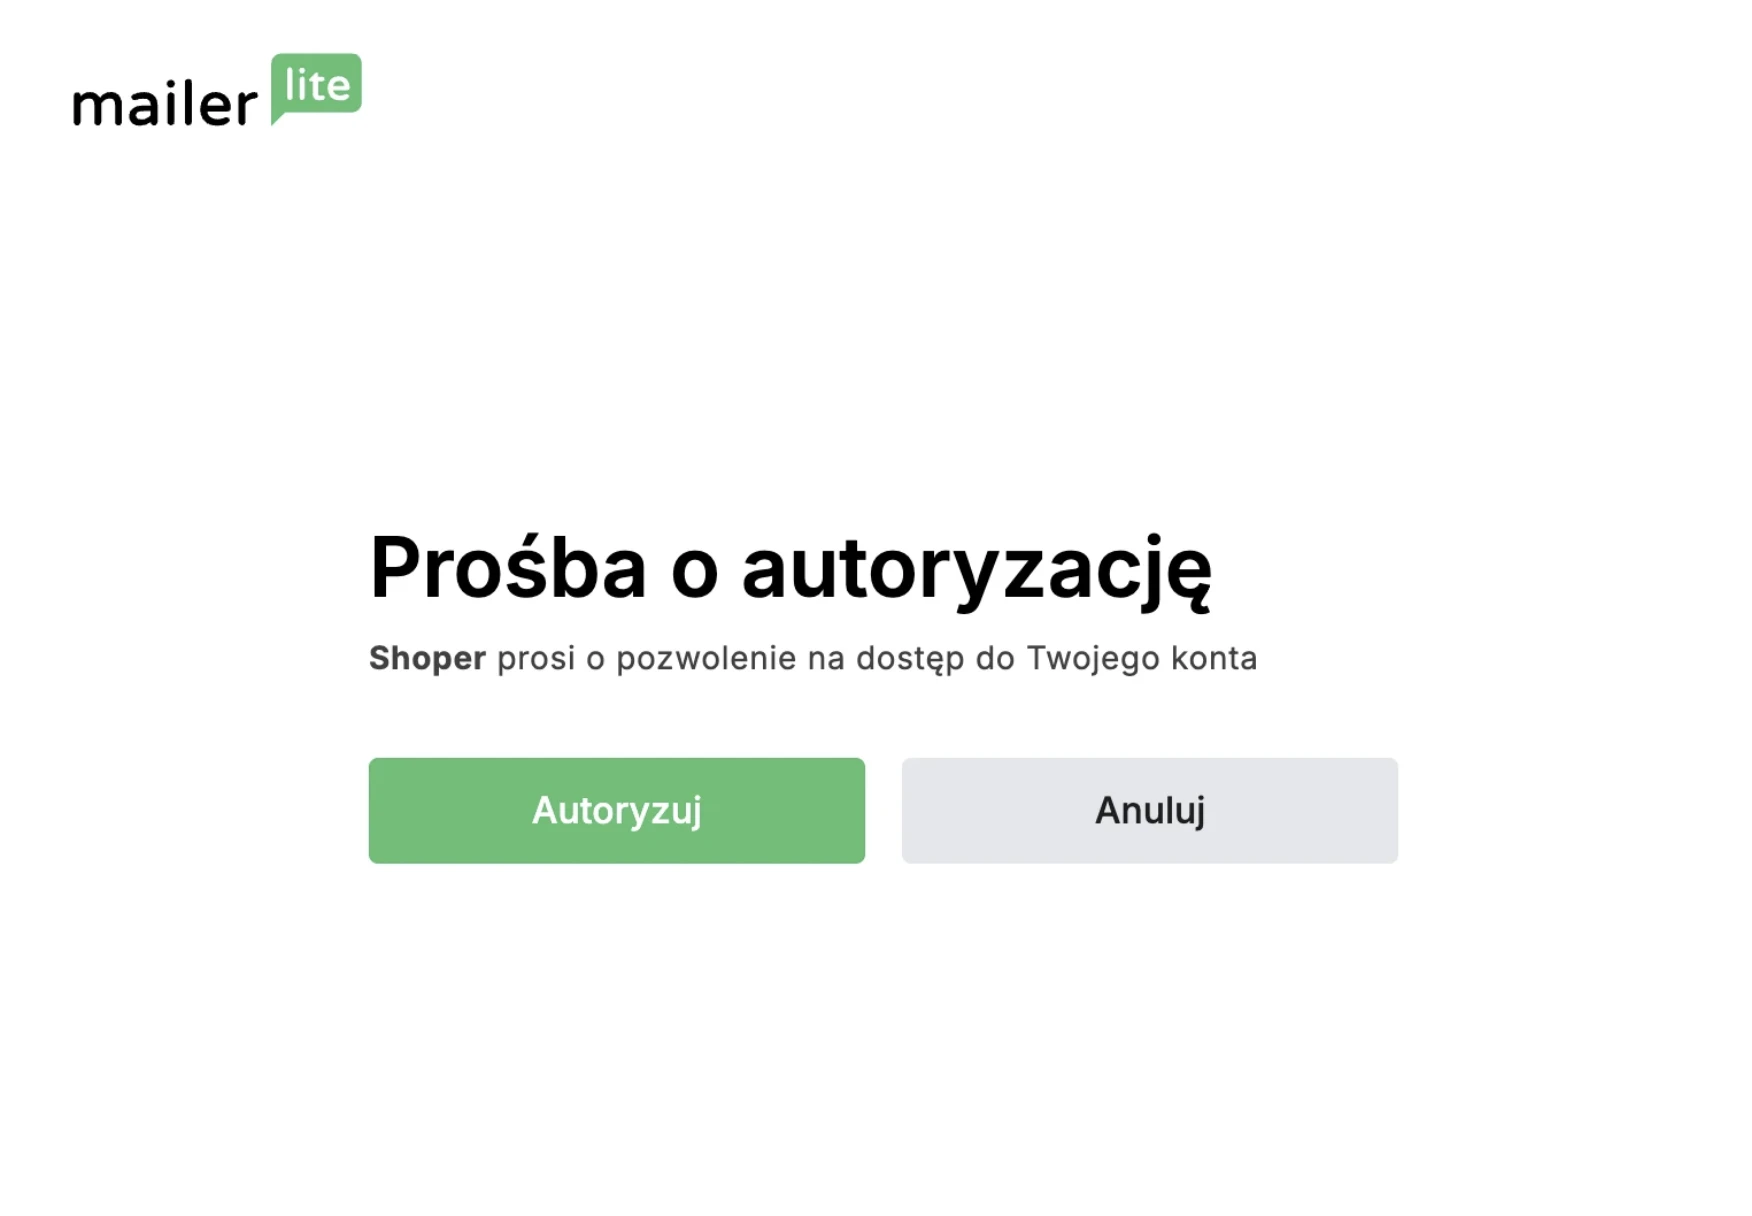
After you log in, you'll be asked to authorize the integration. Click Authorize (Autoryzuj) to approve the integration and continue.
How to sync Shoper customers with MailerLite
After authorization, you'll be asked to choose the MailerLite subscriber group that customers from your Shoper store will be added to. You can choose from your existing groups or create a new one.
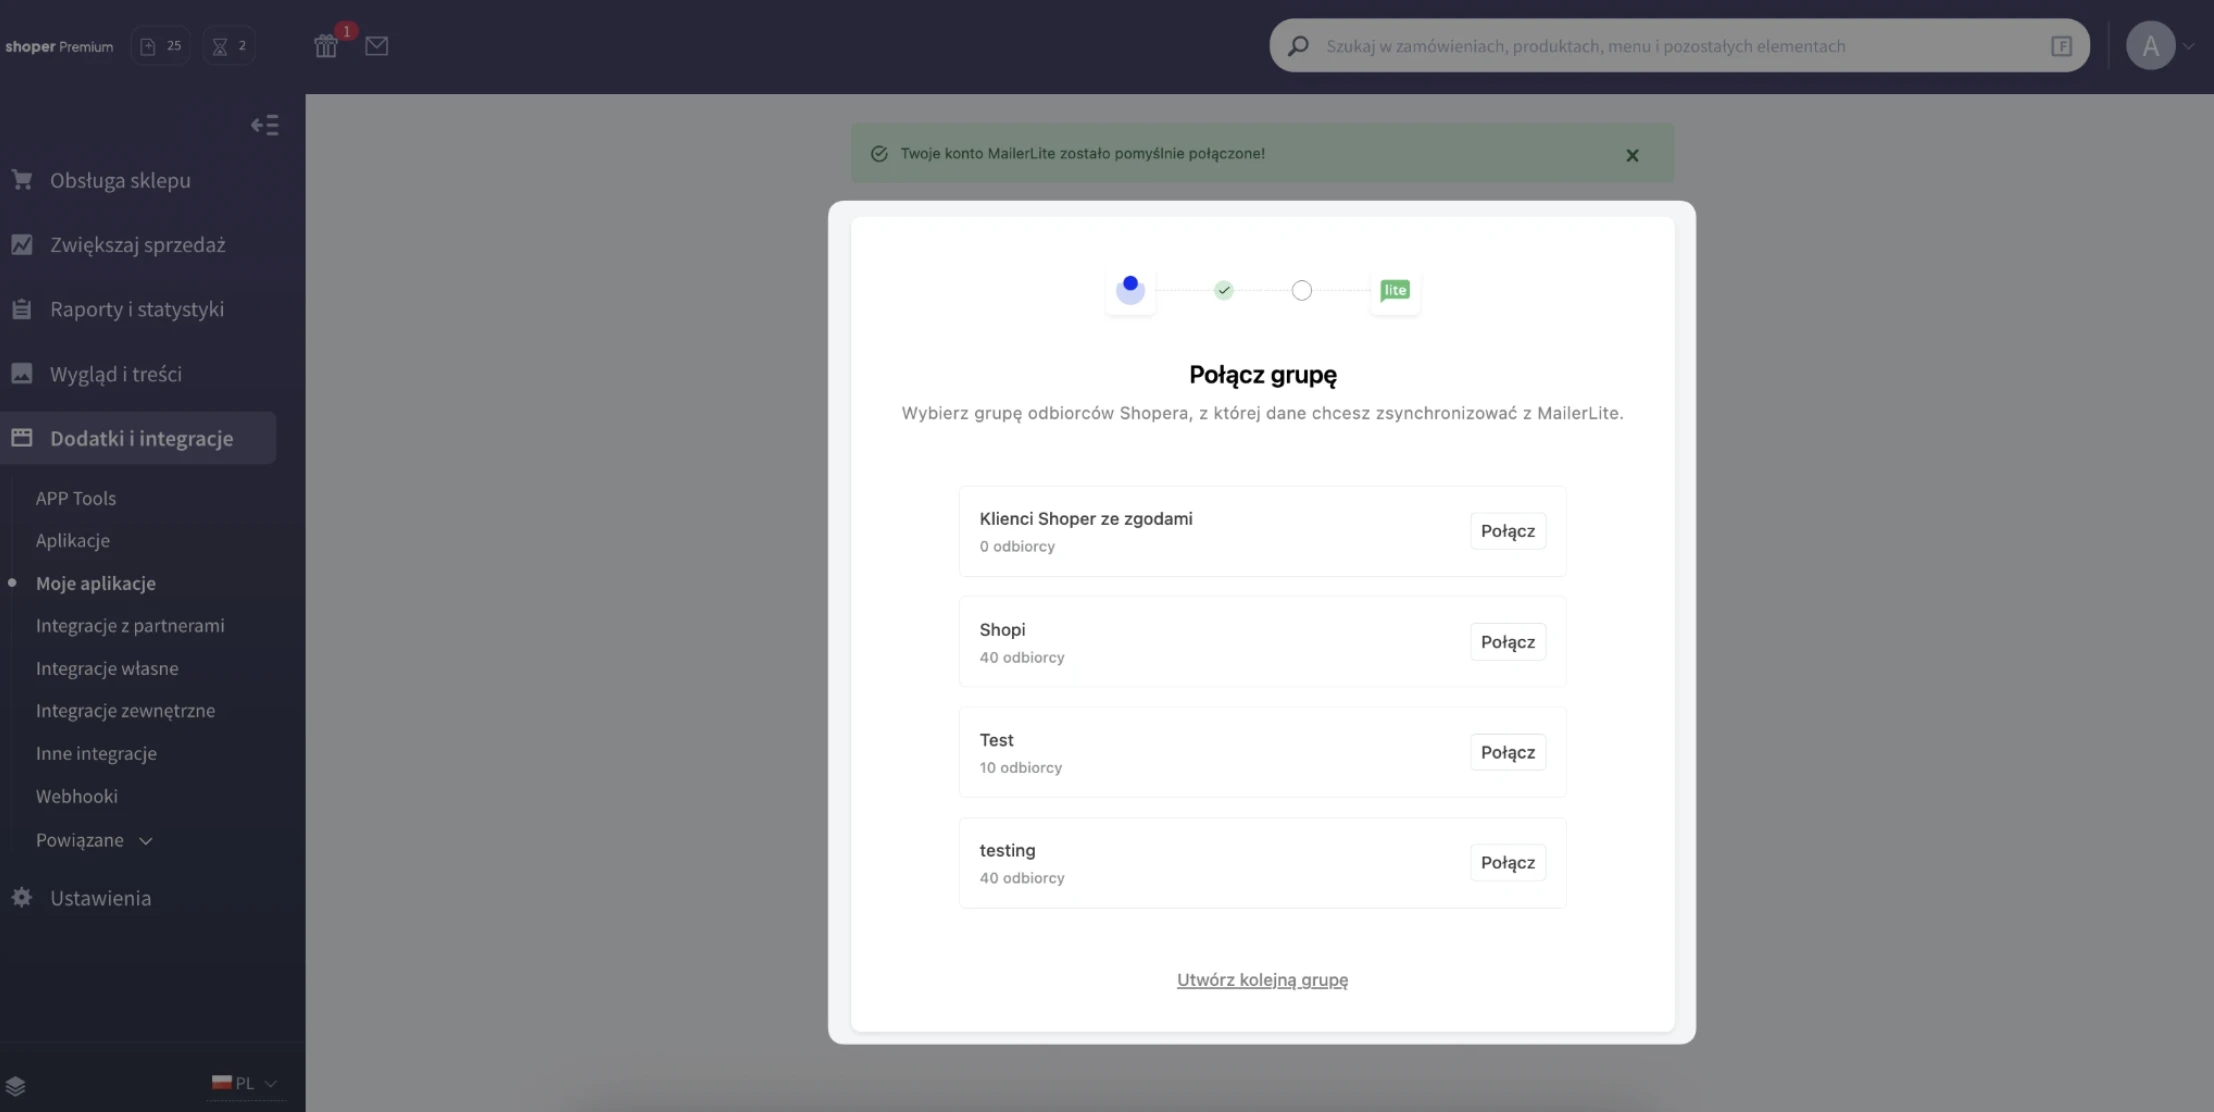
Once you've chosen a subscriber group, a window will appear where you select your sync details:
whether you want to trigger automation workflows for imported subscribers,
whether you want to sync all Shoper customers or only those who have given marketing consent.
Option: Trigger automation workflows for imported subscribers:
This option relates to the automations you create in MailerLite: sequences of emails (or other actions) that you set up once in your account and that then work for you automatically. You can learn more about automations in this article. If you don't have any automations yet, you can create them at this stage, but you don't have to.
If you check this option, every subscriber imported from your Shoper store into MailerLite will be added to your current and future automations, as long as they meet the trigger criteria of that automation (for example, joining a group or a custom field update).
Option: Sync all / Only with consent:
Sync all (Zsynchronizuj wszystkie): If you select this option, all your customers will be added to MailerLite, whether or not they've given marketing consent.
Only with consent (Tylko ze zgodami): If you select this option, only customers who accept marketing will be added to MailerLite.
⚠️ Important
You can only trigger e-commerce automations for customers who agree to receive marketing emails. Under MailerLite's Terms of Service and Anti-spam policy, you must not send marketing emails to customers who haven't given explicit consent to receive marketing communications.
That's it! Once you've chosen your sync options, your Shoper data will start importing into MailerLite. When it's finished, you'll find your Shoper customers in the group you selected, see your e-commerce data on your MailerLite dashboard, and discover new automation options for your customers.
Features available with the MailerLite integration for Shoper
By integrating your Shoper store with MailerLite, you get access to features that help you grow your email marketing and monitor your sales.
1. Data sync and sales tracking
When you sync your Shoper customers with MailerLite, all their data is synced, including first name, last name, email address, and order information. This information is added to subscriber custom fields. Shoper store custom fields:
[Store name] Total spent – the total amount of money the customer has spent in your Shoper store.
[Store name] Orders count – the number of orders the customer has placed.
[Store name] Accepts marketing – whether or not the customer has given marketing consent.
You can also track sales generated by your campaigns to measure the success of your email marketing. To track sales generated by your campaigns:
Go to the Campaigns page.
Click the Sent tab.
Find the campaign you want to track and click View report.
Click the Orders tab.
Here you can find the number of orders placed through this campaign, the total revenue generated, and the percentage of subscribers who converted into sales.
Note: You may notice that Total revenue doesn't match the number in your Total spent field. That's because Total revenue only refers to revenue generated by MailerLite campaigns. Any order placed in your store within 30 days of clicking a link to your store in any campaign or automation counts as email revenue. Your Total spent field includes all purchases, including those not made through MailerLite.
2. Precise subscriber segmentation
Once the integration is set up and your data has synced, you'll find 6 automatically created segments of your customers in your MailerLite account. This way, you can not only keep track of how many customers are in each category, but also save time on creating these segments manually and use them in automations or email campaigns.
To see the segments, go to Subscribers → Segments.
You'll find 6 segments there:
[Store name] Customers accepting marketing emails
[Store name] First-time customers
[Store name] Customers with no purchases
[Store name] High-spending customers ($500+)
[Store name] Repeat customers (5+ purchases)
[Store name] High-spending repeat customers
3. Product blocks in your newsletters, landing pages, and websites
You can add products from your store directly to newsletters, landing pages, and websites using the intuitive Drag & drop builders. Product blocks automatically import your product images, descriptions, and prices, and link directly to your Shoper store.
To add a product block to your newsletters:
Open your campaign editor.
In the left sidebar, use the dropdown menu to select the Products block type.
Drag and drop the Import products from store block into your newsletter.
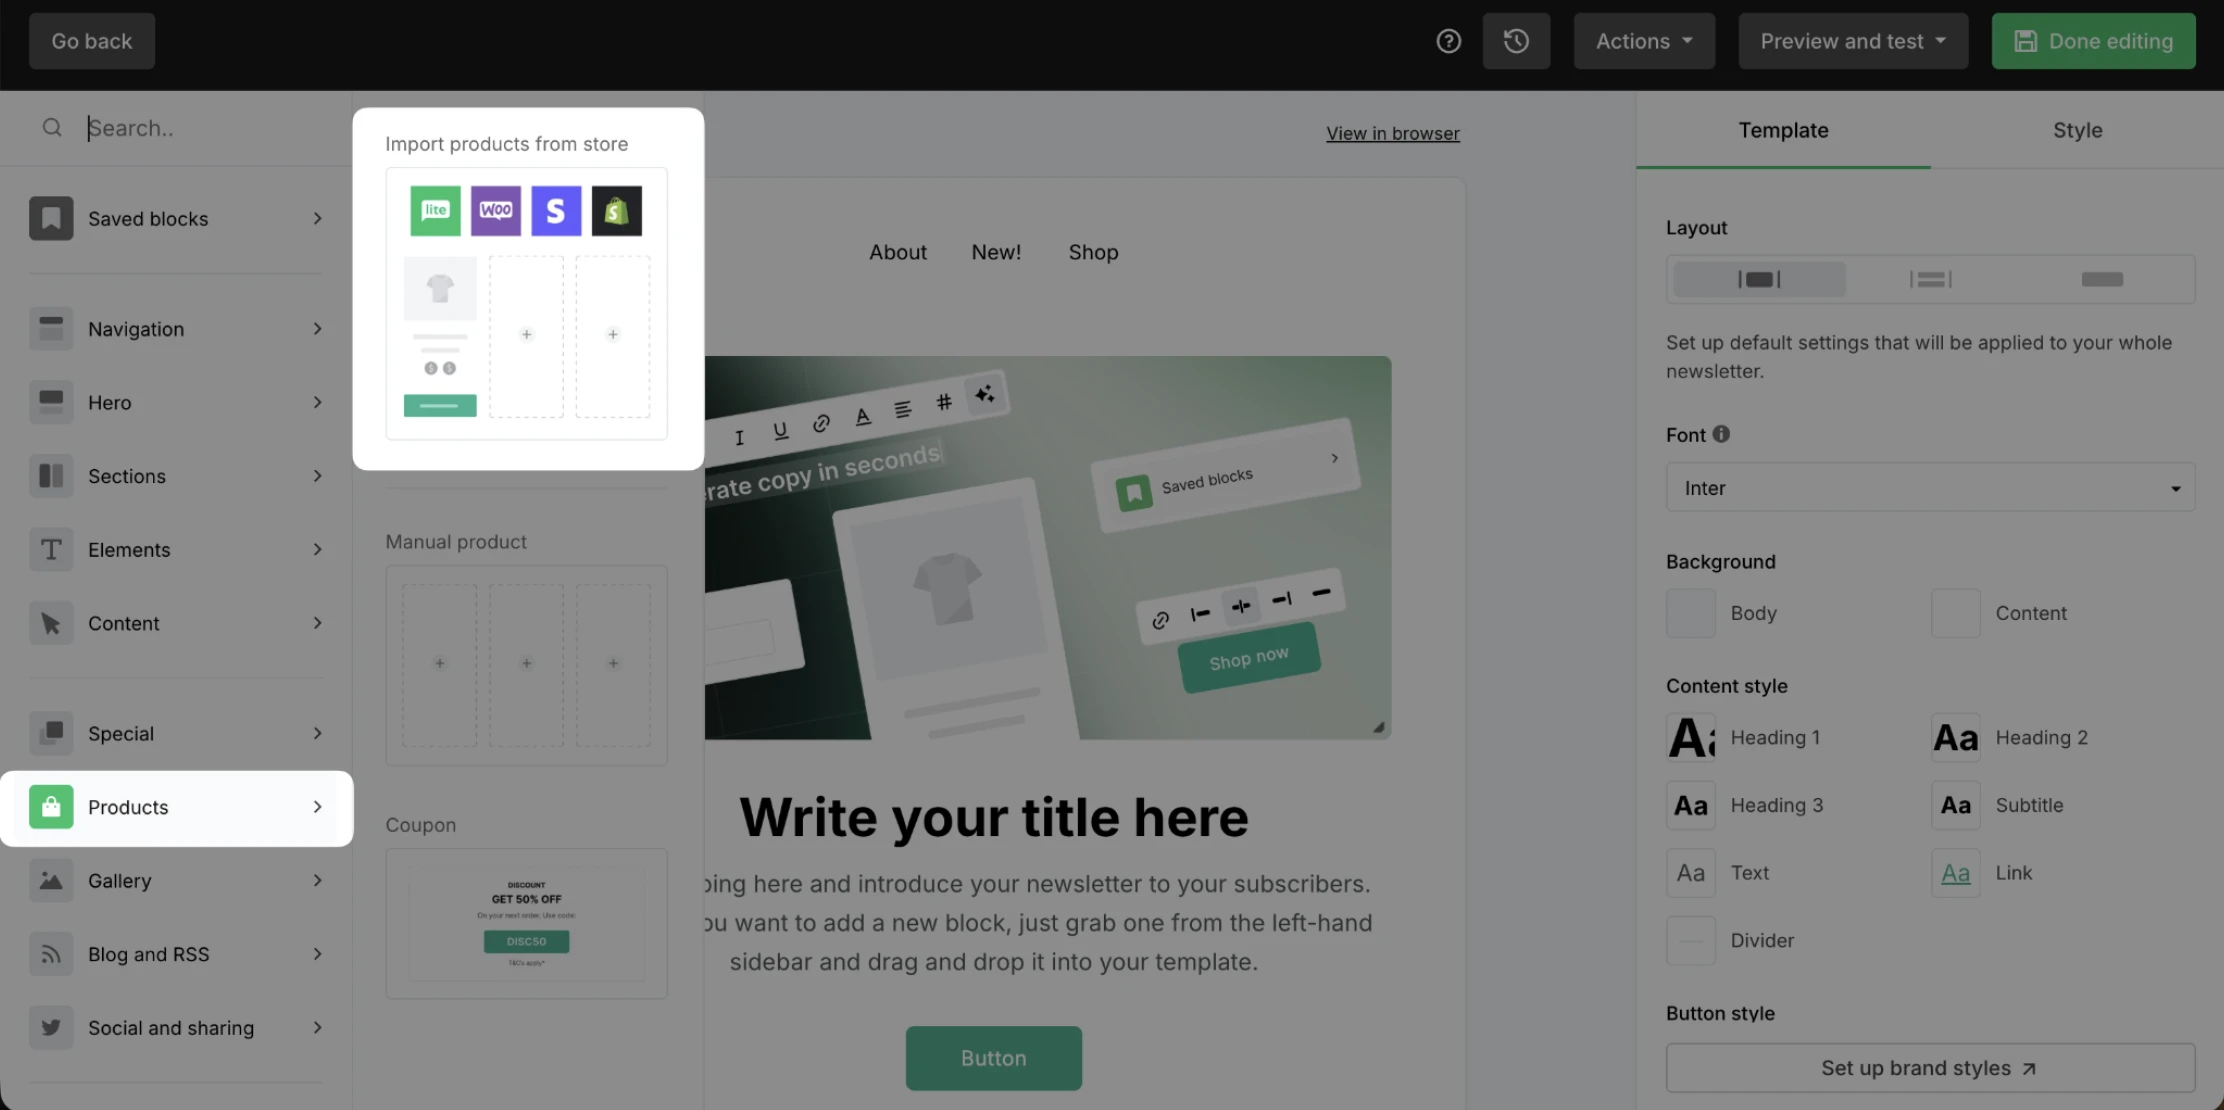
Click the product block to select it.
In the right sidebar, click Add products from your store.
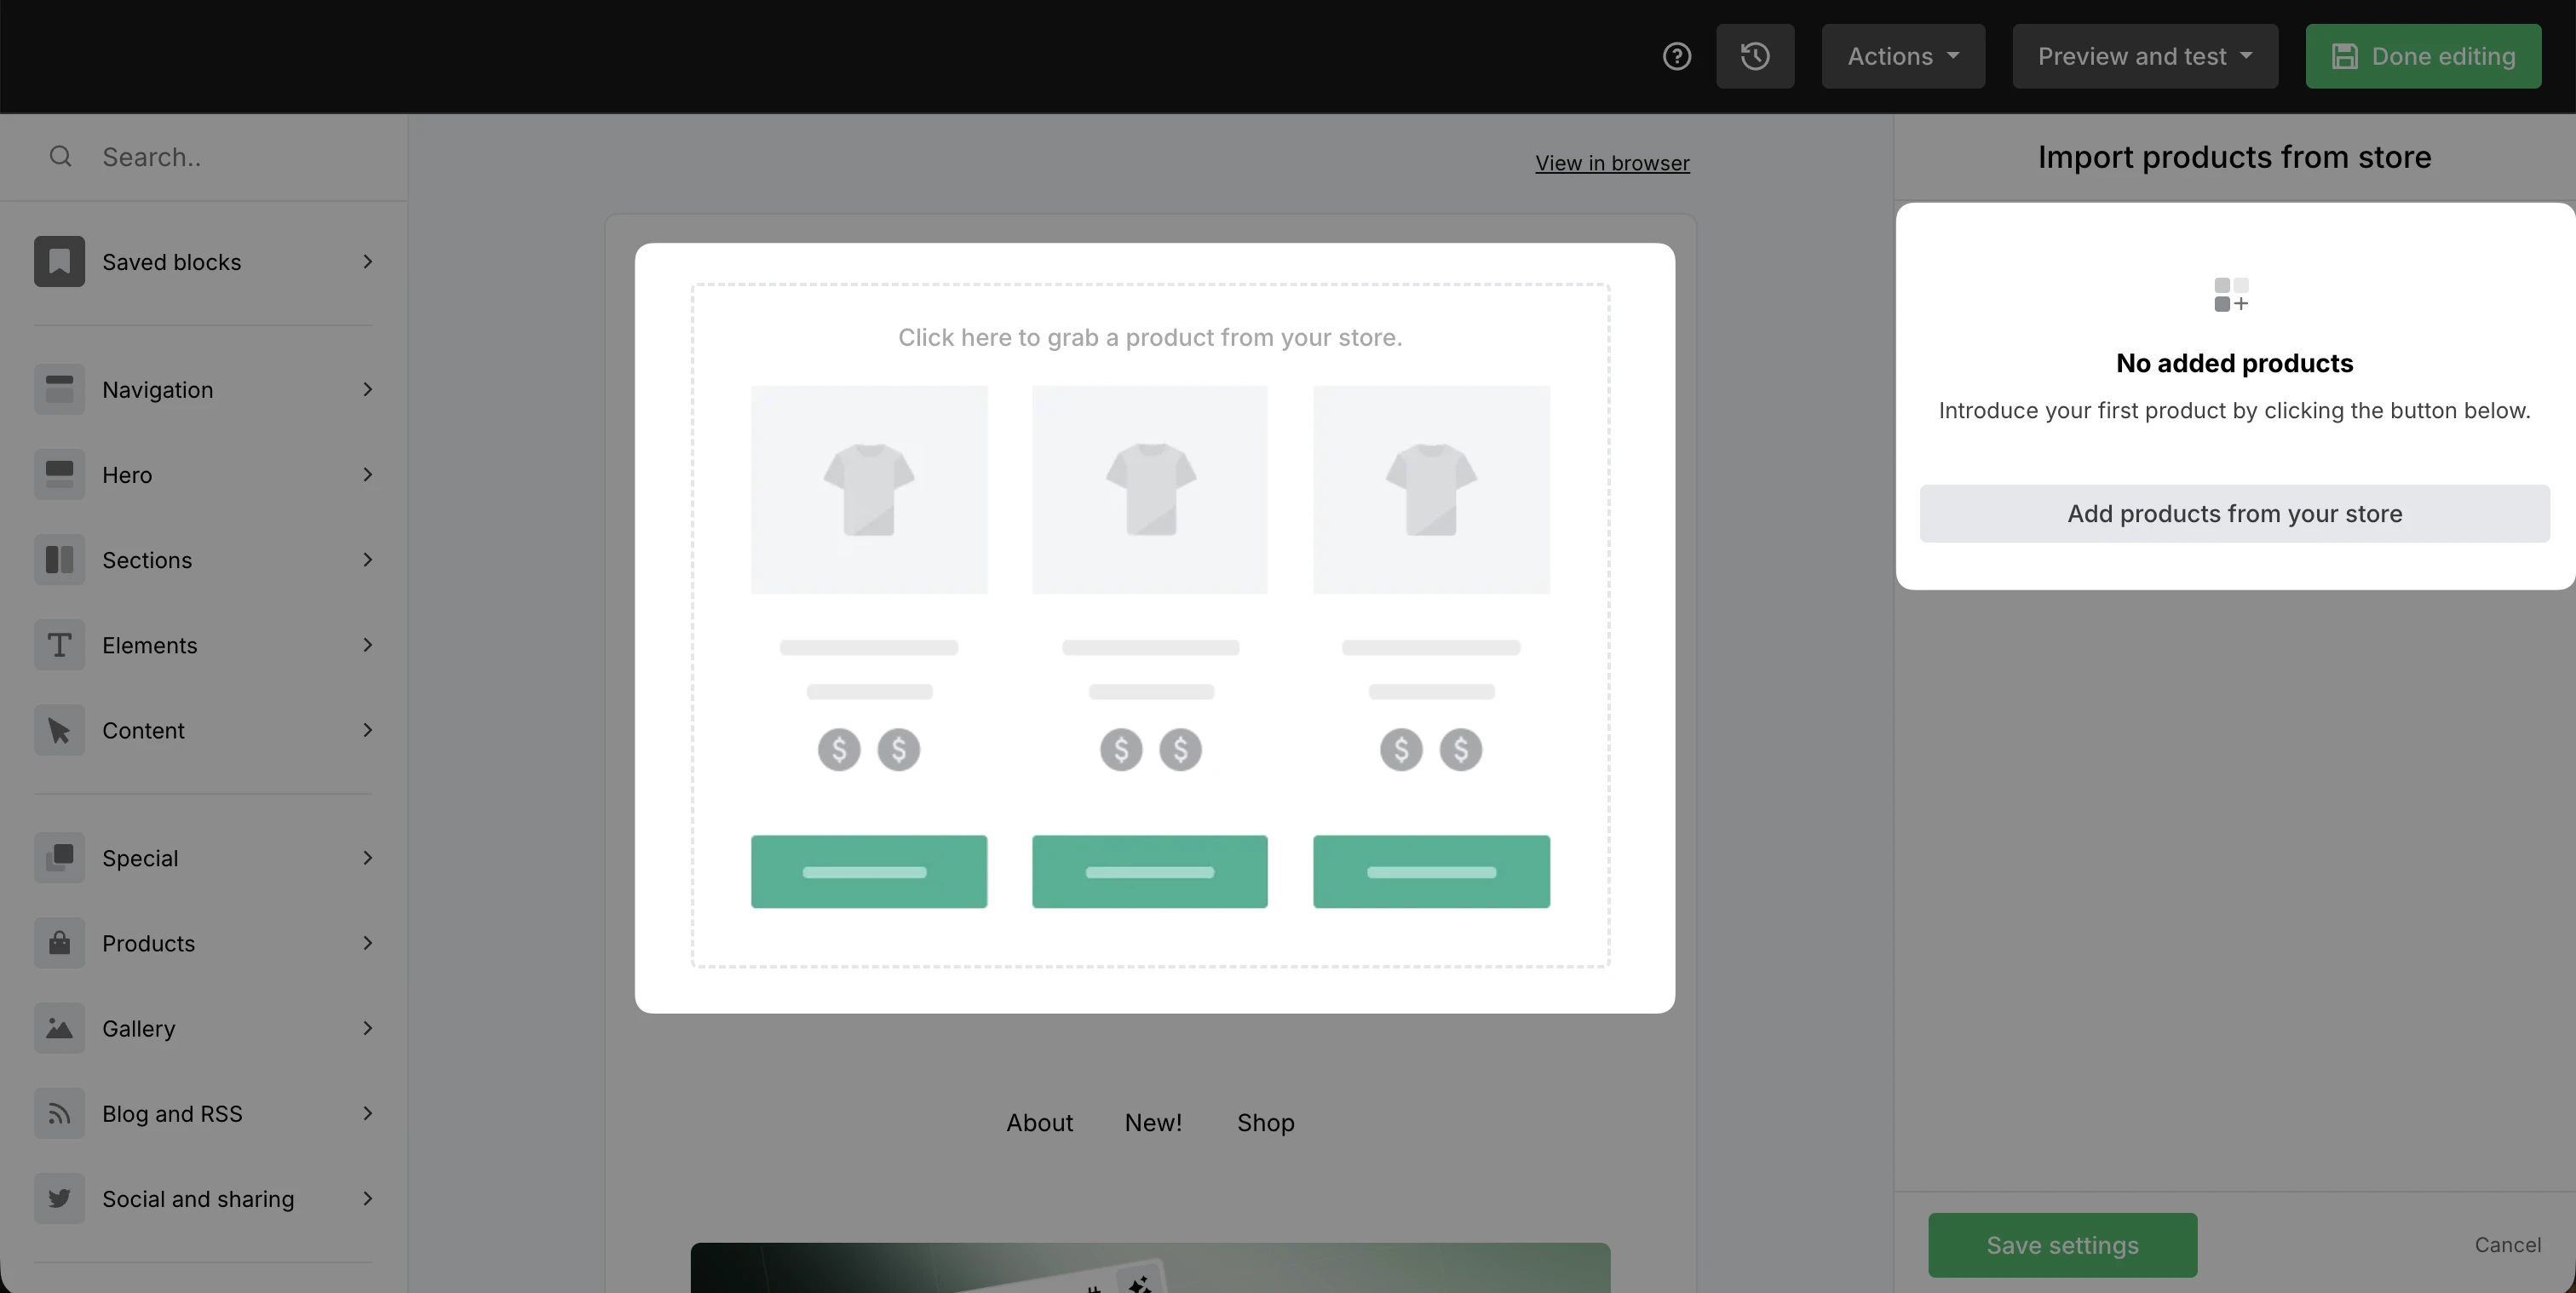
A window will appear where you can choose the products you want to display.
Once you've selected your products, click Add products.
If you want to edit the information displayed in the product block, click the product block to select it. Then, in the sidebar, click the pencil icon next to your product.
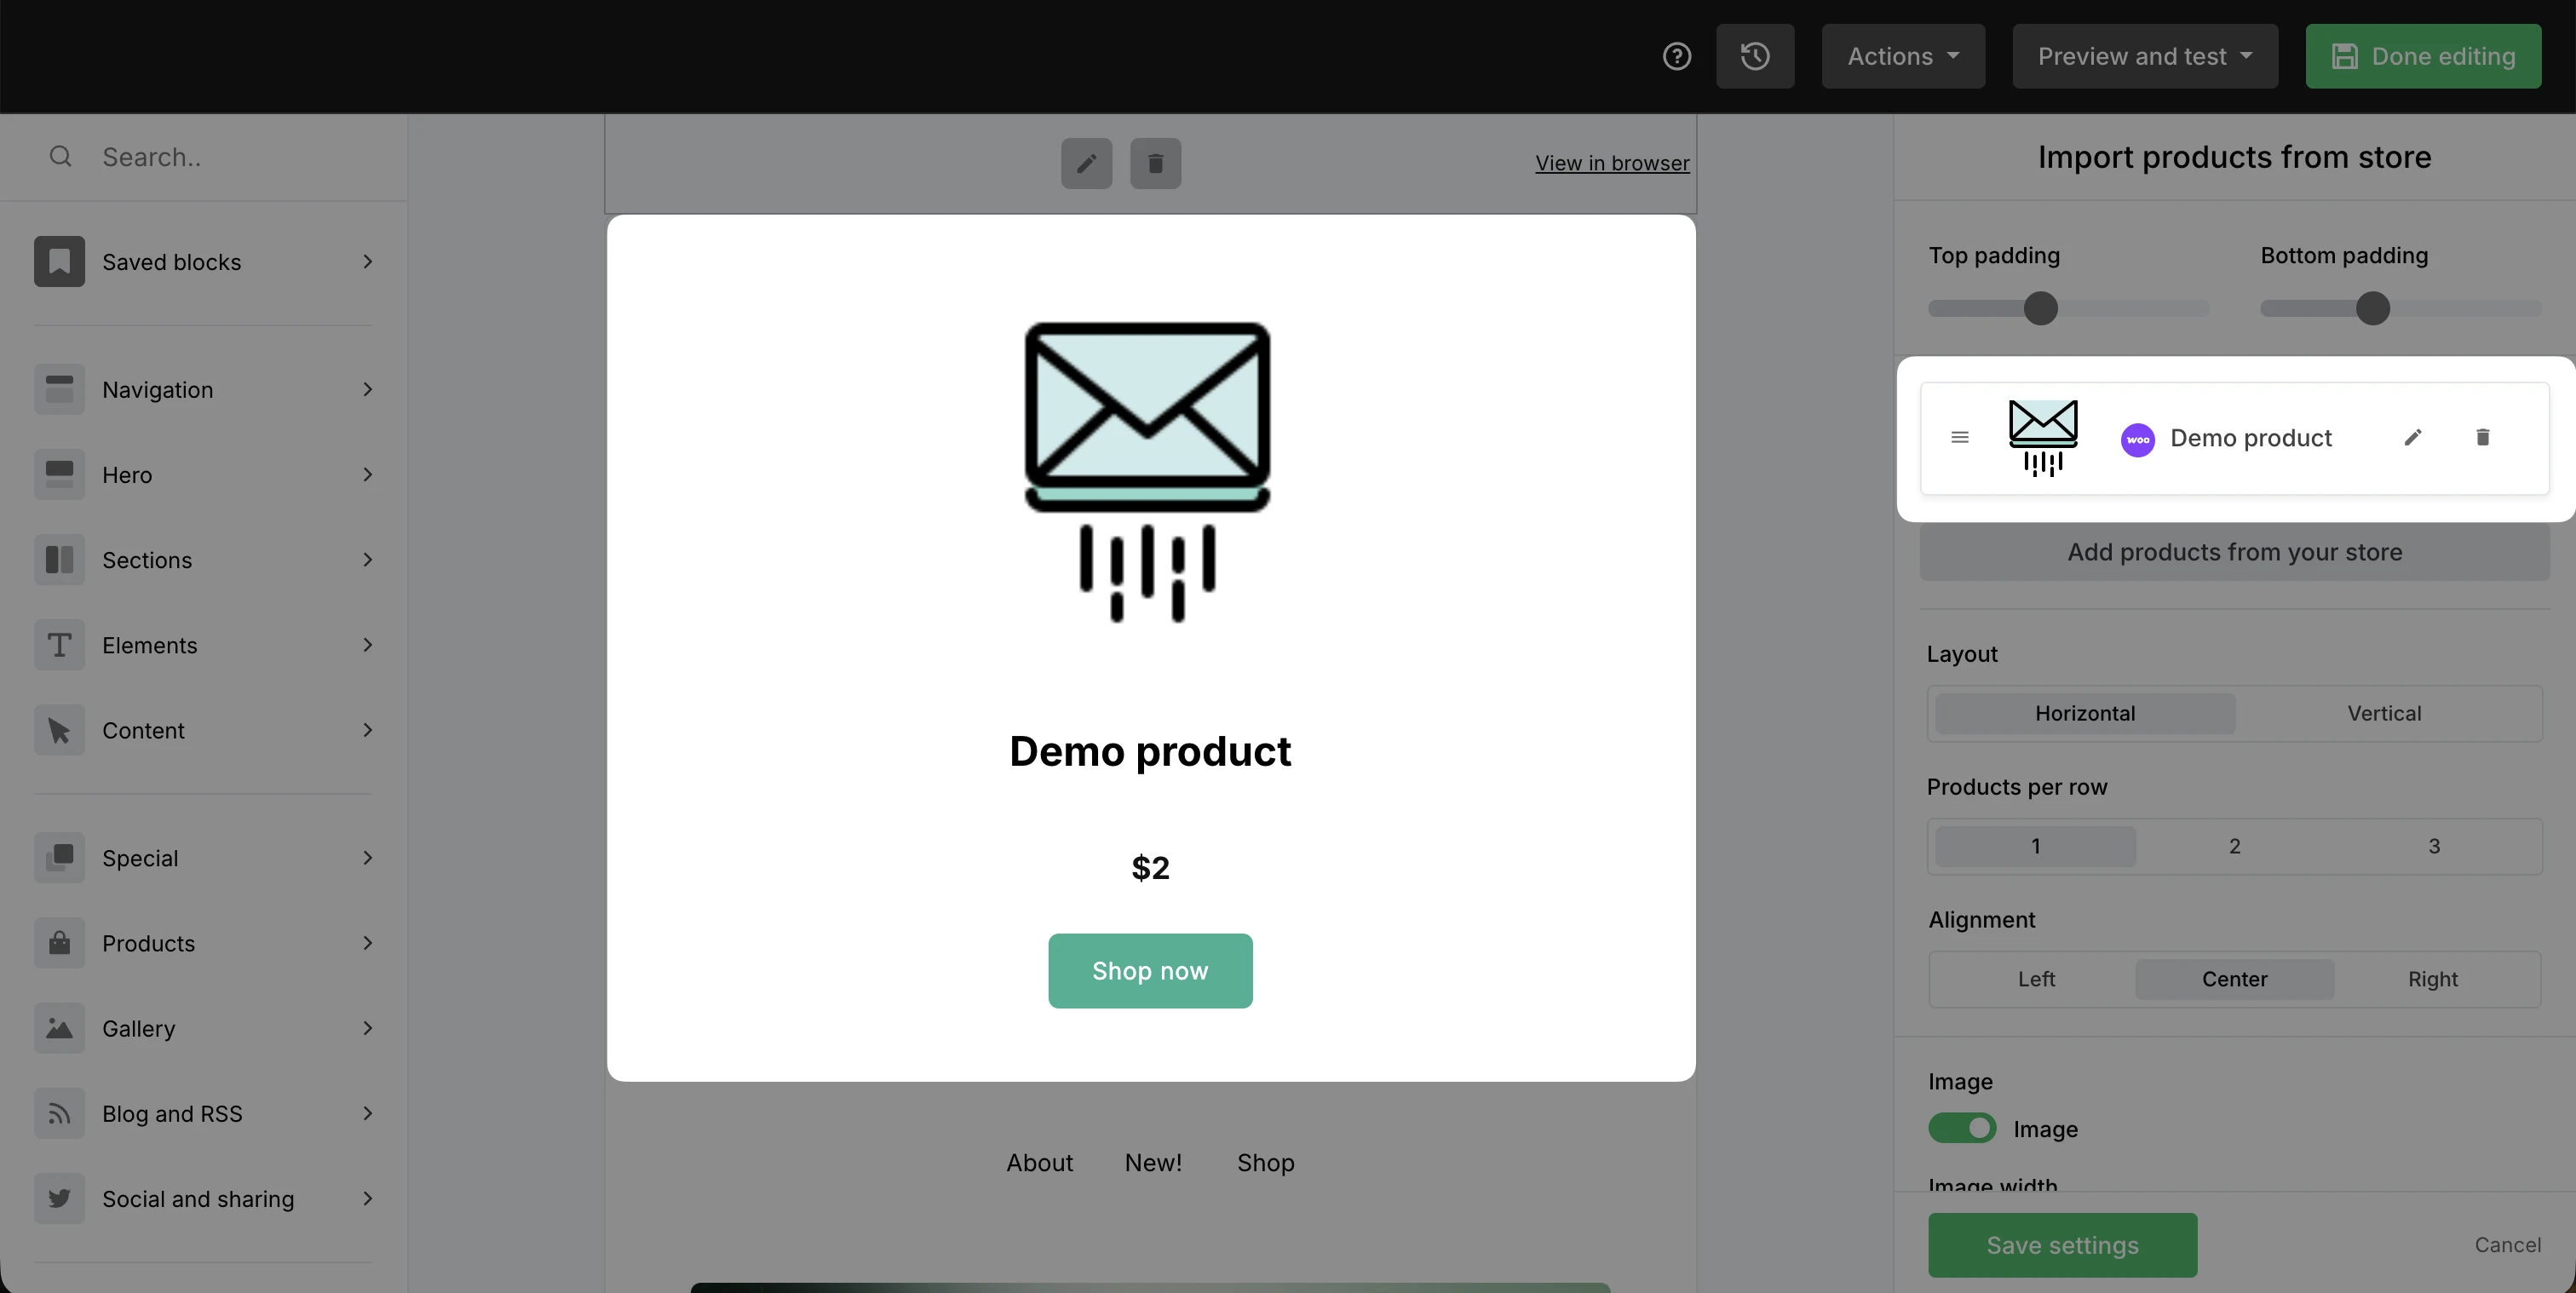
Here you can edit the product name, URL, price, and CTA button.
You can find product blocks for landing pages and websites directly in the page editor. Find the product block under Elements → Special → Products and add products the same way as in the newsletter builder.
4. Advanced automations
With the integration, you can recover abandoned carts and automate post-purchase communication for a specific category or product, using automations with dedicated e-commerce triggers. You can use ready-made templates or build your own automation workflows from scratch.
Go to the Automations tab.
Click Create.
Choose one of the templates, or click Create from scratch if you want to build your own.
You can choose from 6 e-commerce triggers:
Abandoned cart
Abandoned checkout
Purchases any product
Purchases a specific product
Purchases from a category
Purchase frequency
For detailed instructions, see our guide on How to create an automation workflow.
In order to trigger an automation that uses an e-commerce trigger, customers of your store must also be newsletter subscribers and agree to receive marketing from you. This can be done by completing any of your sign-up forms or by checking the box to accept marketing at checkout.
💡 Curious how these triggers work?
Learn how to use them in our E-commerce automation triggers article.
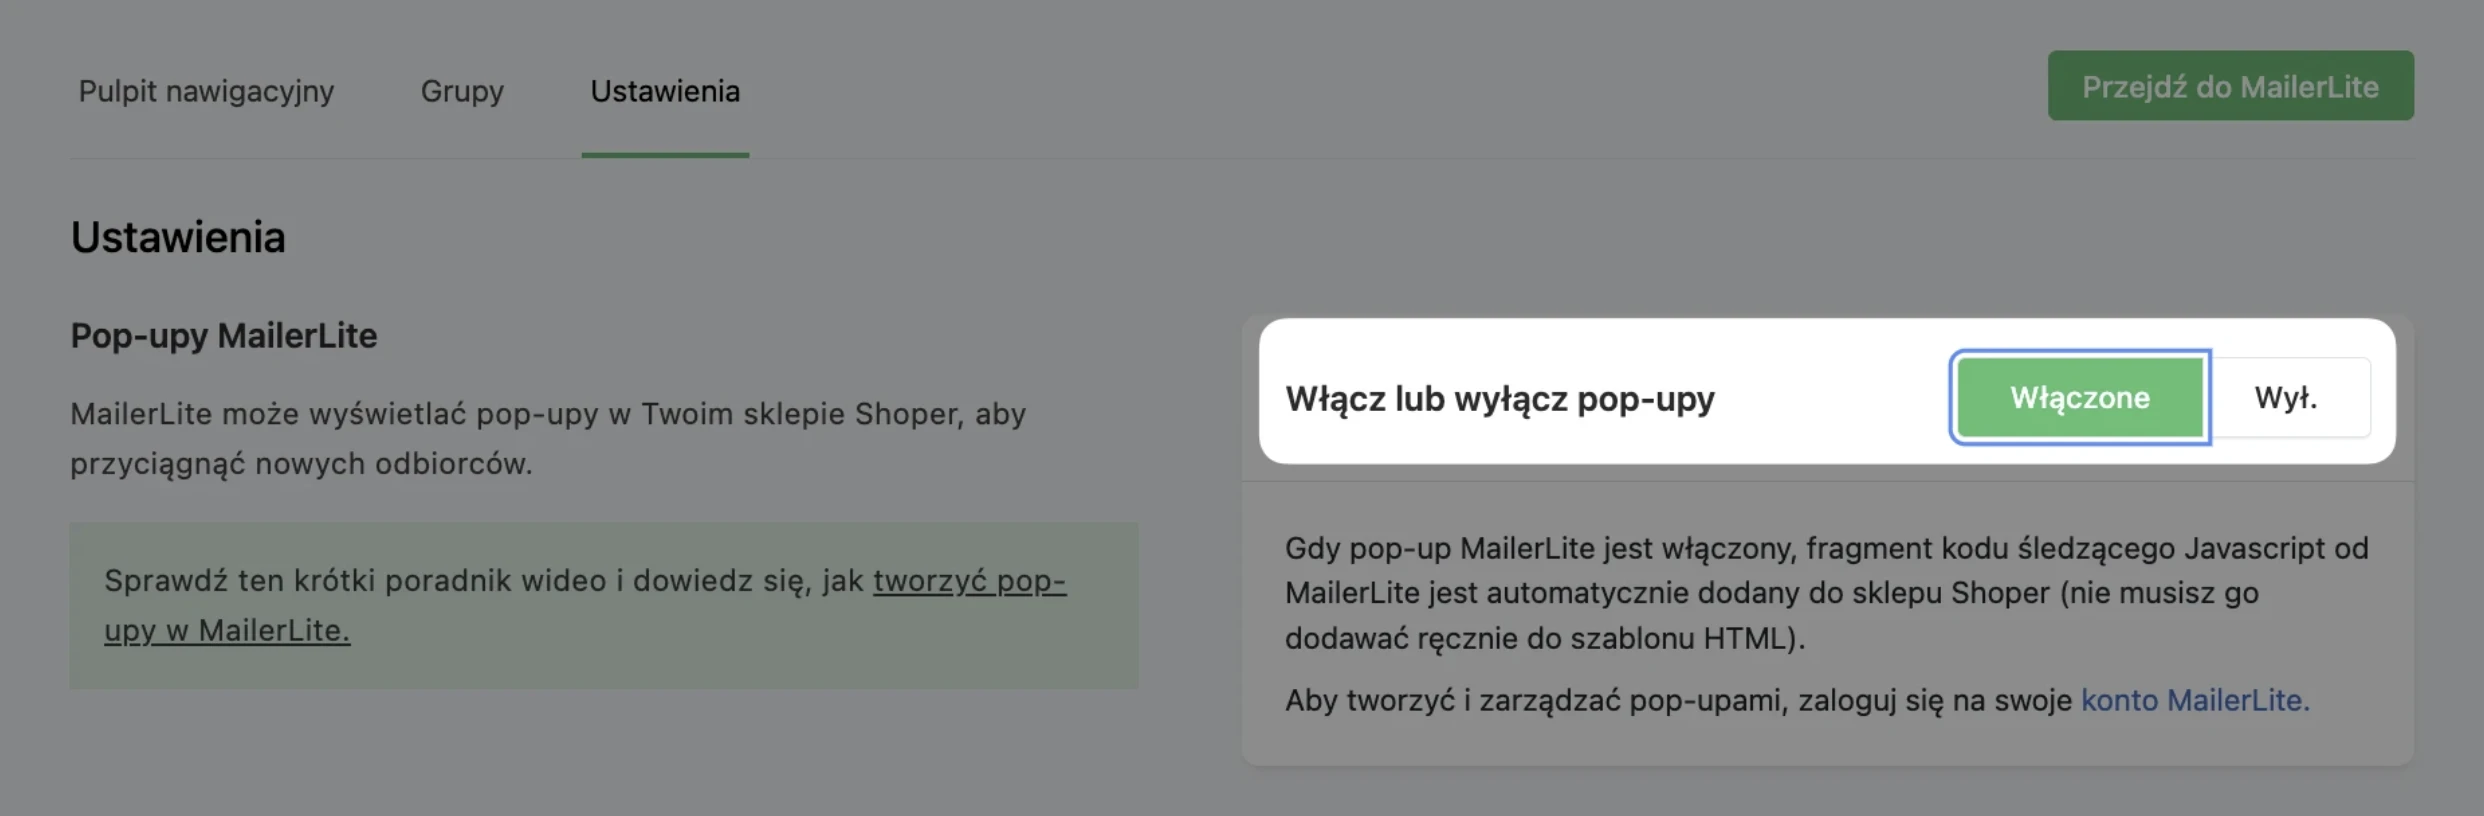
Adding pop-up forms
To add a MailerLite pop-up form to your Shoper store, make sure you've created a form in your MailerLite account. If you don't have one yet, check out our guide on how to create a pop-up form.
Once you've created your pop-up form:
In your Shoper panel, go to Add-ons and integrations (Dodatki i integracje) → My applications (Moje aplikacje).
Click the MailerLite integration tile, then click the blue MailerLite: Email marketing automation (MailerLite: Automatyzacja e-mail marketingu) button on the right, and go to the Settings (Ustawienia) tab.
Activate the form by switching the toggle to Enabled (Włączone).