Note: If you're a Legacy (Classic) user, please log in to your account to access the dedicated Legacy (Classic) Help Center.
What is MailerLite?
MailerLite is an email marketing tool and website builder for businesses of all shapes and sizes. The key idea behind MailerLite is simplicity. We provide our customers with straightforward and user-friendly tools such as a Drag & drop email editor, website builder, and an intuitive subscriber management interface.
How to sign up for MailerLite
Anyone can sign up for a Free plan by navigating to the MailerLite website and clicking the Sign up button.
Then, complete the following steps:
Enter the name of your Company or Organization.
Enter your Email address.
Enter a strong Password.
Click Create my account.
Note: By clicking Create my account, you are agreeing to our Terms of use, Privacy policy, and Anti-spam policy.
Choosing your plan
After signing up to MailerLite, your 14-day premium trial begins. The trial offers importing up to 250 subscribers and sending 2,500 emails. Additionally, it allows you to try out features included in paid plans, such as Multiple trigger automations, Preference center, Smart sending, and others.
You may also upgrade to our Comfort or Power plan. Each plan offers different subscriber tiers, ranging from 250 up to 200,000 subscribers, as well as a wide set of handy features for your marketing campaigns.
If you don’t upgrade, after your 14-day trial is over, you can continue using our Free plan.
Check out our pricing page for a detailed plan comparison.
How to import subscribers
If you already have a list of subscribers, you’ll need to import them into your MailerLite account in order to send them newsletters.
To import your subscribers to MailerLite:
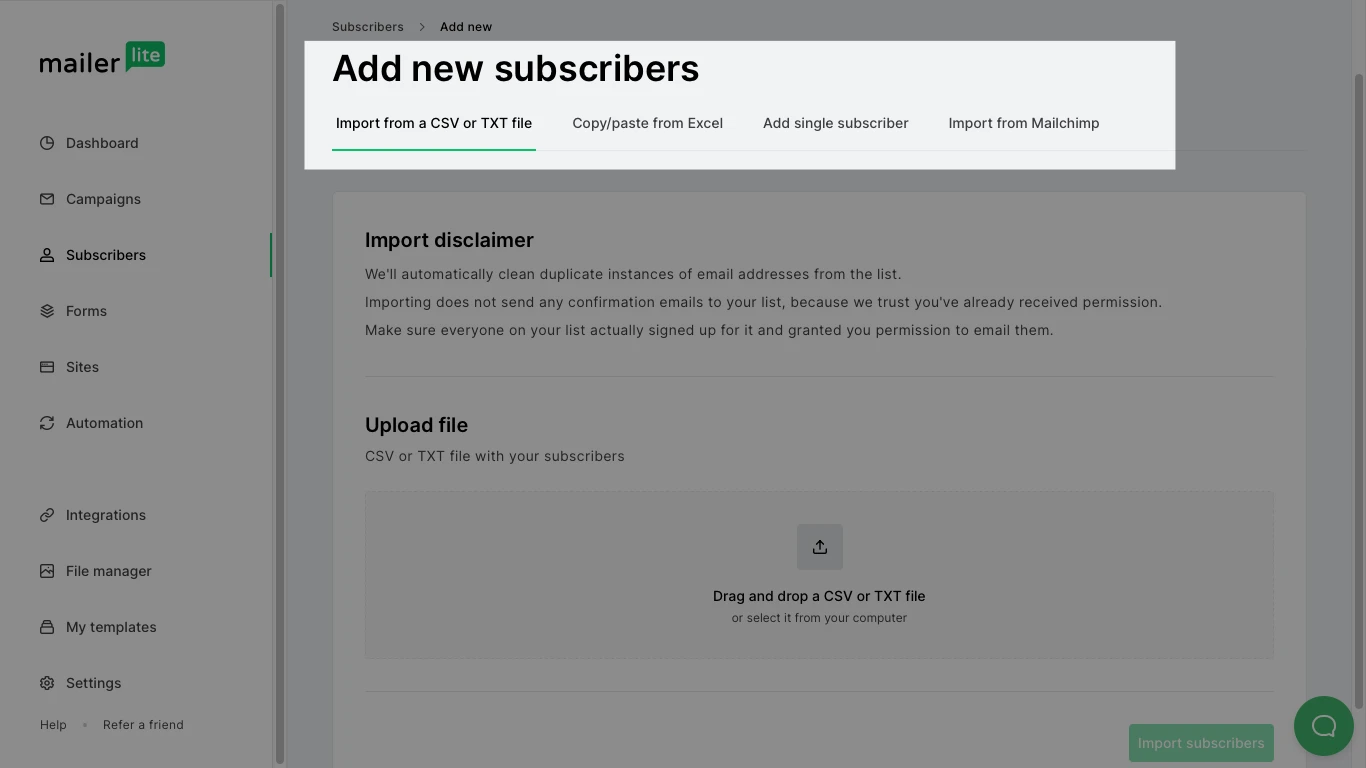
Navigate to the Subscribers page.
Click Add subscribers.
Select the method you want to use to import your subscribers. You can choose to import subscribers from a CSV or TXT file, by copy/pasting from Excel, manually one by one, or you can import subscribers directly from Mailchimp.
For detailed instructions on how to add and configure subscribers, please read our step-by-step article on How to import subscribers.
You can also organize your subscribers into groups or segments in order to send targeted content to specific subscribers.
How to create a campaign
A campaign is an email newsletter that you create and send to your selected subscribers.
To create a campaign:
From the Dashboard, navigate to the Campaigns page.
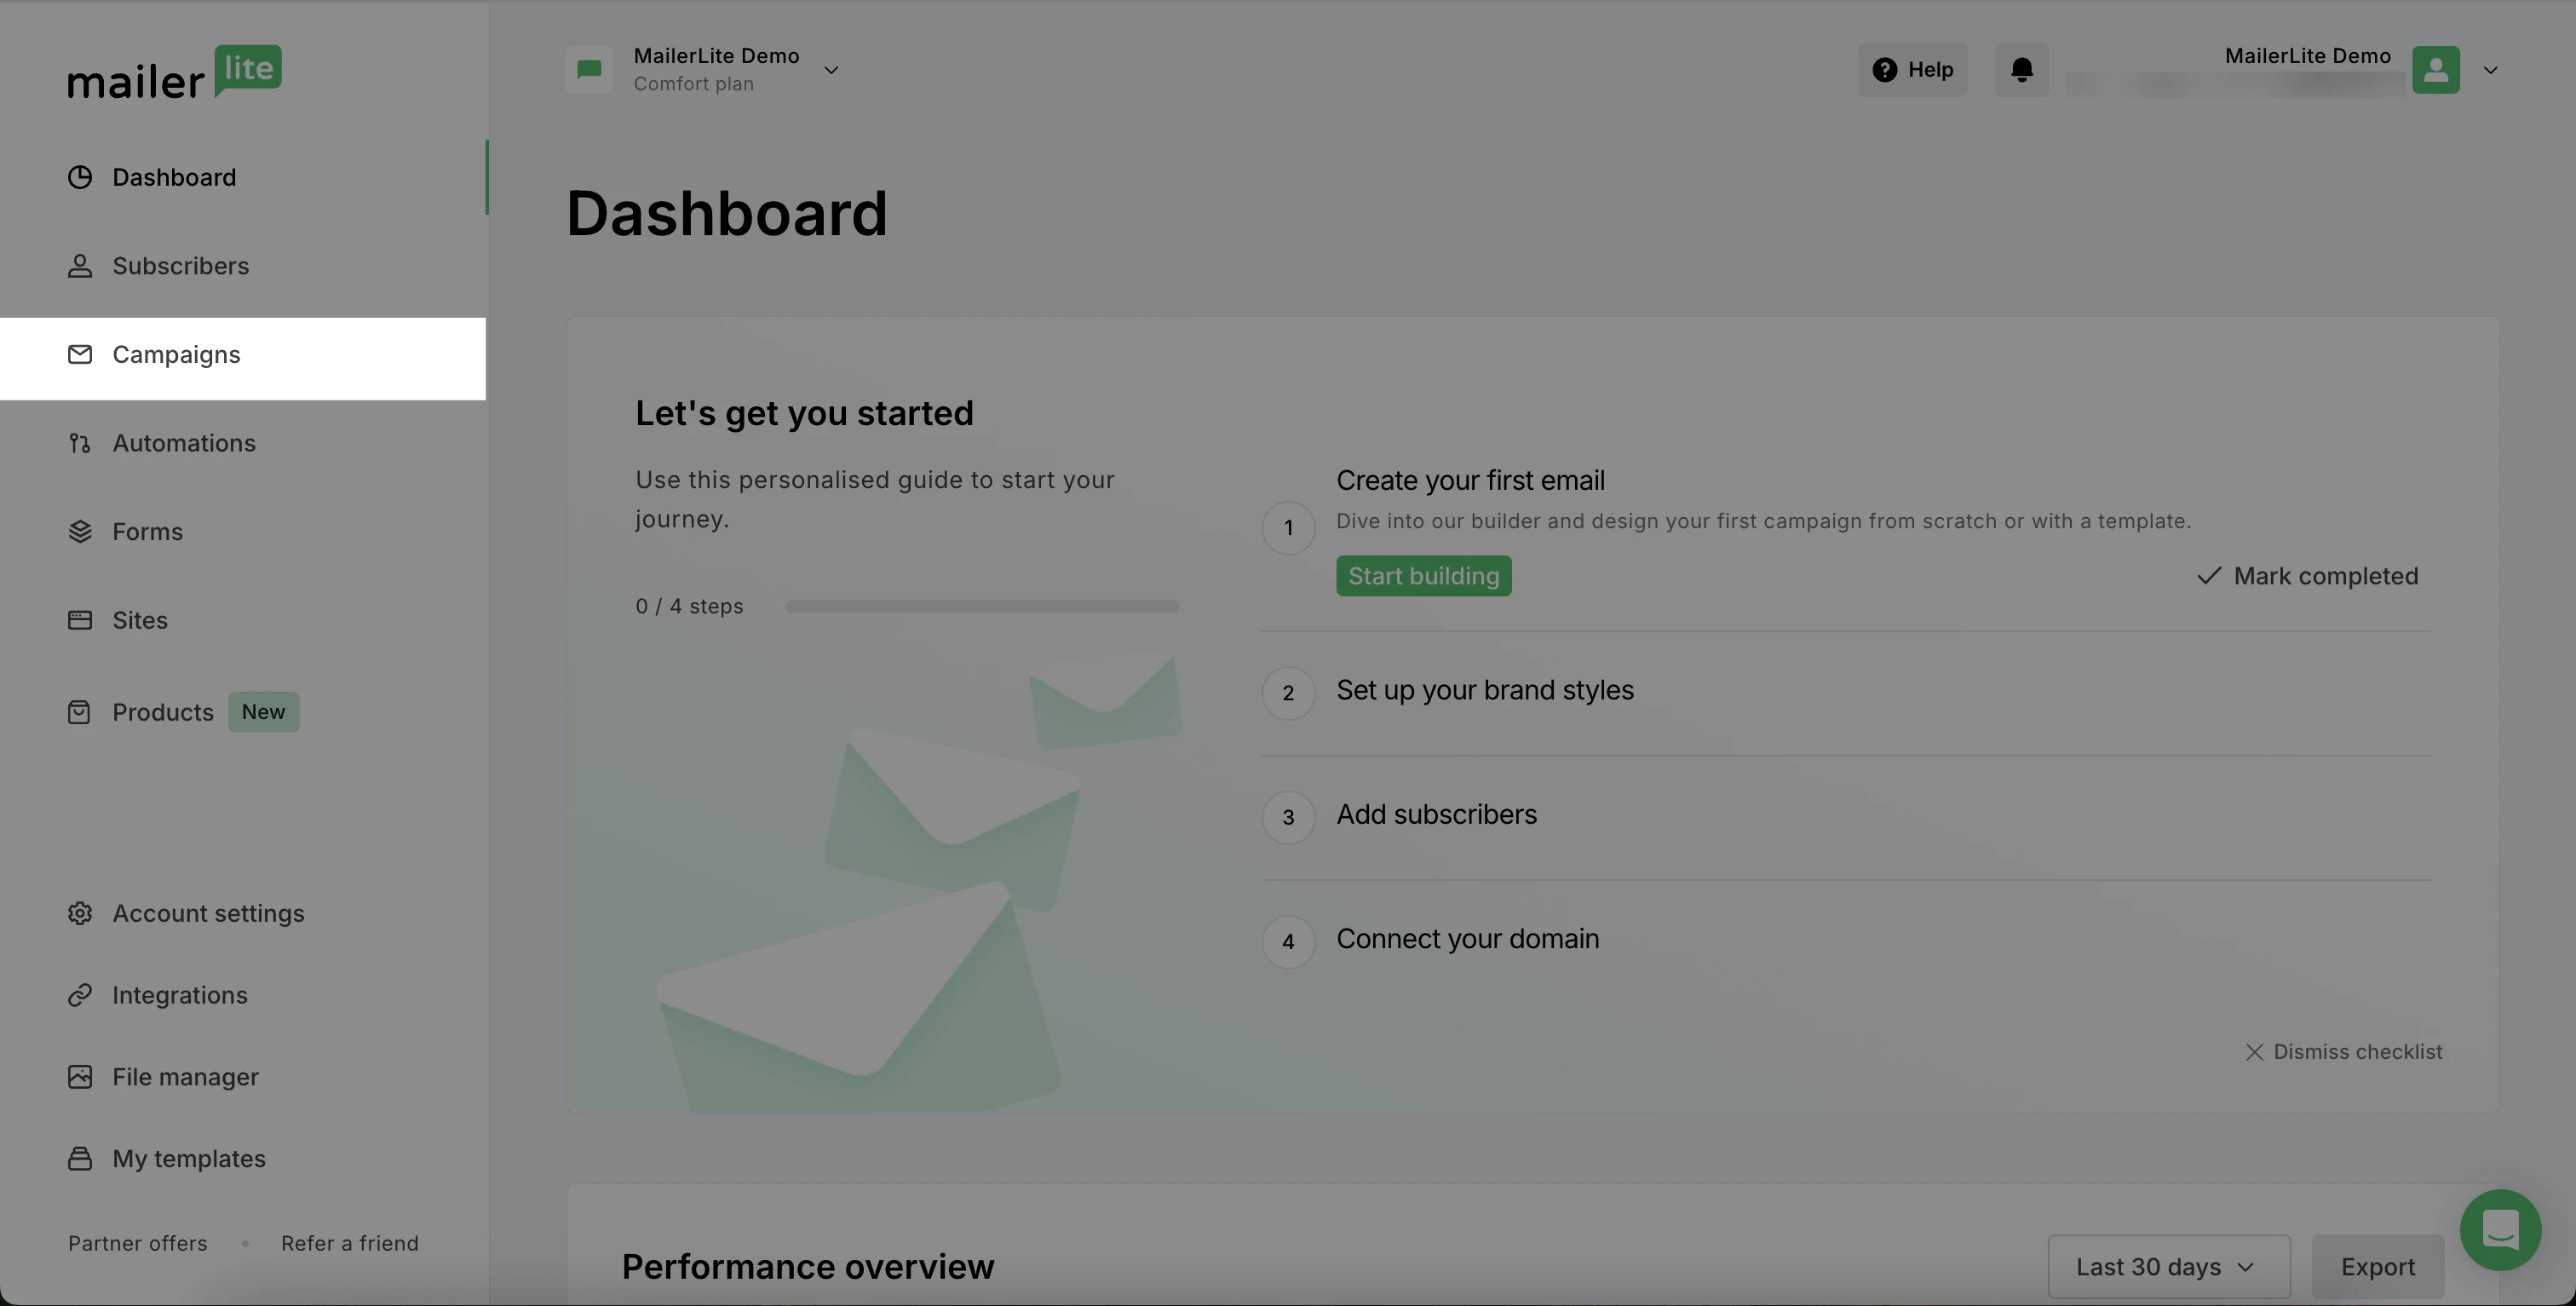
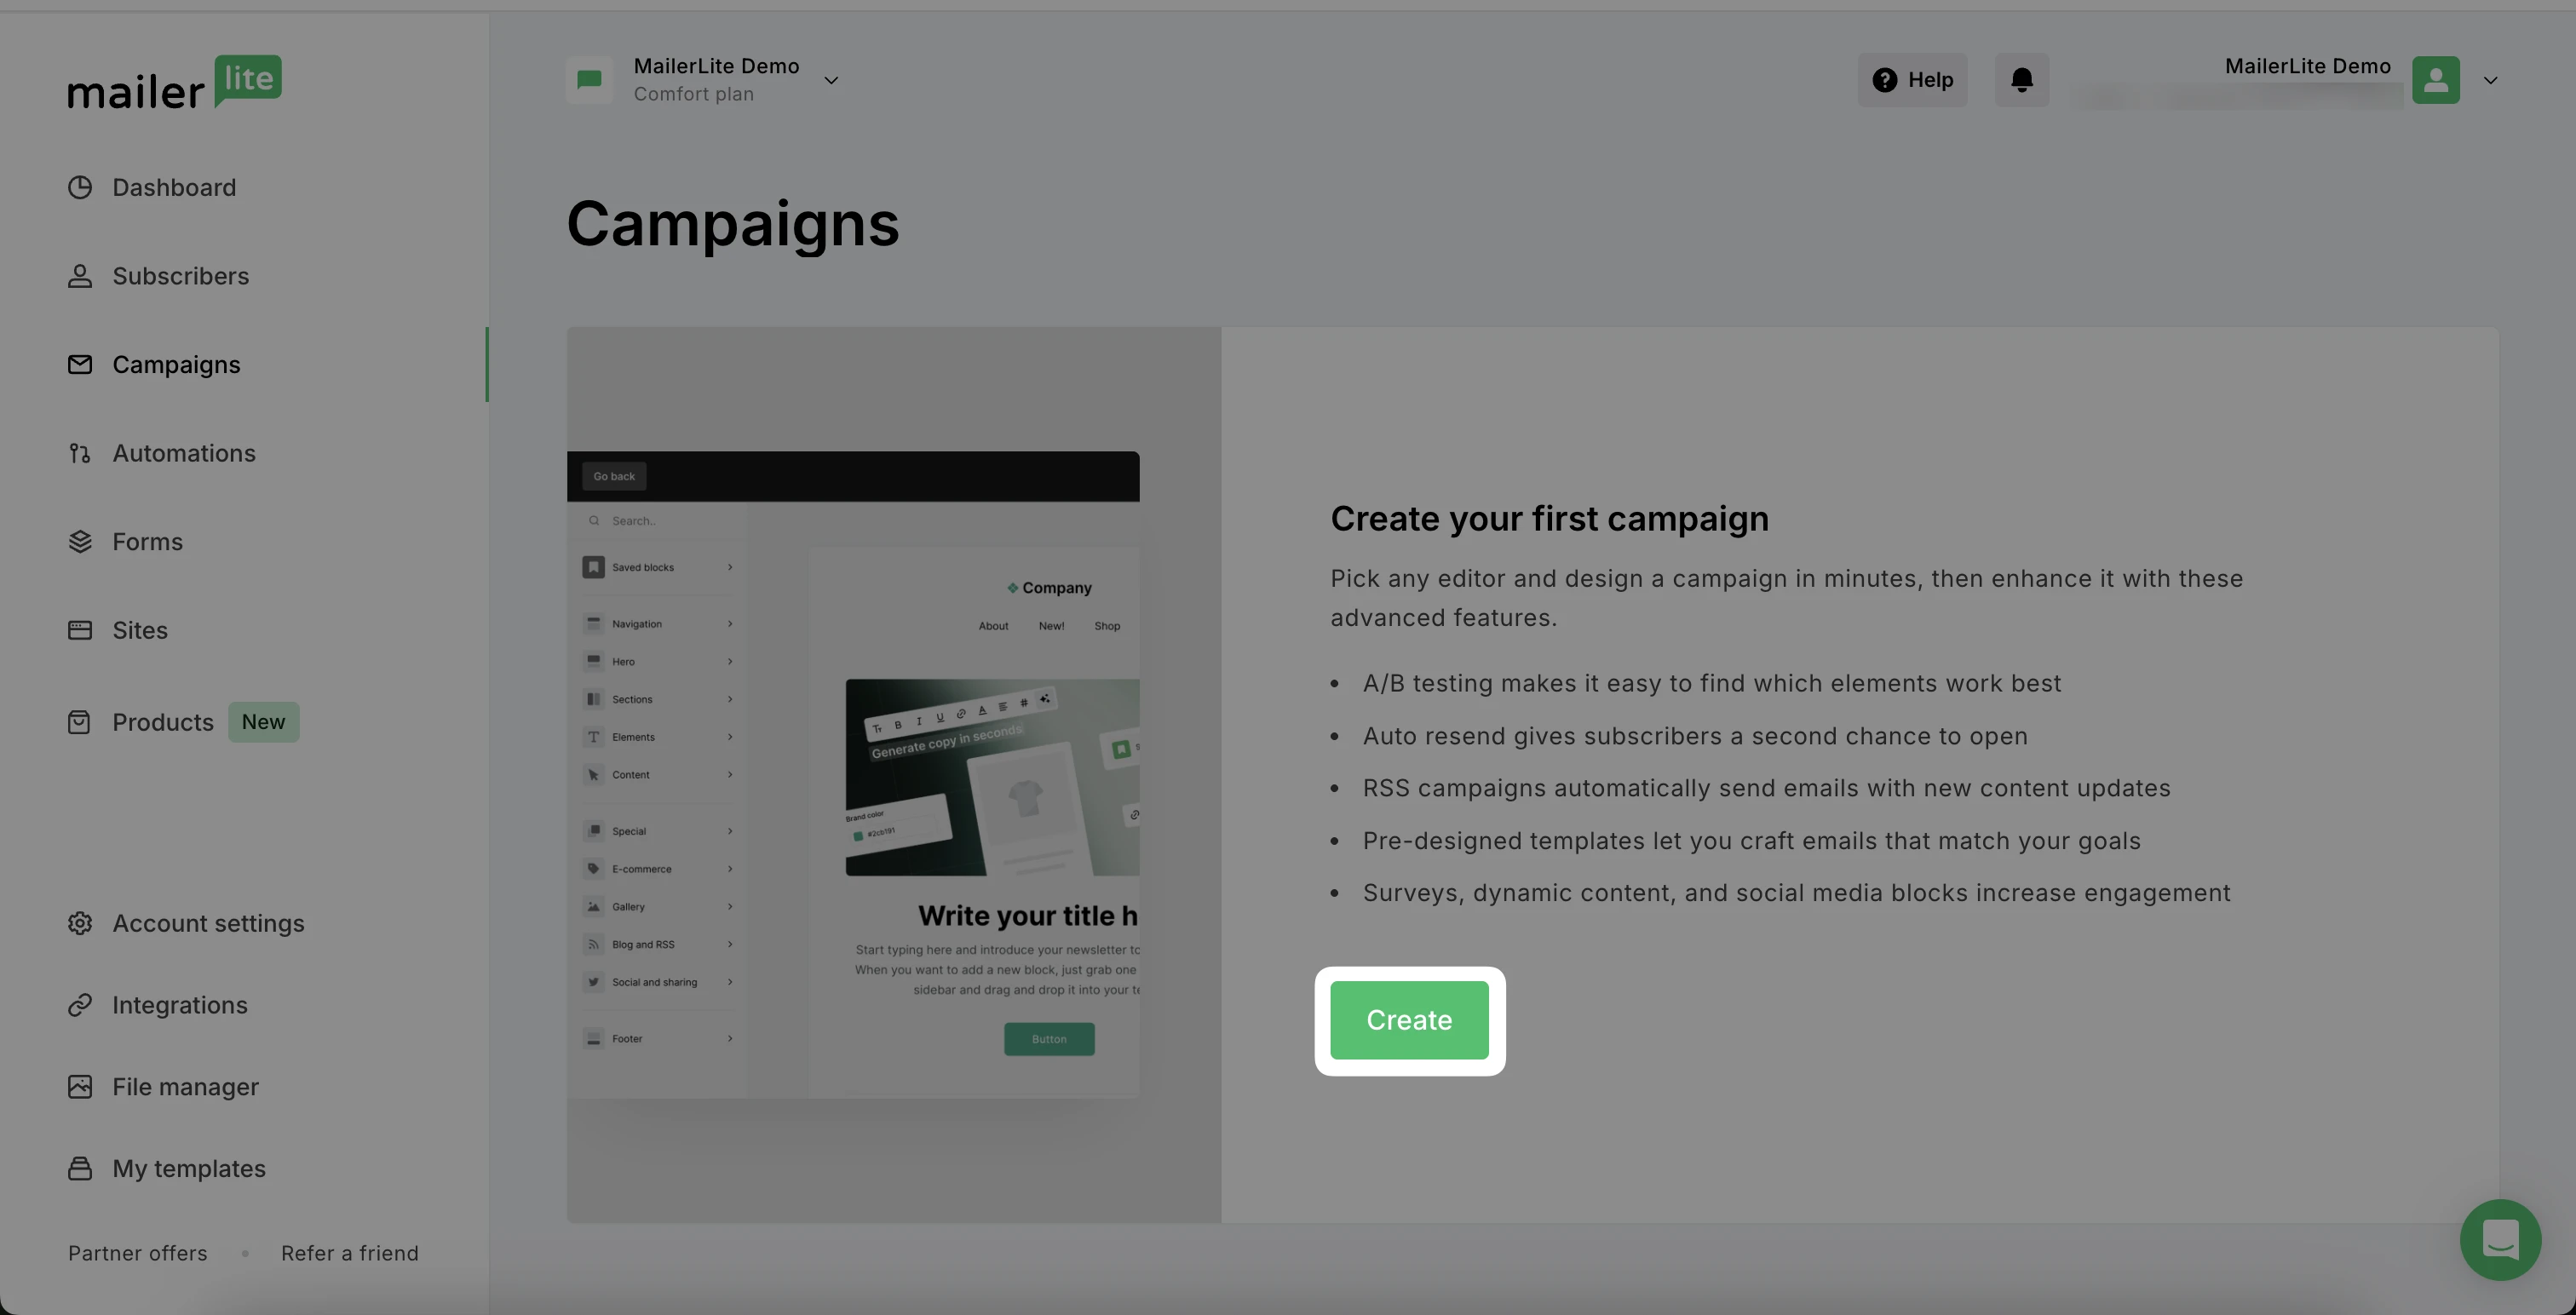
If on the Campaigns page, click Create.
3. Select your chosen Campaign type.

Regular campaign - A regular campaign is the most straightforward type of email campaign. It involves sending a single email to a specific group of subscribers.
A/B split campaign - A/B split campaigns allow you to test two variations of an email to see which performs better before sending the most effective version to the larger audience.
Auto resend - Auto resend campaigns help increase the reach of your emails by automatically resending your message to recipients who did not open the first email.
RSS - RSS campaigns are automated emails that are sent to subscribers whenever new content is published on your RSS feed. This is particularly useful for blogs or websites that update regularly.
Multivariate testing (available on paid plans) - Multivariate campaigns allow you to test multiple campaign elements such as subject lines, sender names, content, and sending times in a single go.
⚠️ Important
The campaign type cannot be changed once the campaign is created. If you need to change the campaign type, you can create a new email and select your recent draft as a template.
Choose to Start from scratch or with a Template.

To see designs used for Recent emails, toggle to this section to view designs in the Sent folder, Drafts folder, or Automation workflows. You can then select one of those campaigns to create a new newsletter.

If you choose to Start from scratch, select your Editor type.
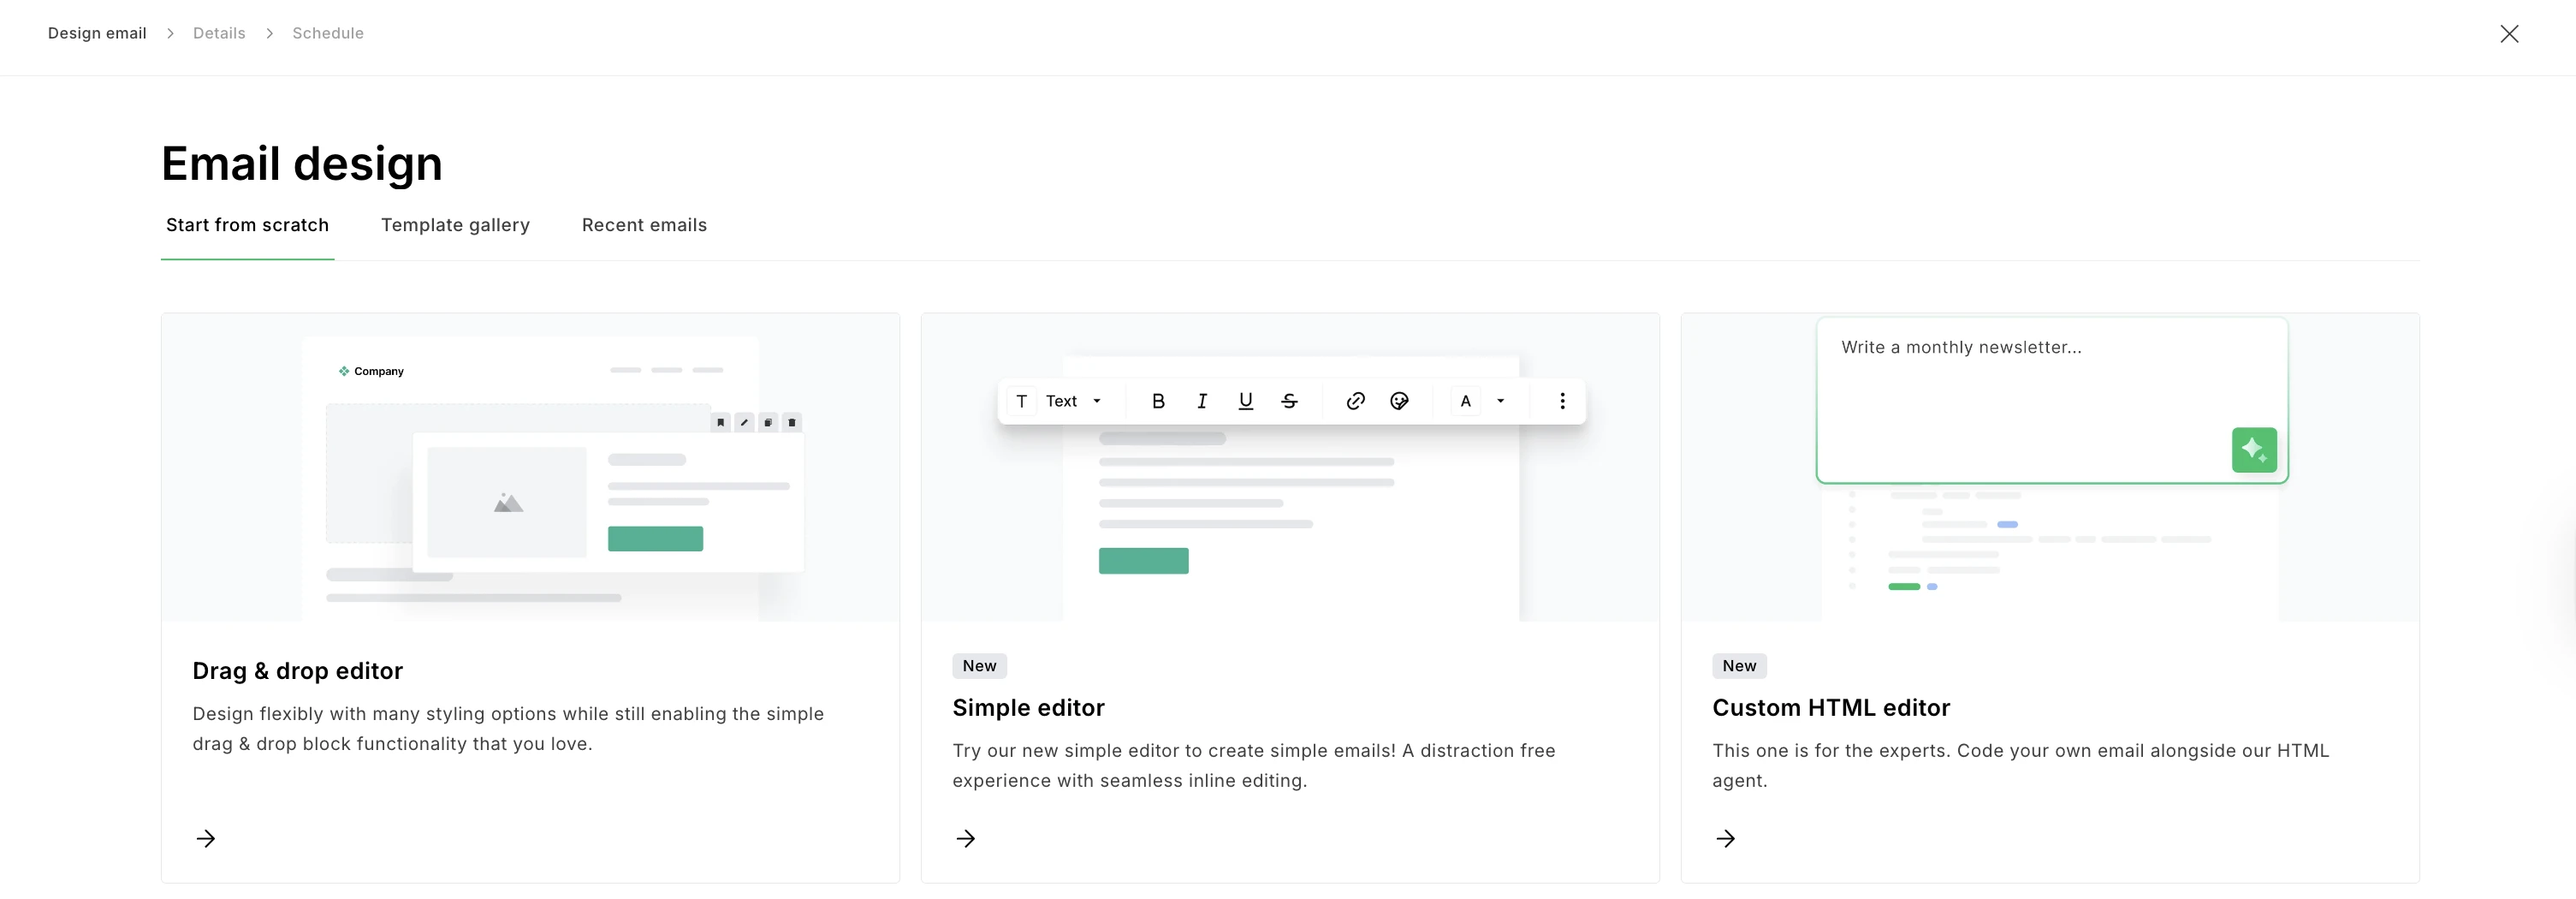
You can select from the Drag & drop editor, Simple editor or Custom HTML editor.
When starting with MailerLite, we recommend using the Drag & drop editor, which is not only the easiest way to create a newsletter, but it also provides a lot of simple ways to customize your campaign.
Take a look at our newsletter gallery for examples of how other users create their campaigns using the Drag & drop editor.
You will land in the campaign editor of your choice. When you are finished designing your campaign, click Done editing.
Next, you'll find the Campaign details page.

This is where you can apply the following settings:
Name - Give your campaign a name. This is for internal use only, so it will not show to your subscribers.
Subject - This text will be displayed in the Subject field of your recipient's email client.
Sender - Here you enter the text that will be displayed in the From field of your recipient’s email client. We recommend that you use your own domain email and name, such as yourname@yourcompany.com. Avoid emails like no-reply@yourcompany.com.
Preheader - This is a brief summary or snippet of your email content that appears right after the subject line when an email is viewed in the inbox.
Tracking options - Select whether or not you wish to track opens or enable Google Analytics.
Language - This is the language of your newsletter. The language you choose here will also be used on your unsubscribe page.
Recipients
Click Select recipients to choose who to send your campaign to.
Here, you can select which groups and/or segments you want to receive this campaign.
To include a group or segment, checkmark the box next to the group/segment’s name. To exclude a group or segment, click the Exclude button next to that list.
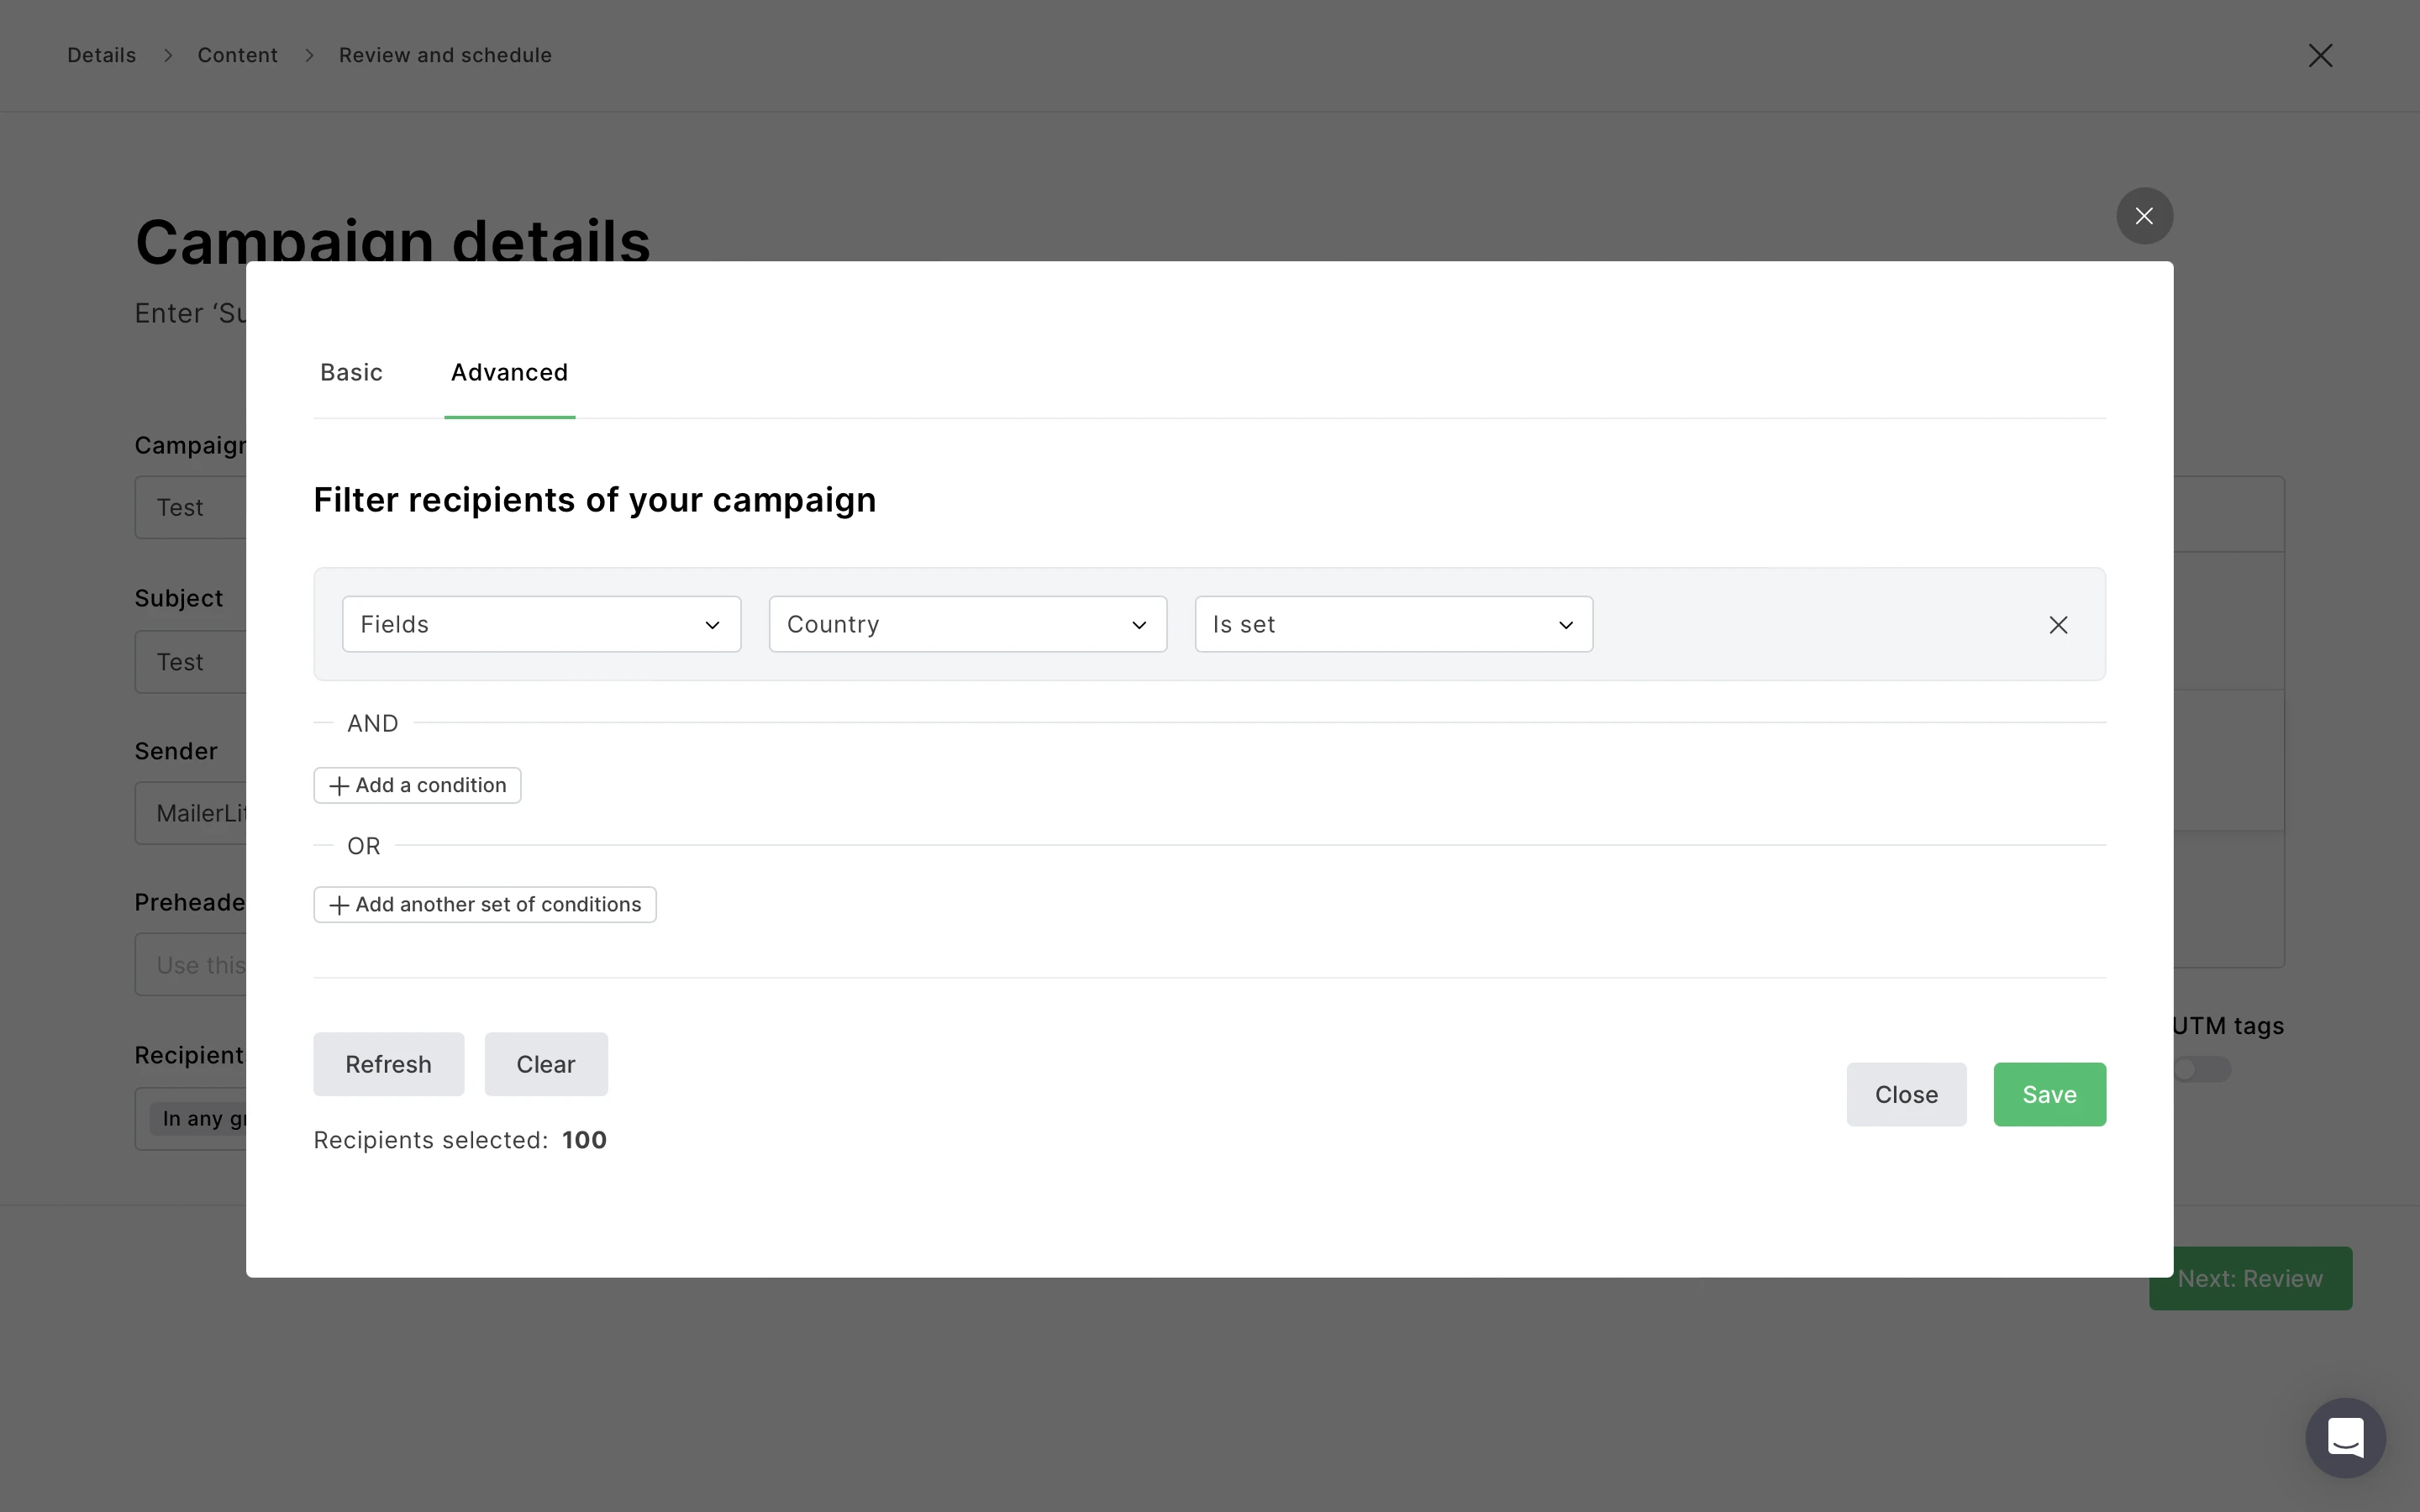
The Advanced tab
Here you can select recipients using filters. For example, the advanced option comes in handy when you want to send your campaign to:
A single subscriber - Choose the filters Email > Equals > (subscriber’s email address)
Subscribers who did not open a previous campaign - Use the filters
Campaigns > Was sent > [name of the campaign]
AND
Campaigns > Was not opened > [name of the campaign]
Once you're happy with your Campaign details, click Continue.
Need design inspiration? Check out our newsletter gallery for real-life examples of campaigns built in MailerLite. You can also choose from over 50 pre-designed campaign templates when creating your campaigns.
For step-by-step instructions on campaign creation, please read our detailed article on how to create and send a campaign.
How to create a website
All MailerLite accounts can create and publish a website using our website builder. Free accounts are limited to one, while accounts with paid plans can create more websites. To create your first website:
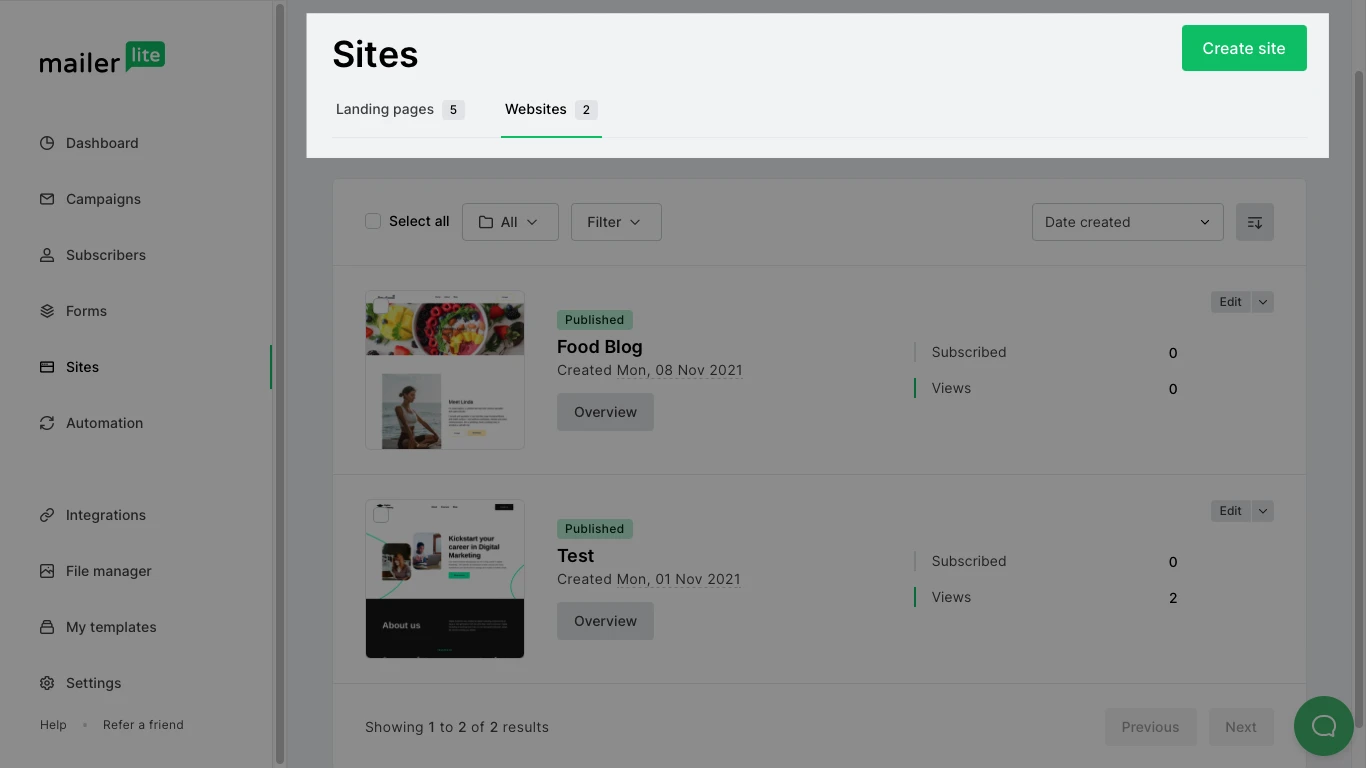
Navigate to the Sites page.
Click the Websites tab.
Click Create site.
4. Give your website a name and click Save and Continue.
5. Select a subscriber group to attach to your website and click Save and Continue. This will be the group into which subscribers are added after completing any forms on your website.
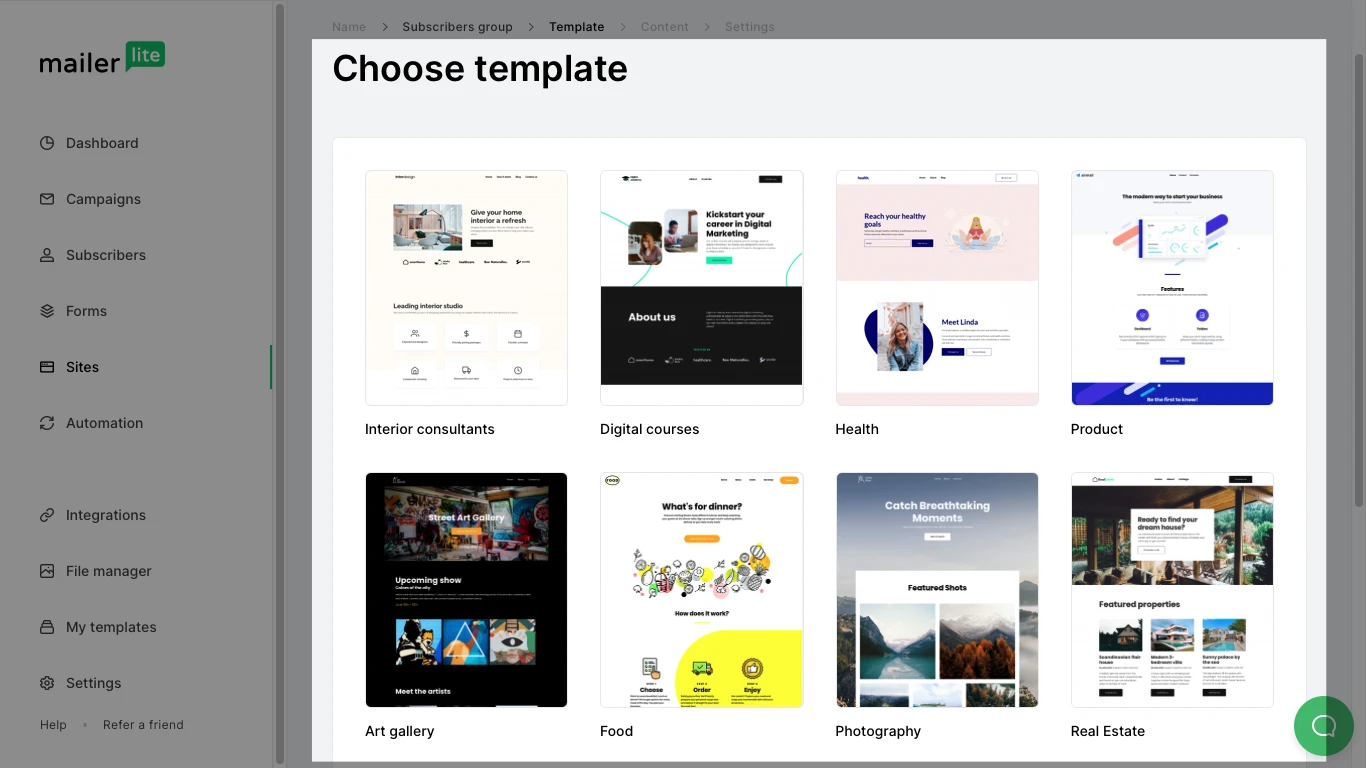
6. Select the template from which you would like to build your website.
Once you have finished editing your website, click Save and Publish.
You can customize your MailerLite website as much or as little as you like. For detailed instructions on how to create your website, check out this article on everything about creating a website.
To become a pro, check out more of our tutorials!